good place for detailing in Toronto?
#41
 09-02-2014, 03:57 PM


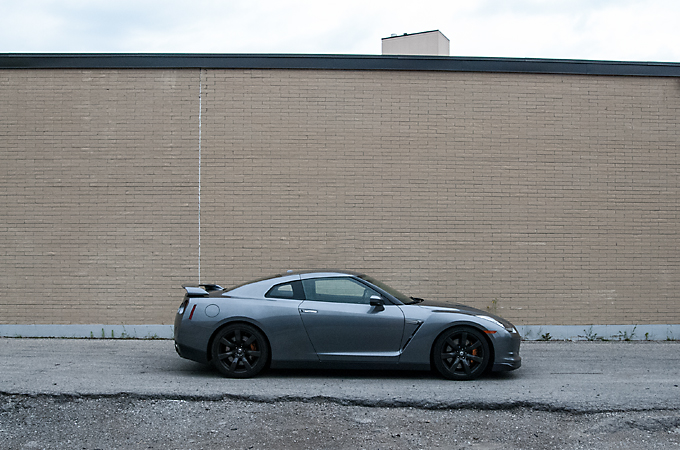
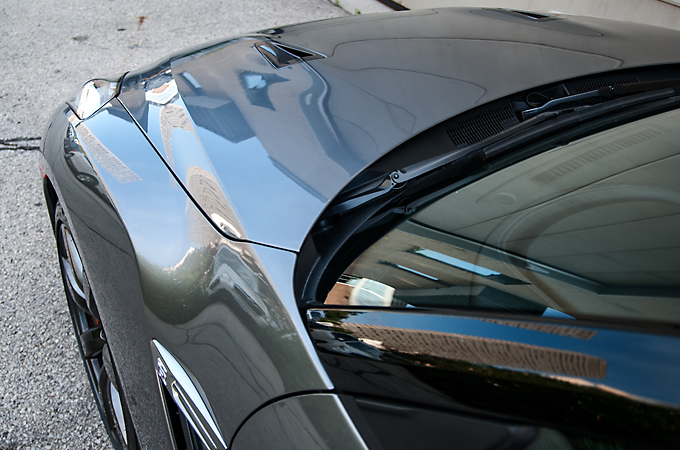
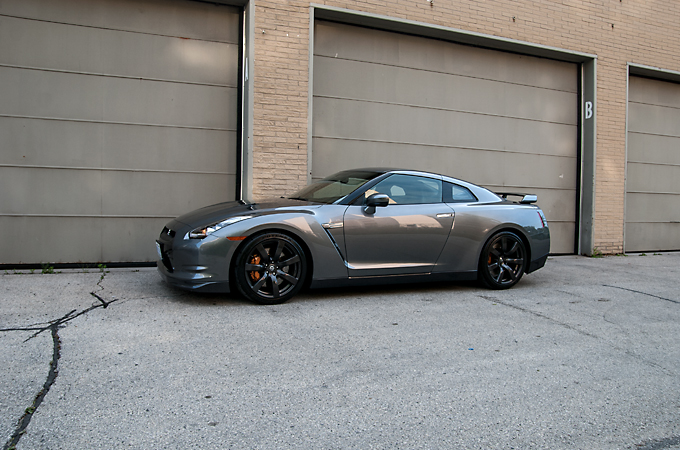
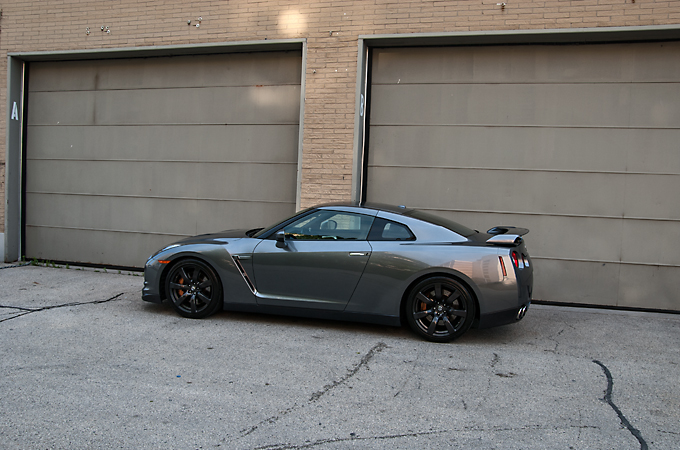
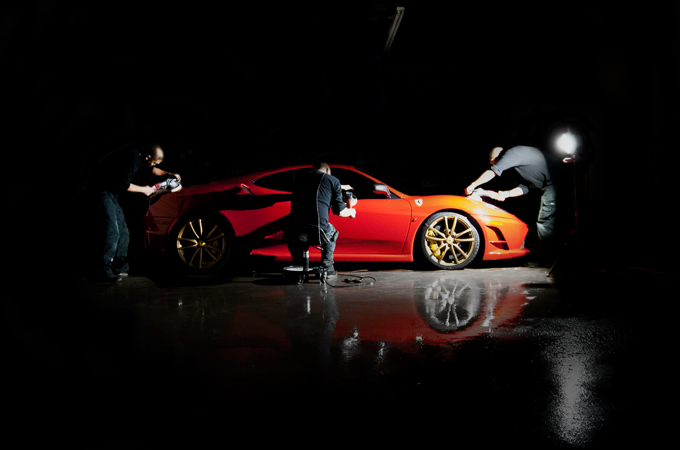
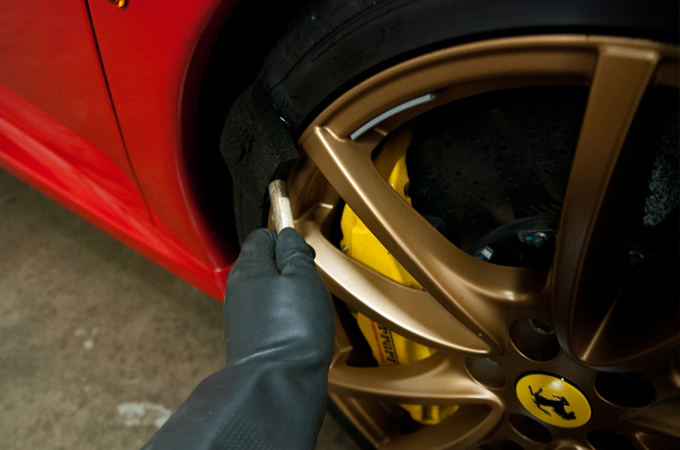
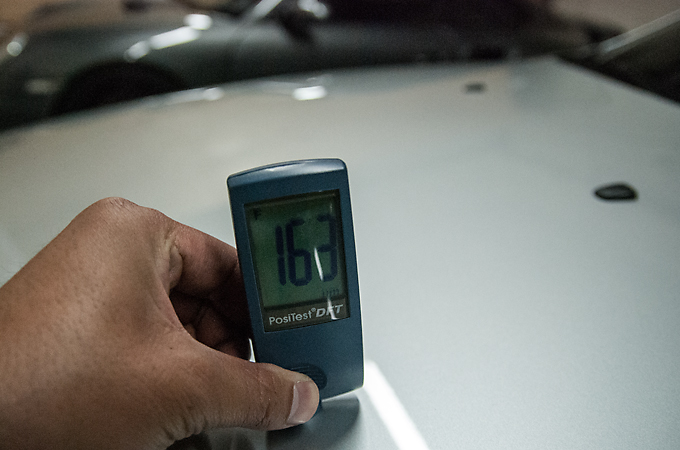
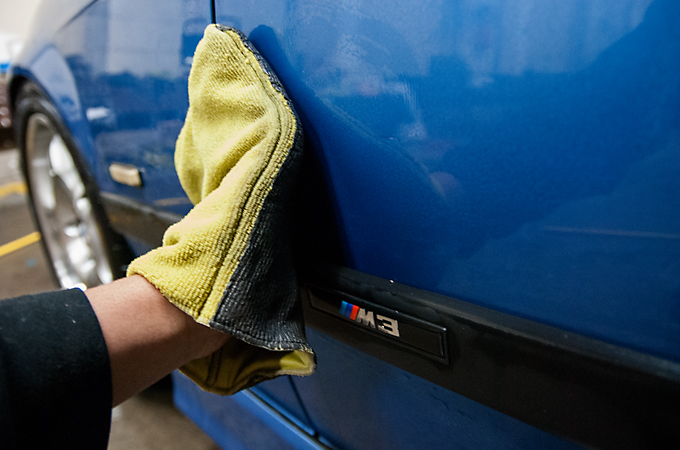
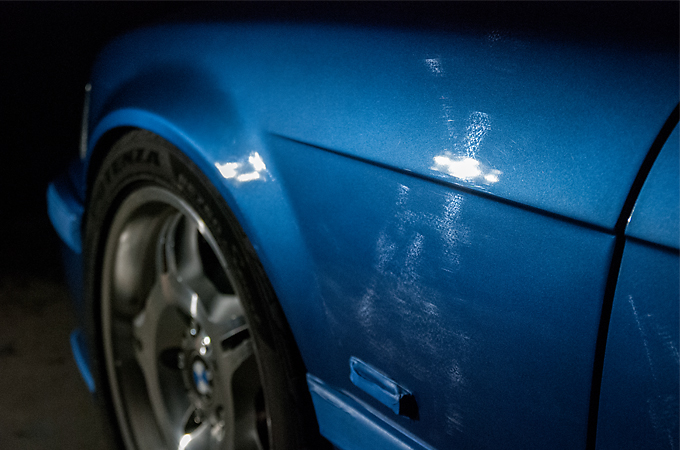
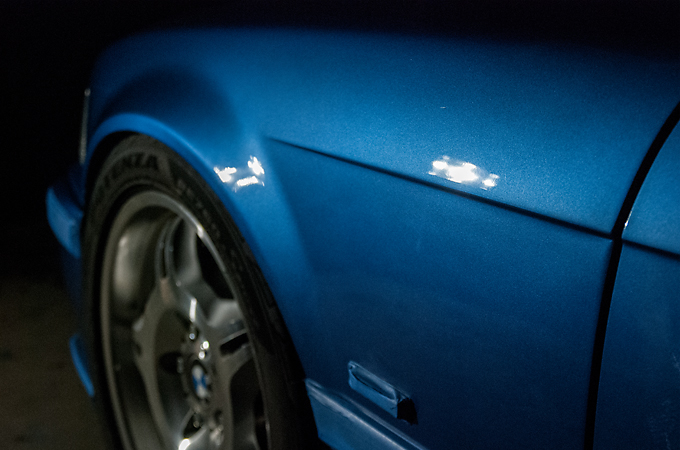
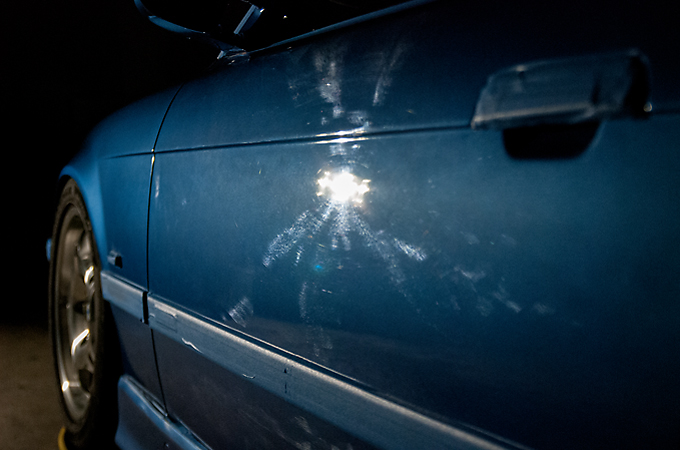
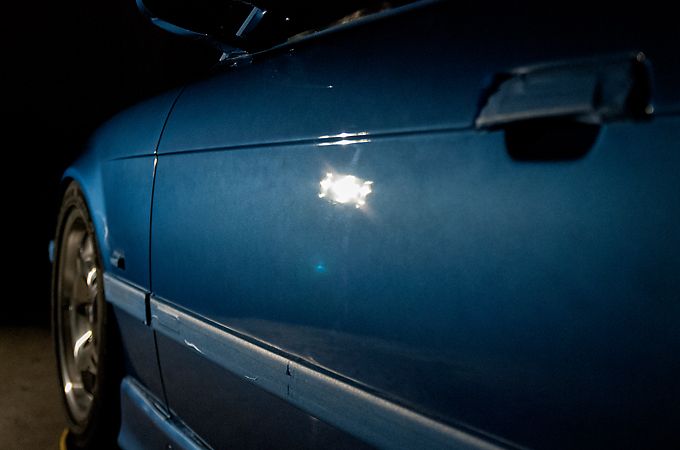
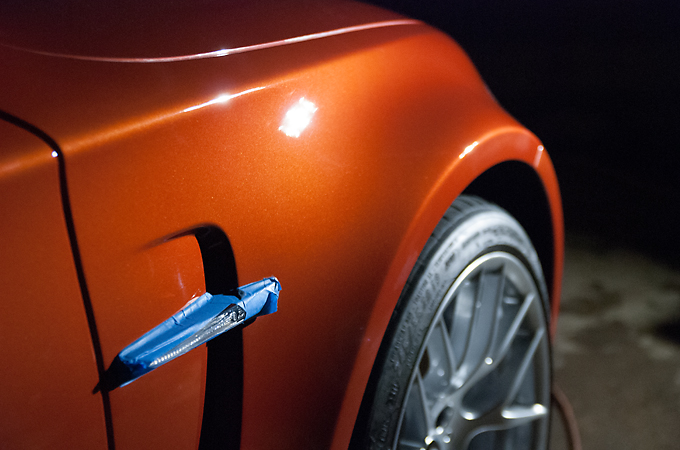
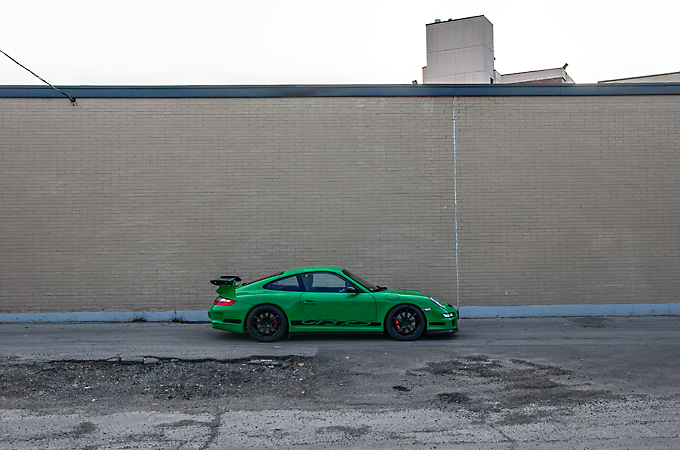
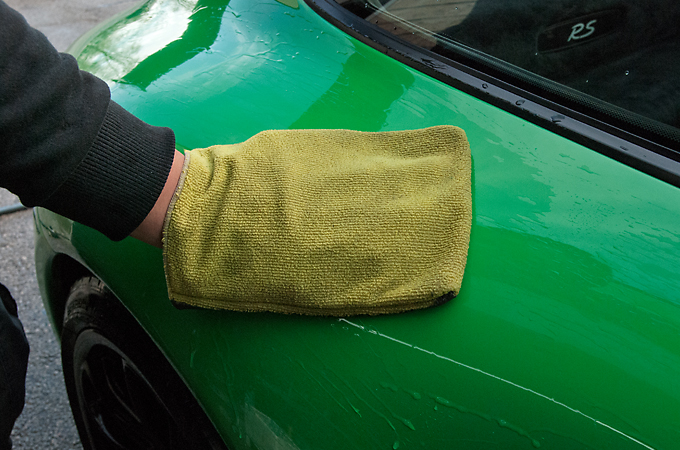
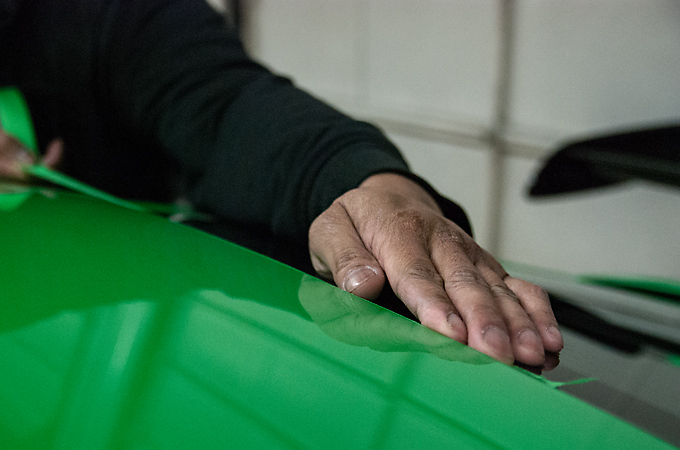
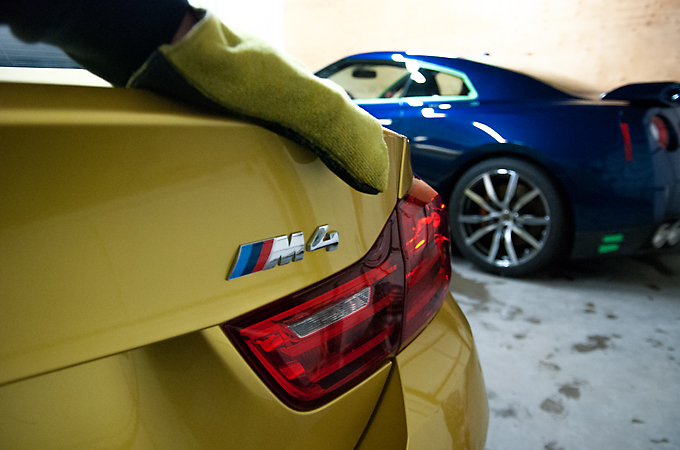
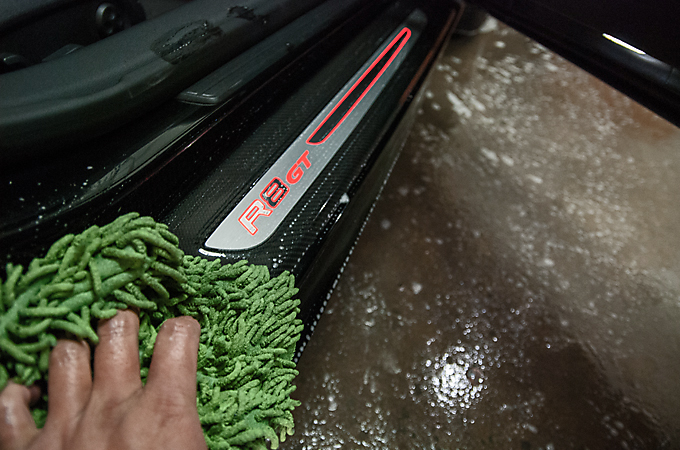
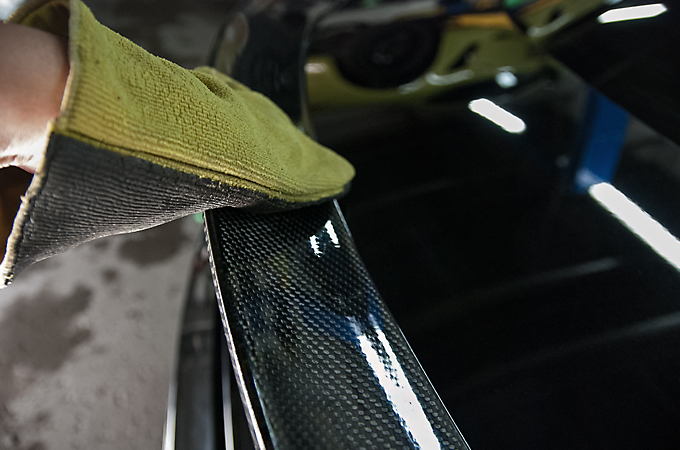
This was a pretty straight forward job. The client had just purchased this GTR and wanted to polish the paint. Nothing to crazy but something to add a nice pop to the paint. 1 stage it was and finished in a day.
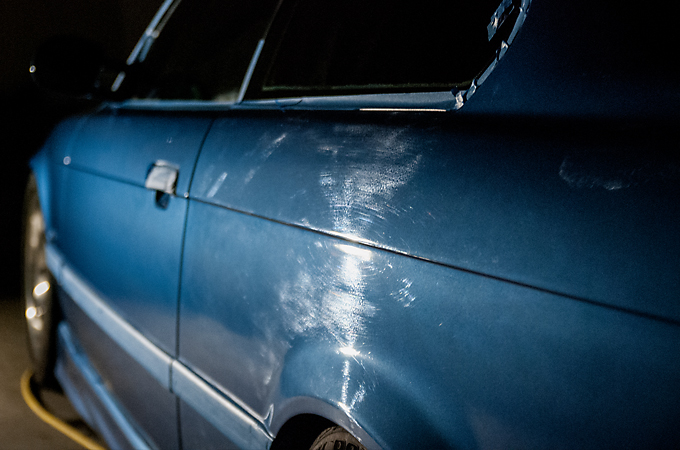
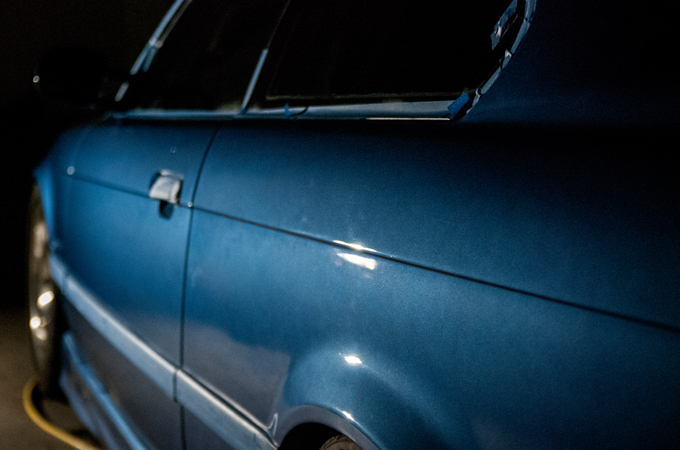
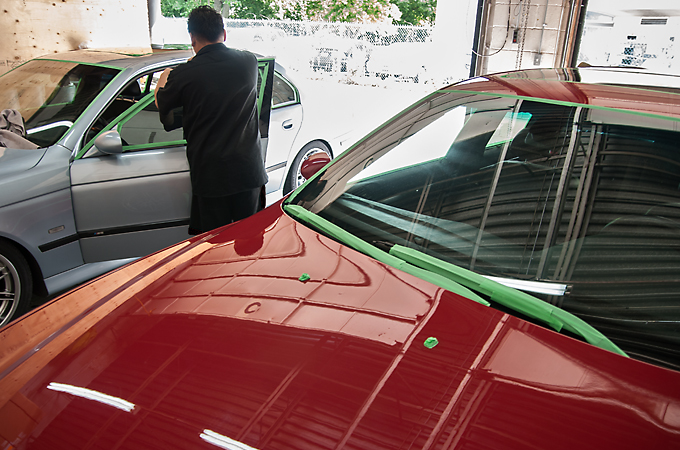
Upon arrival
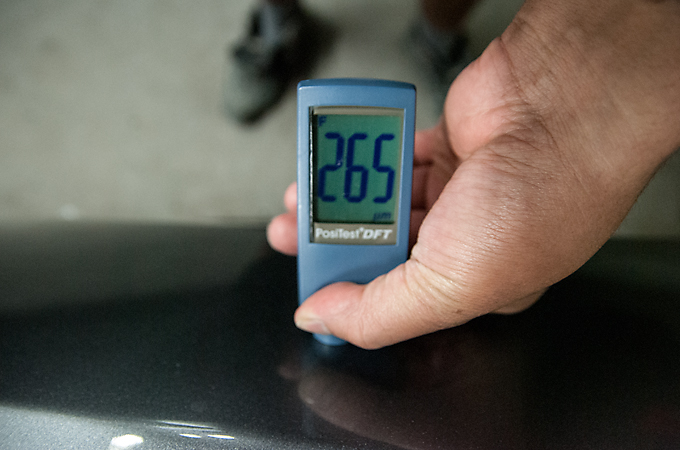
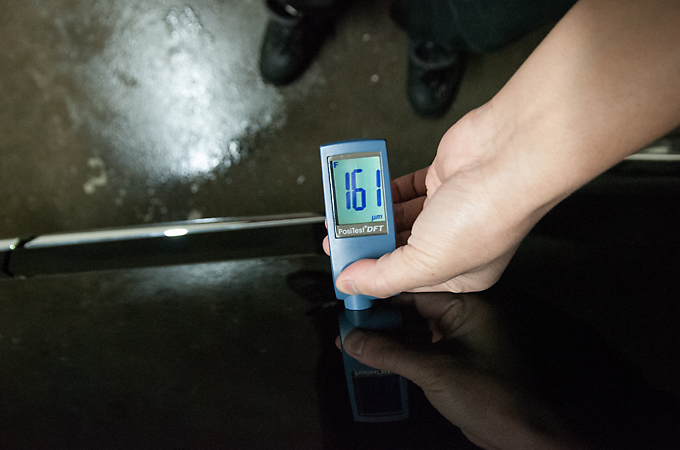
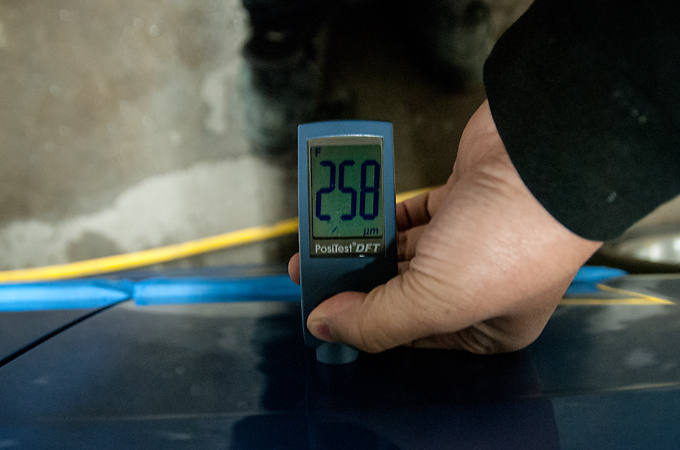
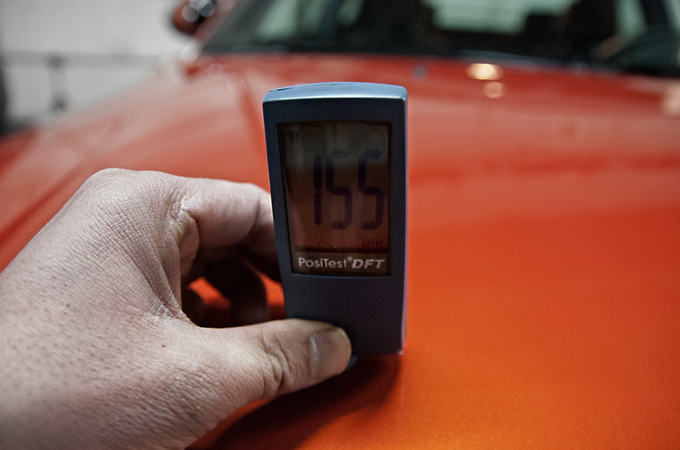
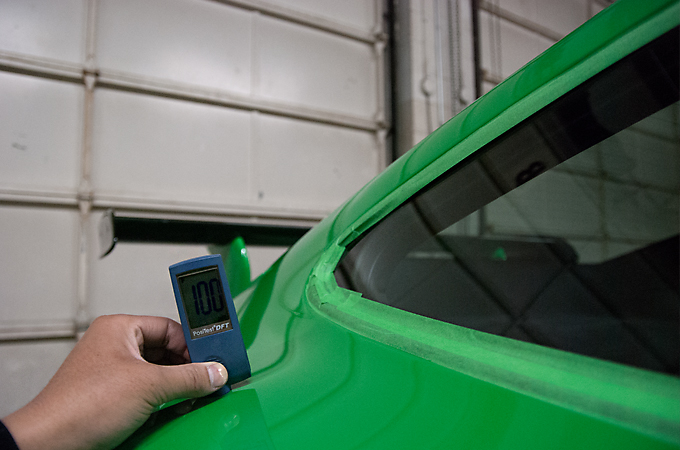
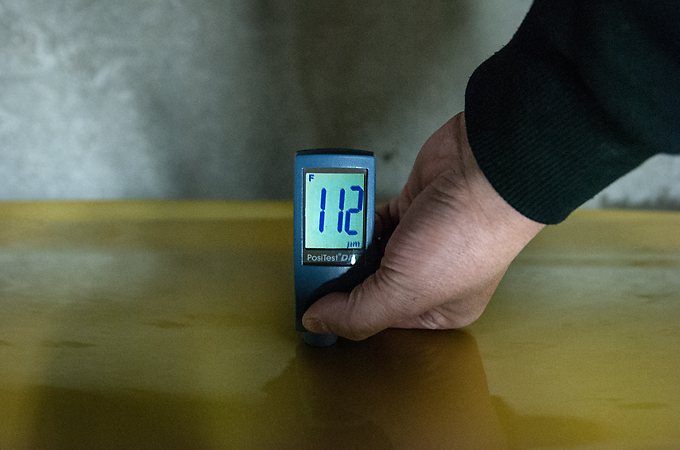
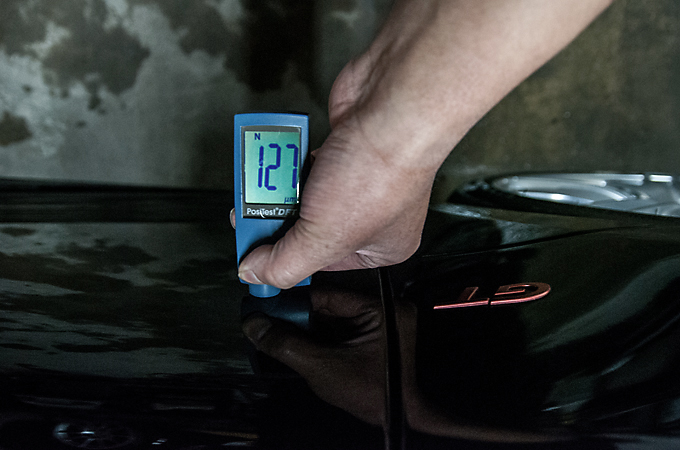
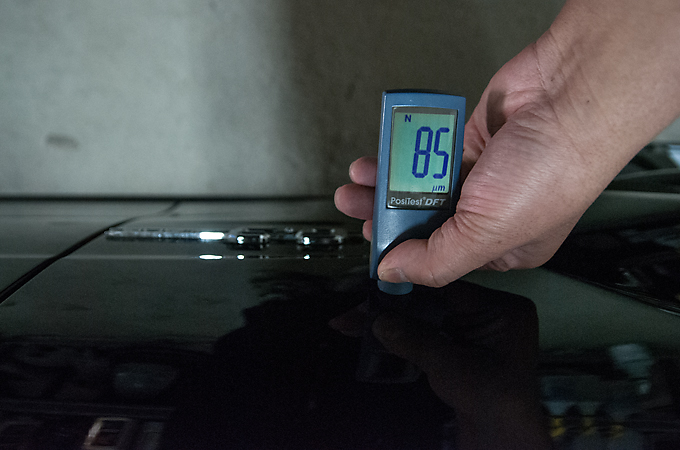
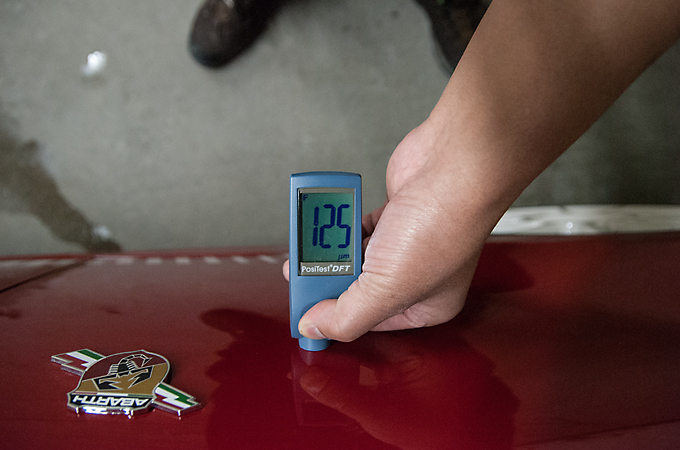
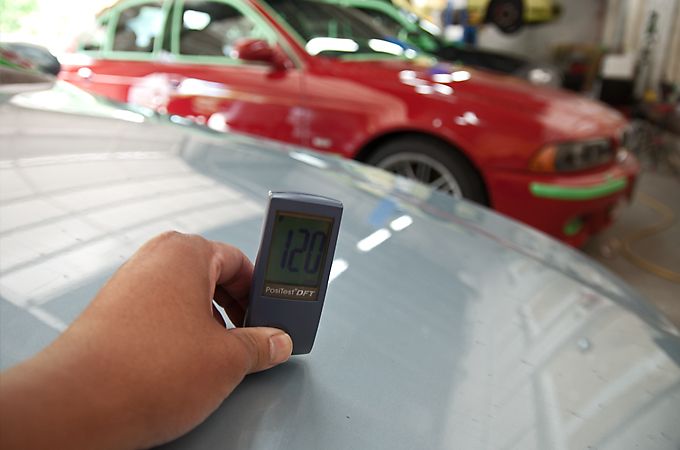
Taking measurements and a panel had been repainted
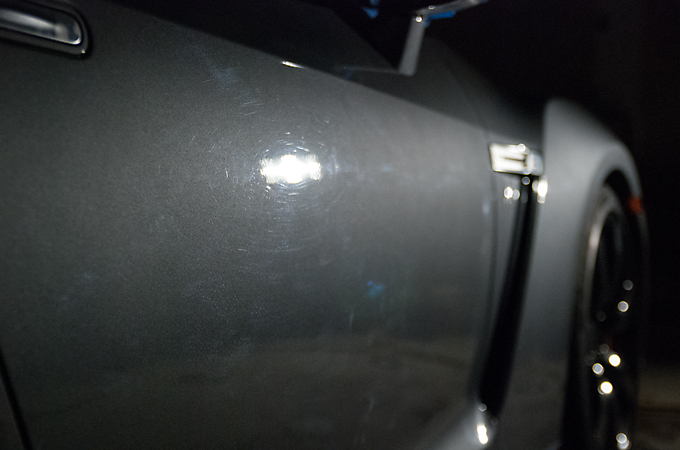
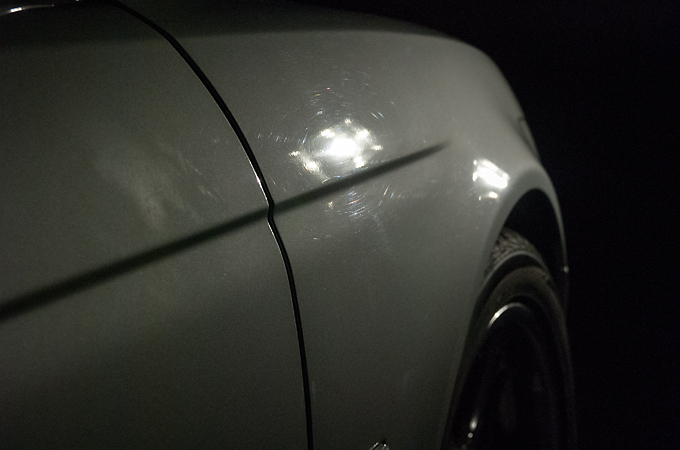
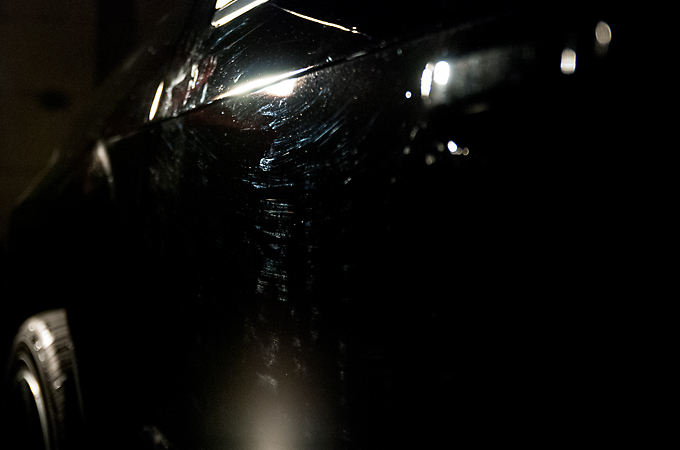
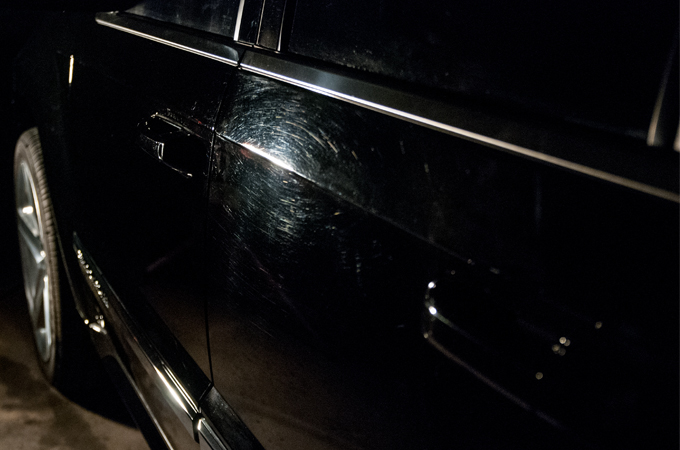
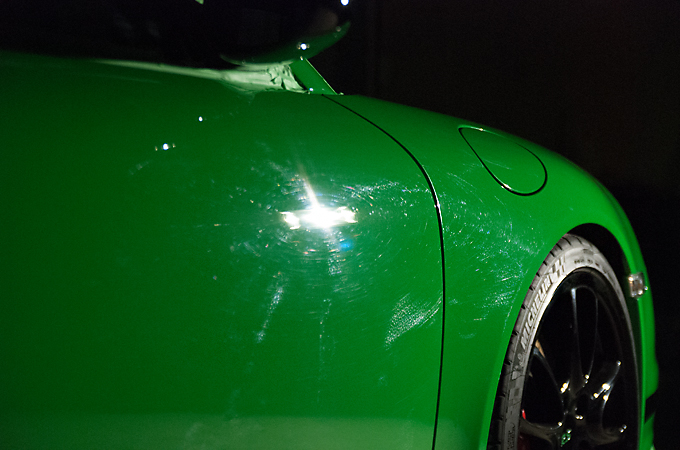
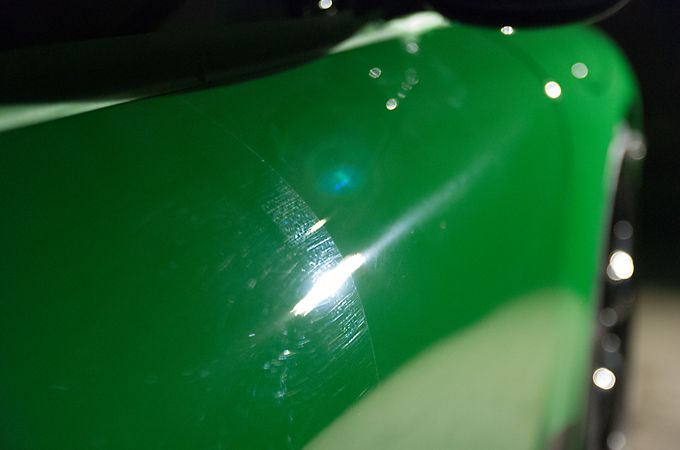
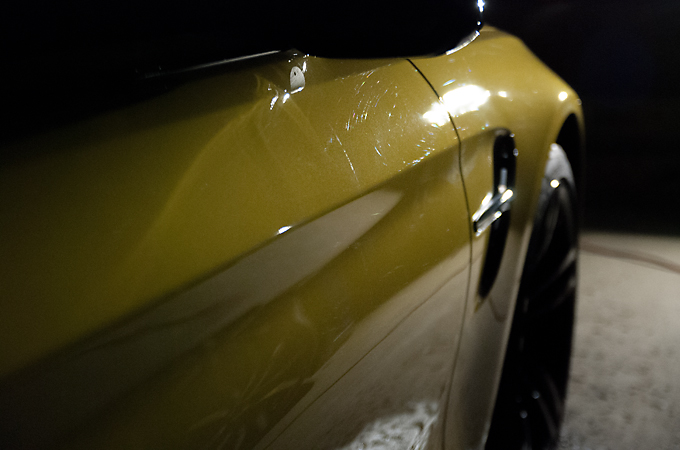
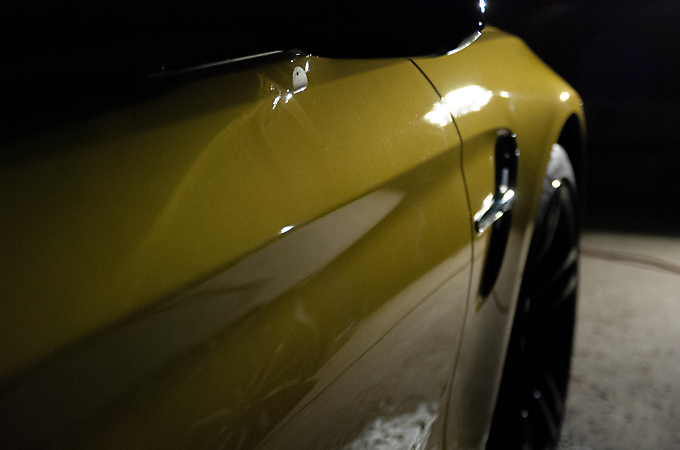
Before
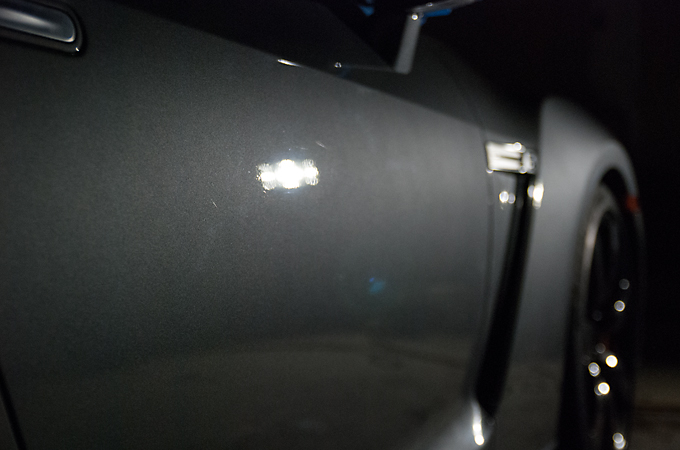
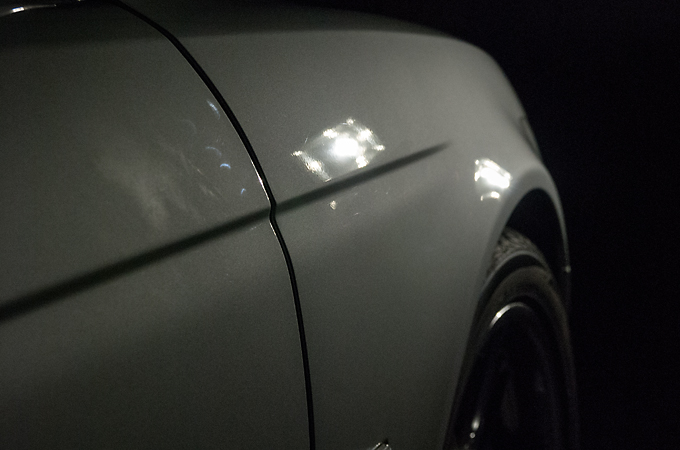
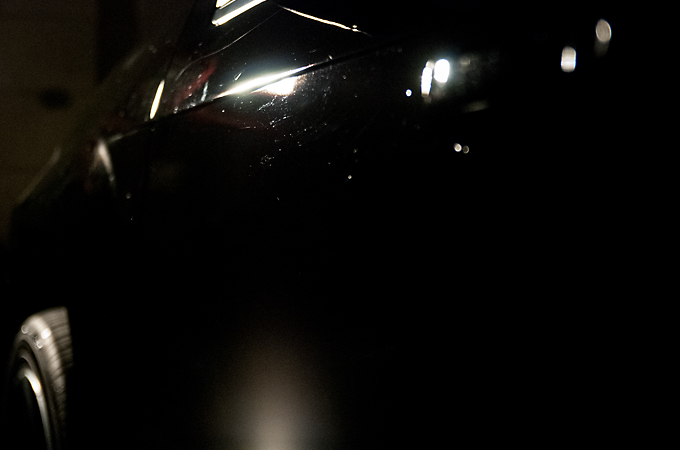
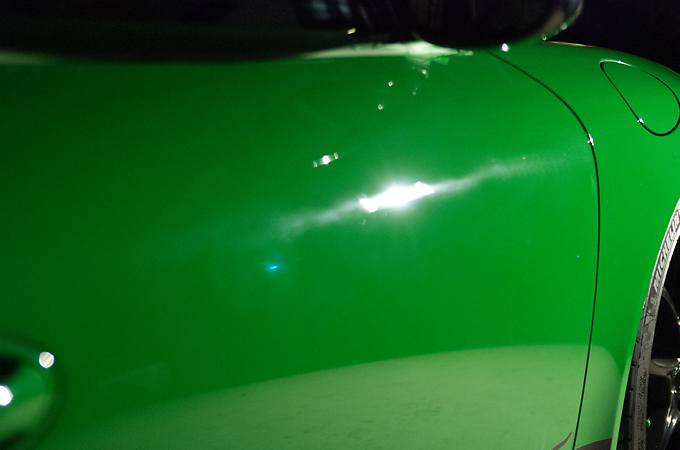
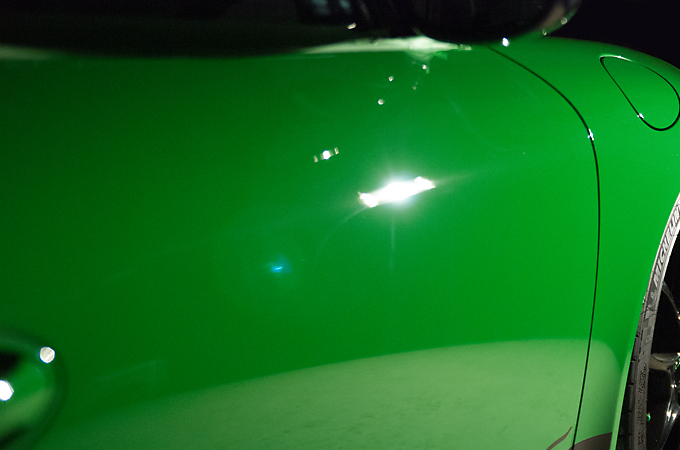
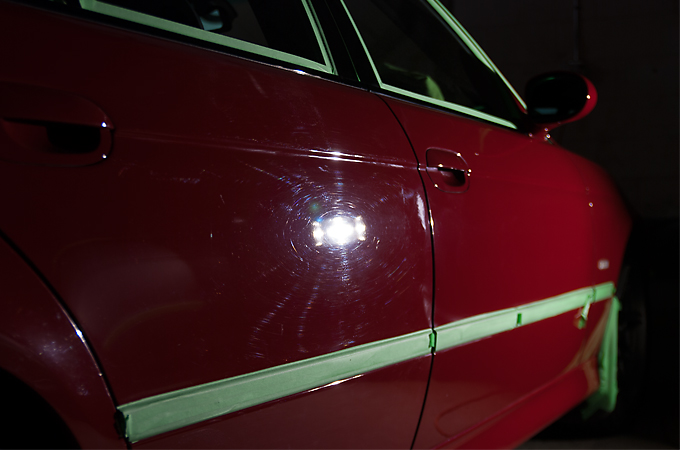
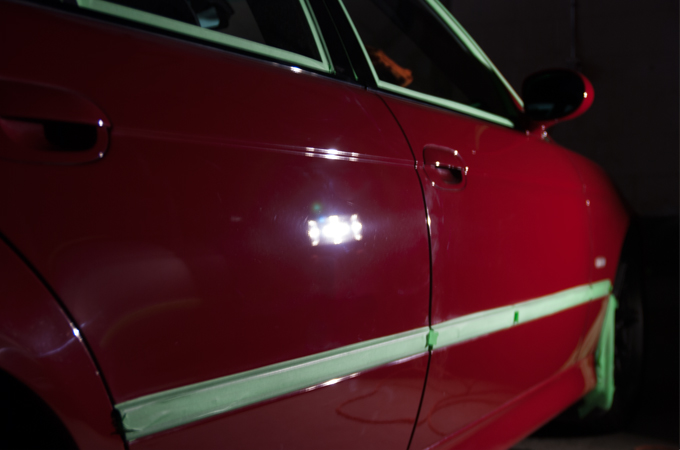
After
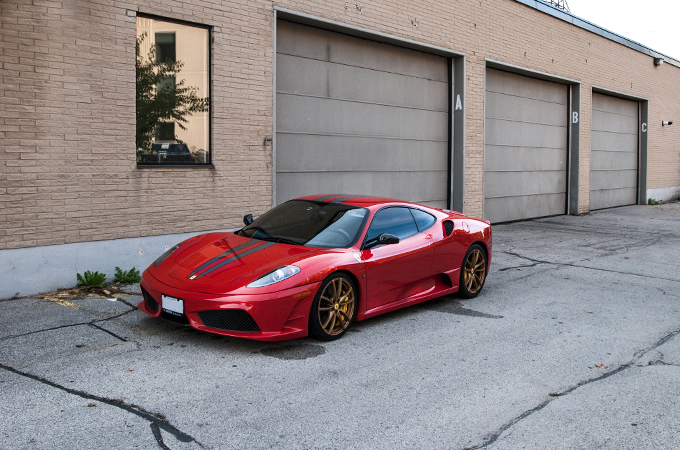
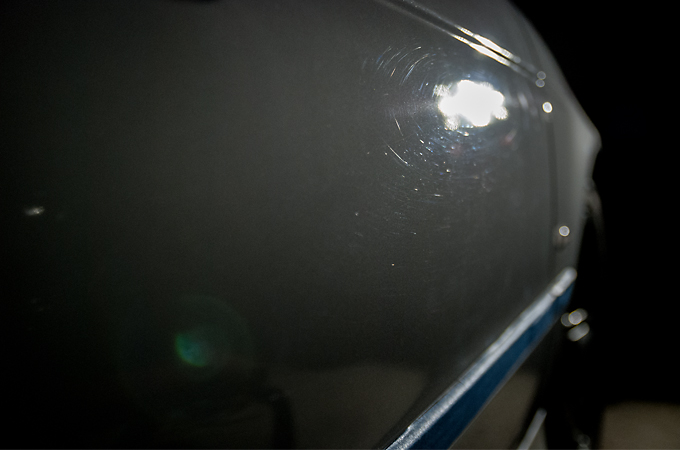
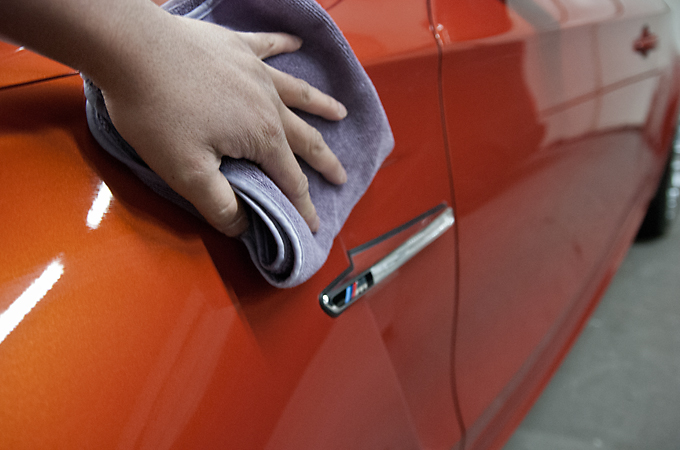
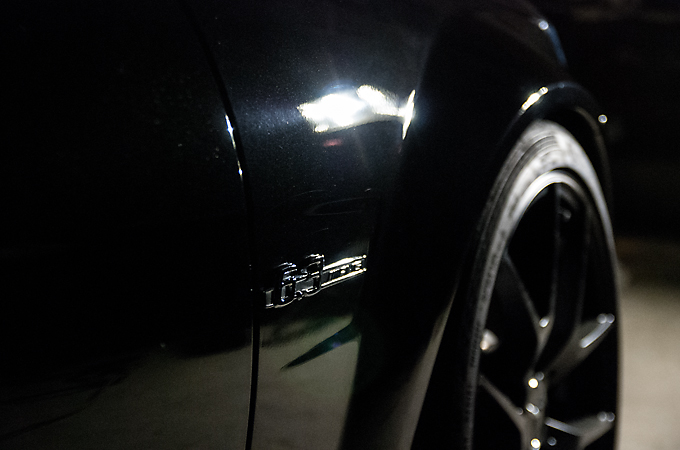
After pics starting with a shiny front fender
Front view
Rear view
Thanks for reading! Hope you enjoyed the Long Weekend!
Upon arrival
Taking measurements and a panel had been repainted
Before
After
After pics starting with a shiny front fender
Front view
Rear view
Thanks for reading! Hope you enjoyed the Long Weekend!
#42
10-08-2014, 03:13 PM
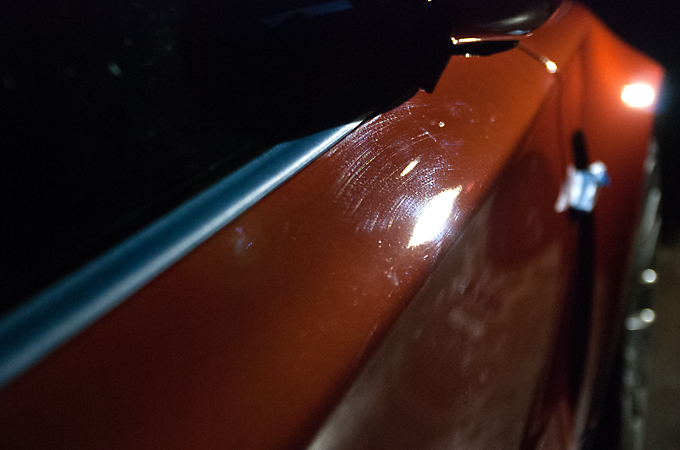
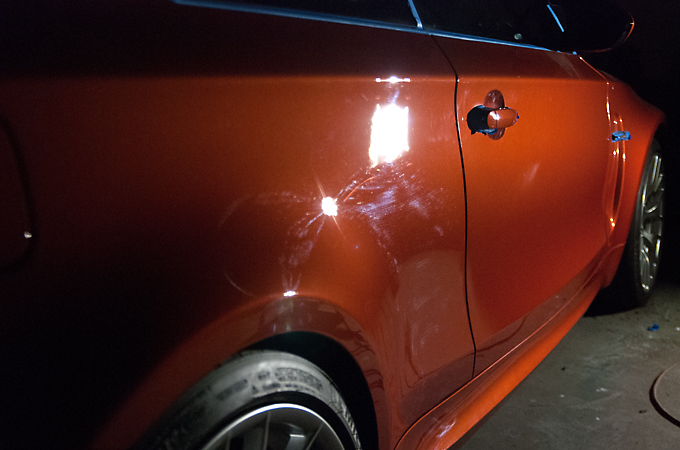
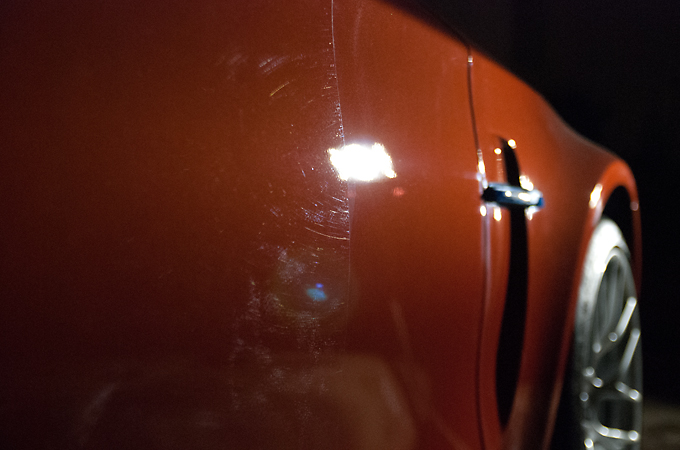
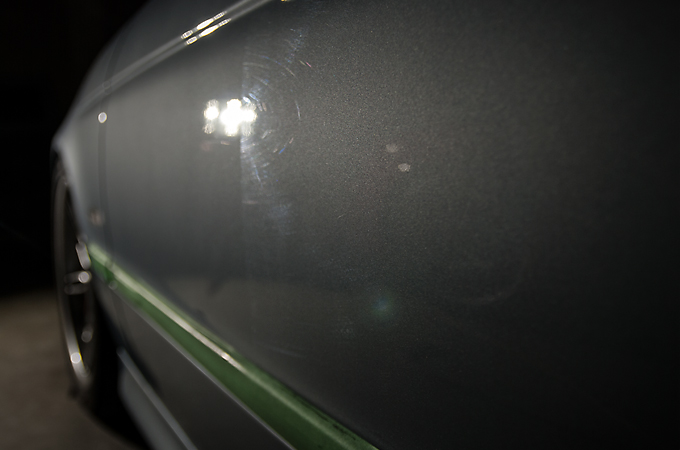
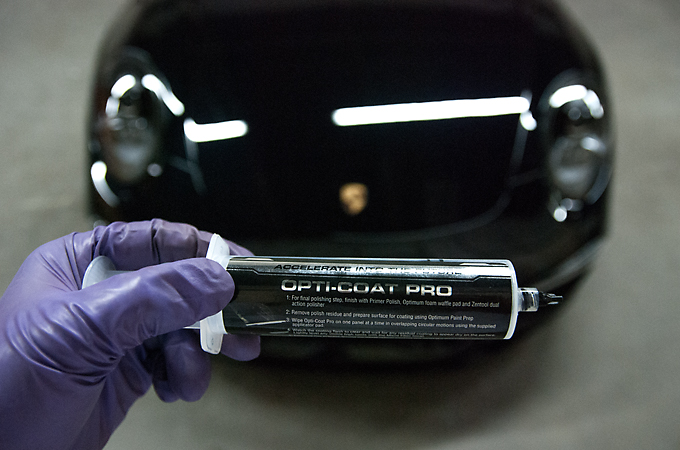
This new 991 C4S came in to be protected right away by Opti Coat Pro. This client was referred to us by another client whose new Cayman S we prepped and Opti Coated as well. The paint had very light swirling and just an issue on the front bumper that had to be addressed. Other then that everything else was in great shape!
Arrival
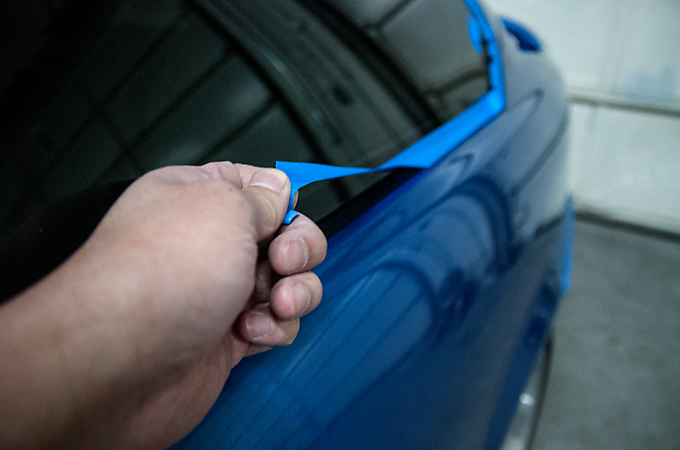
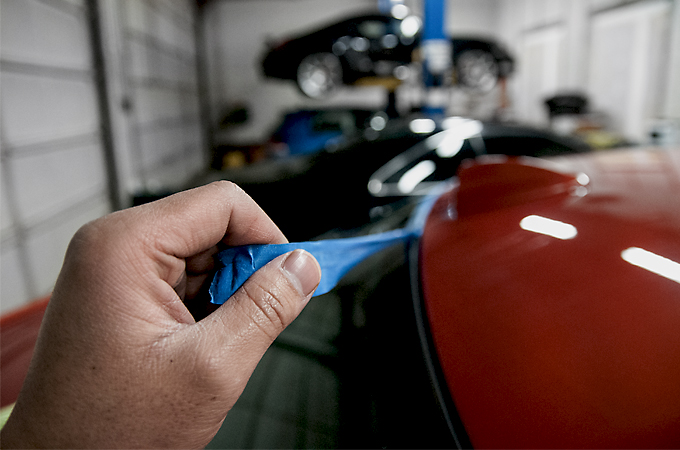
Masking off rubber trim so that the polishers wouldn't stain or damage the trim
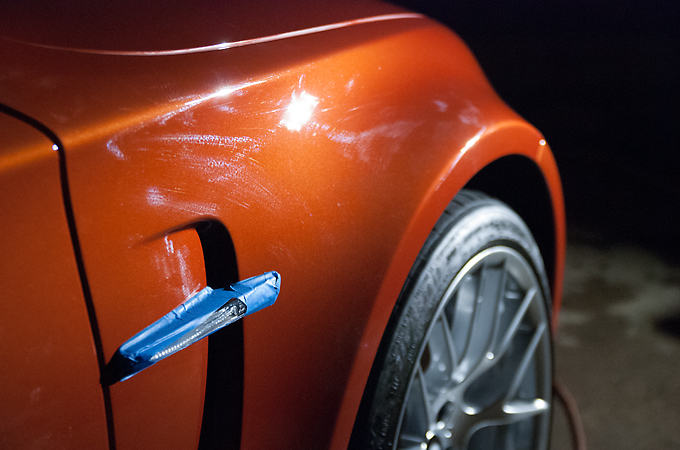
This was the issue on the front bumper. It seemed as if someone was trying to rub off an adhesive but just ended up making things worse.
Before
After
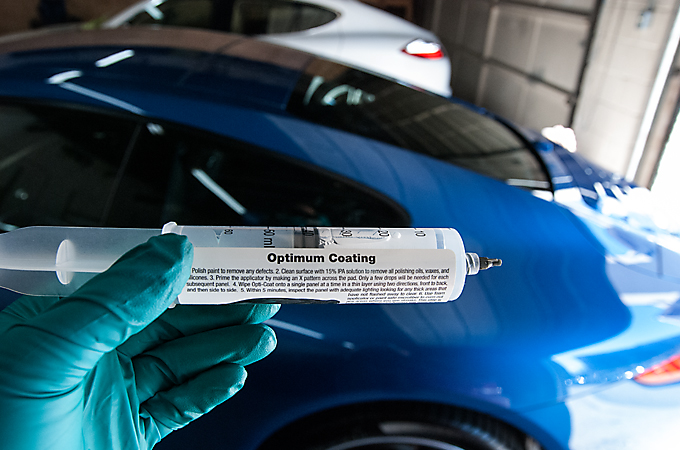
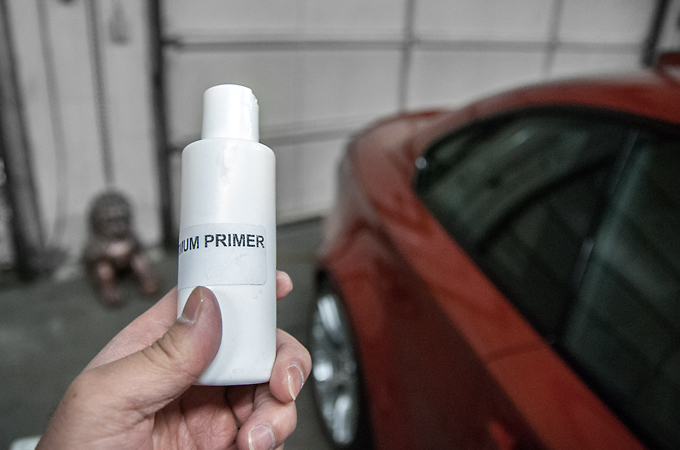
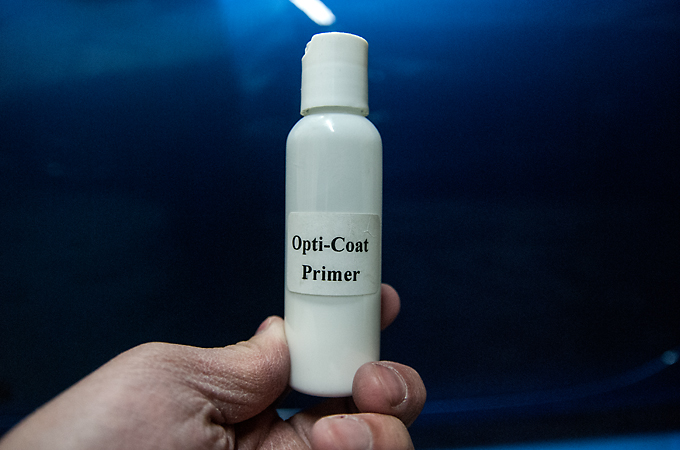
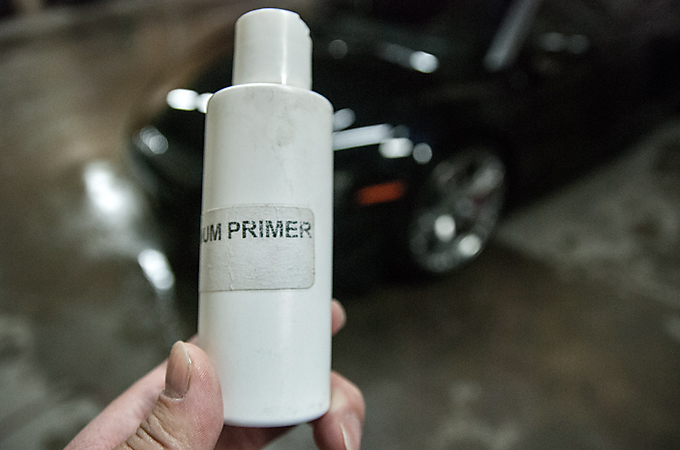
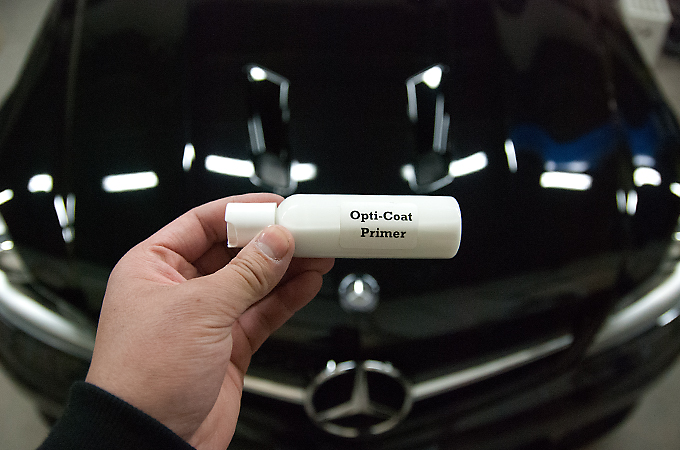
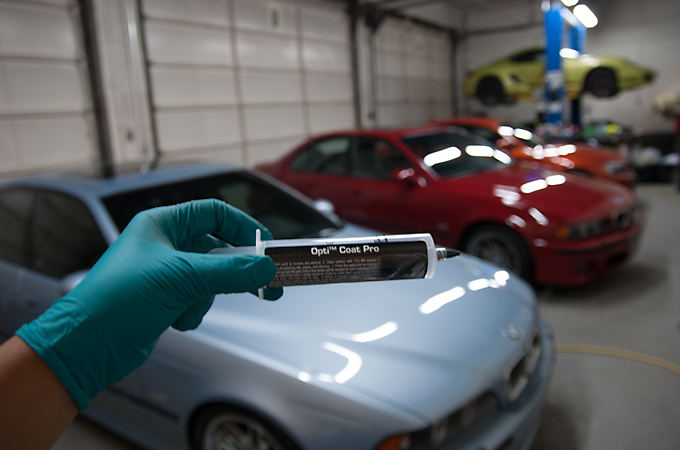
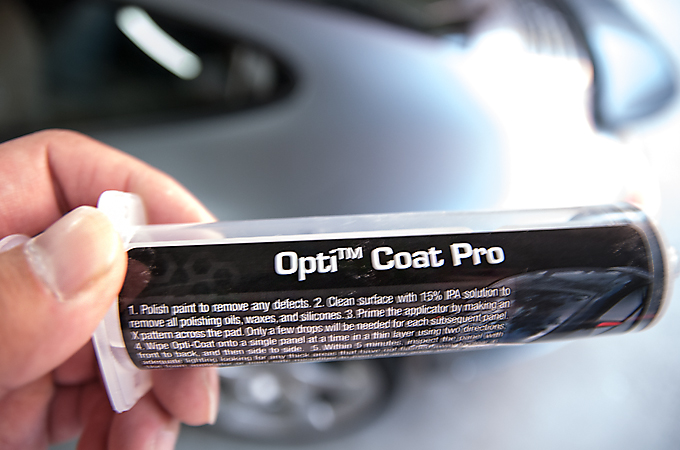
Opti Coat Primer which is also a catalyst for the hardening of Opti Coat Pro
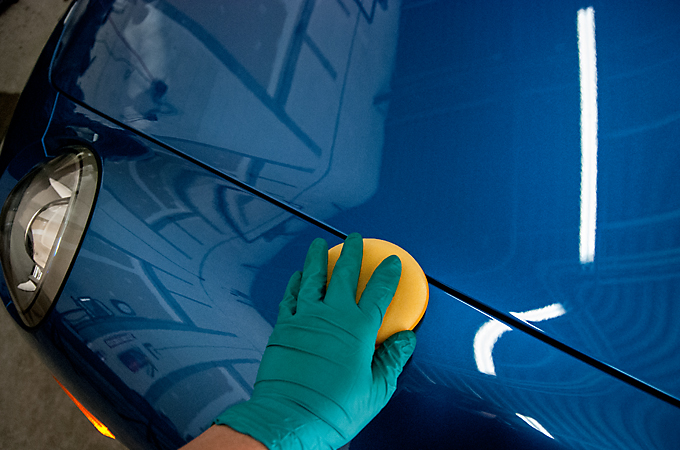
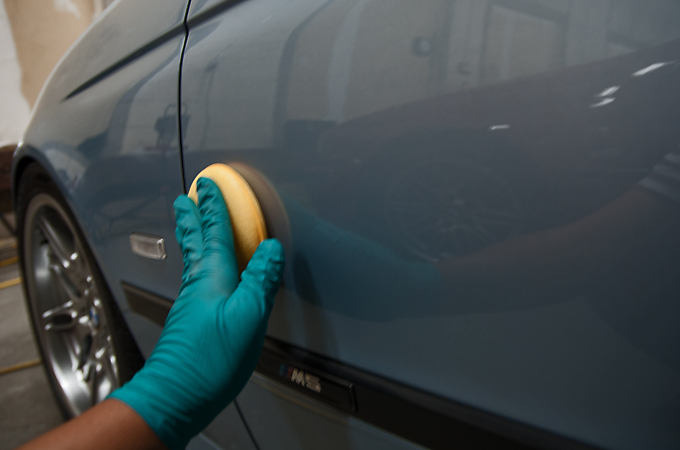
Applied via machine
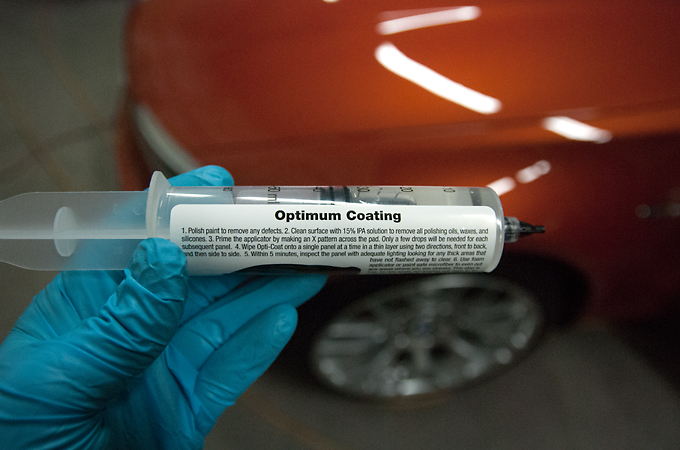
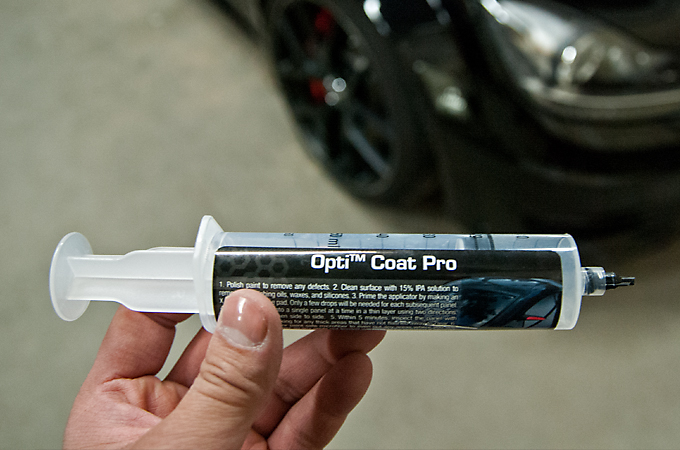
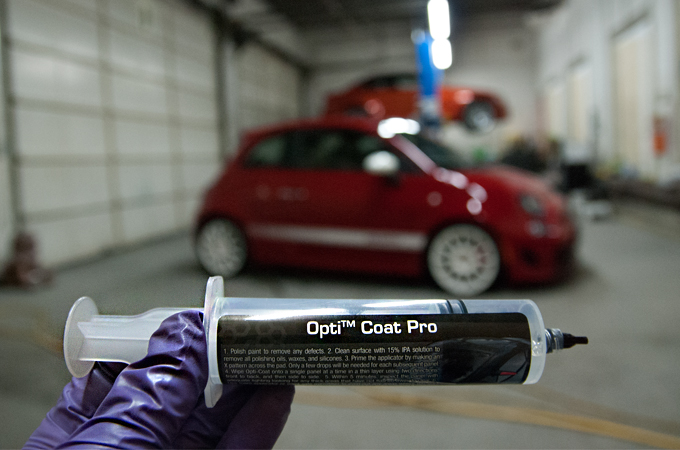
Opti Coat Pro
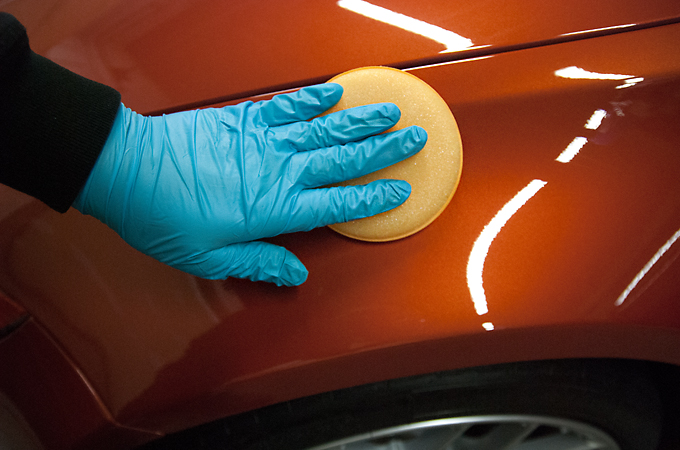
Applying by hand
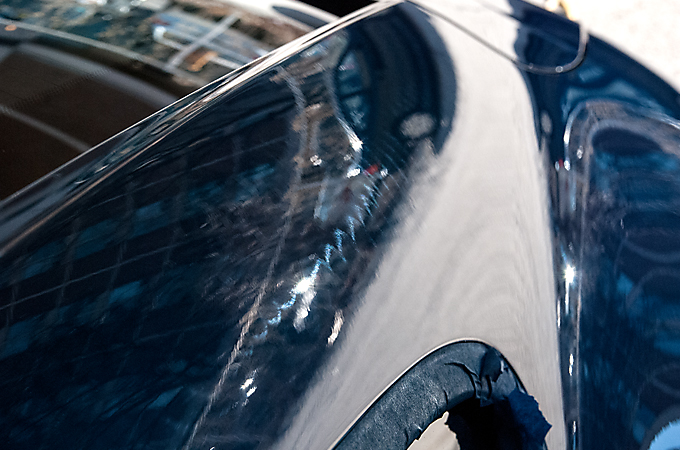
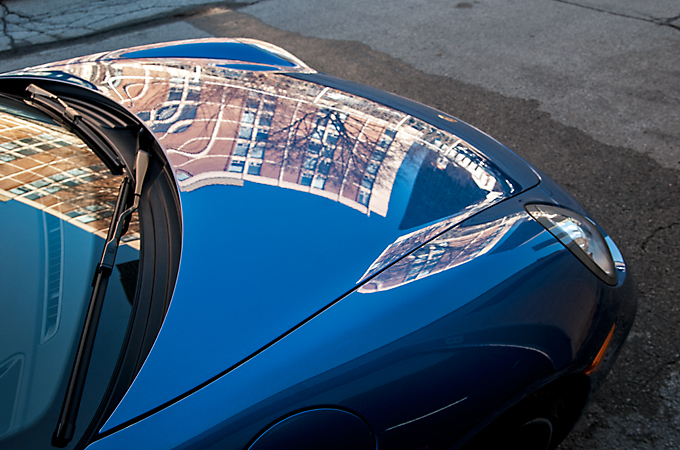
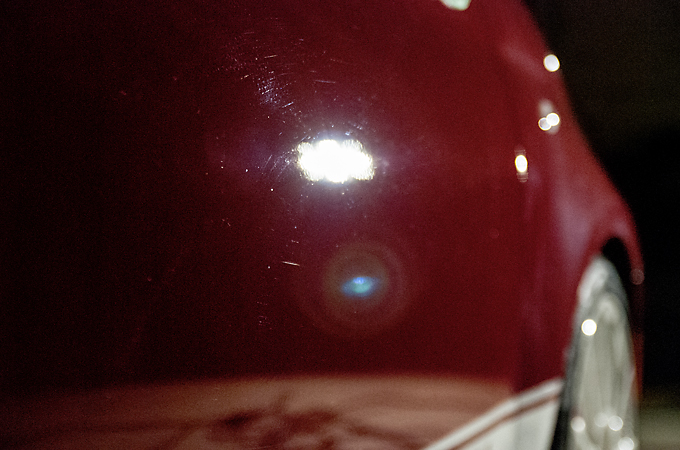
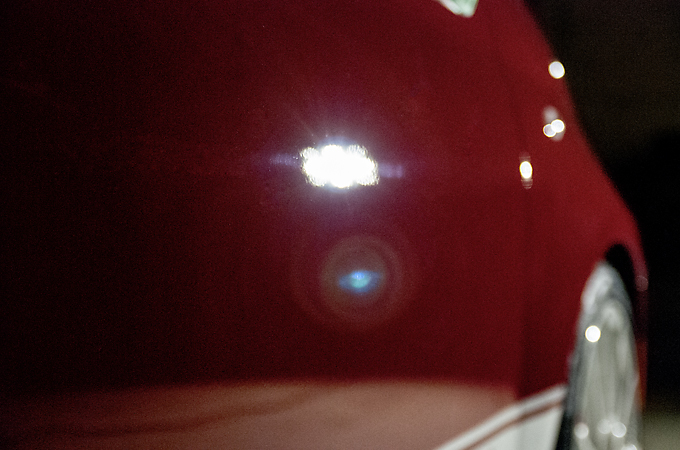
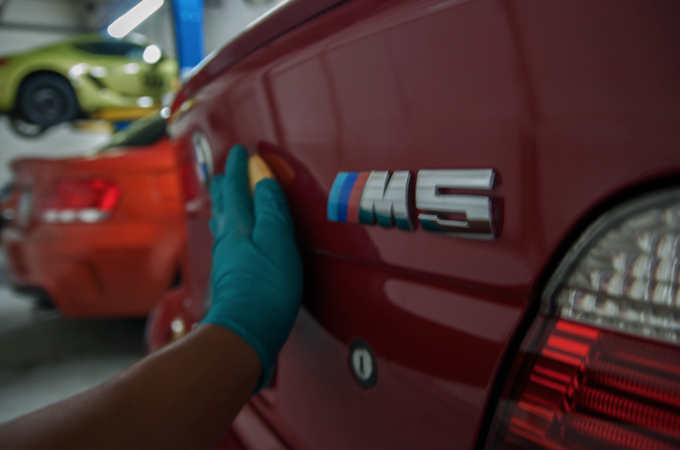
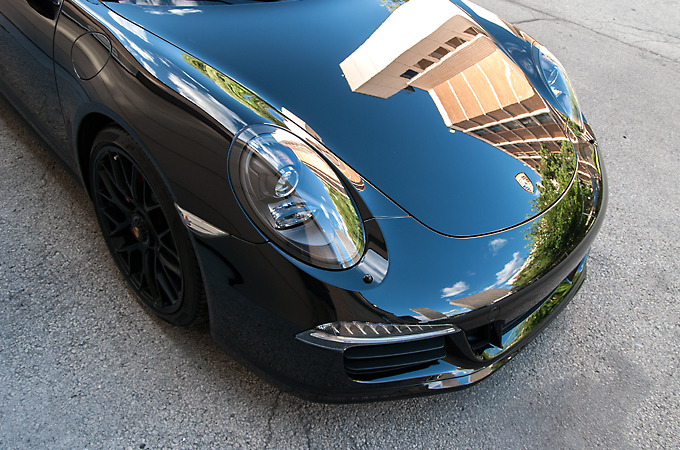
Finished pic and a beautiful reflection shot on the hood
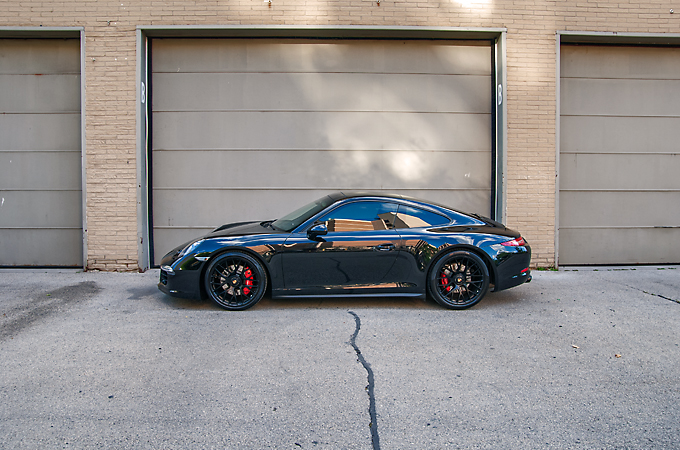
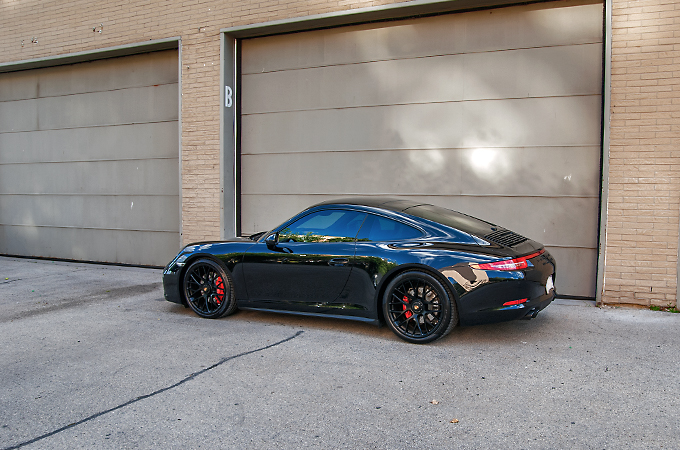
Finished pic of the whole car
Arrival
Masking off rubber trim so that the polishers wouldn't stain or damage the trim
This was the issue on the front bumper. It seemed as if someone was trying to rub off an adhesive but just ended up making things worse.
Before
After
Opti Coat Primer which is also a catalyst for the hardening of Opti Coat Pro
Applied via machine
Opti Coat Pro
Applying by hand
Finished pic and a beautiful reflection shot on the hood
Finished pic of the whole car
#43
10-16-2014, 09:16 PM
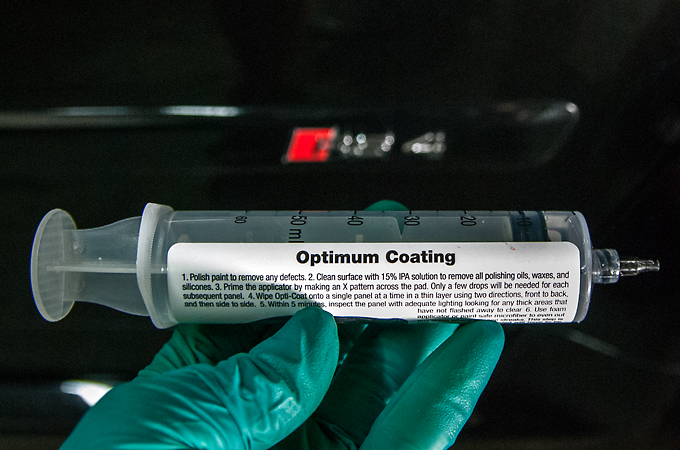
We received a call from a client who had just purchased this RS4 from the States. He had said that the dealership he bought it from had detailed it already but didn't do such a good job. He was looking to have a proper fresh start and had heard about our services. He came in first for an assessment, then booked a date and in it came for a 2 stage polish and then protected with Opti Coat Pro.
Arrival pic
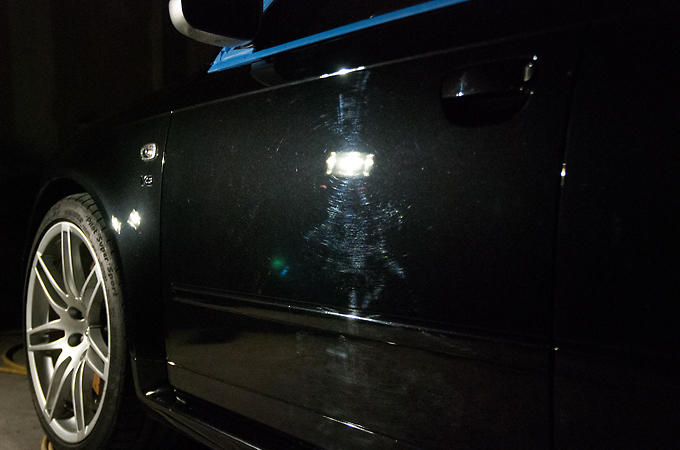
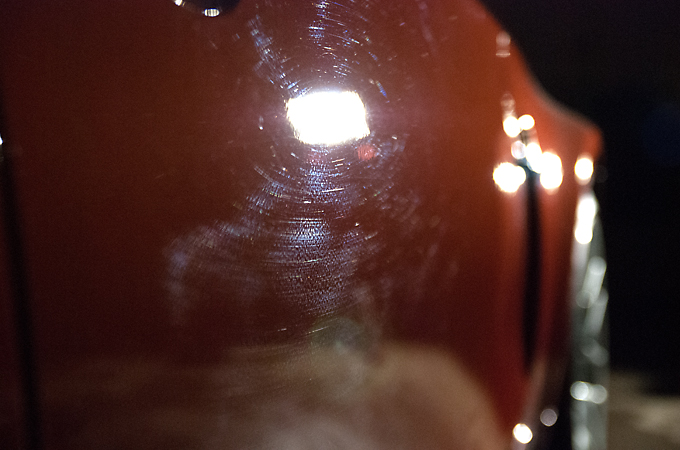
The hood and the entire car was covered in buffer trails from a bad polishing job
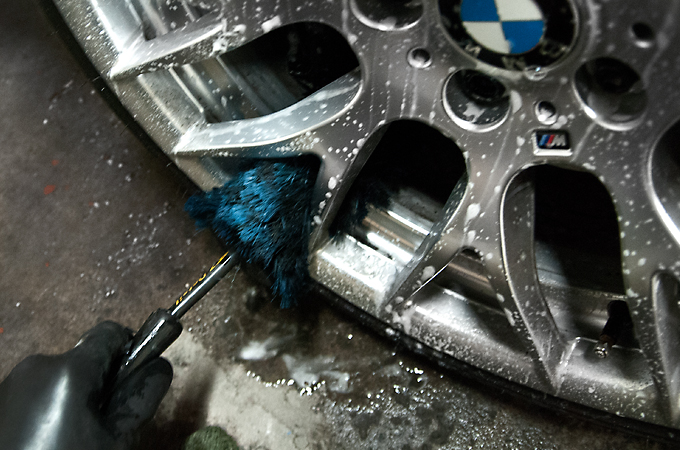
Cleaning the rims, calipers, and wheel wells
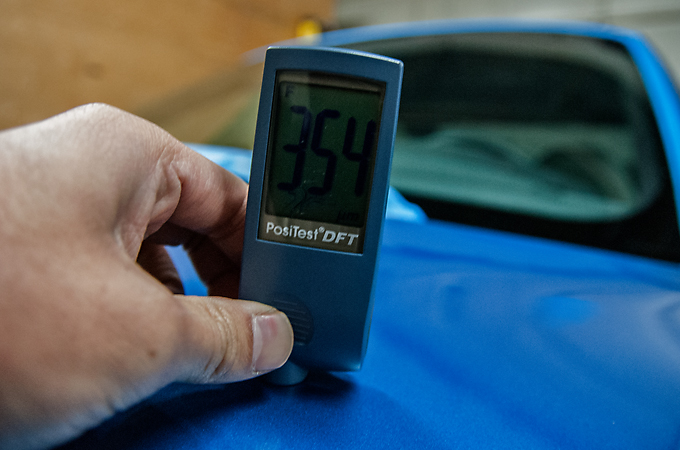
Measuring the paint
Before
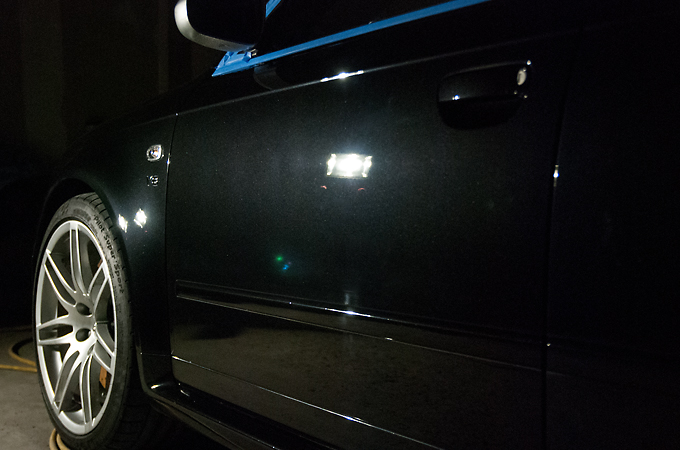
After
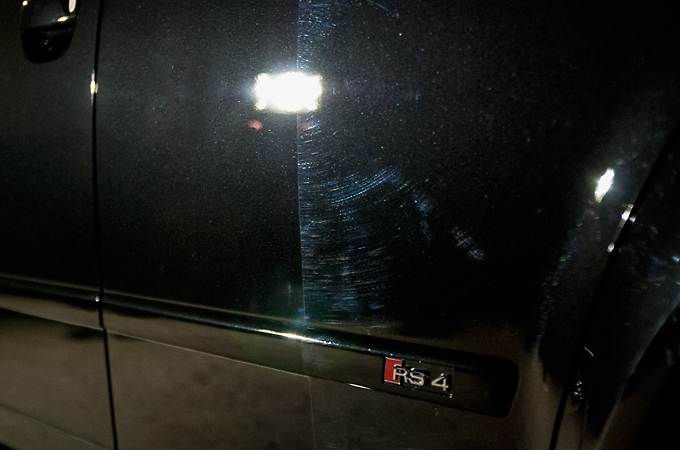
50/50 shot
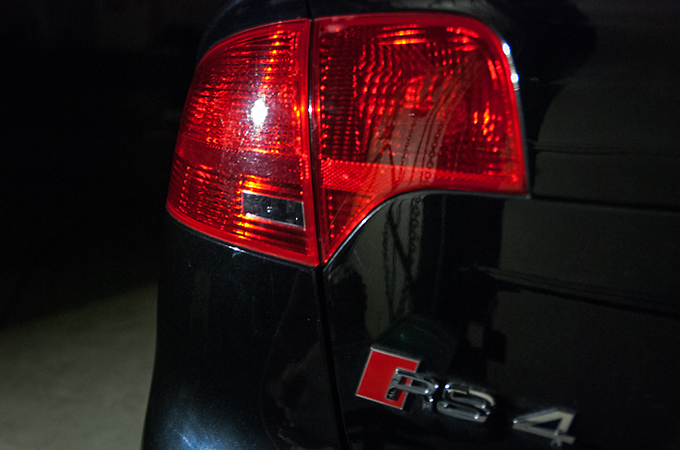
Before on the taillight
After on the taillight
Sun was peaking in the shop and give us a teaser of the gloss

Opti Coat Pro
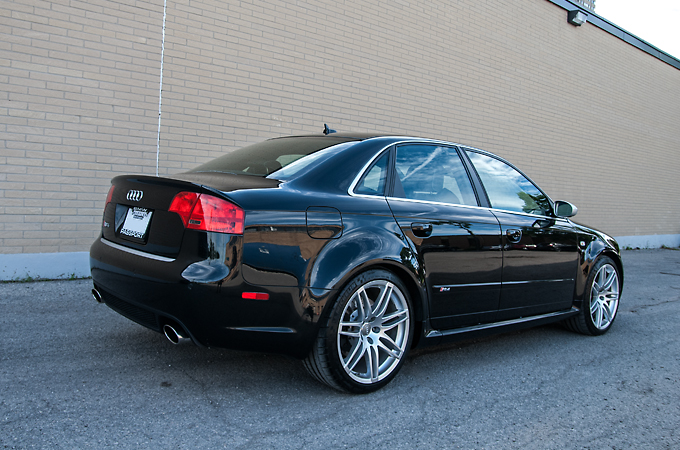
And the finished pics!
Arrival pic
The hood and the entire car was covered in buffer trails from a bad polishing job
Cleaning the rims, calipers, and wheel wells
Measuring the paint
Before
After
50/50 shot
Before on the taillight
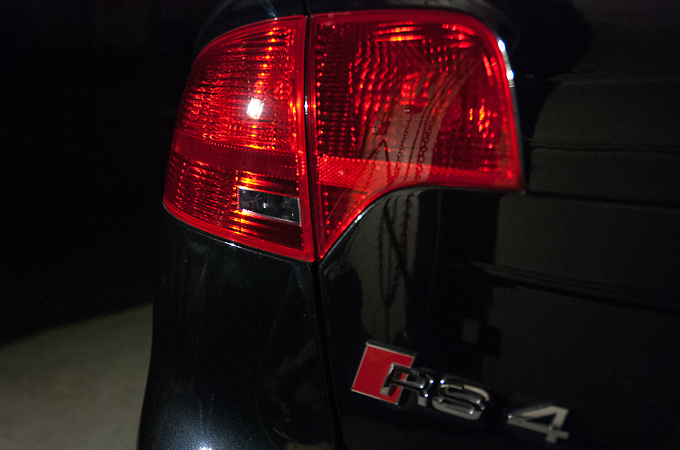
After on the taillight
Sun was peaking in the shop and give us a teaser of the gloss
Opti Coat Pro
And the finished pics!
#44
10-28-2014, 05:24 PM
Funny thing about this car is we had actually 2 stage polished it and protected it with Opti Coat Pro in the spring for the previous owner. Randomly by chance the new owner brought in his Cayenne diesel and mentioned he had bought this Scud and wanted to bring it in for another detail before storage. Lol small world and funny how things work out like that sometimes.
I didn't get pics the first time but definitely with it in again I had to get pics of it in the shop!
Arrival pics
Vacuum the carpets err floor
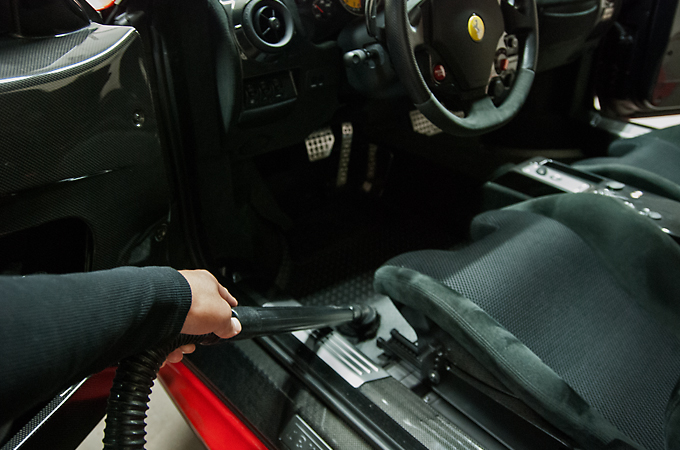

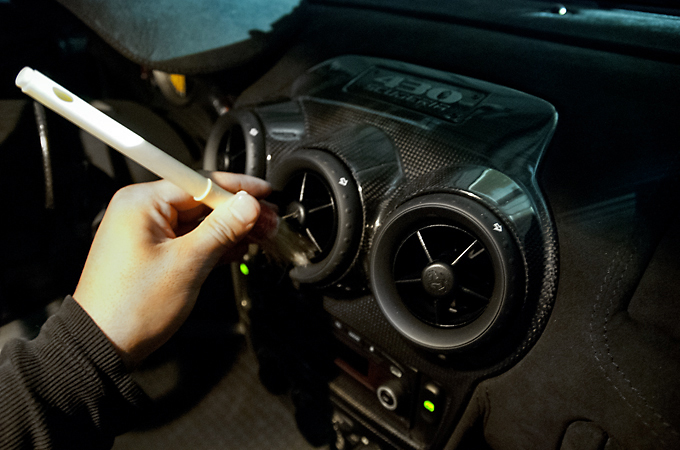
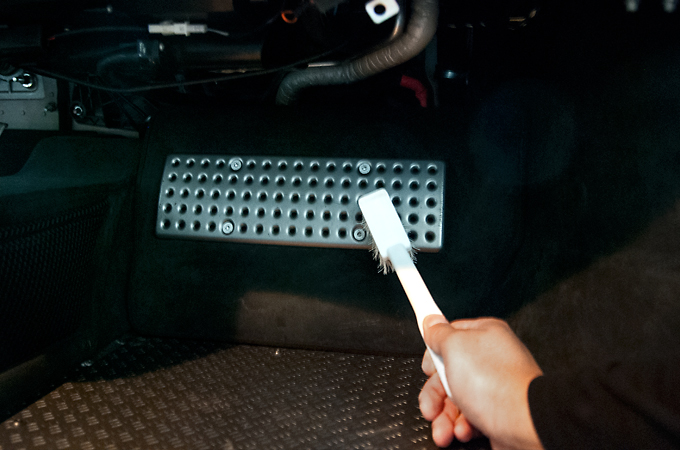
Dust out the crevices
I love this wheel
I really like this shot for some reason

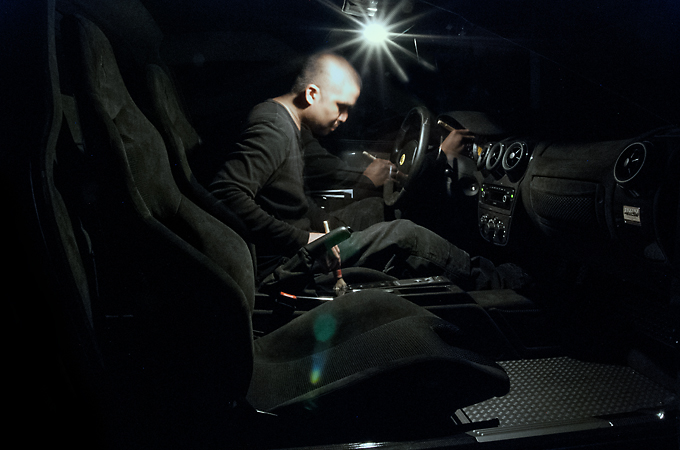
And me doing my Neo Matrix detailing shot
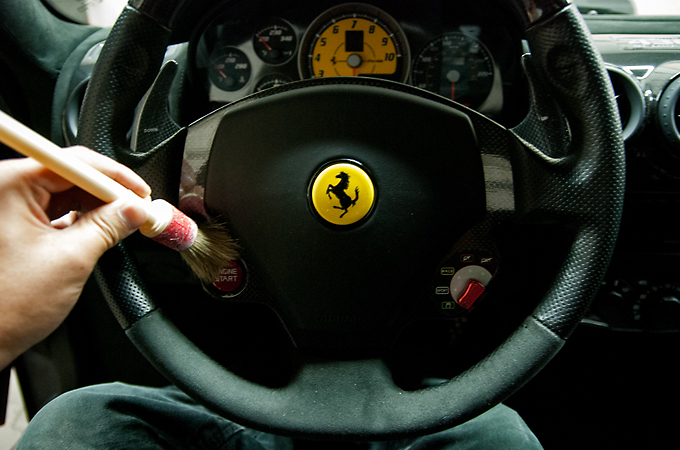
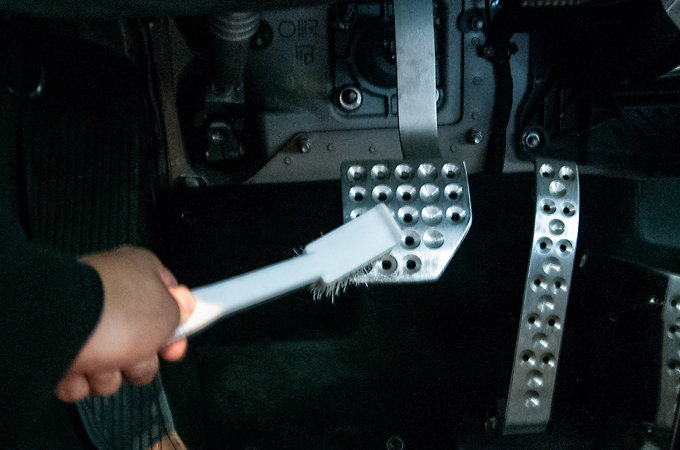
We cleaned the pedals
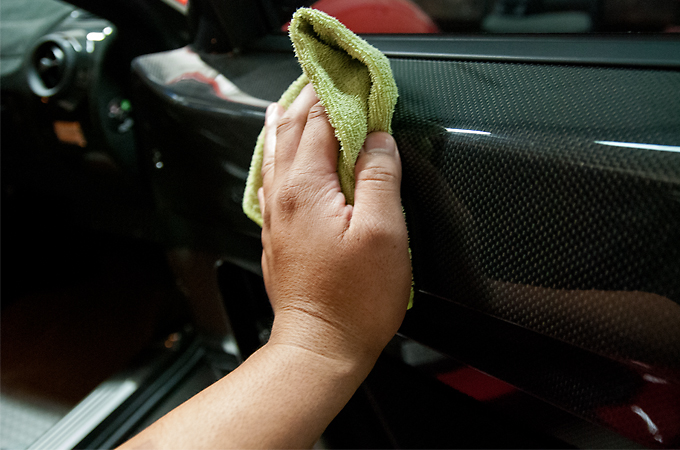
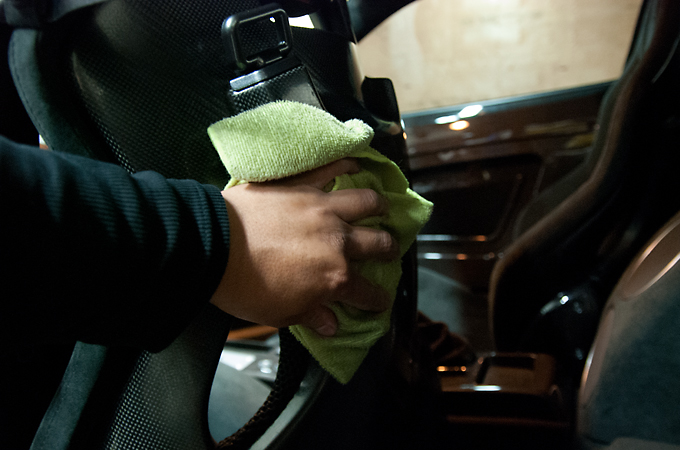
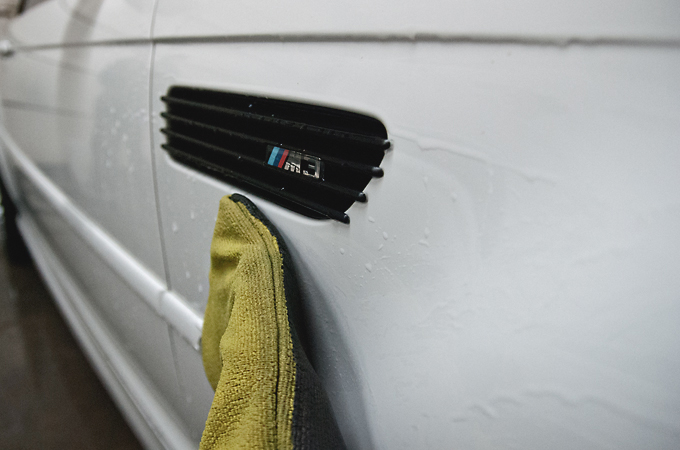
Then finally wiped everything down starting with the door
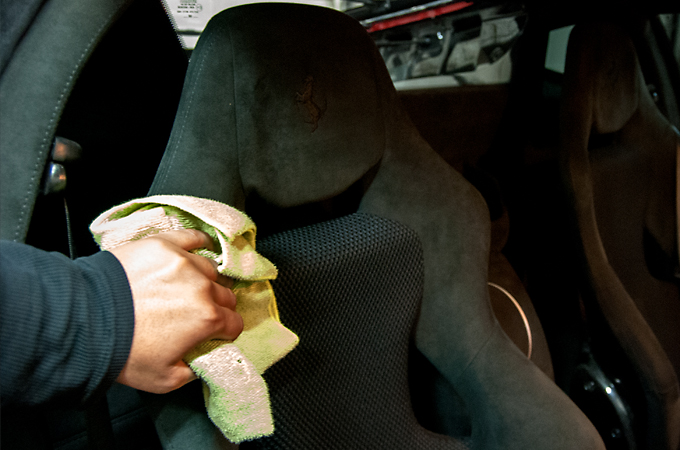
The seats
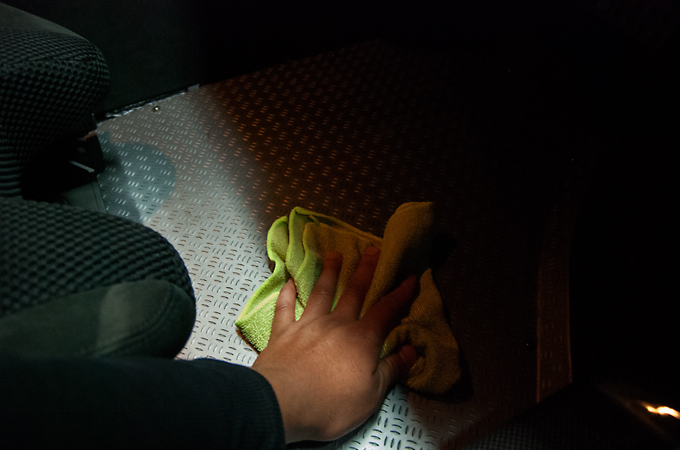
And finally, the floor
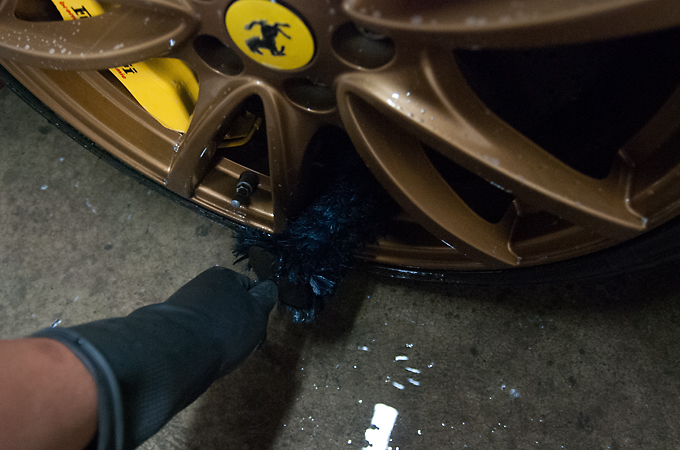
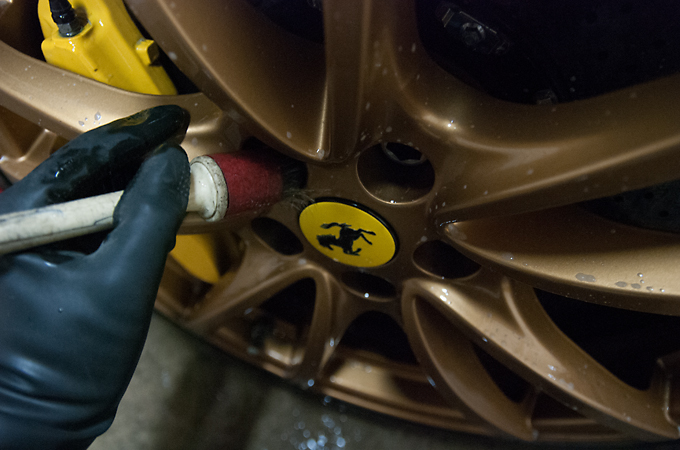
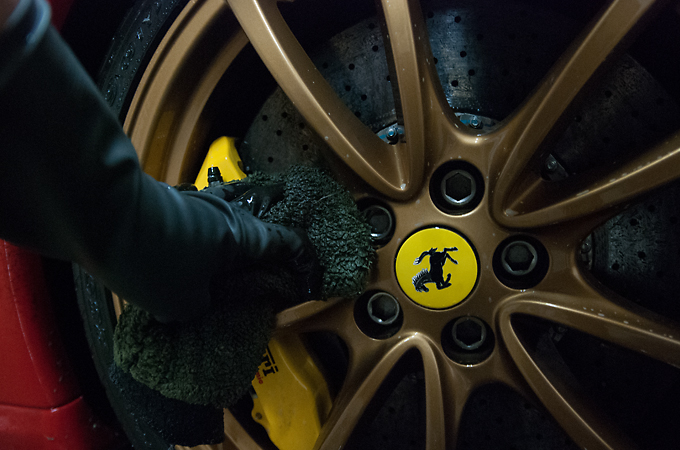
As usual the rims first on the exterior
I love this pic
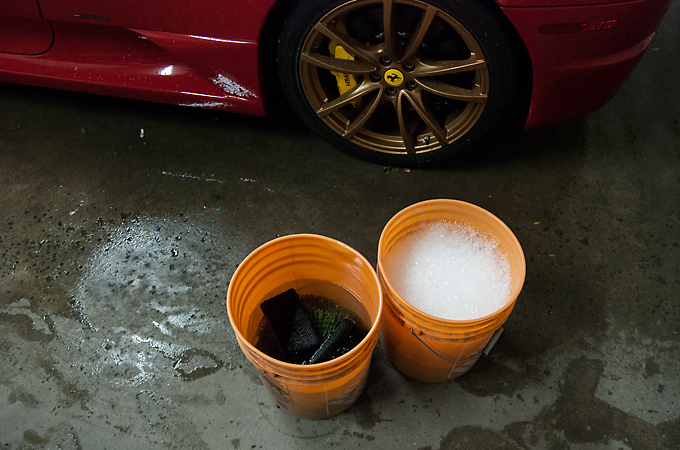
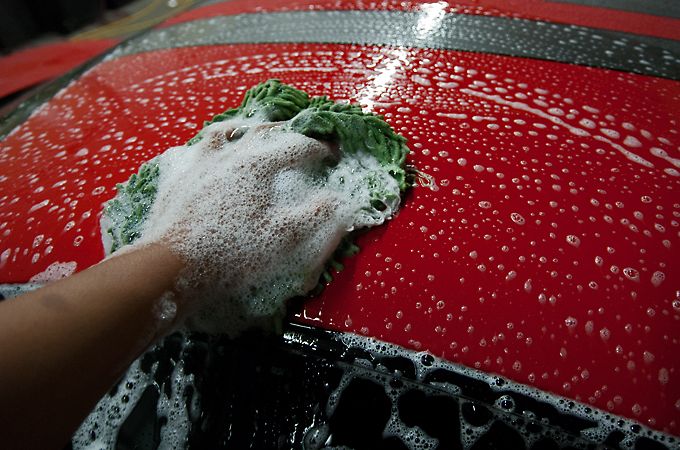
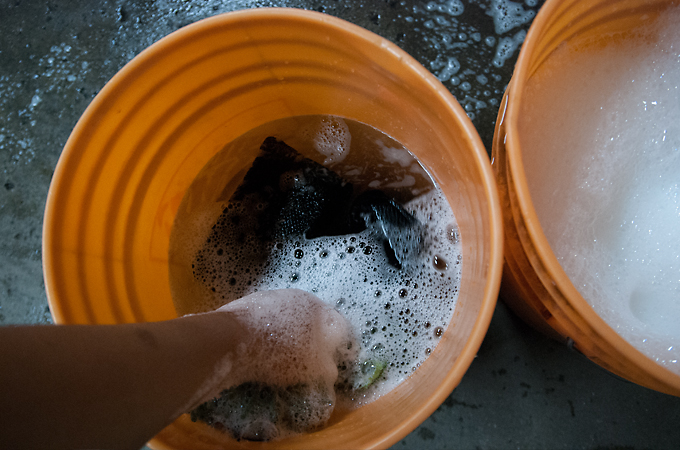
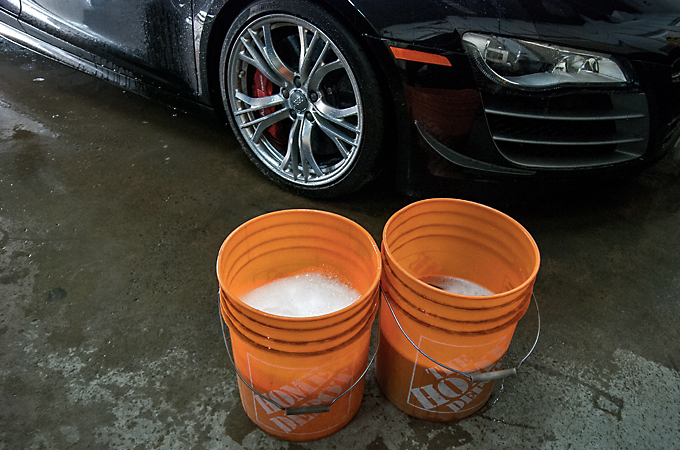
Always 2 Bucket Method when we wash
I just machine waxed the paint at a low speed, nothing interesting, but I tried to make it look interesting lol
Me, Myself, and I waxing
Clean the windows

Dress the tires
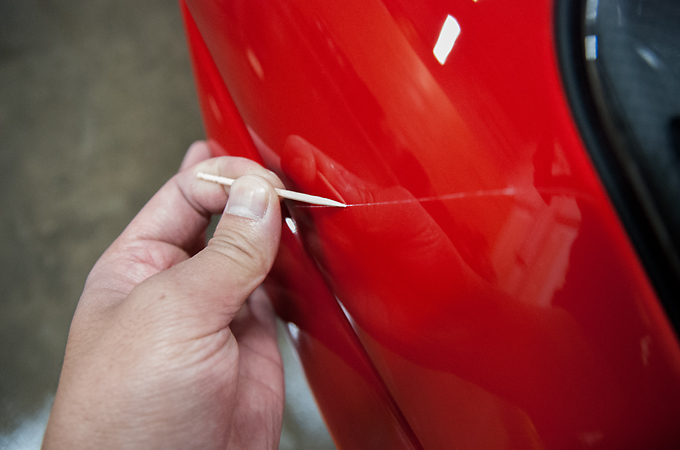
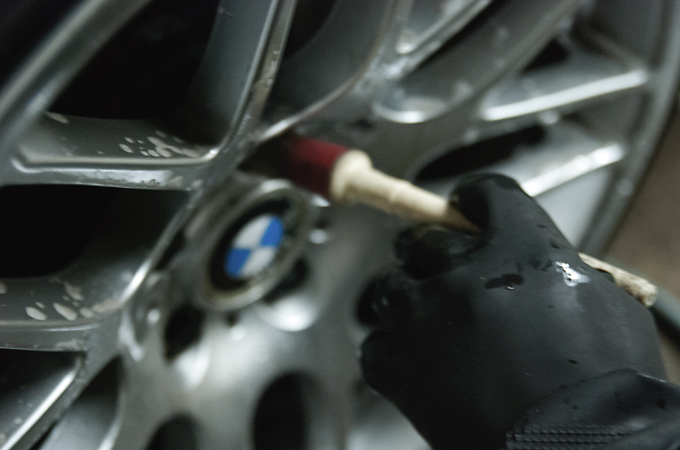
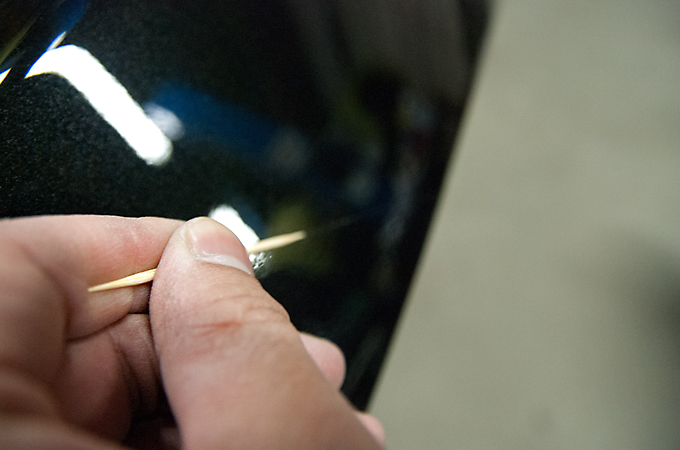
And last but not least, use a tooth pick to clean the wax out the crevices
And now, the finished pics
And finally, my last two favourite pictures
I didn't get pics the first time but definitely with it in again I had to get pics of it in the shop!
Arrival pics
Vacuum the carpets err floor
Dust out the crevices
I love this wheel
I really like this shot for some reason
And me doing my Neo Matrix detailing shot
We cleaned the pedals
Then finally wiped everything down starting with the door
The seats
And finally, the floor
As usual the rims first on the exterior
I love this pic
Always 2 Bucket Method when we wash
I just machine waxed the paint at a low speed, nothing interesting, but I tried to make it look interesting lol
Me, Myself, and I waxing
Clean the windows
Dress the tires
And last but not least, use a tooth pick to clean the wax out the crevices
And now, the finished pics
And finally, my last two favourite pictures
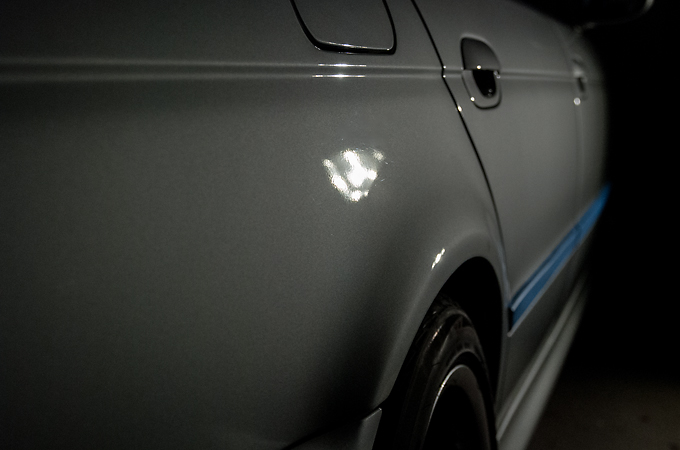
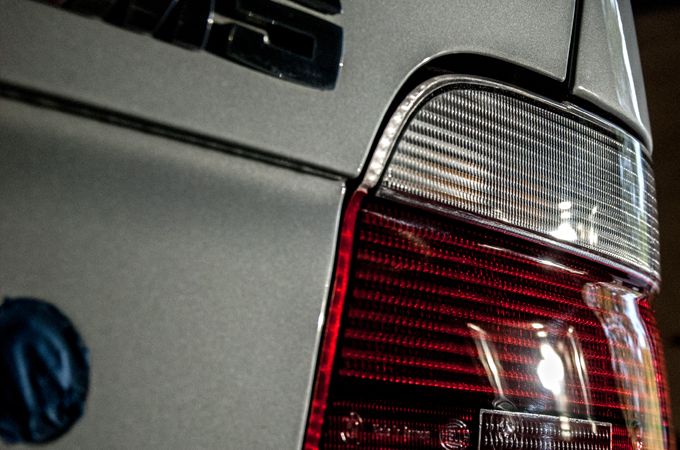
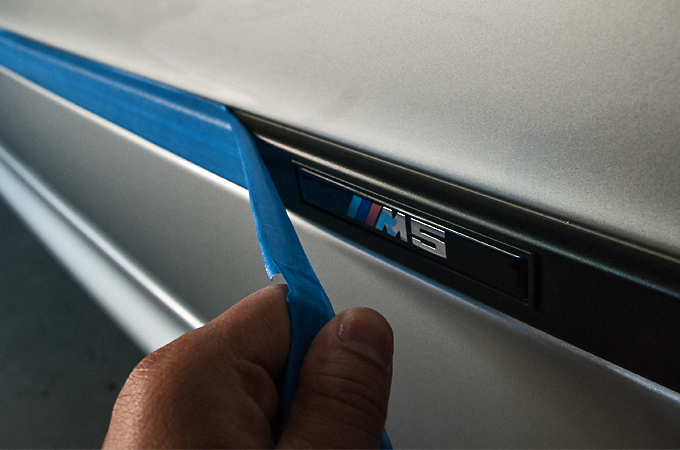
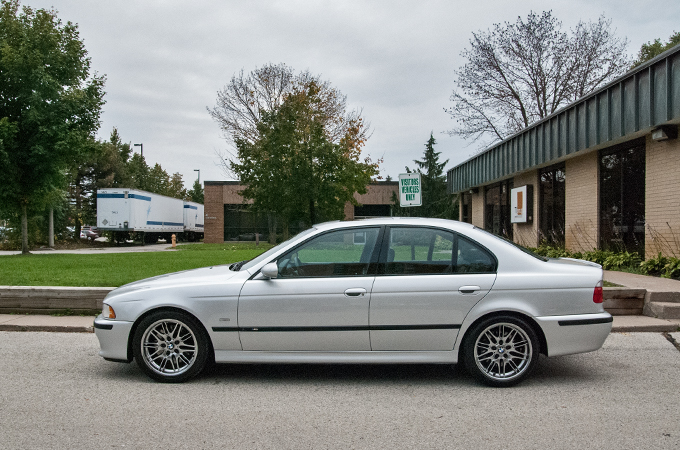
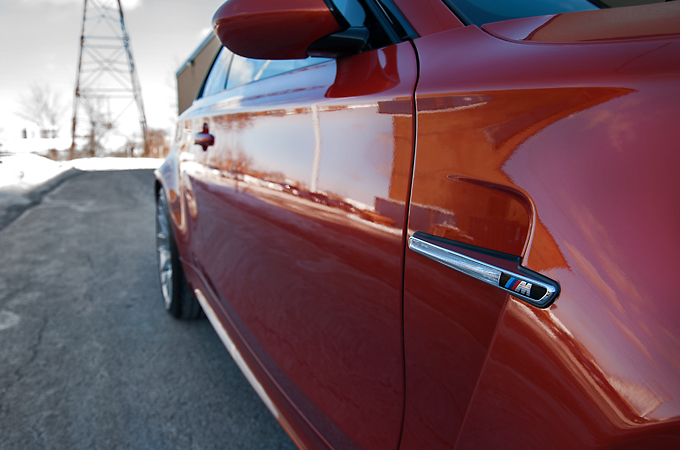
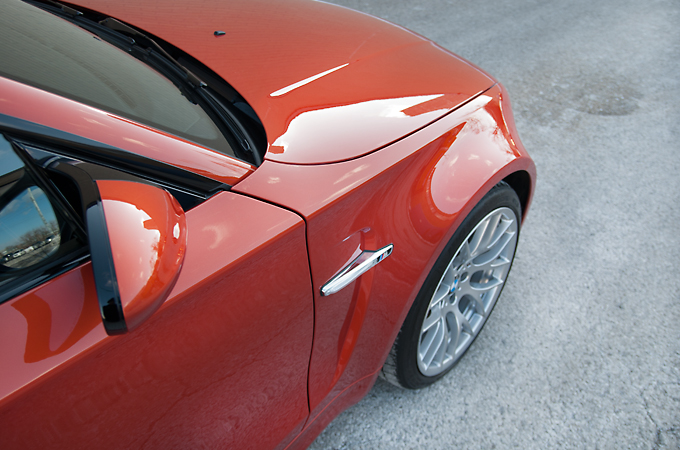
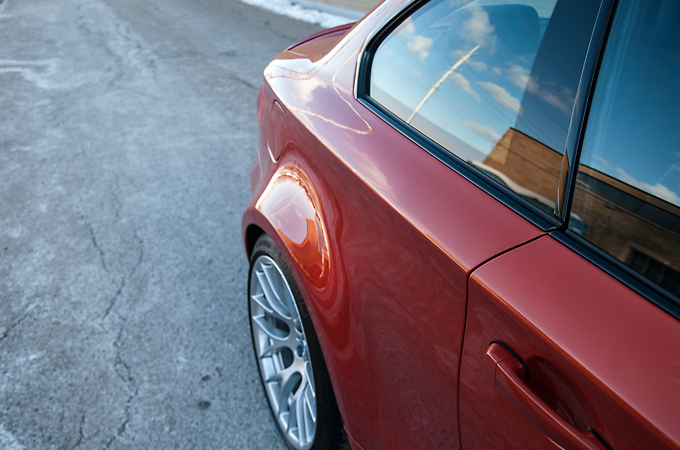
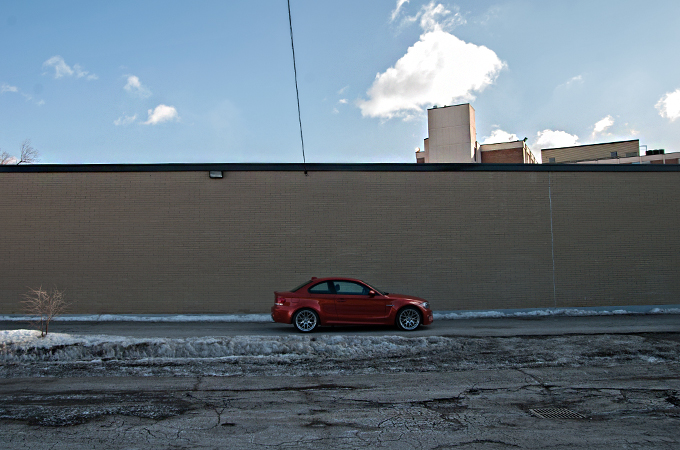
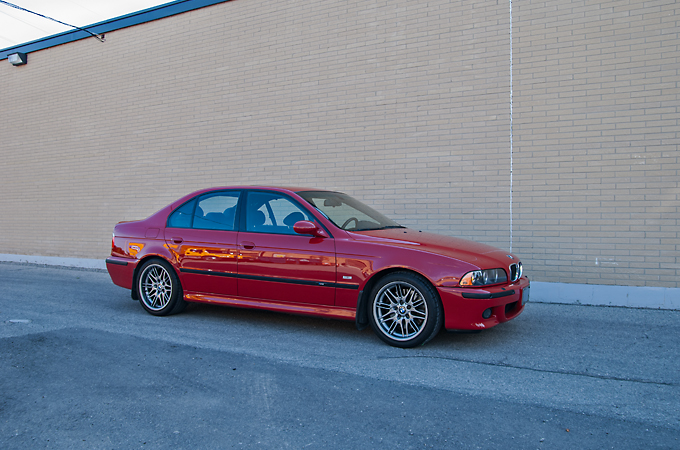
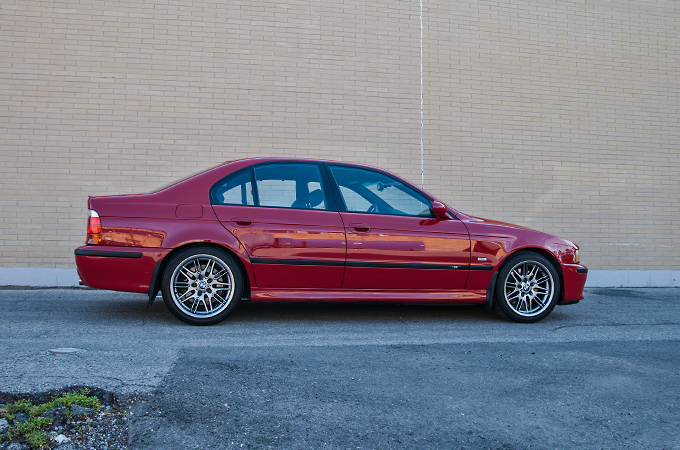
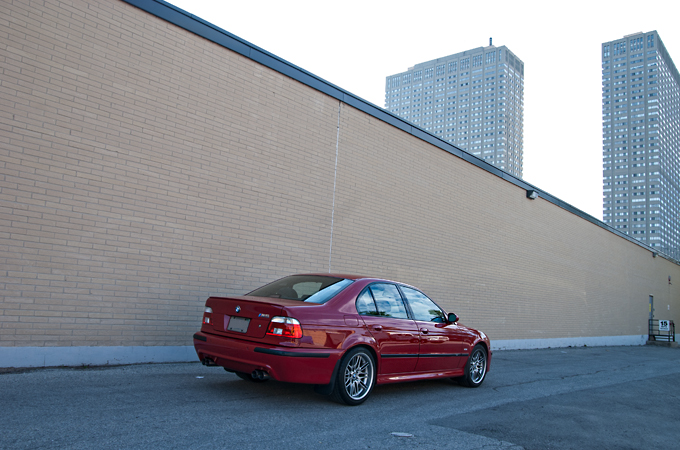
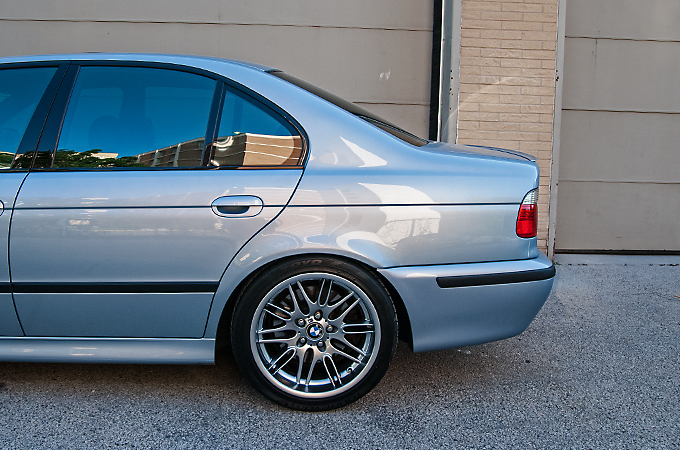
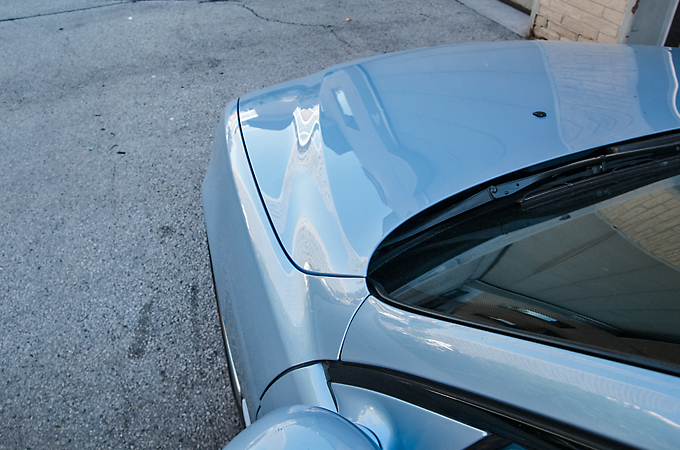
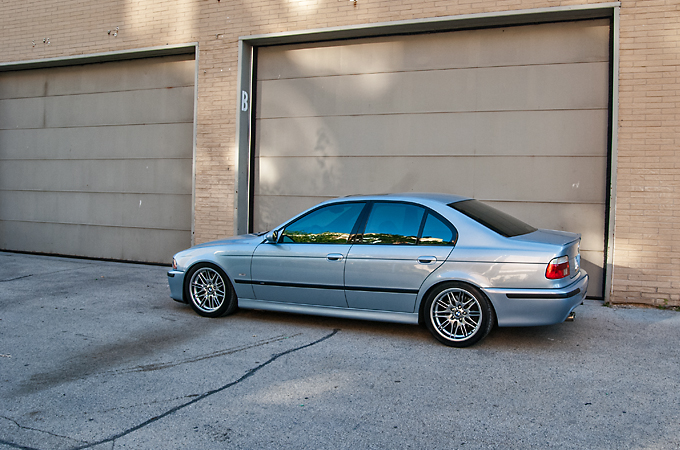
#45
11-10-2014, 04:46 PM
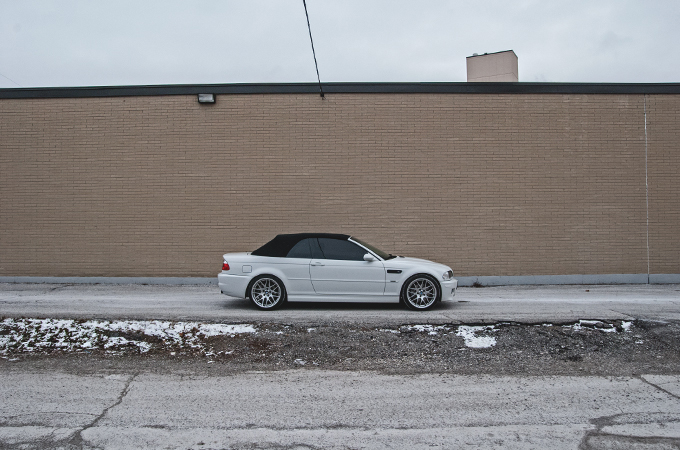
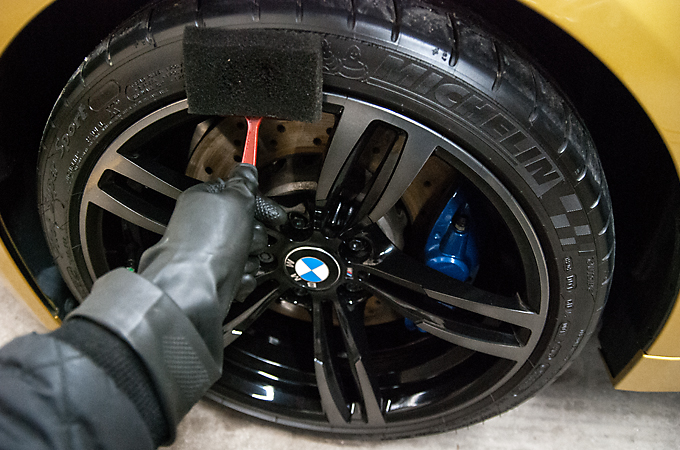
We had Opti Coated this client's BMW F31 and he had mentioned how he had lost a Dakar Yellow e46 M3 in a flood and was trying to figure out what to replace it with. I mentioned an e39 M5 and I guess that planted the seed in his head because a couple months later this low mileage M5 showed up lolol.
Sorry about the lack of after pics but due to the overcast I didn't really get any good shots.
Arrival
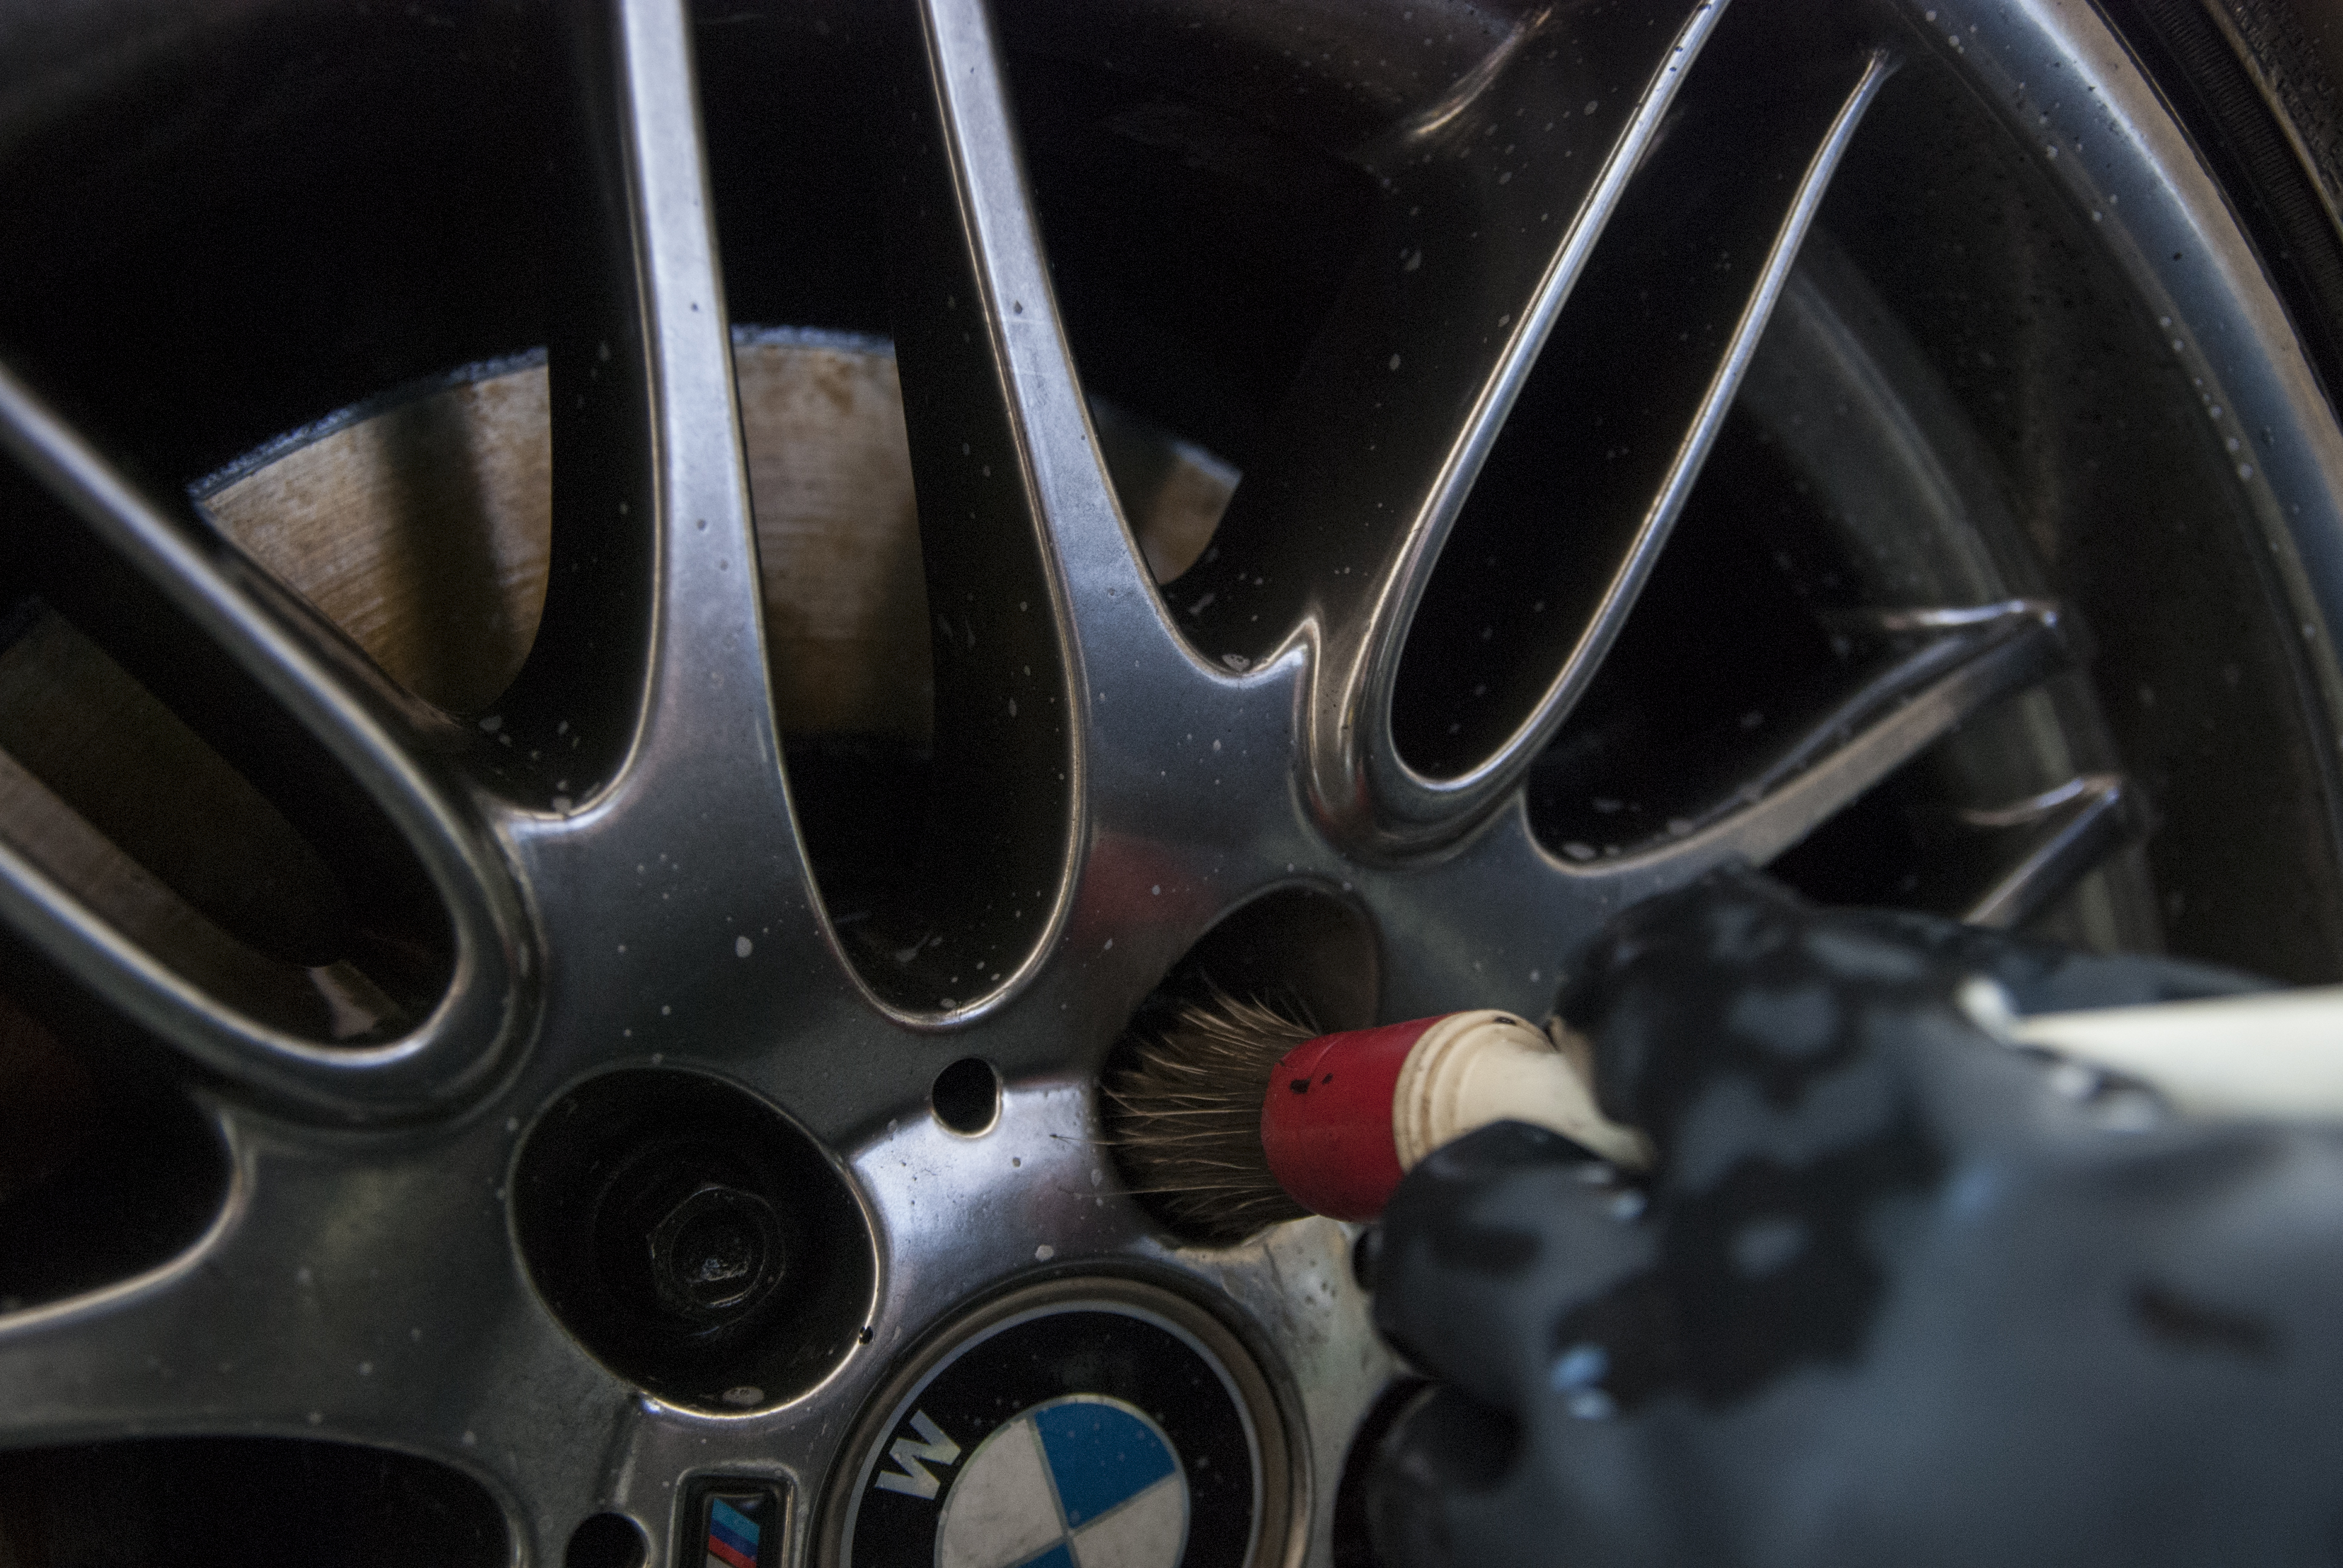
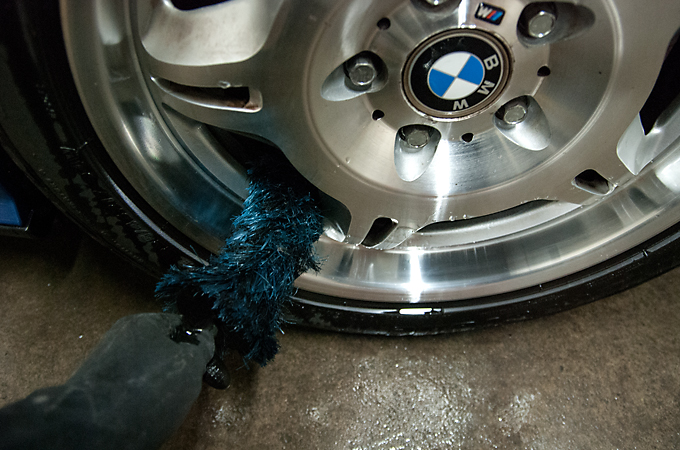
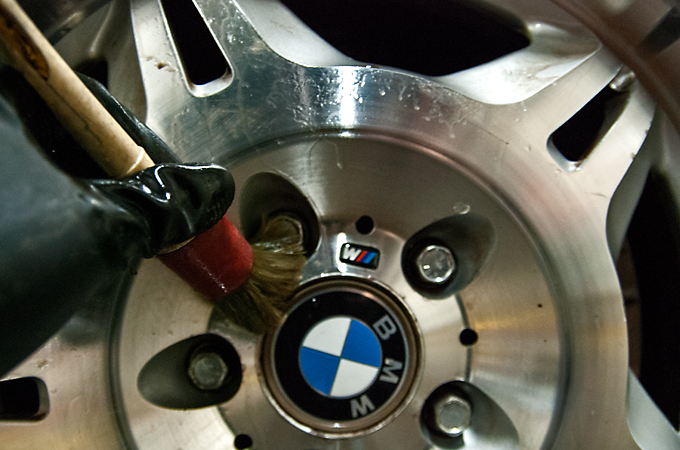
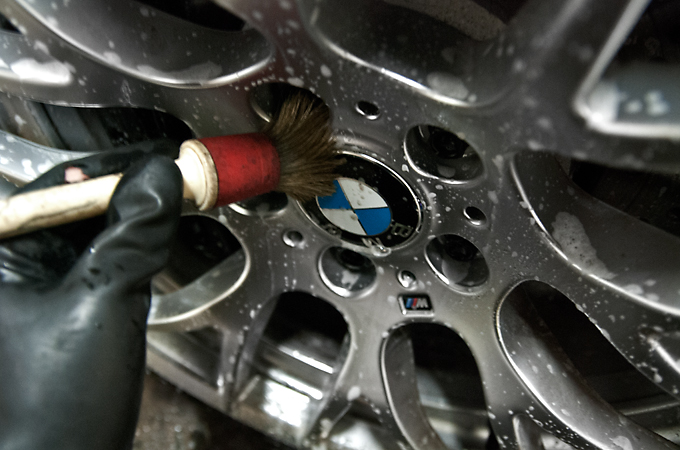
Cleaning the wheels, specifically the lugnut area
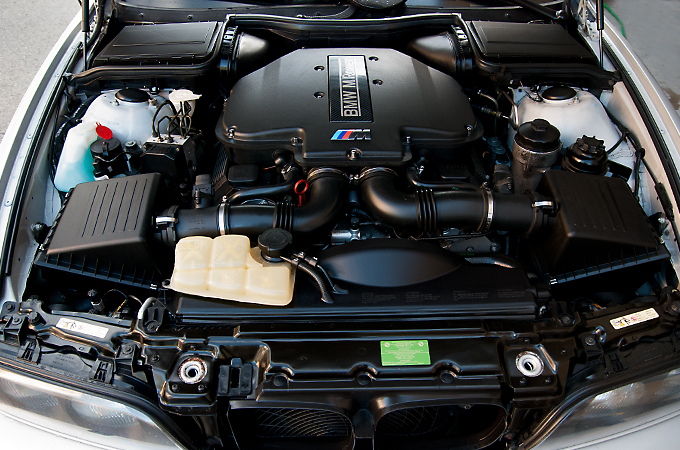
Engine shampooed and dressed
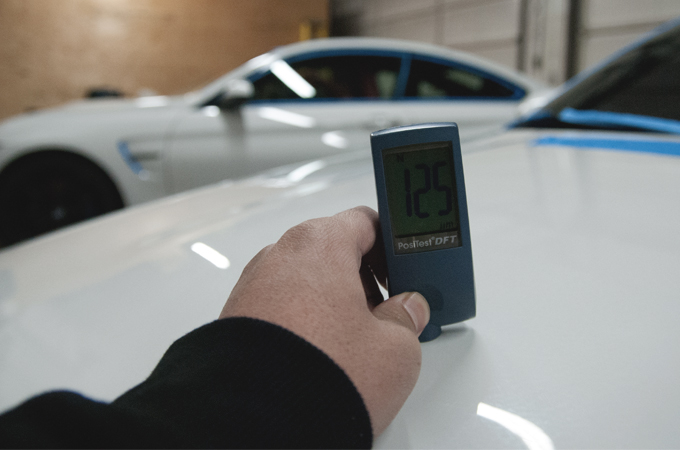
Paint measured
Before
After
Before
After

Before

After
Headlights and taillights were polished as well.
Before
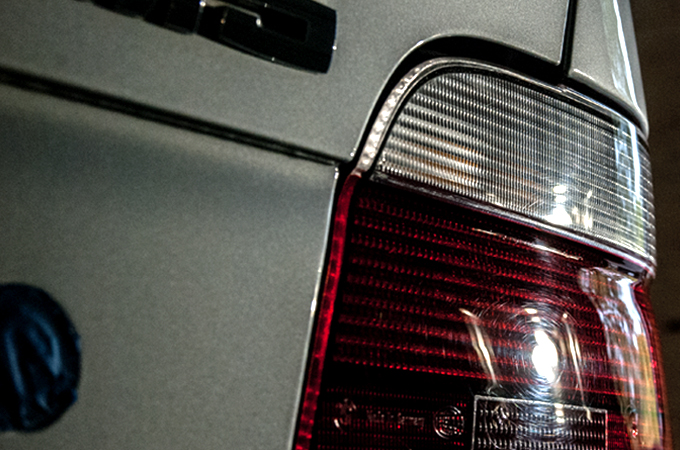
After
Unmasking the trim
And the only decent after pic
Thanks again for looking!
Sorry about the lack of after pics but due to the overcast I didn't really get any good shots.
Arrival
Cleaning the wheels, specifically the lugnut area
Engine shampooed and dressed
Paint measured
Before
After
Before
After
Before
After
Headlights and taillights were polished as well.
Before
After
Unmasking the trim
And the only decent after pic
Thanks again for looking!
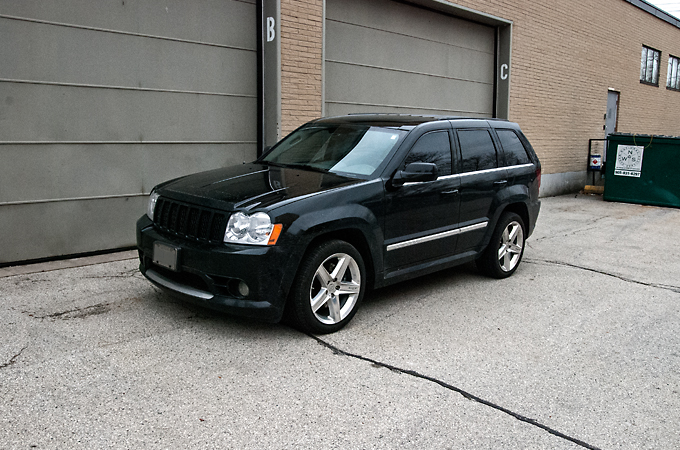
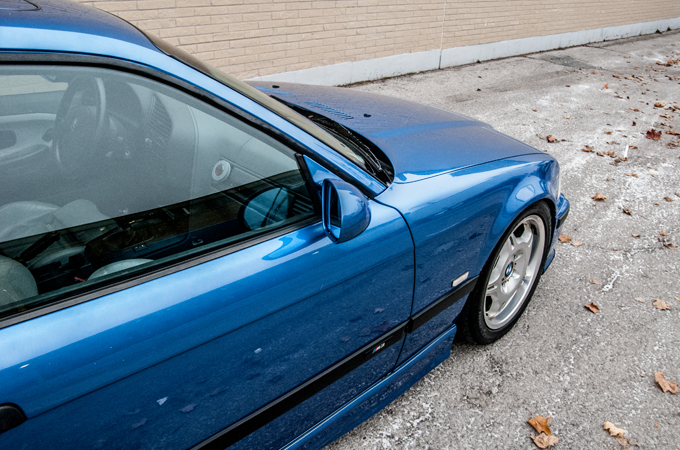
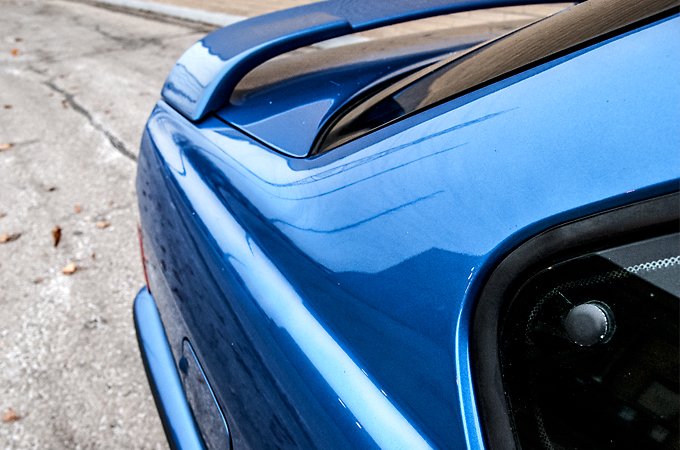
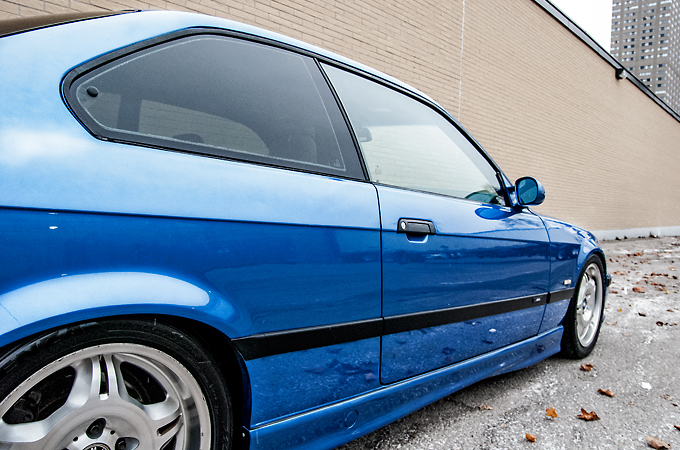
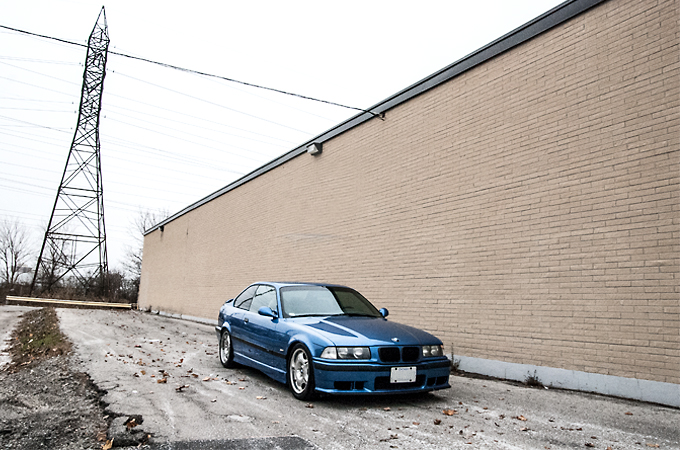
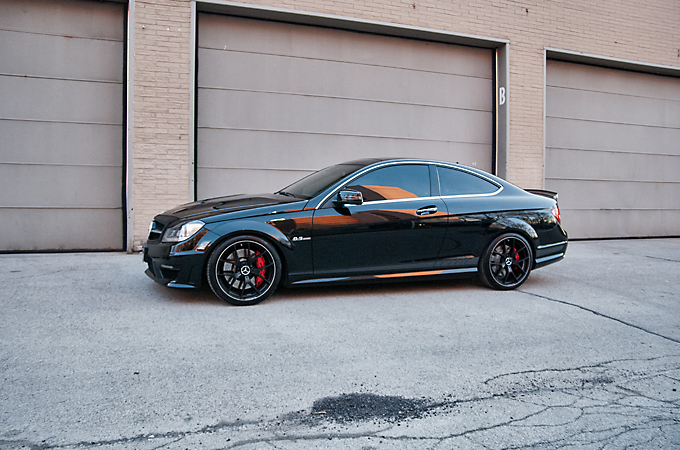
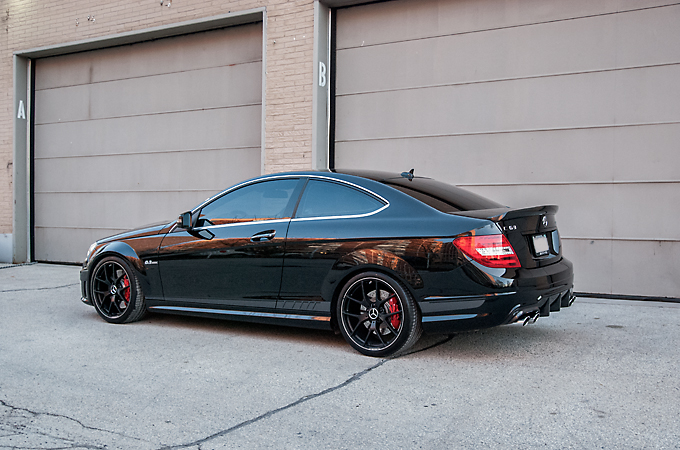
#46
11-24-2014, 09:42 AM
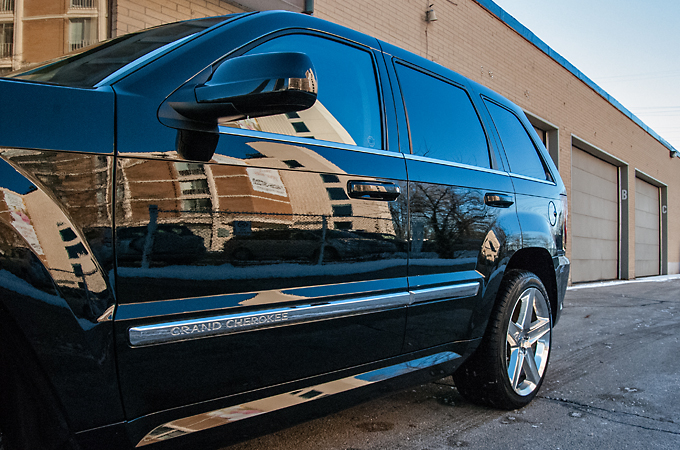
This client had just purchased this SRT8 and wanted to get a "fresh" start with it. He stopped by for an initial assessment and we concluded on a 2 stage polish. I tried to convince him on at least Opti Coat 2.0 or the new version Gloss Coat but in the end we just protected it with a sealant. All in all I was very happy with the out come and the pics. Hope you enjoy the transformation on this beast!
Arrival to the shop
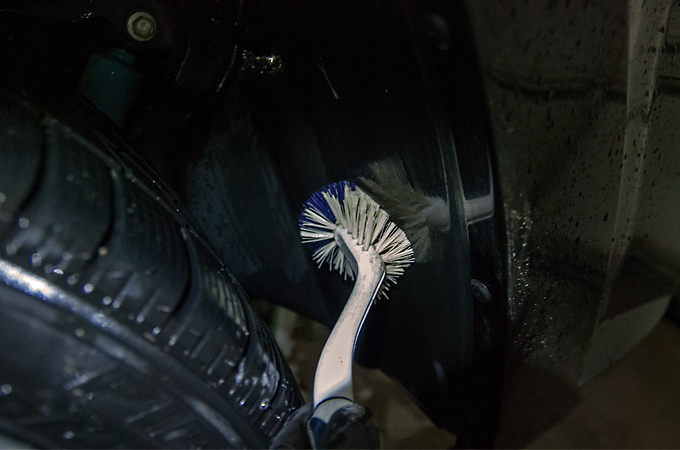
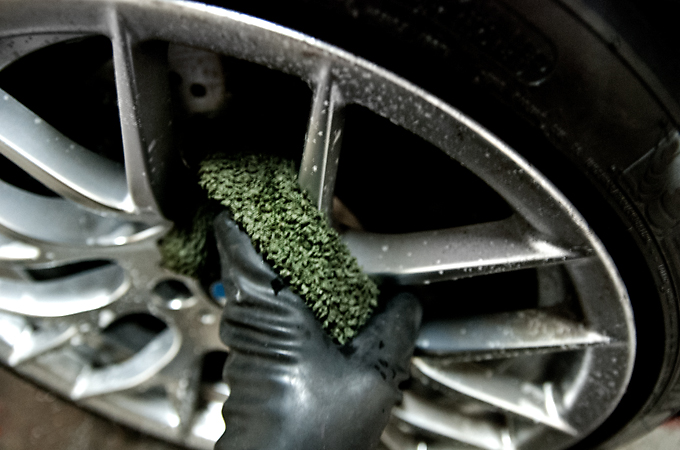
Started with the wheels as usual
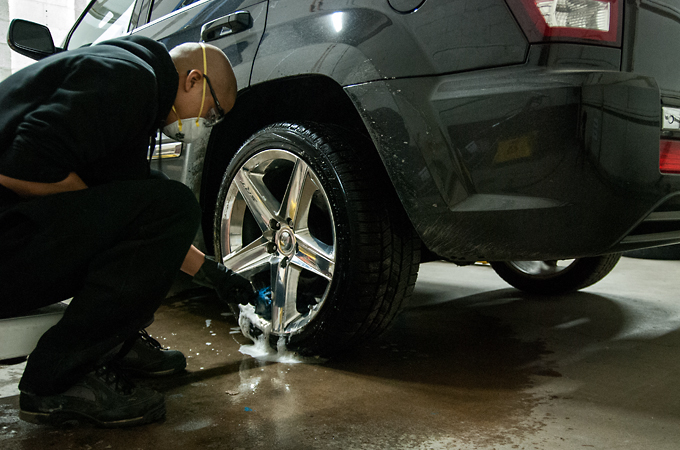
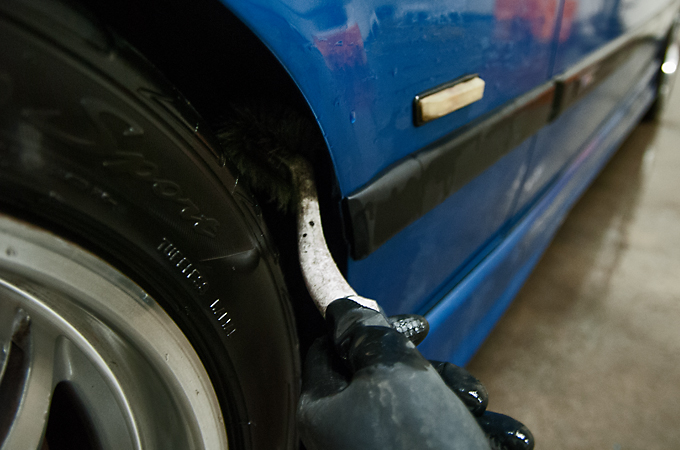
Cleaning the wheel well
Measuring the paint
Before
After
Before
After
Before
After

Even the chrome trim improved!
Before
After
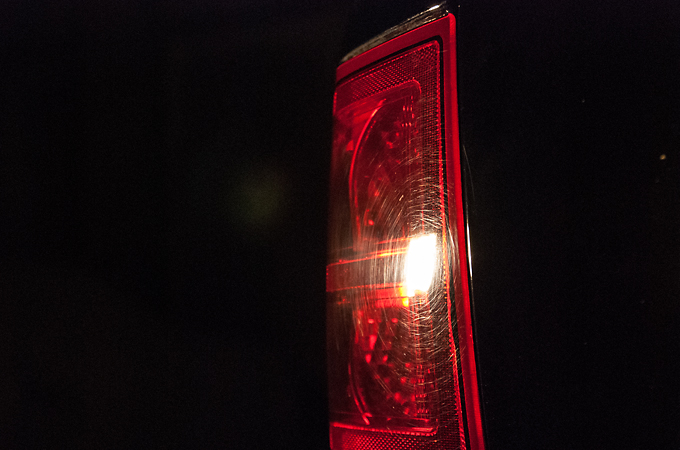
Taillights before
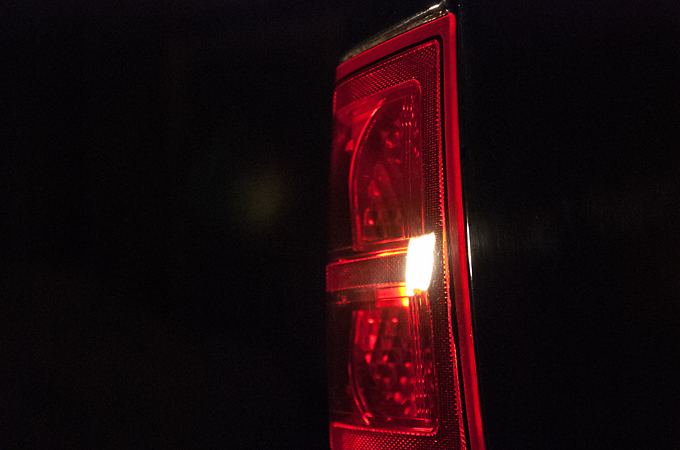
Taillights after
In the sun shot and no swirls
And the finished pics

Thanks for looking!
Arrival to the shop
Started with the wheels as usual
Cleaning the wheel well
Measuring the paint
Before
After
Before
After
Before
After
Even the chrome trim improved!
Before
After
Taillights before
Taillights after
In the sun shot and no swirls
And the finished pics
Thanks for looking!
#47
12-09-2014, 06:16 AM
This client was actually one of my first customers that I had lost contact with for a couple years, but found on Instagram. We exchanged numbers, setup a date, and into the shop it came. All I was told was to "work your magic" lol. This ended up being a 2 stage polish protected afterward with Gloss Coat, the replacement for Opti Coat 2.0, which I am very happy with. Easy to apply, very glossy, and feels pretty slick too! Did I mention I like Estoril Blue?
On arrival
Cleaning the inner barrel of the wheels
Wiping down the rim face with a microfibre mitt

Cleaning in the lugnut area
And cleaning in the wheel wells
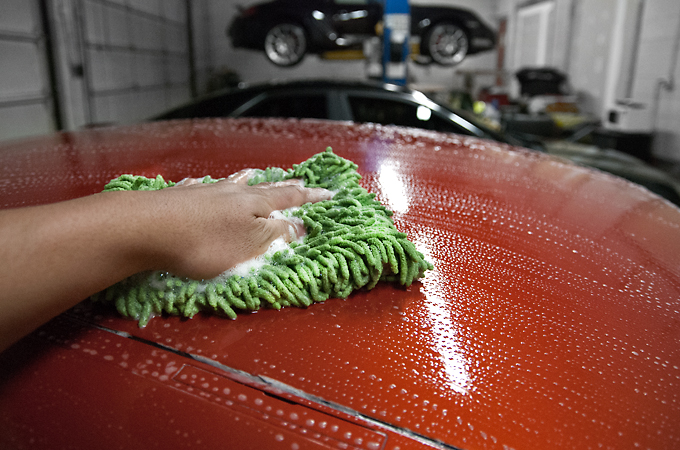
Washing always using the 2 Bucket Method
Claybarred the paint using the Nano Skin Mitt
And dried it with a plush microfibre towel

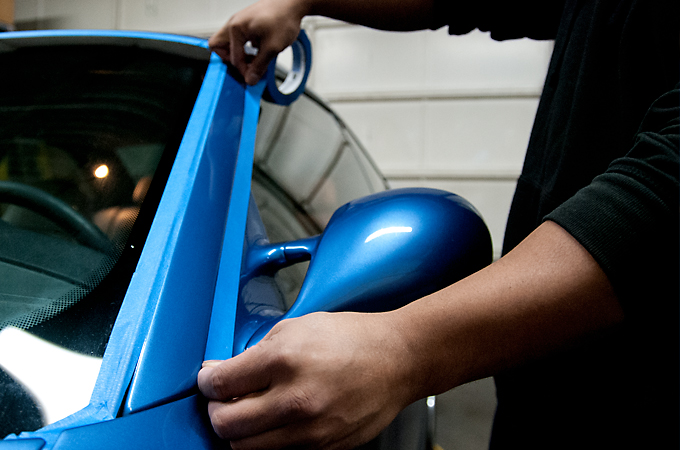
Masked off all rubber trim
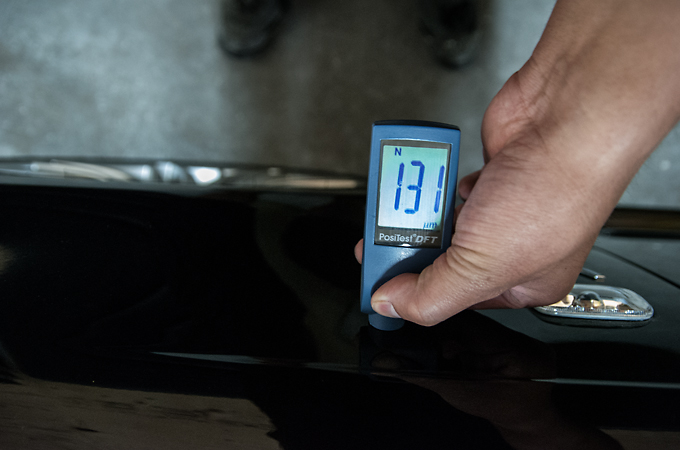
Taking paint measurements (note: The entire car had been repainted by Luxury in Etibocoke. The reason for such high paint readings)
Now the fun begins
Before
After
Before
After
Before
After
All in all I would say we got it to an 8.5-9 out of 10 minus the deeper scratches that couldn't be buffed out. All in all still very happy with the correction and shine achieved.
Unmasking the trim
Cleaning out the polish residue

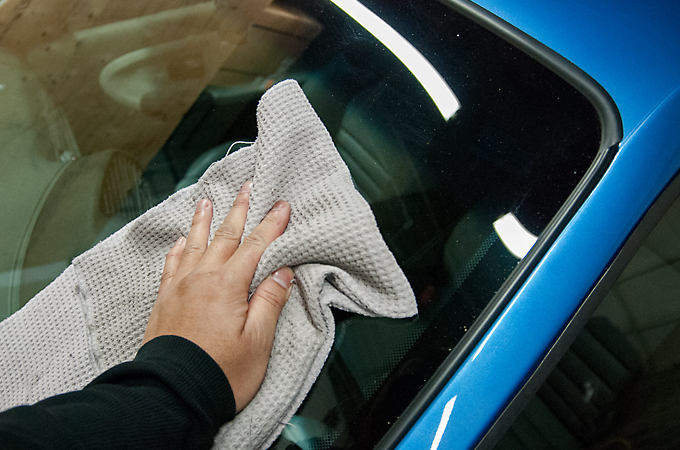
Cleaning the windows
And dressing the tires
And the star of the show, Opti Gloss Coat
Finally the finished product. Unfortunately no sun out, just light snow and autumn leaves.
This shot shows the gloss best and is one of my favorite pics of the set
And finally an artsy fartsy miami basel shot lol
Hope you enjoyed the transformation on this classic in a classic color!
Thanks
Wes
On arrival
Cleaning the inner barrel of the wheels
Wiping down the rim face with a microfibre mitt
Cleaning in the lugnut area
And cleaning in the wheel wells
Washing always using the 2 Bucket Method
Claybarred the paint using the Nano Skin Mitt
And dried it with a plush microfibre towel
Masked off all rubber trim
Taking paint measurements (note: The entire car had been repainted by Luxury in Etibocoke. The reason for such high paint readings)
Now the fun begins
Before
After
Before
After
Before
After
All in all I would say we got it to an 8.5-9 out of 10 minus the deeper scratches that couldn't be buffed out. All in all still very happy with the correction and shine achieved.
Unmasking the trim
Cleaning out the polish residue
Cleaning the windows
And dressing the tires
And the star of the show, Opti Gloss Coat
Finally the finished product. Unfortunately no sun out, just light snow and autumn leaves.
This shot shows the gloss best and is one of my favorite pics of the set
And finally an artsy fartsy miami basel shot lol
Hope you enjoyed the transformation on this classic in a classic color!
Thanks
Wes
#48
02-01-2015, 03:34 PM
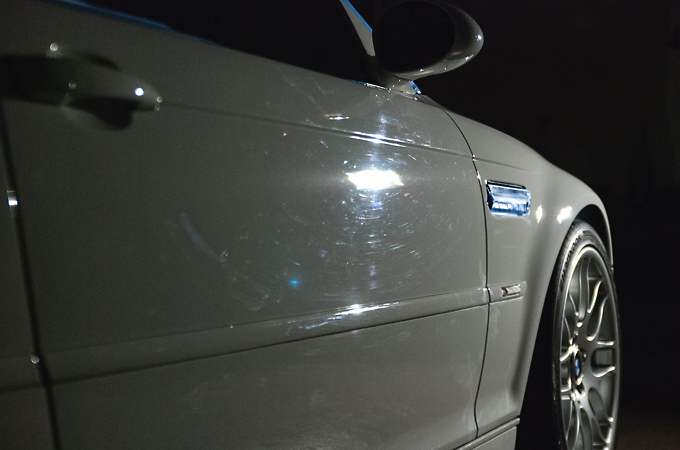
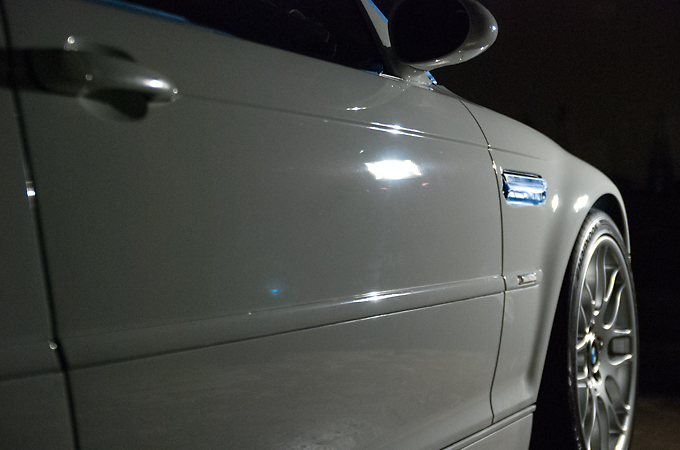
First Bimmer of the year and a long time customer. I've done his previous M3 as well.
Just a mini write up but I hope you still enjoy the pics none the less!
Arrival pic
Cleaning the wheels
Claybarring the paint
Measuring the paint
Before
After
50/50 shot
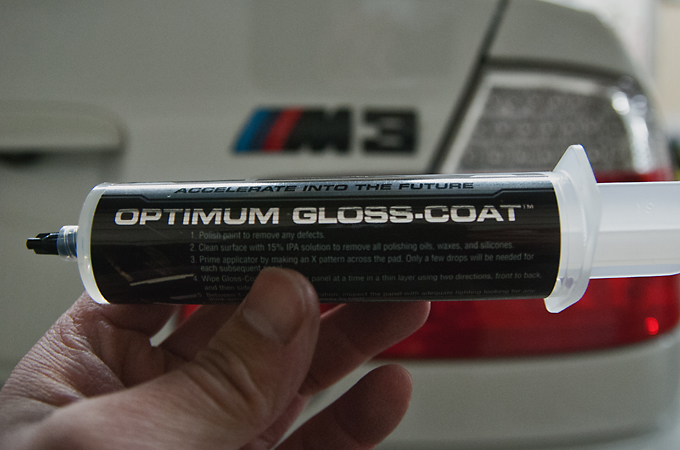
Opti Gloss Coat
And the finished pics
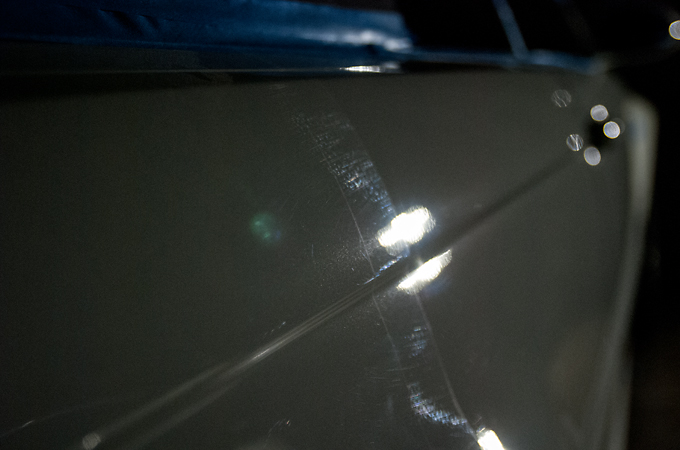
I love the gloss in this pic
Thanks!
Wes
Just a mini write up but I hope you still enjoy the pics none the less!
Arrival pic
Cleaning the wheels
Claybarring the paint
Measuring the paint
Before
After
50/50 shot
Opti Gloss Coat
And the finished pics
I love the gloss in this pic
Thanks!
Wes
#49
02-15-2015, 09:05 AM
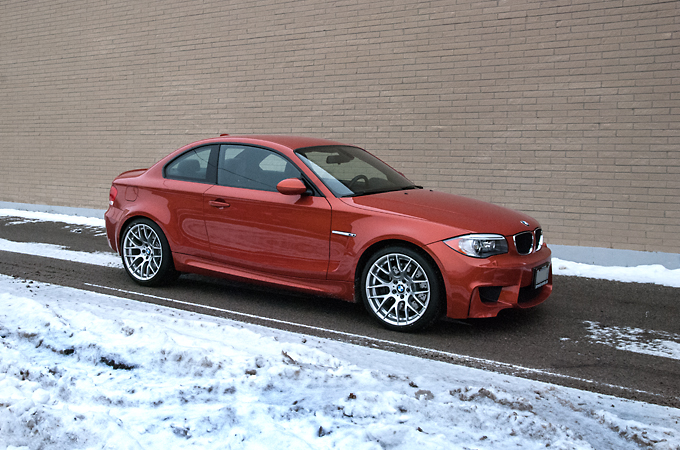
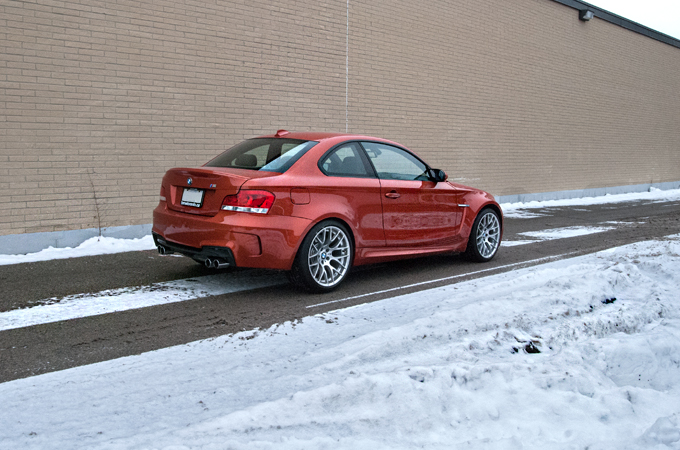
This 1M is actually owned by a very good friend who had his eye on it for a couple months in the BMW Toronto showroom. I didn't think he was going to pull the trigger but surprisingly he did and in it came just before Christmas. I took my time with this one as I wanted it perfect and as shiny as it could be. Hopefully the detail added to the value hahaha.
Arrival pics

Always start with the rims before the wash
Using a brush to clean inside the lugnut area
Microfiber mitt to clean the rim face
Washing with a microfiber chenille mitt and always doing the 2 Bucket Method
Taking paint measurements to see how thick the paint is as well as to long out for any repaints or thin areas to be weary of
After taking measurements as well as masking off the rubber trim we can start the first stage of polishing
Before
After
Before
After

Before
After
Before
After

And a 50/50 shot
After the second stage of polishing we unmasked the trim
And cleaned the polishing dust out of the jambs

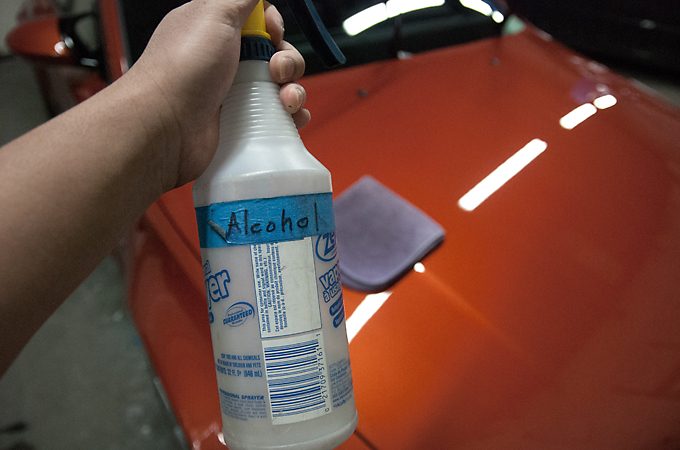
Afterwards gave the paint an alcohol wipe down to clean off the polishing oils
Applied Opti Coat Primer
Then Opti Coat Pro
Finally the cherry on top
Before
After
I got a few good finished pics but not to many as it was FREEZING!

Hope you enjoyed the write up!
Thanks,
Wes
Arrival pics
Always start with the rims before the wash
Using a brush to clean inside the lugnut area
Microfiber mitt to clean the rim face
Washing with a microfiber chenille mitt and always doing the 2 Bucket Method
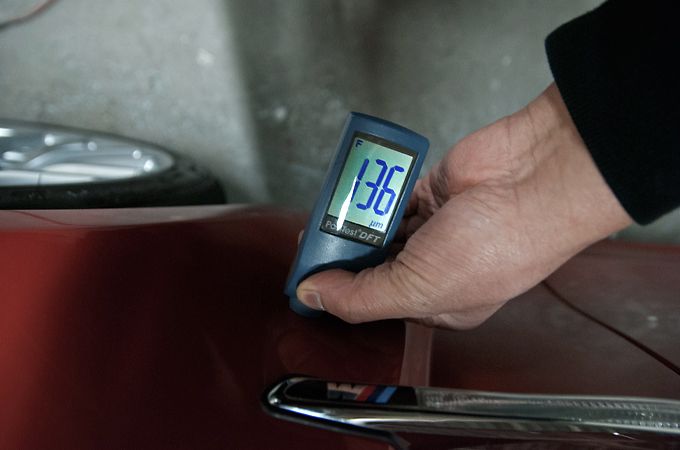
Taking paint measurements to see how thick the paint is as well as to long out for any repaints or thin areas to be weary of
After taking measurements as well as masking off the rubber trim we can start the first stage of polishing
Before
After
Before
After
Before
After
Before
After
And a 50/50 shot
After the second stage of polishing we unmasked the trim
And cleaned the polishing dust out of the jambs
Afterwards gave the paint an alcohol wipe down to clean off the polishing oils
Applied Opti Coat Primer
Then Opti Coat Pro
Finally the cherry on top
Before
After
I got a few good finished pics but not to many as it was FREEZING!
Hope you enjoyed the write up!
Thanks,
Wes
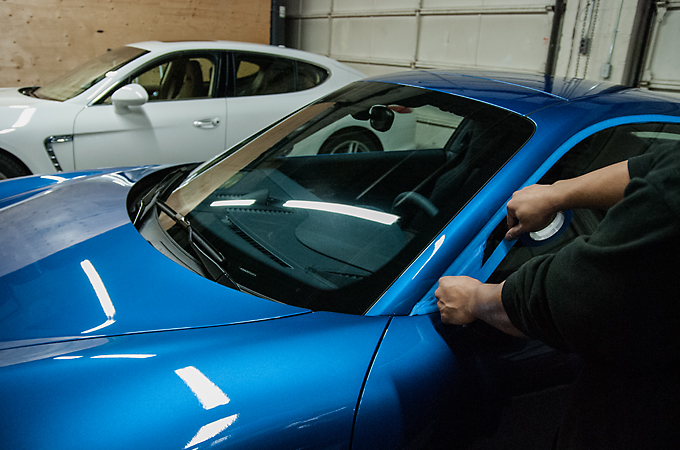
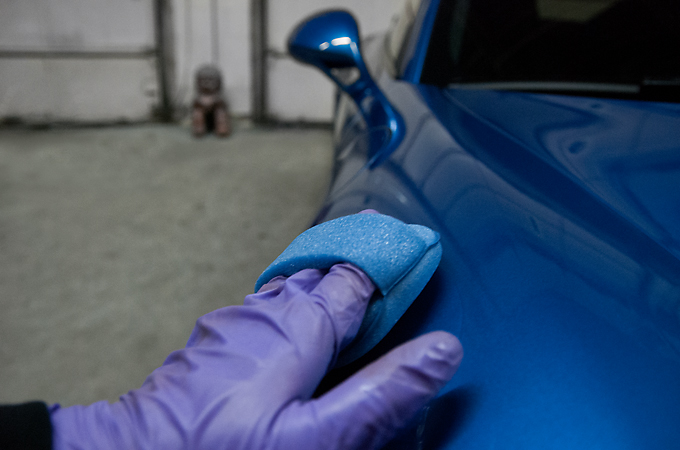
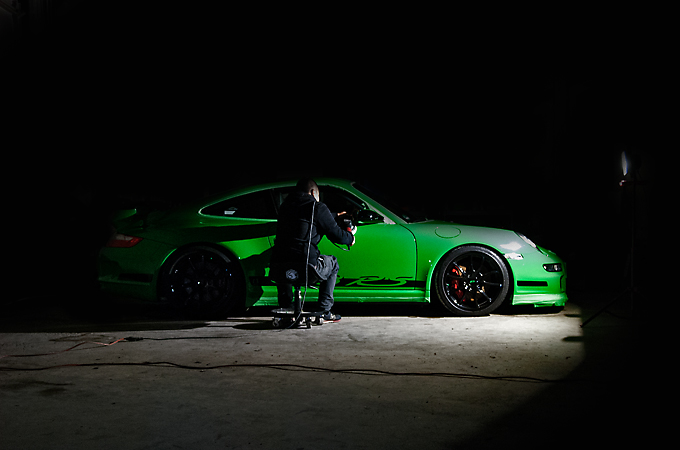
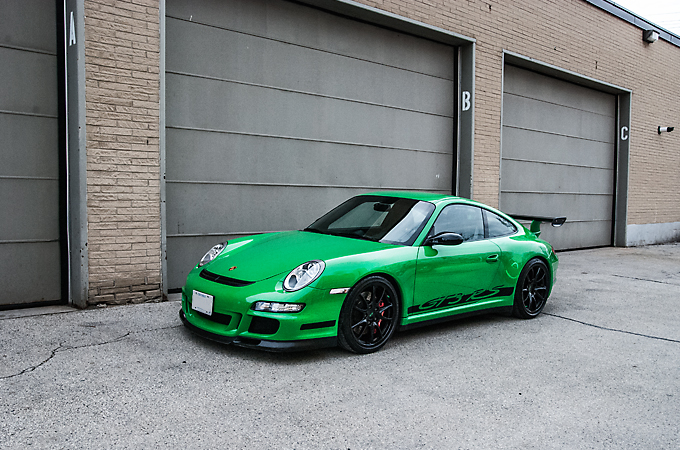
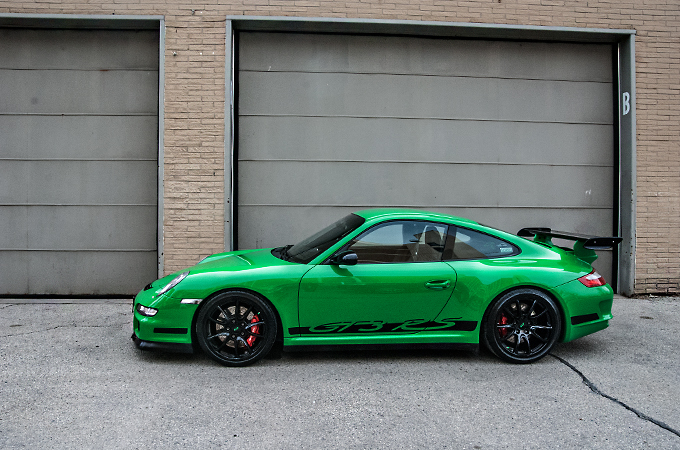
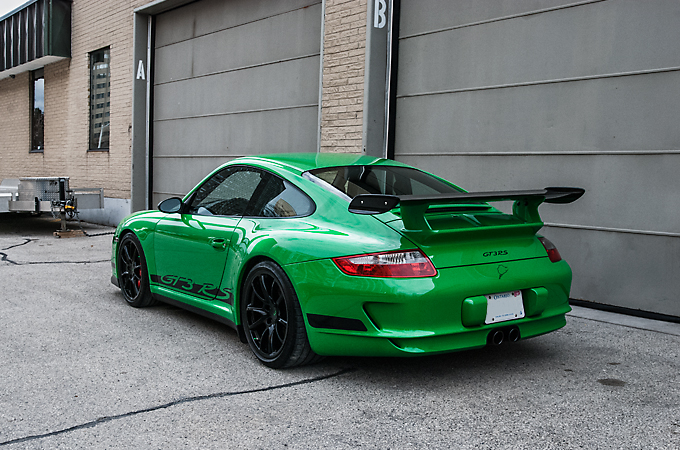
#50
03-08-2015, 01:09 PM
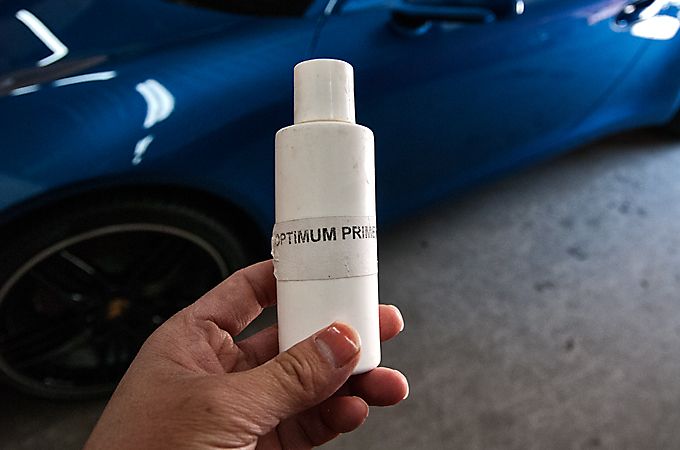
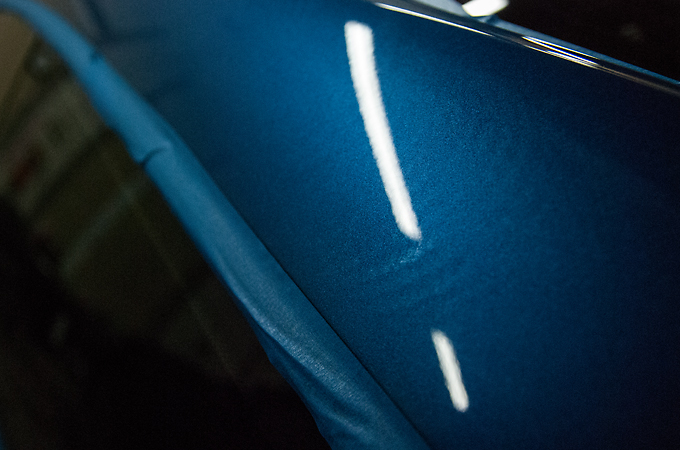
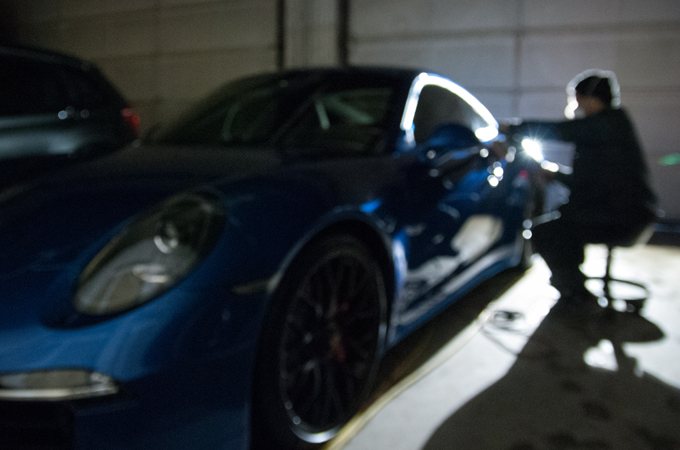
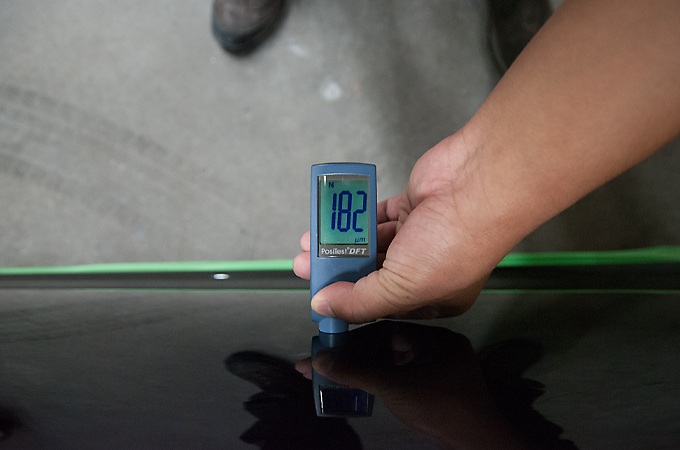
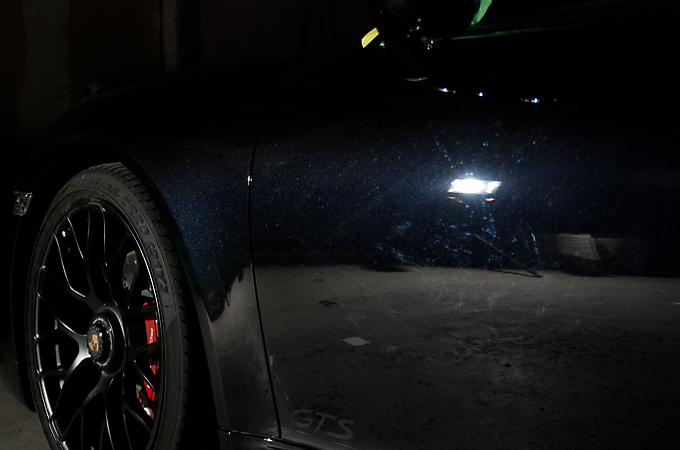
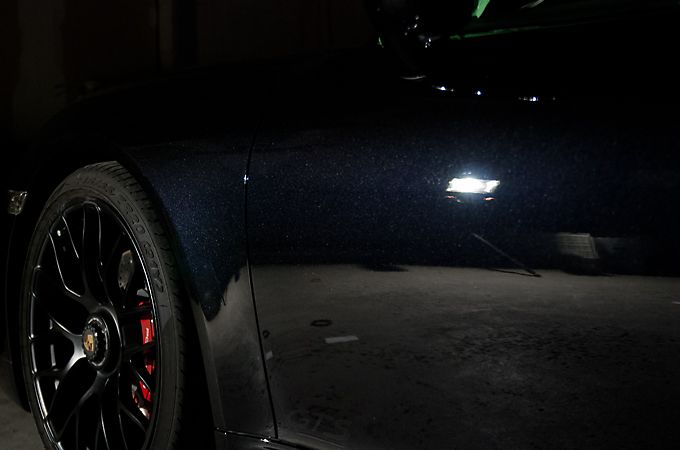
We were eagerly anticipating this brand new 991 GTS with the Aero package since we learned of the deposit placed down before Christmas. This client has been with us for 5 years now and to see him work up to this has been a pleasure! The paint was not in bad shape and applying Opti Coat Primer via machine pretty much cleaned up the light swirling that was there.
Anyways on to the pics.
It looks like Camp 4 outside of the shop
Claybarring with the Nanoskin Mitt
Rubber and plastic trim masked off
Opti Coat Primer
Applied by machine. I love the uniform look
Blurry polishing
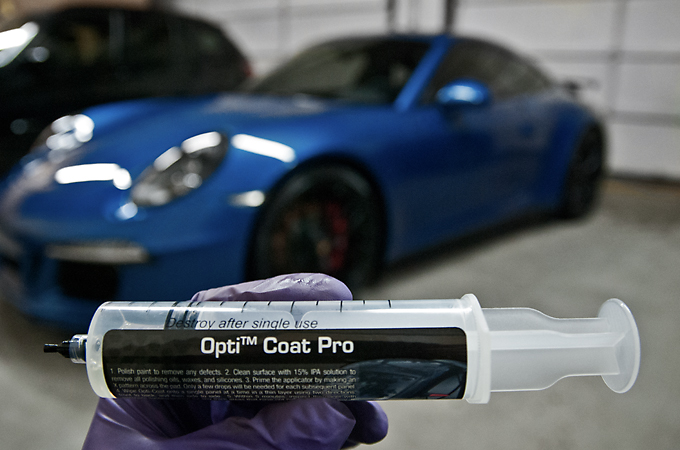
Opti Coat Pro
Applied
Double checking our work
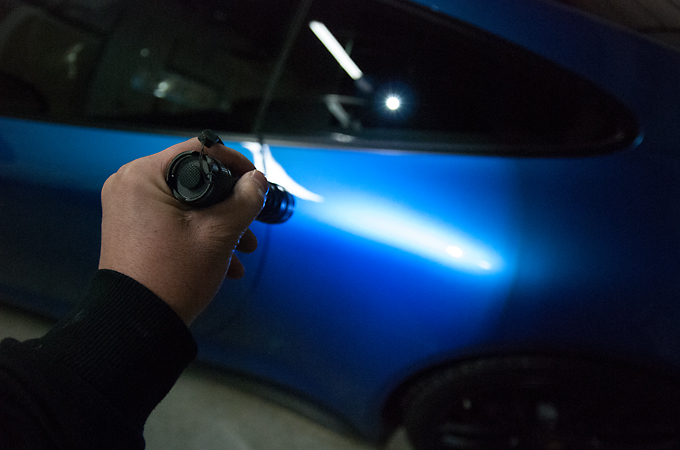
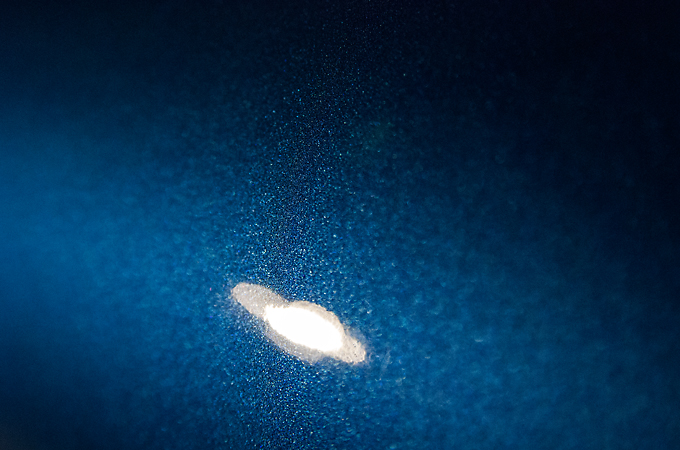
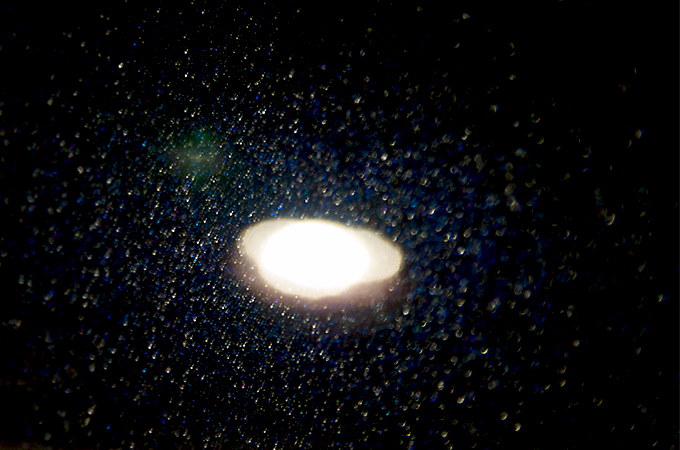
I love taking flake shots
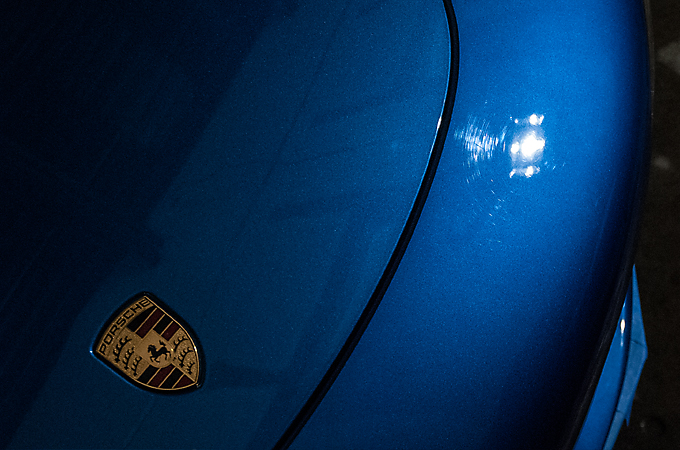
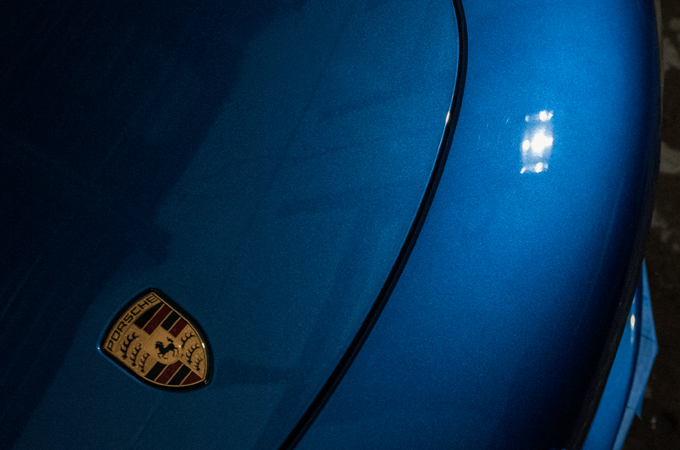
And the finished shots
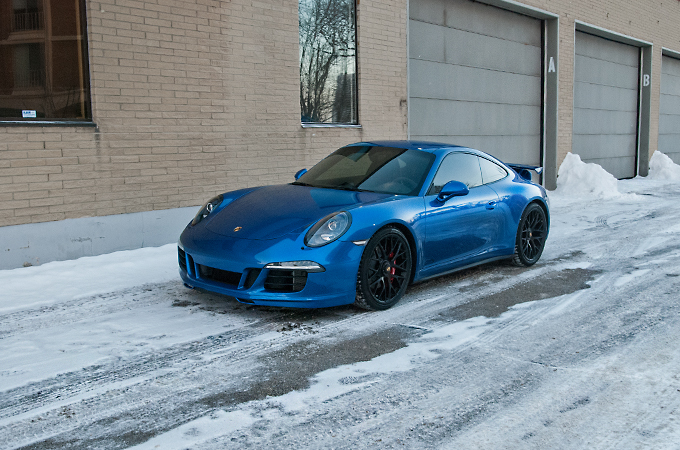
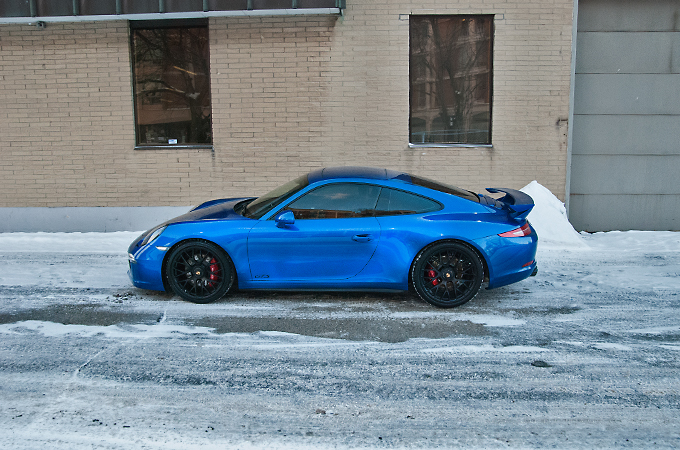
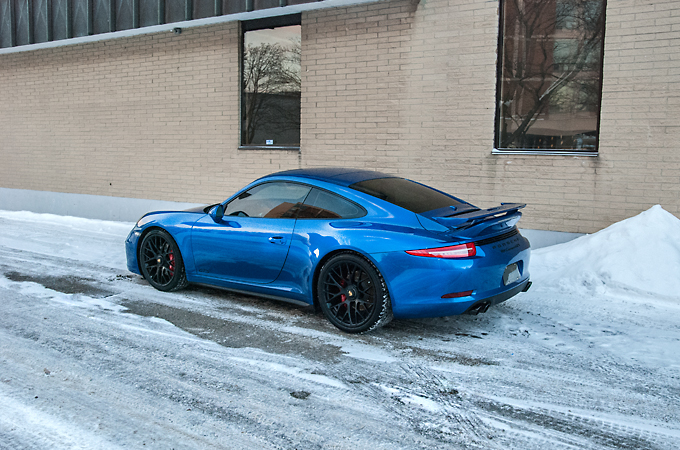
Looking forward to maintaining this one on an annual basis and I hope you enjoyed the pics!
Anyways on to the pics.
It looks like Camp 4 outside of the shop
Claybarring with the Nanoskin Mitt
Rubber and plastic trim masked off
Opti Coat Primer
Applied by machine. I love the uniform look
Blurry polishing
Opti Coat Pro
Applied
Double checking our work
I love taking flake shots
And the finished shots
Looking forward to maintaining this one on an annual basis and I hope you enjoyed the pics!
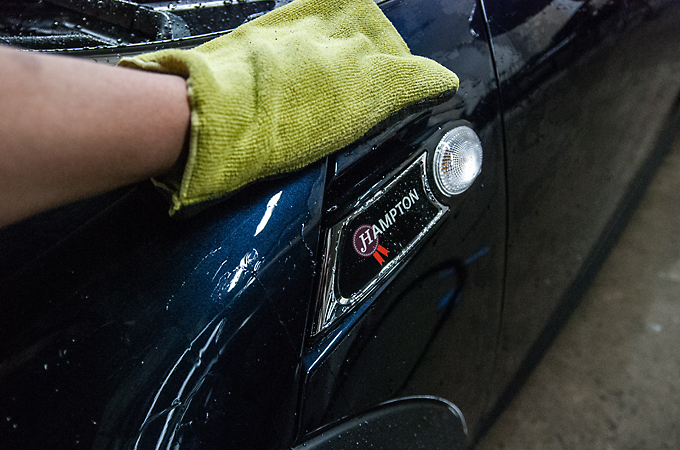
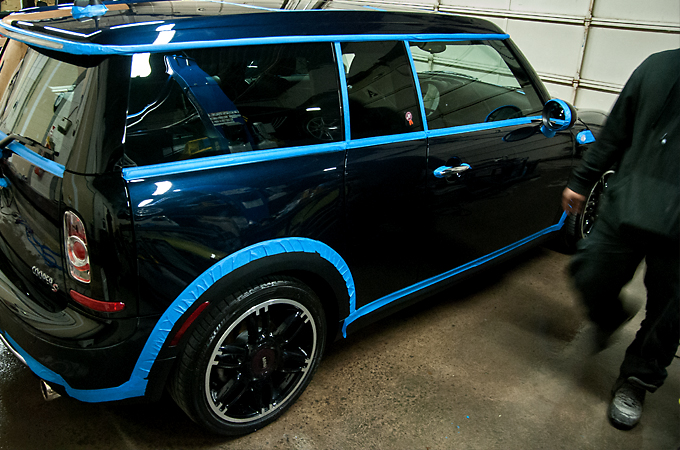
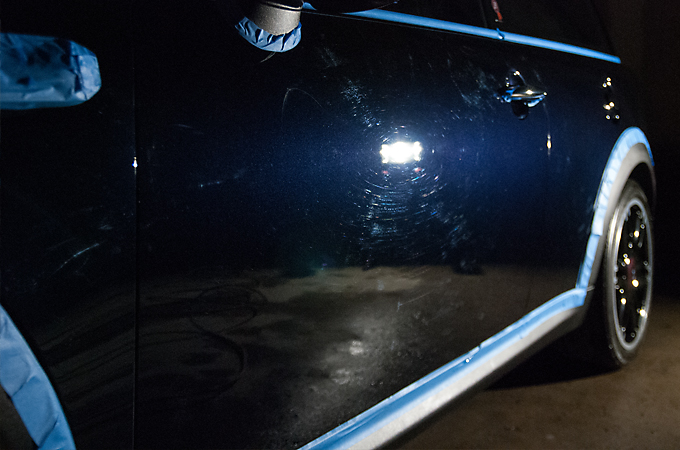
#51
03-15-2015, 06:26 PM
I believe this was our 3rd time working on a Mini and it was pretty cool that it was a Hampton. This client had seen our work online and was interested in bringing his baby in before the spring rush. Believe it or not as small as a Mini is supposed to be it was a lot of work! Masking the rubber trim alone was insane!
Anyways on to the pics
Claybarring the paint
Masked off all the rubber and plastic trim
Before
After

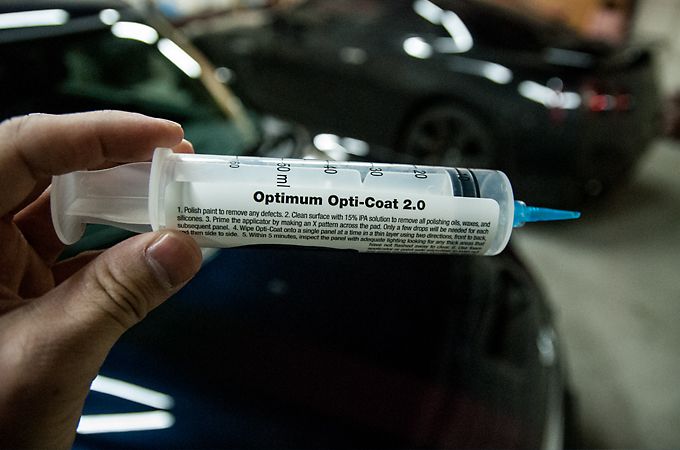
Opti Coat
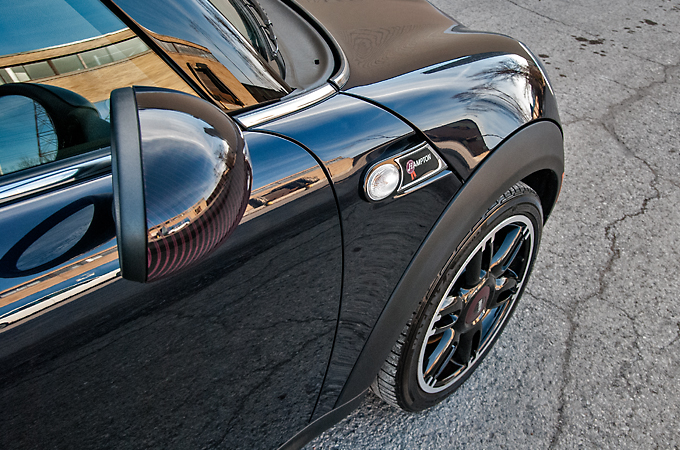
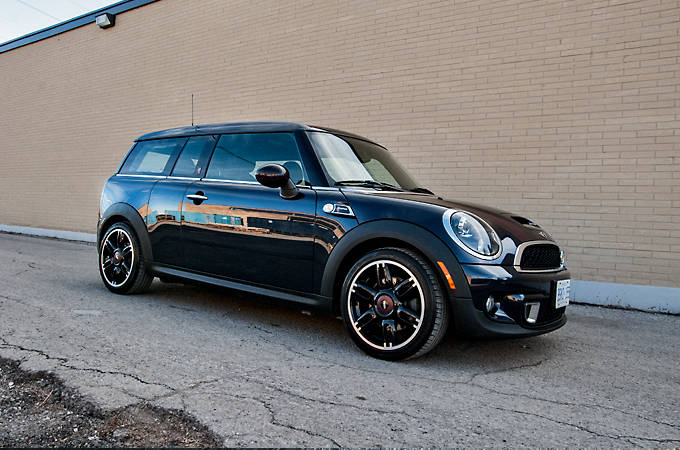
And the finished pics
Hope you enjoyed the pics as usual and hopefully we see you in the spring!
Anyways on to the pics
Claybarring the paint
Masked off all the rubber and plastic trim
Before
After
Opti Coat
And the finished pics
Hope you enjoyed the pics as usual and hopefully we see you in the spring!
#52
04-19-2015, 12:43 PM
We had detailed this client's RS before as well as his 997.2 RS so we were familiar with the paint as well as the condition of the car. Always a pleasure to see this one and work on it as well. The paint was looking just a little rough and we were hoping a 1 stage polish would be enough but in the end we did a non aggressive 2 stage polish which was protected afterwards with Opti Gloss Coat.
As usual, hope you enjoy the pics!
Arrival pic
After the wheel cleaning and 2 bucket car wash we clayed the paint with the Nano Skin Mitt
Brought it in and masked off the rubber trim
Then took paint measurements
1st stage polish before
1st stage polish after with a bit of haze

50/50 shot
2nd stage polish before
2nd stage polish after and the haze all gone
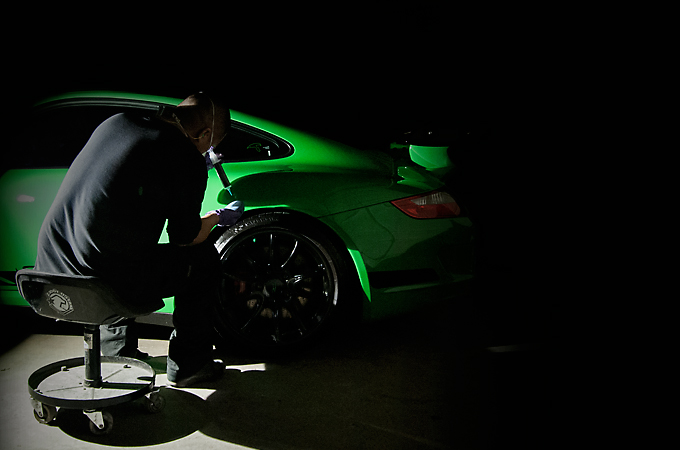
And a shot of us polishing
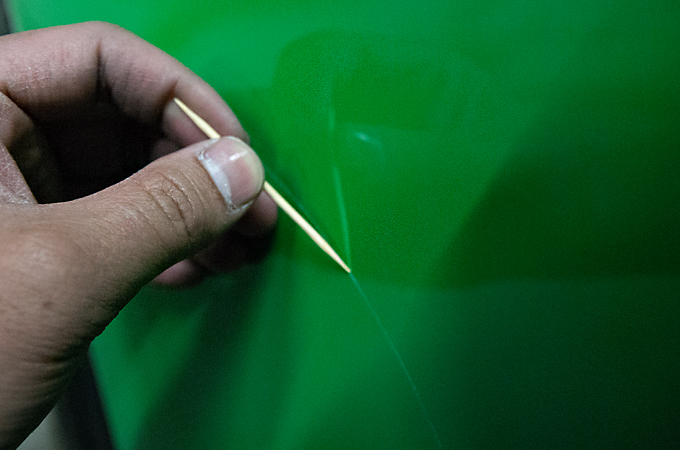
Cleaning out the residue from the edge of the stone guard with a tooth pick
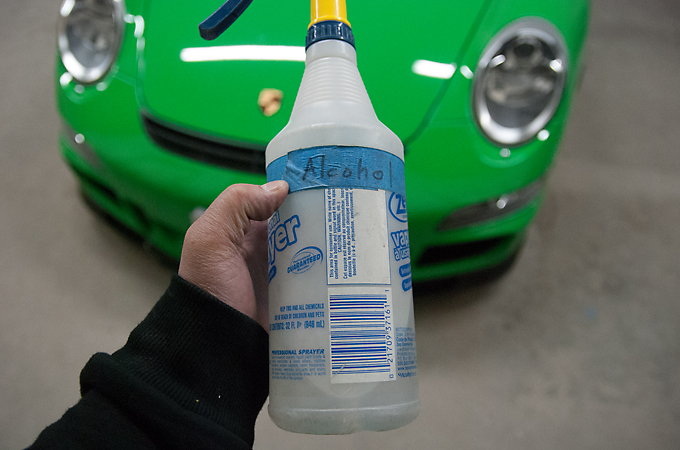
Then alcohol wipe down
Applying Opti Gloss Coat
And finally the finished pics. I wish so badly that the sun was out to show just how glossy the paint was.
This was the best glossy pic I could take and it didn't even come close
Nonetheless I hope you guys enjoyed seeing the process on a rare colored RS.
Thanks!
As usual, hope you enjoy the pics!
Arrival pic
After the wheel cleaning and 2 bucket car wash we clayed the paint with the Nano Skin Mitt
Brought it in and masked off the rubber trim
Then took paint measurements
1st stage polish before
1st stage polish after with a bit of haze
50/50 shot
2nd stage polish before
2nd stage polish after and the haze all gone
And a shot of us polishing
Cleaning out the residue from the edge of the stone guard with a tooth pick
Then alcohol wipe down
Applying Opti Gloss Coat
And finally the finished pics. I wish so badly that the sun was out to show just how glossy the paint was.
This was the best glossy pic I could take and it didn't even come close
Nonetheless I hope you guys enjoyed seeing the process on a rare colored RS.
Thanks!
#53
05-13-2015, 02:49 PM
I love this color! From pics in magazines etc I wasn't sure how I felt about Austin Yellow, but in person it is so beautiful! This client had brought us his previous Evo X but had sold that and purchased this. It was fairly new so all that was needed was a 1 stage polish.
I really wish the sun was out for the pics to do the color justice but it is what it is.
Arrival
Claybar
Measuring the paint
Before
After
Dressing the tires
Cleaning the windows
And the finished pics
I really wish the sun was out for the pics to do the color justice but it is what it is.
Arrival
Claybar
Measuring the paint
Before
After
Dressing the tires
Cleaning the windows
And the finished pics
#54
06-07-2015, 10:06 AM
This client was referred to us by Autolinks as there were a few small imperfections on the hood the customer wanted addressed before applying the PPF.
To be honest I forget what number this was out of the 333 GT Spyders in the world but it was very beautiful none the less. The swirls on this were very light so no before and afters but I hope you still enjoy going through the pics.
Arrival pics
Cleaning the wheels, including the ceramic brakes
Always wash the cars using the 2 Bucket Method
Car washes include the doorjambs
Claybarring the paint with the Nanoskin Mitt
Measuring the paint
Masking off all the rubber trim and matte carbon pieces
Applied Opti Coat Primer via machine
Dressed the tires

Clean the windows
And finally the finished pics


As usual hope you enjoyed the pics!
To be honest I forget what number this was out of the 333 GT Spyders in the world but it was very beautiful none the less. The swirls on this were very light so no before and afters but I hope you still enjoy going through the pics.
Arrival pics
Cleaning the wheels, including the ceramic brakes
Always wash the cars using the 2 Bucket Method
Car washes include the doorjambs
Claybarring the paint with the Nanoskin Mitt
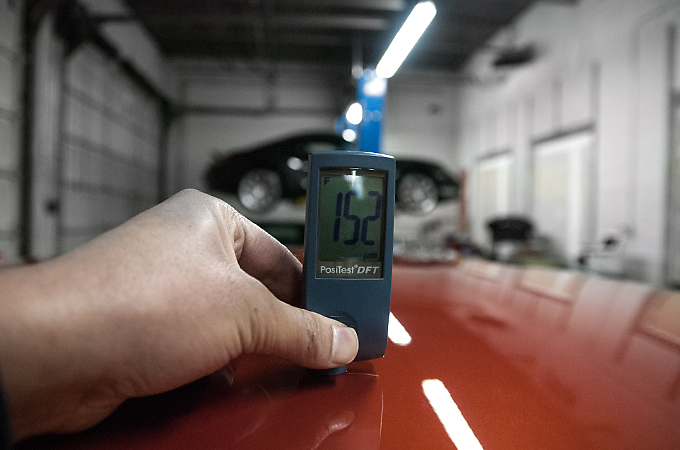
Measuring the paint
Masking off all the rubber trim and matte carbon pieces
Applied Opti Coat Primer via machine
Dressed the tires
Clean the windows
And finally the finished pics
As usual hope you enjoyed the pics!
#55
06-17-2015, 08:54 AM
This 507 was booked in months in advance without me getting a chance to see the condition. In the end it needed a 2 stage polish with special attention on certain areas with the claybar. It was protected with Opti Coat Pro and we were happy with the results. I love the wheels too by the way, my favorite choice out of all the options for the C63.
Arrival
Claybar
Measuring the paint
Rubber trim masked off
Before 1st stage
After 1st stage
Cleaning out polish residue out of the clear bra edge
Opti Coat Primer first
Then Opti Coat Pro next
And finally the finished pics just before sunset
Arrival
Claybar
Measuring the paint
Rubber trim masked off
Before 1st stage
After 1st stage
Cleaning out polish residue out of the clear bra edge
Opti Coat Primer first
Then Opti Coat Pro next
And finally the finished pics just before sunset
#56
07-03-2015, 10:42 AM
Met this customer through Facebook and admired his photography for quite sometime. Was quite surprised to receive a message from him interested in our work. Long story short, into the shop in came.
Very impressed with the initial condition of the paint and found it only needed a 1 stage polish which was protected afterwards with Opti Coat Pro.
Arrival
Rubber and plastic trim all masked up
Measuring the paint
Before
After
Opti Coat Pro about it be applied
Double checking our work with a light that omits the same color as the sun
No swirls
And the finished product
#57
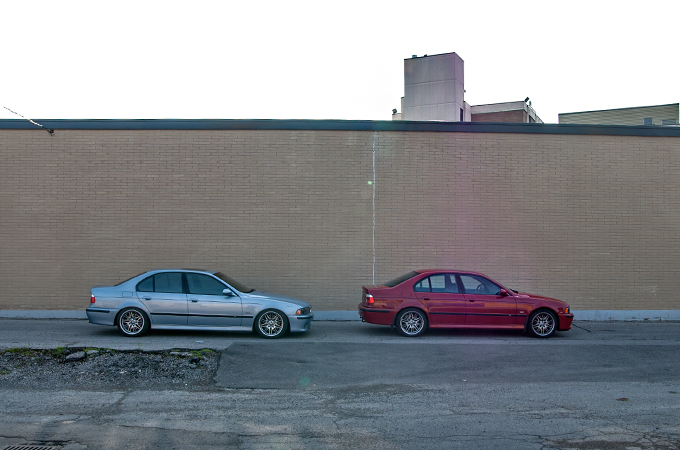
07-17-2015, 12:35 PM
This was totally a coincidence that two e39 M5s came in for a 2 stage polish + Opti Coat Pro. They had both booked on the same day so I ended up doing the write up on both cars at the same time which is a first and was quite interesting to do. I was very happy with the out come on both cars as were the owners so enjoy seeing the process and final pics!
Arrival (you should have seen both owners' faces lol)
Masking off the rubber trim after the wash and clay
Taking paint measurements

Before
After
50/50 shot
Opti Coat Pro
Application
And the finished pics
I hope you enjoyed the pics as much as I enjoyed working on my favorite generation M5!
Arrival (you should have seen both owners' faces lol)
Masking off the rubber trim after the wash and clay
Taking paint measurements
Before
After
50/50 shot
Opti Coat Pro
Application
And the finished pics
I hope you enjoyed the pics as much as I enjoyed working on my favorite generation M5!
Last edited by Wes_R; 07-17-2015 at 12:43 PM.
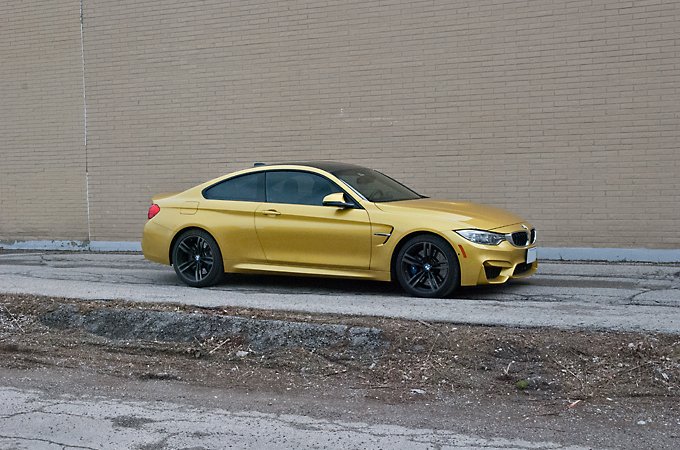
#58
08-02-2015, 01:37 PM
A long time customer recently purchased this new 4 GTS from Pfaff and wanted to get the paint protected asap. Well after 1000km in it finally came.
I must say this is one of the most beautifulest 991s we have done this year and we had a great time working on it and admiring all the little details put together on this 4 GTS.
Paint wasn't in bad shape so just a quick 1 stage polish and then protected with Opti Coat Pro.
Enjoy!
Arrival pic
Paint measurement and plastic trim masked off
Before
After
Lovely metallic flake shot
Opti Coat Pro
And the finished pics starting with reflections off the hood

Definitely looking forward to maintaining this one over the years!
I must say this is one of the most beautifulest 991s we have done this year and we had a great time working on it and admiring all the little details put together on this 4 GTS.
Paint wasn't in bad shape so just a quick 1 stage polish and then protected with Opti Coat Pro.
Enjoy!
Arrival pic
Paint measurement and plastic trim masked off
Before
After
Lovely metallic flake shot
Opti Coat Pro
And the finished pics starting with reflections off the hood
Definitely looking forward to maintaining this one over the years!
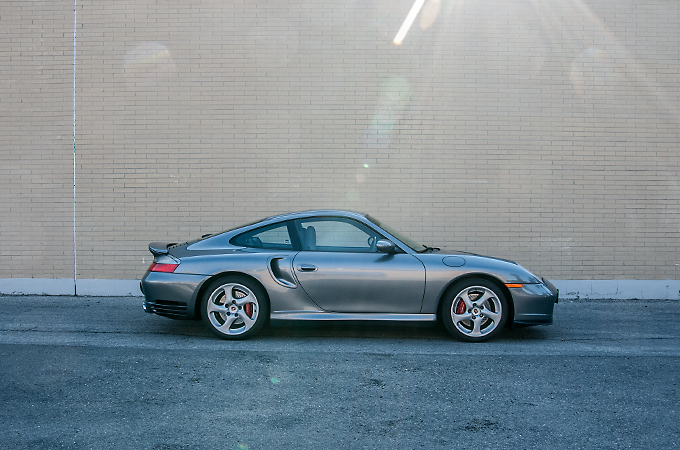
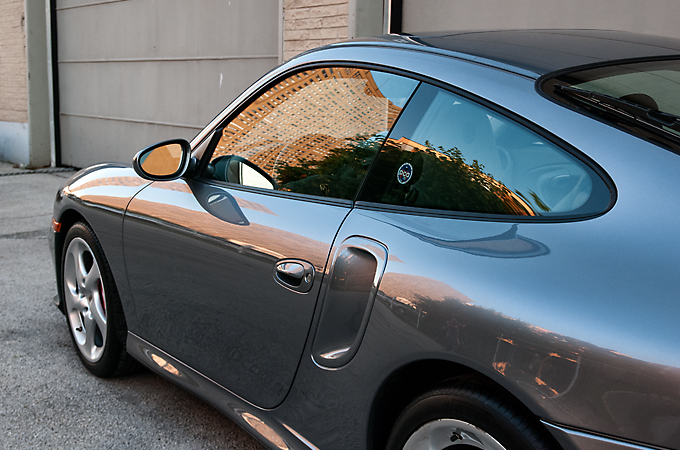
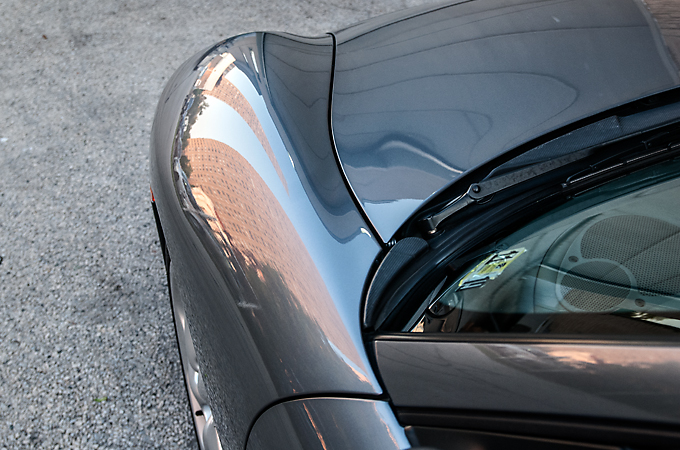
#59
08-18-2015, 09:45 AM
This was a US 996 Turbo with very low mileage, to be honest I forget but I'm pretty sure it was around 30000km. Paint wasn't that bad but some of the swirls were a little deeper so a 2 stage polish was needed to correct the paint. As usual with most cars we do nowadays it was protected afterwards with Opti Coat Pro.
Hope you like the pics!
Arrival pic
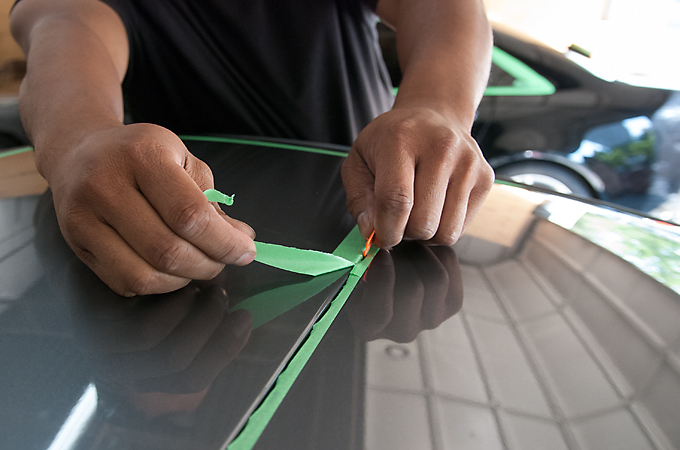
Masking off the rubber trim on the moonroof and had trim it with the plastic razor to get proper coverage
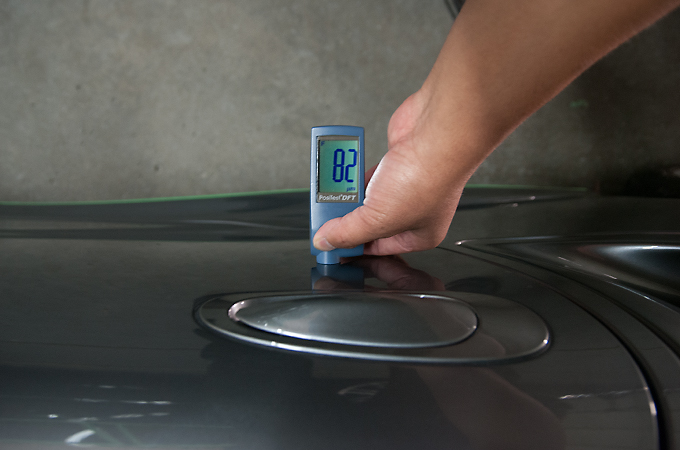
Measuring the paint
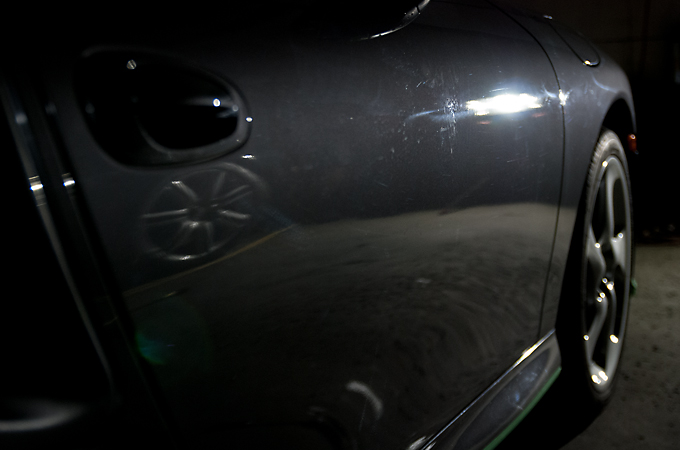
Before
After

Opti Coat Pro(sorry for the blurry pic)
And the finished pics
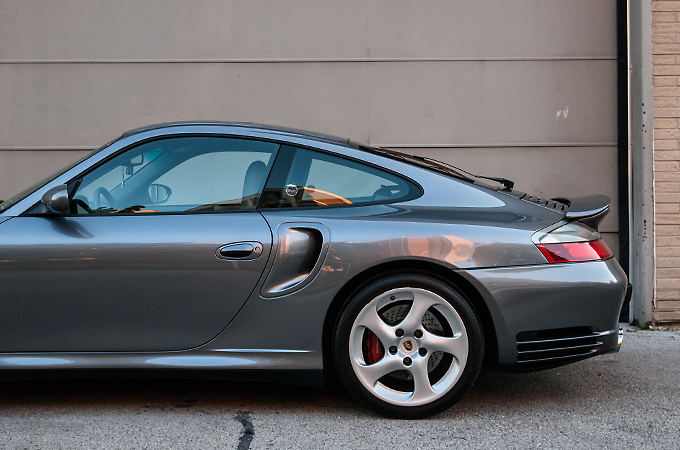
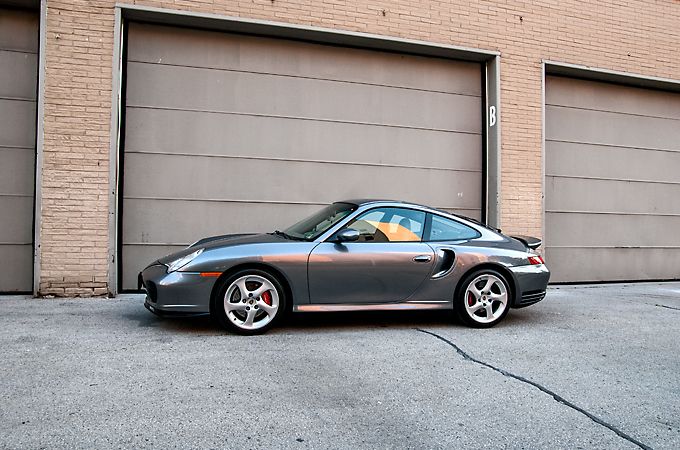
After spending the day with this one I have to say I still like the 996 Turbo and think it's great value for the money! Now I am window shopping for a 996 Turbo S or 996 GT2 hahahaha.
Hope you like the pics!
Arrival pic
Masking off the rubber trim on the moonroof and had trim it with the plastic razor to get proper coverage
Measuring the paint
Before
After
Opti Coat Pro(sorry for the blurry pic)
And the finished pics
After spending the day with this one I have to say I still like the 996 Turbo and think it's great value for the money! Now I am window shopping for a 996 Turbo S or 996 GT2 hahahaha.


