When you click on links to various merchants on this site and make a purchase, this can result in this site earning a commission. Affiliate programs and affiliations include, but are not limited to, the eBay Partner Network.
there are many different times car can benefit from a wet sand and buff. a paint that has a lot of orange peel (texture similar to the peel of a a orange) very heavy oxidation. heavy scratches or going for a show shine on a new paint job. or remove light dust that may have landed on wet paint on a paint job.
even a good paint job will have a small amount of orange peel a bad paint job may have a lot of orange peel runs ect.
factory paint jobs tend to be thinner and i typically wont try wet sanding a factory paint job. use a lot of caution if you are going to try this on a factory paint job.
a repainted car, the paint will have be sprayed by hand and tend to be thicker than a factory paint job
any missing paint or peeled clear coat can not be fixed by this method. you are looking at needing a re-paint of this type of problem.
I will normally pick what looks like the worst spot and do a small section a few inches in diam to test if the process will correct your problem. doing a small section you can go threw the steps very quickly and get a idea of what the results will look like.
during this process keep your distance from raised edges high spots seams ect. paint tends to be much thinner in these places and you can easily go threw the paint. if you must go over these places only use the highest grit papers and buff by hand or you will blow threw the paint.
if you don't have a good power buffer this entire process can be done by hand but a good buffer will save you a ton of work. well worth the money to buy a good variable speed buffer
step #1 wash your car. you want to make sure its clean with no dirt or grit on the car
step #2 have your materials ready you will need a clean bucket or container filled with warm soapy water you need 1000 grit sand paper followed by 1500 and 2000 grits a wool buffing pad and a foam buffing pad rubbing compound polishing compound clean dry rags and the wax of your choice.
step #3 working in small area's i typically do one panel at a time. splitting large panels such as a hood into multiple sections. start by taking a sponge with warm soapy water and wet the area you are going to work on. wet your 1000 grit paper and start sanding the panel by hand you will feel as the paint starts to smooth out rinse your work area and sand paper frequently as you move over the panel once you have done the whole panel clean it and dry it. the panel should have a light milky dull fairly uniform collor to it, there may still be some shiny in the lowest spots of the orange peel or roughness. this step is removing the heavy imprefections in the paint.
step 4 repeat step 3 with 1500 grit paper
step 5 repeat step 4 with 2000 grit paper at this point you should be seeing a dull gloss over the panel that is uniform and clean
step 6 this is where your paint really starts coming to life. take your buffer with your wool pad and spread a little rubbing compound on the panel and rub your buffing pad into the compound. starting at a low speed start buffing out the panel the milky appearance should go away and start getting a nice shine on the panel. remembering to keep your distance from seams ridges and body lines as your buffer can blow threw the paint in these this high contact places. do these places by hand with some rubbing compound and a rag.
step 7 after buffing thoroughly clean and inspect the surface
step 8 repeat step 6 with your polishing compound and a foam wheel your paint should really have a nice pop at this point
step 9 apply a sealer wax and your done
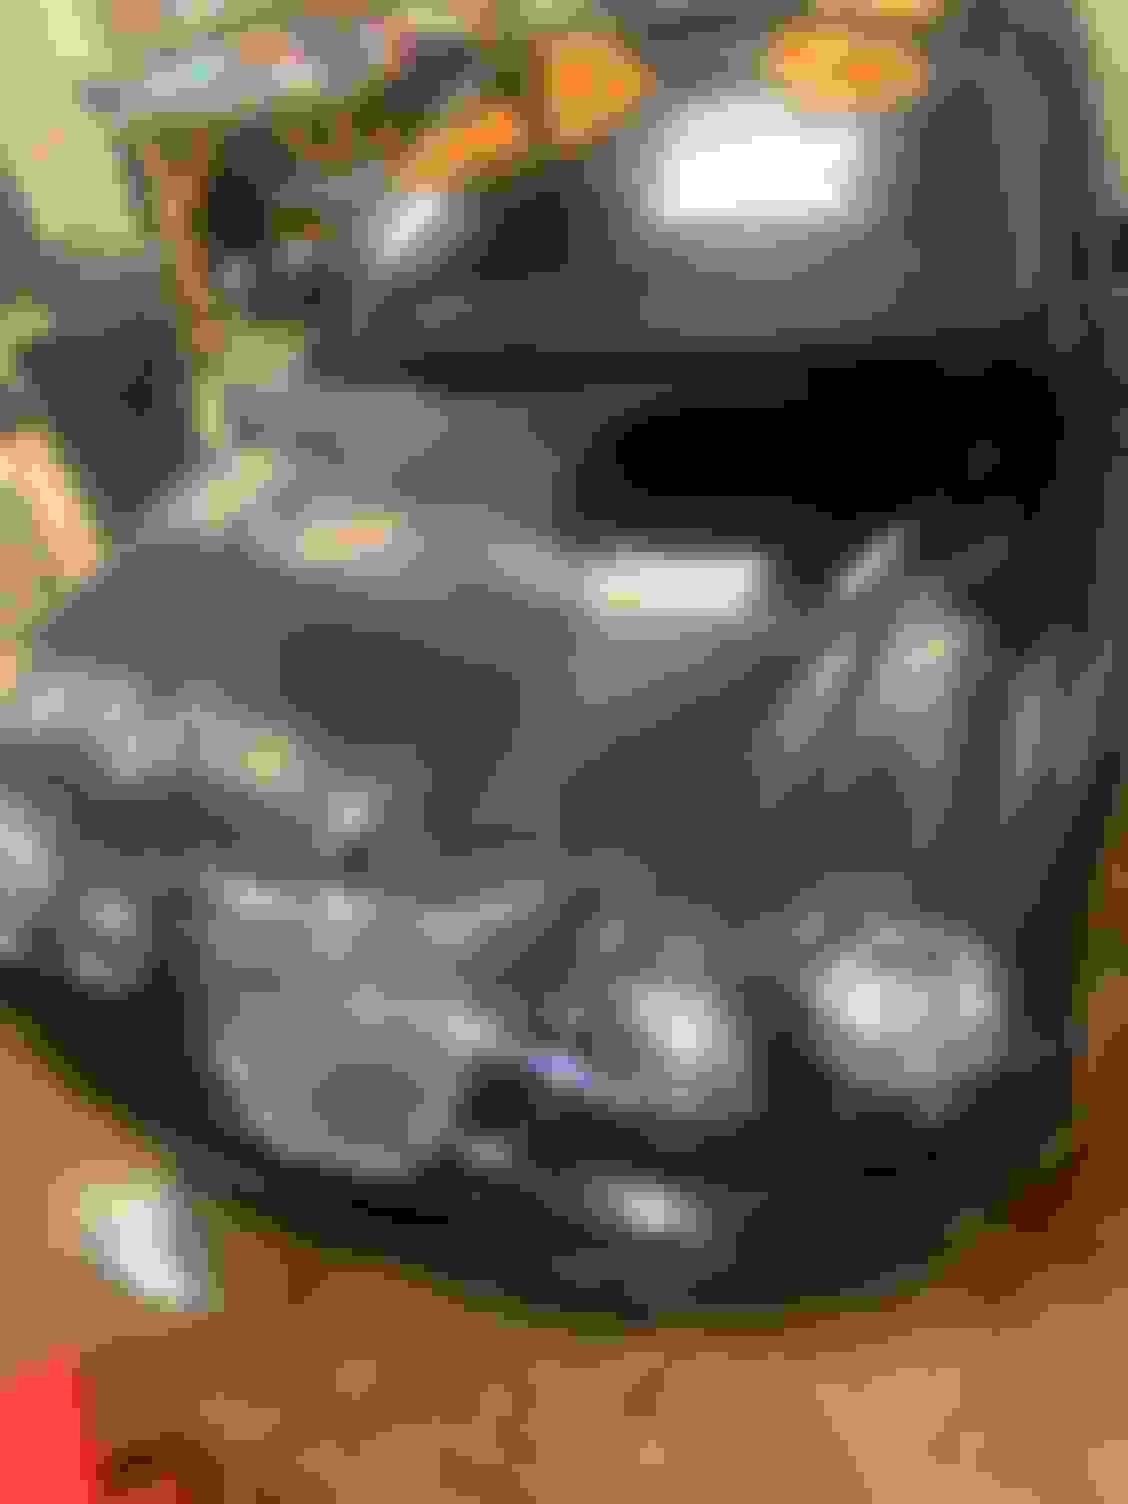
here are some pictures i didn't take any pictures threw the sanding process but this was a very amateur single stage re-paint done by someone before i owned it. very heavy orange peel and other paint flaws, this was also a single stage paint not a base clear.
before
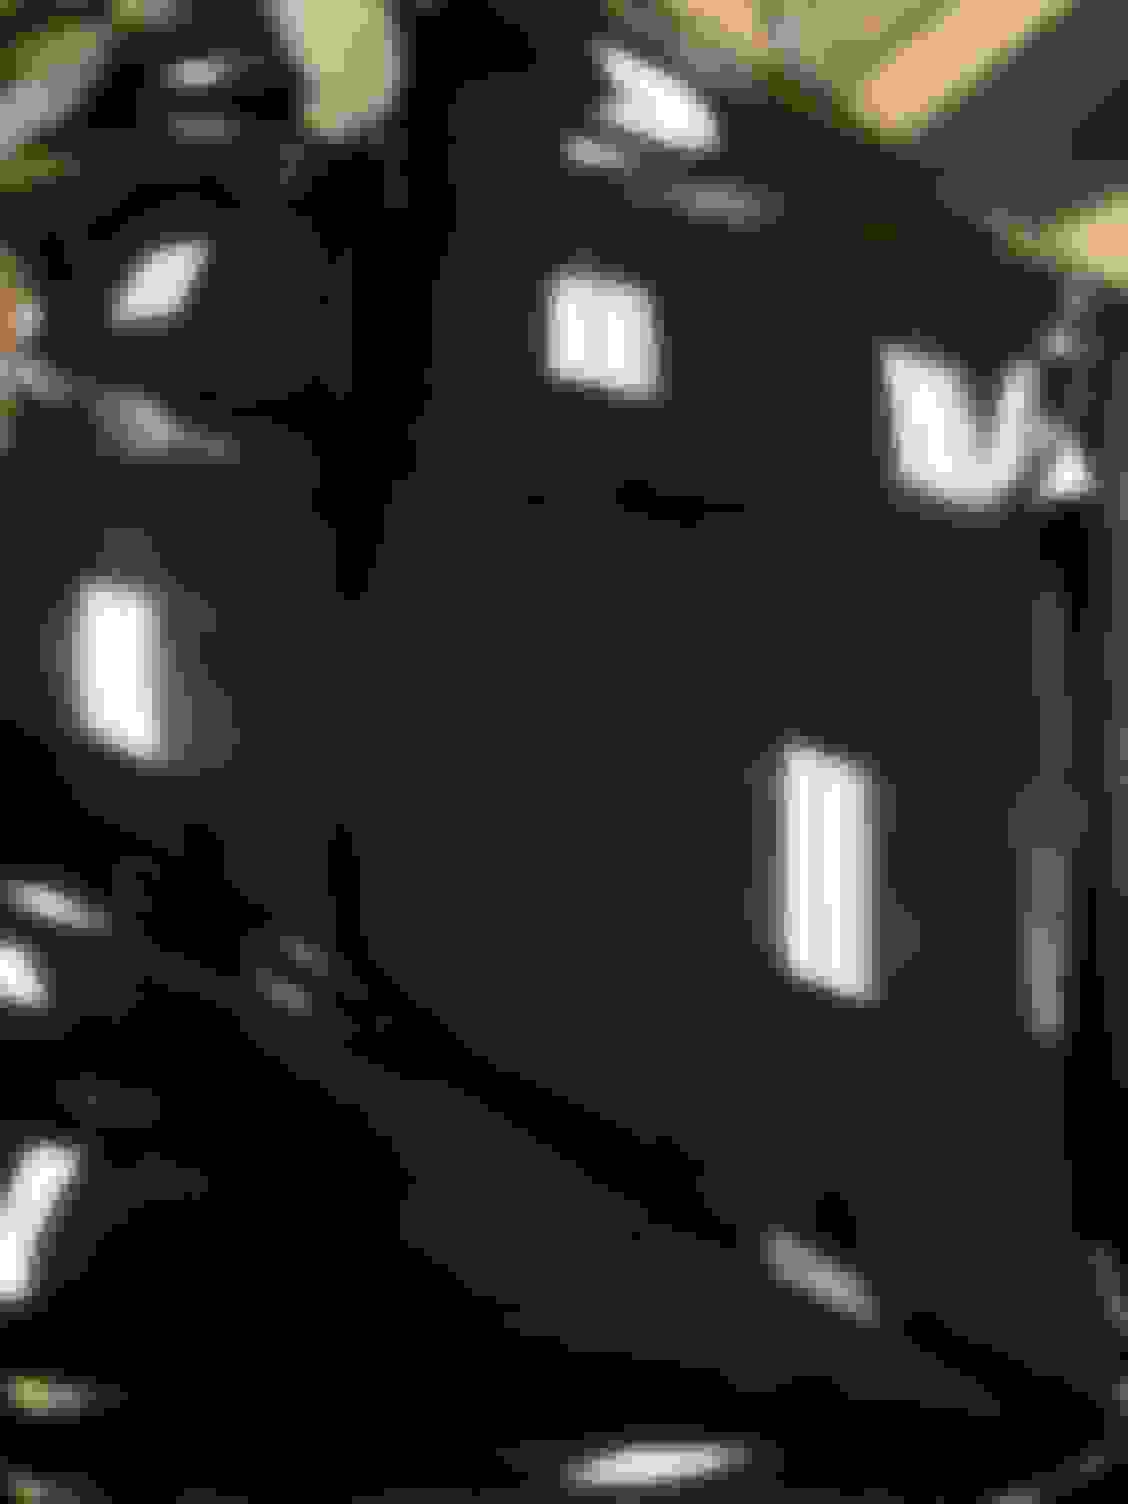
after
progress
the trunk was not salvageable the paint was too thin to be able to save so i did have to re-paint the trunk lid after the paint has some time to cure ill wet sand and buff it out as well
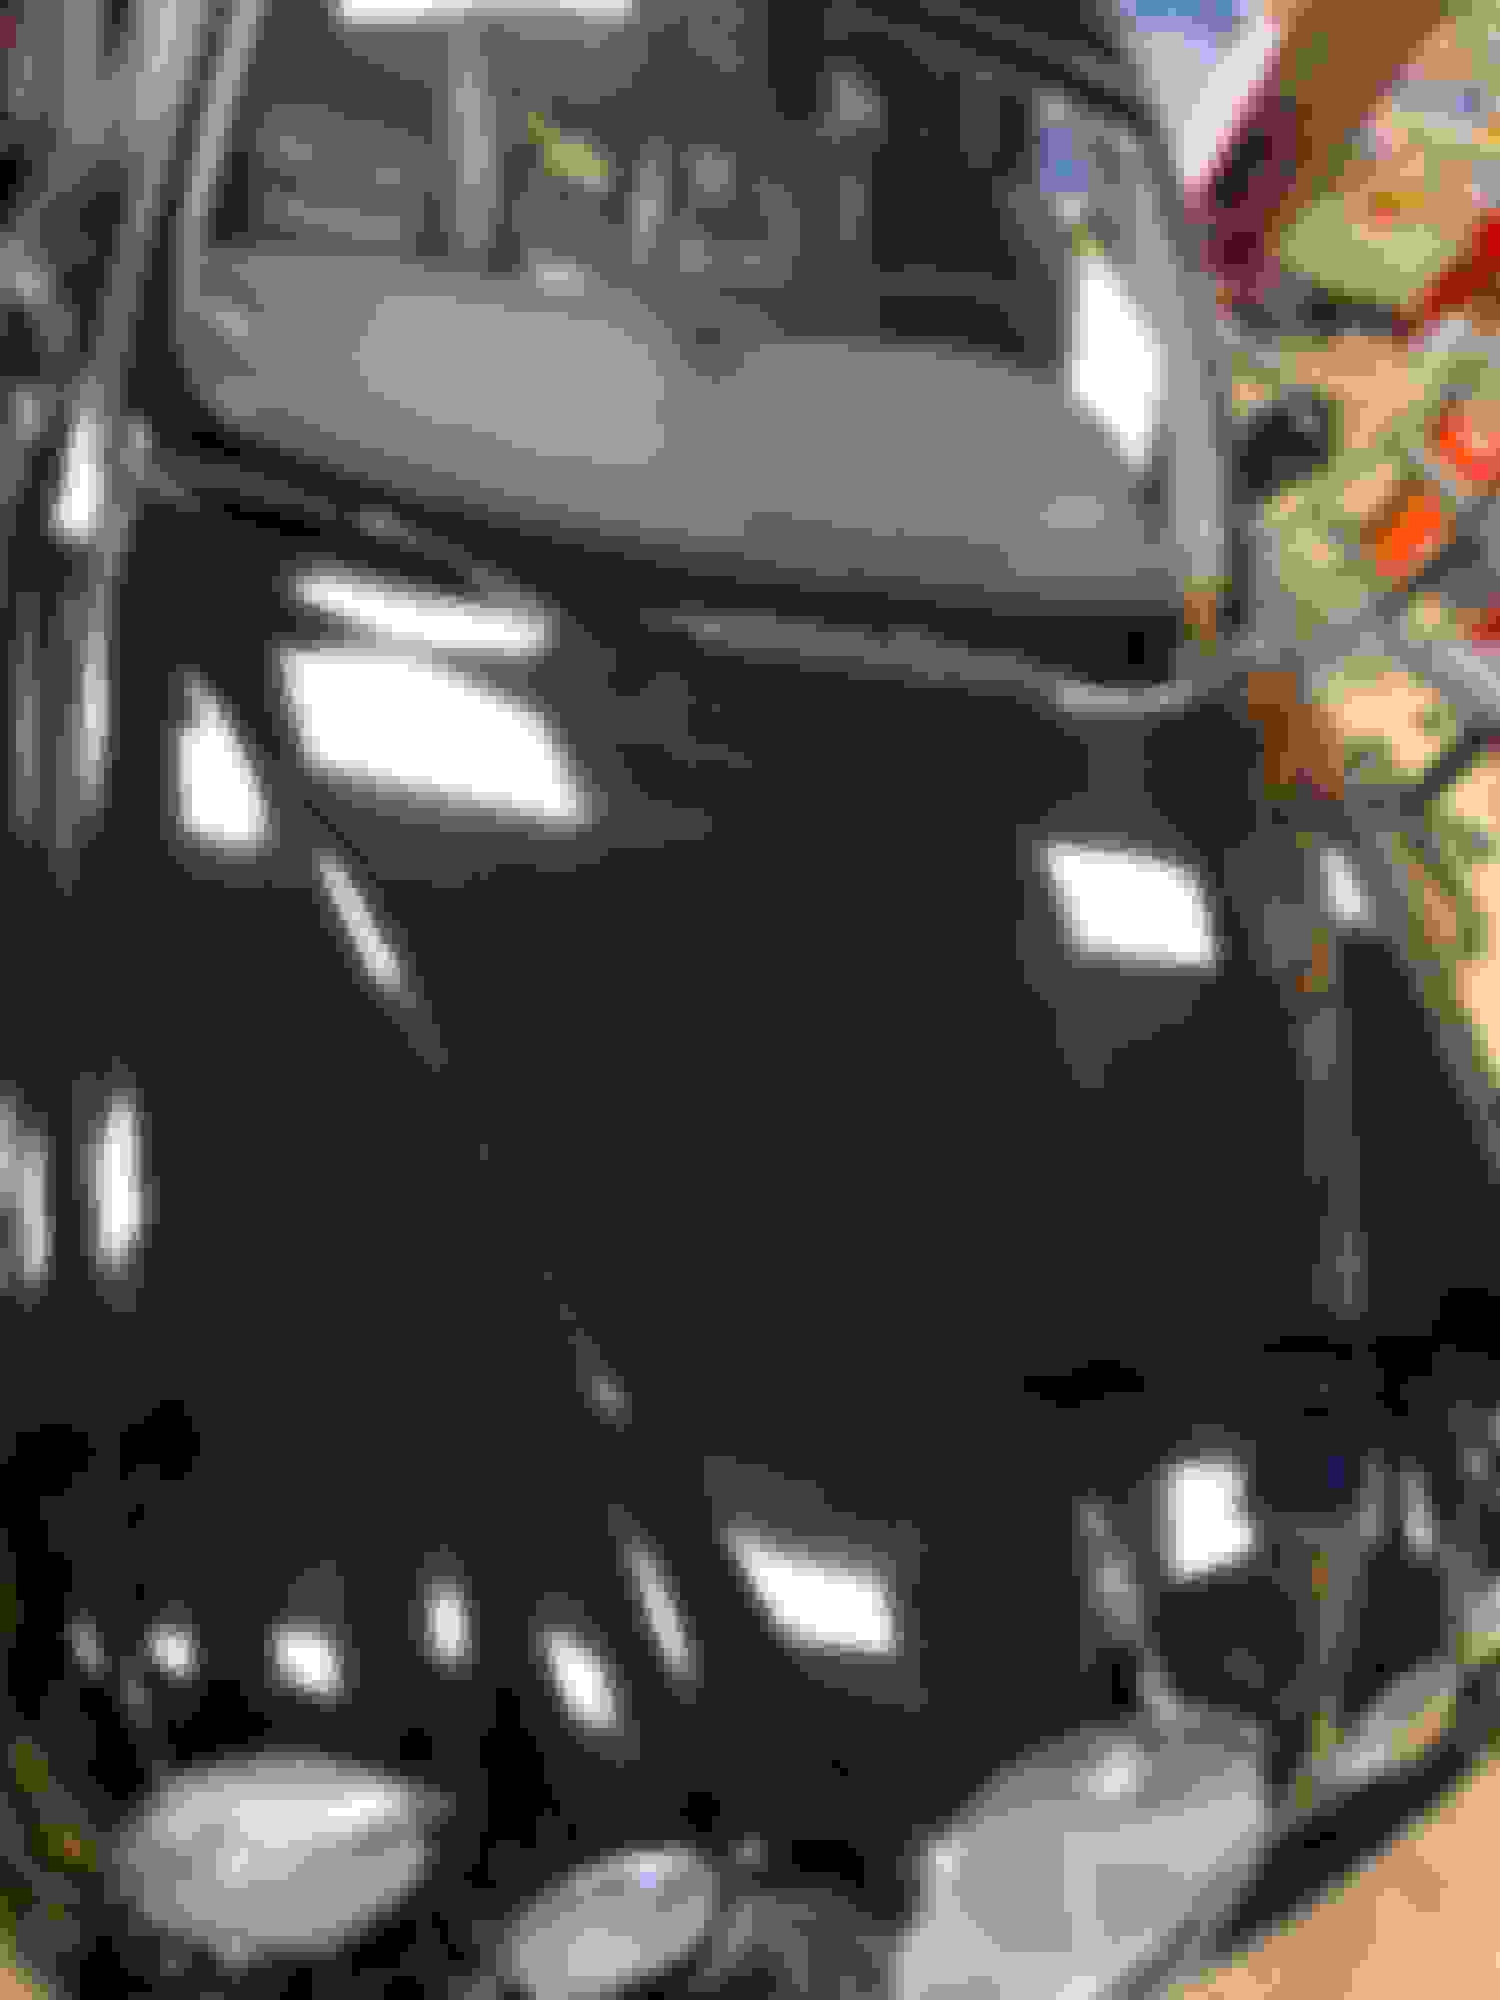
here is some pictures of reviving a heavily oxidized paint on a different vehicle
i wet sanded and buffed out my trunk today there was some orange peel and a little dust that had landed in the wet paint
i didn't make it perfect because the rest of the car is not perfect but
starting with 1500 then 2000 and then compounds and polishes on a rotary
1500 wet
2000 wet
polished out just the first part to show the difference if you look at the reflection of the roof in the trunk you can see the difference normaly i would wet sand the entire panel out before buffing
a few other tips is when doing your test patch always start at a higher grit than what you think you will need you can drop down and come back up if you need to but this process is removing paint you don't want to remove more than you need to. when removing a small spot of inprefections i almost always use only 2000 grit, it may take a little longer but when just doing a small spot there is not really much reason to go any more aggressive with it
also if you do no have a rotary buffer i would go to a even high grit before buffing out
Hi Guys
Thanks for all those great tips, I'm going to use them this weekend.... I like the fact that you address the "single stage" paint issue..... It happens
Just did my hood. Took a while. 1000, 1500, 2000, 2500, 3000. The surface was bad. Scratched. Rock chips. Swirls. Evidence of previous repair (bad sanding job. You could see the paint layers under the top coat. So the hood must have been repainted. Probably bumper cover and maybe frnders?? I dont know. I do know the front was crashed at least once. Rubbing compound w wool pad rotary snap on buffer at1400 or 1600 rpm. Then polishing compound with.foam pad. Still have to do ultrafine polishing pad. All 3m products.
Nice work guys! Ezrider great write up and pics thanks for sharing.
This procedure takes a lot of practice, good technique and patience. In the end though you will get real results.
I know you talked about cutting through edges but, I must stress again that it happens really fast and can ruin your day.
Also I would start with something lighter than 1000 grit maybe 1200 to start. Even 1200 grit cuts pretty fast.
Good you brought up the difference of factory vs repainted finishes. Factory clear coat is very very thin. A repainted clear coat will be somewhere around 3x thicker than factory.
Would appreciate if you could explain more about the compounding process you used. This I think is the make or break difference for how it comes out in the end. Rotary polishers work great. However, I have seen some horrible results with improper technique and products.
This is a bit old and very outdated so I thought i would jump in for 2020+ techniques
As an award winning pro detailer here is what I did in my shop: Several of my customers were asked to no longer compete in their particular shows in Monterey week as they always won.
Cliff Notes:
Clay the paint
If seriously oxidized/heavily scratched use wet 1000 grit in one direction, then wet sand1500 in the opposite direction being very soft on the corners and highlights. By going in opposite directions you can tel if the 1000 grit marks are gone. This is subjective as I have been able to clean up oxidized paint without wet sanding.
Buff with an random orbital - Porter Cable 7624, Flex 401, Rupes Big Foot - with Flex and Rupes bringing professional results
Use Jescar Correcting Compound with medium pressure with Meguiars DMC6 Microfiber pads, one per panel. Clean the pad on each pass of a 2 ft square area
Let the compound dry and wipe down each panel with a MF Towel, turning over constantly then toss it in the used towel pile using a clean towel for each panel. The final finish:
Use Rupes Yellow Polishing Pads (6-8) one per panel
Jescar Correcting Compound with very light pressure
Wipe down with a clean MF toel constantly turning it over
Be prepared for a "Wet Your Pants Final Finish"
Coat with Feynlabs Ceramic Lite or Kamikaze Miyabe two of the absolute best that bring out your paint.
LONG:
I know this is old but I am a pro detailer, and there is some good stuff here BUT using a rotary is absolutely RIPE for disaster, even at 600 RPM's you can cut through corner in seconds. I know I have had people come into my shop to get that situation fixed and I just shake my head and say it needs to be repainted.
A random orbital in this day and age is THE only way go. If you use a Porter Cable you will never go through, if you misalign the pad on a corner the buffer stops. It is not as powerful as the next orbitals I discuss, but can get the job done if you are patient. If you can use a Flex 401 or a Rupes Big Foot, it is still hard to break through as they slow down with misalignment, but these are the best orbitals on the planet and produce professional results with little effort. I had two Dewalt rotary's someone gave me, and I gave them away.
So here is how we dealt with a very badly oxidized finish at my shop.
First and foremost it needs to be clayed, go to an auto detailing shop and buy the most aggressive Clay Bar they have, buy 2, then cut them in half. The Clay Bar kits at your local auto parts store are meant for light cleaning and won't work on oxidized or neglected paint. You need to clay to get all the grit off the paint. If you buff without claying the pad will pick up the dirt and just push it around creating a mess of swirls in the paint. If it is not oxidized get a medium to light Clay bar.
If you have never wt sanded a body panel go to a junkyard and pull a small panel to play with, you won't regret it. You can usually find a headlight cover which is pretty small.
.If the finish was heavily scratched we would start with wet 1000 grit on a small pad, so it fit into the corners and we would not sand through. We would always sand in a single direction, vertical or horizontal. Then graduate to a wet 1500 grit and sand in the opposite direction until the 1000 grit marks were gone. I/we never gone higher than 1500 grit, ie 2000, 2500.3000. One must always be aware of taking too much clear by using multiple grits which can reduce the clear coat to the point it will lift and deteriorate in the summer sun. You just can't go helter skelter with sand paper. If it is really bad than invest in a paint gauge so you know how much you can take down safely.Amazon and Ebay have several that are inexpensive. Whne you are finished and no longer need it you can put it back up for sale.
Once all sanded to what we think is the best, we use Meguiars DMC6 Microfiber pads(6-8 per car), using one pad for each panel. I/we have found Jescars Correcting Compound to be better than excellent for removing the sanding scratches and coming up with an excellent scratch free finish using medium pressure. You will have light swirls but we will solve that in the next pass. 3M products were OK but produced mediocre result with a lot of of dust. Jescar had very little to no dust.
When you buff, it is not a race, going fast just means you are pushing the product around and not let the product do it's job. A 2 sq foot area should take a several minutes to do with a cross hatch movement((Horizontal/Vertical/Sideways).
Prime the pad, meaning you spread Jescar on the pad and spread it around. not soaked to the gills but 2/3rds of the pad has product. Do a 2 sq ft section with the primed pad. Then clean the pad to get rid of the dry product and residue. I use a compressor with a gun. If you don't have a compressor you can use a soft nylon brush to clean it. On the next section, you put 4 pea sized drops in each corner of the pad, do another section, clean the pad and so on. When you have finished a panel, wipe it down with a soft MF towel continuously rotating it. Toss that towel in the used up side and get a new towel for the next panel
Put on a new fresh pad, reprime, and repeat the above for the next panel. Consider the hood two panel and the roof/trunk two panels
The reason you change the pads, is residue builds up in the pad, and gets dry causing deep swirls.
Once you have completed every panel, I/we would use Rupes Yellow Polishing Pads(6-8 er car) with Jescars Correcting Compound. The difference is using much lighter pressure with a polishing pad.I just hold the orbital in my hand and let the weight of the buffer being enough pressure
Same identical process as above prime each pad, then clean it, replacing the pad for each panel. Again it is not a race but letting the product do it's work.
Same with towels, rotate to a new surface and toss in the used for each panel.
I prefer the Rag Company's Drago Red. It is soft and has a medium knap. Too thick a knap and the towel just glides over the product, too thin a nap and it does not absorb enough product causing very, very fine scratches..
Sounds like a lot of work, but it is really not that bad, and you will end up with a "Wet Your Pants Finish"
Then when all is said and done put Feynlabs Ceramic Light or Kamikaze Miyabe Ceramic on the finish. I prefer Feynlabs as price per lb it is way above the others, but Kamikaze is much easier to deal with.
Product Links Jescar Correcting Compound Meguiars MF Compunding Pad Rupes Yellow Polishing Pads Feynlab Ceramic Lite Kamikaze Miyabe
 02-28-2014, 01:48 PM