When you click on links to various merchants on this site and make a purchase, this can result in this site earning a commission. Affiliate programs and affiliations include, but are not limited to, the eBay Partner Network.
Now that I have what I think are the right carb parts I'm planning on starting this weekend. The motor runs, but is incredibly rough. The previous owners made it seem like the carbs needed some parts. I was going to have to dig past gaskets and springs so I wanted to have parts available to do entire carb rebuilds. When I feel better about the engine I'll start working on other systems. Wish me luck that I don't find too many gummed-up parts (fingers crossed)
For cleaning, I always used cellulose thinners, as it removes all the petrol gum and other crud that sticks to the parts.
Its not clear if you are starting the rebuild, or have just finished. If you're just starting why are you trying to get the car to run properly ? YOU should be stripping it down, (with detail photo records of course) !!
Primaz, interesting that you bring up Ztherapy. The guy who put my clean-agent fire extinguisher together yesterday was telling me about a Ztherapy "right down the road" in Salem, Oregon. I am going to attempt the carb rebuild on my own first. But it's good to know they are a "safety net" if I get lost.
Fraser, I have already got my carb kit from XKs Unlimited in California. It makes sense that Burlen would be a great source but I bet shipping would be prohibitive. I did download Burlen's instructions though
The car; the restore... I got the car just a couple of weeks ago. the gentleman that I bought it from had started... got the engine running, overhauled the transmission, and then decided he had too much on his plate to do the car justice. So, where am I in the overall restoration? Not sure. I'm trying to be methodical; getting the engine running well enough so I don't worry about an engine fire seems a good first step to me.
As far as pics - sigh - I know how we all love to see pics of these pieces of art emerging from lumps of iron that we pick up. I will try to take some pics, but when my hands get gunky there may not be many. I will post some before pics and definitely some after pics but I won't promise many "in-process" pics. Many apologies in advance...
Thanks for the advice on the cellulose thinner. I bought a can of carb-cleaner. I'm going right out now to see if it's cellulose thinner
I am very familiar with SU carbs as I own three 240Z's and even the top Z shops send all of their client's SU's to Ztherapy for full rebuilds as you can keep tweaking them, etc. with partial part changes but in my opinion it is just not worth screwing around with them when they are that old. When you get the back from Ztherapy they are better than new which is why so many shops do not attempt any rebuilds but send them there.
They will do a much better job than any Jaguar shop. They will tailor the rebuild to your engine. They take it a step further as there are many ways to trick out an SU for better performance than stock.
Gene, thanks for the fill-in information. In my case, I bought a Mark 2 in 1979 to start a rebuild, then found an unused shell in deepest Wales in 1980 before I had got seriously into the rebuild, so stripped the car down completely and built the car up on the unused shell. SO no welding, but even so, it took me 8 years !!
Taking over somebody's abandoned rebuild is usually difficult as you don't know what has been done and what hasn't, even if the guy tells you all he knows, he's often forgotten much of it !
I found the really time consuming stuff was bodywork and trim. If you have any questions, just PM me.
Fraser, thank you! and you bet I will I totally agree with your analysis - I am looking through this automobile with a flea-comb. As you say, the gent who stared this resto may be completely on the up-and-up... but you just don't KNOW until you see for yourself.
I have every intention to hire out a lot of the body and interior work. I want those to be very nice-looking. I feel like I can get the car running; I just don't know how to make her beautiful as she deserves.
Last night I started disassembling the front carb. I took lots of photos to help me reassemble it, and will continue to do so. When I can figure out how to transfer those pics without impacting my data plan I'll post some of those pics.
Primaz, I had already got the parts when we started chatting about the carb rebuild. I'm sure ZTherapy can do a better job than I will but I'm going to see this through. ZTherapy will probably see this car before it's said and done anyway.
Most of you "old saloon" guys will recognize these:
I thought I had better pics of this - I pulled the carburetor piston/needle assembly out and loosened the bolts that hold the carb to the manifold. I reckon I'll have the whole thing out tomorrow or Saturday
Well poot. I rebuilt both carbs - good. When I started the ignition for the first (then second) time, the engine started revving higher and higher - bad. I shut it down, went out to adjust the idle speed and heard tap, tap, tap... Gas leak! Even worse :P
I plugged the fuel line then started looking. It looks like the forward carb is leaking near the bottom.
I will open it up over the next week to what I missed - or what broke (less likely). I'll keep you all updated
Pretty sure I know what the problems are now. I just need to do some work this weekend to be sure. When I checked the throttle linkages last night I noticed a loose fitting to the throttle return spring.
The carb leak will require some disassemble to check
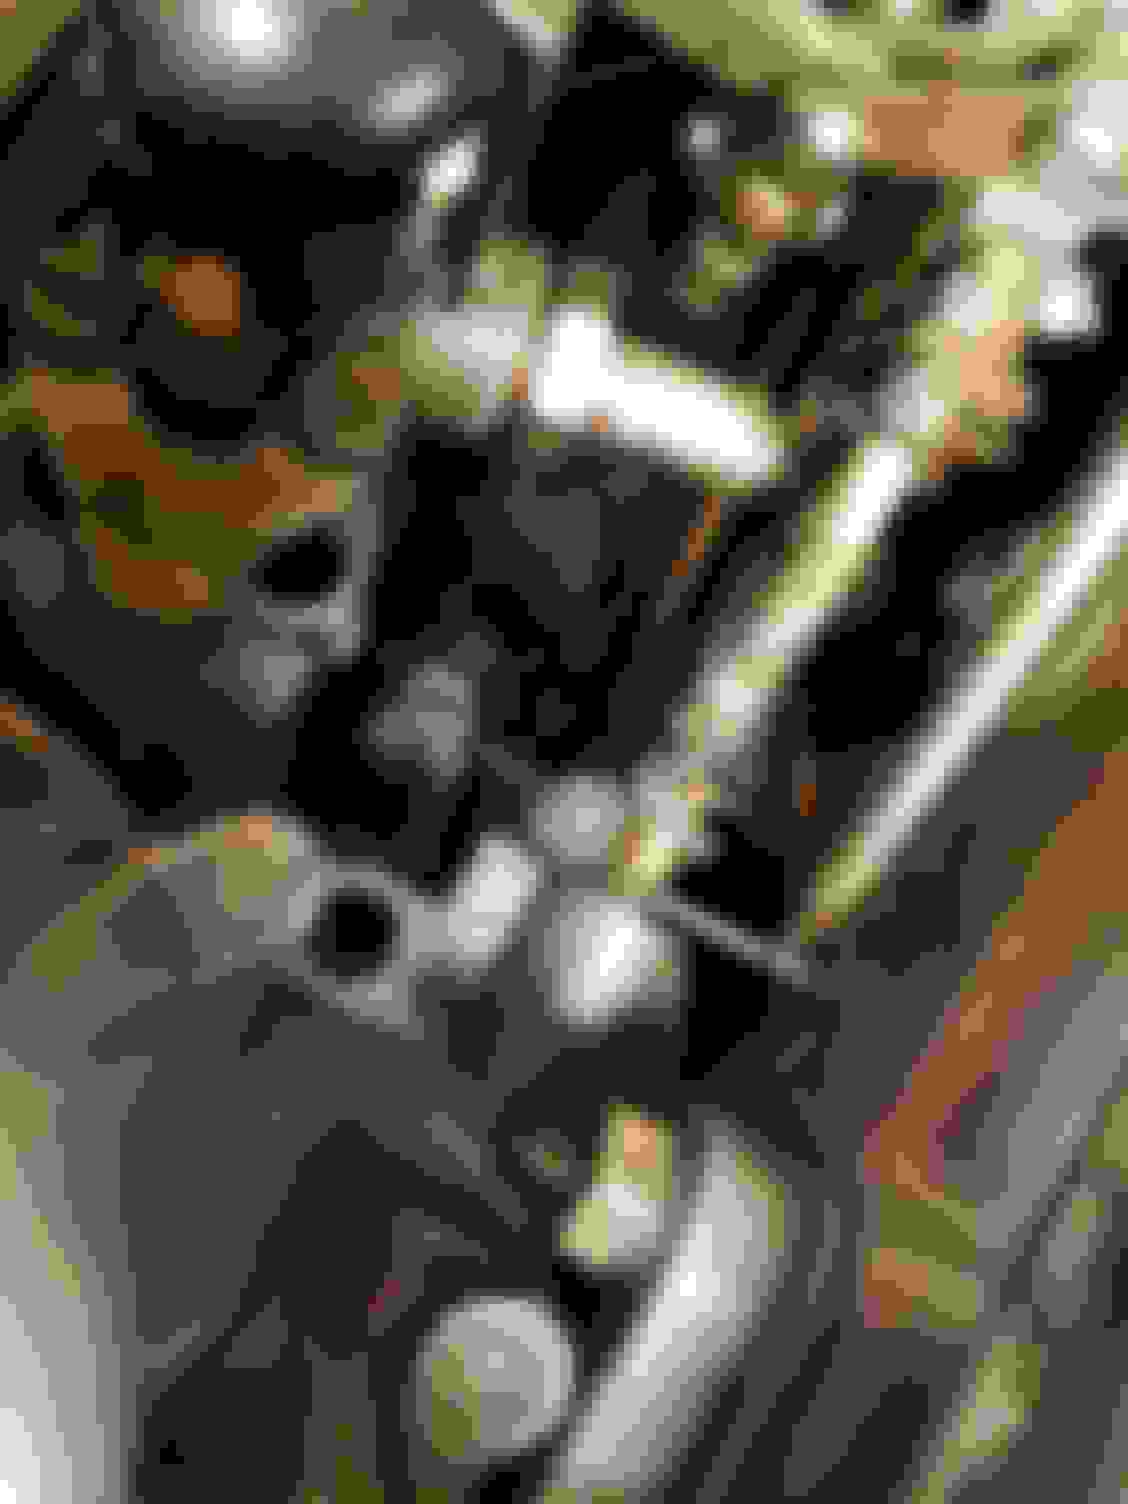
1 of the issues was obvious - the link that holds the throttle return spring was slipping. This kept the throttle engaged - the symptom would be the same as if you had your foot to the floor and never let up. The tip of the screwdriver is touching the link that was loose. This is adjacent to carburetor #1:
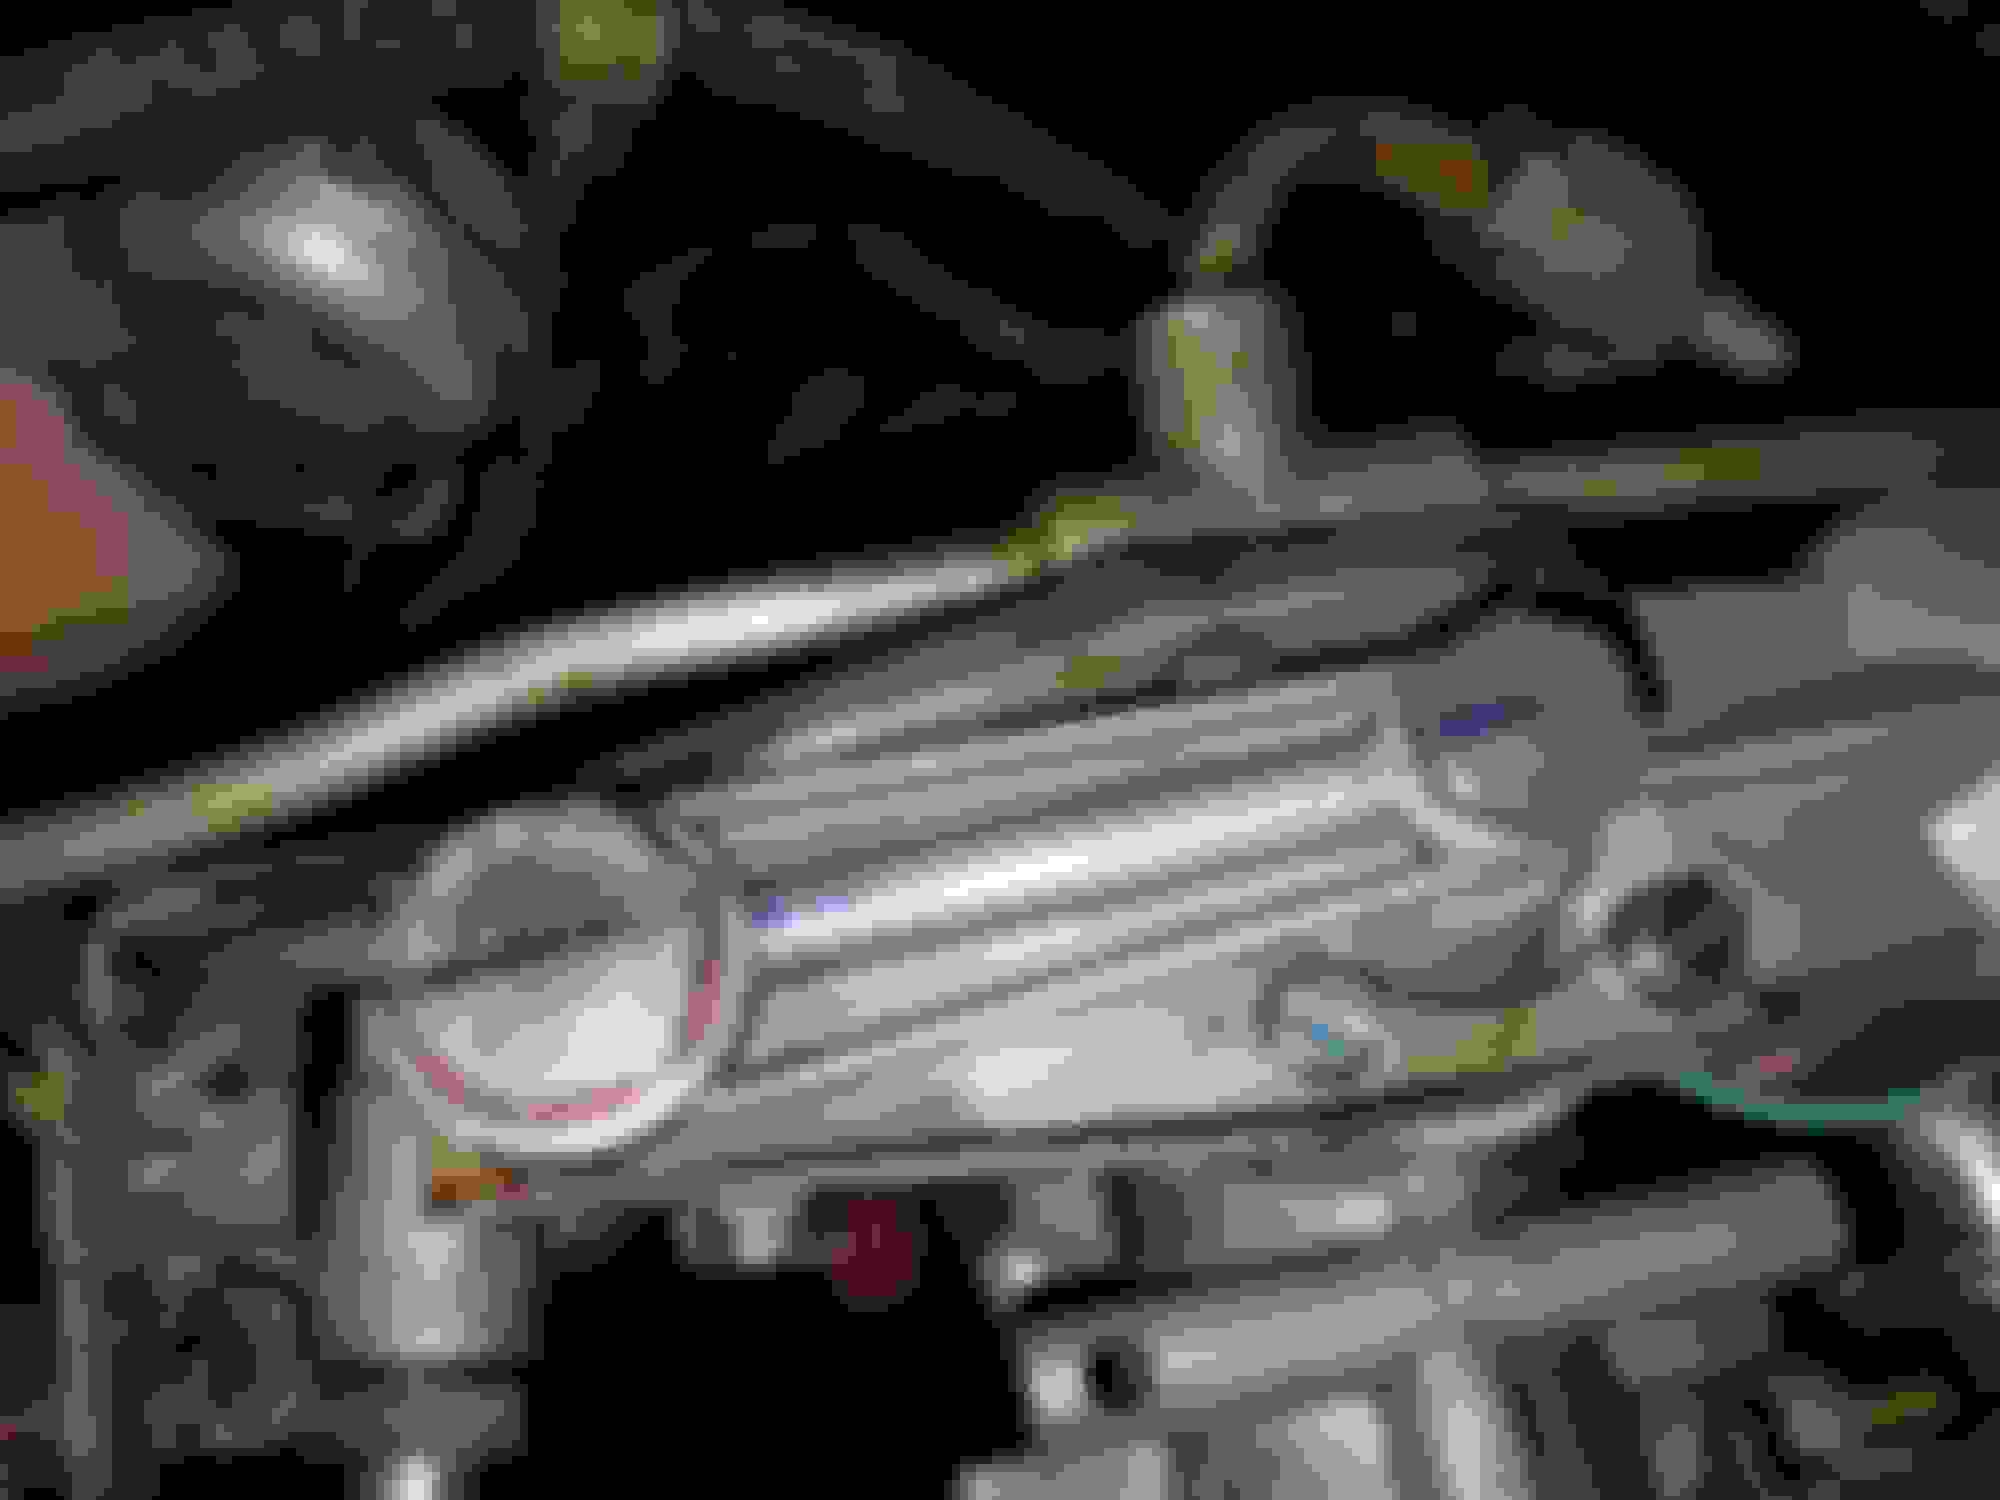
The second issue is difficult to describe and I did not take any pics. The bottom of Carb #1 is very complex (IMO). There are a number of washers and 2 banjo bolts that have to line up and seal up perfectly. I had screwed that up. I think everything in there is lined up the way it's supposed to be with one exception - I am having a difficult time putting the banjo bolt that connects to the Auxiliary starting carburetor back where it belongs. I have tried several time over the last few hours and it's just being difficult. Anybody got any ideas? here's the bolt:
Not sure what you have tried yet, but with the parts separated, make sure the banjo bolt screws into the bottom of the aux carb, and the threads are not the issue, Then with the whole assembly pieced together, start with the banjo bolt to the aux carb, and when it starts leave it loose, until you get the other side of the crossover piece attached to the bottom of the car. Tighten them when everything is in place. Here is a picture of the parts from mine when I took it apart, so i would know how they went back together.
Yes, that's the exact assembly I'm talking about. My issue is with the bolt on the right in your pic. I left the aux carb solenoid assembly attached to the manifold fuel line so I'm trying to attach that banjo bolt "blind" - from below. I did it last weekend so I'm not understanding what the issue is this time.
I may end up removing that assembly from the fuel line. I was trying to avoid disassembly where possible.
Had a virus the last couple of weeks but I got her, or should I say she let me, this weekend
Csbush, I went with what I know - I removed the carb then tried the bolt in the aux carb. No probs with the threads and, soon after, I managed to thread the aux carb through all the brackets and washers
After reassembly and lining up the banjo bolts I reckoned everything was good-to-go.
I waited til this morning to reattach the fuel line, do some final testing, before cranking her up. Took a while since the fuel lines were completely dry but she started, stayed started, and didn't leak. I drove her around the block just to make sure (and maybe take a victory lap).
 04-05-2016, 12:43 PM