67 MK 2 restoration
#81
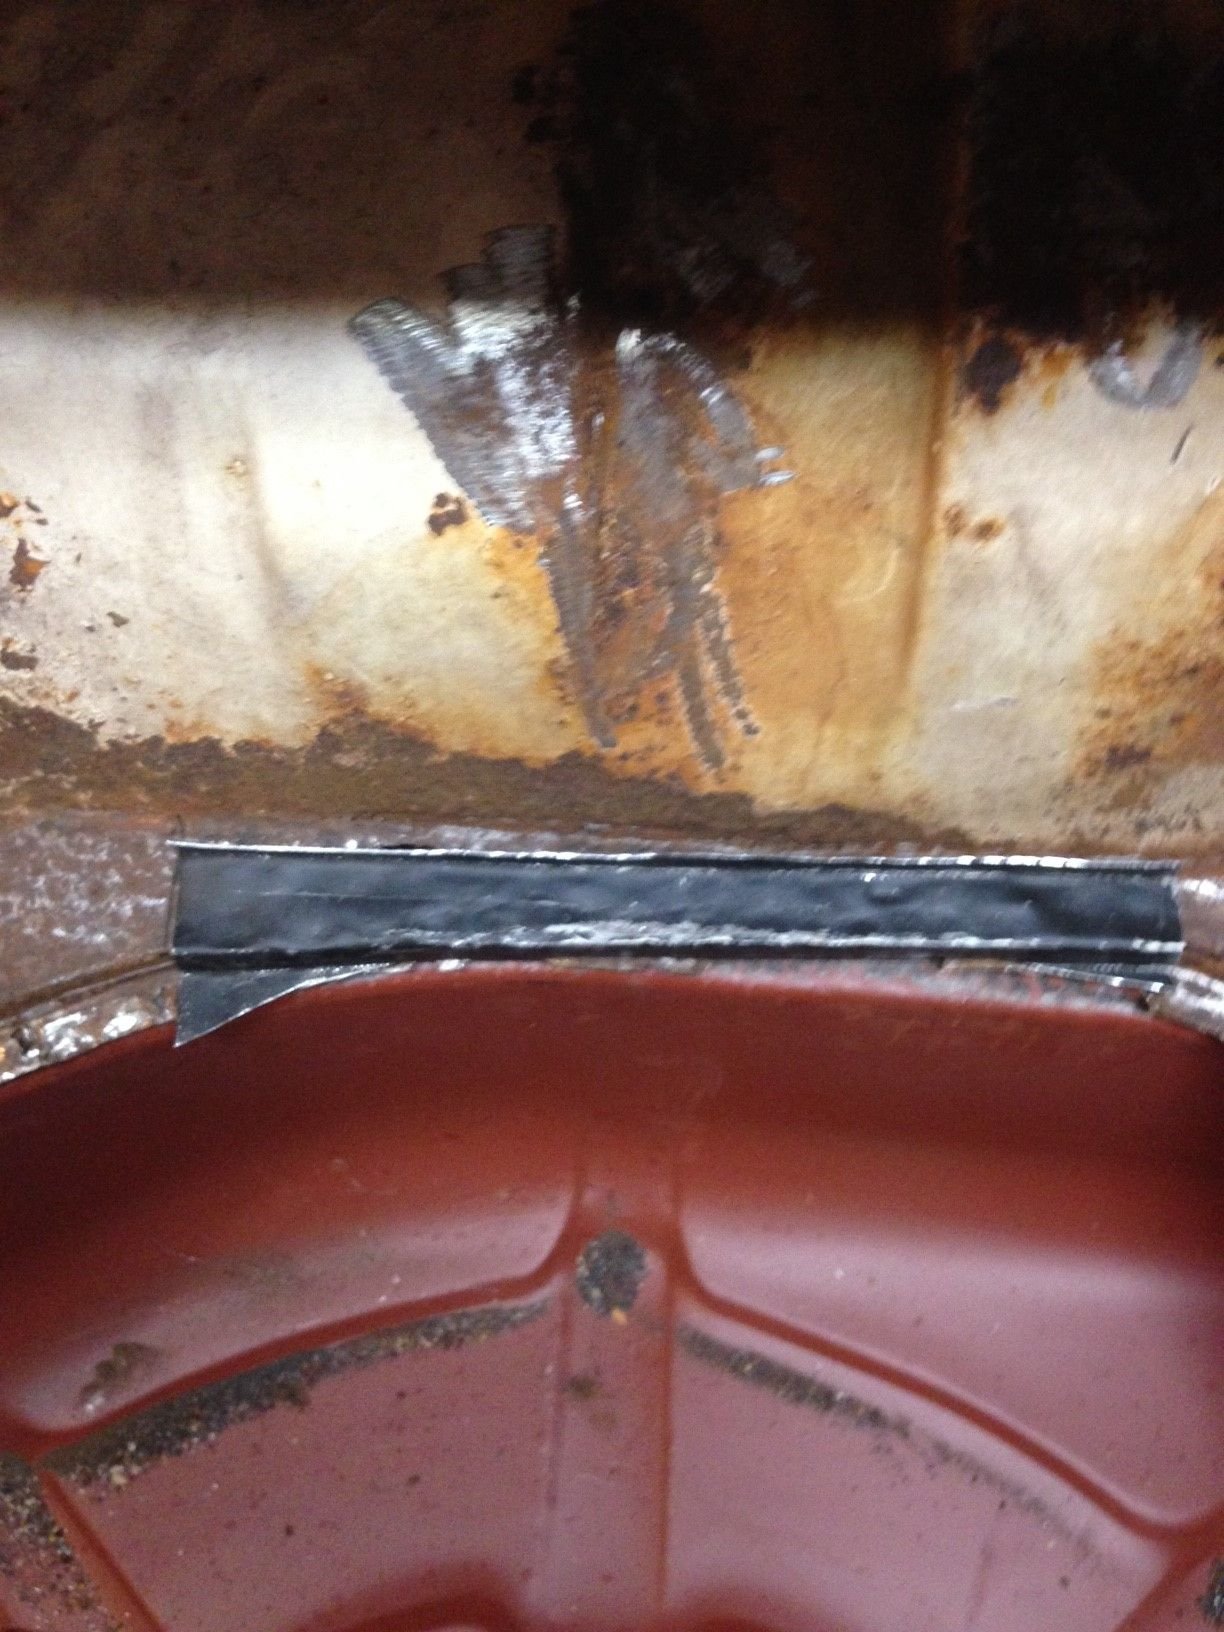
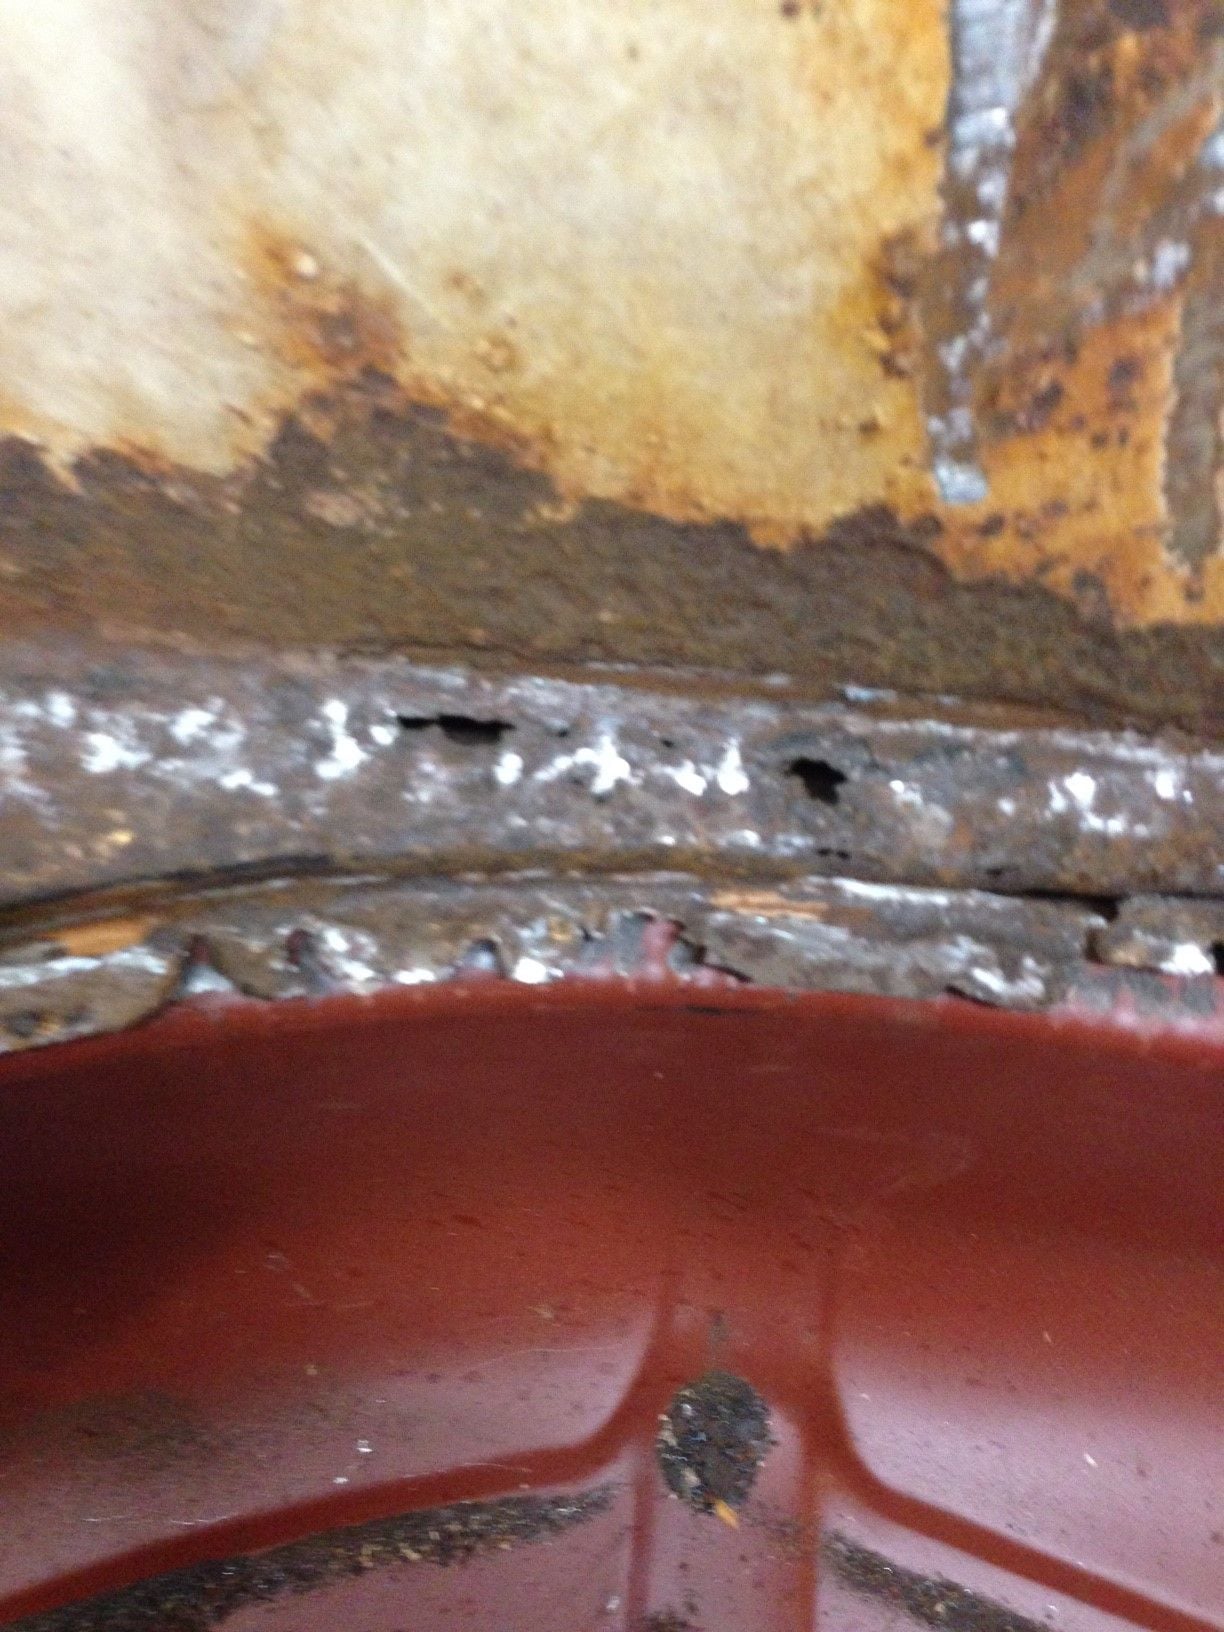
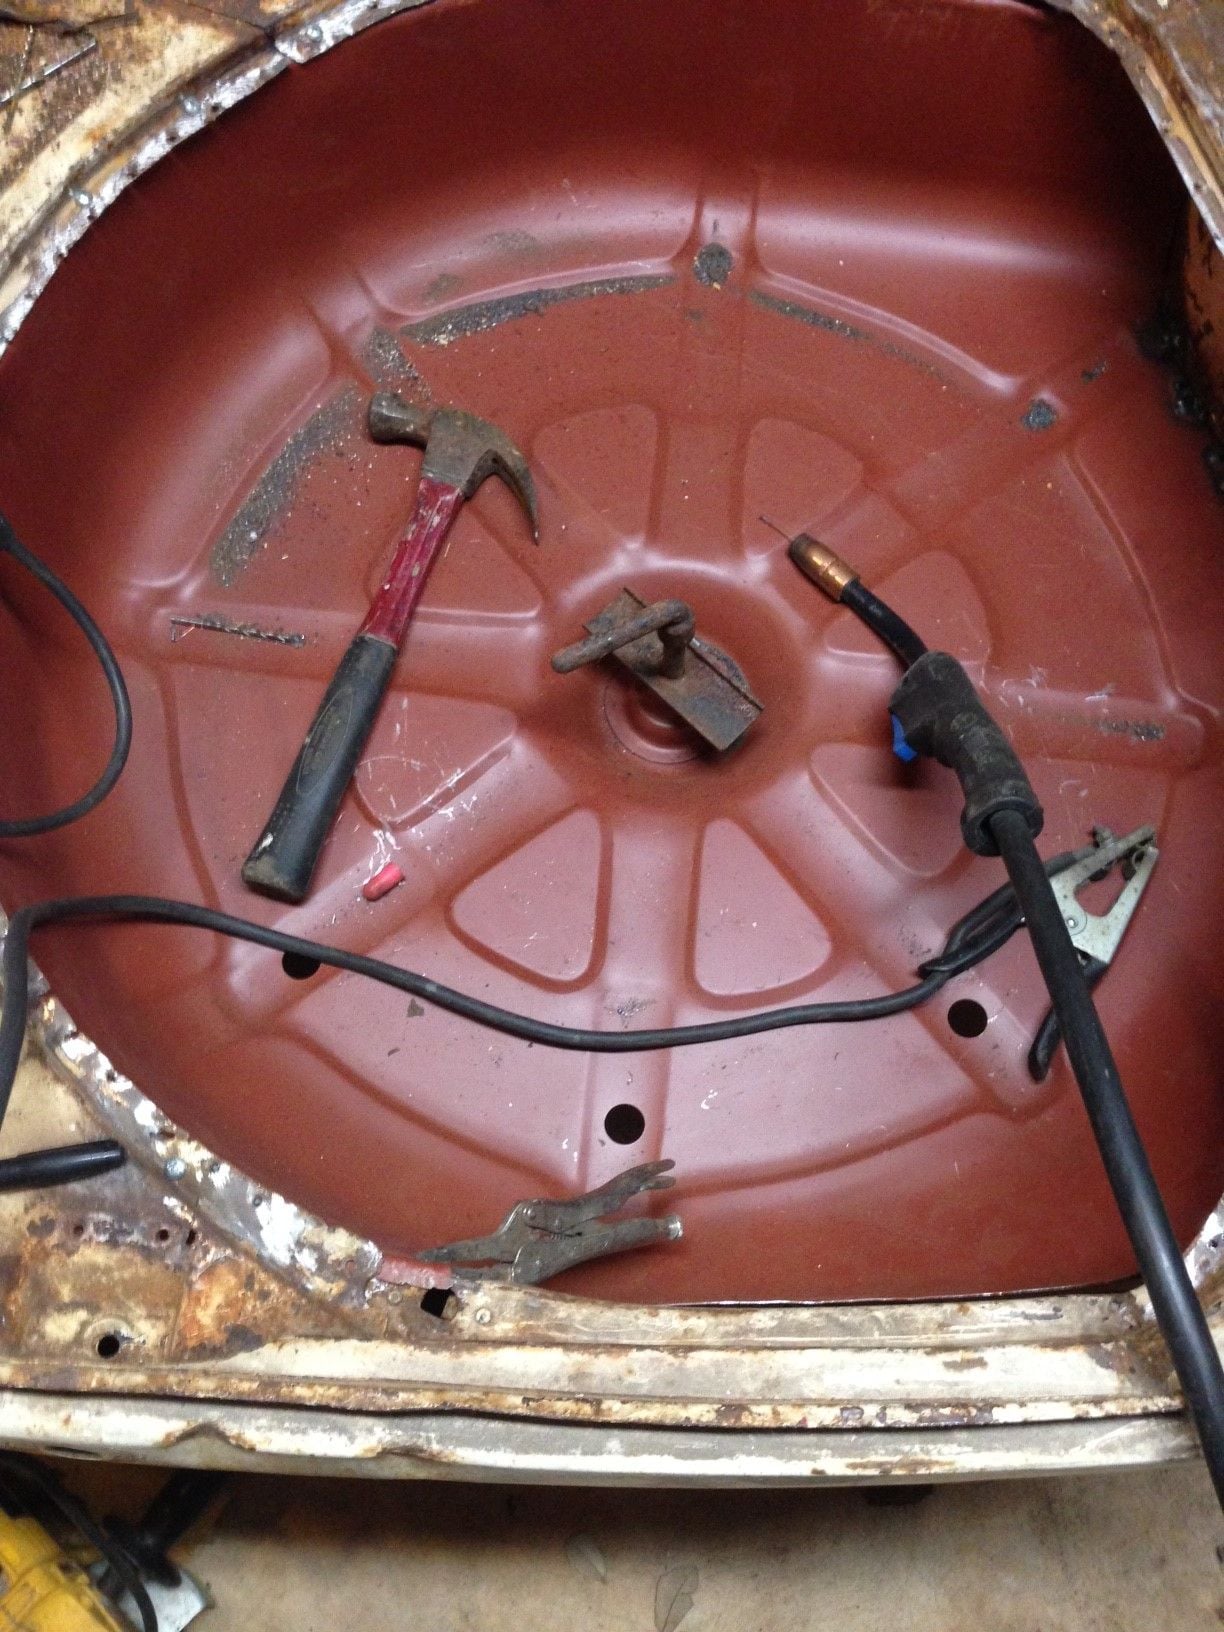
Finally got some time to work on the body. I fixed a rust spot that had been hidden by the back window. That leak around the back window an likely other places did some other damage that I discovered today. The back seat pan was worst than I thought, so I am going to have to fabricate some pieces. The spare tire holder is also worse than I thought, so I am just going to cut the whole thing out and replace it since SNG Barratt sells a replacement piece.
The following users liked this post:
csbush (11-15-2016)
#82
Thanks for the reminder. Yes, I read the thread- perhaps from you, about cutting off door skins, and then finding the replacement ones did not cover the whole door. So I am a little cautious about cutting out body parts. I hope it fits like the original as it would be very easy to replace. But we shall see Thanks again!
 Thanks again!
#83
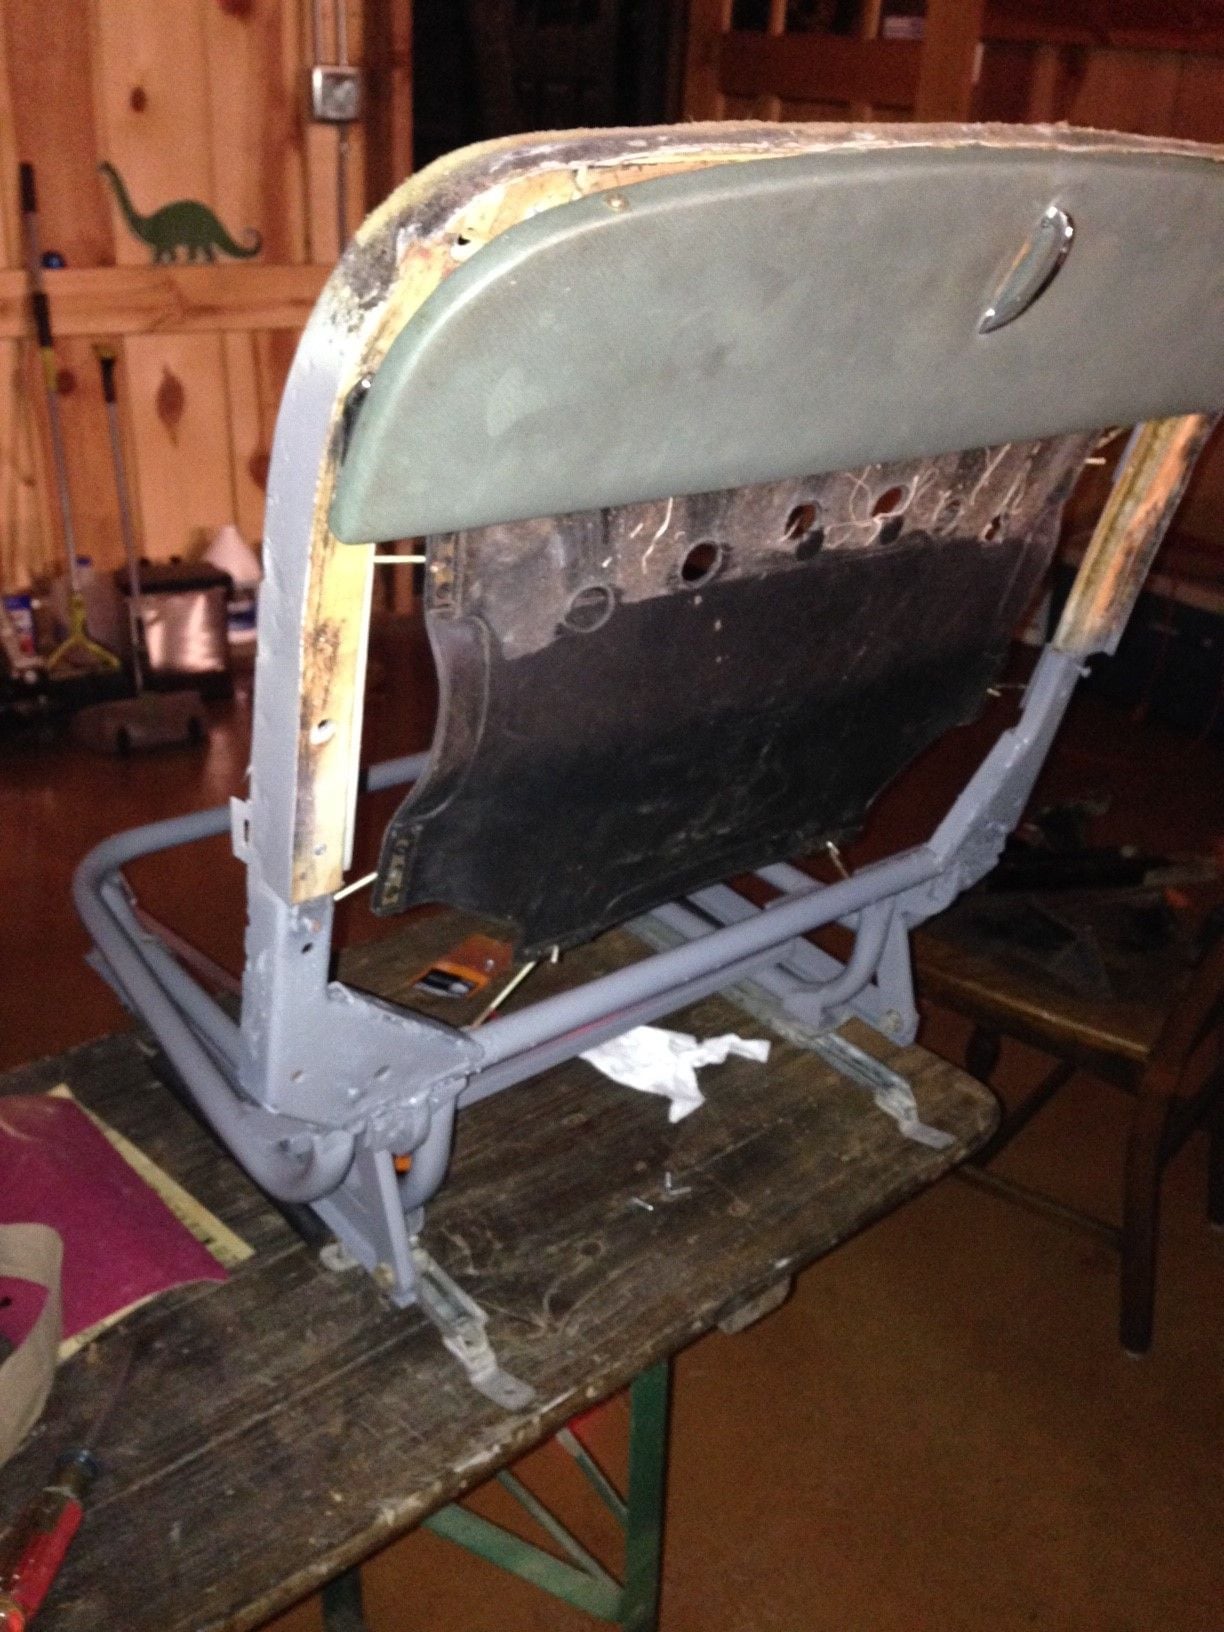
Note the picnic table is not flush with the seat back
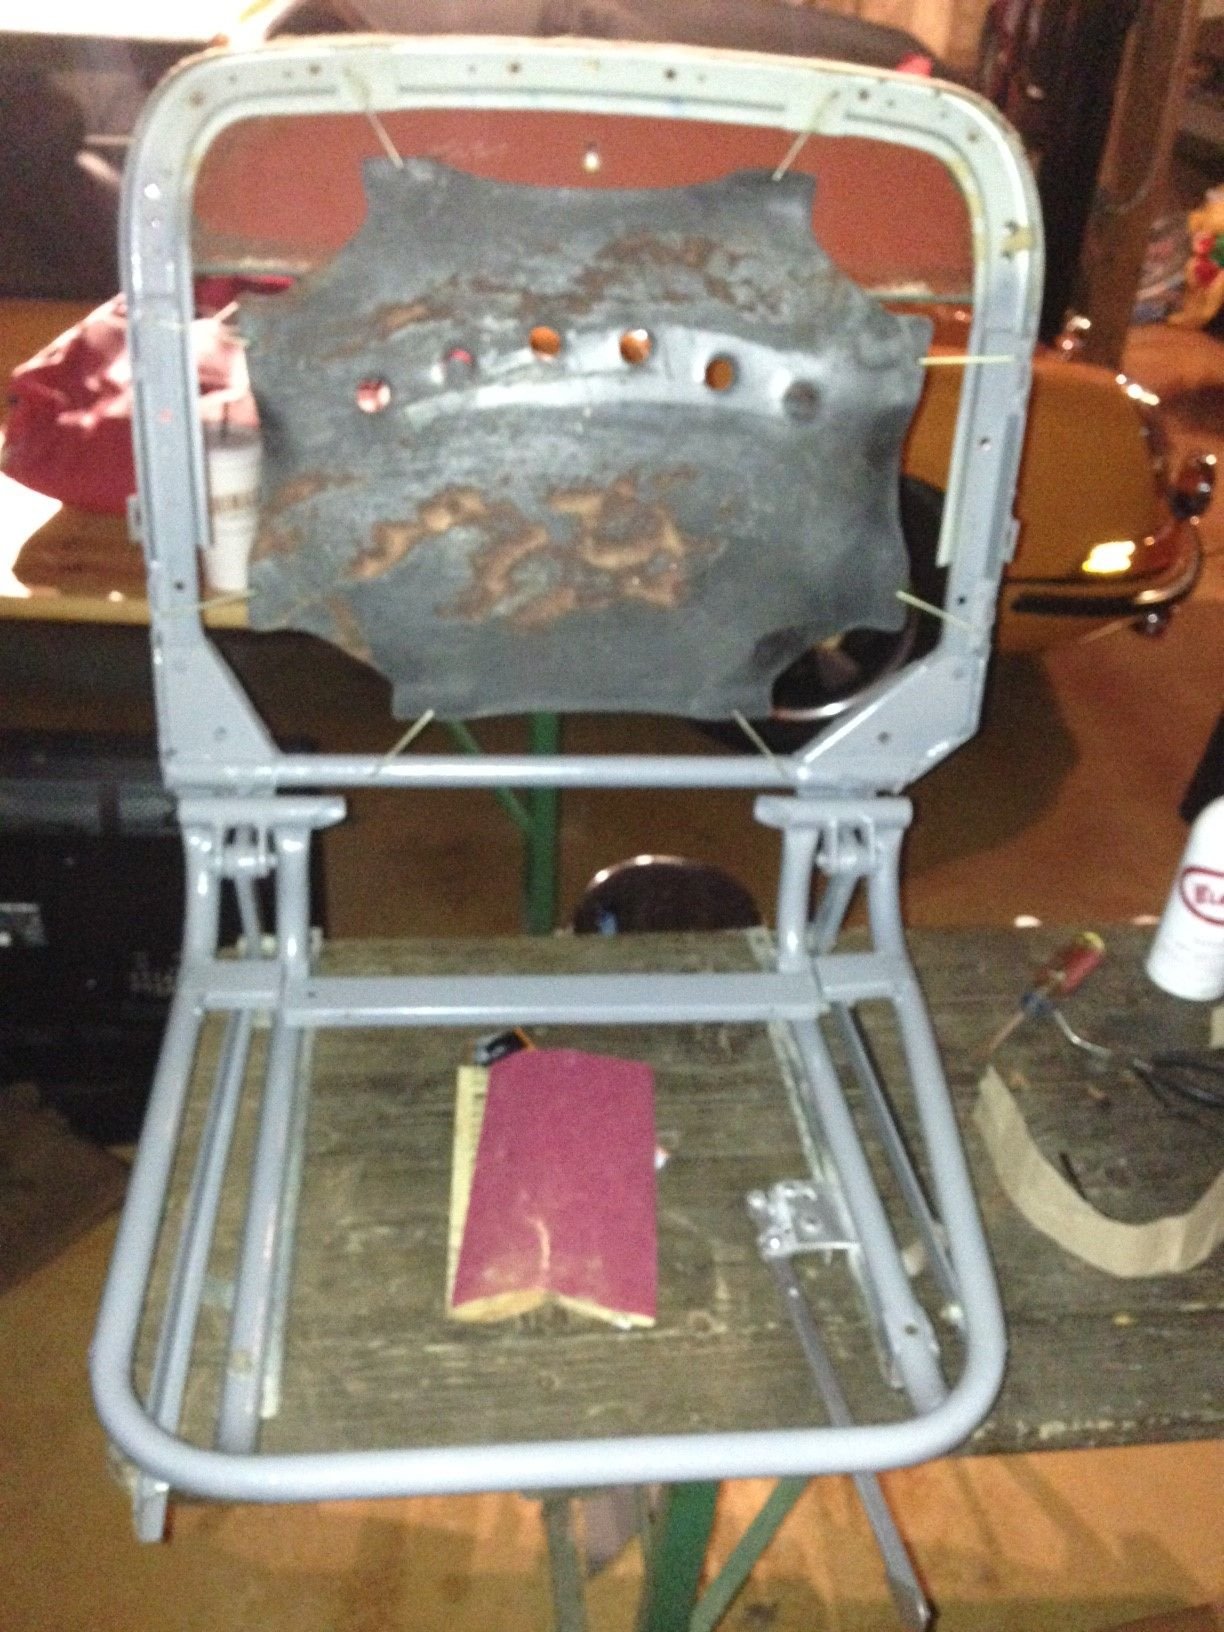
All repainted and ready to go
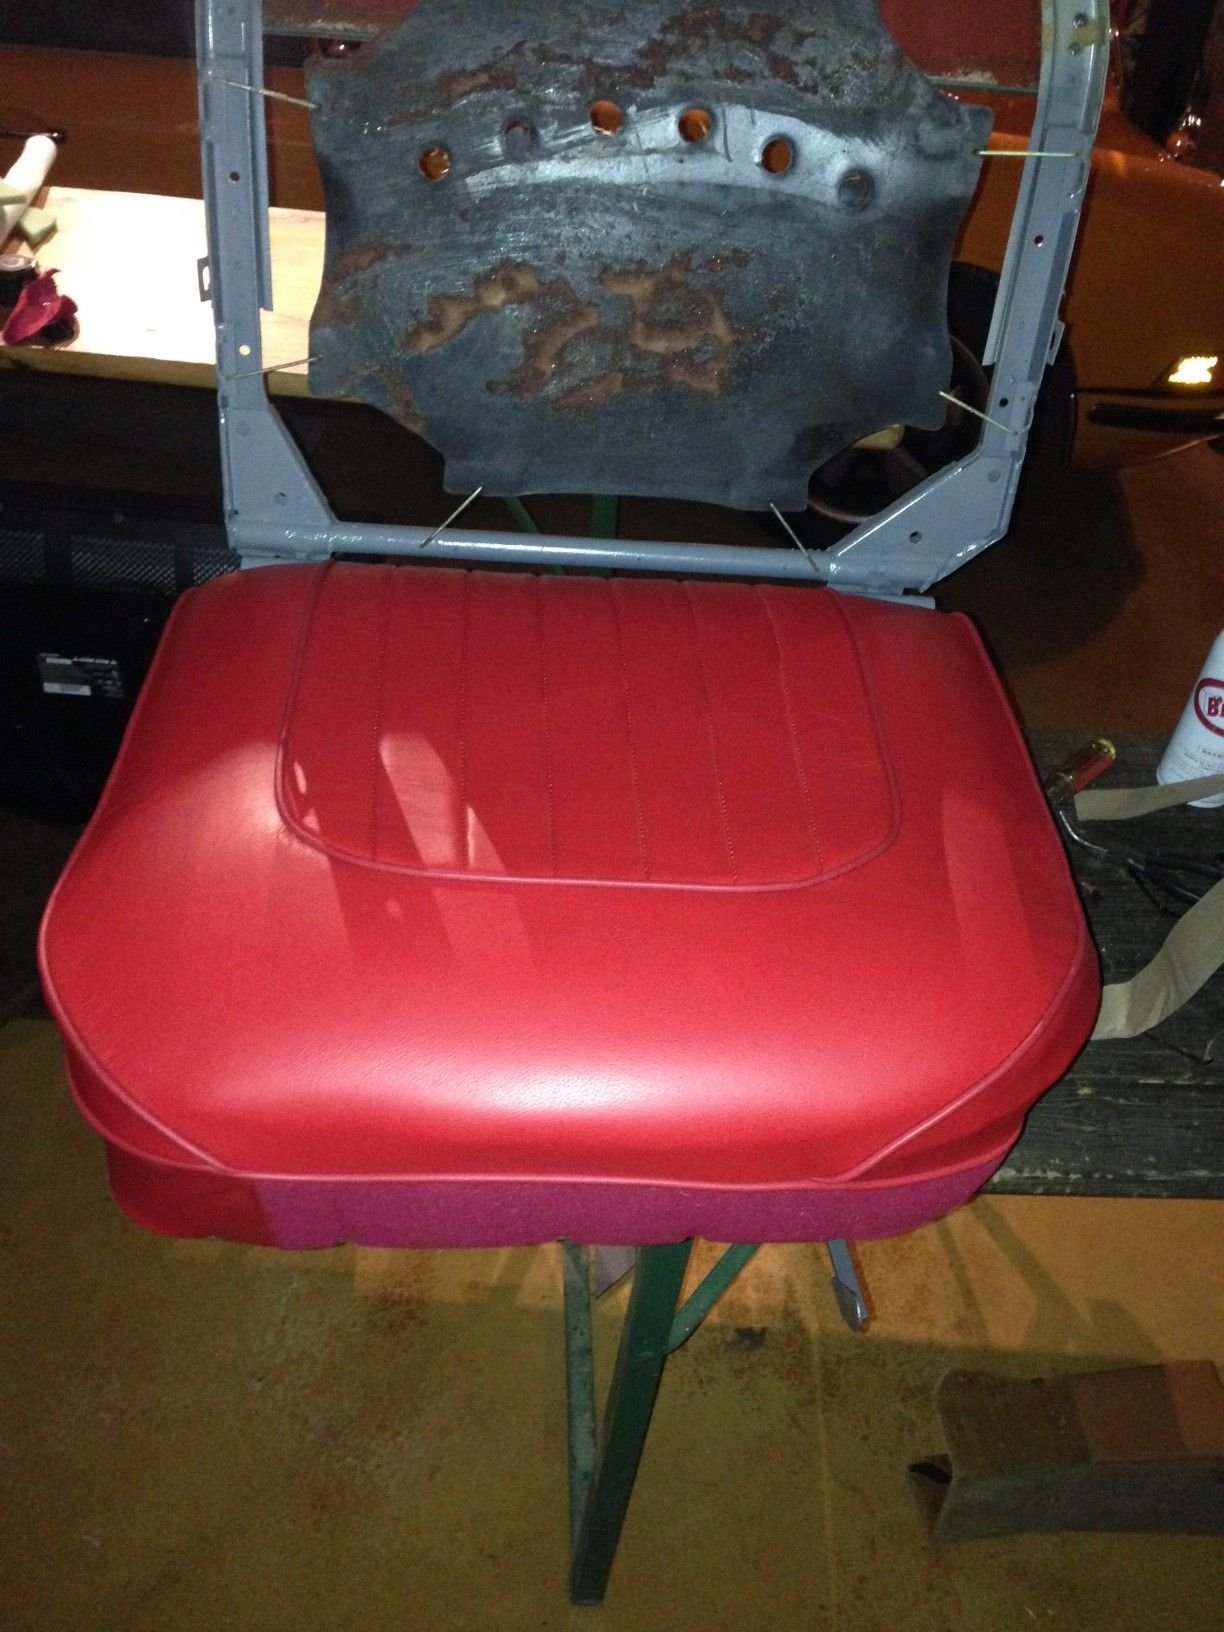
Bottom cushion finished-
OK, it is too quiet on this forum so here are a couple of pictures to inspire or disgust you. I could use some advice on the picnic table though. Obviously these seat frames did not previously have picnic tables, although they do have the holes to mount them. What is missing is an additional piece across the top of the seat frame to make a pocket for the picnic tables. So I will create that out of some scrap metal. Hopefully this weekend. The other thing that is different from what I have seen is the spring for the seat back is this big rubber thing. Not sure if it is a earlier or later feature. Either way it should work fine, and when I get the picnic tables pocket sorted out, I can install the upholstery to make it look pretty like the bottom cushion.
Last edited by csbush; 11-18-2016 at 01:14 PM.
#84
#86

Before and after closeup
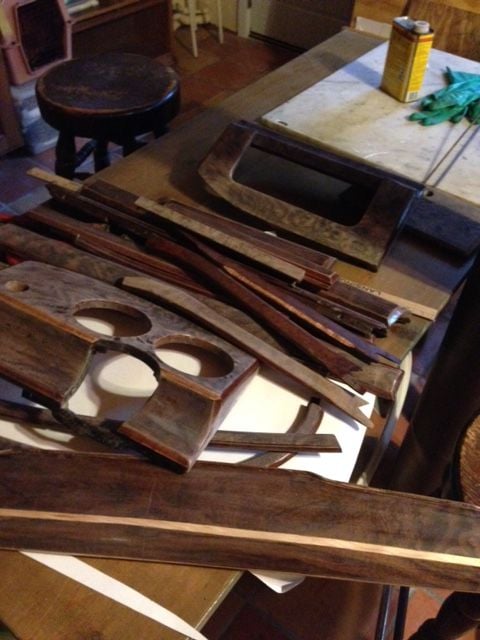
Sanded and waiting for the next coat of clear
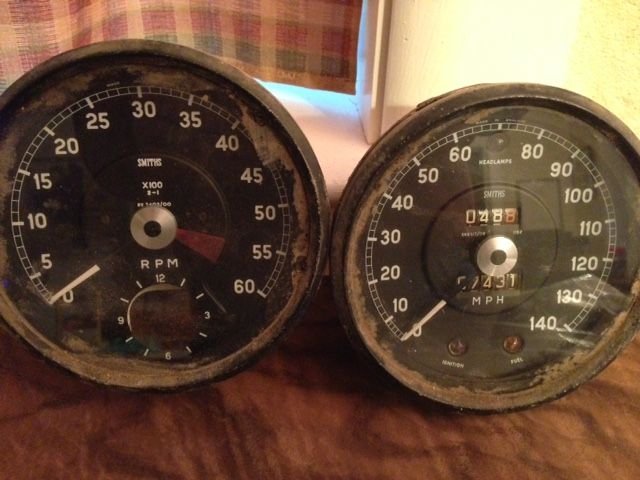
Lovely right? Looks like the car was pulled up from the bottom of a lake.

This was a no brainer, as I don't actually have a steering wheel for the car. It had been broken off!
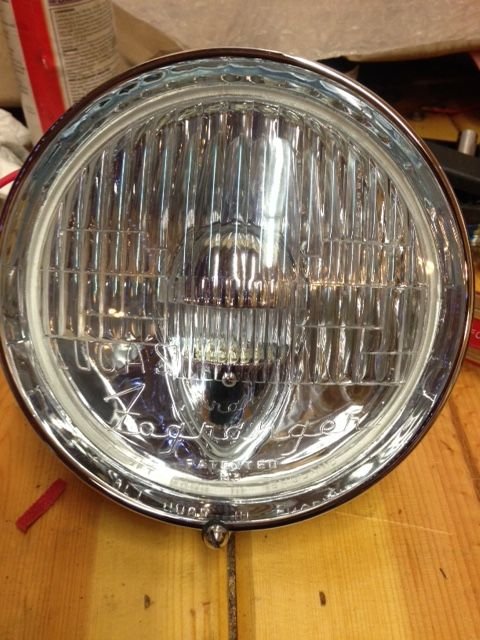
Happiness is a shiny new fog ranger
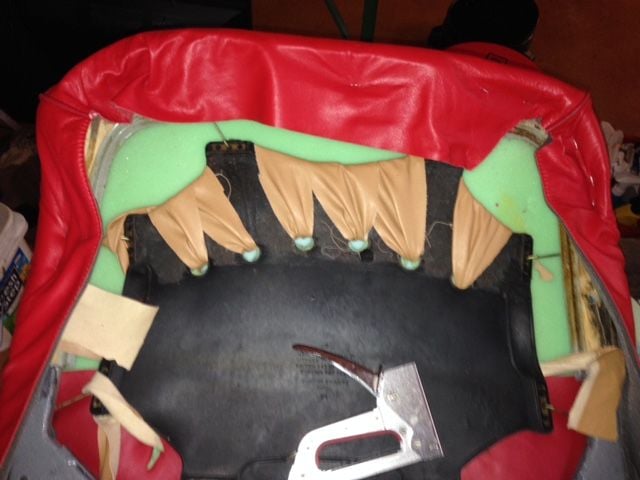
The Mt Everest of upholstery work. All I need to do is attach the panel and picnic table while getting the leather smooth. No problem!

Back side of picnic table panel as the trim is gluing to the front
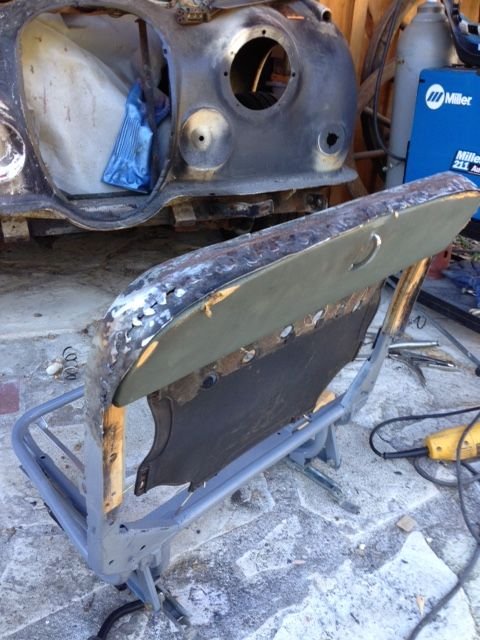
Pocket complete
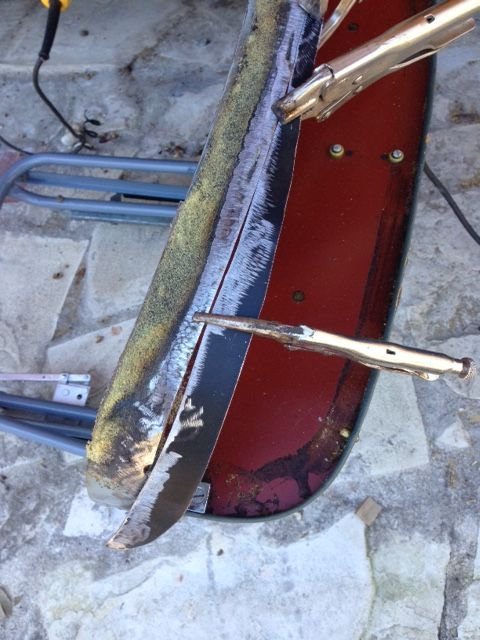
Fabricated and attaching the seat pocket
It was a cold rainy weekend, so I got to spend some time in the garage working on upholstery. The progress is really slow, so I have to remind myself this project is about enjoying the journey and improving my restoration skills. It is really encouraging though to see all the other projects on this forum coming along with beautiful results. The front seat upholstery work has been tough and slow going. Honestly, if I knew of a local place that could do it for me, I would haul the seats over there and write the check. However, that is not the case so I am plugging away. As I mentioned earlier, the seats did not come with picnic tables, so I modified the seat frame to create a pocket for the seat. Part of my challenge is that I don't have an example of how to do the upholstery for this, so am kind of making it up as I go along. I did get some insights from Lin's site on the need for a finishing panel behind the picnic table, so I knew I needed to make that. I made mine out of metal, and drilled holes for both the picnic table bolts, as well as clips to help hold it on the top. I also extended it down a little below the picnic table, so that the top of the lower seat backing has something to attach to. That is all the easy part. The next step is to get the seat cover smooth over the top of the seat, and the picnic table and backing panel installed. I am almost there though, and with the patience of Ghandi, I will get it finished. The second seat will be a lot easier! In the meantime, I amuse myself with new parts, and cleaning up old ones. I polished all the door window frames which was very rewarding, got some BEAUTIFUL new Fograngers from SNG Barratt, a like new MotoLita steering wheel (thanks Dean), and have been cleaning and painting metal bits. Finally, I have a second set of wood repaired, and am in the long process of laying on the clear finish. The instruments are awaiting cleaning- Jaguar instruments come apart very easily, and you can clean the glass, and repaint the trim. it is a very rewarding project. As you can see the clock is missing. I just got them back from Mike Eck who rebuilt it, installing a more reliable mechanism. It looks like original, but actually works. Hope you all have a great holiday, and your project work exceeds your expectations!
#88
So it has been a couple of months since my last post. The seat upholstery has been really frustrating, and I fell like I am just wasting time, so I am going to set it aside for a while. I am going to try and find some seats that came with seat pockets as I think it would be easier than trying to set the upholstery right on my modified seats. The pockets for the picnic tables are too small as I could not get the fabric smooth enough, and I am not happy with the fit of the seat covers and my ability to get all the wrinkles out. Since I don't have the ability to sew and modify the seat covers, I just can't make any progress. If anyone has a source for MK2 seat frames designed for picnic tables, I would love to hear it. I'll try Terry's first. Worse case I can spend a bunch more time and get it to work, but I need to do something else for a while!
I am still working on the metal work, but that is going slow too. To many other things going on. I have the spare tire well fit and started tacking it in, but the fit isn't that great, so there is a lot of time consuming metal shaping, as well as the need to fabricate some complex metal parts that have rusted out around the spare tire well.
At least this Summer, I'll have a lot more time to work on the car, and might make some real progress!
#89
Fitting new leather on an existing frame is always a tricky procedure.
Two thing to help with this is spray silicon and a heat gun.
The heat gun being the most useful, it softens the leather making it yield to where you want it to go.
It's very useful for taking out wrinkles and puckering and fitting the leather over tight areas.
I rebuild leather sofa's for a living (part of my job anyway) and the heat gun is indispensable.
I'll use large garbage bags too to do initial fittings of the leather, the slippery plastic allows the leather to easily slip over the frame and grabby foam.
#90
The repair panels are not the easiest at times, do you have the car on a rotisserie ?
Post some pics of progress when you get time please. it good to see how your getting on.
I have the body metalwork completed and am working on the suspension, tried plating some of the bolts and wasted a whole day, so I am also frustrated at the moment, I hate it when you don't seem to get anywhere after a whole bunch of hassle !
#91
Chuck, I'm with you. Get what you can done. We both have lots of details we can work on before the "final big push". If one track is temporarily difficult, working on something else seems a good idea. A solution for a trouble spot may occur to you while you're not working on it 
Now that the weather is pretending to place nice I may start to make some palpable progress. At least til the next cold/rainy snap.

Now that the weather is pretending to place nice I may start to make some palpable progress. At least til the next cold/rainy snap.
#92
Thanks for all theencouragement. I thought it would be fair to highlight the challenges of thisprocess instead of just the successes. I appreciate all the suggestions, andwill definitely use the tips.
I don't have arotisserie for the car, and while it would be helpful, I have limited weldingfrom the bottom, so the trade-off of building and getting it on a rotisseriejust isn't there. At least right now. I'll get some more pictures of the damage caused by the tin worm, and of fitting in new parts.
I don't have arotisserie for the car, and while it would be helpful, I have limited weldingfrom the bottom, so the trade-off of building and getting it on a rotisseriejust isn't there. At least right now. I'll get some more pictures of the damage caused by the tin worm, and of fitting in new parts.
#94
#95
A couple of pictures as requested. I just need a few free days to dedicate to this. The patch is difficult because it has four bends and is curved. I'll probably have to start over from my original effort. It isn't difficult, just time consuming. Main focus of getting the spare tire well fit is to ensure that the cover fits properly, as it was a tight fit before I took out the old tire well, and discovered all the additional rust around the edge.
#96
Looking great so far.
Those type of patches are an absolute swine ! I found it quickest to cut the curve on a flat piece and then weld a thin strip say 1/2" to the curve at 90 deg and then trim the thin strip down and clean up with a grinder. I use a strip that is bigger than I need otherwise you will simply blow it away with the mig, so if I want 1/8" I use 1/2" strip, you also don't have to line it up exactly as you can trim top and bottom after you have welded it to the curved piece. I also weld on the inside of the bend, this then leaves a fairly crisp angle after it's cleaned up and you don't grind all the weld away.
Trying to get that bend on that radius is really difficult without either a bead roller or a shrinker/stretcher in my opinion that is someone better with a hammer and dolly than me may say different.
Last edited by TilleyJon; 02-20-2017 at 02:27 PM.
The following users liked this post:
csbush (02-20-2017)
#97
#98
#99
#100
Gene61,
I wish I had a huge workshop and all the fabrication tools, but I don't, so we all improvise, adapt and enjoy the journey.
If you have to get someone to do something just make sure you are confident in what they can do and they understand what you want them to do.
CS You will be an expert welder when you're done, after several holes, bits that don't stay together and all the rest of the hassle of welding rusty cars you have a steep leaning curve, your doing a great job so far.
Last edited by TilleyJon; 02-21-2017 at 02:06 PM.


