
My X-Type Build Thread: Revive a hibernating cat.
#1
 07-14-2014, 12:45 AM

Hello.
For those interested in updates, this thread will serve to document the process of bringing my X-Type out of hibernation and back on the road.
Hopefully it won't have too many issues getting there.
It's spent most of the last 4 years neglected, sitting in a garage.
Quick background threads:
https://www.jaguarforums.com/forum/n...myself-121607/
and
https://www.jaguarforums.com/forum/x...-years-121662/
There's no deadline to get this car roadworthy again. Just from time to time I will knock off one of the things on the list to get it moving in the right direction.
Perhaps some of you guys will be kind enough to share your knowledge and insight along the way.
I don't have a ton of cash to throw at this project either.
If I did, I would just tow it to a garage to have all the fluids changed, a fresh set of tires put on, and some paint work done.
However, I'm a do-it-yourself type. So lets get this show on the road!
Future maintenance plans currently include:
Anything else maintenance related you guys suggest?
Fun stuff: (I have all the parts from before the car went into storage)
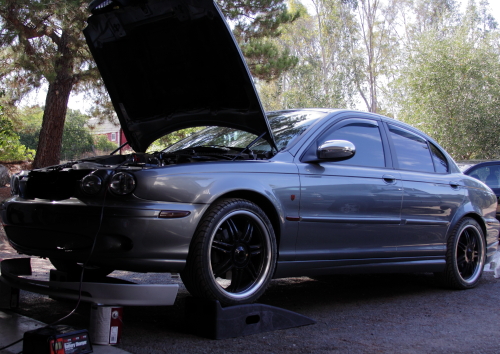
Today I got the car out of the garage and up on ramps so I could see the underside and inspect for leaks.
Fortunately the factory kit front lip is off, so i was able to just drive right up on the ramps.
It took a few tries to jump start, and a couple bangs to the starter. Then it purred to life.
Underneath there were lots of little oil drips everywhere.
I just ended up wiping everything down and then spraying on a degreaser and hosing off the engine. I'll have to give it a second inspection later to see what drips come back.
So I'll start the real work another day.
Lets get on to some introduction photos:
The car has a 08+ front grill and lower mesh grill.
Below that resting on top of some paint buckets is the replacement front lip I'll be installing later.
I also have a rear lip to replace the factory one that I managed to crack in the most dumbass way (splashed through a puddle).
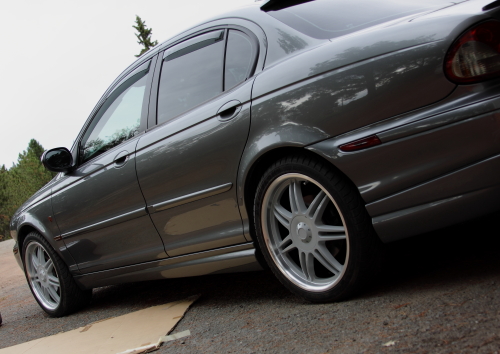
The car looks pretty clean from that angle, but it actually hasn't had a bath in about 2 years.
Theres a fine layer of dust on it, but it was under a cover most the time.
Tail lights are tinted, as are all the sidemarkers.
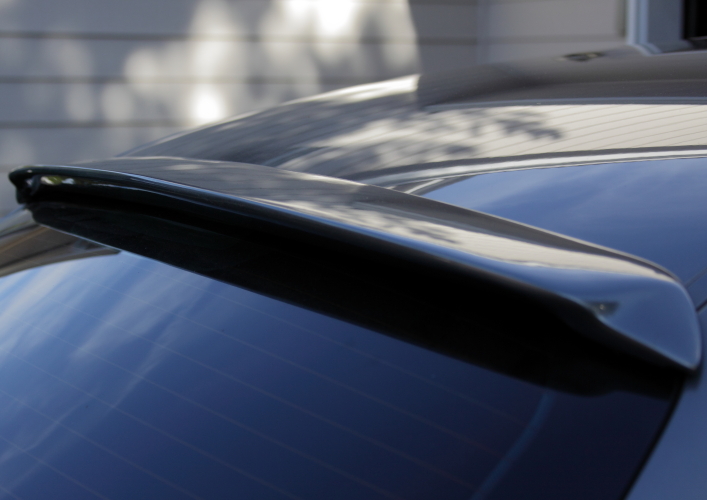
I have the roof wing as well.
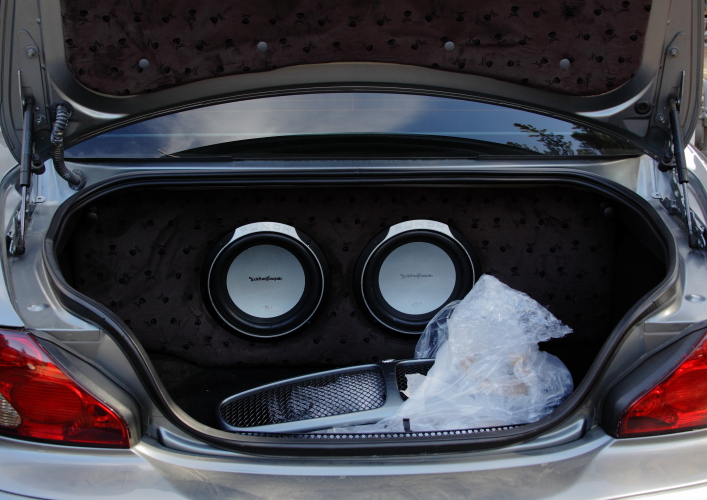
also in the back I have a couple subwoofers in a custom box I made and upholstered. I dyed the trunk carpet black.
Theres a white LED light bar that shines down on it. All the interior lights are pure white LEDs too.
Underneath the car are matching white LED puddle lights that come on when the doors are opened.
Only other lighting mods are yellow bulbs in my fogs, and amber colored driving lights.
The factory upper and lower grills are in the trunk.
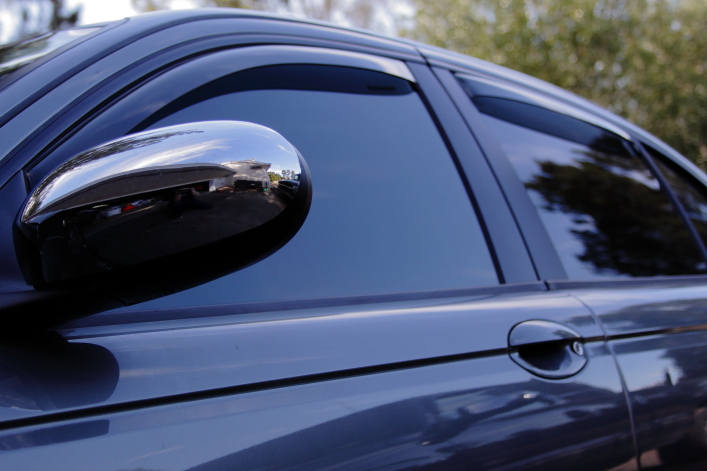
On the side I have chrome mirror covers and window vent shades.
All my windows are tinted.
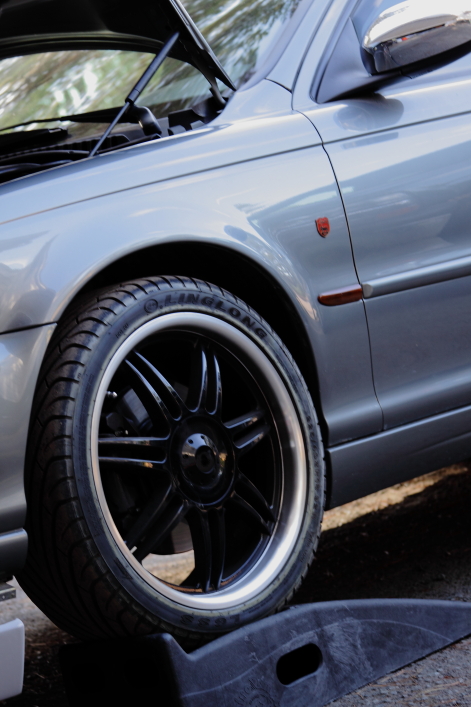
The tires are dry rotted and flat spotted. One had gone completely flat.
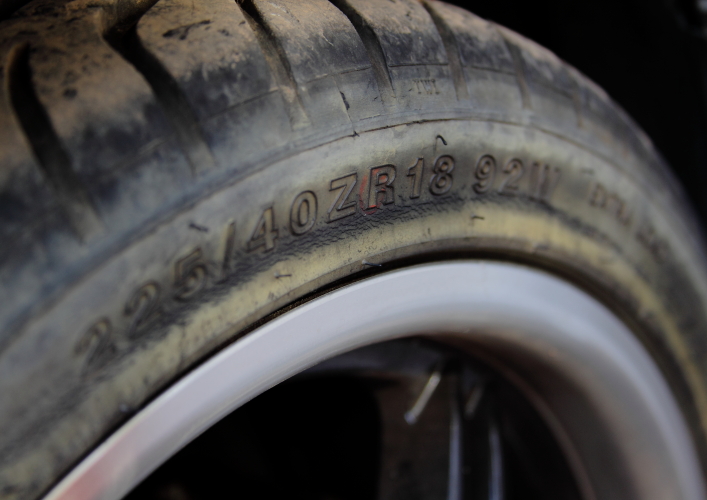
These wheels are going to look a lot better after I paint them silver.
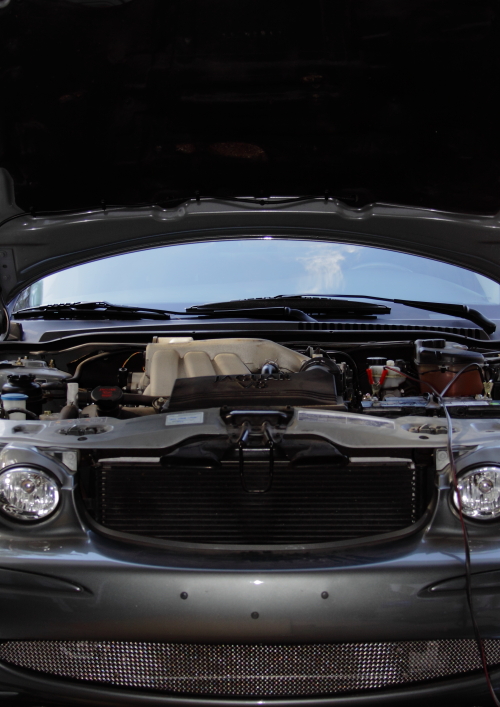
Heres the insulation under the hood that burned, cause it sags onto the intake manifold.
Now it has a little scar. Anyone else have that problem?
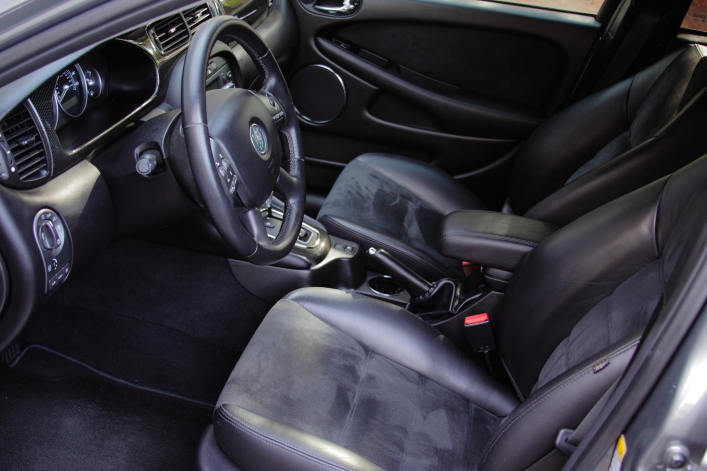
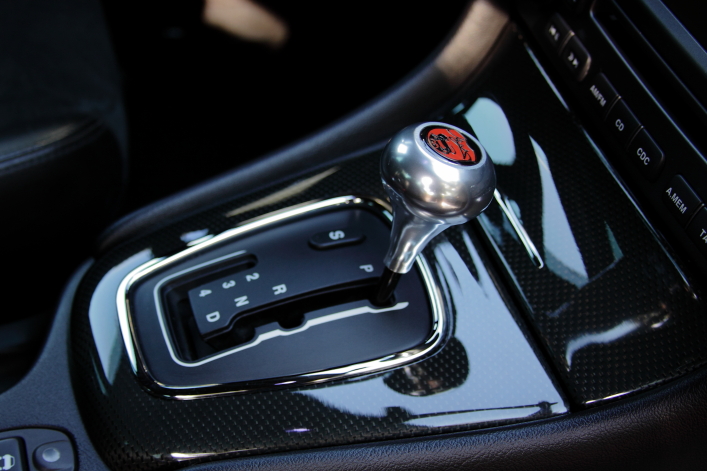
The interior on the other hand, is as good as new:
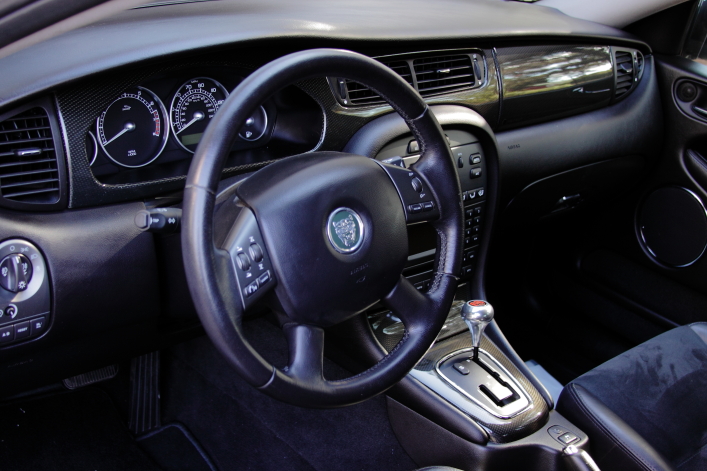
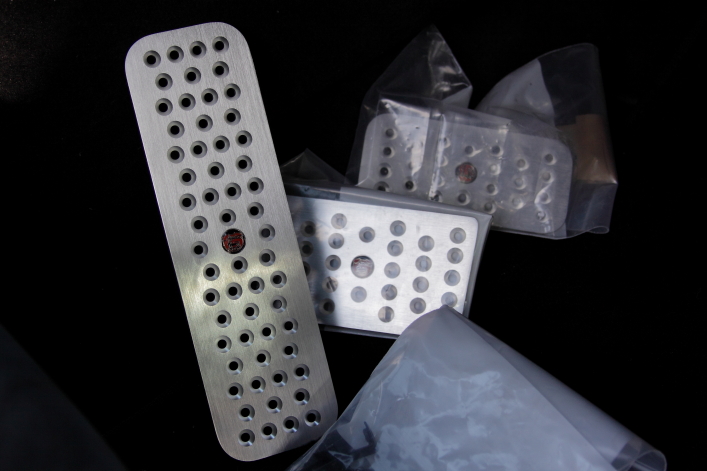
I have the Mina Gallery High Line Alloy Shift Knob
and matching (gas, brake, and foot rest) pedals, but I have yet to install them:
...and I should have done this before I took all the photos, but afterwards I gave her a bath, and tucked her back into the garage.
For those interested in updates, this thread will serve to document the process of bringing my X-Type out of hibernation and back on the road.
Hopefully it won't have too many issues getting there.
It's spent most of the last 4 years neglected, sitting in a garage.
Quick background threads:
https://www.jaguarforums.com/forum/n...myself-121607/
and
https://www.jaguarforums.com/forum/x...-years-121662/
There's no deadline to get this car roadworthy again. Just from time to time I will knock off one of the things on the list to get it moving in the right direction.
Perhaps some of you guys will be kind enough to share your knowledge and insight along the way.
I don't have a ton of cash to throw at this project either.
If I did, I would just tow it to a garage to have all the fluids changed, a fresh set of tires put on, and some paint work done.
However, I'm a do-it-yourself type. So lets get this show on the road!
Future maintenance plans currently include:
- Change Oil
- Change Coolant
- Change Brake fluid
- Drain the fuel tank
- Replace fuel filter
- New tires
- Inspect hoses, gaskets, bushings, etc, for cracks and leaks
- Replace worn items as needed.
- Adjust under hood insulation to stop it from resting on intake manifold and burning.
- Take it in for emissions testing, pass the test, and update registration.
- Drive it!
Anything else maintenance related you guys suggest?
Fun stuff: (I have all the parts from before the car went into storage)
- Replace front lip - check fitment and paint.
- Replace rear lip - check fitment and paint
- Shave off reverse sensors for smooth custom look.
- Repaint wheels - from black to silver.
- Install aluminum pedals
- Replace exhaust tips - to large round tips, instead of ovals.
- Install window curtains.
Today I got the car out of the garage and up on ramps so I could see the underside and inspect for leaks.
Fortunately the factory kit front lip is off, so i was able to just drive right up on the ramps.
It took a few tries to jump start, and a couple bangs to the starter. Then it purred to life.
Underneath there were lots of little oil drips everywhere.
I just ended up wiping everything down and then spraying on a degreaser and hosing off the engine. I'll have to give it a second inspection later to see what drips come back.
So I'll start the real work another day.
Lets get on to some introduction photos:
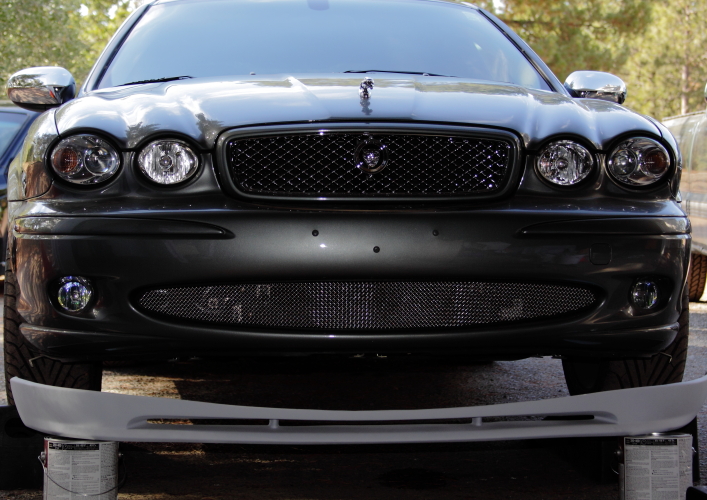
The car has a 08+ front grill and lower mesh grill.
Below that resting on top of some paint buckets is the replacement front lip I'll be installing later.
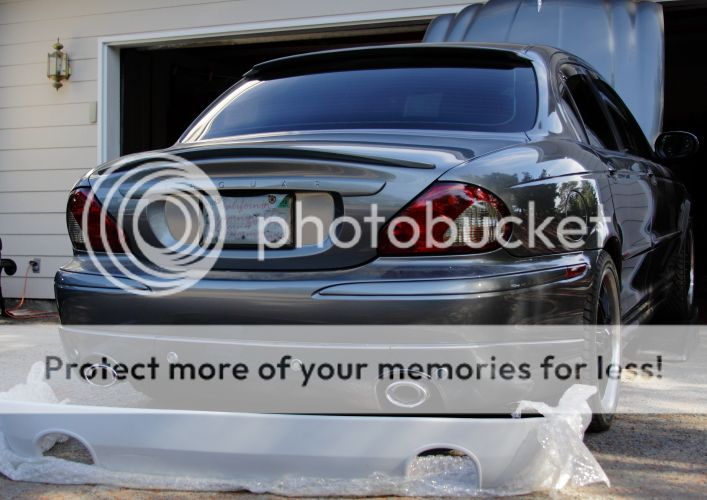
I also have a rear lip to replace the factory one that I managed to crack in the most dumbass way (splashed through a puddle).
The car looks pretty clean from that angle, but it actually hasn't had a bath in about 2 years.
Theres a fine layer of dust on it, but it was under a cover most the time.
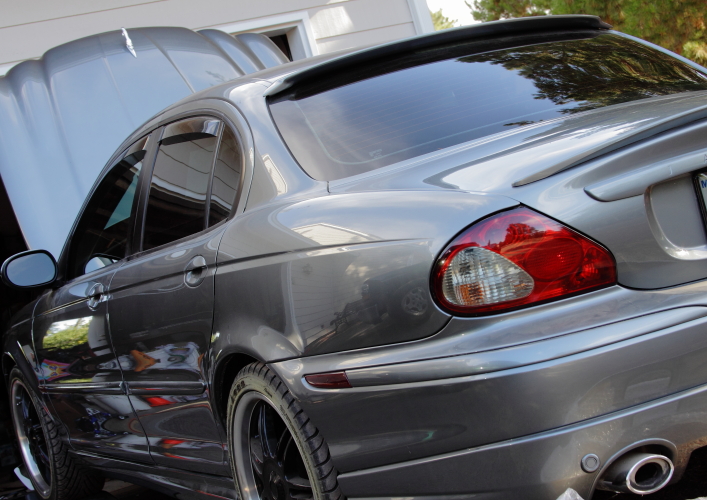
Tail lights are tinted, as are all the sidemarkers.
I have the roof wing as well.
also in the back I have a couple subwoofers in a custom box I made and upholstered. I dyed the trunk carpet black.
Theres a white LED light bar that shines down on it. All the interior lights are pure white LEDs too.
Underneath the car are matching white LED puddle lights that come on when the doors are opened.
Only other lighting mods are yellow bulbs in my fogs, and amber colored driving lights.
The factory upper and lower grills are in the trunk.
On the side I have chrome mirror covers and window vent shades.
All my windows are tinted.
The tires are dry rotted and flat spotted. One had gone completely flat.
These wheels are going to look a lot better after I paint them silver.
Heres the insulation under the hood that burned, cause it sags onto the intake manifold.
Now it has a little scar. Anyone else have that problem?
The interior on the other hand, is as good as new:
I have the Mina Gallery High Line Alloy Shift Knob
and matching (gas, brake, and foot rest) pedals, but I have yet to install them:
...and I should have done this before I took all the photos, but afterwards I gave her a bath, and tucked her back into the garage.
Last edited by Diavolo; 07-14-2014 at 08:39 PM.
The following users liked this post:
BudL1te (02-12-2021)
#2
07-14-2014, 08:28 PM
Knocked a couple things off the list today;
Oil change, and Coolant.
Never done either before on the X-Type.
Hope I bought the right fluids to put back in?
Theres more steps to it than the pictures below show, but it was actually really easy to change the fluids,
besides for the poor location choices of the oil filter and drain plugs.

Didn't need the 3rd container of coolant.
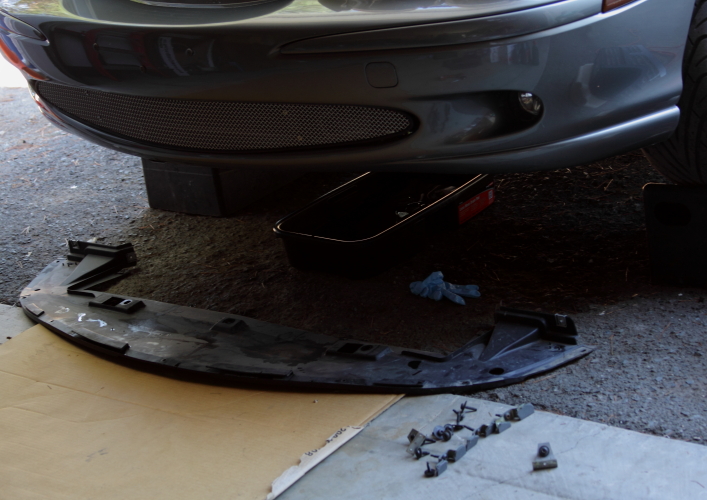
I took the shield off in preparation for the coolant swap. It gave me a bit more room to get my hands on the oil filter too.
The pile of brackets on the ground are from the original factory lip.
And out with the old oil...
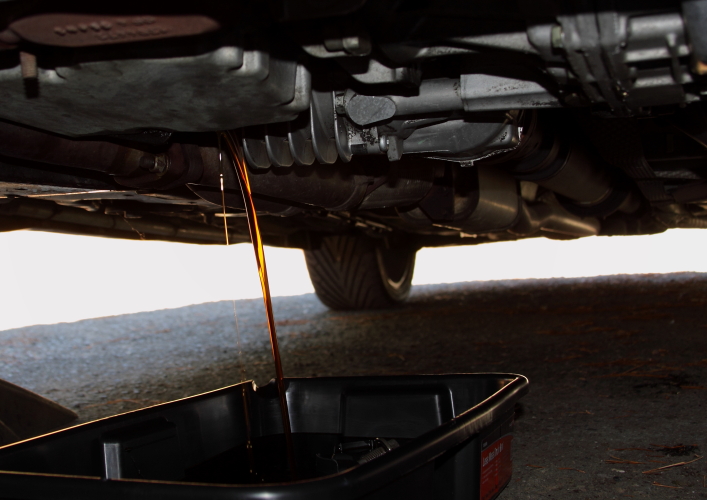
which was a few years old, but not even 20 miles on it.
And out with the coolant...
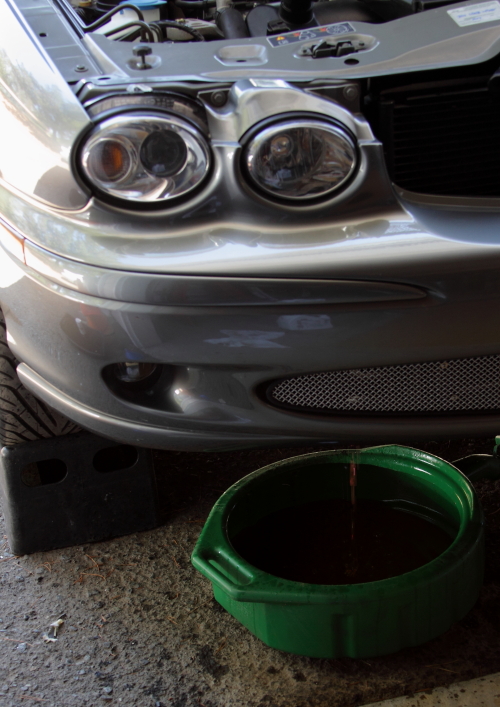
Which didn't look bad either. However, it may be the original coolant the car came with.
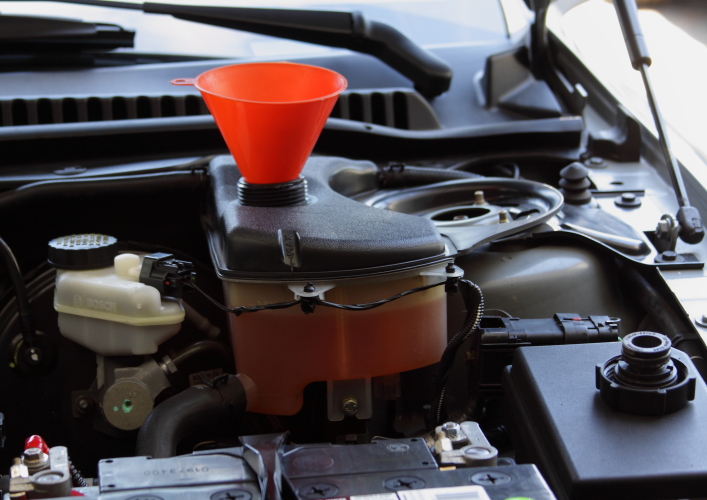
And then re-fill:
Underside of the car looked good.
All the hoses seem to be fine.
Battery sucks and won't hold a charge and the starter seems to be sticking.
I guess the next big thing to do is drain the fuel?
...Maybe next weekend.
Oil change, and Coolant.
Never done either before on the X-Type.
Hope I bought the right fluids to put back in?
Theres more steps to it than the pictures below show, but it was actually really easy to change the fluids,
besides for the poor location choices of the oil filter and drain plugs.
Didn't need the 3rd container of coolant.
I took the shield off in preparation for the coolant swap. It gave me a bit more room to get my hands on the oil filter too.
The pile of brackets on the ground are from the original factory lip.
And out with the old oil...
which was a few years old, but not even 20 miles on it.
And out with the coolant...
Which didn't look bad either. However, it may be the original coolant the car came with.
And then re-fill:
Underside of the car looked good.
All the hoses seem to be fine.
Battery sucks and won't hold a charge and the starter seems to be sticking.
I guess the next big thing to do is drain the fuel?
...Maybe next weekend.
Last edited by Diavolo; 07-14-2014 at 08:50 PM.
The following users liked this post:
JimC64 (08-29-2014)

#4
07-15-2014, 02:10 PM
Senior Member
#5
07-15-2014, 08:59 PM
rain and dust are going to get in there. Plus the tape would make it not sit as flush.
If I remember correctly when I got the part (probably in 2008) the fitment was horrible! I think I actually sent it back and got another one (and i never send stuff back). So if you order one expect to do a little work.
Even the one I have on there wasn't a perfect fit right out of the box.
I had a body shop i used to work at fix it up for me so it fit right.
Its a perfect fit now and sits flush with the glass.
They did the paintwork too, and attached it with a sealant, similar to the black gunk that holds your windshield on.
Last edited by Diavolo; 07-15-2014 at 09:12 PM.
#6
07-15-2014, 09:28 PM

#7
07-15-2014, 10:56 PM
Well its still nice because I didn't drive it. 

Actually, back in 2008 the economy was getting bad and gas prices going up.
I had other cars that were more cost effective to operate.
So I started driving the Jaguar less and less.
Partly to keep its value up, in case I had to sell it, partly to avoid any expensive repair cost should something in it break.
By the beginning of 2010 it just sat in the garage most the time.
Years passed and I didn't really miss having it.
A few weeks ago I had to move it out of the garage it was in, because the garage door needed to be repaired.
Seeing it out from under its cover in the daylight gave me an urge to get it back on the road.
Last edited by Diavolo; 07-15-2014 at 11:06 PM.
Trending Topics
#8
07-15-2014, 11:19 PM
I'll keep that in mind if I ever decide to sell the stock grill.
I'd be curious to see the trunk logo lighting modification. Its sounds cool, but I don't think its for me. I don't want to cut up any of the car.
Outside of regular maintenance to get the car back on the road, the only mods I want to do is install the pedals I have, change the exhaust tips, and paint the wheels silver.
Maybe install window curtains (i already have them), and maybe someday upgrade the stereo head unit.
edit:
just googled it, and found a thread of the light mod:
https://www.jaguarforums.com/forum/x...-x-type-90761/
Last edited by Diavolo; 07-15-2014 at 11:31 PM.
The following users liked this post:
mstinaz (11-20-2022)
#9
07-16-2014, 11:18 AM
Senior Member
No way. I wouldn't trust double sided tape to hold the roof spoiler on.
rain and dust are going to get in there. Plus the tape would make it not sit as flush.
If I remember correctly when I got the part (probably in 2008) the fitment was horrible! I think I actually sent it back and got another one (and i never send stuff back). So if you order one expect to do a little work.
Even the one I have on there wasn't a perfect fit right out of the box.
I had a body shop i used to work at fix it up for me so it fit right.
Its a perfect fit now and sits flush with the glass.
They did the paintwork too, and attached it with a sealant, similar to the black gunk that holds your windshield on.
#11
07-16-2014, 11:34 PM
not that i've given too much thought to it, but i have the brackets from the factory original lip. i want to attach them to the aftermarket replacement (not sure how yet) to mount it.
how do you plan to attach yours?
Next weekend I'll probably drain the old fuel, but WTF do i do with a full tank of old gas?
#13
07-19-2014, 10:55 PM
#14
07-20-2014, 12:43 AM
Senior Member
or use the schrader valve on the fuel rail; power the pump from a separate supply and pump it out...I haven't looked to see where our fuel filter is, but it would be great to get at the gas before it so the crud at the bottom of the tank doesn't get that far.
Of course, the way my luck runs, it will be in the tank.
Of course, the way my luck runs, it will be in the tank.
#15
07-20-2014, 09:03 AM
#17
07-20-2014, 09:19 PM
Except,... I should replace my battery first.
Its not holding a charge.
#18
07-20-2014, 09:34 PM
For those that don't know, I am a master of the rattle can (painted my grill that way too).
I wanted to change the color of these wheels since I bought them.
So, finally got around to it:
Some painters tape and duct tape masking.
It was a bit tedious to separate the lip from the black face of the wheel, but patience paid off.
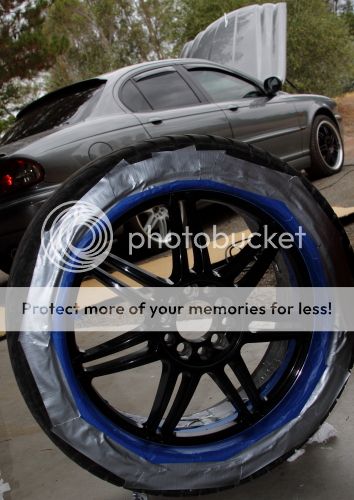
I debated what color to do for a while. I wanted something that looked similar to a factory wheel color but not. I didn't want a metallic. then I found this light gray gloss and figured what the hell, i'll give it a shot.
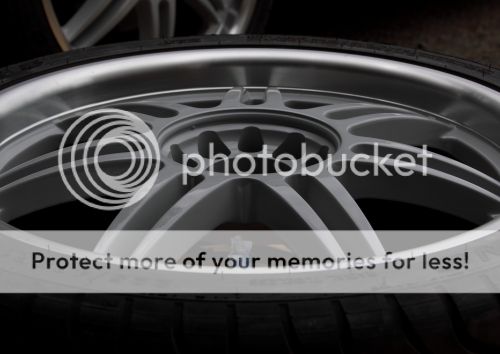
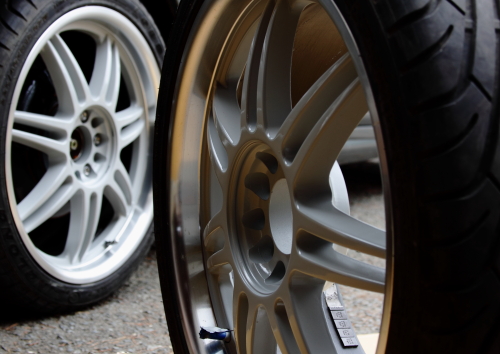
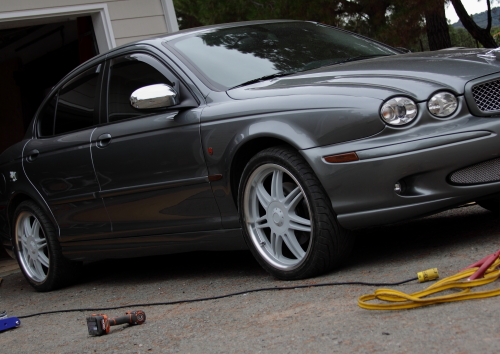
and finished product back on the car:
next step is to order some center caps for the wheels.
edit: just ordered some.
I wanted to change the color of these wheels since I bought them.
So, finally got around to it:
Some painters tape and duct tape masking.
It was a bit tedious to separate the lip from the black face of the wheel, but patience paid off.
I debated what color to do for a while. I wanted something that looked similar to a factory wheel color but not. I didn't want a metallic. then I found this light gray gloss and figured what the hell, i'll give it a shot.
and finished product back on the car:
next step is to order some center caps for the wheels.
edit: just ordered some.
Last edited by Diavolo; 07-20-2014 at 09:48 PM.
#20
07-20-2014, 09:56 PM