How to remove side vents
#1
 03-02-2012, 10:32 PM

#2
03-03-2012, 07:24 AM
Veteran Member
#3
03-03-2012, 07:44 AM
#4
03-03-2012, 05:41 PM

Member
#7
03-09-2012, 08:28 PM
Member
Sorry to be about a week late, but had more work to do than I thought
Anyway I will try to go over what I did to add Luner Gray to my Chrome Jaguar lettering on the sides and rear. I had a small airbrush I had purchased from Harbor Freight Tools some time ago and I used it instead of the spray cans show. However, I have used spray paint before and the only real difference would be the amount of spray paint put on, which requires more to be removed.
BTW the quality of the paint shown is the best I have ever used.
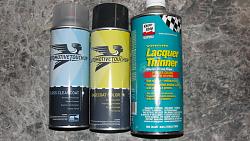
Pic 1 shows the products I used. None of these did any damage to the chrome, which at least for the side vents, is plastic. I cannot recommend anything else since this is all that I used.
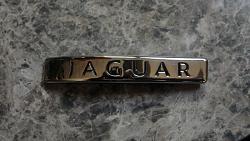
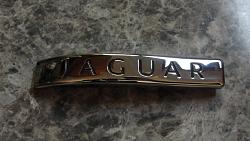
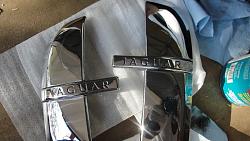
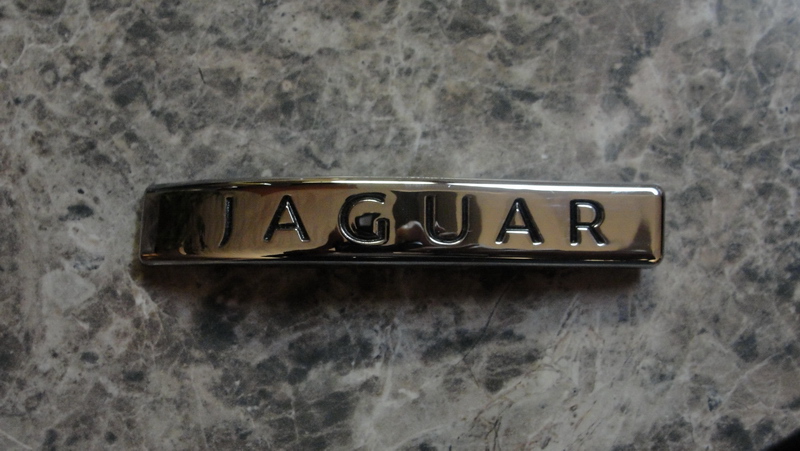
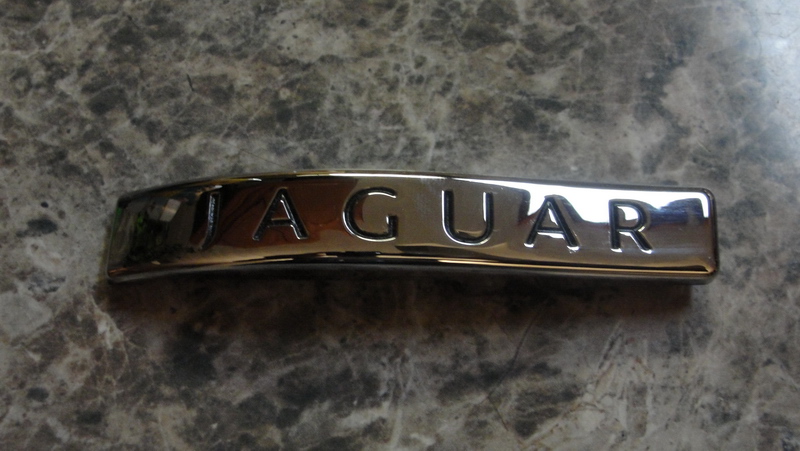
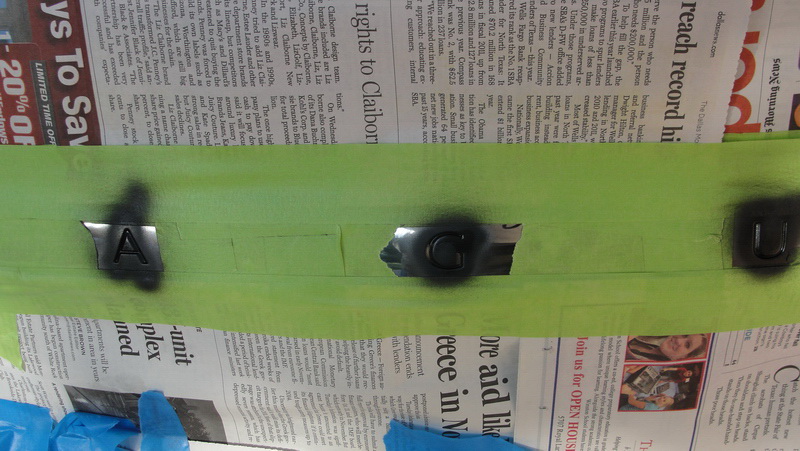
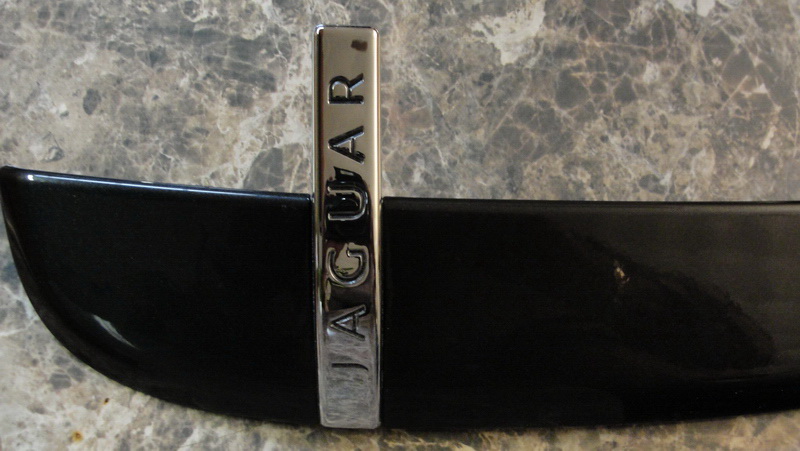
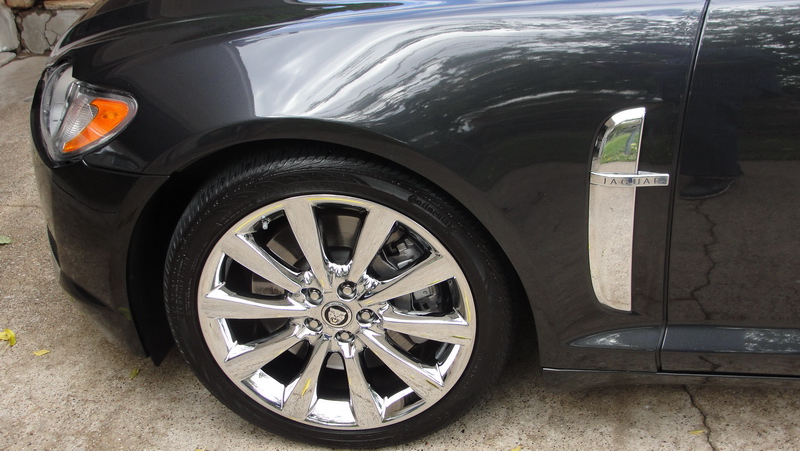
Pic 2 and 2a are a couple of examples of the side vent lettering. I removed the original vents first to practice on before tackling the chrome one
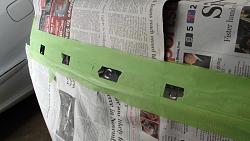
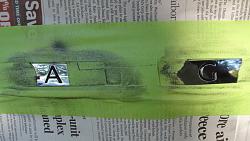
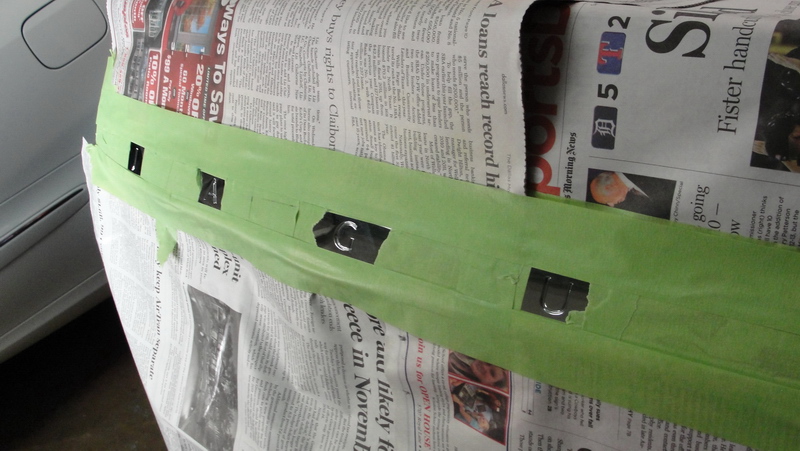
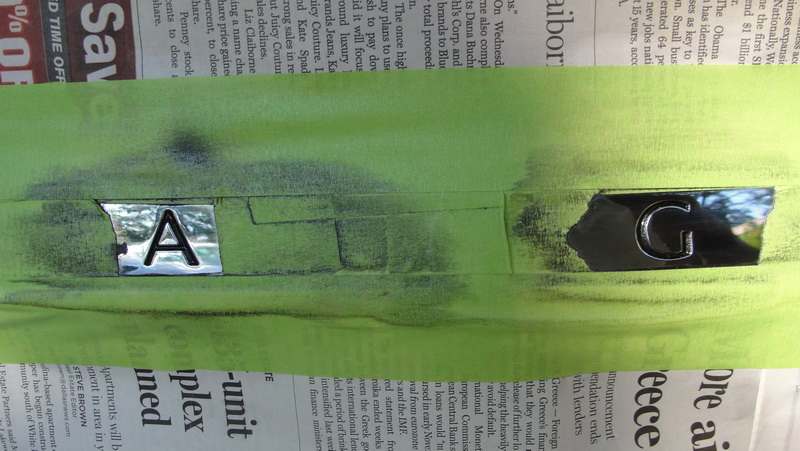
Pic 3 and 3a show how I protected any other painted surfaces from any overspray. This is for overspray only. Do not spill paint or thinner on newspaper.

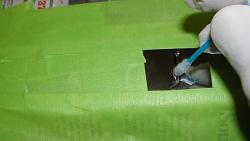
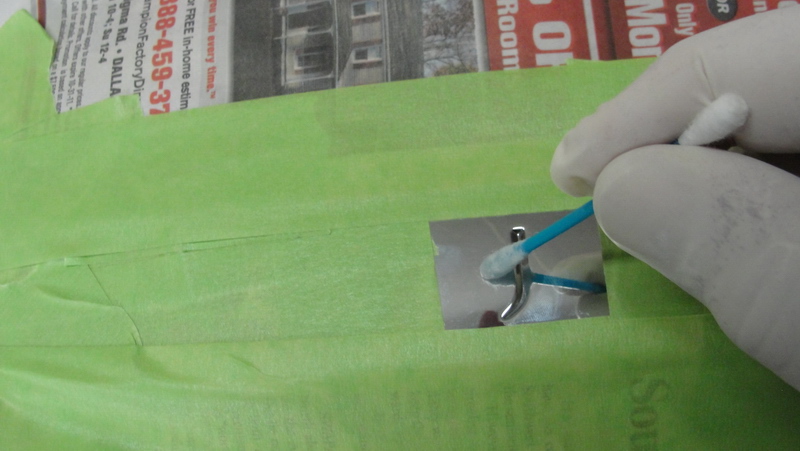
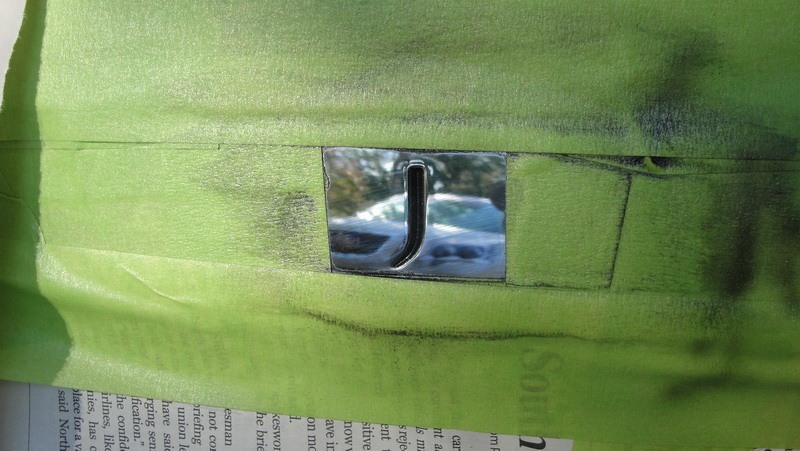
Pic 4 and 4a show me using a Q-tip and the Lacquer Thinner to clean the depressed part of the lettering before applying the paint

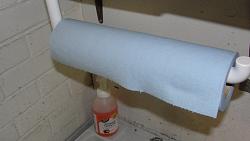
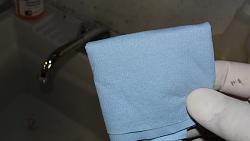
Pic 5 and 6 is of the paper towel I used to wipe the excess paint off the chrome. The towel was folded into about 8 squares to give it a little stiffness. The lacquer thinner is then poured onto the paper towel, but only enough to make it damp, if it is too wet then it will remove the paint in the depressed area. You don't want to rub too hard, just enough to wipe off the overspray. NOTE: WHEN USING THE THINNER, ALWAYS HANDLE IT AWAY FROM THE CAR, AT LEAST 6 FEET. DO NOT SET IT DOWN ANYWHERE BUT ON THE GROUND. YOU DO NOT WANT THIS STUFF TO SPLASH ON ANY PAINTED SURFACE
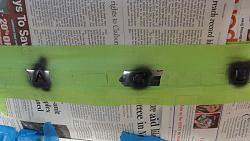
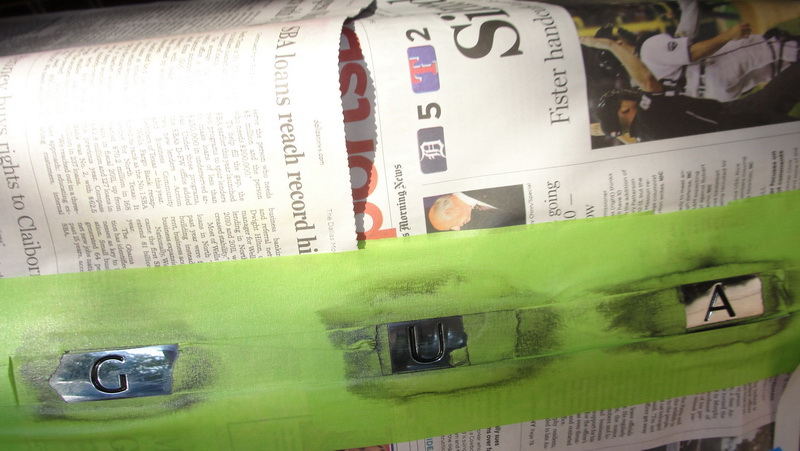
Pic 7 and 7a show the paint applied. There is very little overspray because I used a compressor and airbrush.

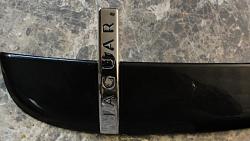
Pic 8, 9 and 9a show how after gently wiping off the excess overspray the paint will stick to the recessed Text. I did two coats of the grey and 1 of the clearcoat. Do only light coats and let then set for about five minutes before removing the excess, You will need to keep the towel damp and use all sides of it to get the excess paint off. After you think its done remove the masking tape from between the letters and give the chrome a final wipe down. It is best to lay out the tape Horizontally first and then vertically. I had to remove and then remask to protect the paint during the final wipe.


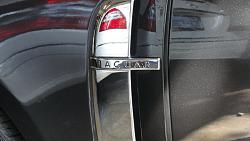
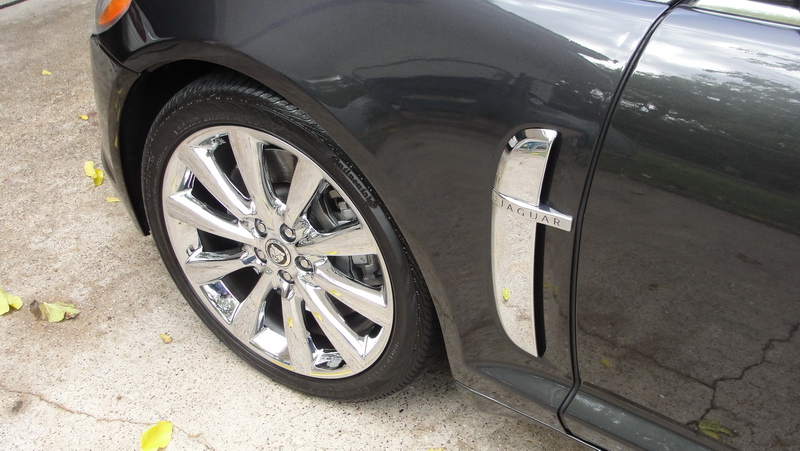
The remaining pictures show how the finish product looks. On the Grey, it is not very noticeable if the light does not hit it right. However, it does make my XF just a little different. Red will look good, and if you don't like it you can, will extreme care, remove it.


I only show the painting of the rear, but the side vents can be done exactly the same.
Walt
Anyone doing this should be extremely careful with the paint and the thinner. I used newspaper, but it is not enough to protect the paint from an accidental spill.

Anyway I will try to go over what I did to add Luner Gray to my Chrome Jaguar lettering on the sides and rear. I had a small airbrush I had purchased from Harbor Freight Tools some time ago and I used it instead of the spray cans show. However, I have used spray paint before and the only real difference would be the amount of spray paint put on, which requires more to be removed.
BTW the quality of the paint shown is the best I have ever used.
Pic 1 shows the products I used. None of these did any damage to the chrome, which at least for the side vents, is plastic. I cannot recommend anything else since this is all that I used.

Pic 2 and 2a are a couple of examples of the side vent lettering. I removed the original vents first to practice on before tackling the chrome one
Pic 3 and 3a show how I protected any other painted surfaces from any overspray. This is for overspray only. Do not spill paint or thinner on newspaper.

Pic 4 and 4a show me using a Q-tip and the Lacquer Thinner to clean the depressed part of the lettering before applying the paint

Pic 5 and 6 is of the paper towel I used to wipe the excess paint off the chrome. The towel was folded into about 8 squares to give it a little stiffness. The lacquer thinner is then poured onto the paper towel, but only enough to make it damp, if it is too wet then it will remove the paint in the depressed area. You don't want to rub too hard, just enough to wipe off the overspray. NOTE: WHEN USING THE THINNER, ALWAYS HANDLE IT AWAY FROM THE CAR, AT LEAST 6 FEET. DO NOT SET IT DOWN ANYWHERE BUT ON THE GROUND. YOU DO NOT WANT THIS STUFF TO SPLASH ON ANY PAINTED SURFACE


Pic 7 and 7a show the paint applied. There is very little overspray because I used a compressor and airbrush.
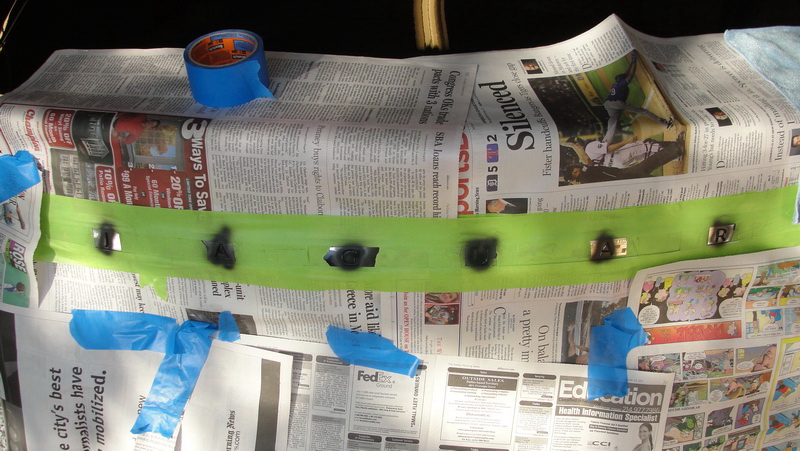
Pic 8, 9 and 9a show how after gently wiping off the excess overspray the paint will stick to the recessed Text. I did two coats of the grey and 1 of the clearcoat. Do only light coats and let then set for about five minutes before removing the excess, You will need to keep the towel damp and use all sides of it to get the excess paint off. After you think its done remove the masking tape from between the letters and give the chrome a final wipe down. It is best to lay out the tape Horizontally first and then vertically. I had to remove and then remask to protect the paint during the final wipe.
The remaining pictures show how the finish product looks. On the Grey, it is not very noticeable if the light does not hit it right. However, it does make my XF just a little different. Red will look good, and if you don't like it you can, will extreme care, remove it.

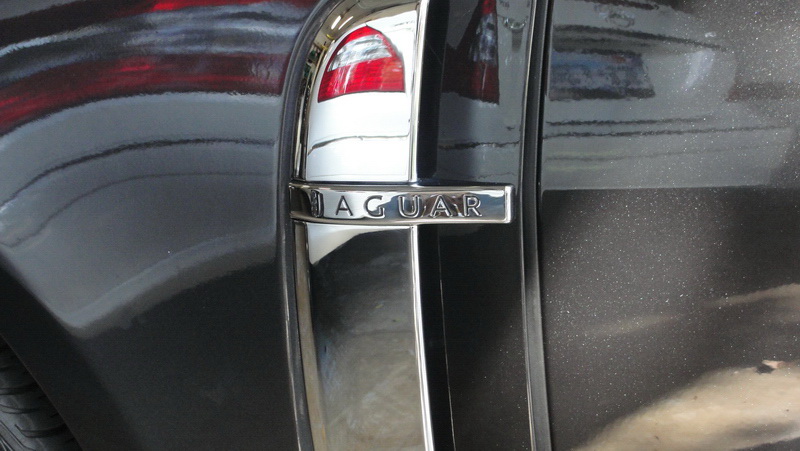
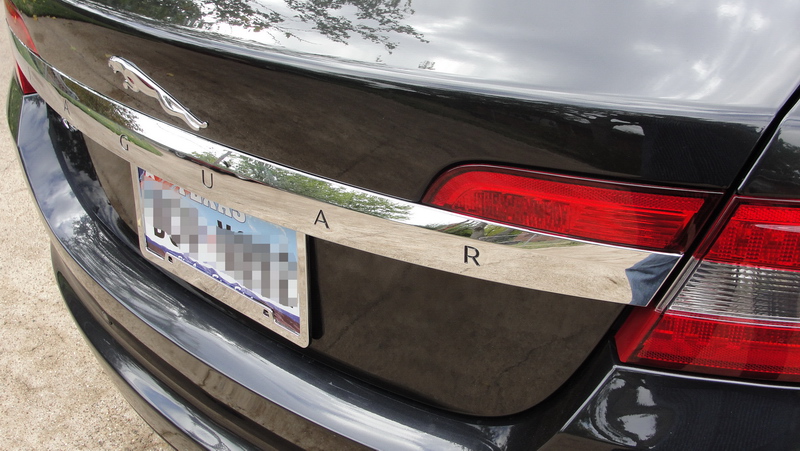
I only show the painting of the rear, but the side vents can be done exactly the same.
Walt
Anyone doing this should be extremely careful with the paint and the thinner. I used newspaper, but it is not enough to protect the paint from an accidental spill.
Trending Topics
#8
03-10-2012, 08:11 AM
#9
03-10-2012, 12:35 PM
Member
I removed the original vents first and tested/practiced on them. I was not able to remove the vents without breaking off some of the tabs. I don't think its possible to remove the vents without breaking them unless you could get behind the fender and work it out that way. I just reached into the vent and pulled STRAIGHT out from the car. To be safe, you could cover the surrounding area with a couple of layers of masking tape.
Walt
Walt

Thread
Thread Starter
Forum
Replies
Last Post
Currently Active Users Viewing This Thread: 1 (0 members and 1 guests)

