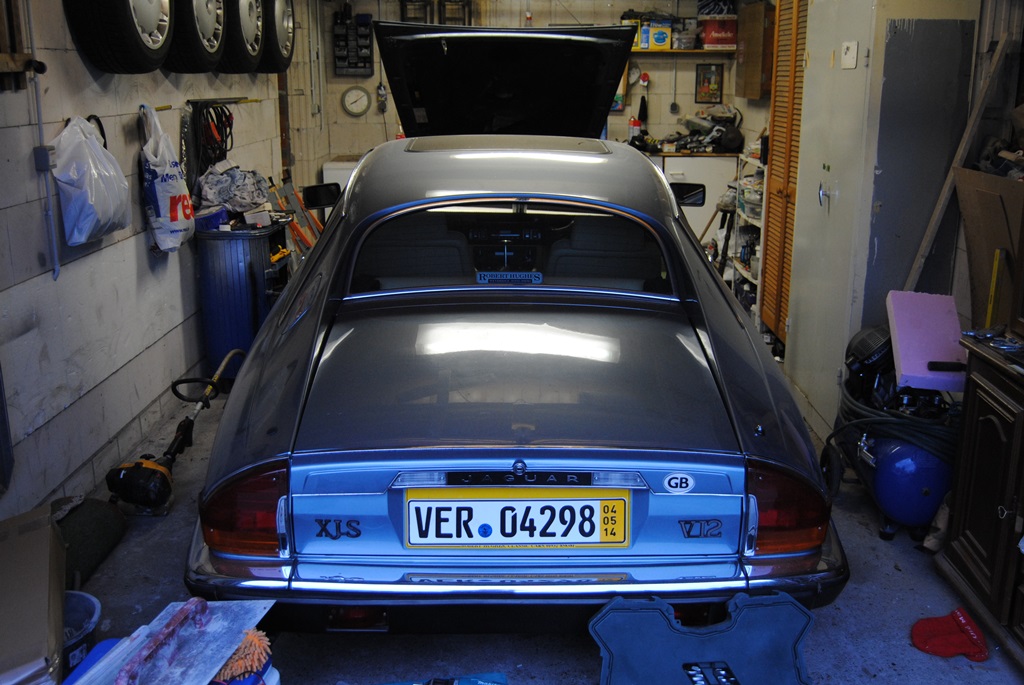
1989 XJ-S Resto-Thread - or "my Iron Lady"
#21
 07-29-2014, 02:10 PM

The following users liked this post:
86jag (07-31-2014)
#22
08-01-2014, 02:06 PM
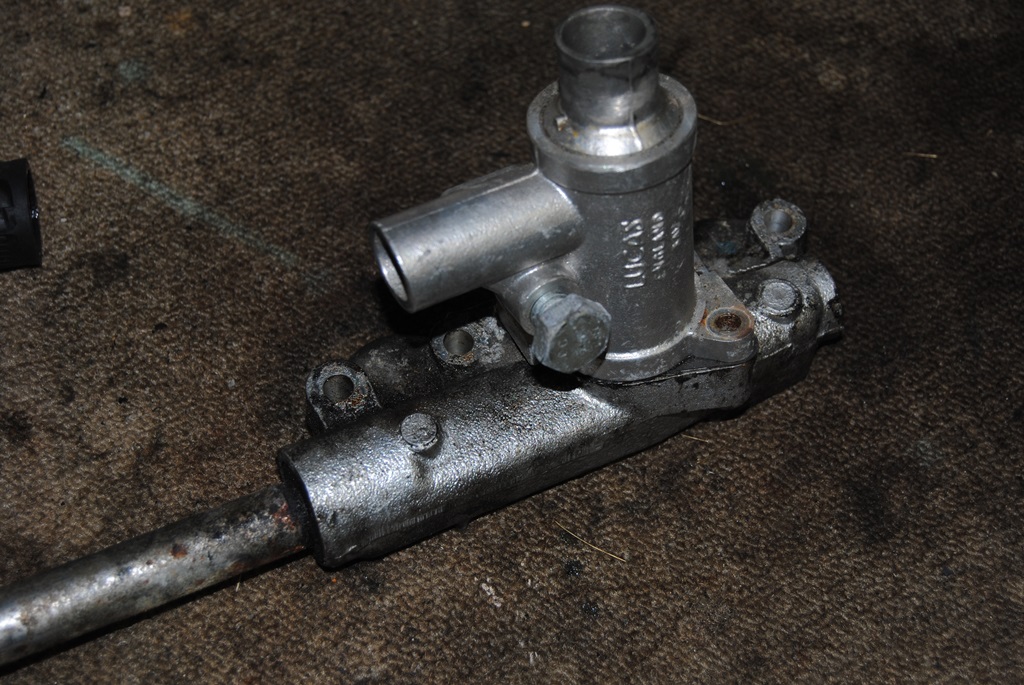
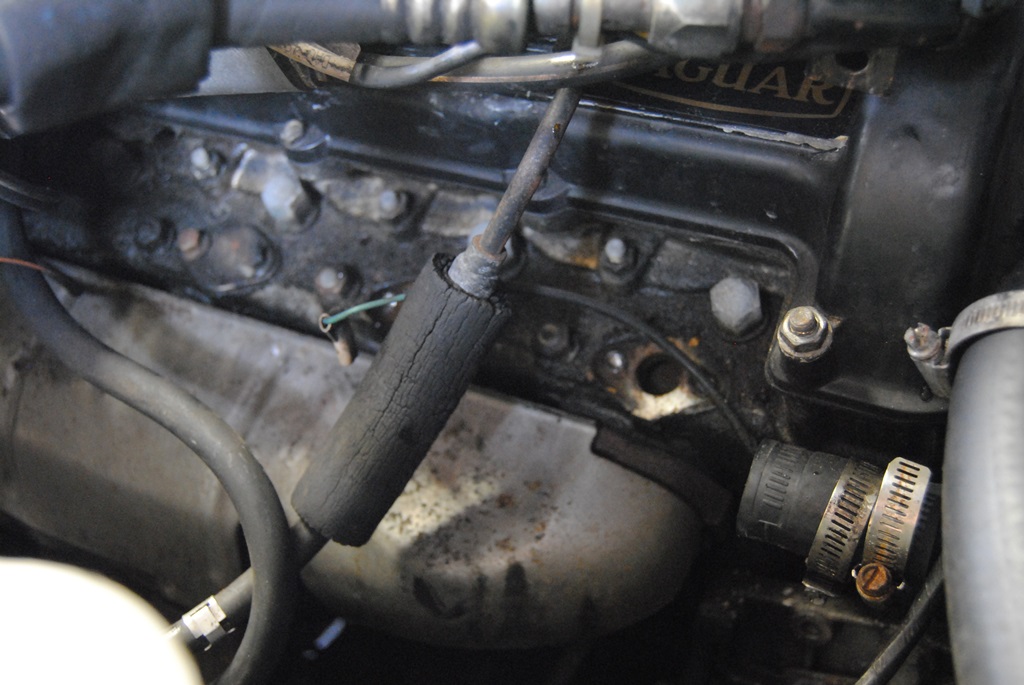
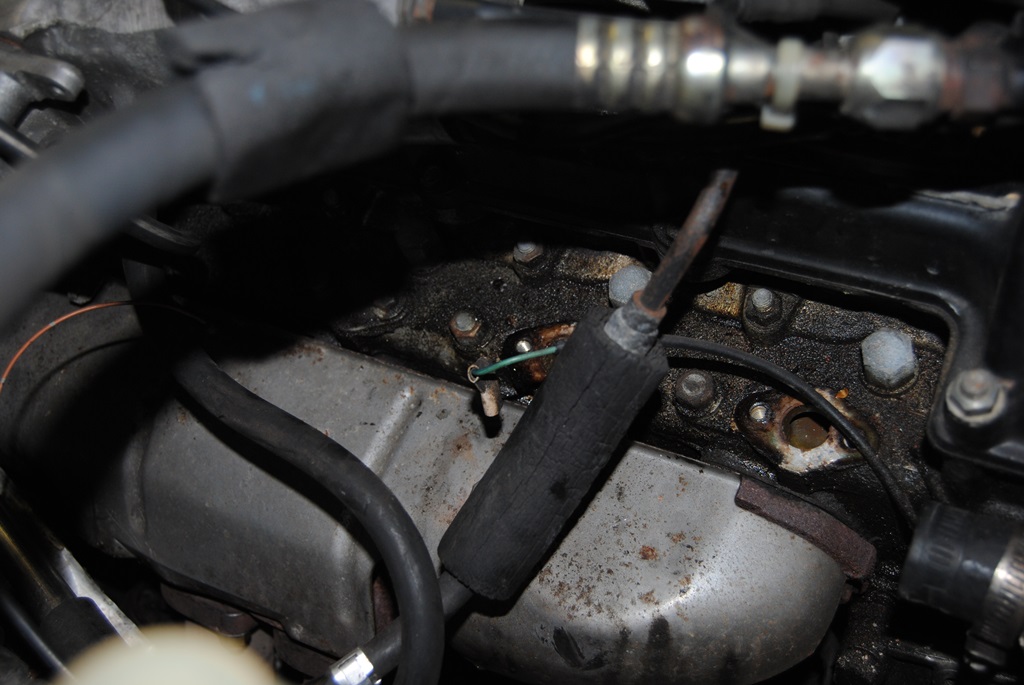
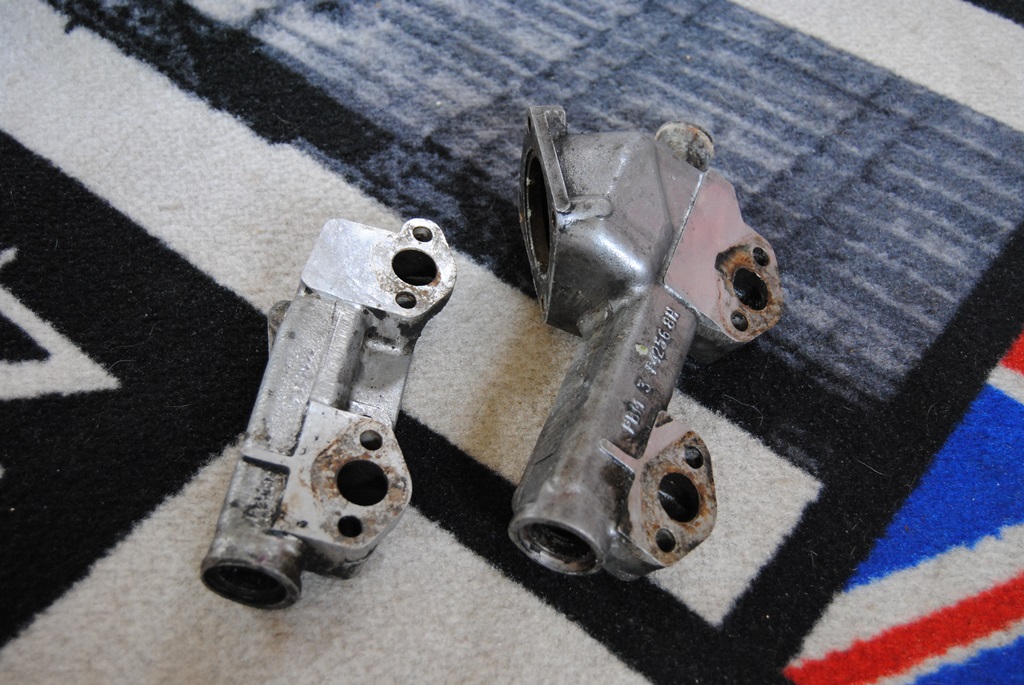
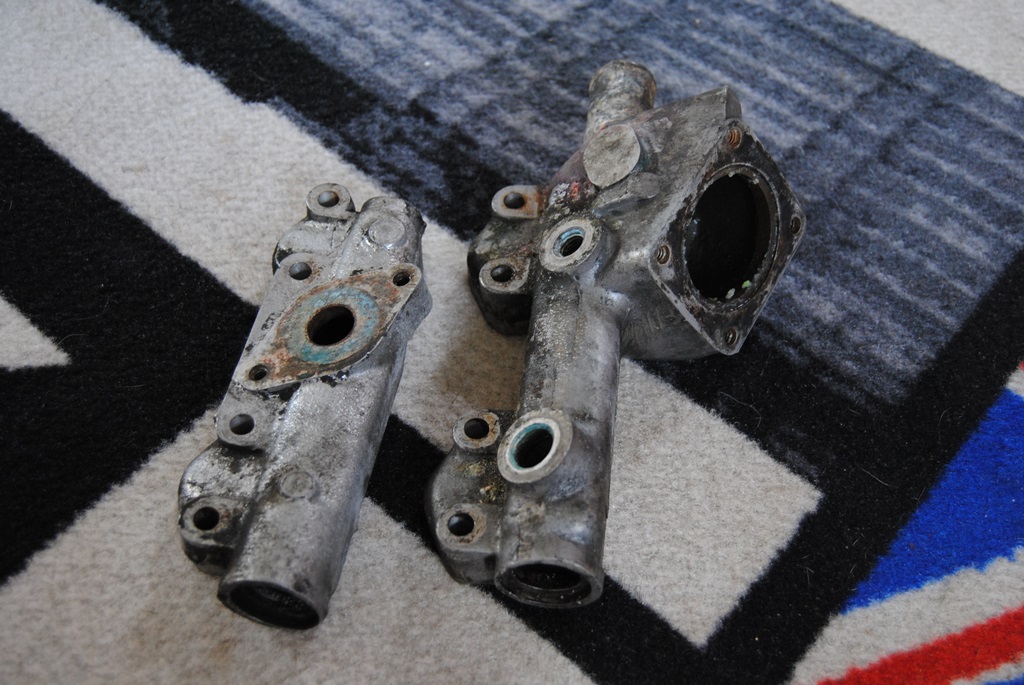
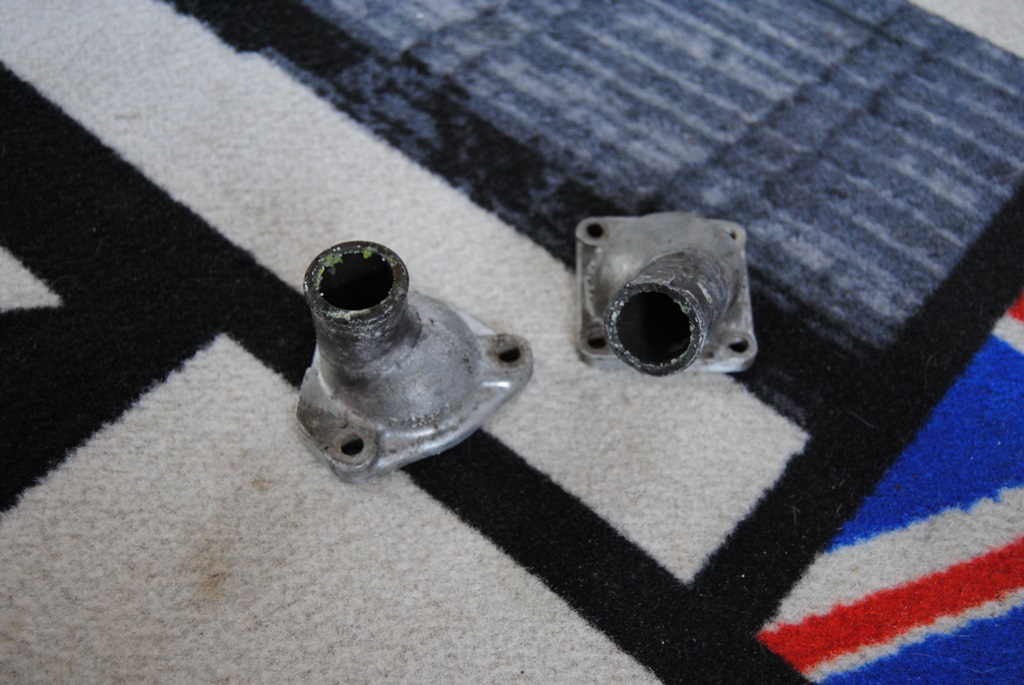
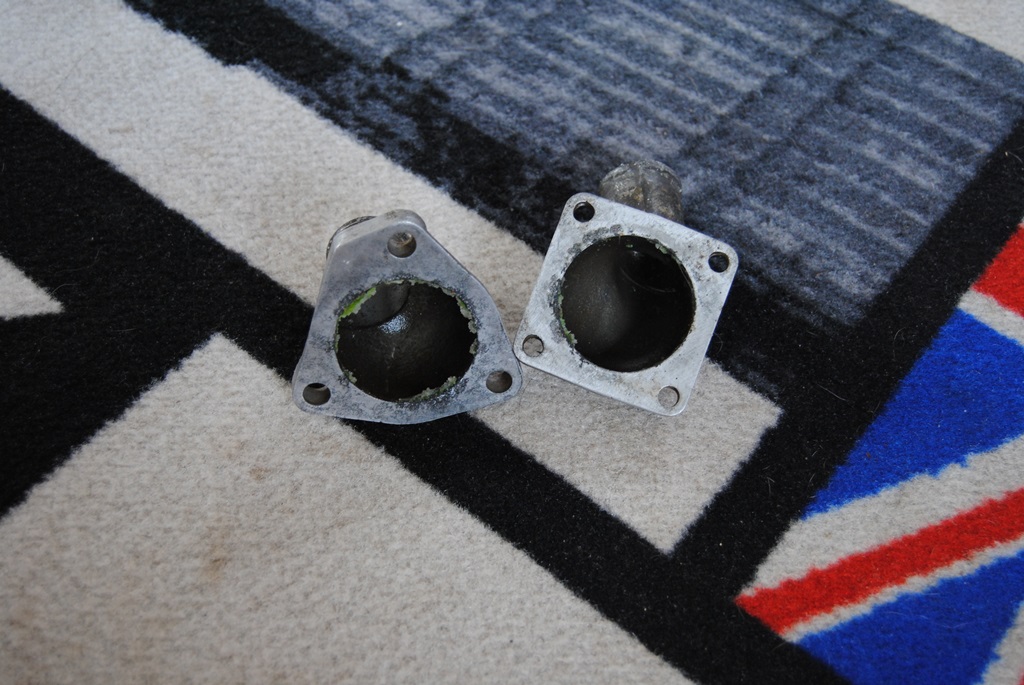
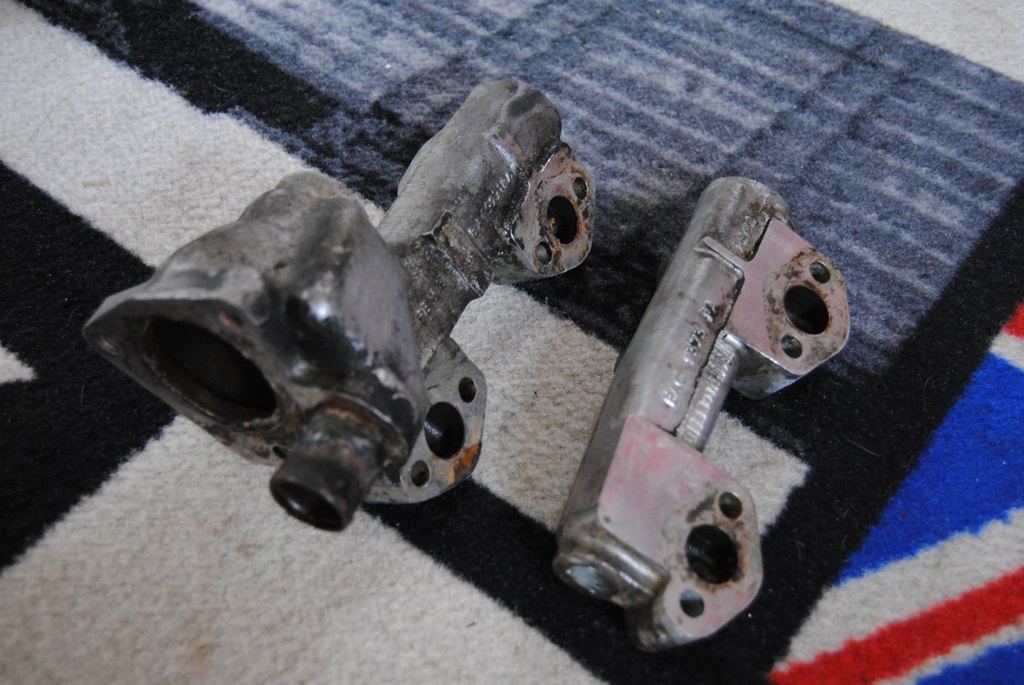
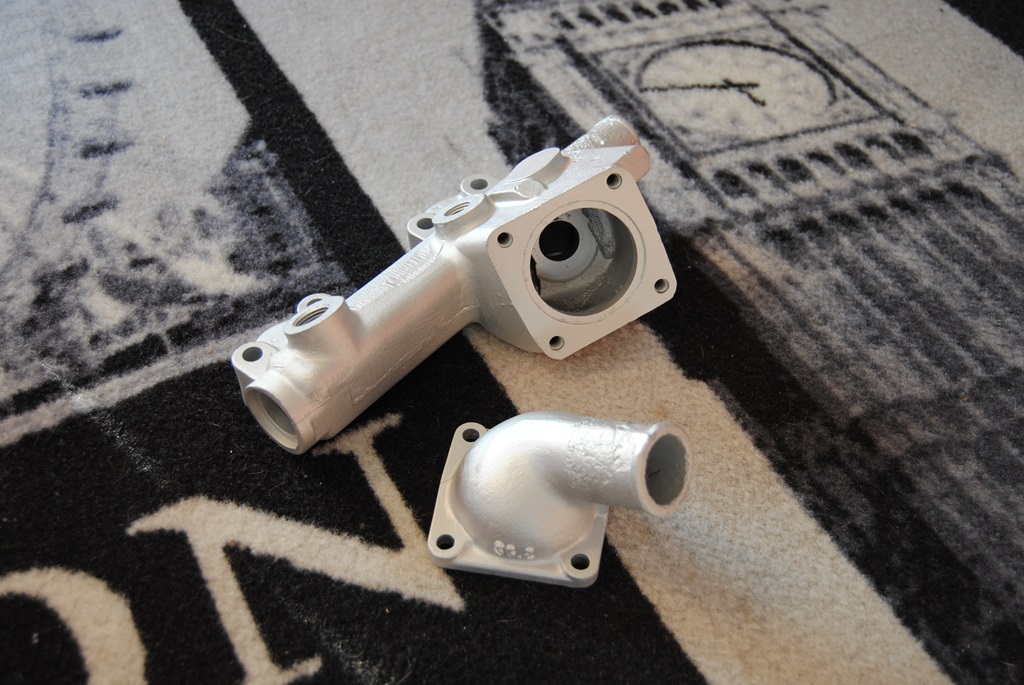
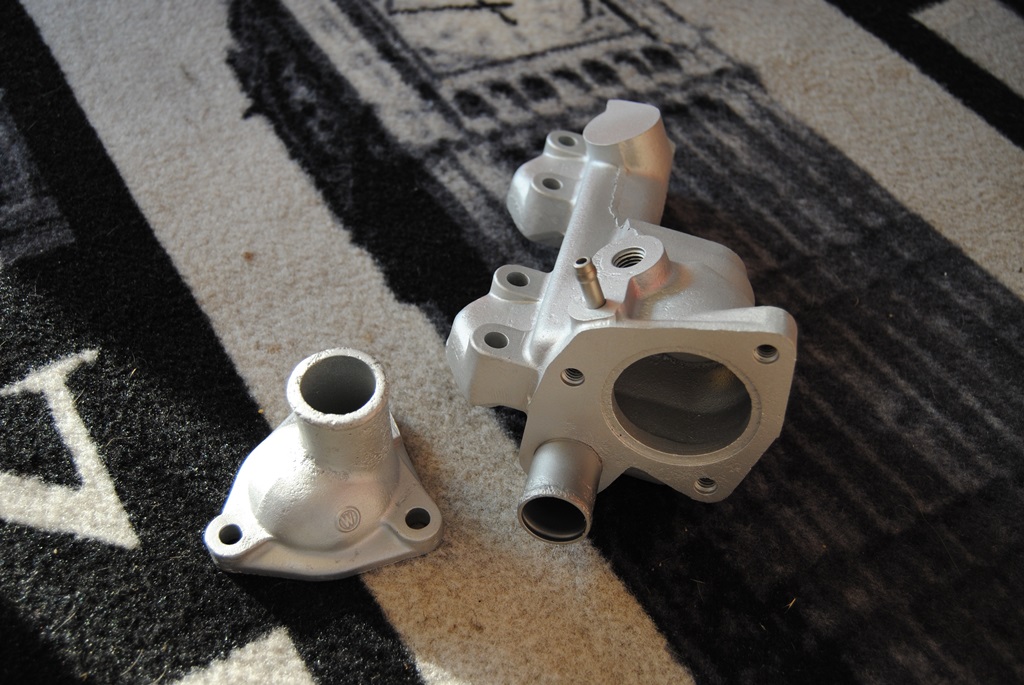
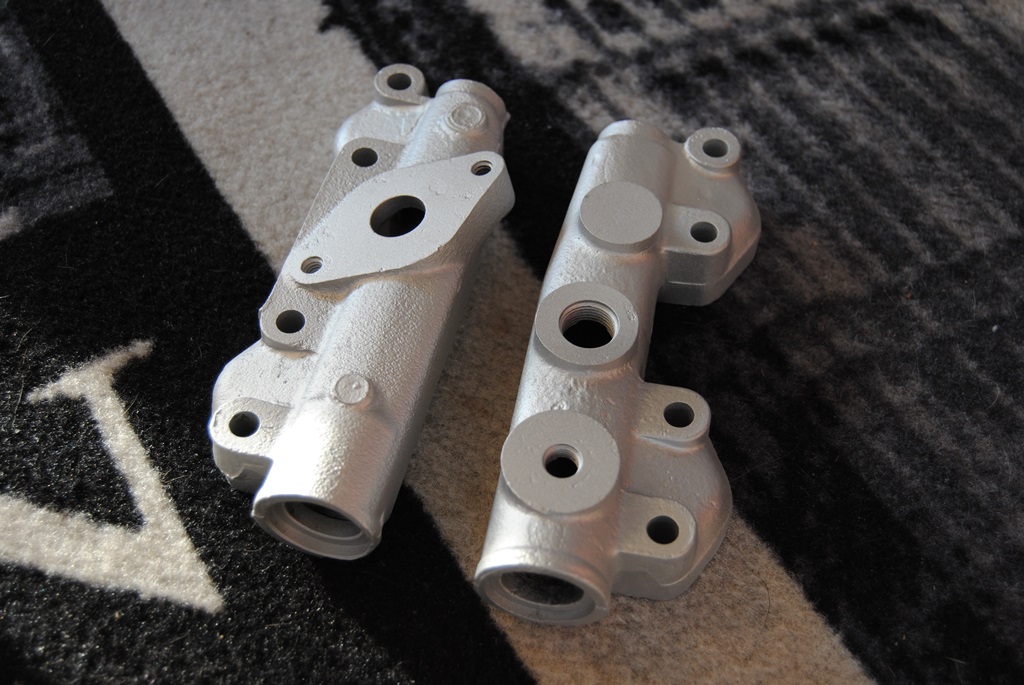
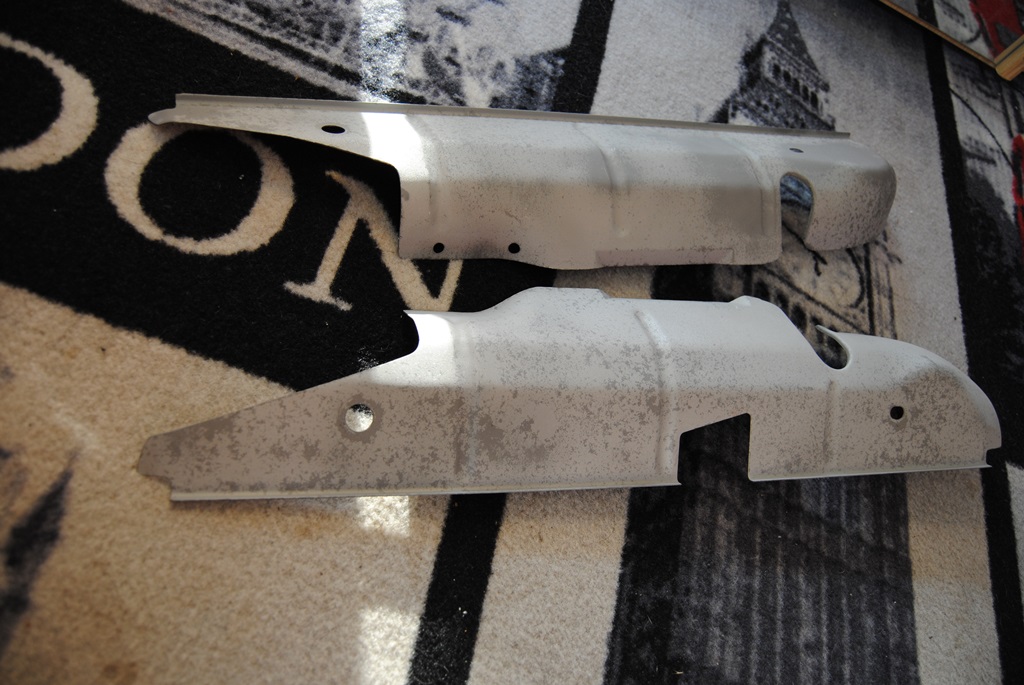
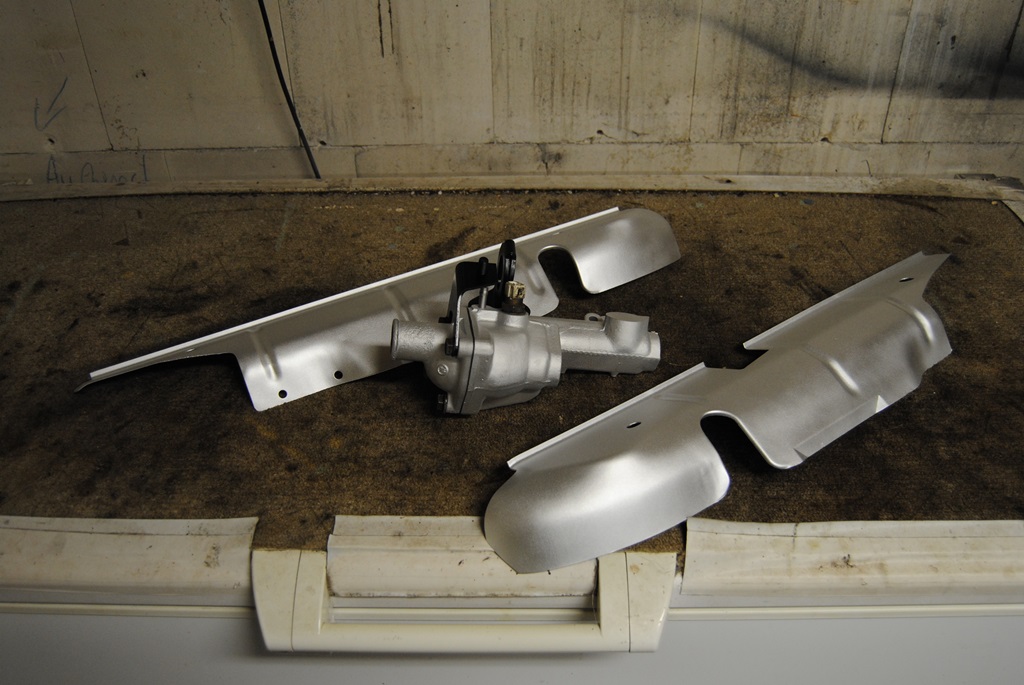
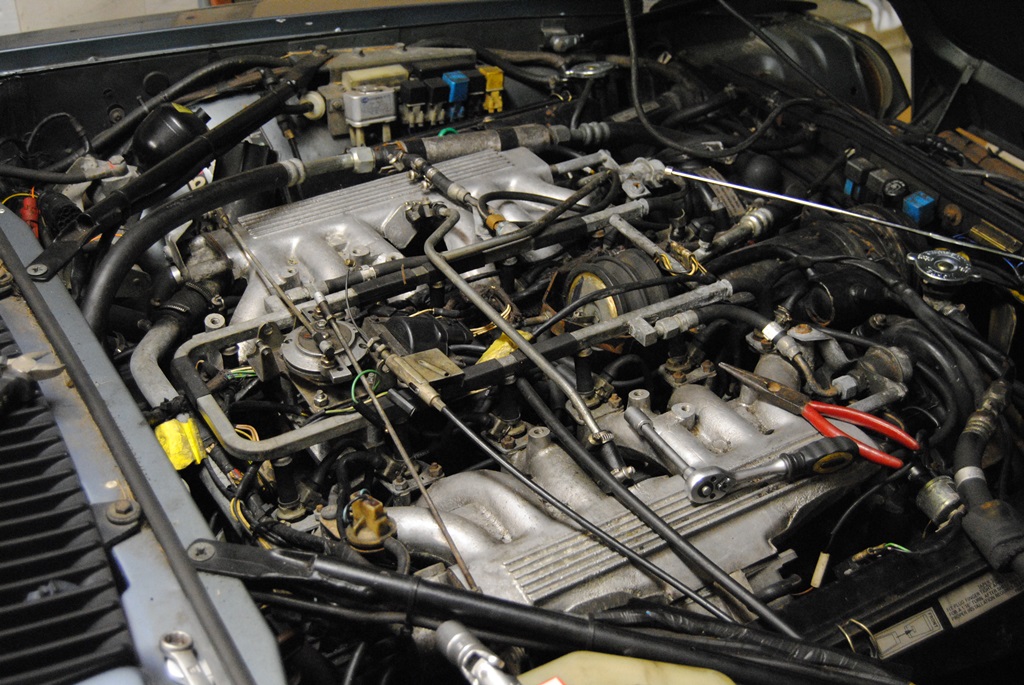
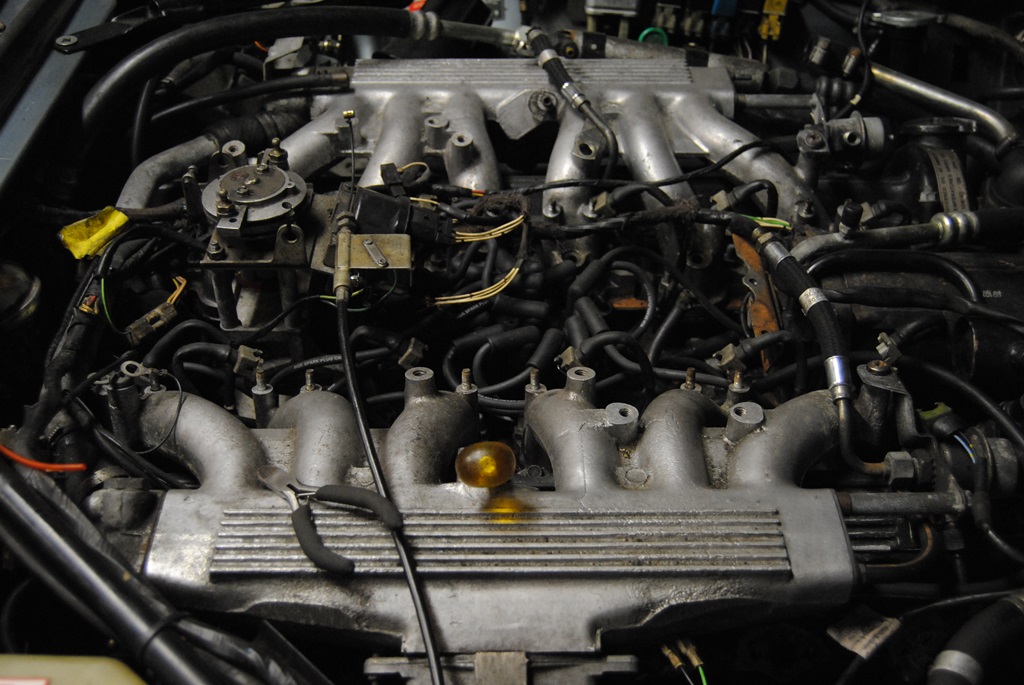
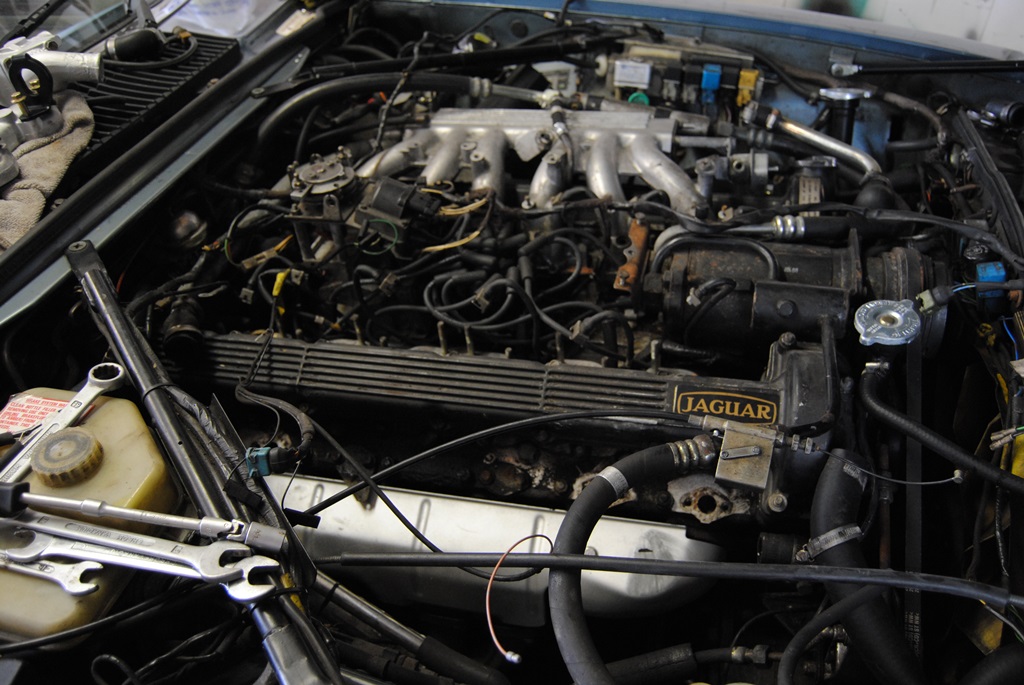
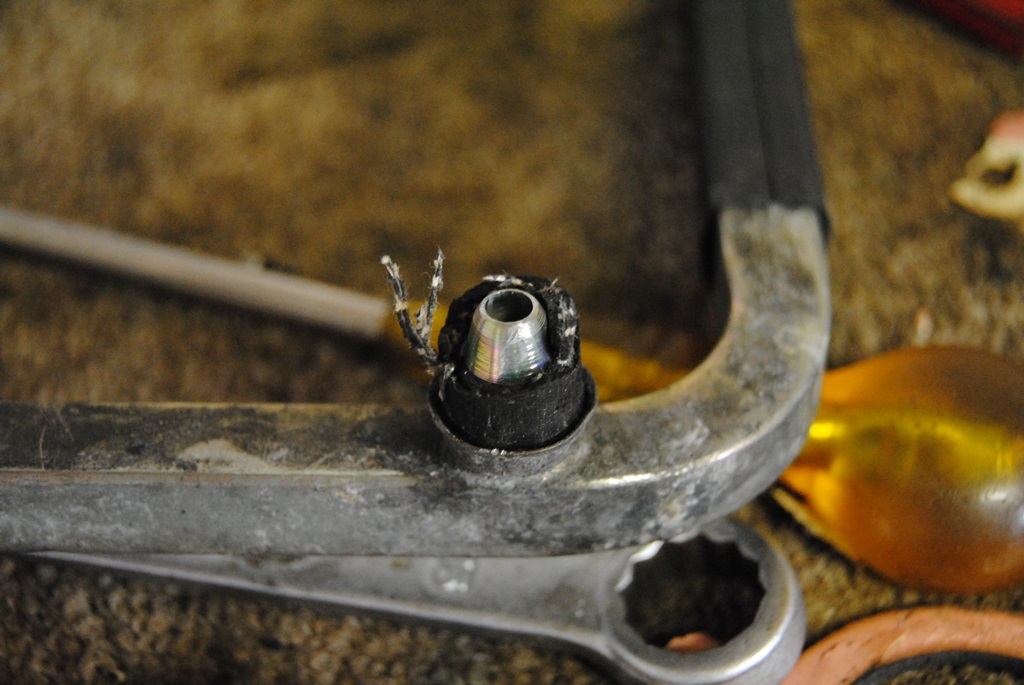
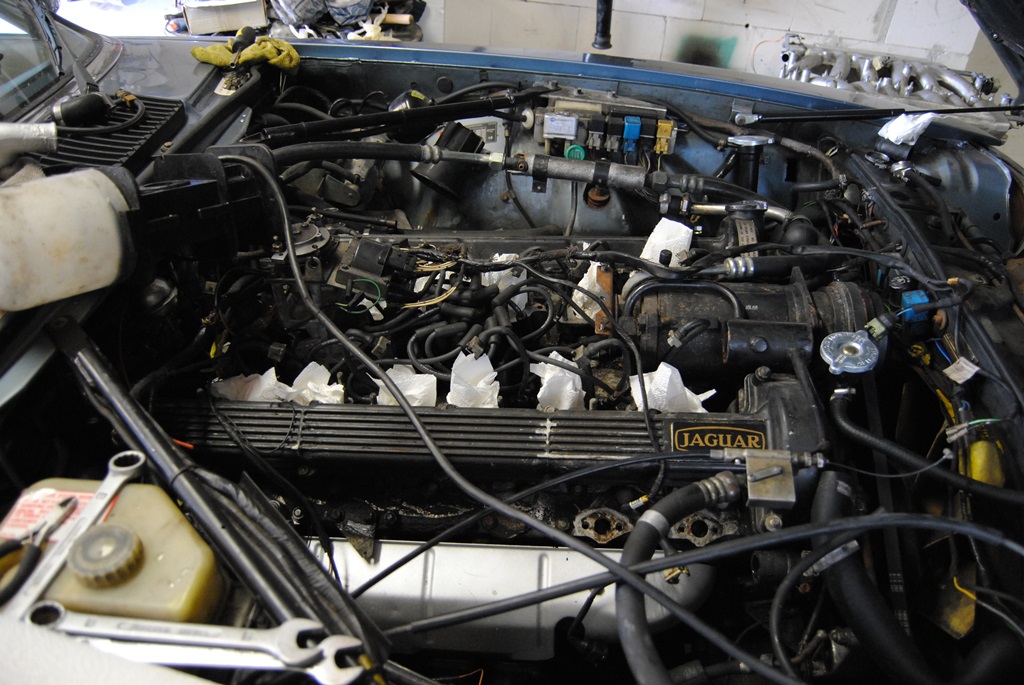
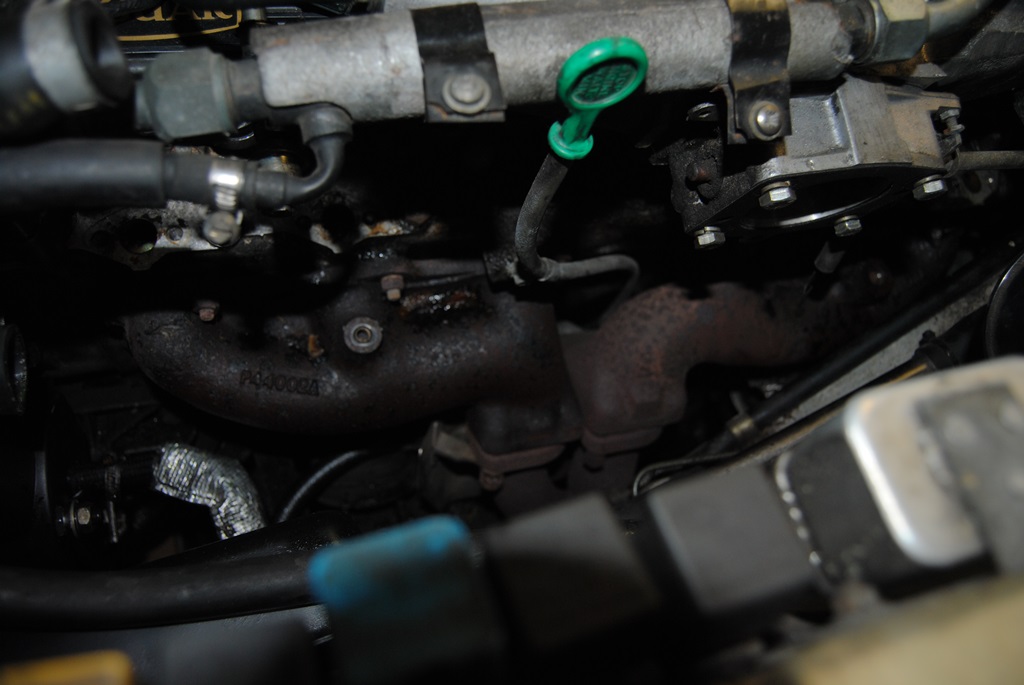
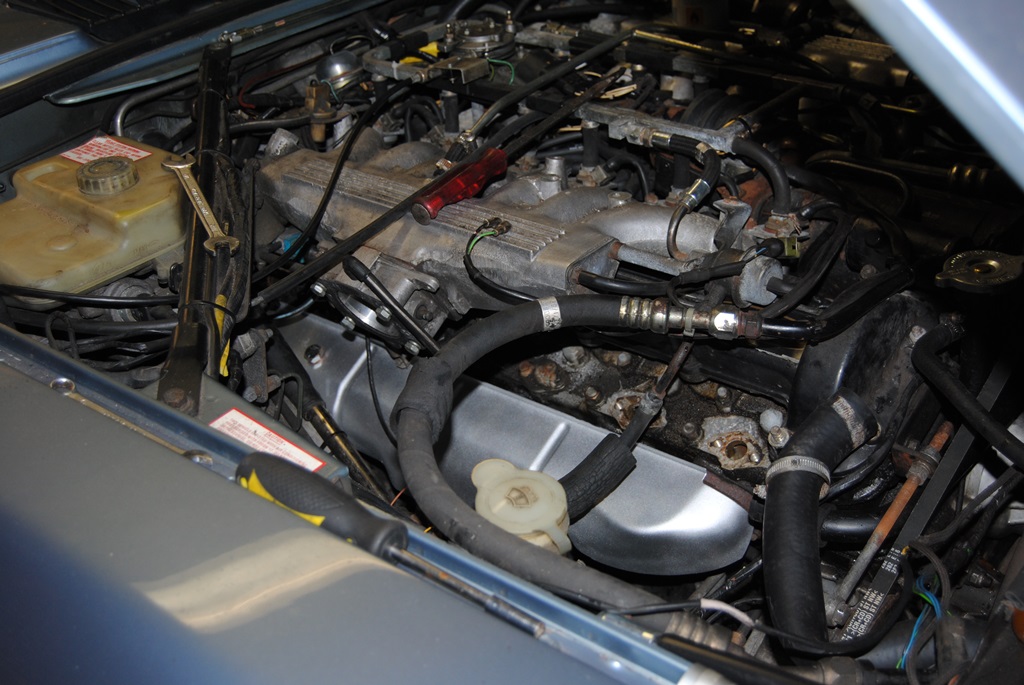
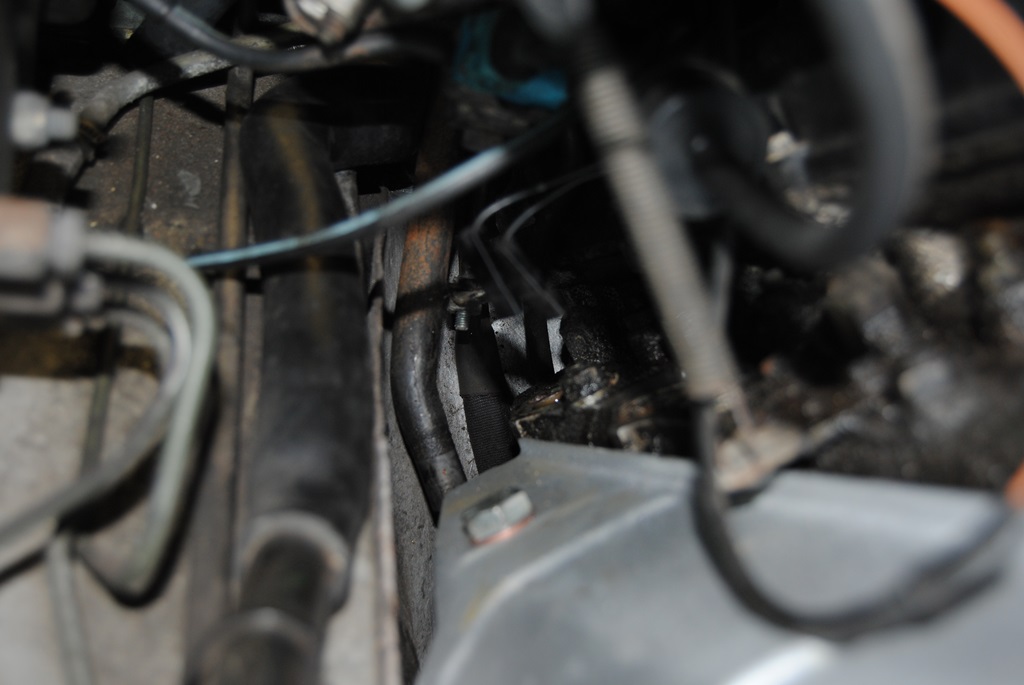
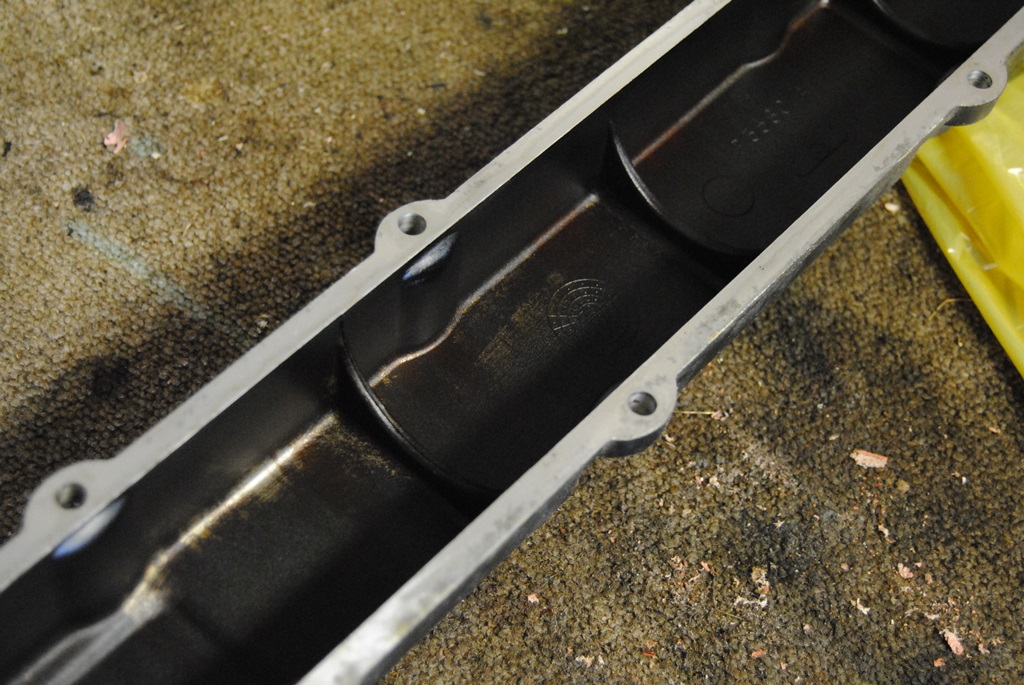
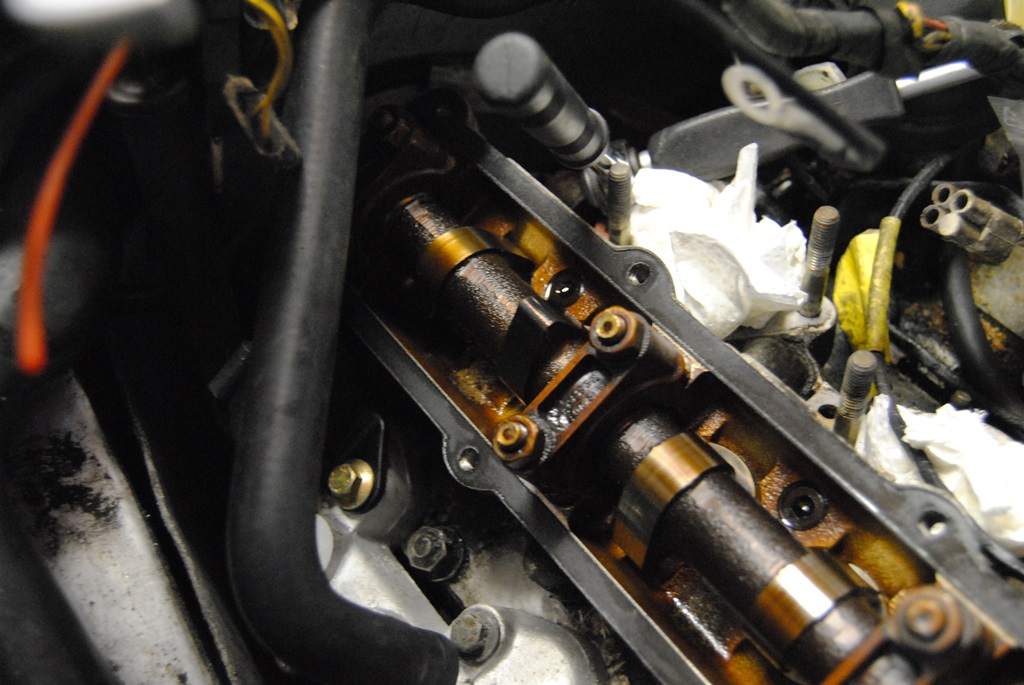
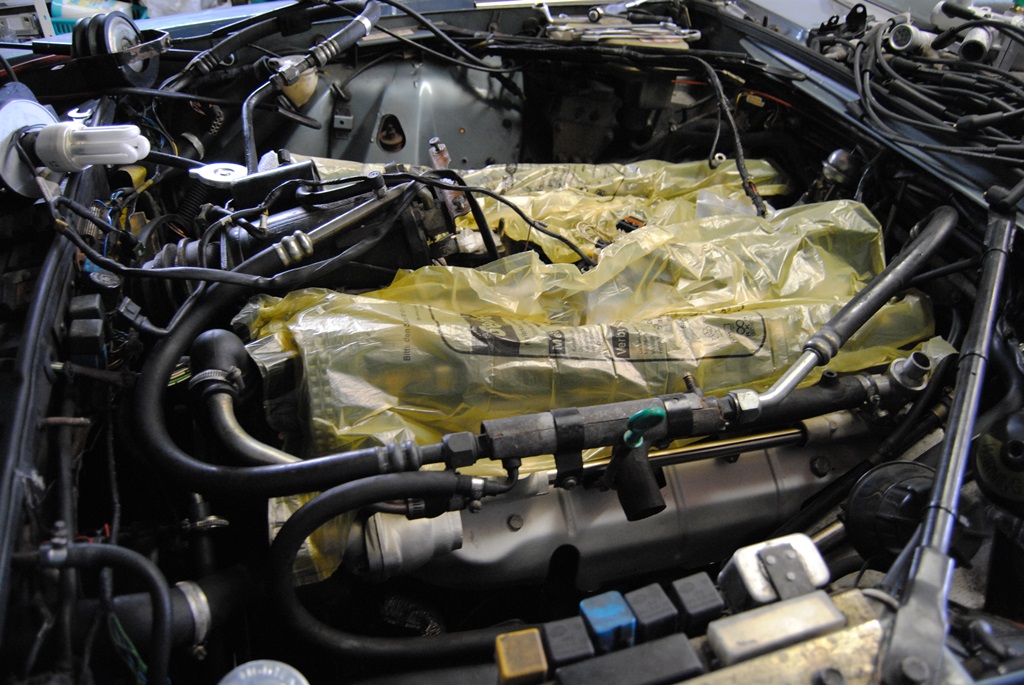
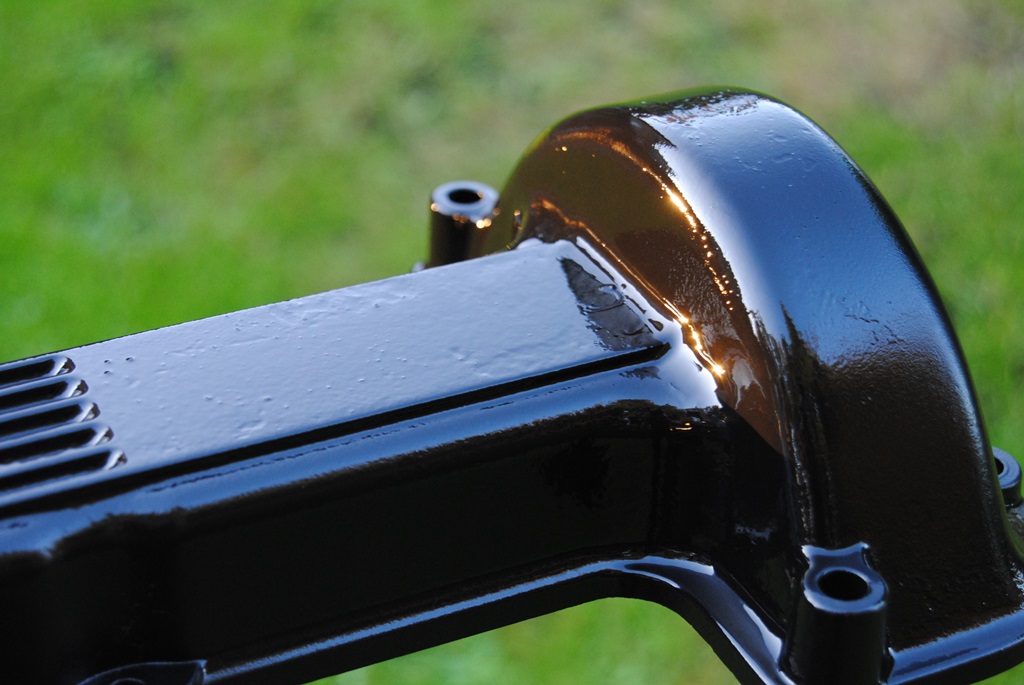
Removed the left hand (3 stud thermostat side) water rail today. Undid the bolts, rather simple job! Am surprised how easy it went. Took it out in one piece...
The amount of oil and dirt below there - yuck!!! Now just to get the other side off (bolts are removed except for two right in the rear) and then blasted (glass pearl plasting this time!). I was considering getting them sprayed silver but I think that the good glass blasting will be more than enough
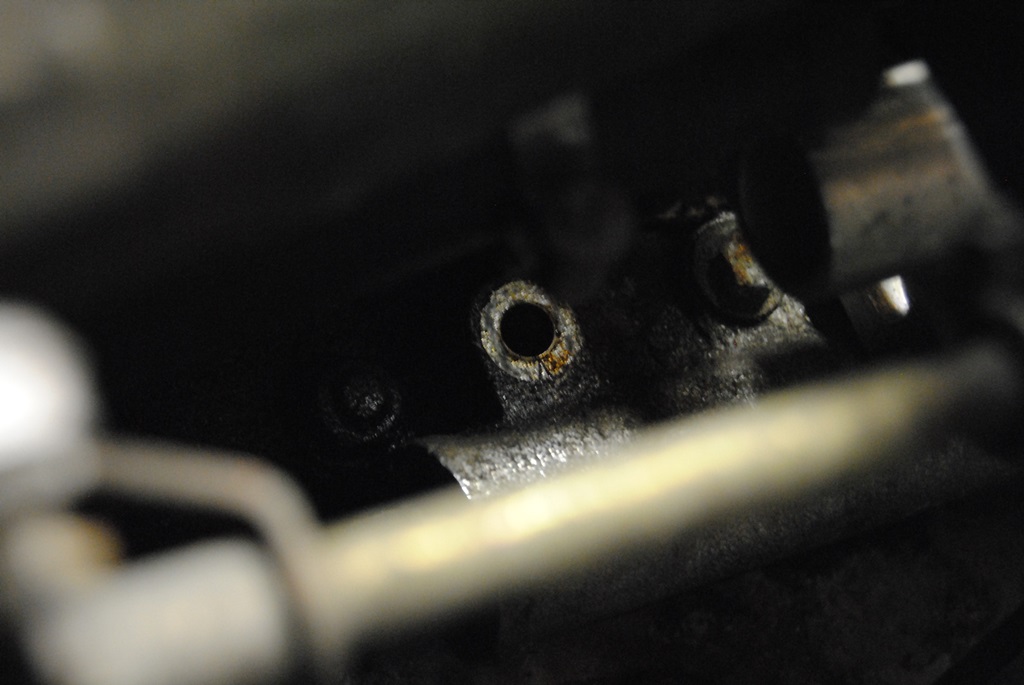


The amount of oil and dirt below there - yuck!!! Now just to get the other side off (bolts are removed except for two right in the rear) and then blasted (glass pearl plasting this time!). I was considering getting them sprayed silver but I think that the good glass blasting will be more than enough
Last edited by Daim; 08-01-2014 at 02:19 PM.
#23
08-02-2014, 08:39 AM
#24
08-02-2014, 12:30 PM

Veteran Member
Join Date: Mar 2014
Location: Tehama County, California, USA
Posts: 25,178
Received 8,946 Likes
on
5,293 Posts
#25
08-02-2014, 02:02 PM

Veteran Member
Daim
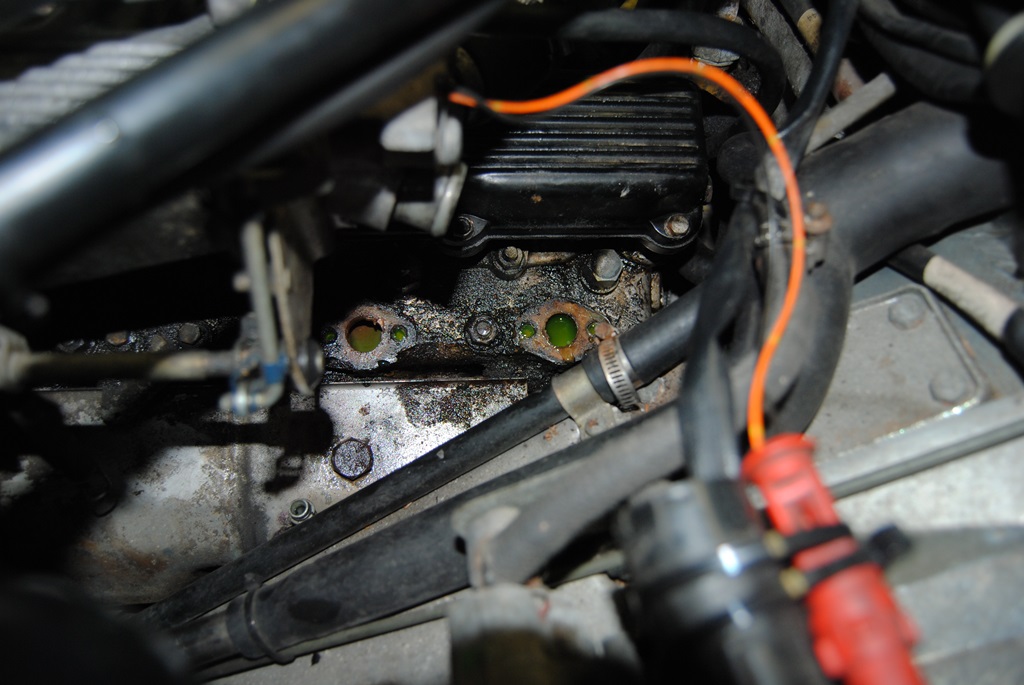
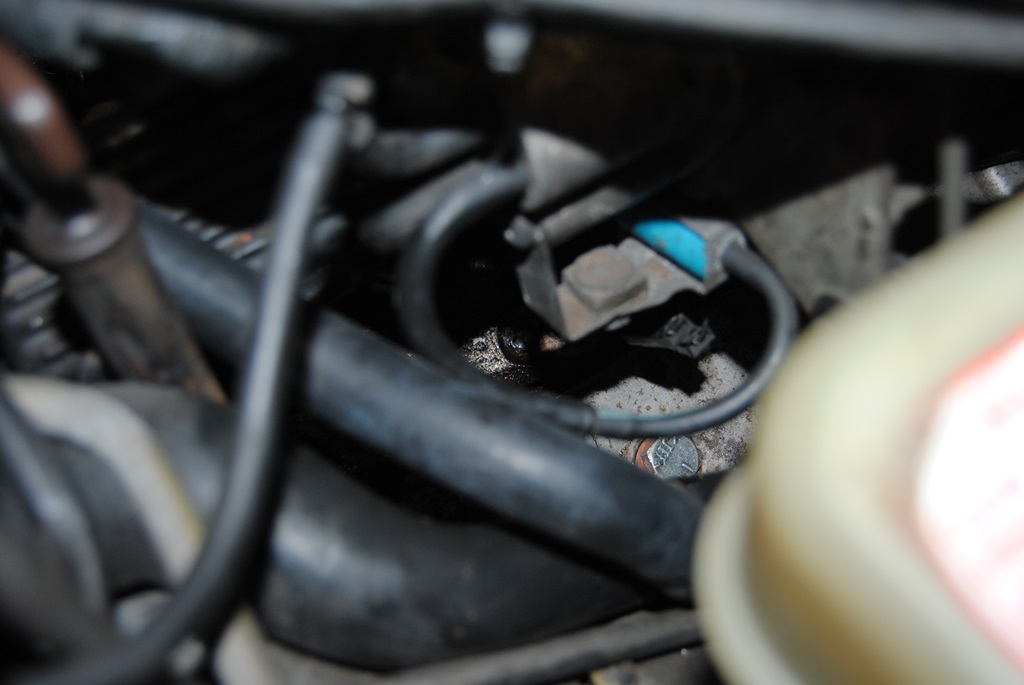
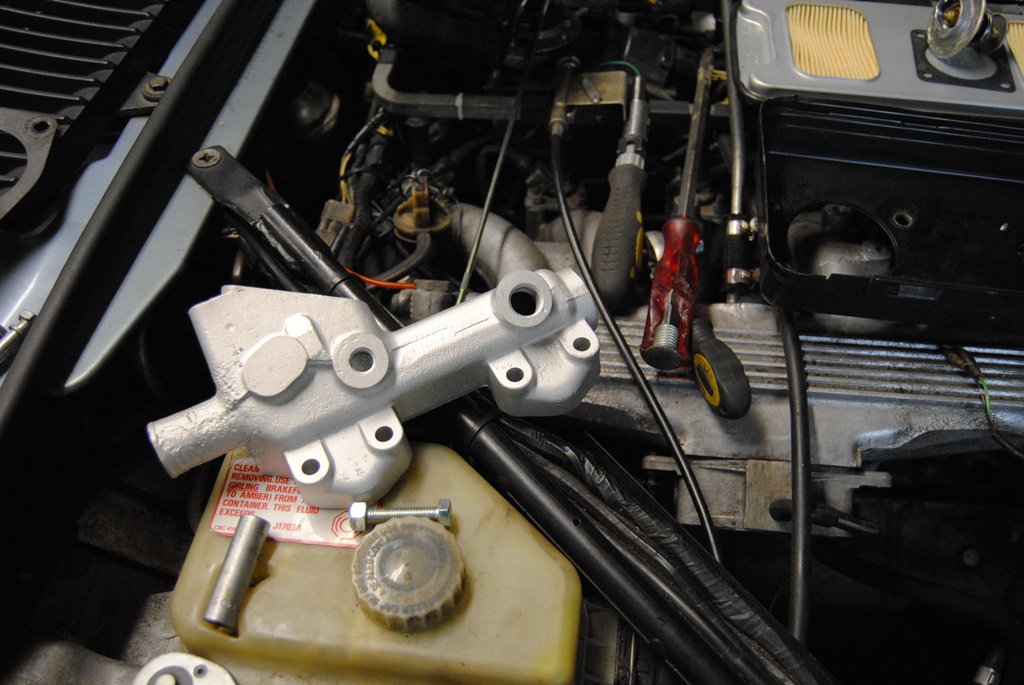
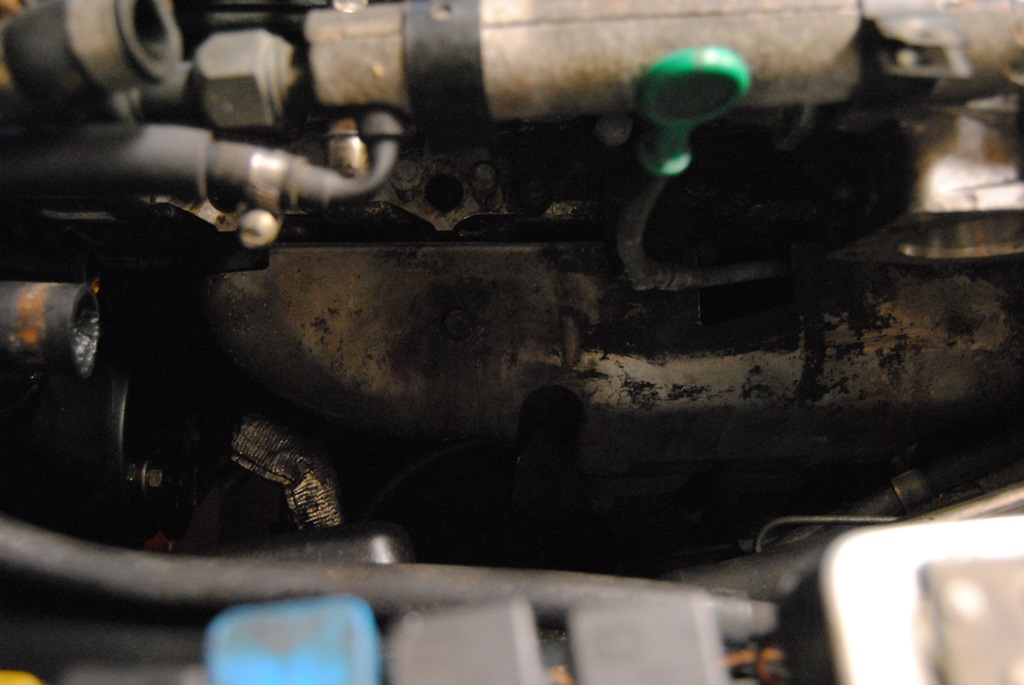
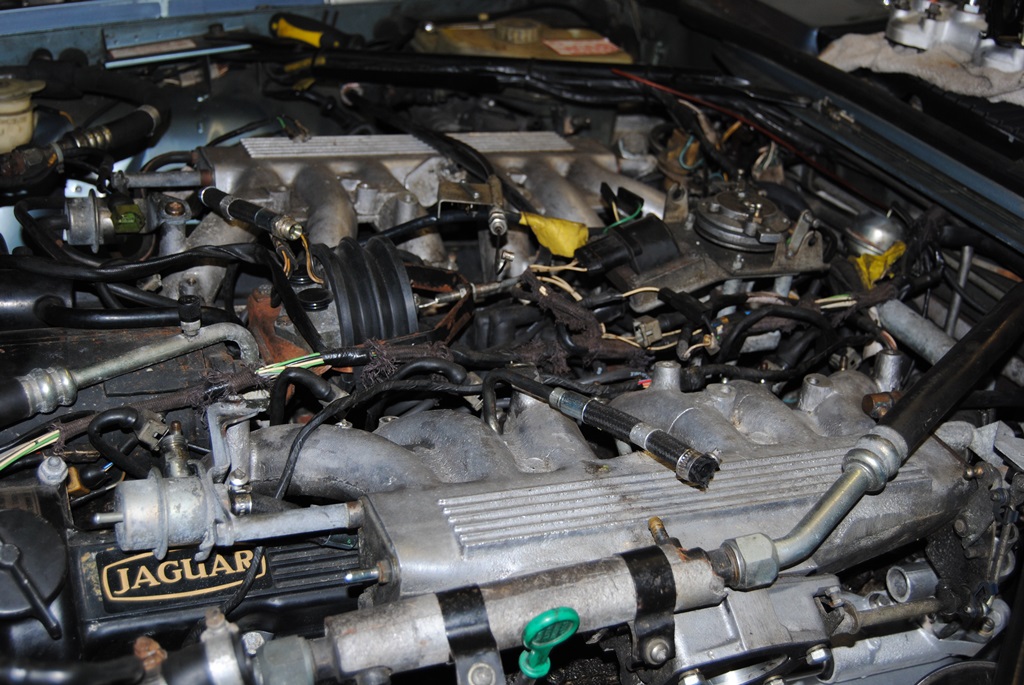
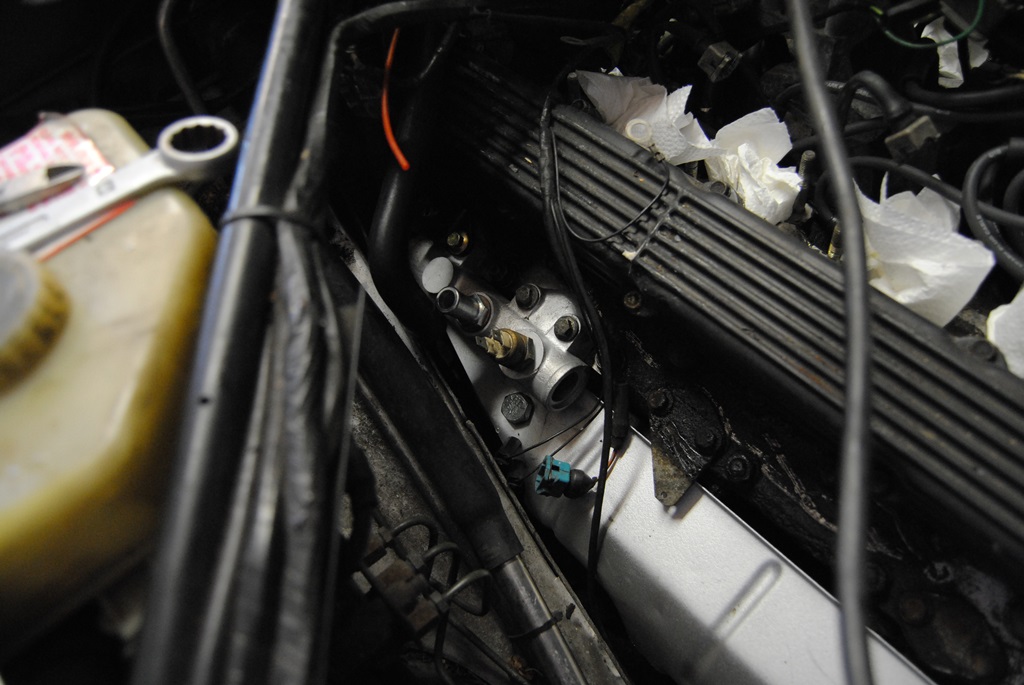
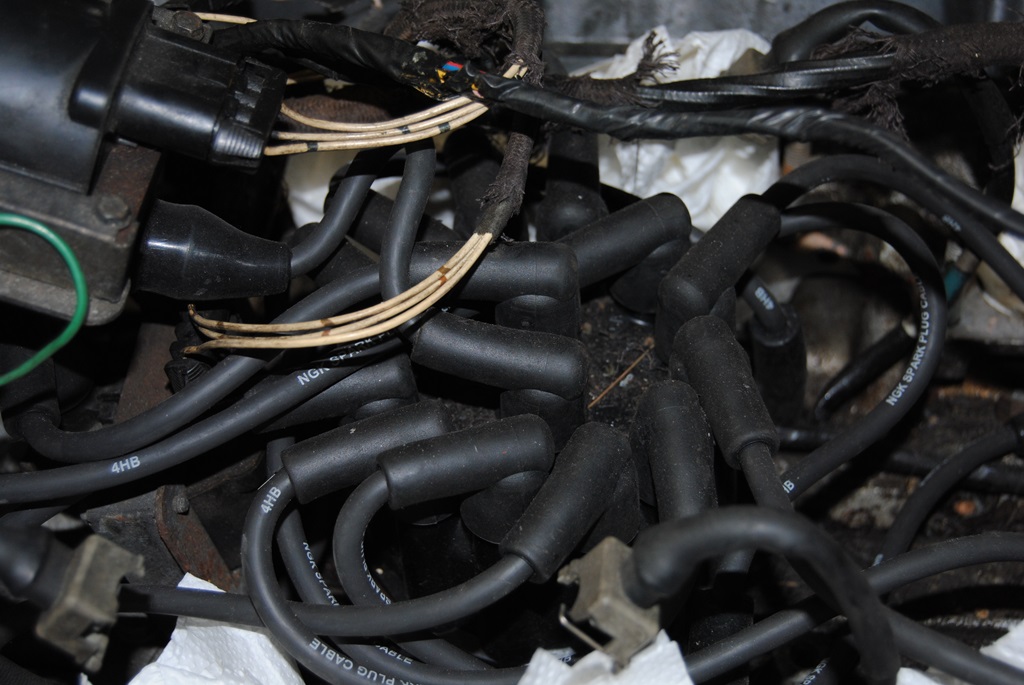
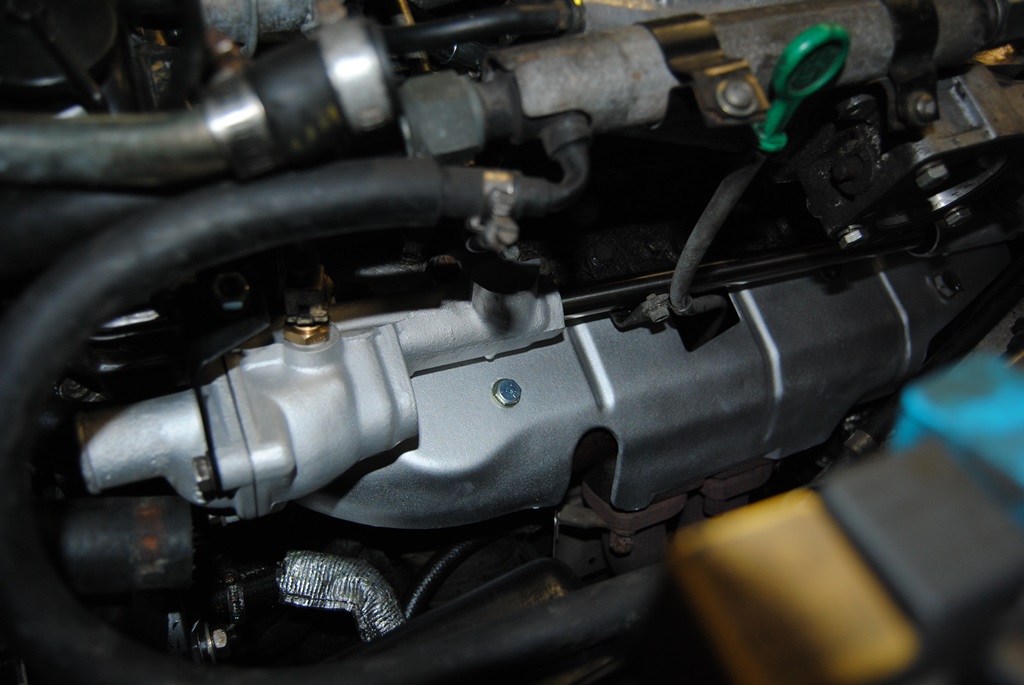
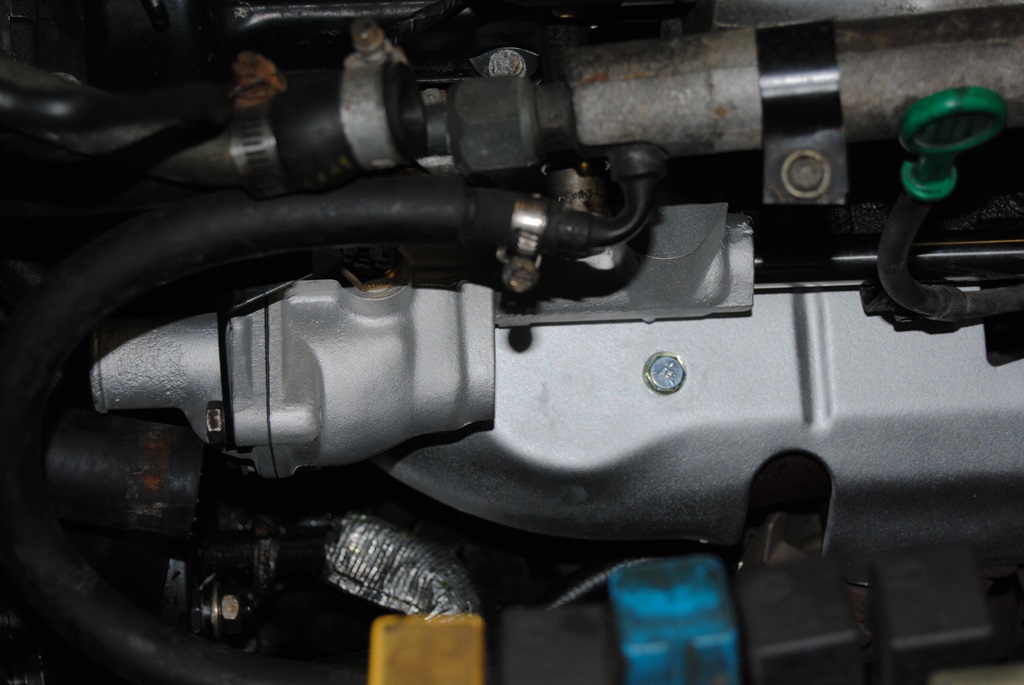
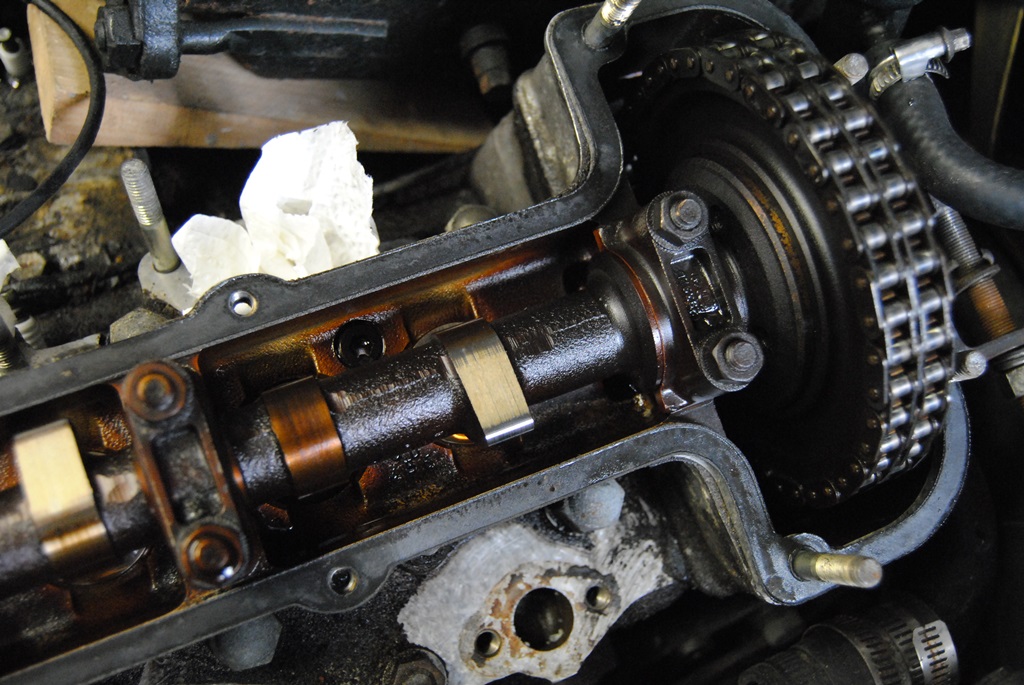
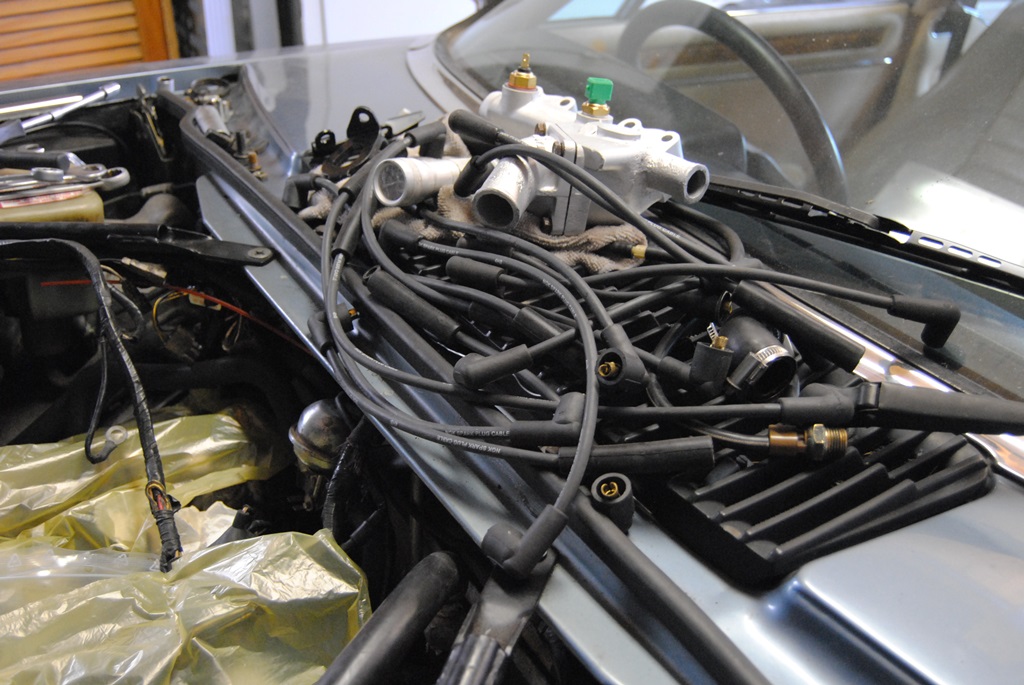
Great job being done, congratulations. Just in case this is not on your list and further to my last post and apologies if you know anyway; but the oil on the heads under the water manifolds and water pipe is from a leaking cam-cover gasket, and even possibly from the non-gasketed tappet block/head joining surface.
Well worth having the induction off as you have got this far and changing the cam cover gasket and the half moon seal. And you can clean out the V if you take off the induction, and easily change the oil pressure senders, which will be leaking too...
Greg
Last edited by Greg in France; 08-02-2014 at 02:04 PM.
#26
08-02-2014, 02:43 PM
Hi George,
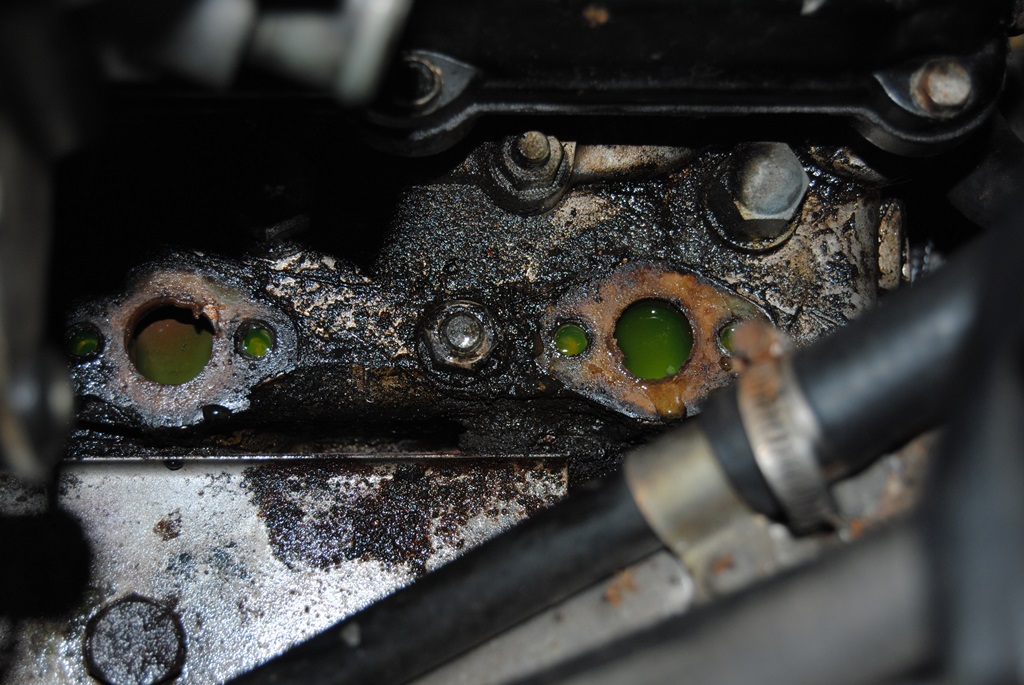
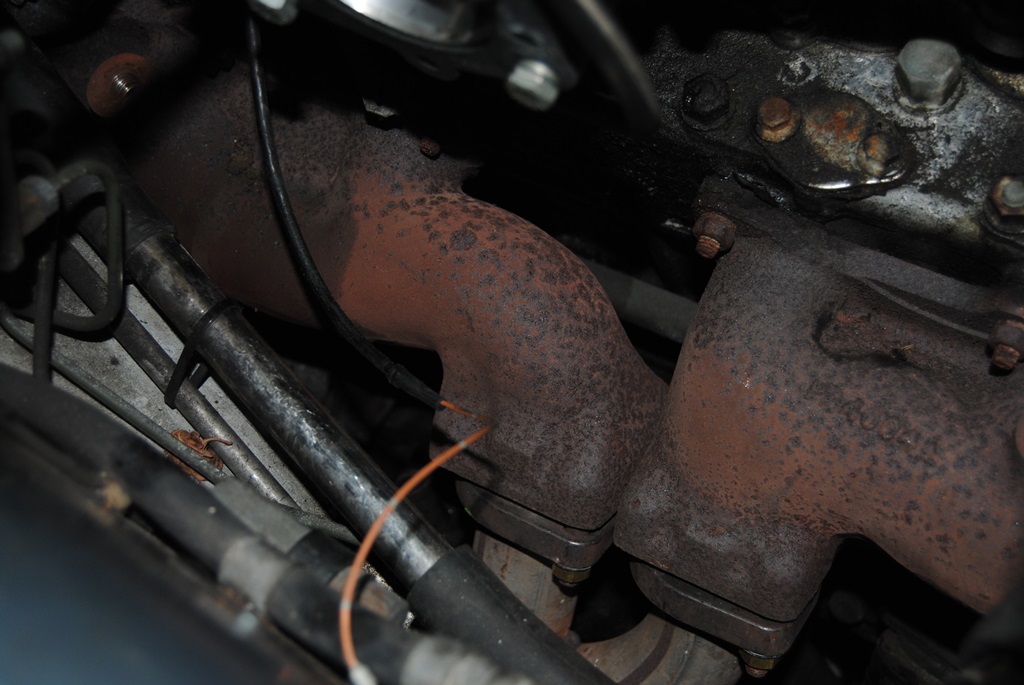
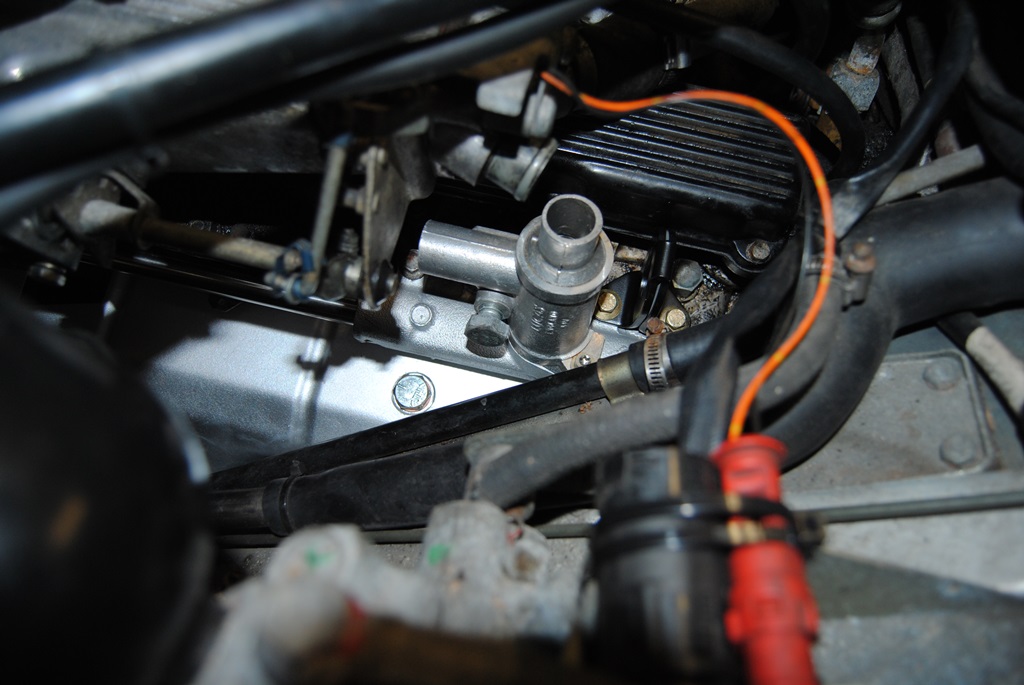
yeah, I saw all that sh*te under there. I'll be doing the intakes later on. I decided to work my way up...
I like to do it bit by bit. As I don't intend on driving her this year (I have covered a whopping 370 miles on her this year! ), I'll be doing that over winter/X-mas.
The dirty areas will be cleaned prior to refitting the rails. So new gunk and crap should't stick much. The V section was supposed to be done, when I start on the fuel rail and hoses as well as fuel injection harness. My goal is to get this cat dry or at least to stop her leaking as much as she did in May
Otherwise: cheers!
yeah, I saw all that sh*te under there. I'll be doing the intakes later on. I decided to work my way up...
I like to do it bit by bit. As I don't intend on driving her this year (I have covered a whopping 370 miles on her this year!
), I'll be doing that over winter/X-mas. The dirty areas will be cleaned prior to refitting the rails. So new gunk and crap should't stick much. The V section was supposed to be done, when I start on the fuel rail and hoses as well as fuel injection harness. My goal is to get this cat dry or at least to stop her leaking as much as she did in May
Otherwise: cheers!
#27
08-03-2014, 04:56 AM
#28
08-03-2014, 12:17 PM
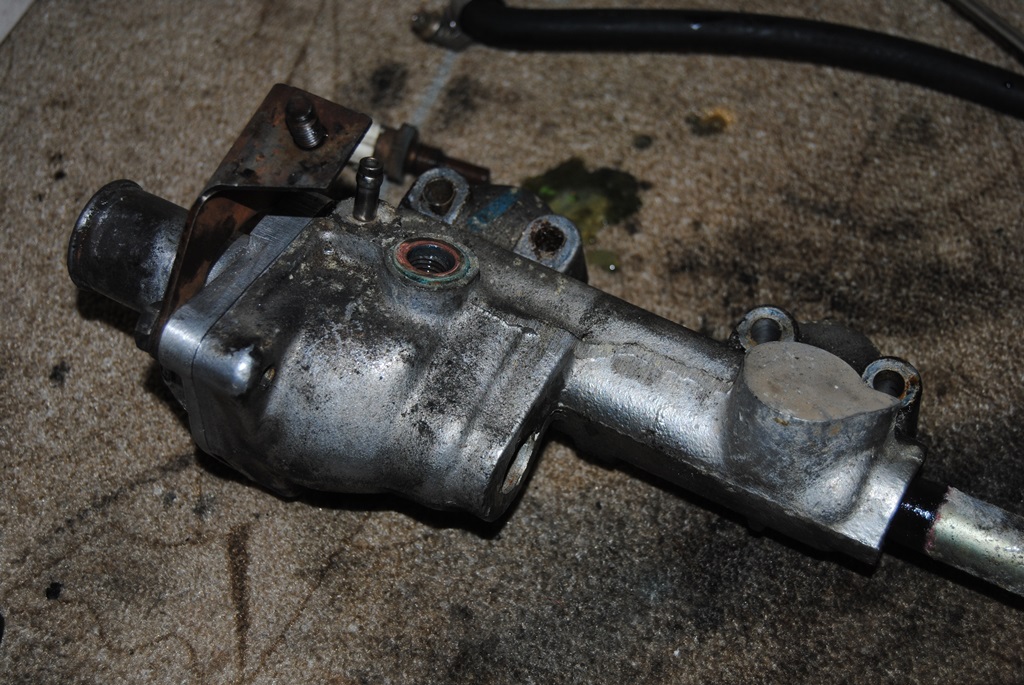
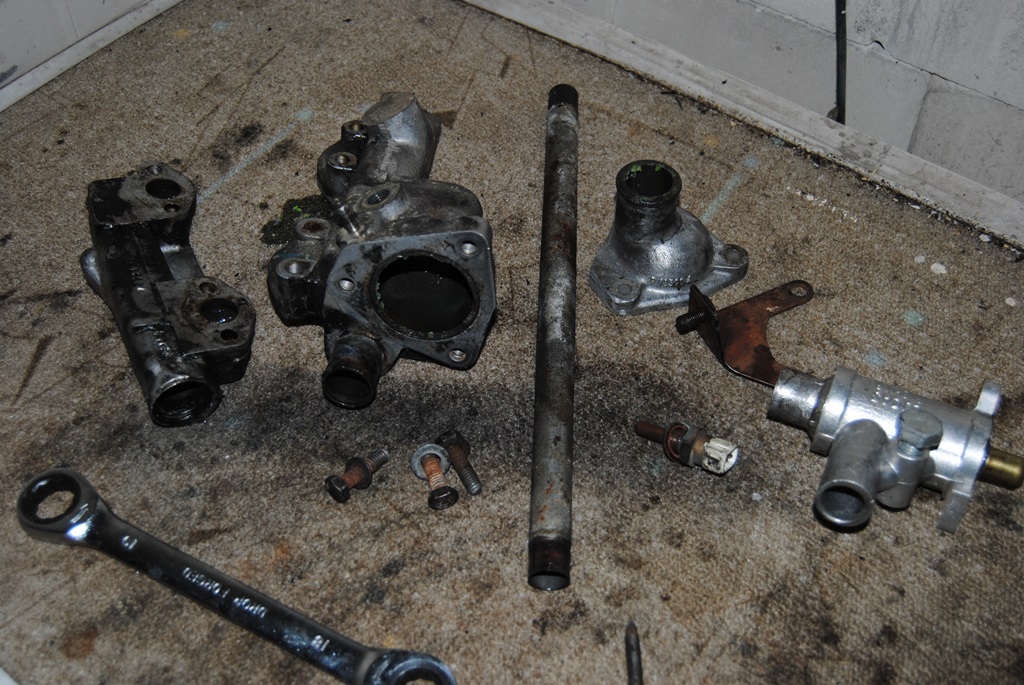
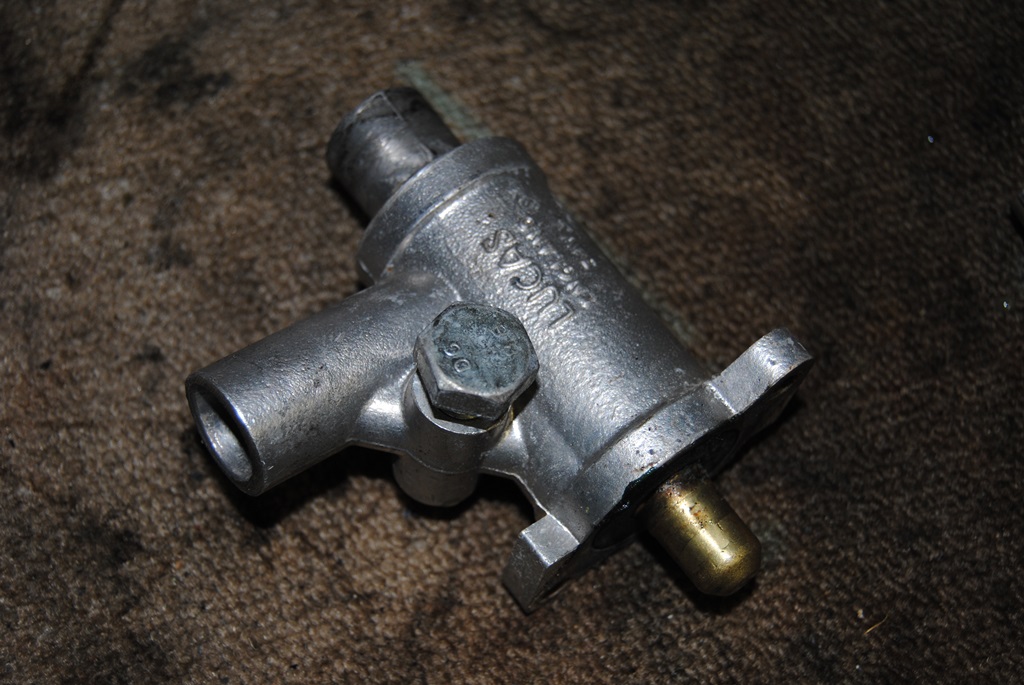
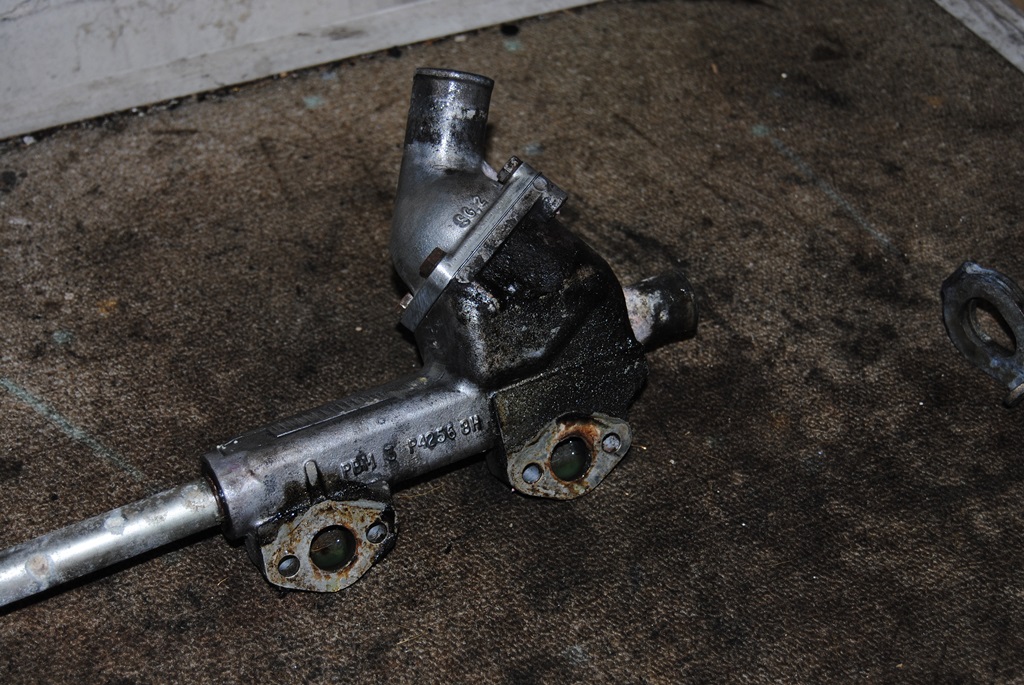
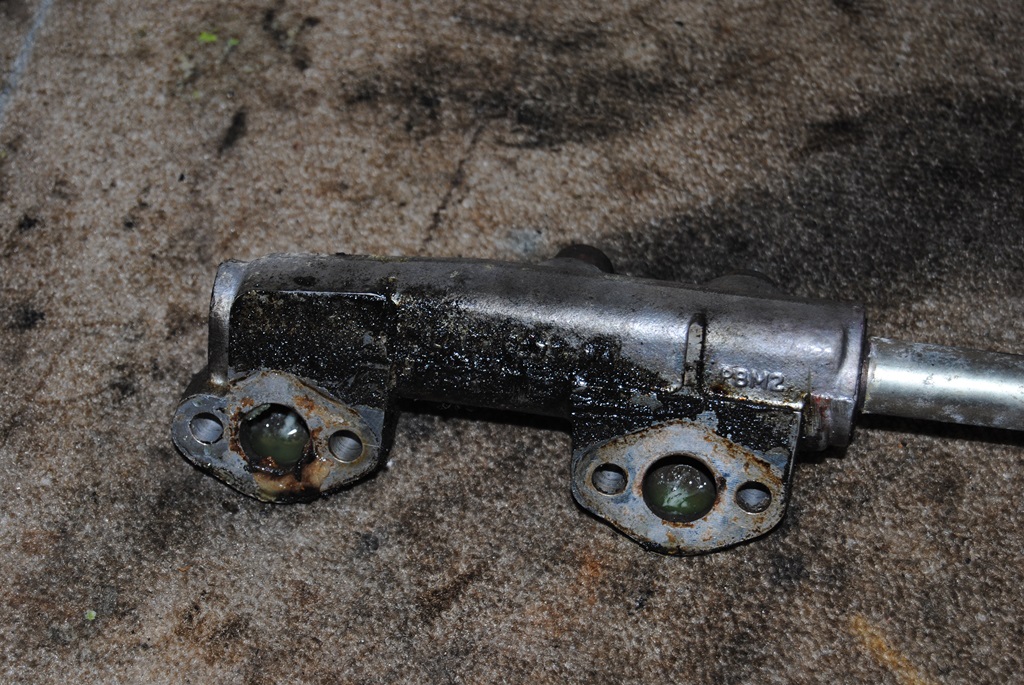
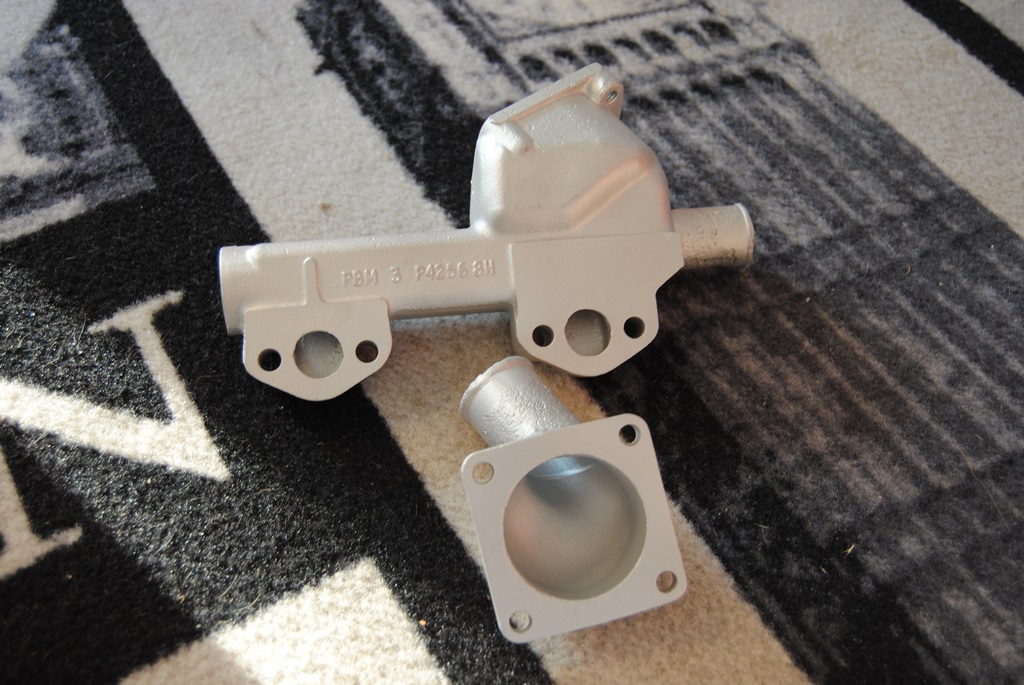
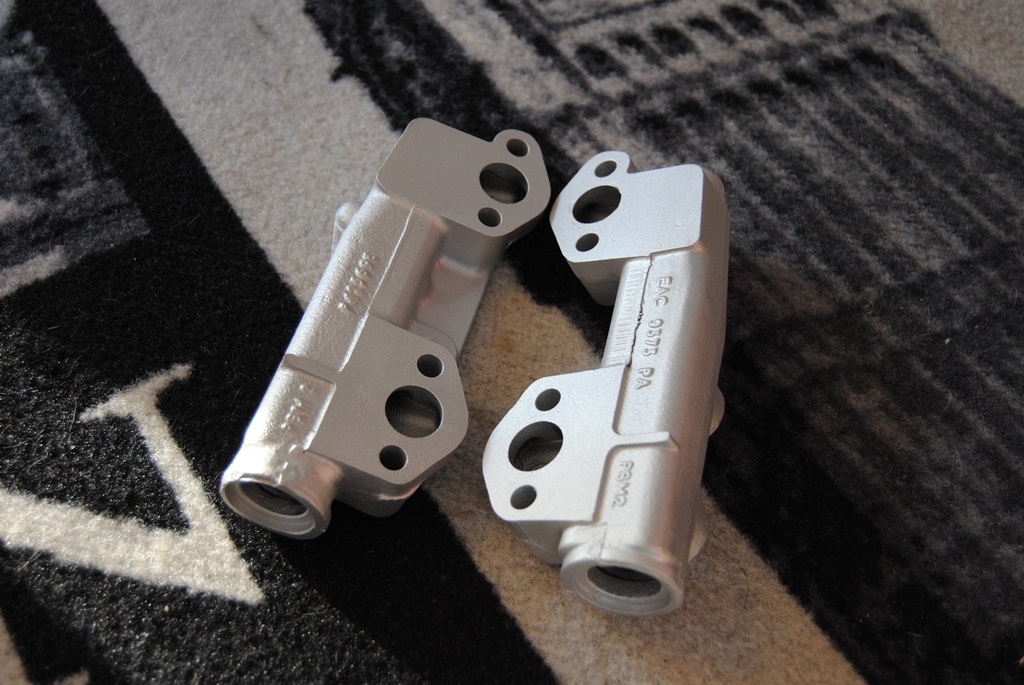
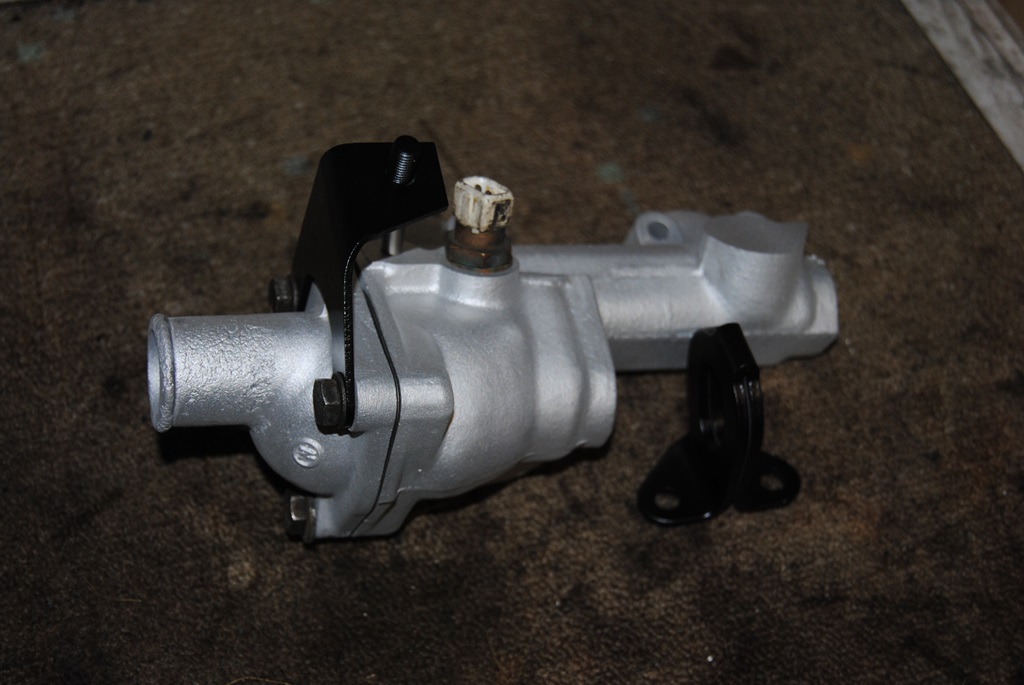
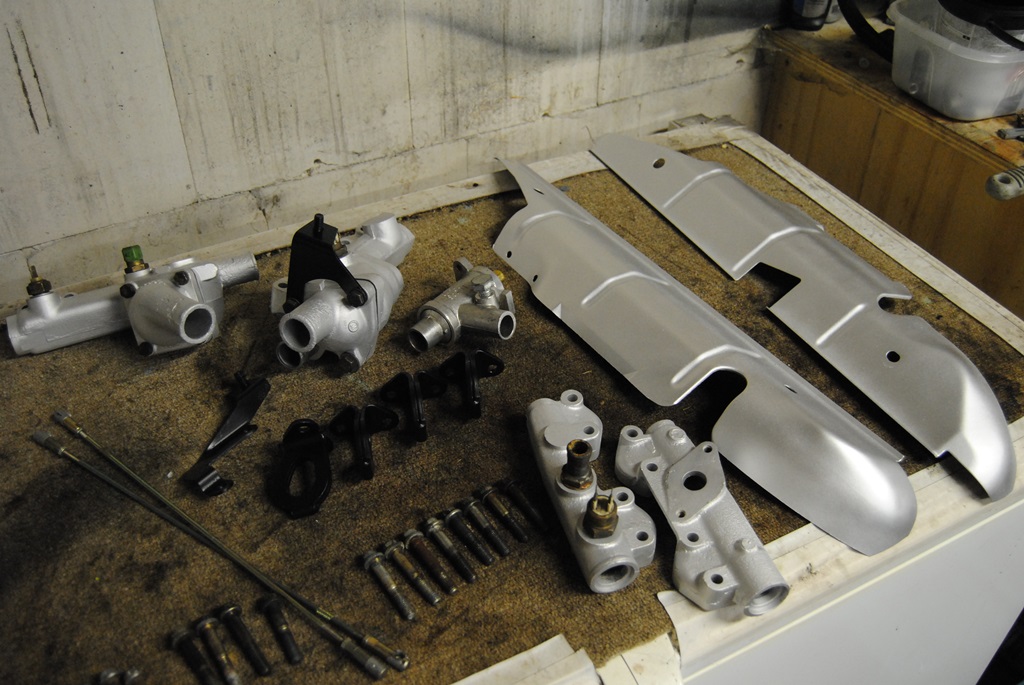
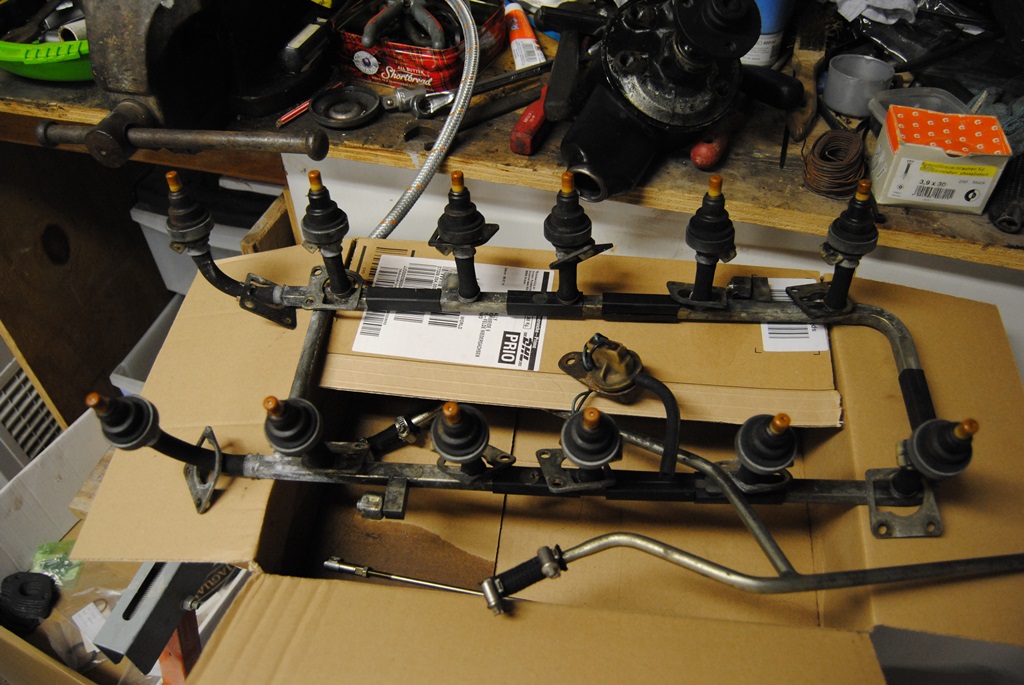
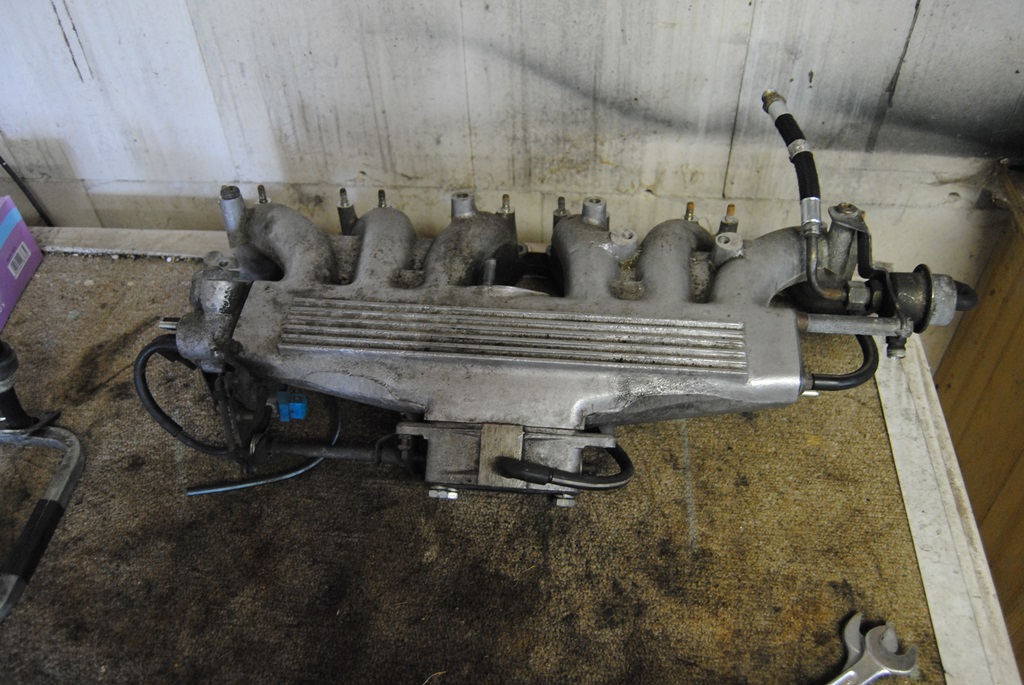
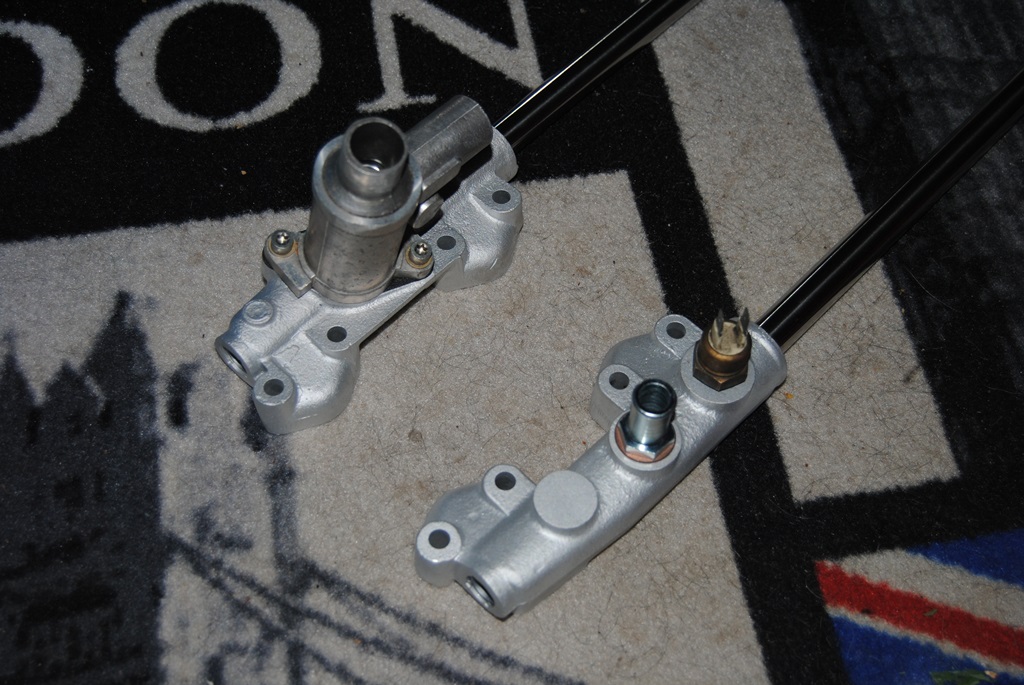
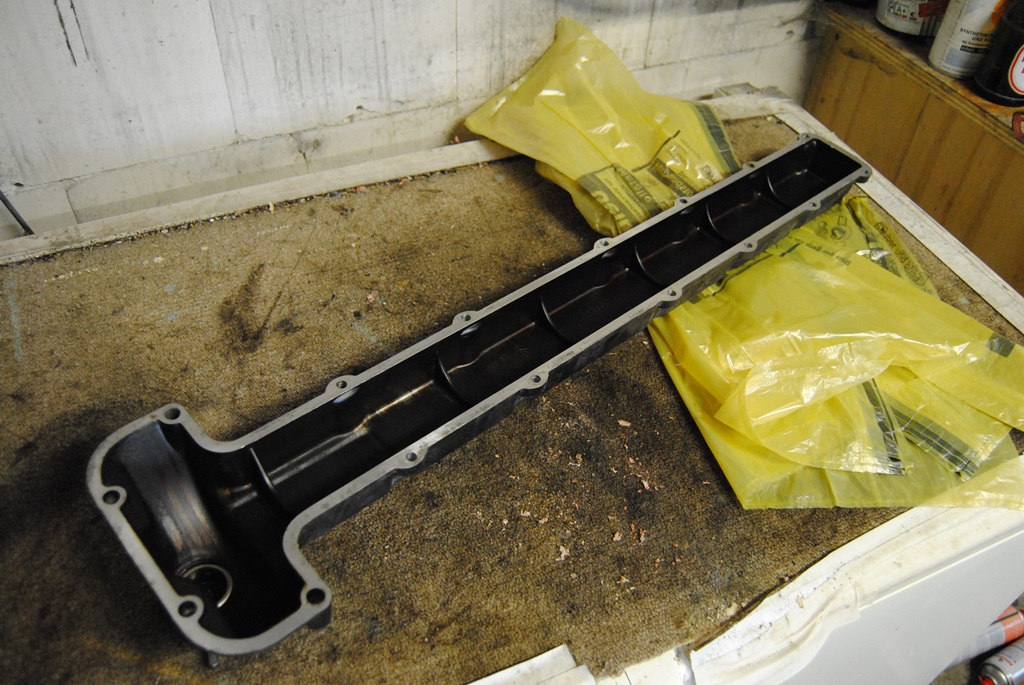
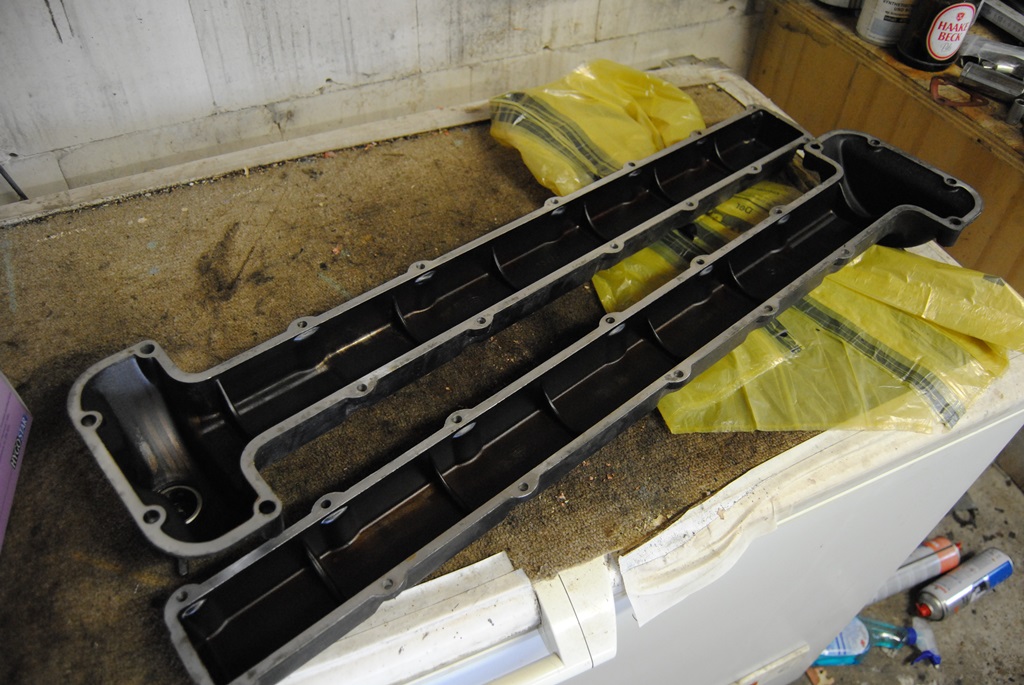
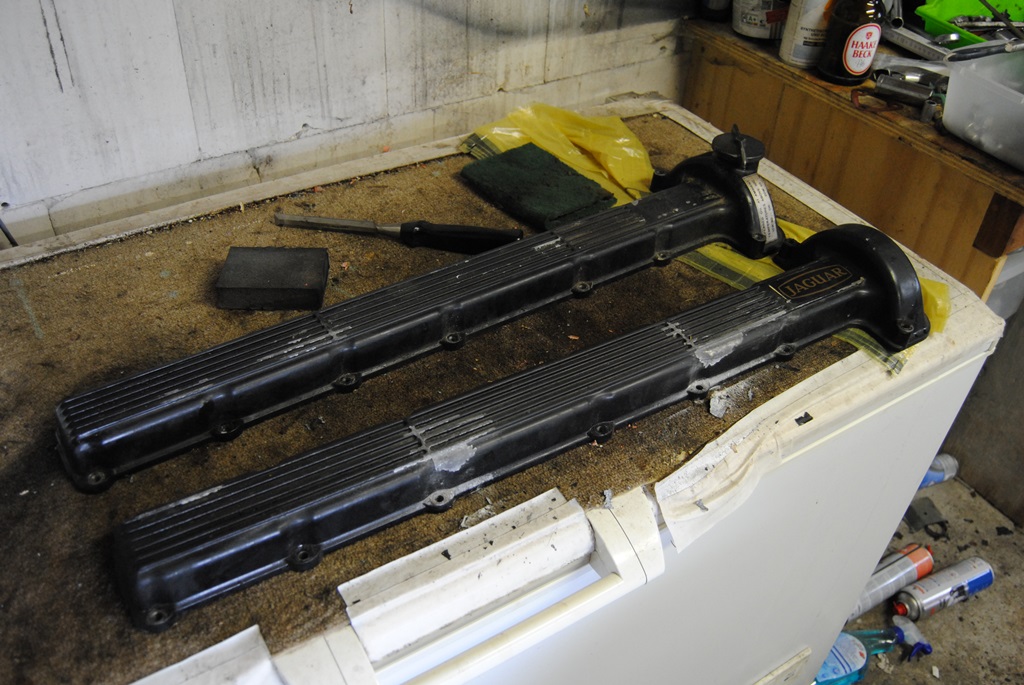
Started to clean the rail segments today... As well as a few parts I'll be getting done at the same time...
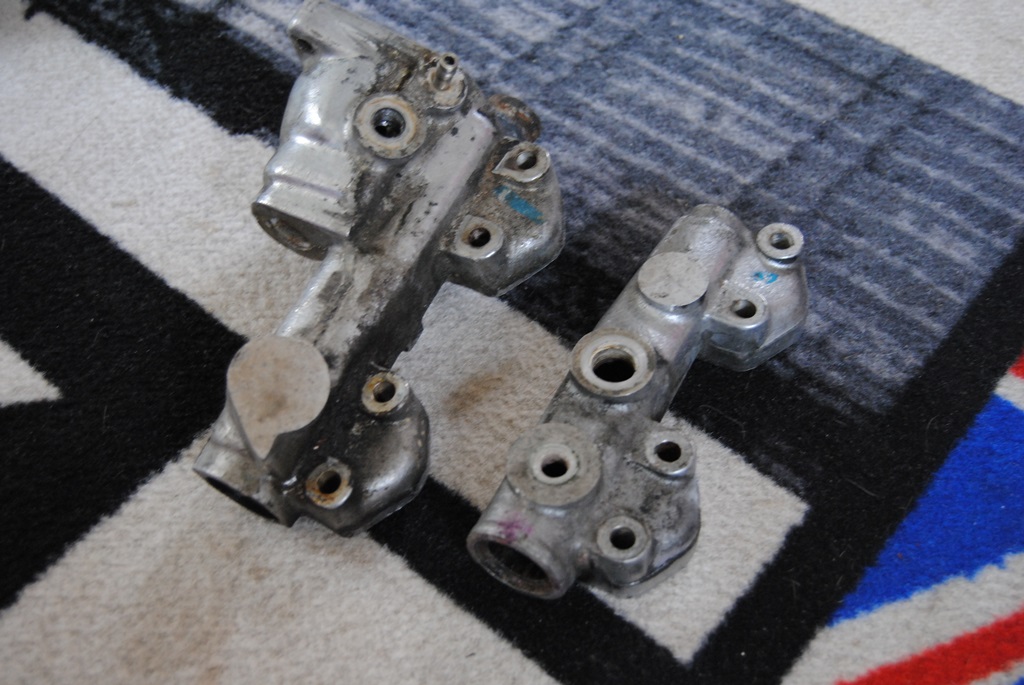
As can be seen. I only removed most of the sh*te stuck to the metal. So it is just slightly cleaned. I wanted to make sure there were no cracks so I don't waste money. But nothing wrong. Should come back spotless!
As can be seen. I only removed most of the sh*te stuck to the metal. So it is just slightly cleaned. I wanted to make sure there were no cracks so I don't waste money. But nothing wrong. Should come back spotless!
#29
08-04-2014, 12:45 PM
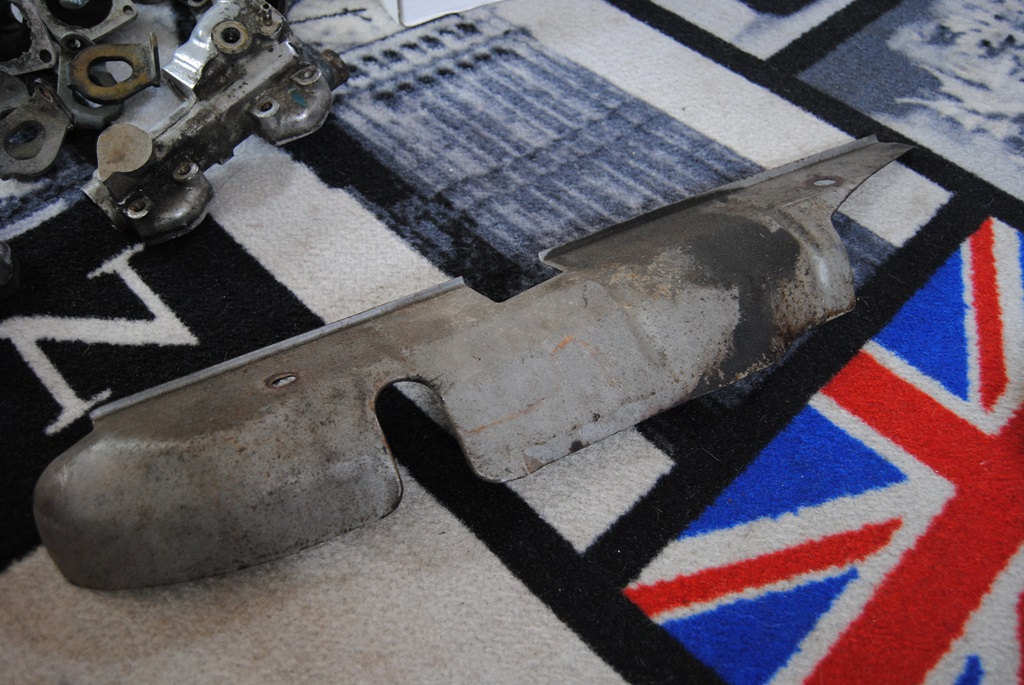
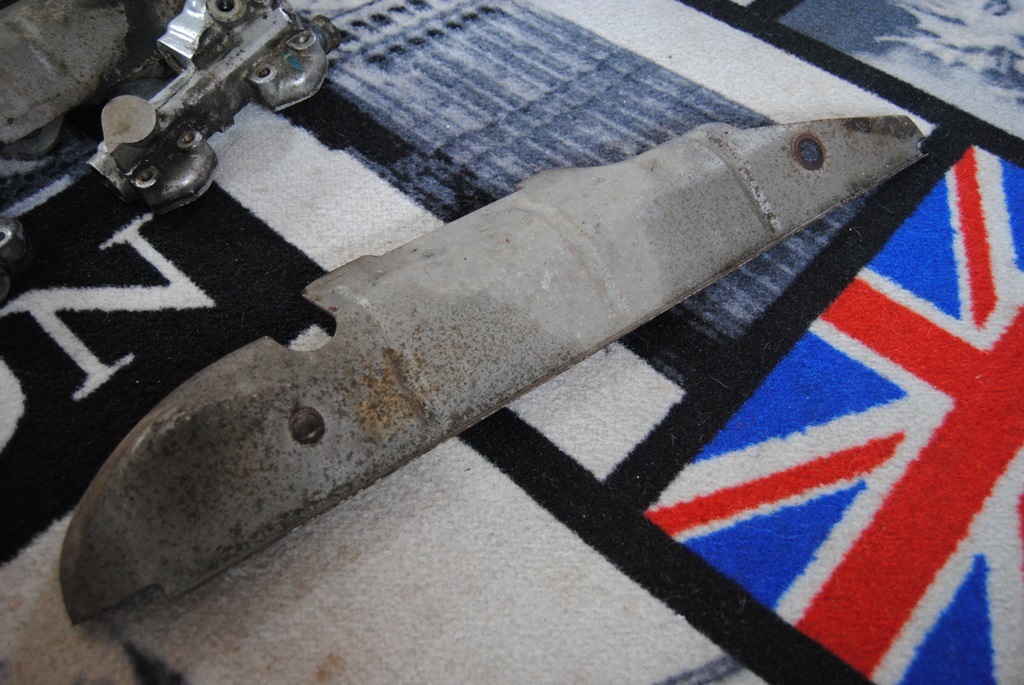
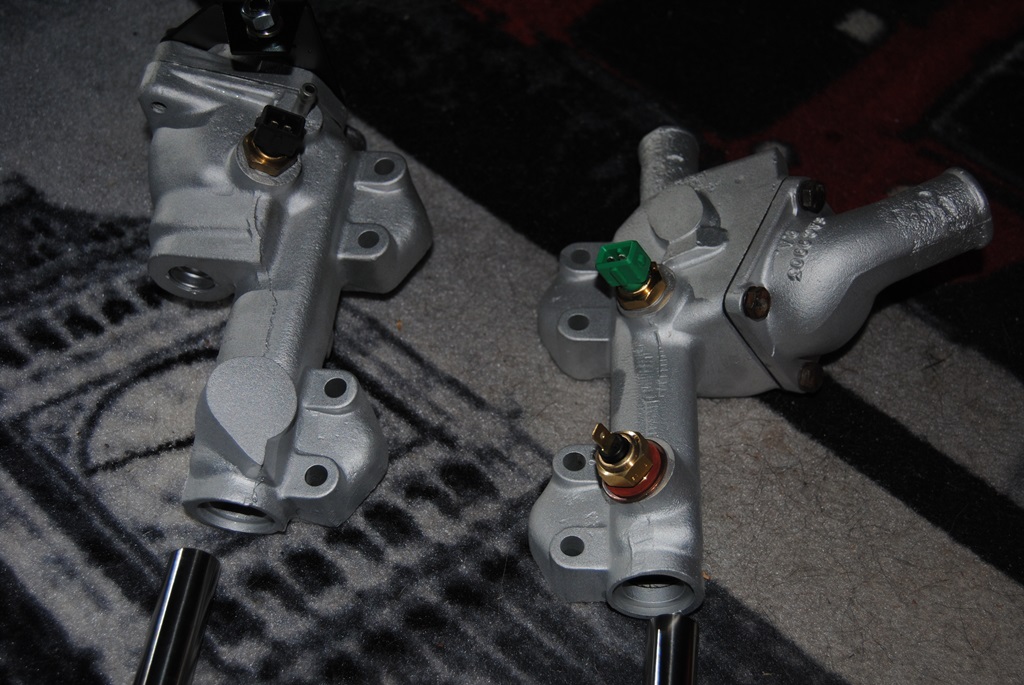
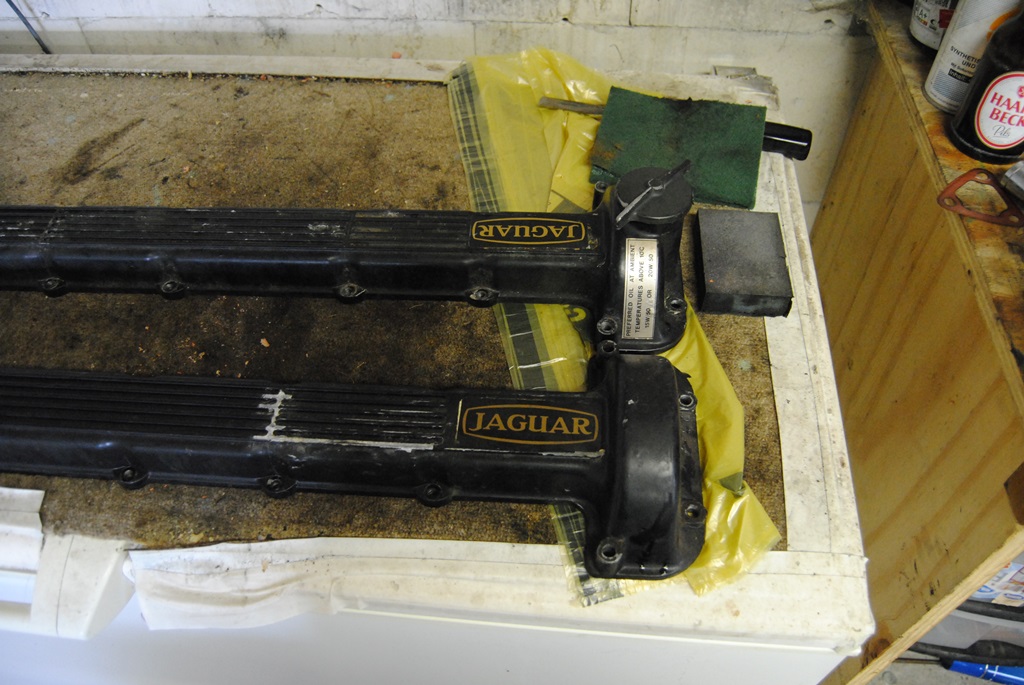
Went quicker than I thought! Took the parts to be blasted this morning at 9. At 1 they called and said "done". I was shocked! Highly recommendable company, sadly for you UK/US guys probably a tad too far away!
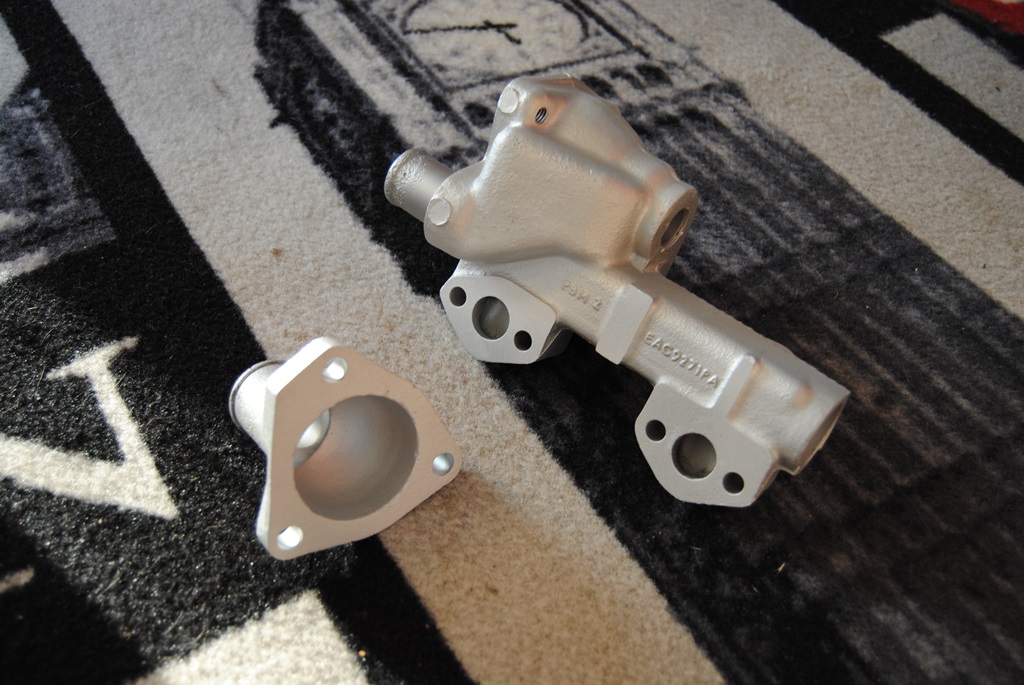
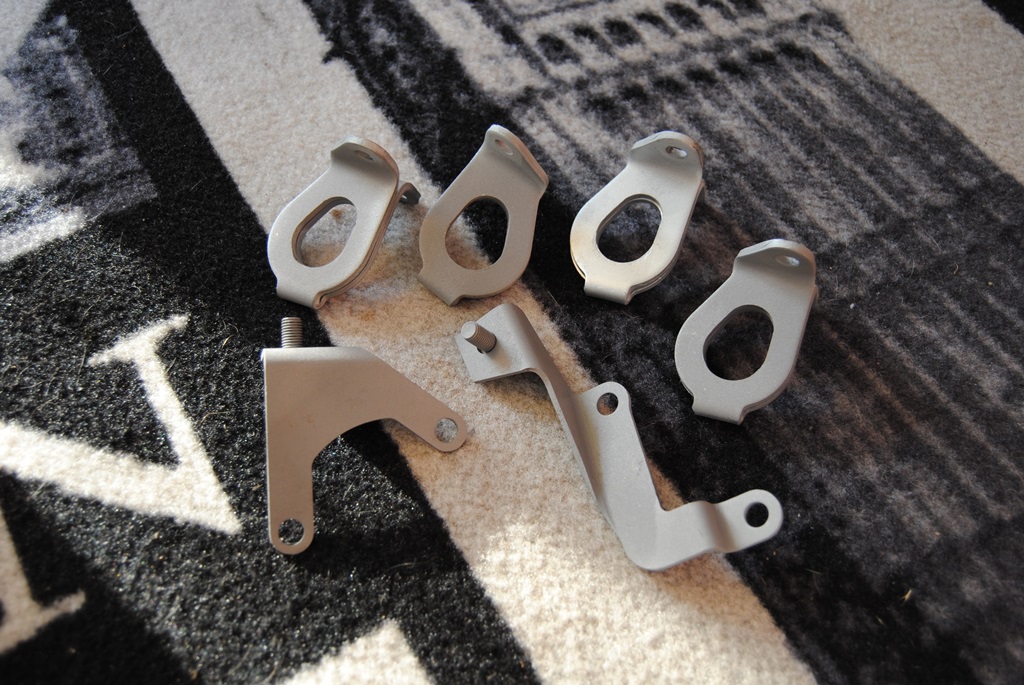
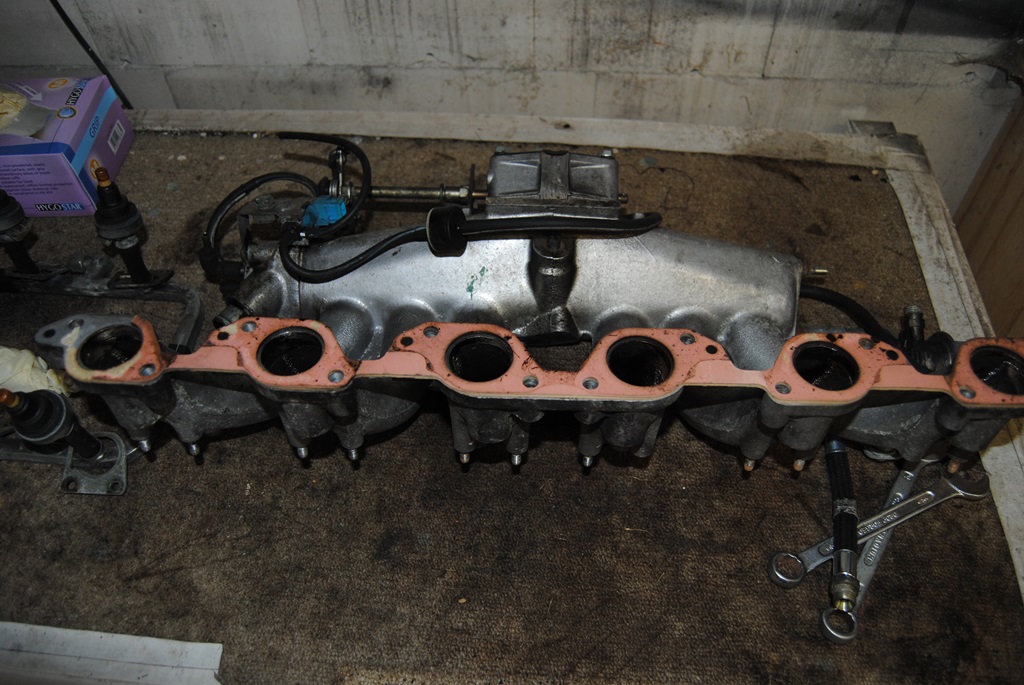
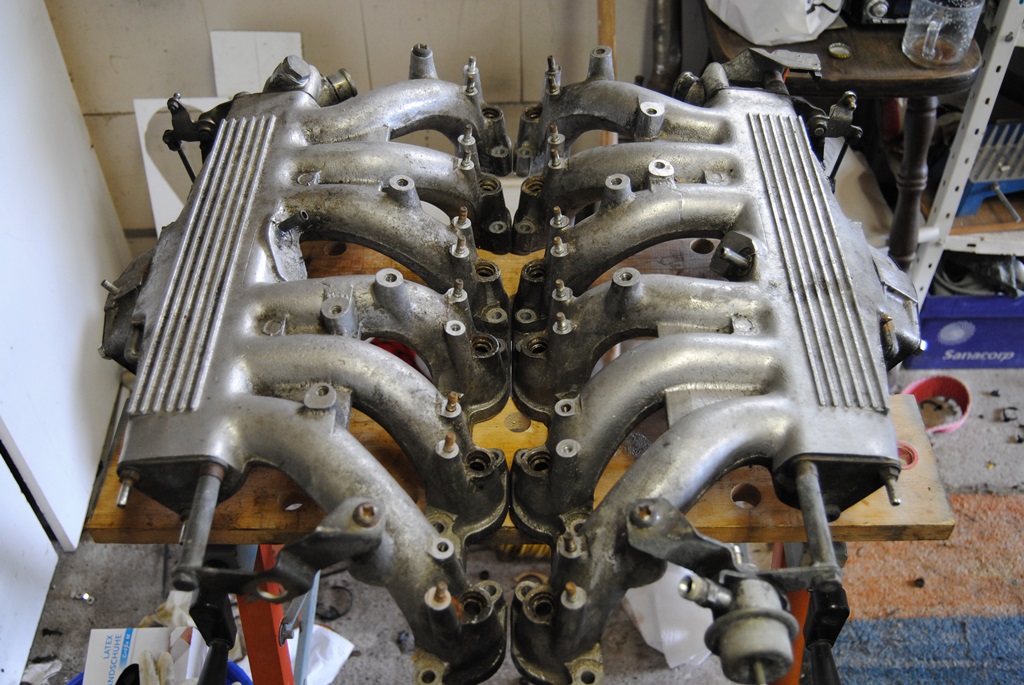
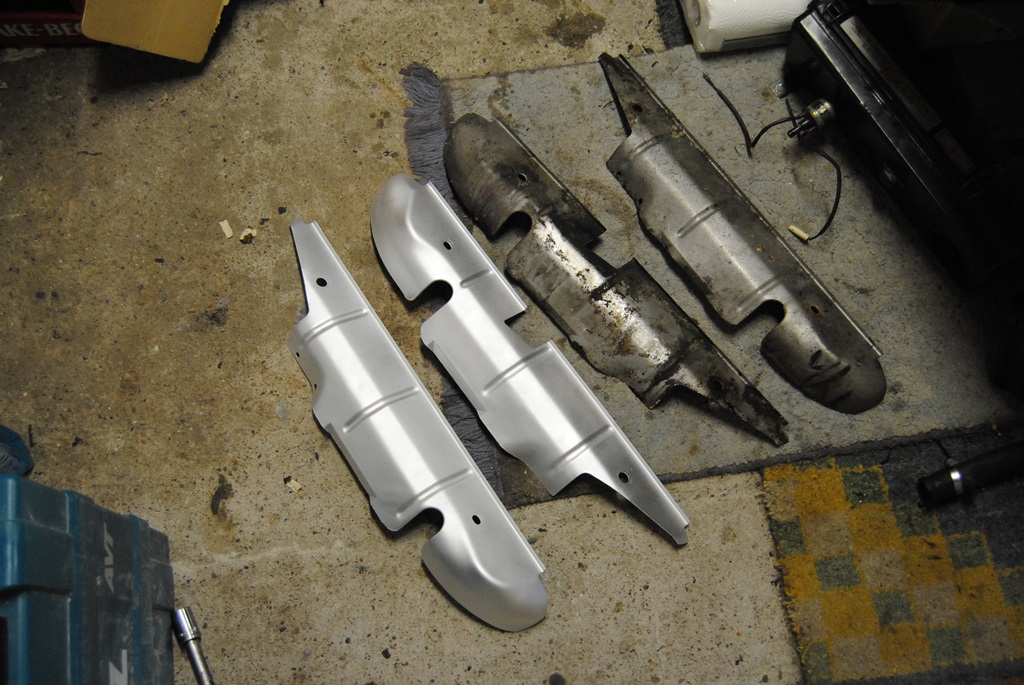
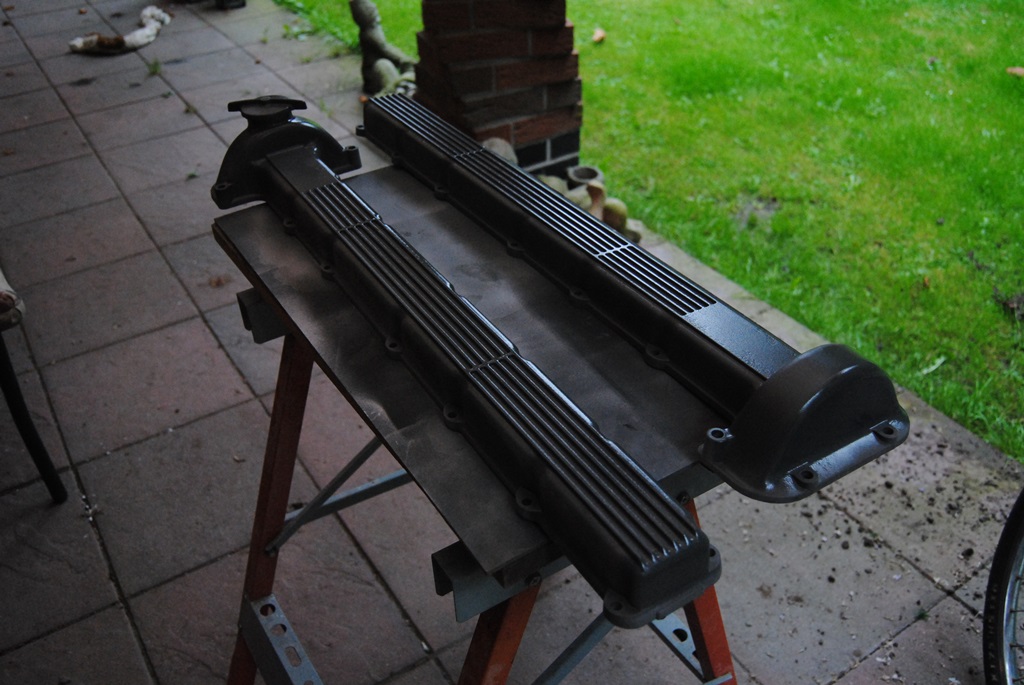
And a "before and after" comparisson... The material and colour was the same on both parts. The intake manifold is untouched and just looks "old" now They'll be done in winter!
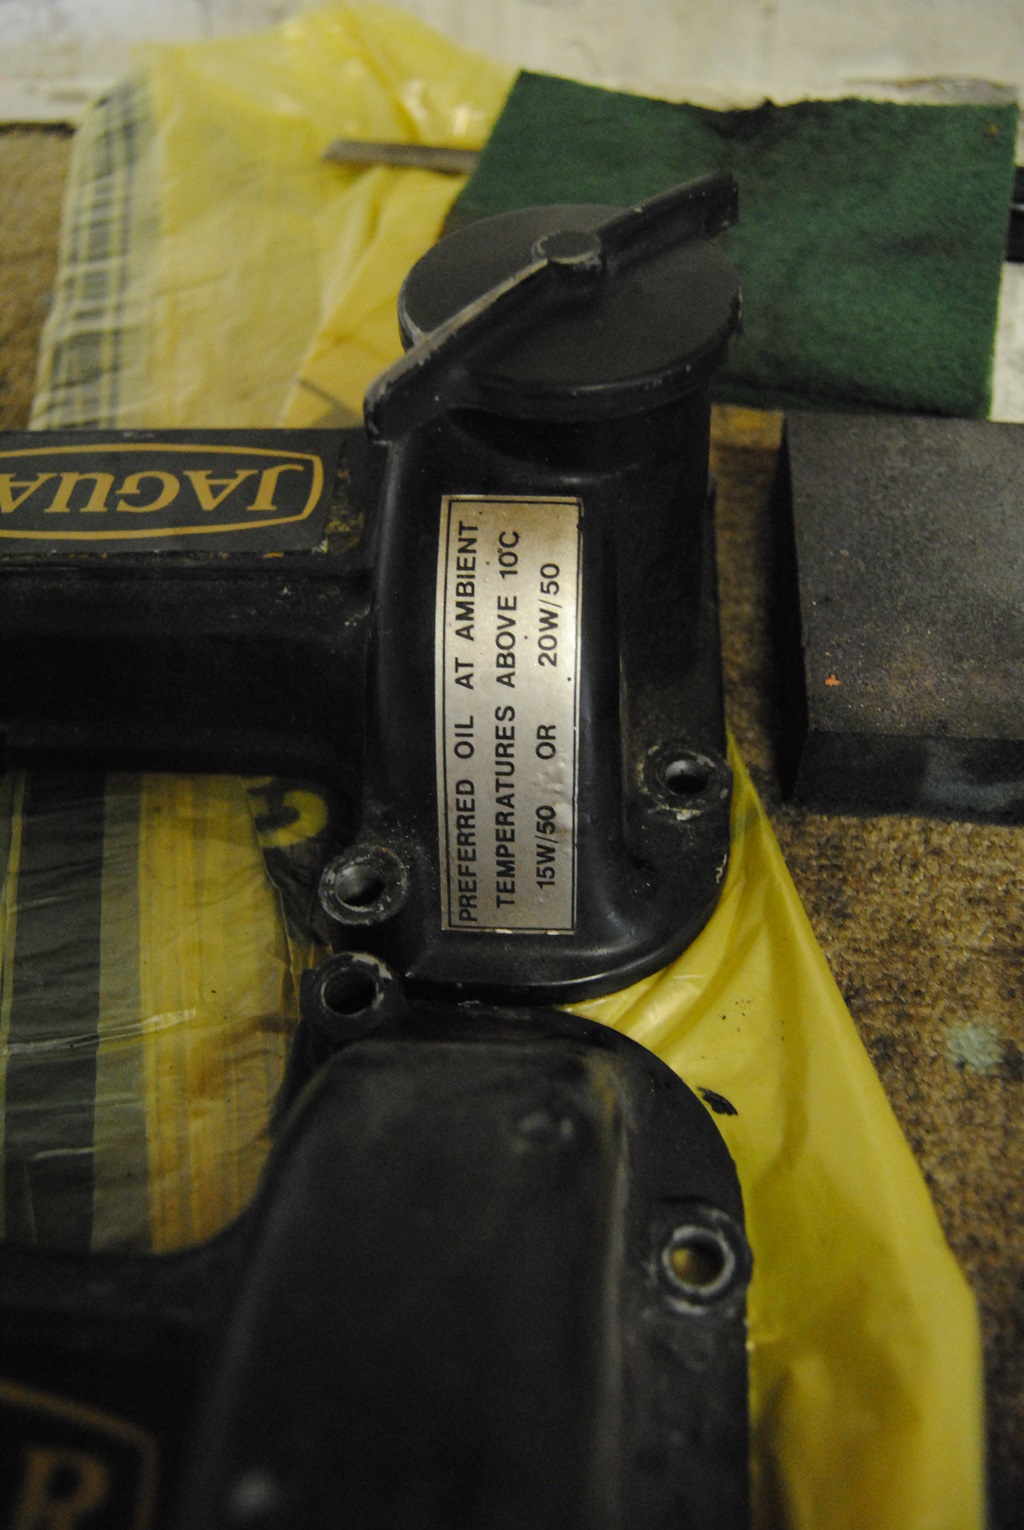
This was all glass-pearl-blasted... The little hooks/rings and the exhaust heat shields were sandblasted (steel can't be glass'ed). The piping is all pearled... Great finishing! No care at all needed - according to the experts, as the surface has been "compacted" a little and the surface has less area for dirt and grime to get into...
And a "before and after" comparisson... The material and colour was the same on both parts. The intake manifold is untouched and just looks "old" now
They'll be done in winter! This was all glass-pearl-blasted... The little hooks/rings and the exhaust heat shields were sandblasted (steel can't be glass'ed). The piping is all pearled... Great finishing! No care at all needed - according to the experts, as the surface has been "compacted" a little and the surface has less area for dirt and grime to get into...
#30
08-16-2014, 02:14 PM
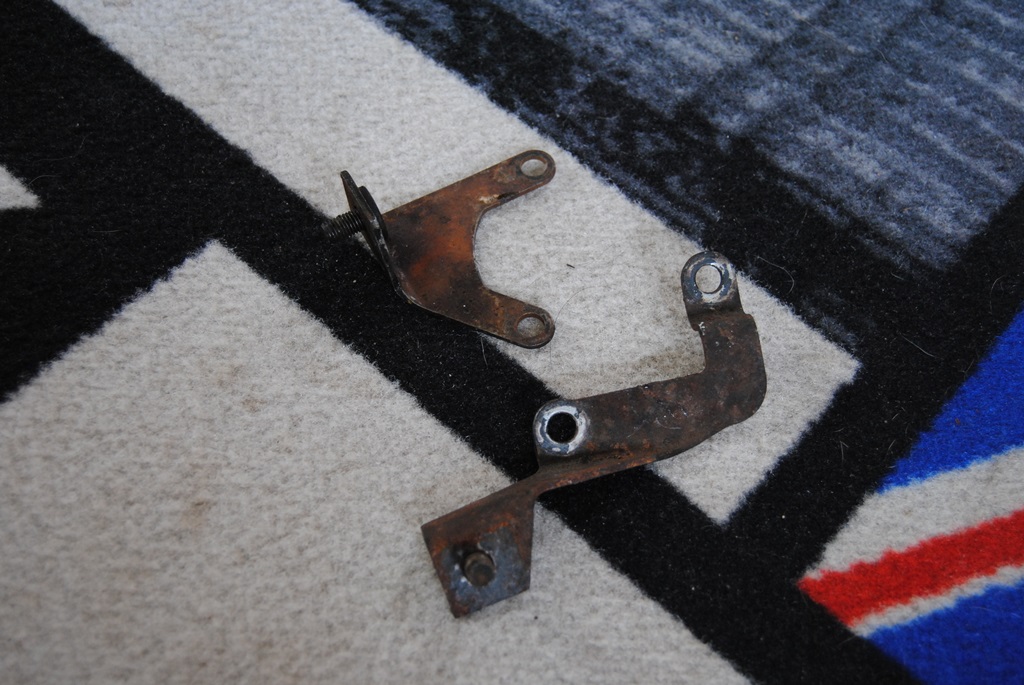
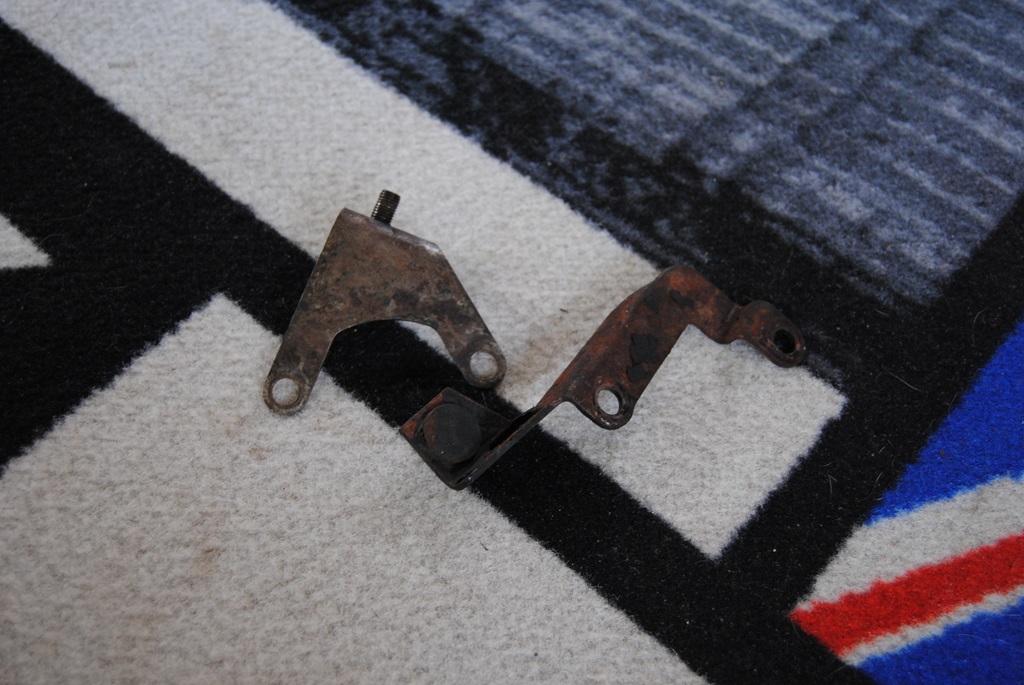
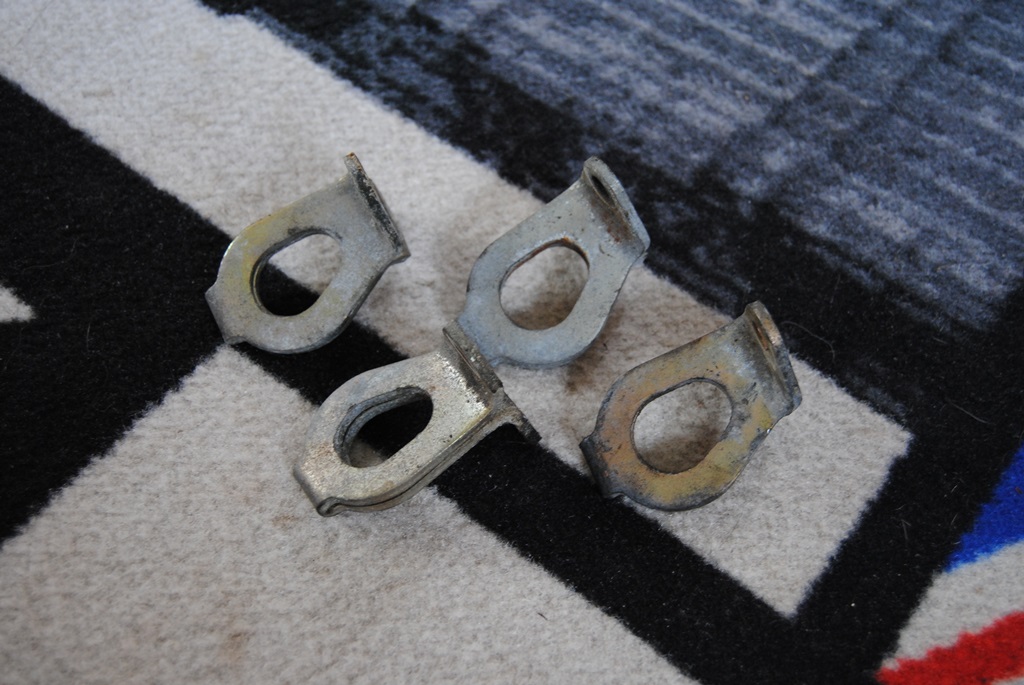
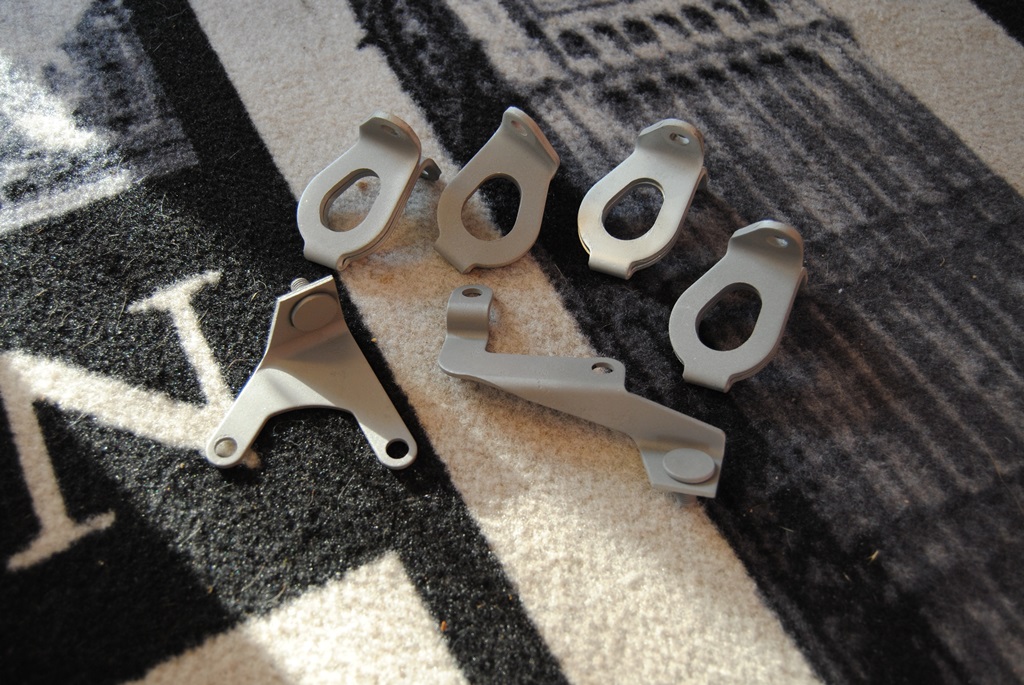
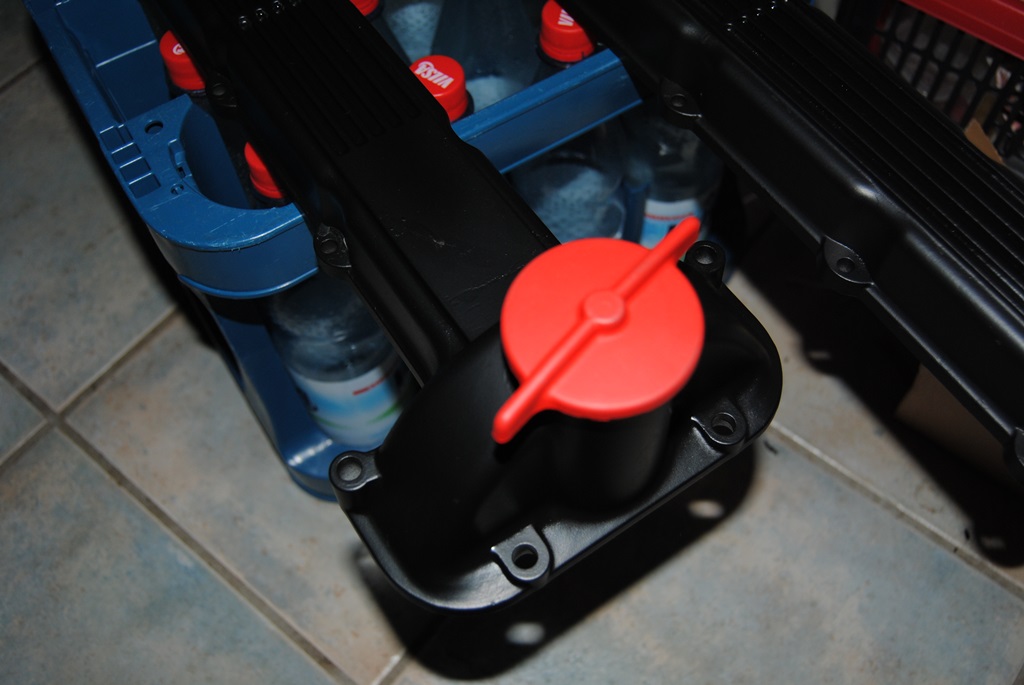
Right, I'm still waiting for parts... Can't wait can't wait can't wait! So that means I'm fiddling around and deciding what to do next! But I know what to do next now, but decided to prepare some parts for refitting (once the spares are here).
As the hoist loops were once new a yellowey steel which went grey and came out quite "pitted", I decided to do a little colour contrasting and have sprayed all brackets and loops in black (first some corrosion proofing, followed by 800�C heat resistant black). Will have a nice contrast which won't really void any historic advantages later The exhaust heatshields came out quite okay, but I like shiney silver. So I did them in silver... Just, heat resistant (800�C) too
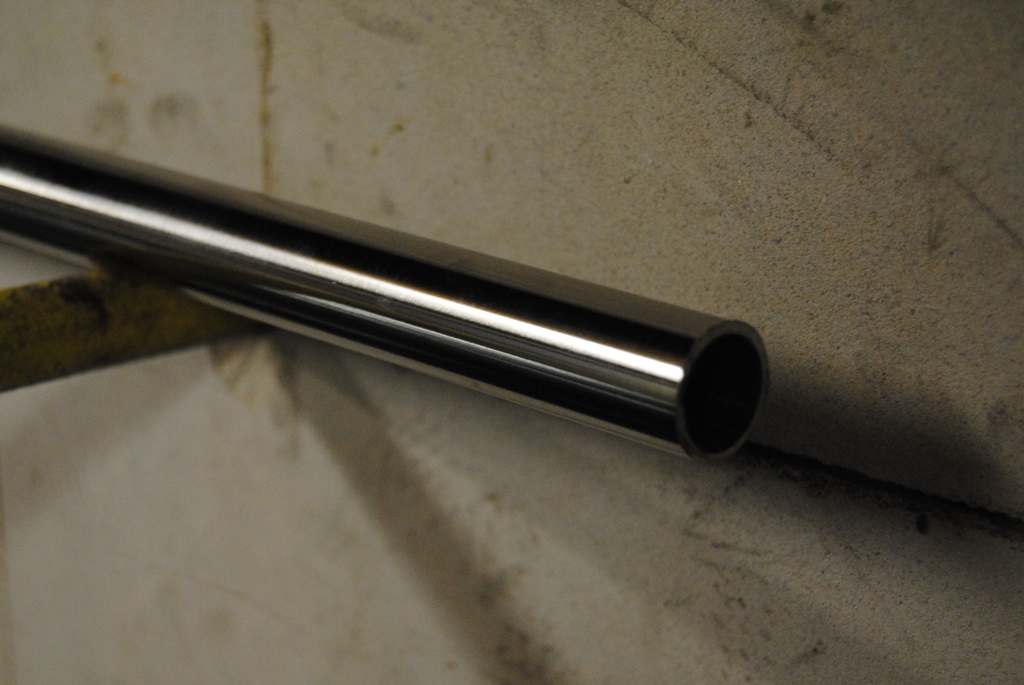
My stainless steel piping also arrived... Nothing beats super shiny metal!

I've also ordered some parts for a couple of future jobs... The intake manifolds, the fuel injection rail, the balance pipe (between both intakes) and both valve covers will be sandblasted. The intakes then glass blasted (for a more pleasant optic), the valve covers sprayed black, like originals, with new Jaguar badging and other little bits and bobs. I don't intend on making the engine bay look like new. But something for the eye is important. Oh, and I have to make a new fuel injection harness and will modify that a little bit, by moving it out of the V area up to the injectors.
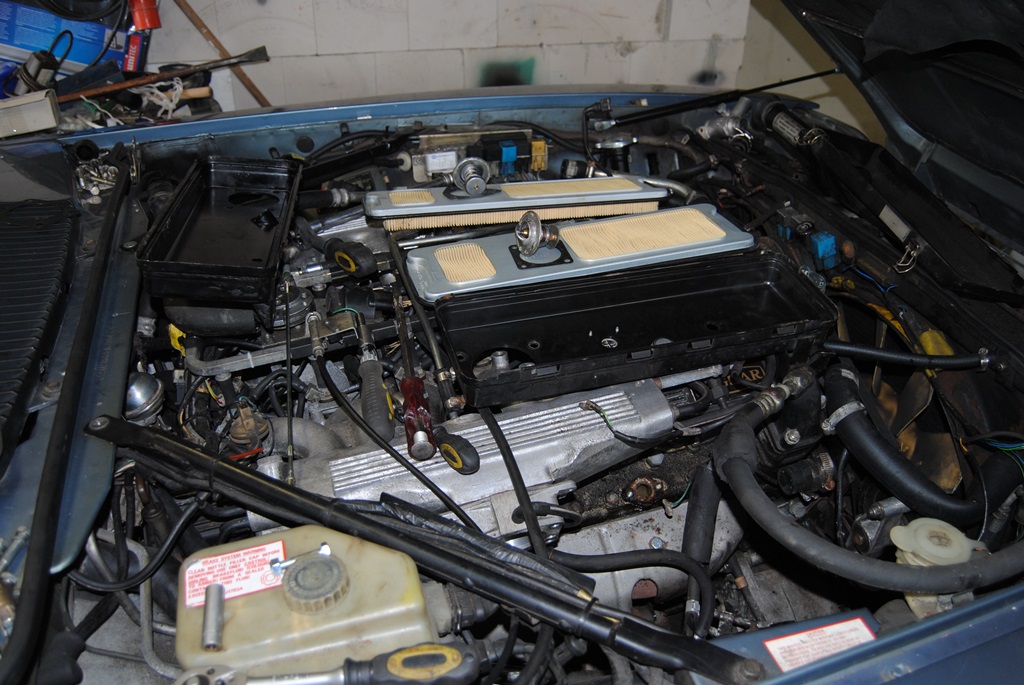
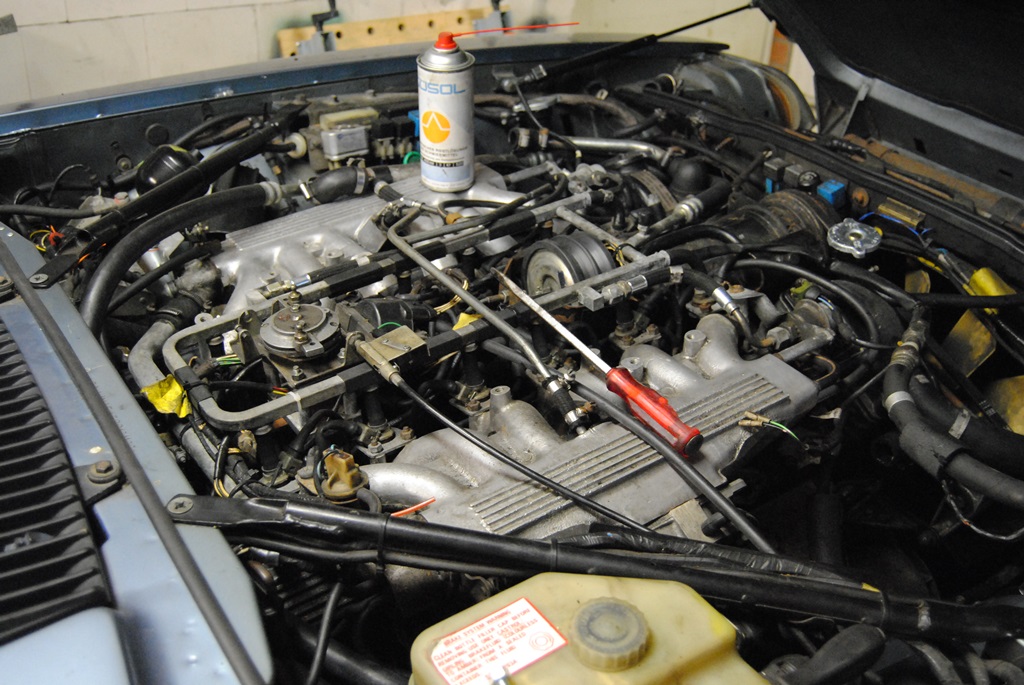
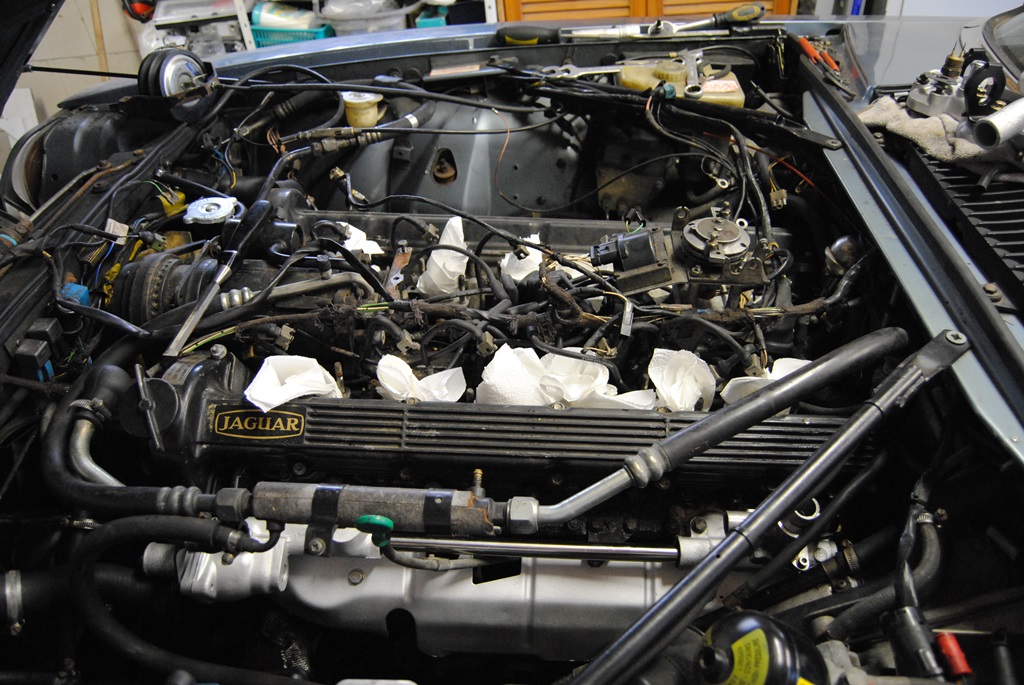
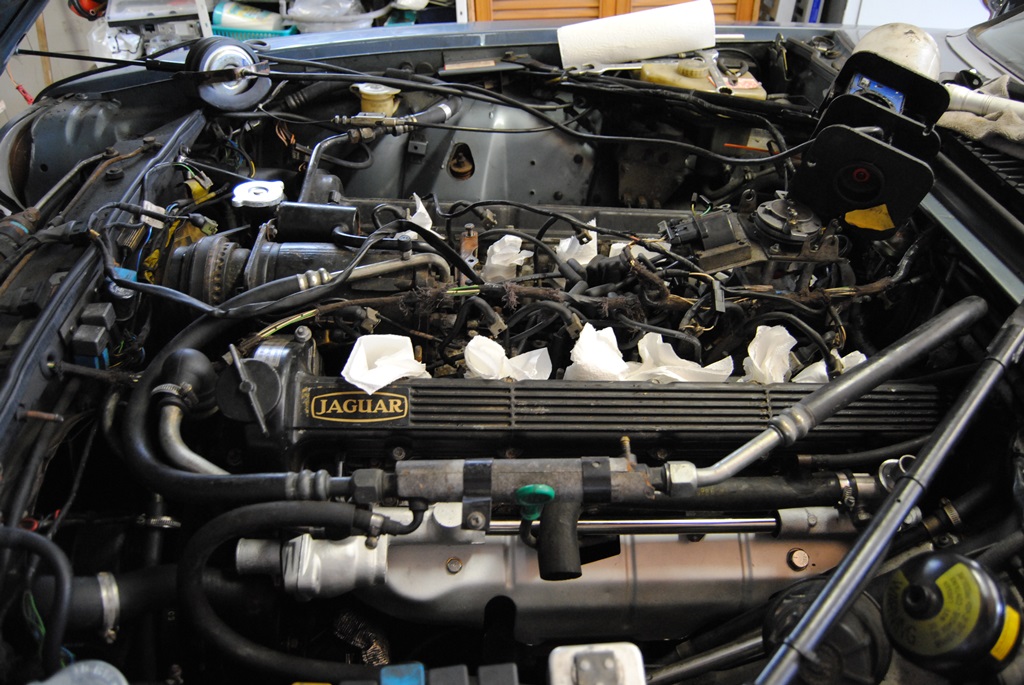
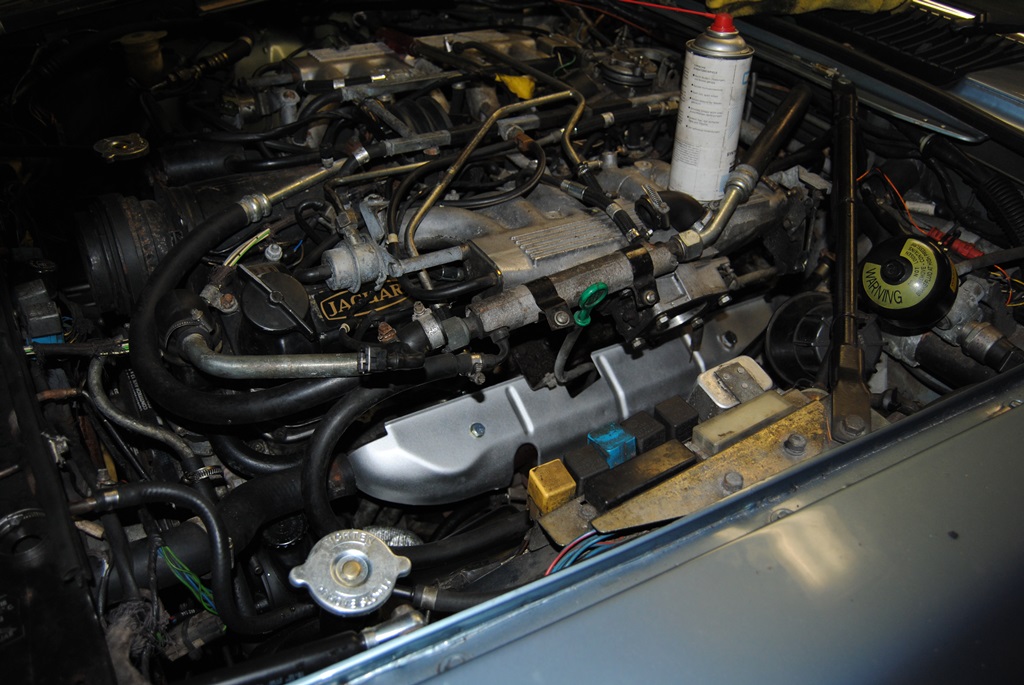
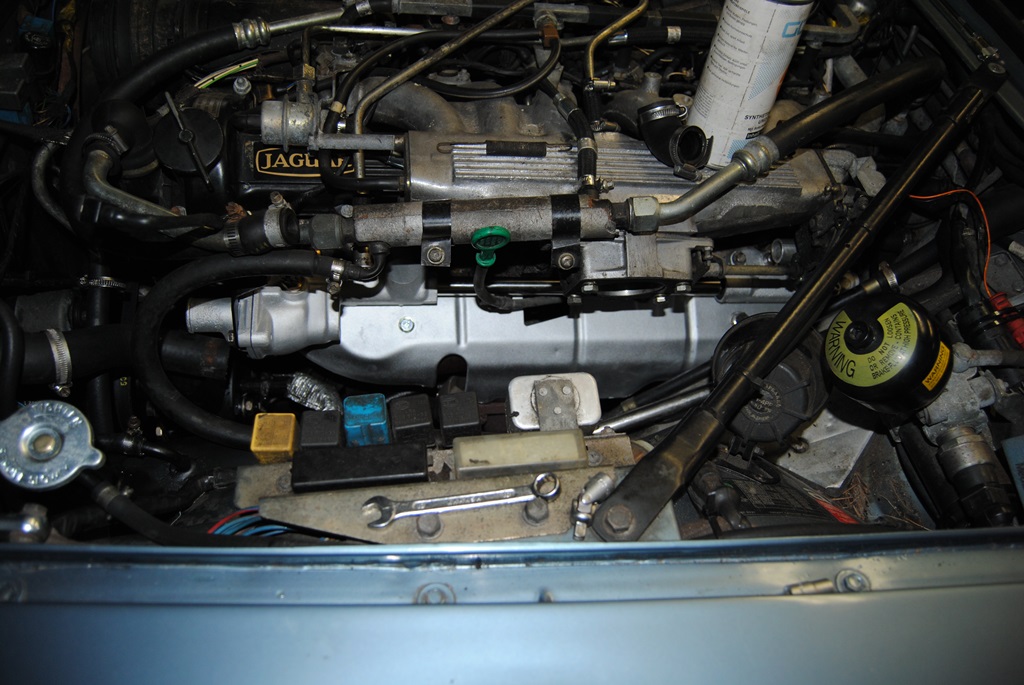
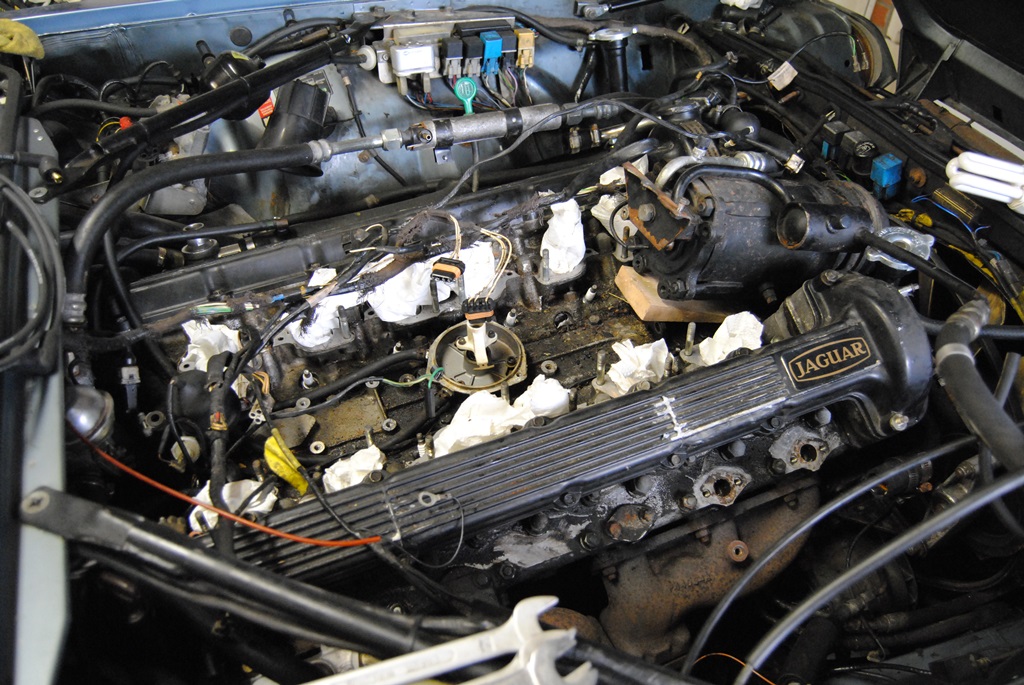
This is the current engine compartment look:
And as she sits in the garage waiting for some work, another life (well, she's slowly getting it) and an owner who will appreciate her (he already does!)
So that means I'm fiddling around and deciding what to do next! But I know what to do next now, but decided to prepare some parts for refitting (once the spares are here). As the hoist loops were once new a yellowey steel which went grey and came out quite "pitted", I decided to do a little colour contrasting and have sprayed all brackets and loops in black (first some corrosion proofing, followed by 800�C heat resistant black). Will have a nice contrast which won't really void any historic advantages later
The exhaust heatshields came out quite okay, but I like shiney silver. So I did them in silver... Just, heat resistant (800�C) too My stainless steel piping also arrived... Nothing beats super shiny metal!
I've also ordered some parts for a couple of future jobs... The intake manifolds, the fuel injection rail, the balance pipe (between both intakes) and both valve covers will be sandblasted. The intakes then glass blasted (for a more pleasant optic), the valve covers sprayed black, like originals, with new Jaguar badging and other little bits and bobs. I don't intend on making the engine bay look like new. But something for the eye is important. Oh, and I have to make a new fuel injection harness and will modify that a little bit, by moving it out of the V area up to the injectors.
This is the current engine compartment look:
And as she sits in the garage waiting for some work, another life (well, she's slowly getting it) and an owner who will appreciate her (he already does!
)
The following 4 users liked this post by Daim:
#31
08-23-2014, 11:53 AM
I wanted to install the water rails today... But it seems that the Jaguar Gods are against it being done with the intake manifolds in situ. So they had to be removed. Luckily it means to simply remove the entire top of the engine
So, injector rail removed, nuts and screws out, out with many vacume hoses and co and then I was quite fine!
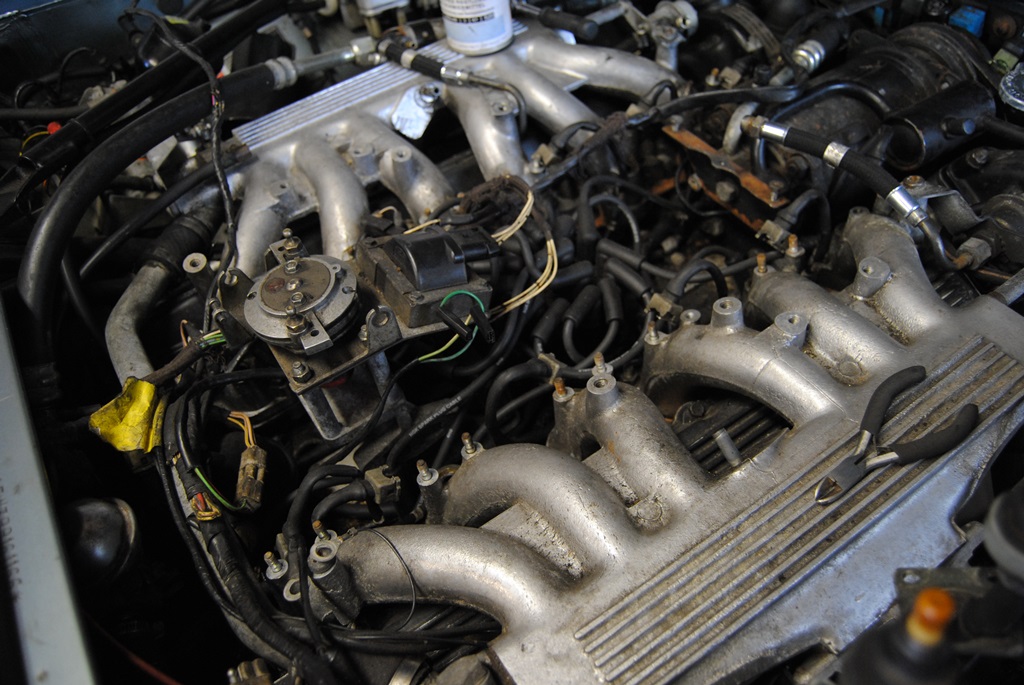

I've got to say, I did actually expect that this would be needed. So I order the correct parts for refitting. Instead of one gasket per intake manifold, I'll be using 6. Jaguar used to offer these gaskets but stopped for some reason. I don't like the long ones (as can be seen in one of the pictures) as they tend to go brittle and cause chaos (at least mine were). I noticed a leak in one of the intakes, probably causing the random rough idle.
At least I can now get many things done, which have been planned for a very long time!
So, injector rail removed, nuts and screws out, out with many vacume hoses and co and then I was quite fine!
I've got to say, I did actually expect that this would be needed. So I order the correct parts for refitting. Instead of one gasket per intake manifold, I'll be using 6. Jaguar used to offer these gaskets but stopped for some reason. I don't like the long ones (as can be seen in one of the pictures) as they tend to go brittle and cause chaos (at least mine were). I noticed a leak in one of the intakes, probably causing the random rough idle.
At least I can now get many things done, which have been planned for a very long time!
#32
08-23-2014, 01:45 PM
This was supposed to be posted before but never mind... I lost one gasket in the engine bay (it is quite dark and tight) so I'll be needing another to finish this...


Just need the gasket, the intakes and camcovers blasted and sprayed, refitted and then I can finish this lump again! To be honest, all those thousands of cables and hoses: the engine runs on so fewer signals, it is amazing. The vacume hoses are easy to live with. My C30 has more sensors and hoses that this engine!
Boy am I looking forward to a cleaner (not clean!) engine. 25 years of British roads will be "washed" away when installed
Just need the gasket, the intakes and camcovers blasted and sprayed, refitted and then I can finish this lump again!
To be honest, all those thousands of cables and hoses: the engine runs on so fewer signals, it is amazing. The vacume hoses are easy to live with. My C30 has more sensors and hoses that this engine! Boy am I looking forward to a cleaner (not clean!) engine. 25 years of British roads will be "washed" away when installed
#33
09-07-2014, 07:48 AM
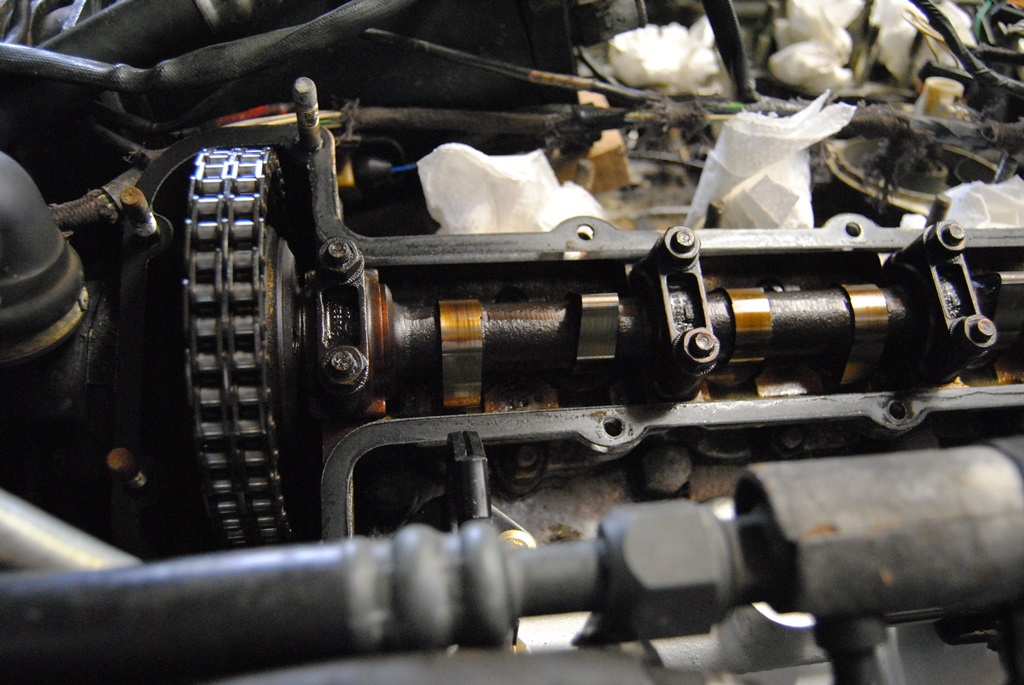
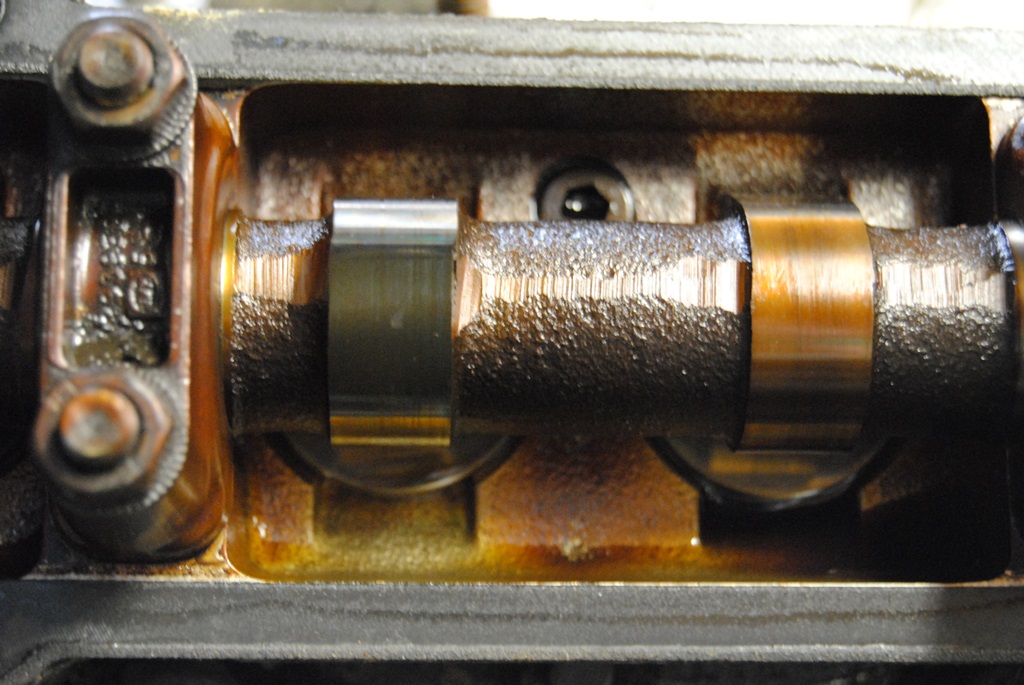
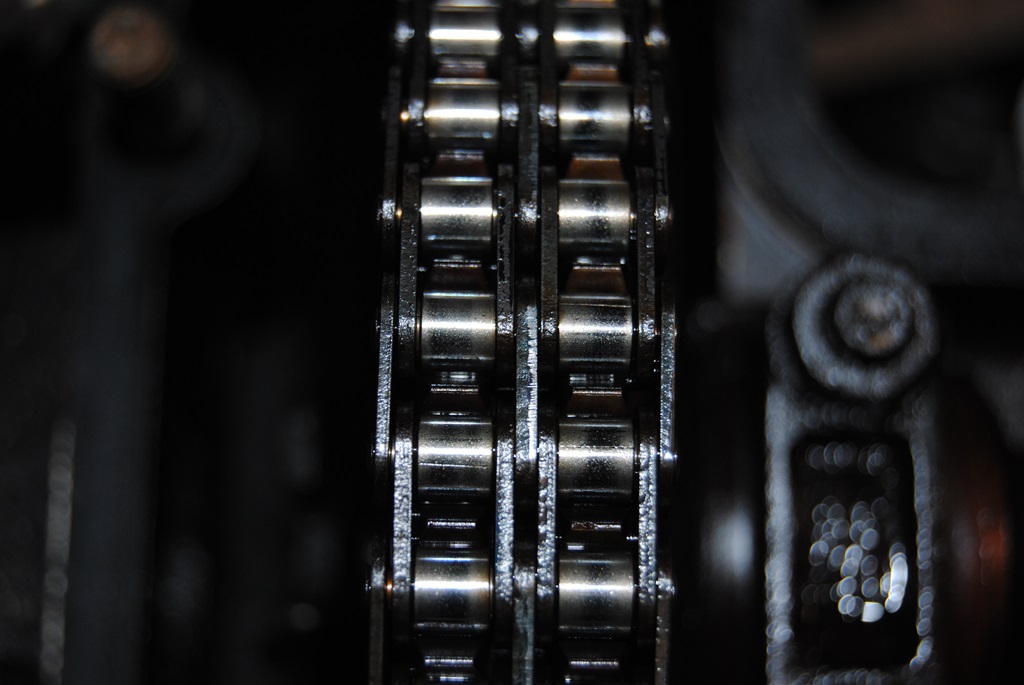
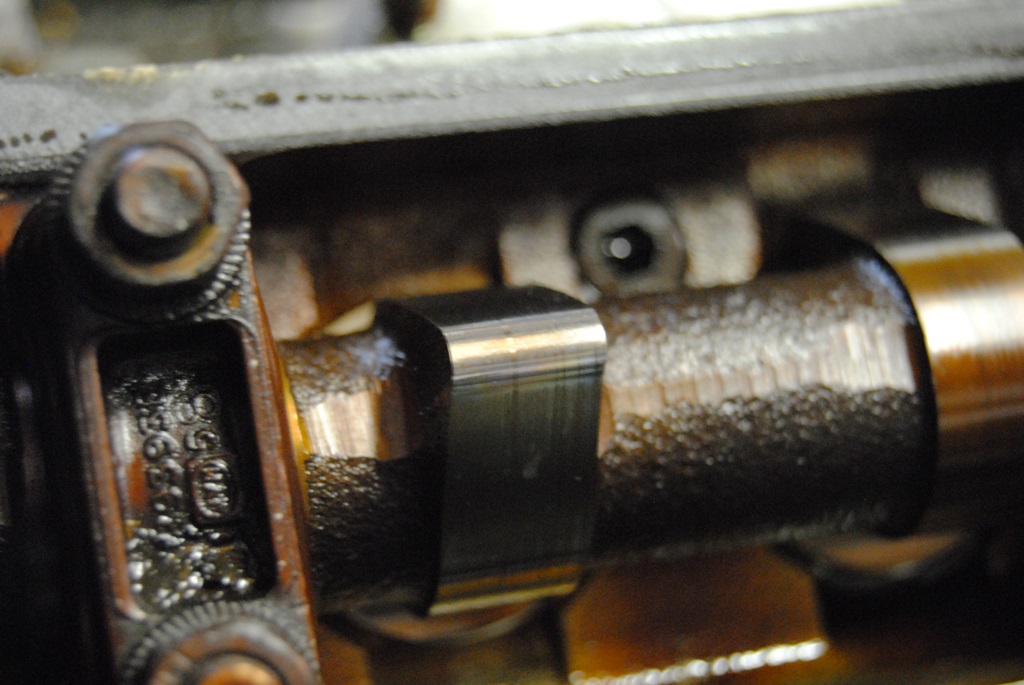
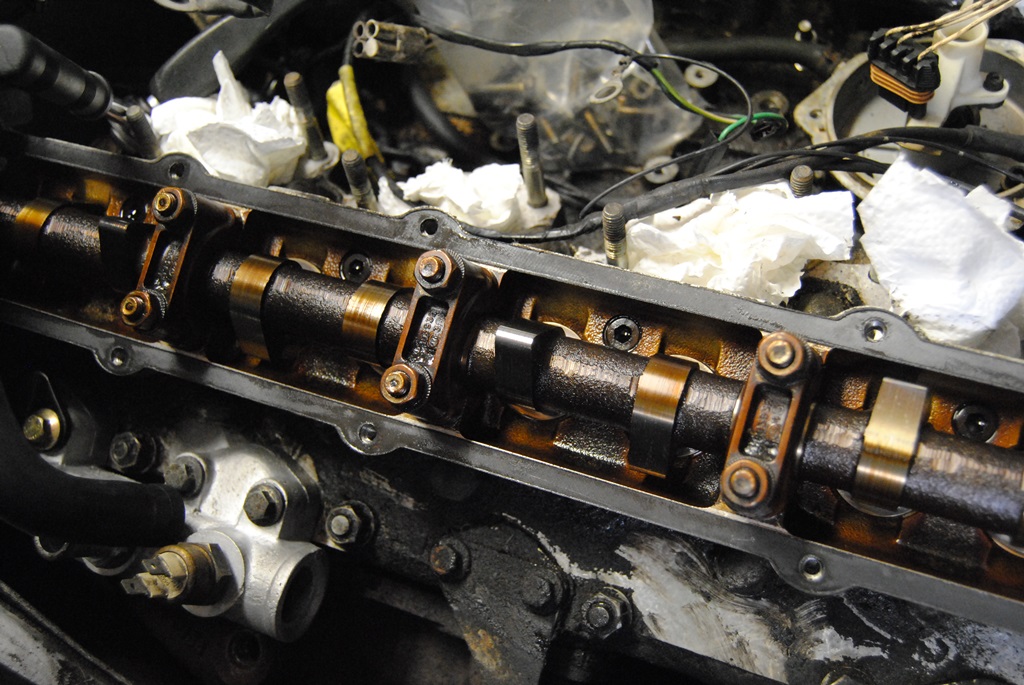
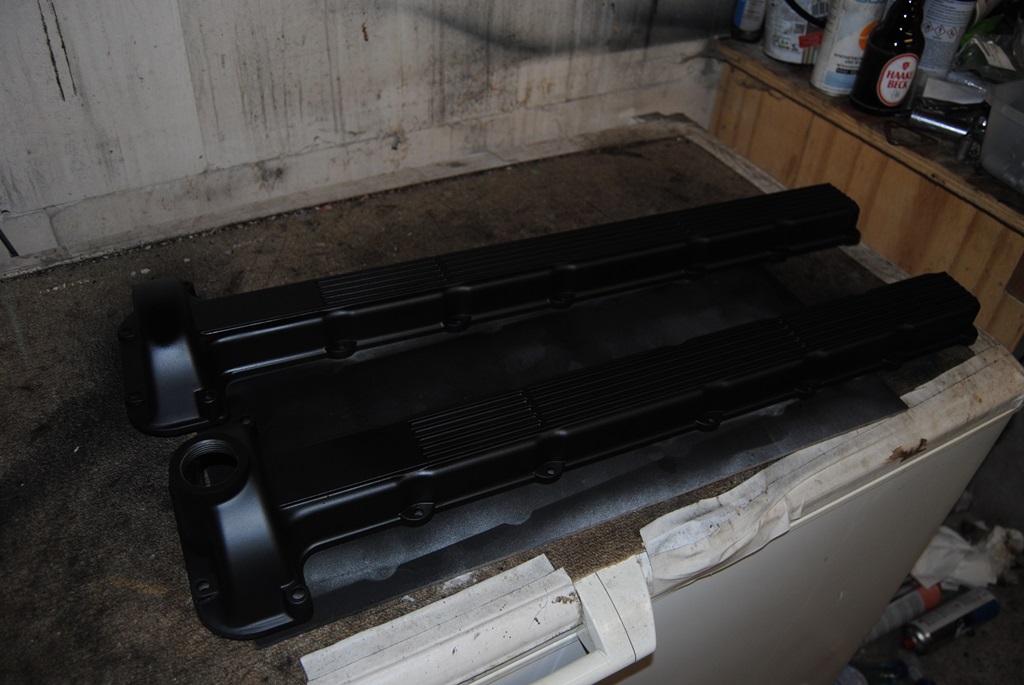
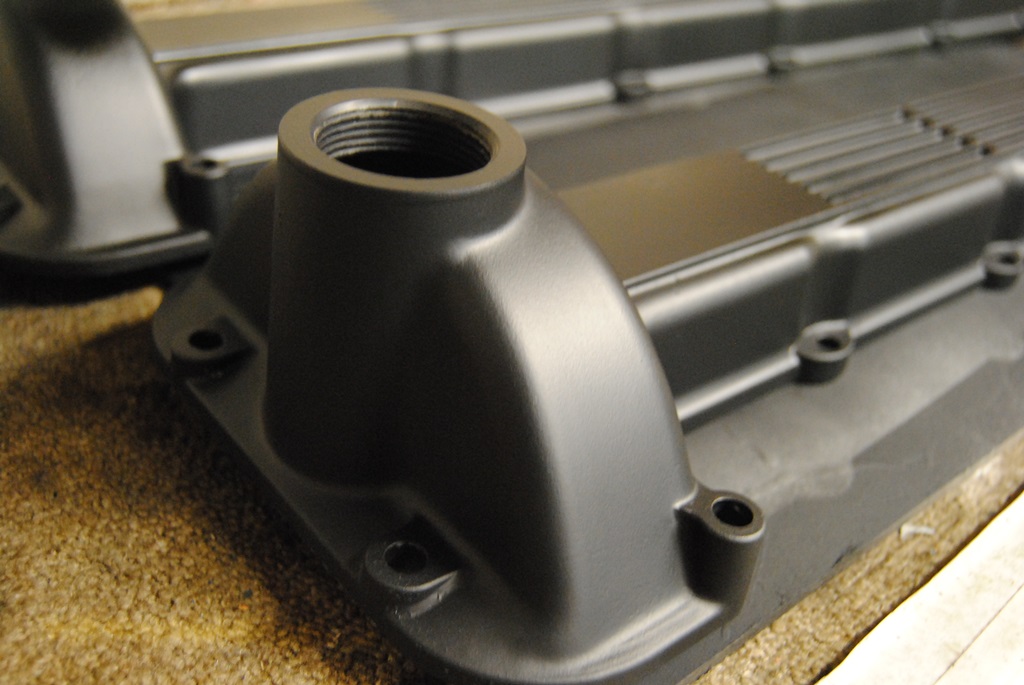
Decided to remove the cam covers today. I thought "it is mainly in pieces so I might as well do it too". So, sandblasting and spray time. New stickers and all pretty. I also checked the valve clearances at the same time. Would be due soon. So if done now or later doesn't harm. Not even a fraction out of spec. Perfectly set. Also no oil grime and muck and co. The oil is fantastically clean and there is no build up anywhere. A very healthy engine!
So, to the pictures:
New gaskets are already sitting here, with some "halfmoons", screws and other bits and bobs. Optically it will look perfect when I'm finished!
So, to the pictures:
New gaskets are already sitting here, with some "halfmoons", screws and other bits and bobs. Optically it will look perfect when I'm finished!
The following users liked this post:
TheWarlock (09-17-2014)
#34
09-08-2014, 12:47 PM
Senior Member
Join Date: Apr 2014
Location: Comox Valley, British Columbia
Posts: 816
Received 222 Likes
on
170 Posts
The following users liked this post:
Daim (09-08-2014)
#35
09-08-2014, 01:46 PM
The following users liked this post:
JimC64 (09-08-2014)
#37
09-08-2014, 08:09 PM
Veteran Member
Join Date: Nov 2006
Location: Glasgow, Scotland UK
Posts: 47,303
Received 9,005 Likes
on
4,113 Posts
#38
09-09-2014, 01:16 PM

#39
09-09-2014, 01:17 PM
#40
09-13-2014, 07:36 AM
Valve covers have been sandblasted. Really nice job again... Then I decided to spray the parts. Give them a nice finish again... But it went nastily wrong. The spray I used (heat and damage resistant) doesn't like the base coat... So it is all flaking off again!!!
So I've got to get them blasted again and then use a different base... At the same time, I noticed the RIGHT hand cover is slightly out of shape (warped a little tad, about 0.1mm). The head is luckily flat...!

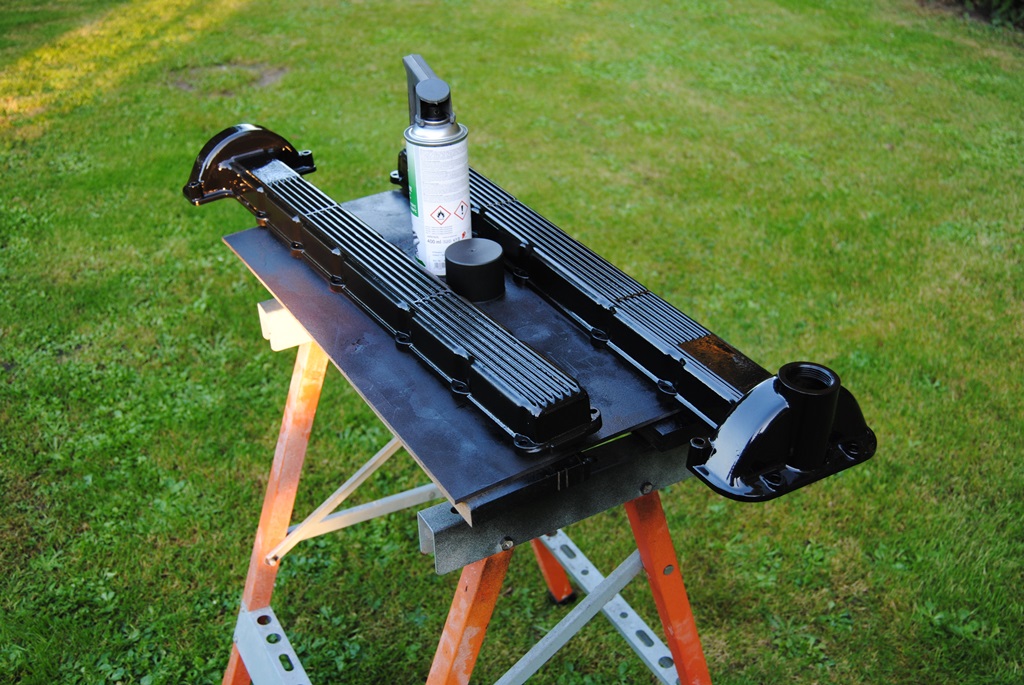
So, back to the work bench!
So I've got to get them blasted again and then use a different base... At the same time, I noticed the RIGHT hand cover is slightly out of shape (warped a little tad, about 0.1mm). The head is luckily flat...!
So, back to the work bench!
The following users liked this post:
Greg in France (09-13-2014)