1989 XJ-S Resto-Thread - or "my Iron Lady"
#121
 12-05-2016, 09:16 AM

Veteran Member
This may throw some light on it Daim
Yellow Zinc Plating - "Gold Cad" style replating and chromating for auto part finish restoration
Yellow Zinc Plating - "Gold Cad" style replating and chromating for auto part finish restoration
The following users liked this post:
Daim (12-05-2016)
#122
12-05-2016, 12:17 PM

The following users liked this post:
orangeblossom (12-05-2016)
#123
12-05-2016, 02:29 PM

Veteran Member
Join Date: Jul 2012
Location: Walnut Creek, California
Posts: 6,796
Received 2,399 Likes
on
1,880 Posts
The following users liked this post:
orangeblossom (12-05-2016)
#124
12-06-2016, 06:32 AM
The following users liked this post:
orangeblossom (12-06-2016)
#125
12-06-2016, 10:56 AM
Veteran Member
Your work has not gone unrecognized, did you know you have a Chocolate Bar named after you!
https://www.amazon.com/Daim-Chocolat...003SGHSCG?th=1
https://www.amazon.com/Daim-Chocolat...003SGHSCG?th=1
The following users liked this post:
Daim (12-06-2016)
#126
12-06-2016, 12:45 PM
#127
12-08-2016, 10:21 AM
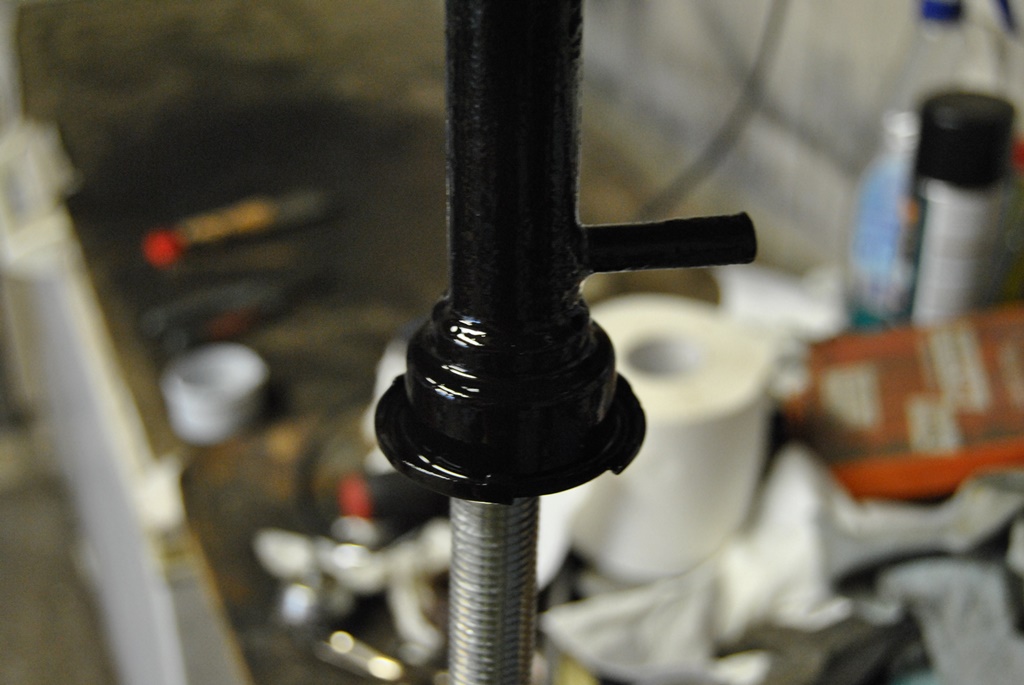
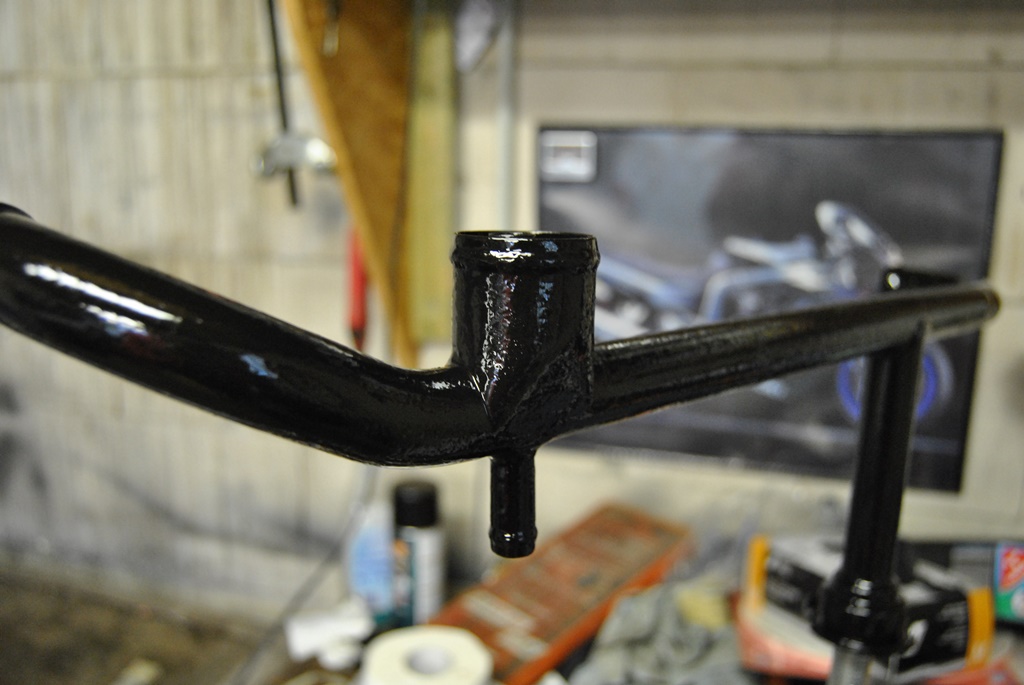
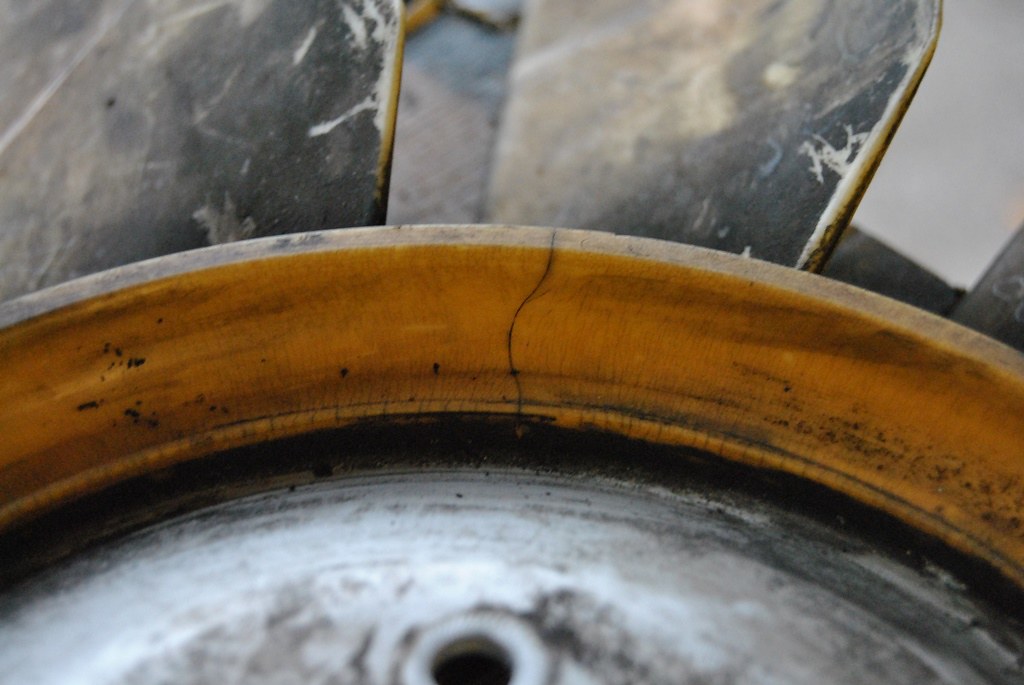
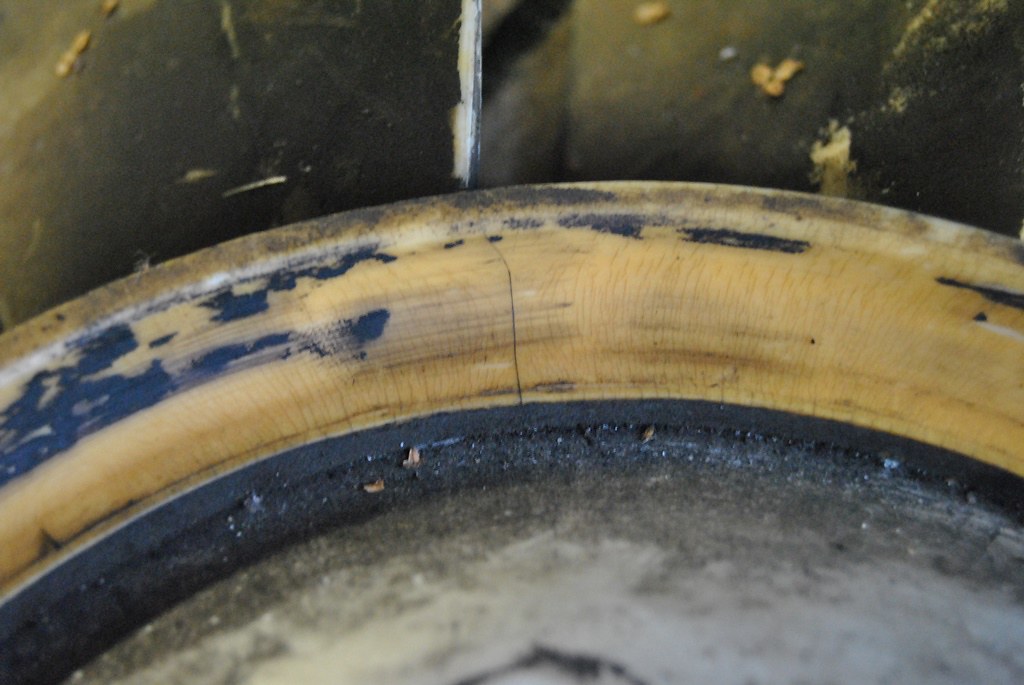
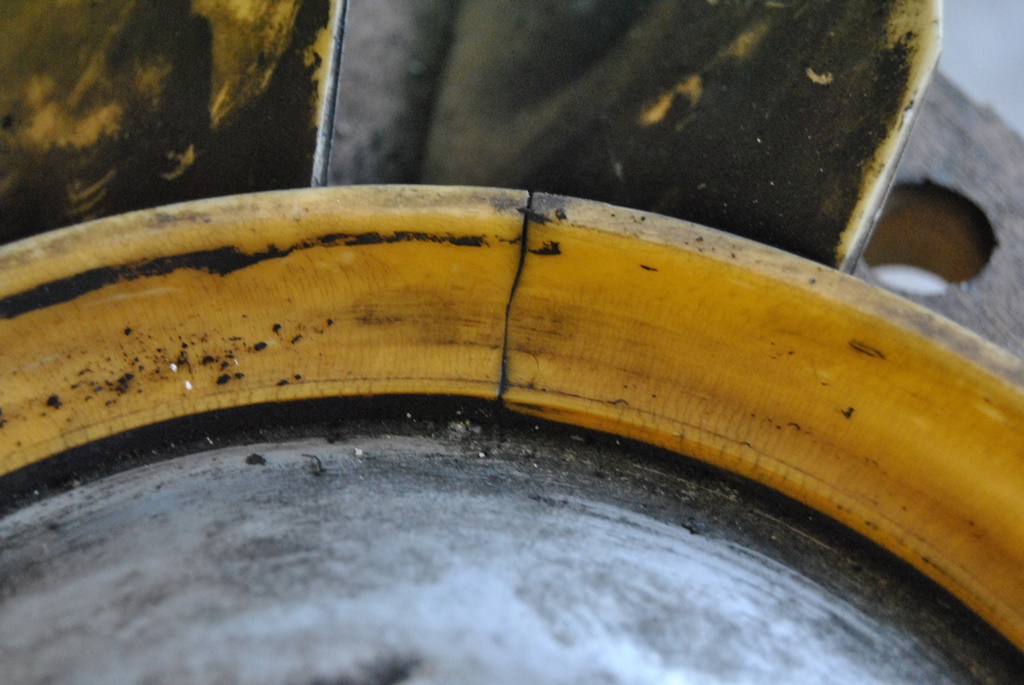
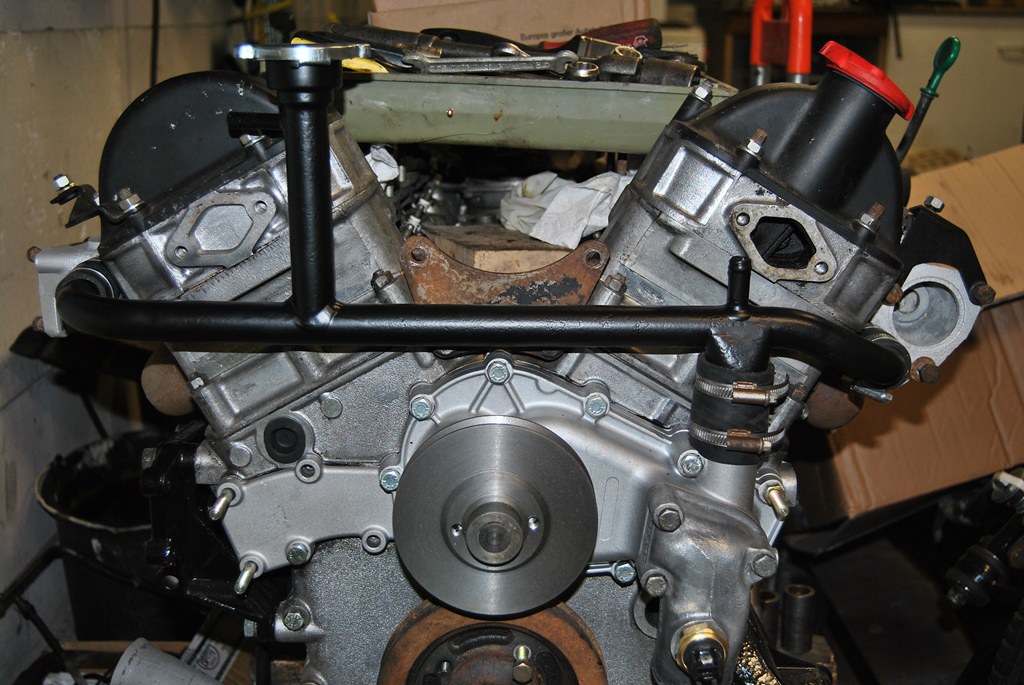
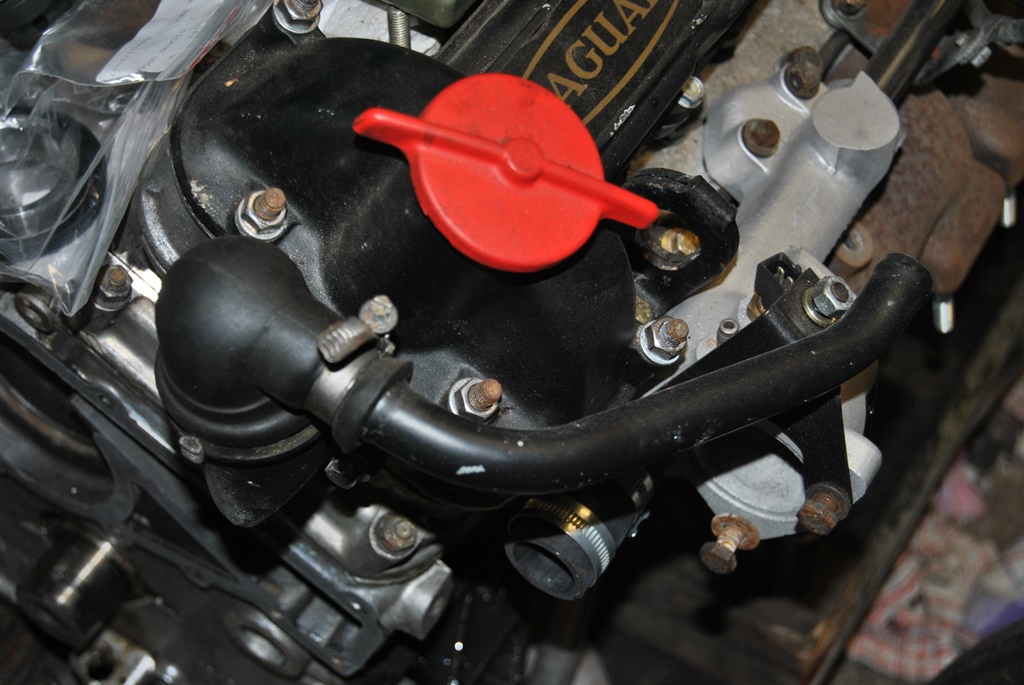
Been a little busy bumble bee today... As soon as the parcel company had been, I was in the garage working on my engine again  But the last few days saw me preparing a few little bits. The bypass pipe received a respray, in order to keep it looking nice - not rotten And I checked my fan blade... 3 large cracks, millions of tiny cracks. I will not be fitting this one again! Instead a new black one... Should look better like that anyhow
Oh, and as I tightend up the worm drive clamps, I got a little "carried away" with making them sit perfectly... Sorry... They all have the same angle and the ones left and right towards the thermostat housings, even have the same pitch... I think I have a problem
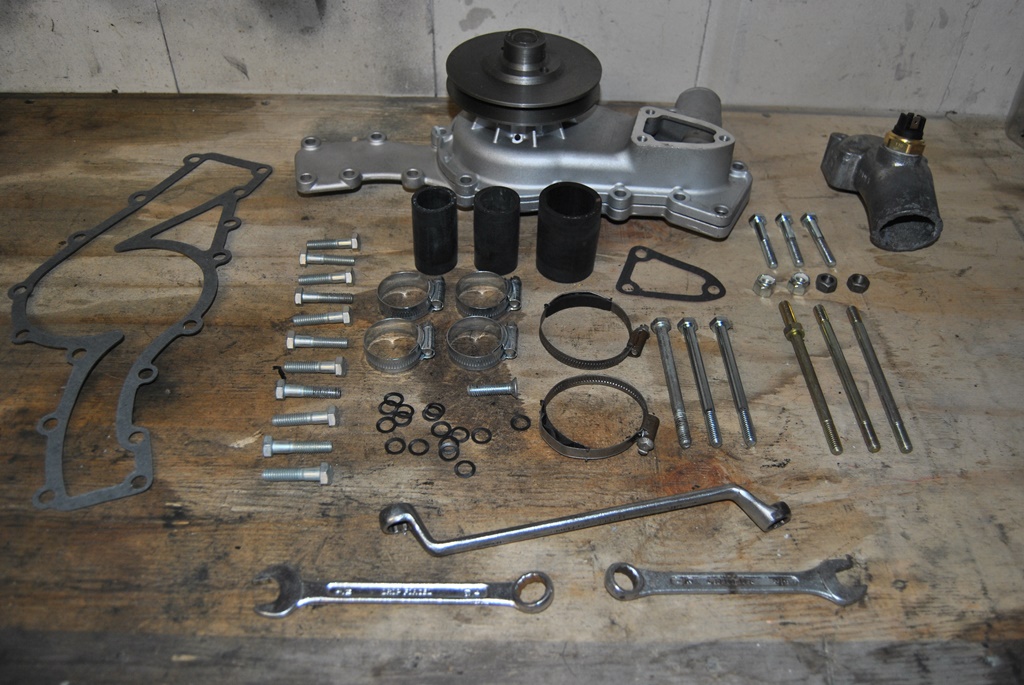

But the last few days saw me preparing a few little bits. The bypass pipe received a respray, in order to keep it looking nice - not rotten And I checked my fan blade... 3 large cracks, millions of tiny cracks. I will not be fitting this one again! Instead a new black one... Should look better like that anyhow Oh, and as I tightend up the worm drive clamps, I got a little "carried away" with making them sit perfectly... Sorry... They all have the same angle and the ones left and right towards the thermostat housings, even have the same pitch... I think I have a problem
The following 2 users liked this post by Daim:
Doug (12-10-2016),
orangeblossom (12-09-2016)
#128
12-08-2016, 11:18 AM
Veteran Member
Join Date: Jul 2012
Location: Walnut Creek, California
Posts: 6,796
Received 2,399 Likes
on
1,880 Posts
No issue here. Working with clean and painted parts much better than with the other stuff.
As to the worm drive clamps. Aligned is great. That pride in workmanship thing. And, I prefer to use a 3/8" socket rather than a mere screw driver on them. Just a better feel of control. And, an opportunity to use my better tools.
And, back in my past, I came upon double worm drive clamps in high pressure areas.
Look "cool" as well. But, the worm drives have a "soft" spot. Not an issue in normal operation. Best in high stress, align the drive heads 180 apart.
Are there better clamps than the usual worm drives. Yes, so I hear.
My compliments, Sir. More than nice work.
Carl
The following 2 users liked this post by JagCad:
Daim (12-08-2016),
orangeblossom (12-09-2016)
#129
12-09-2016, 06:11 PM
Veteran Member
The following 2 users liked this post by warrjon:
Daim (12-10-2016),
orangeblossom (12-10-2016)
#130
12-10-2016, 04:51 AM
The following 2 users liked this post by Daim:
orangeblossom (12-10-2016),
warrjon (12-11-2016)
#131
12-11-2016, 04:34 AM
Veteran Member
The following 2 users liked this post by warrjon:
Daim (12-11-2016),
orangeblossom (12-11-2016)
#132
12-11-2016, 05:15 AM
I think it would take me the same time to do the job... I hate it when something isn't done right.
As I had my C30, my driver's door was caught by the wind and hit a Ford Focus. Insurance job... Focus needed a new door. My Volvo had a slightly creased door edge. My insurance paid for it to be repaired. The new paintjob of the door was dreadful. A professional sprayshop could neither match the e properly nor was it able to get rid of the orange peel effect. My C30 had immaculate paint. Not kidding, you would never have noticed that is already had 200.000 km on the clock.
I ended up buffing this job as mich as I could. Orange peel was removed but the colour was still wrong. I used fine sandpaper by hand and removed the top coat of coloured paint, bought some properly matched spray paint and did the job myself. The result: perfect! You would never have noticed the difference. The insurace was charged something like �1100 just to remove the little kink in the edge and the paint job... I could have done the job for a lot less. My paint costed me around �40. About a day's work, at say �70/h with 8 hours... �560...
Next time, the insurance can pay me and I'll do it myself!

The following users liked this post:
orangeblossom (12-11-2016)
#133
12-11-2016, 06:16 AM
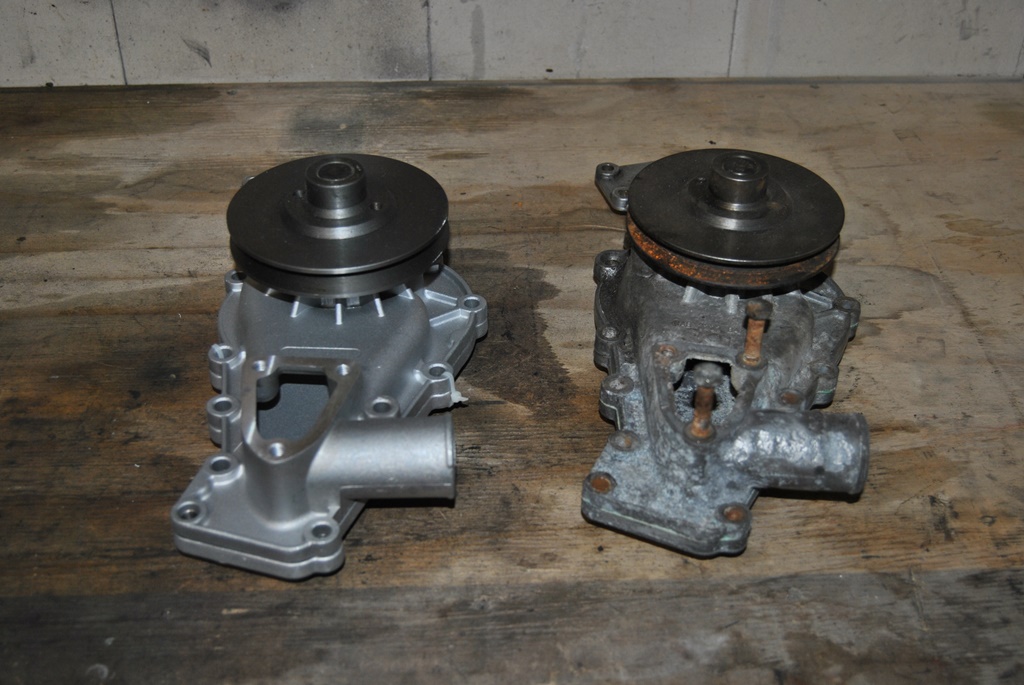
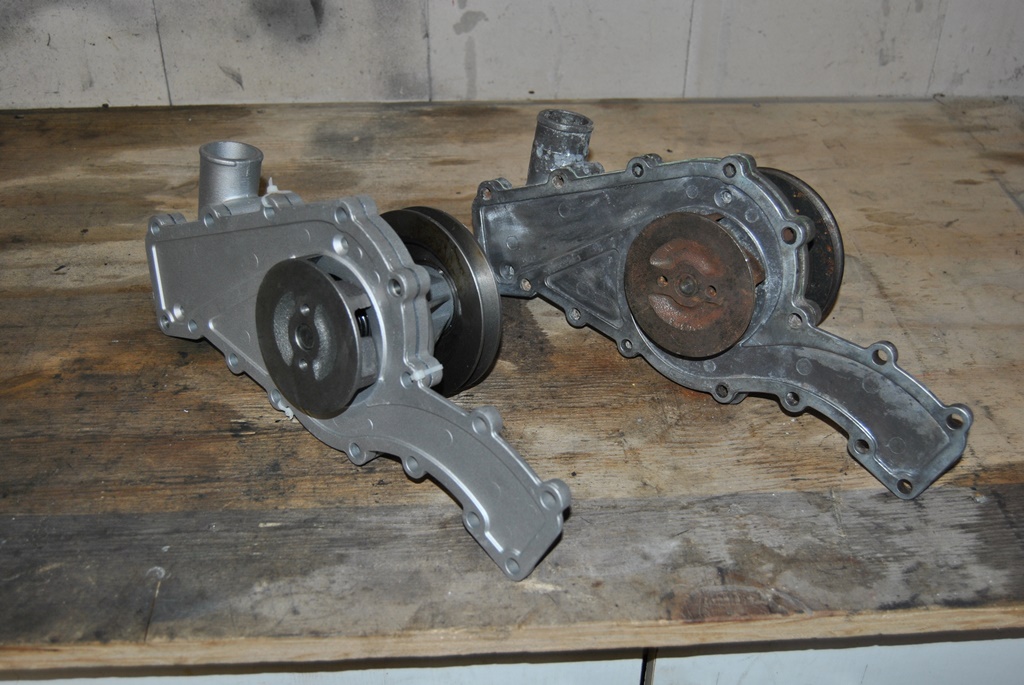
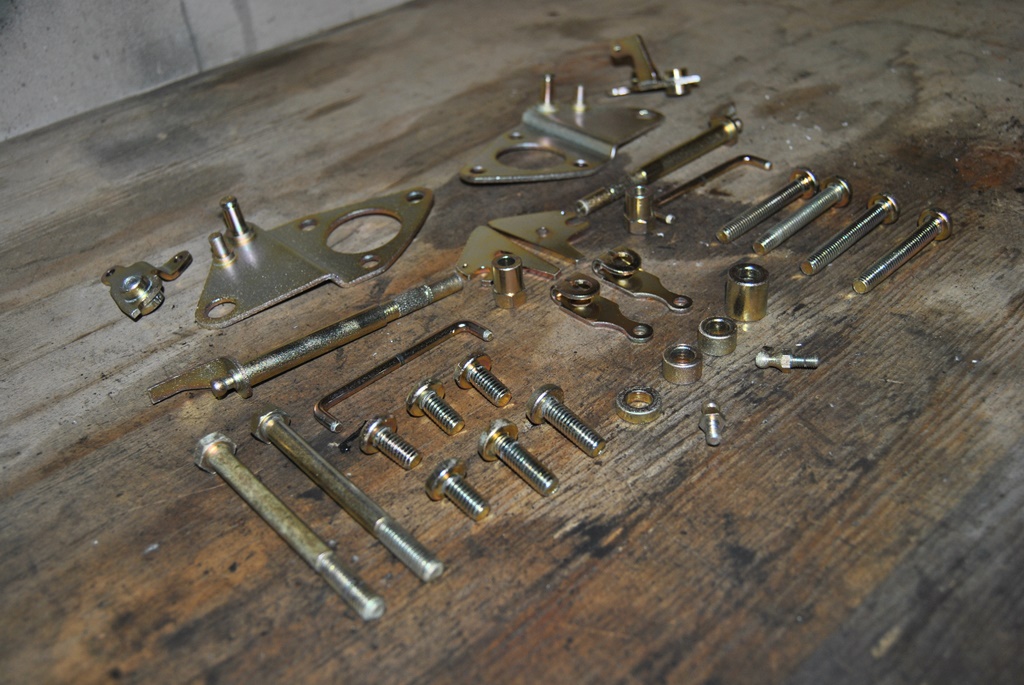
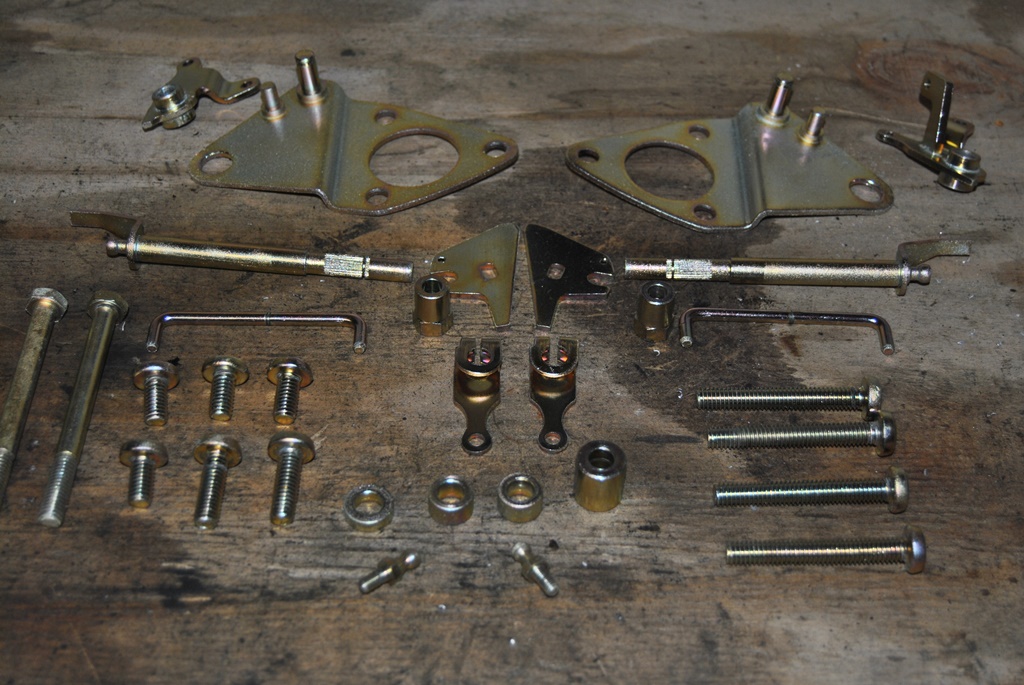
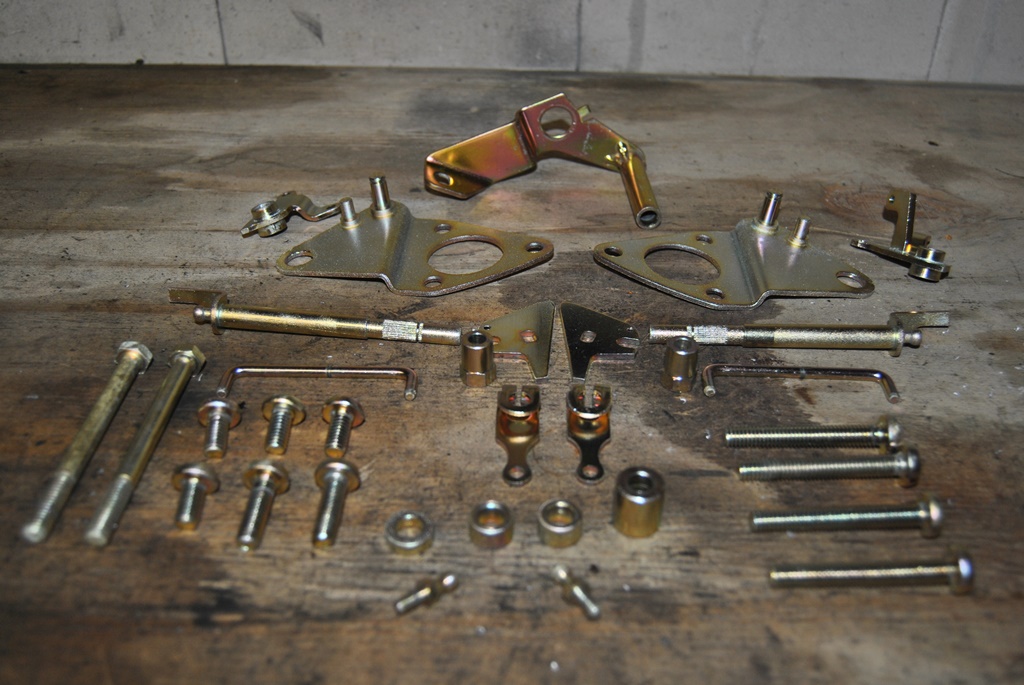
Got a letter yesterday (amazing that some comapnies still use the post methode rather than email to contact people) with an invoice stating my parts are all freshly galvanized... Picking them up tomorrow Wonder how they'll look.
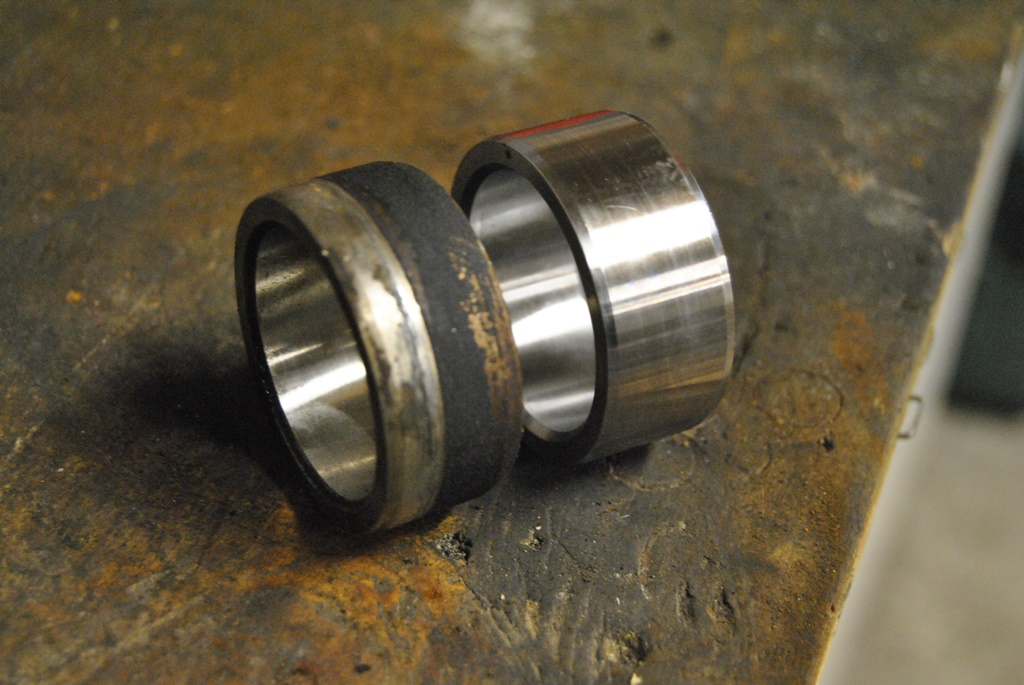
Otherwise I've been less busy... Took the fan pulley thingey apart to see what bearing it has from factory to compare. That is about it. More parts are ordered, more things to buy...
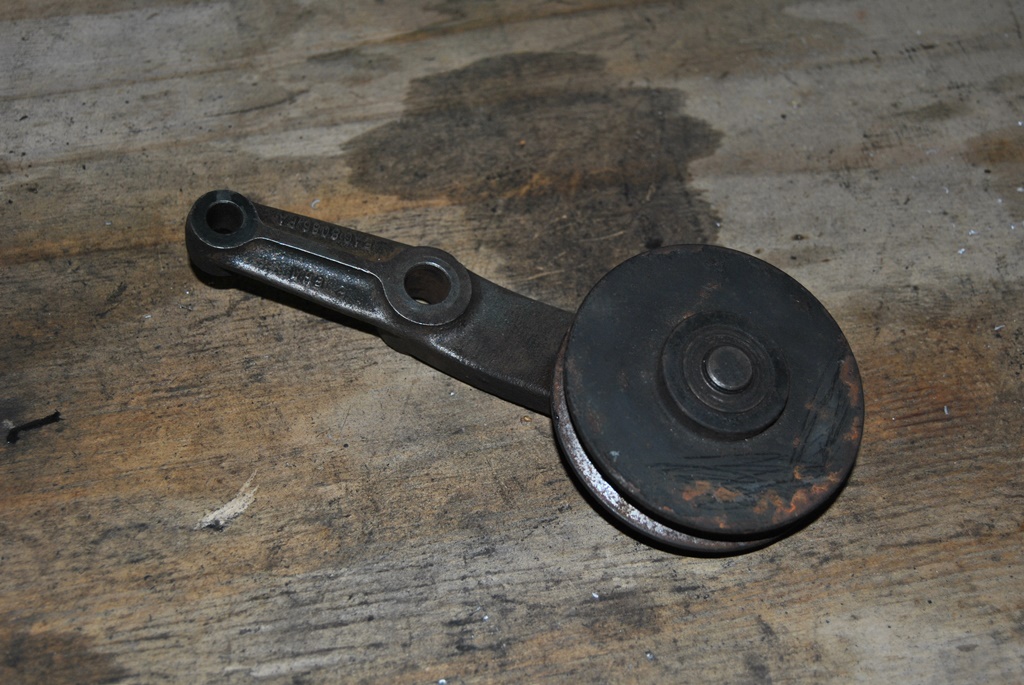
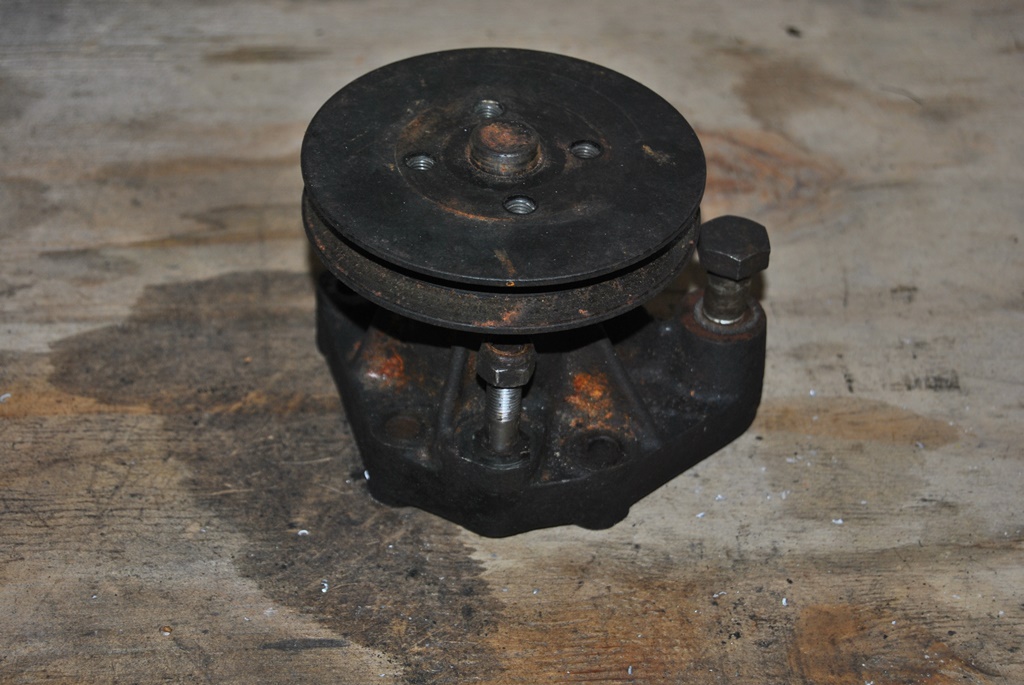
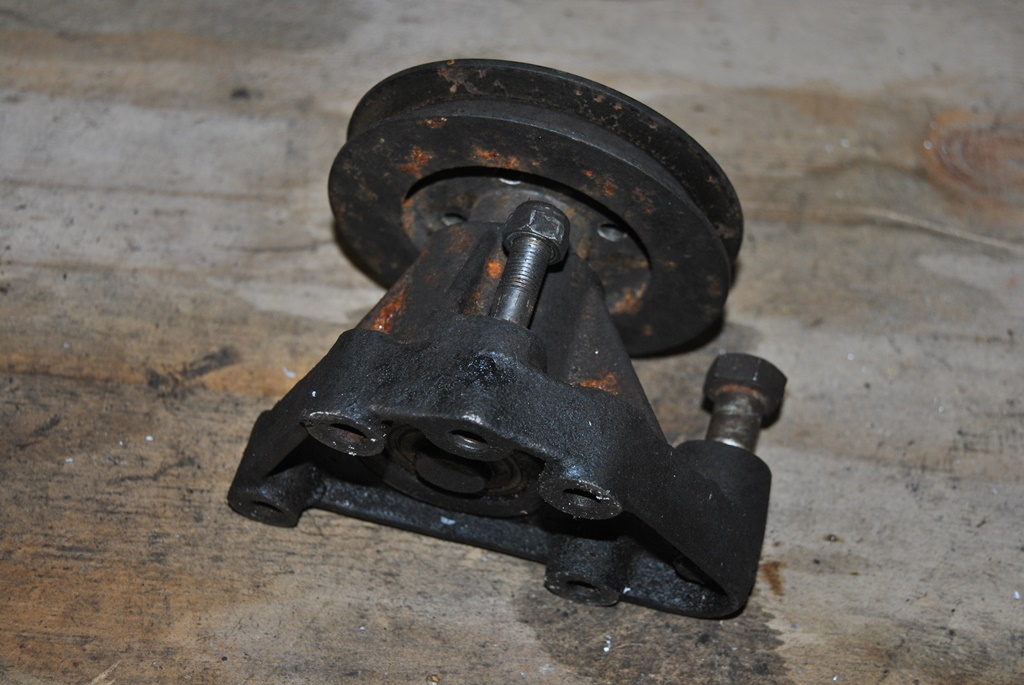

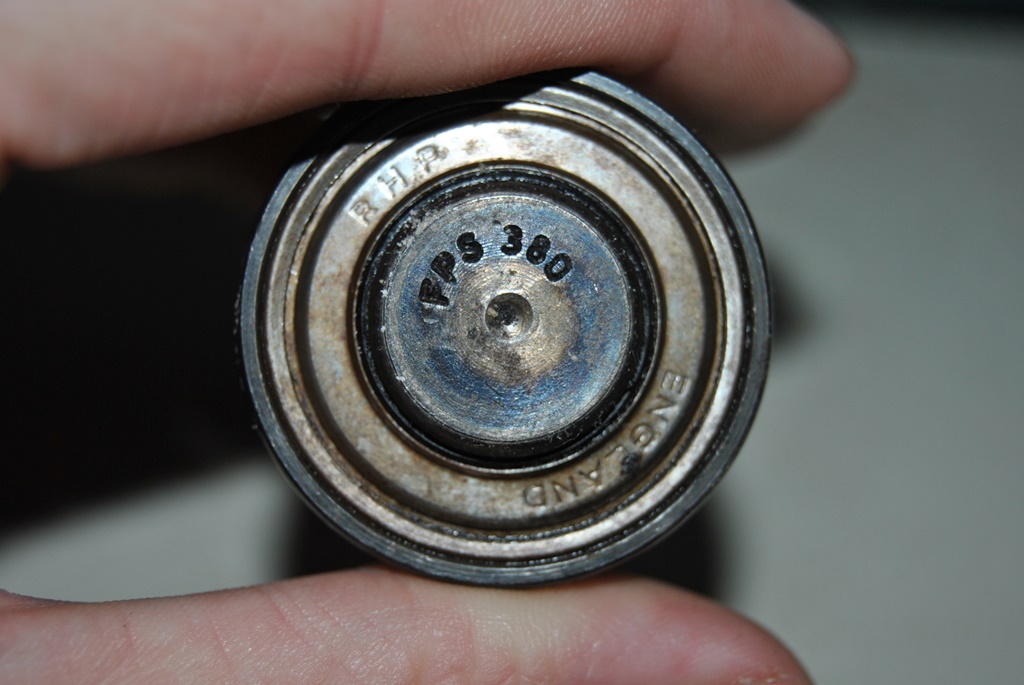
Wonder how they'll look.Otherwise I've been less busy... Took the fan pulley thingey apart to see what bearing it has from factory to compare. That is about it. More parts are ordered, more things to buy...
Last edited by Daim; 12-11-2016 at 06:18 AM.
The following users liked this post:
orangeblossom (12-11-2016)
#134
12-12-2016, 10:15 AM
#135
12-26-2016, 05:40 AM
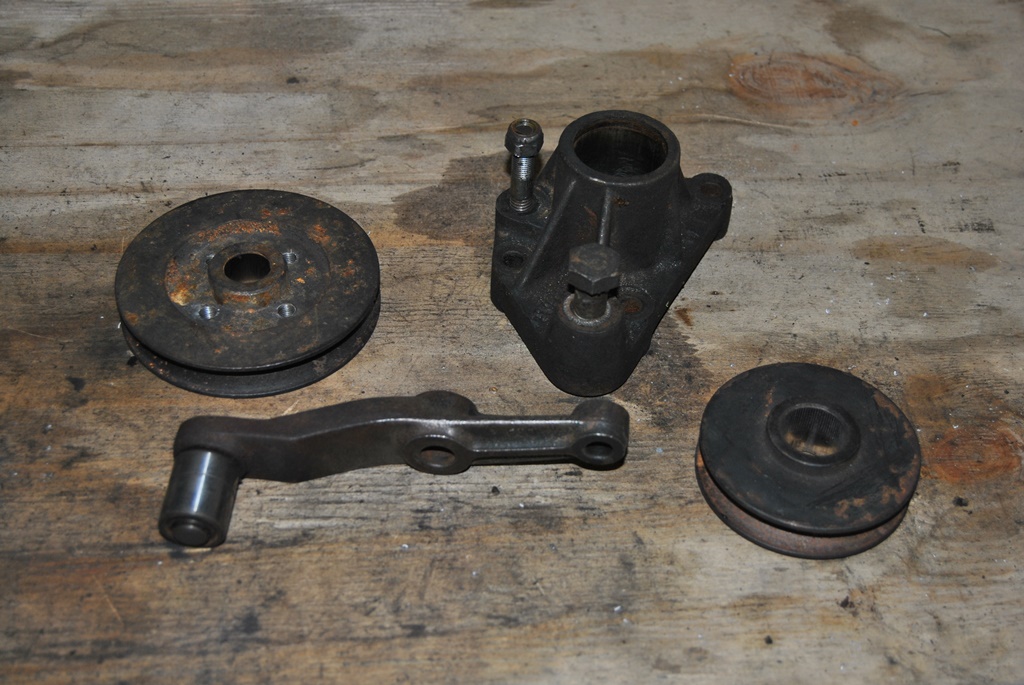
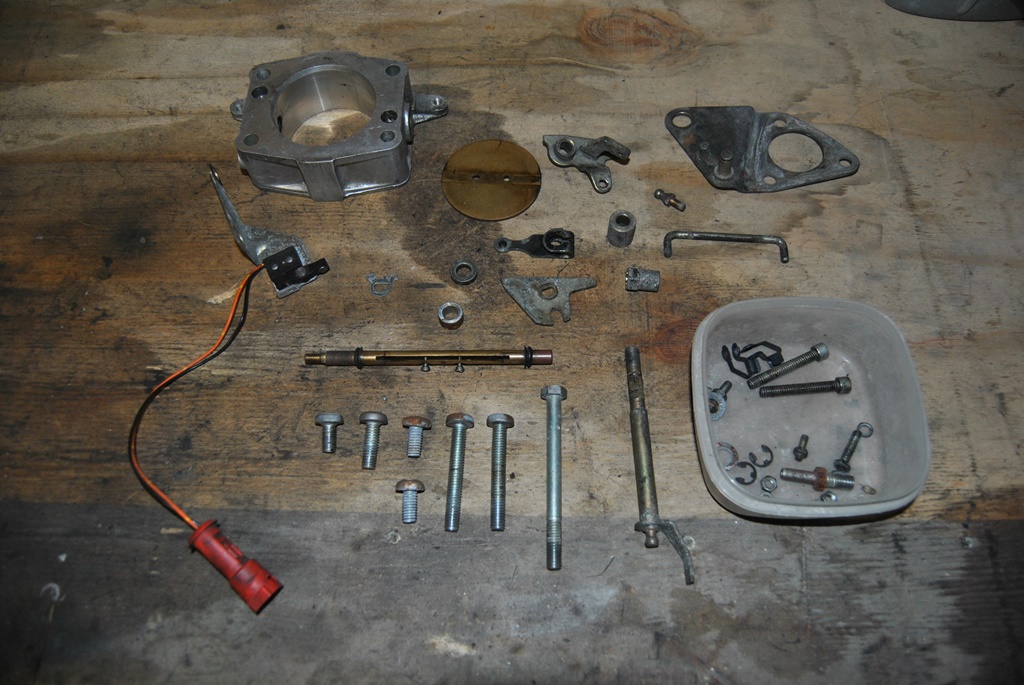
Sometimes I think it is hilarious how "over-engineered" some parts on these engines are. Overly complicated and totally unnecessary from their construction method... One of those is the throttle pedastal. It seems "simple" but could have been easier but on the other hand, these engines were high-tech...
...in the 60ies
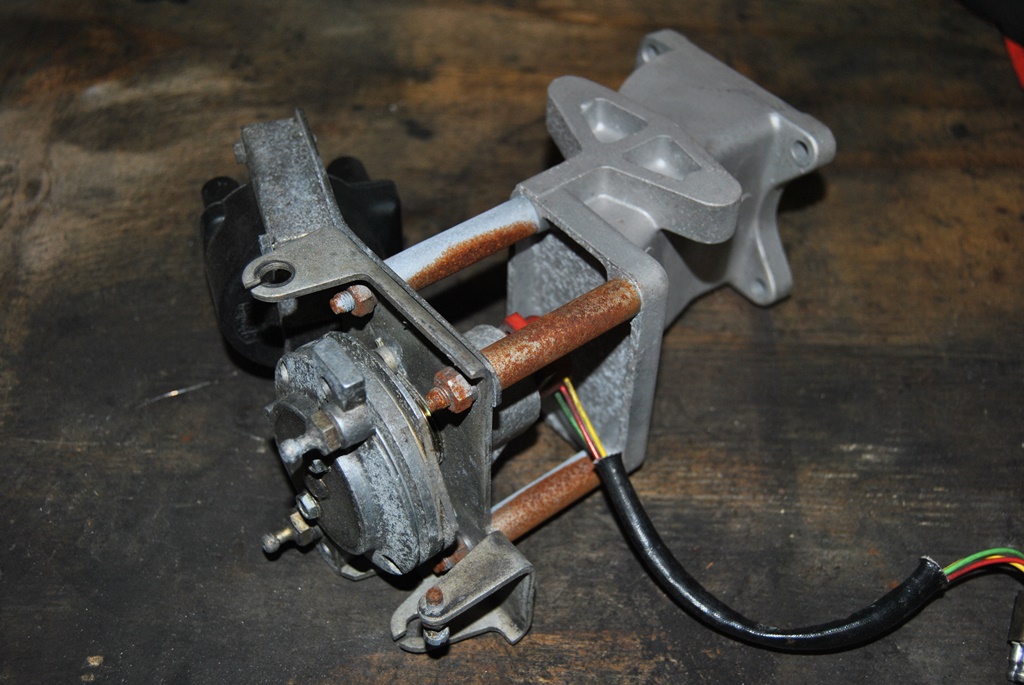
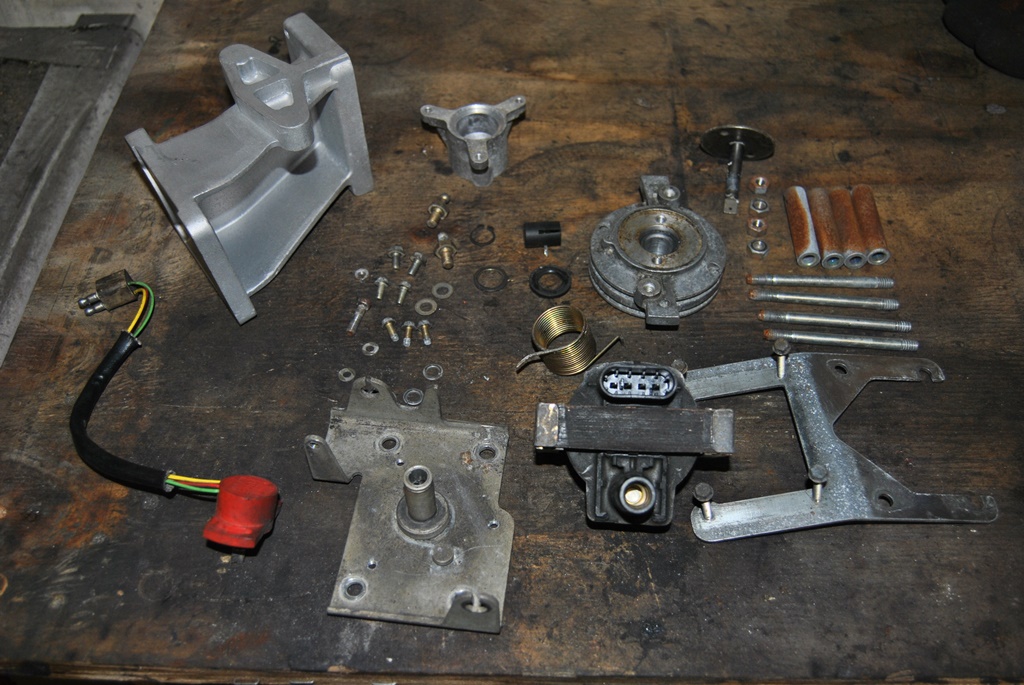
A few parts to buy, a few parts to refurbish. Nothing special...
...in the 60ies
A few parts to buy, a few parts to refurbish. Nothing special...
#136
12-26-2016, 11:57 PM

Veteran Member
Join Date: Mar 2008
Location: Pacific Northwest USA
Posts: 24,743
Received 10,757 Likes
on
7,101 Posts
I often wonder how Jaguar made any money at all, considering the needlessly complex nature of some components and the labor needed to assemble them. Never use 3 parts when 12 parts will do the job perfectly well. Heh heh.
But, hey, it's all part of that Jaguar "je ne sais quoi", right?
Cheers
DD
The following users liked this post:
Daim (12-27-2016)
#137
12-27-2016, 02:44 AM

Veteran Member
Greg
The following 3 users liked this post by Greg in France:
#138
12-27-2016, 06:55 AM
#139
01-09-2017, 11:42 AM
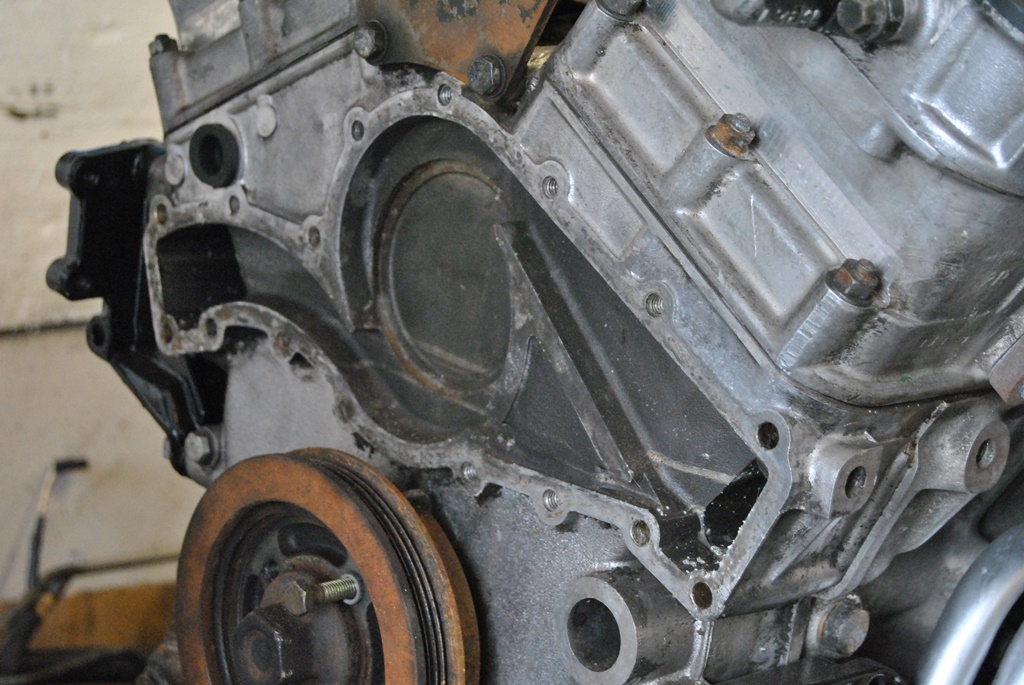
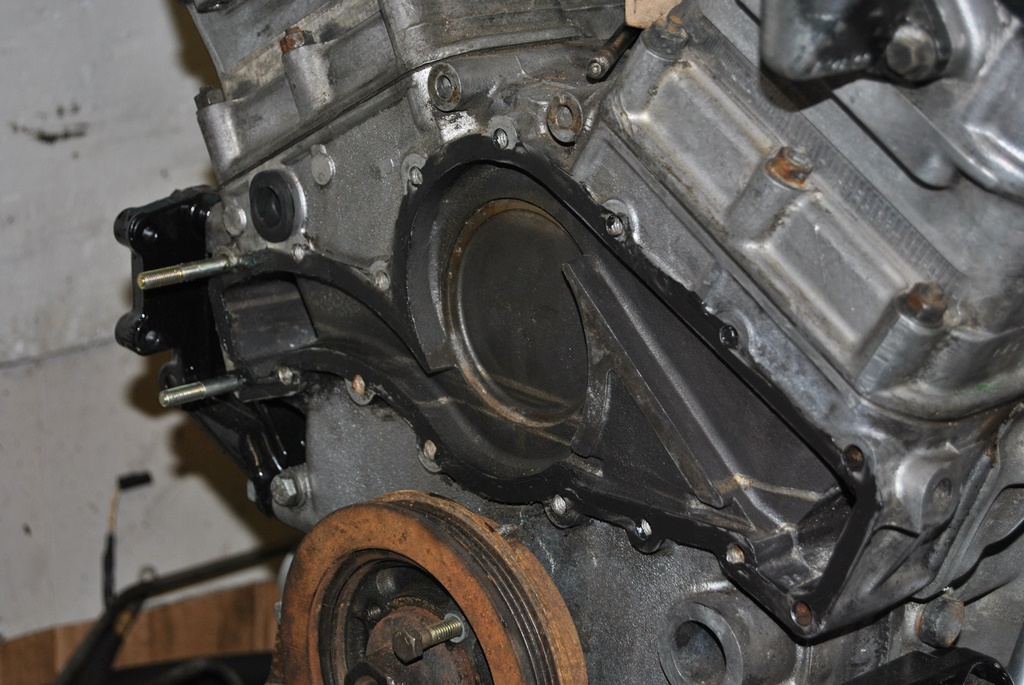
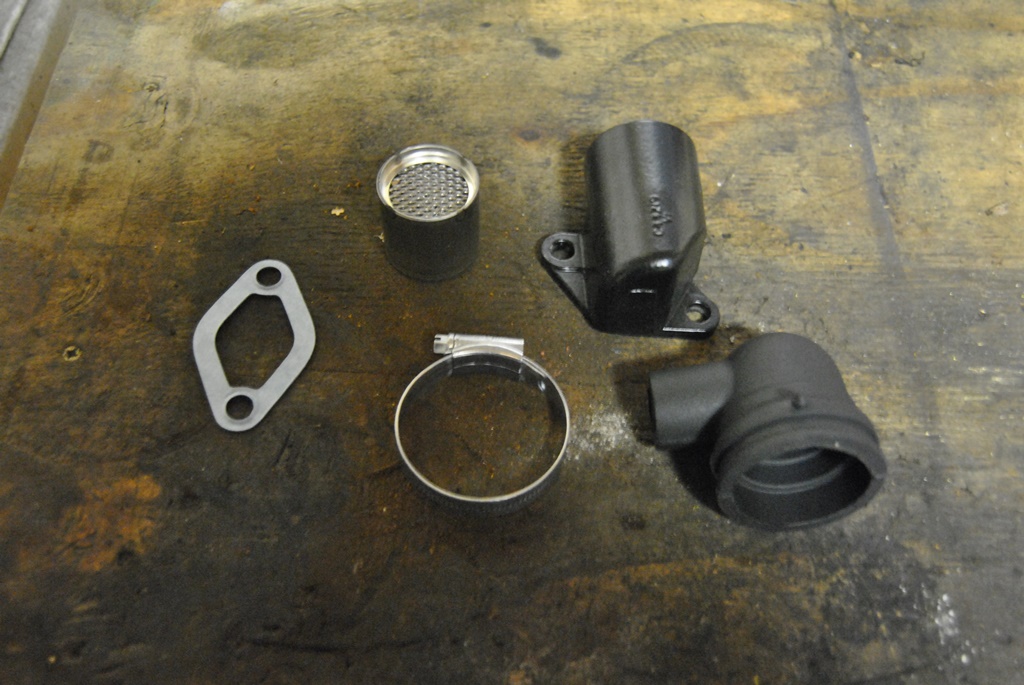
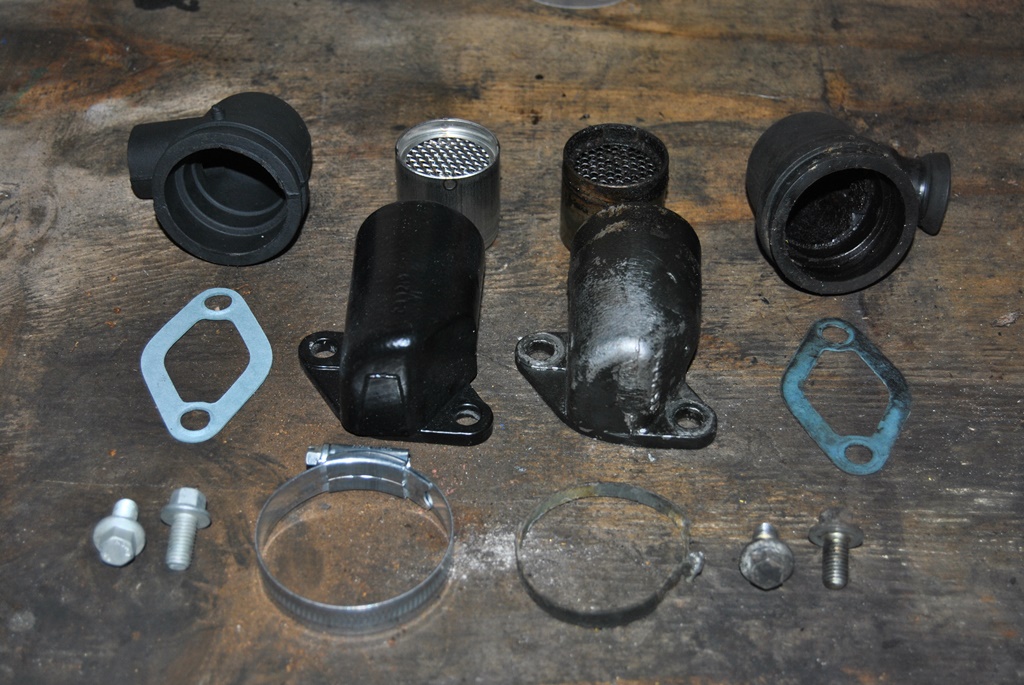
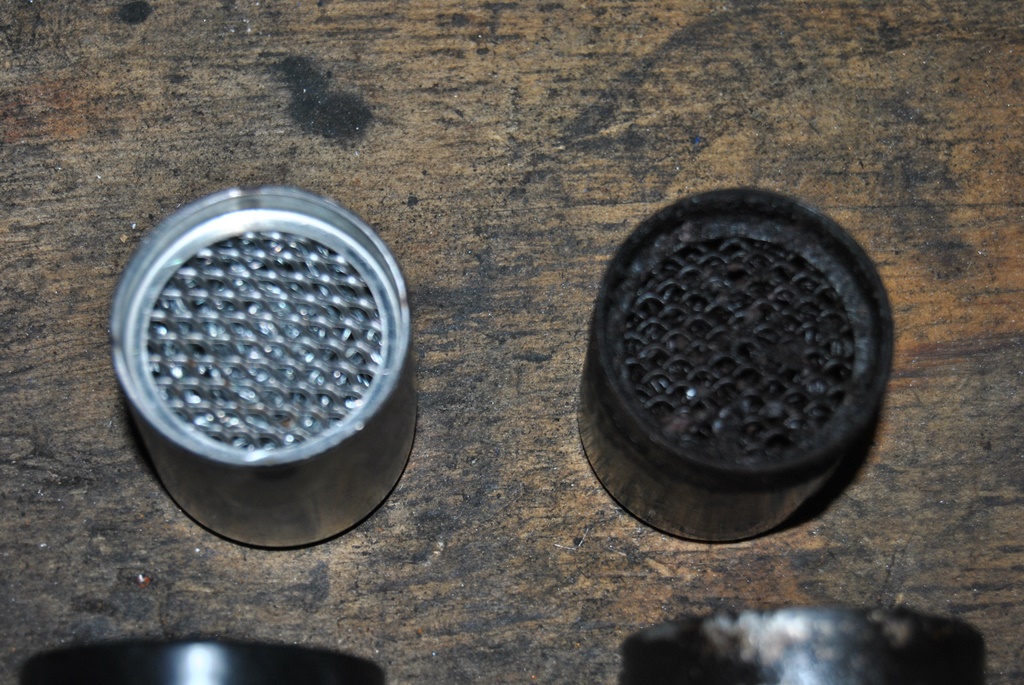
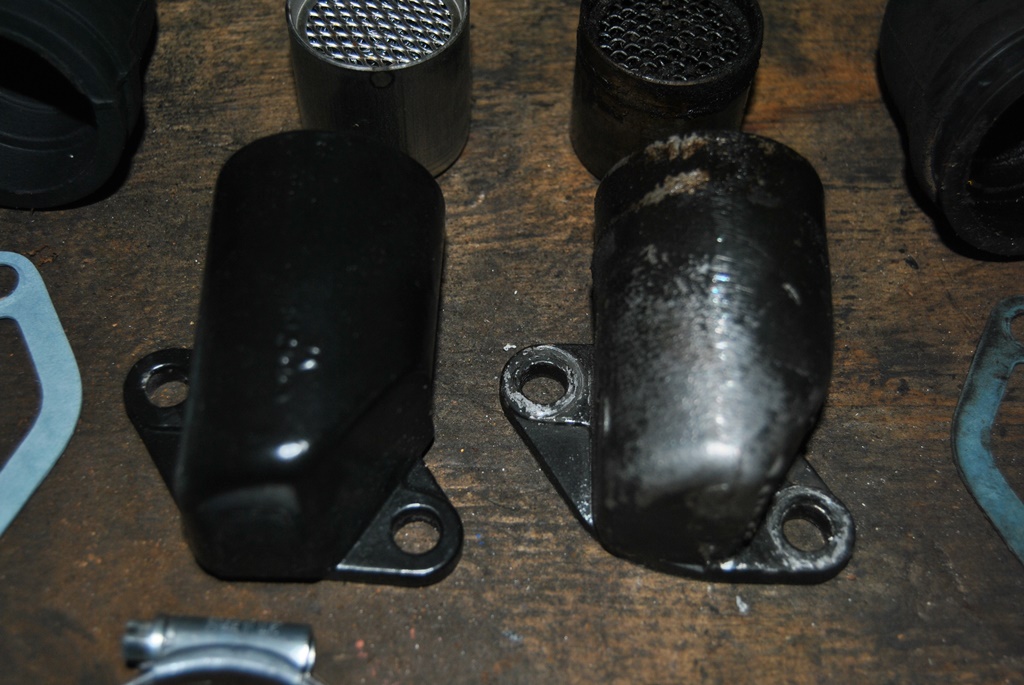
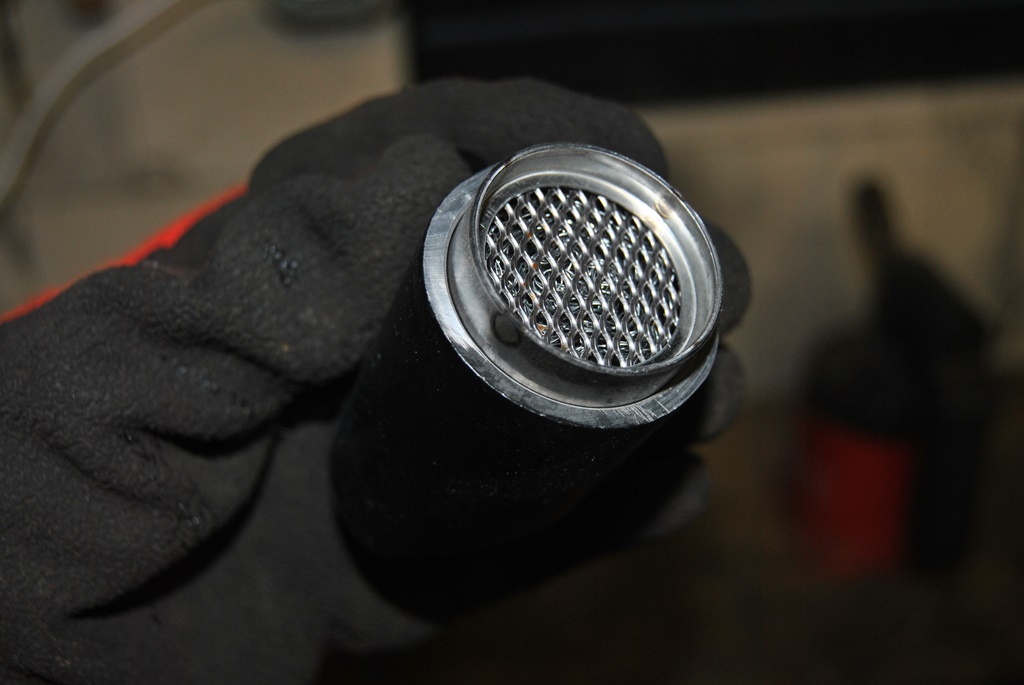
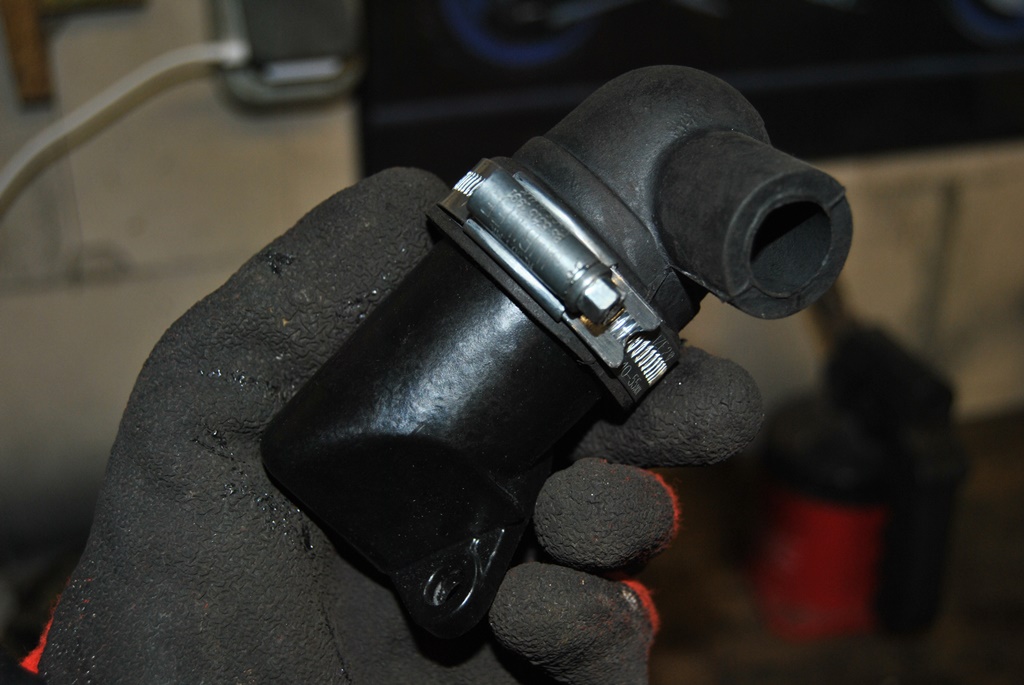
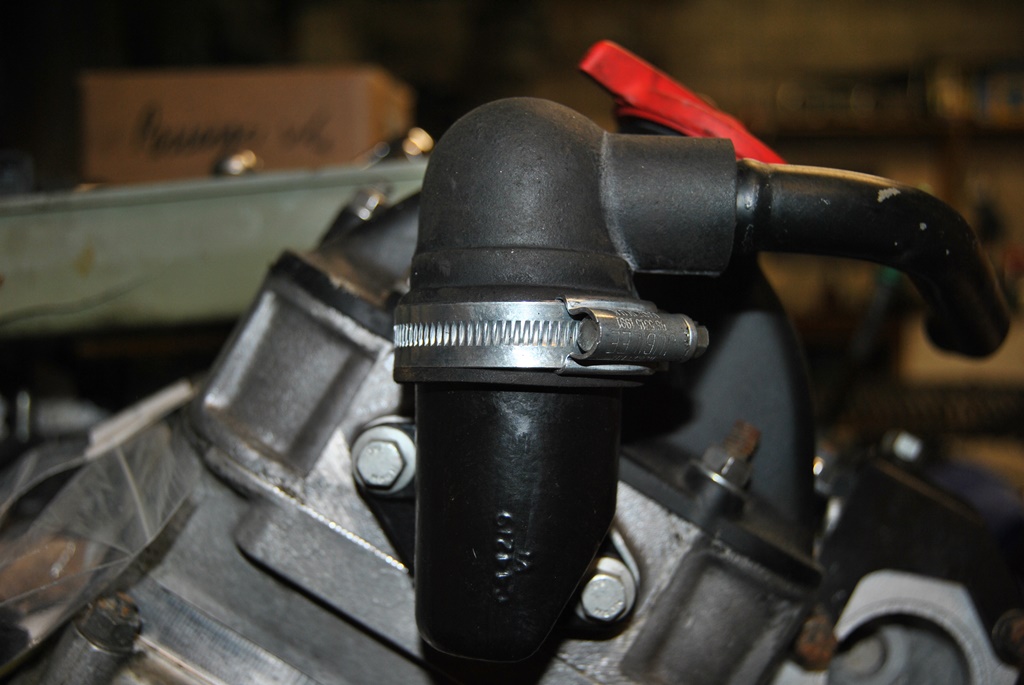
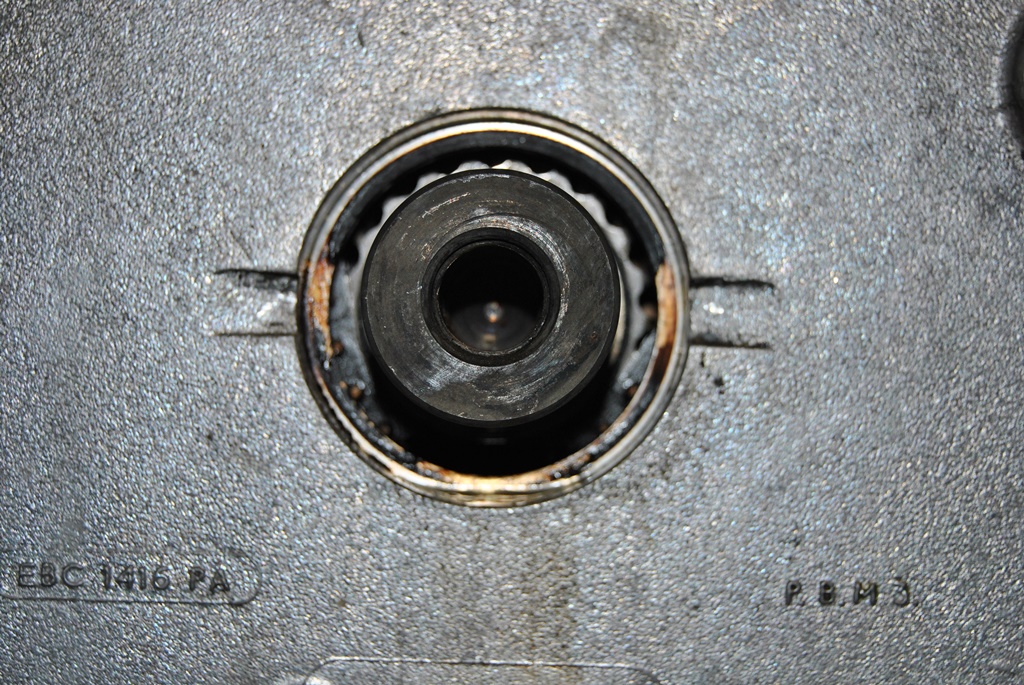
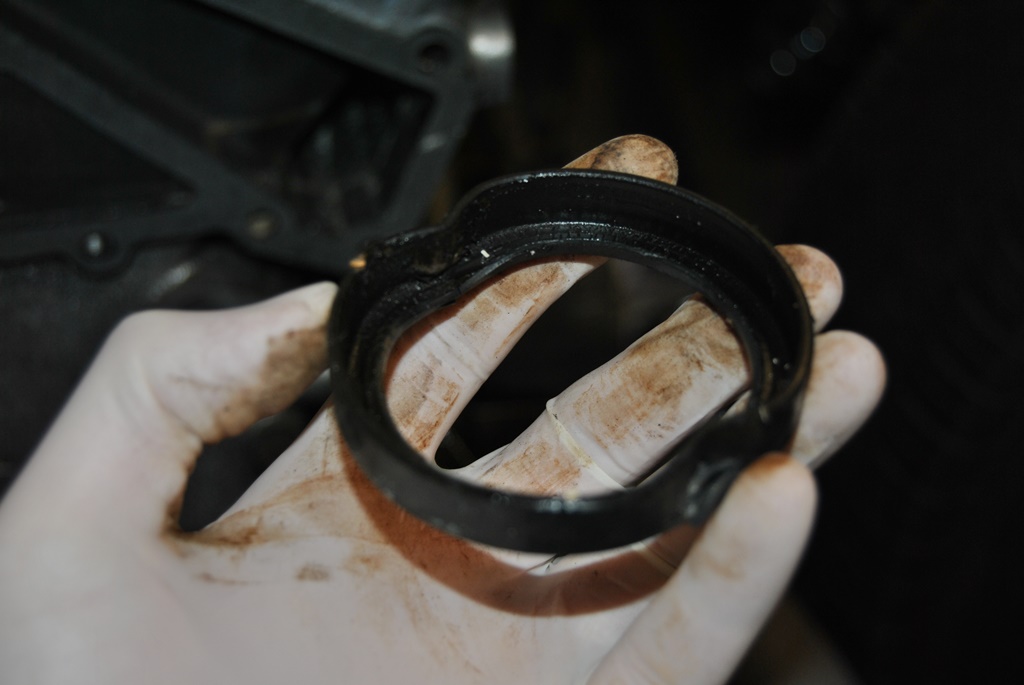
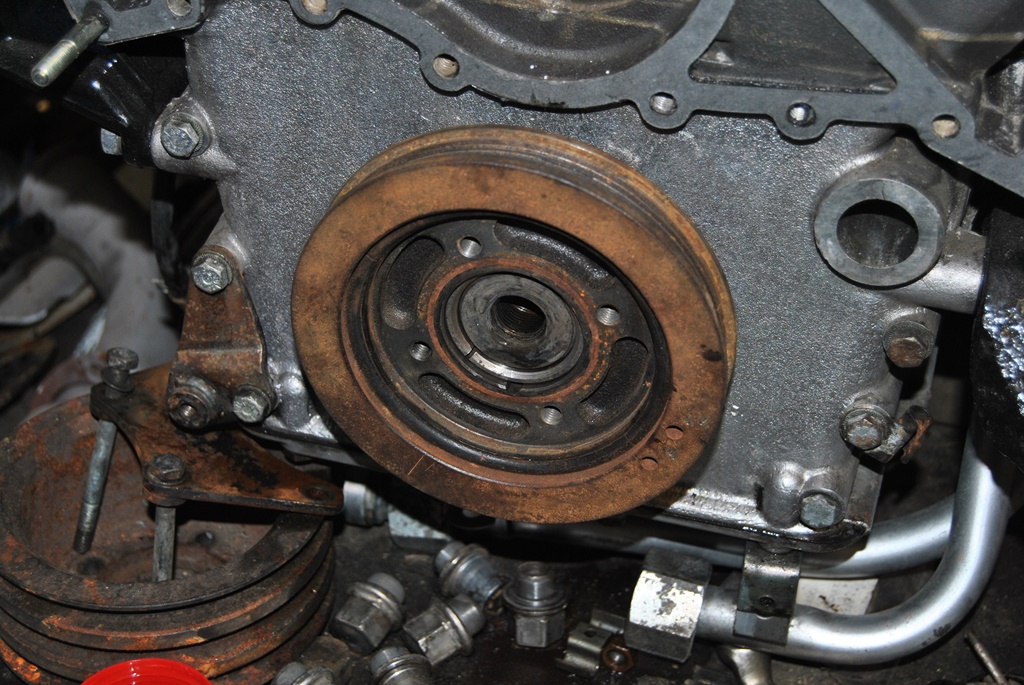
Whilst working on the front of my engine, I replaced the crank case ventilation housing with new parts, as the old one looked nasty and was nearly clogged up (the "filter" cartridge was blocked). Costed less to replace than it would have to clean up...
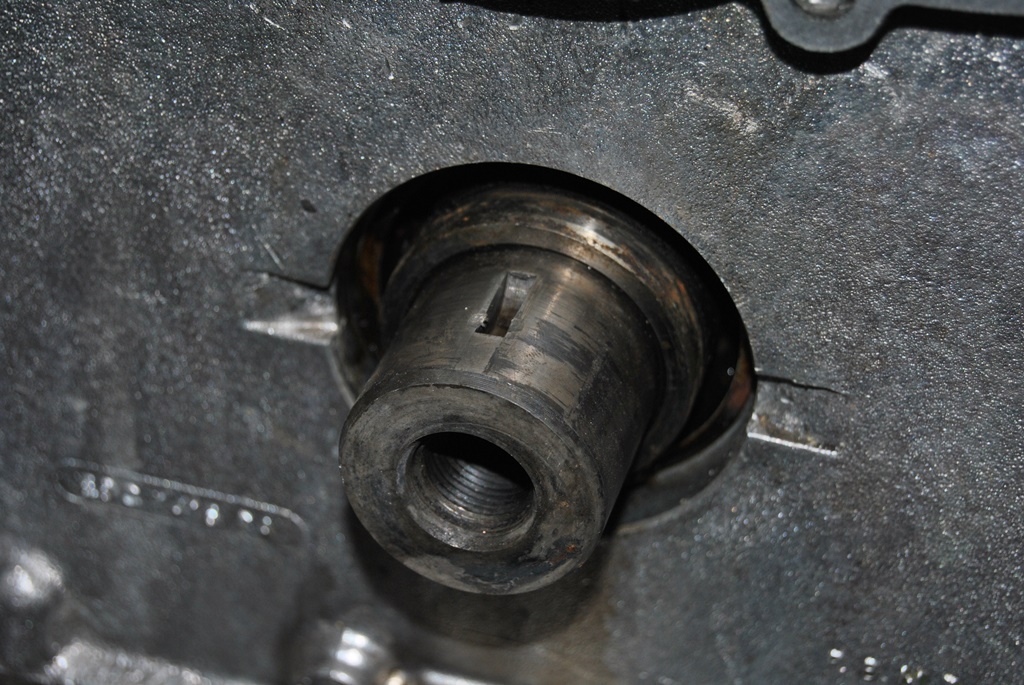
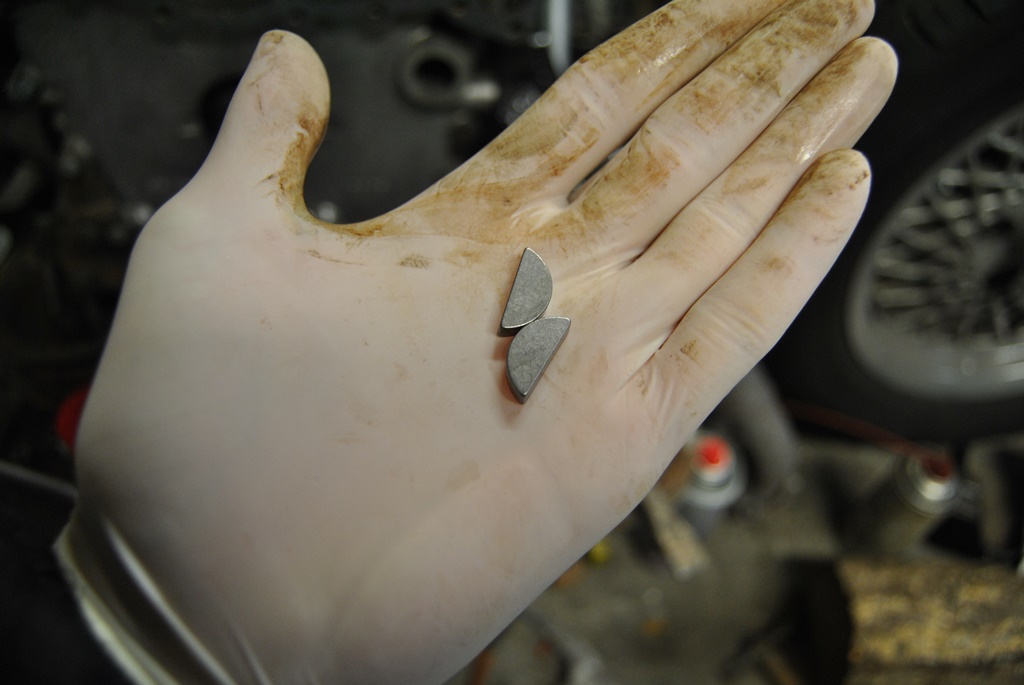
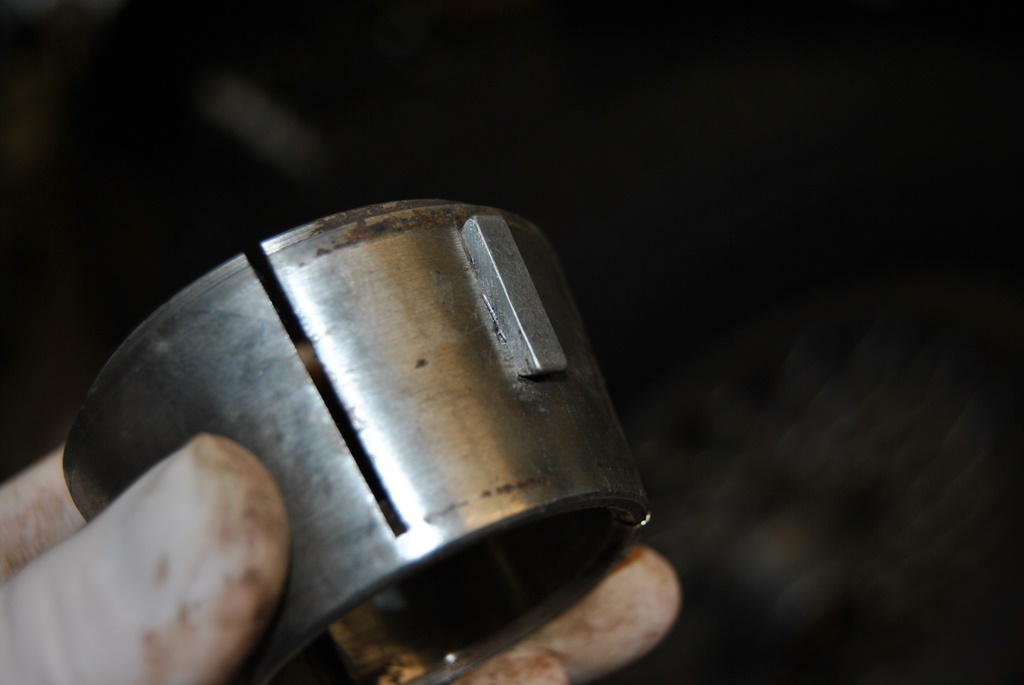
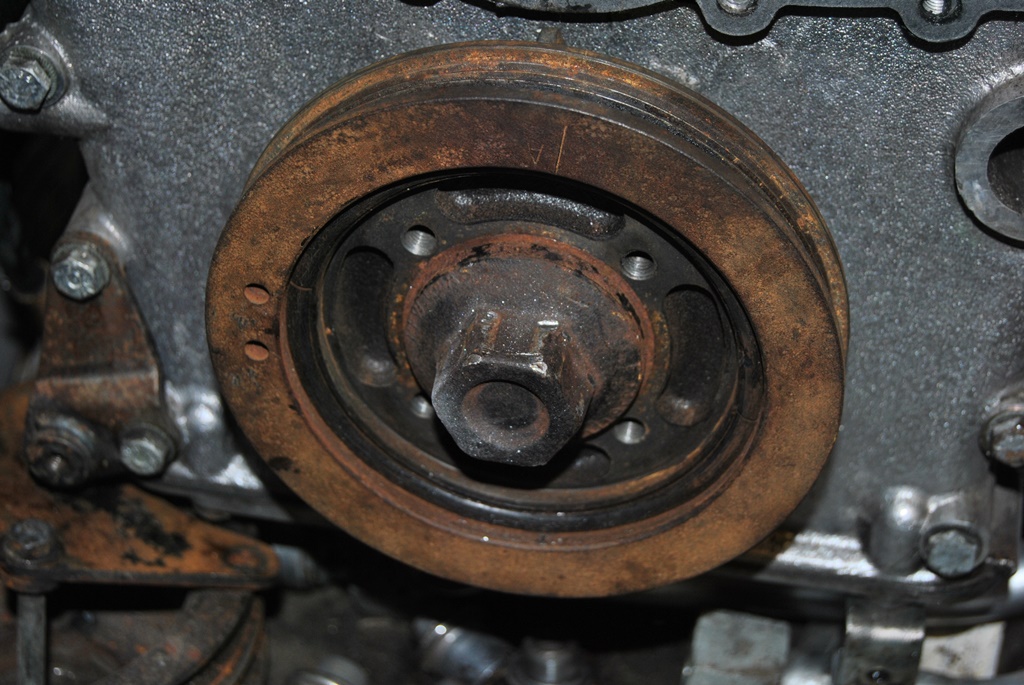
So, after that I attacked the front crankshaft seal (thanks Warren for the link!)... The puller - in case you wonder - is for the AJ26/AJ27 balancer and works well on the V12... Oddly it is nearly spaced the same... Enough to work with. Then I got stuck due to the woodruff key in the crankshaft. My Pa managed to get it out but I haven't done anymore...
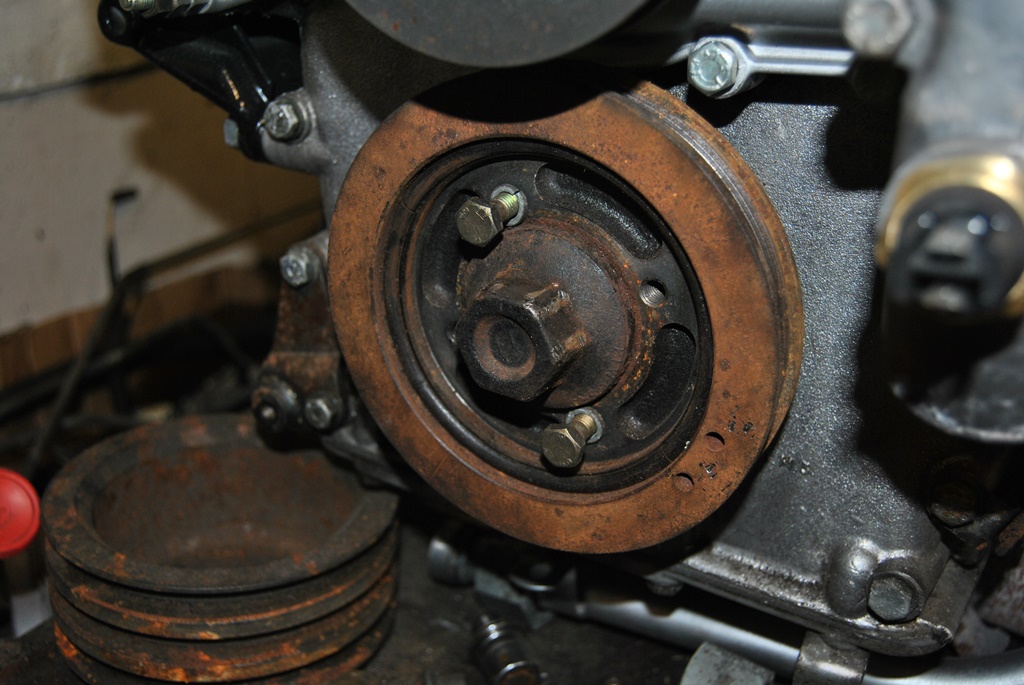
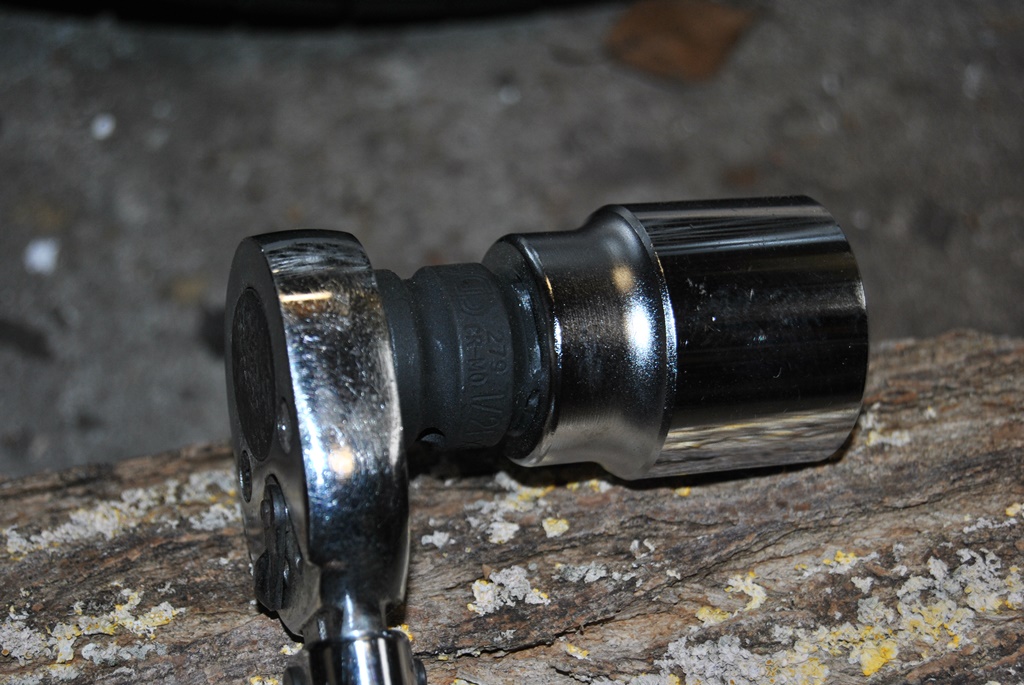
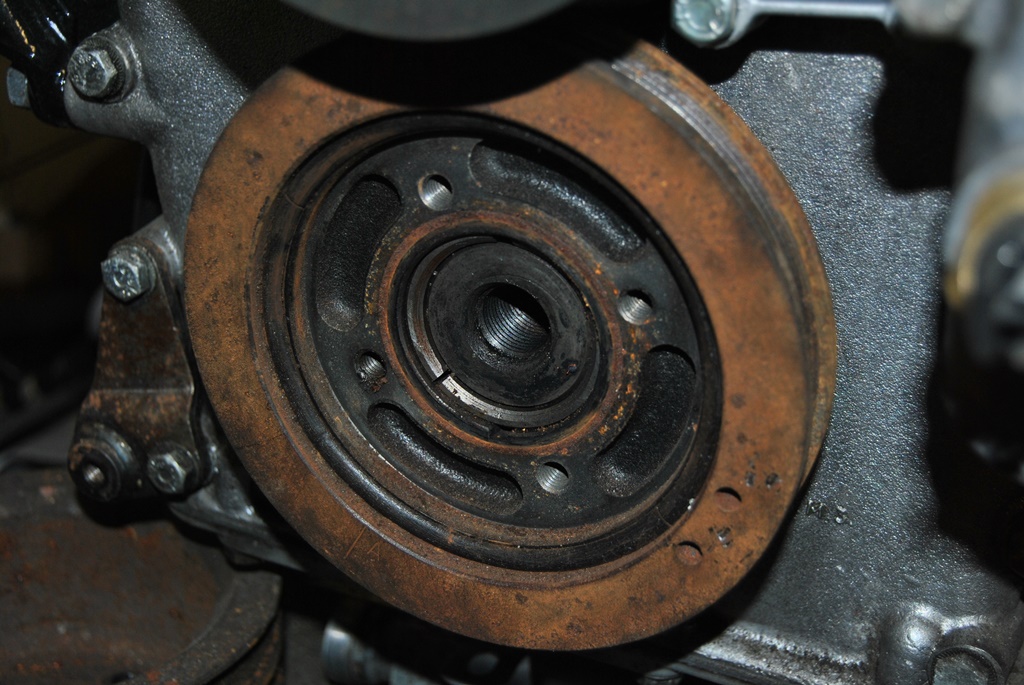

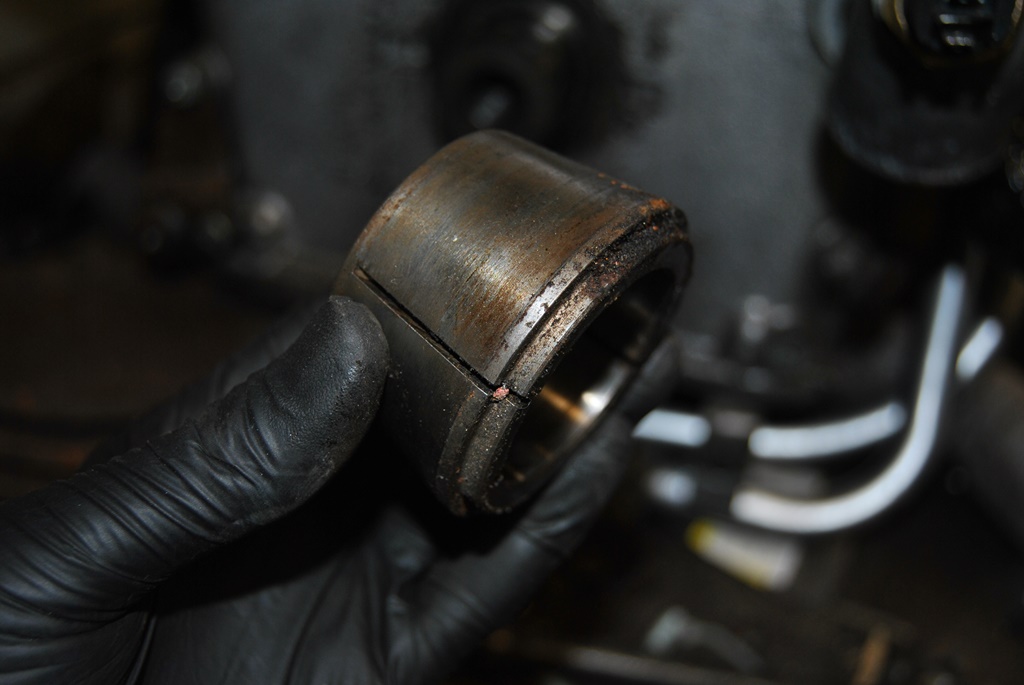

So, after that I attacked the front crankshaft seal (thanks Warren for the link!)... The puller - in case you wonder - is for the AJ26/AJ27 balancer and works well on the V12... Oddly it is nearly spaced the same... Enough to work with. Then I got stuck due to the woodruff key in the crankshaft. My Pa managed to get it out but I haven't done anymore...
#140
01-10-2017, 09:44 AM
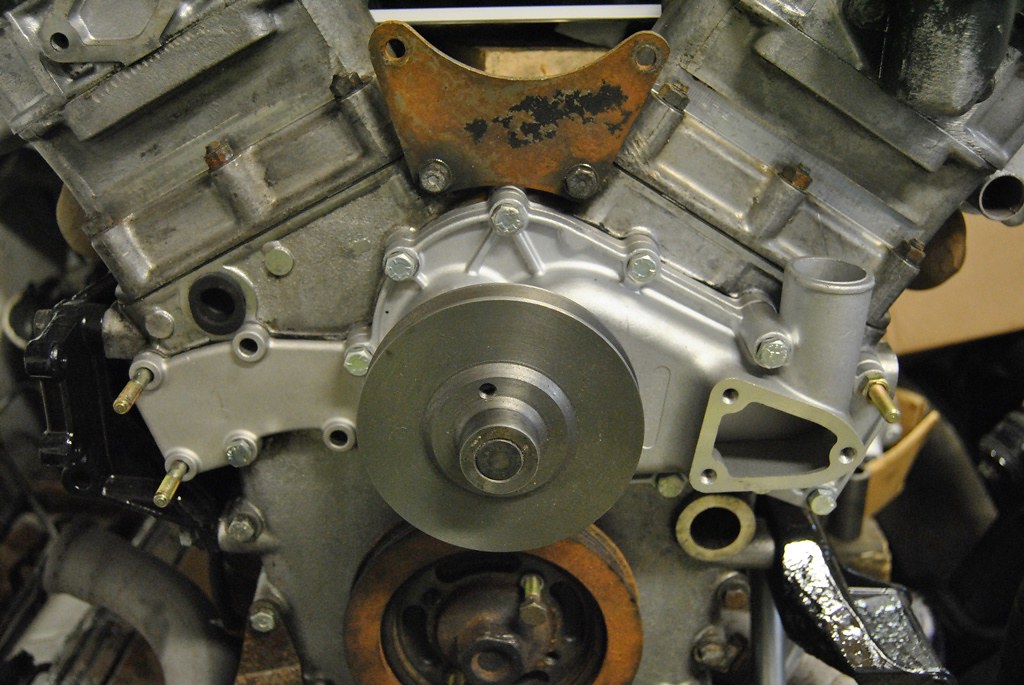
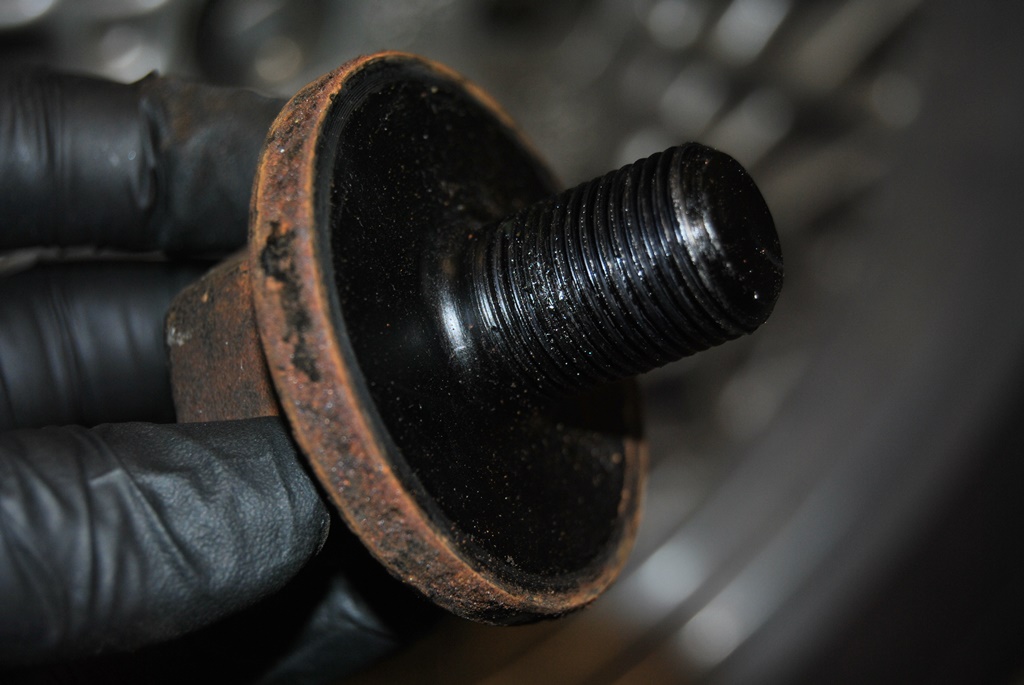
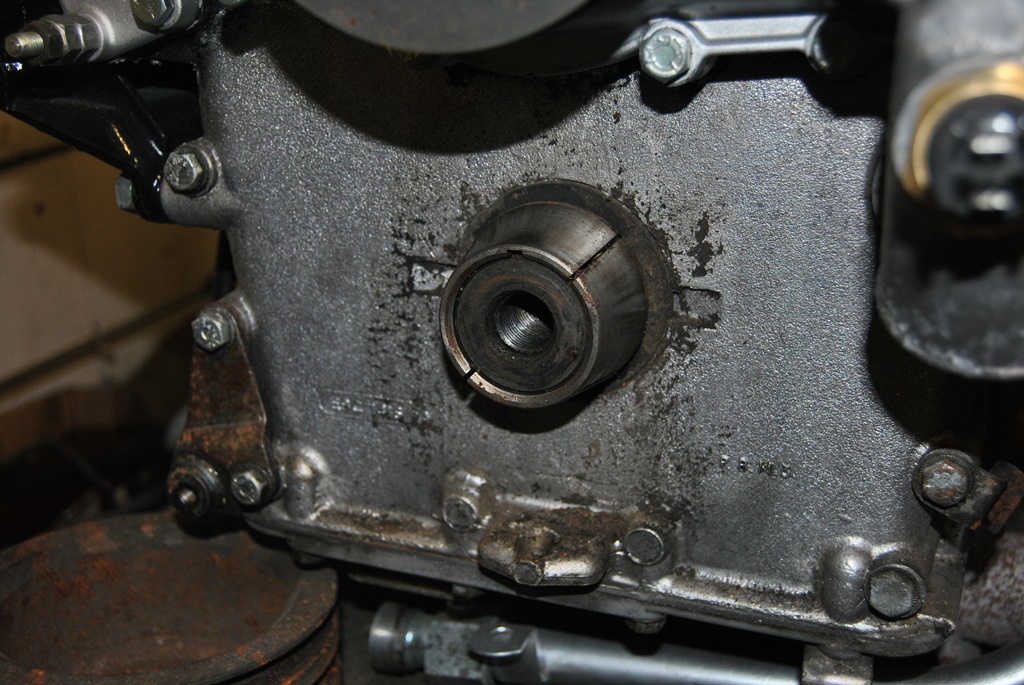
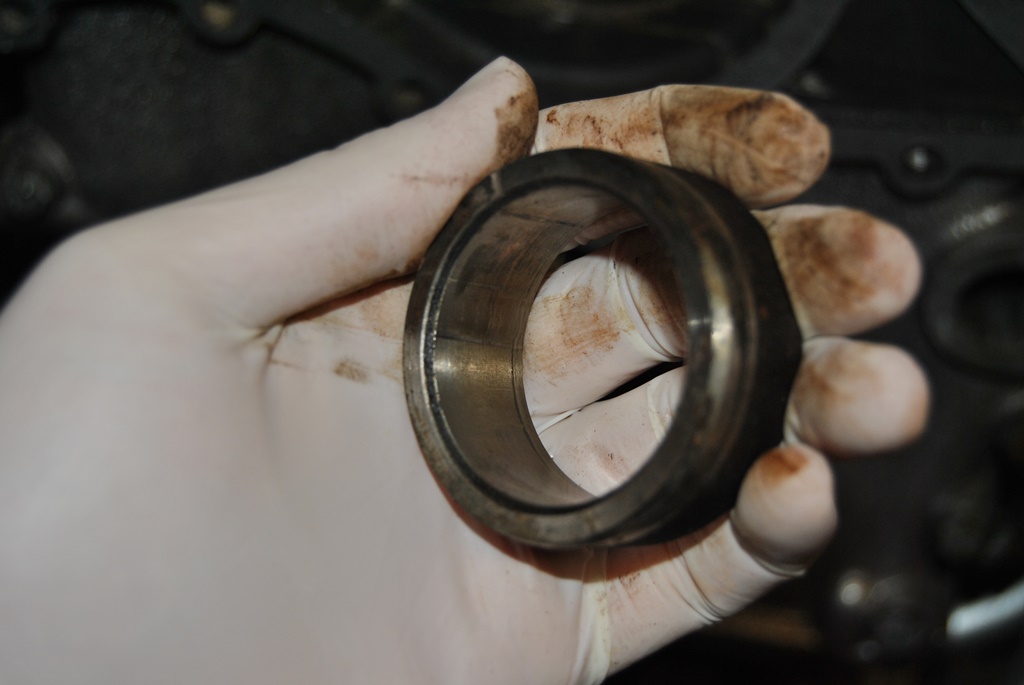
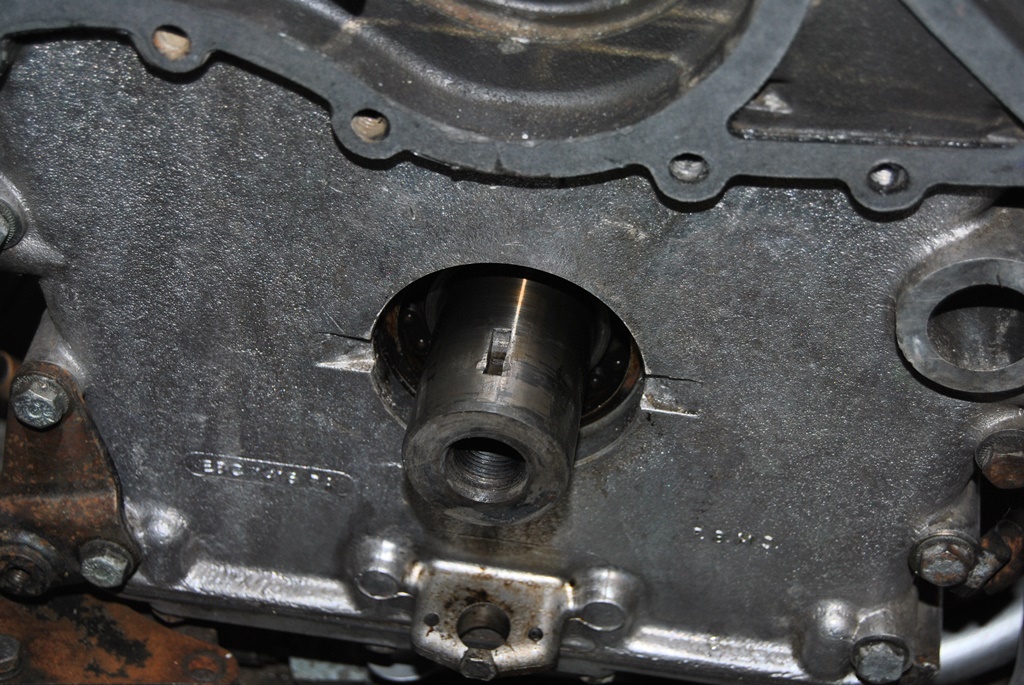
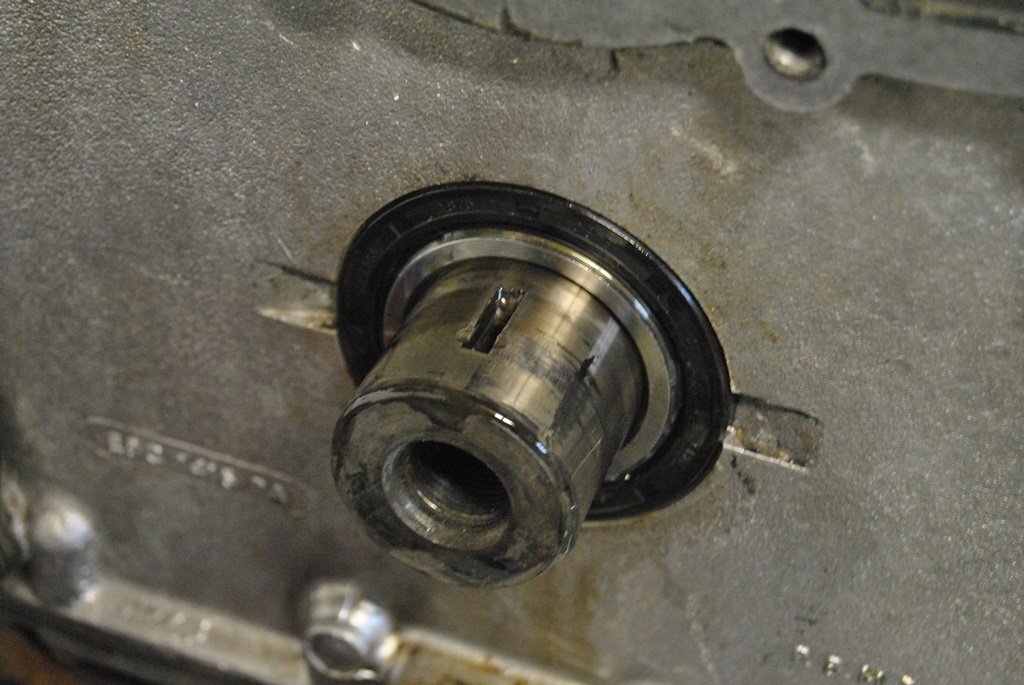
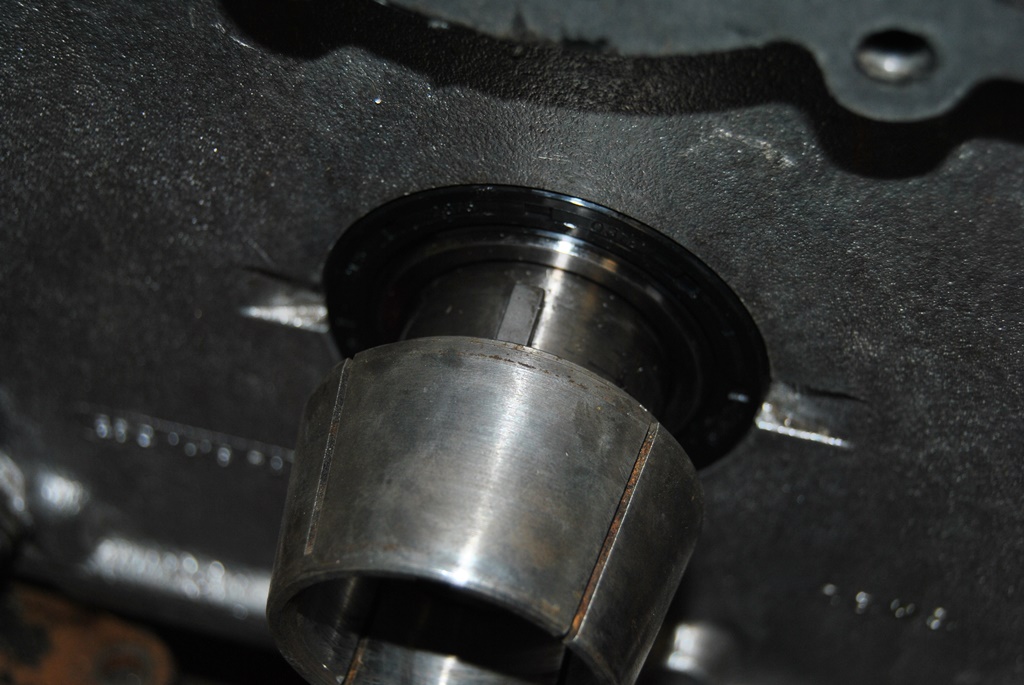
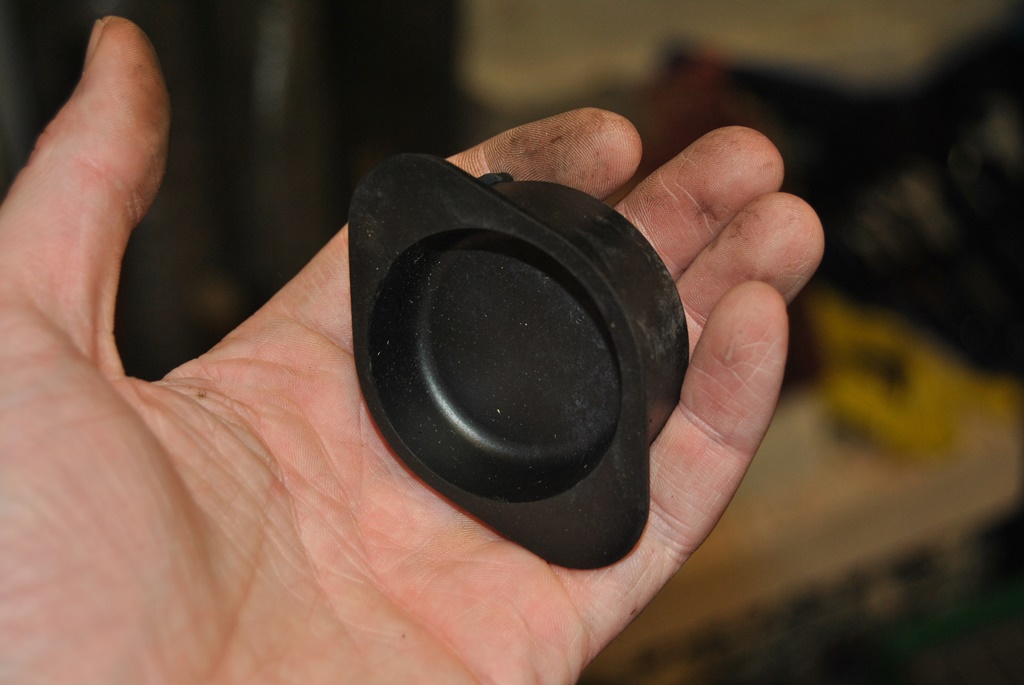
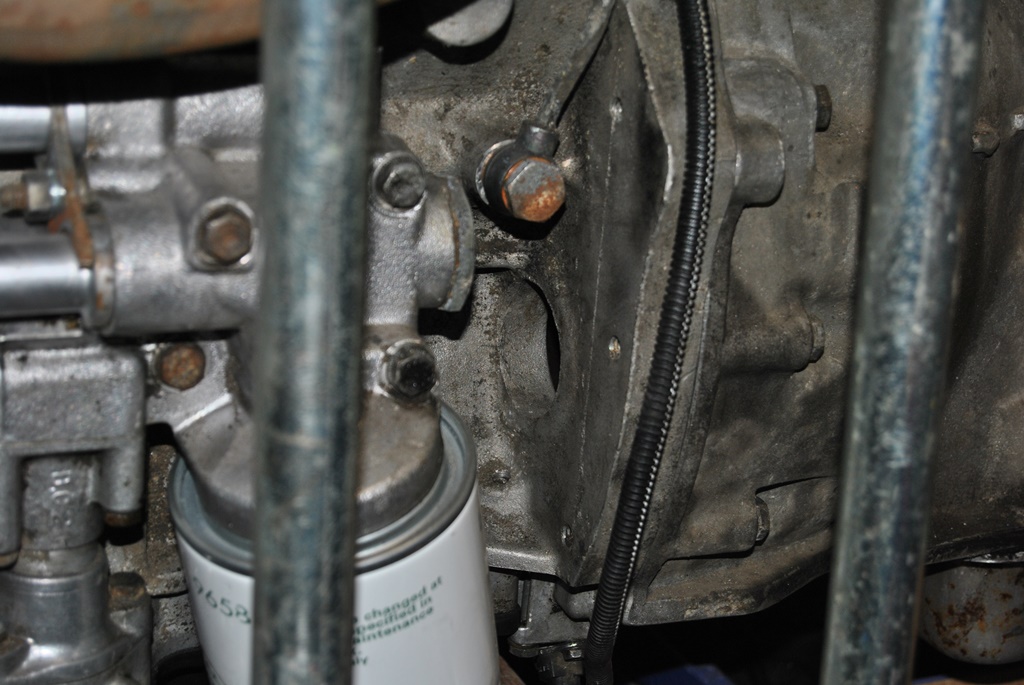
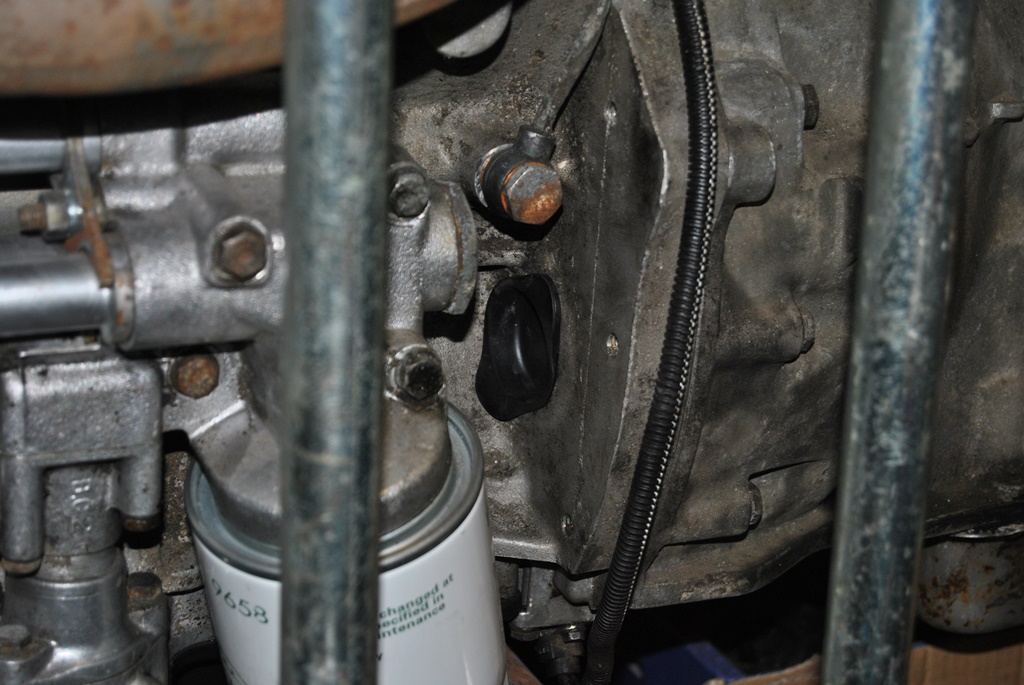
Right, in with the new oil seal and woodruff keys. On with the cone. On with the pulley. Done-did. Then I decided to fit the new last-one-on-planet (according to my searches) original block plug. A smear of grease helped to get it into the block. No the lower half of my engine is oilproof. Just got to do a couple of little things and the engine is finally fully sealed - again


The following 3 users liked this post by Daim: