XJS Shooting Brake!! (pics)
#121
 08-08-2015, 04:05 PM


#123
08-09-2015, 06:03 AM
#124
08-14-2015, 06:39 PM
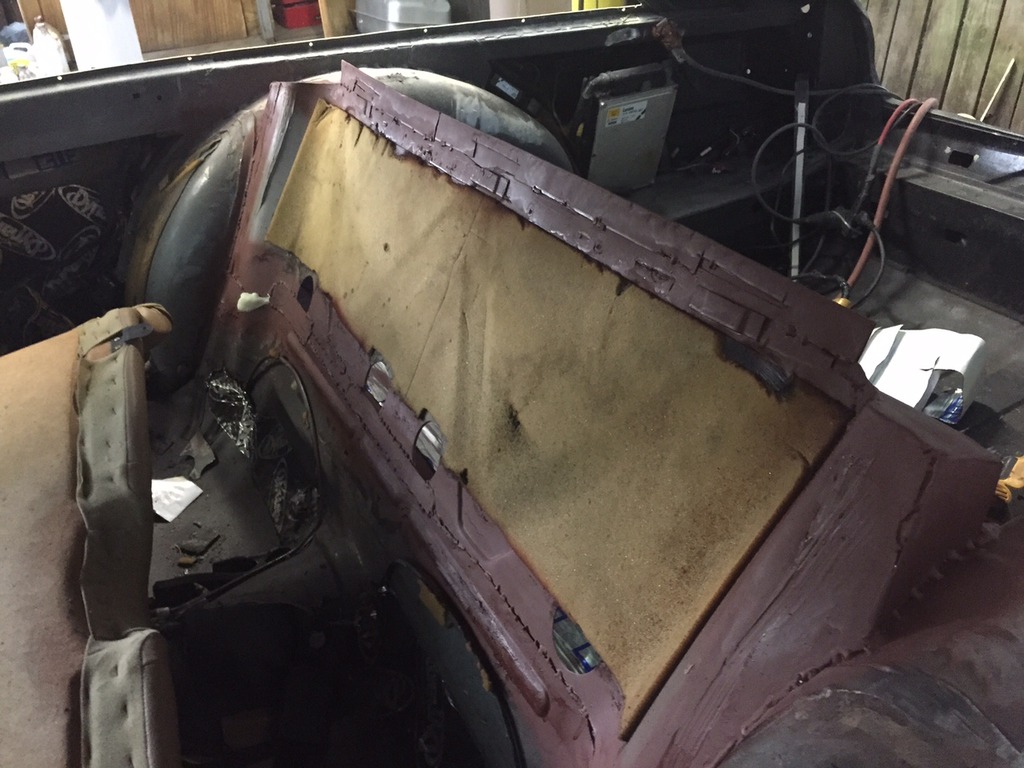
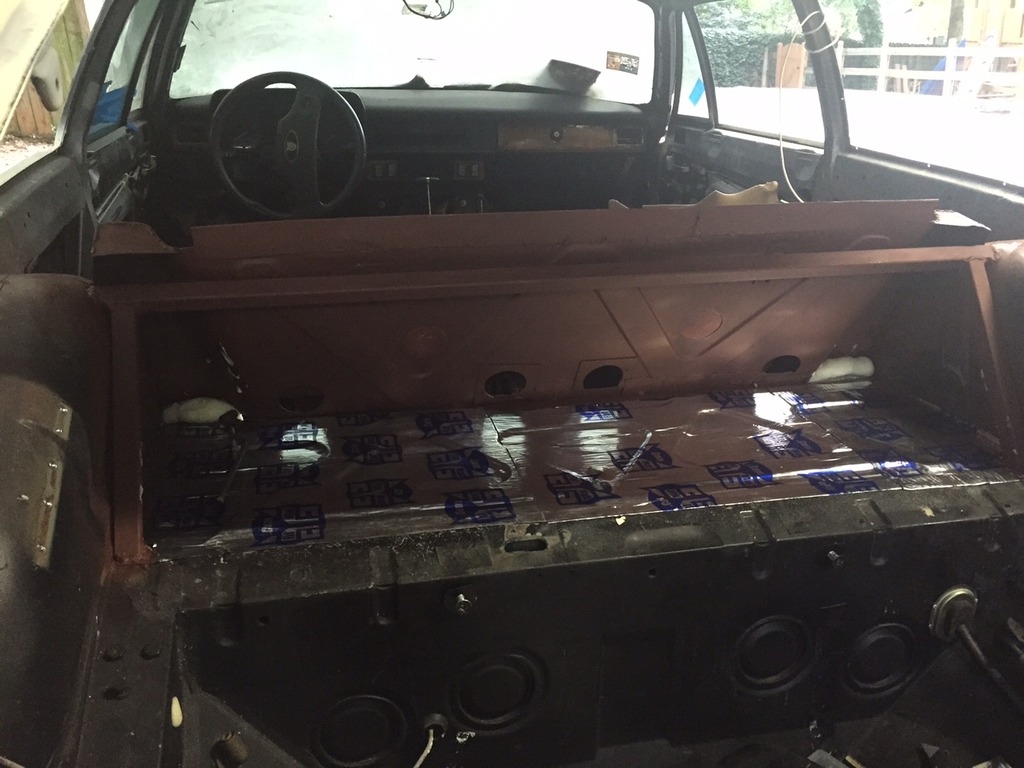
If I'd known, I wouldn't have cut the seat back metal out-but what did I know? I've never built a XJS shooting brake before! Well, now its welded back in, with some additional structural reinforcements. Note 1" square tube between wheel wells and short 1" square section that angles down into trunk floor. Not sure if its necessary, but it will eventually frame a subwoofer and amp enclosure.


#125
08-14-2015, 06:47 PM


#127
08-15-2015, 03:10 PM
Veteran Member
Hey Andy,
your "floor board" idea was in my mind as I read "what to do?" I've also decided to do the same with my XJ8 boot... Just a classy wooden floor/trim to give it that "plus" in style.
A tip: along the connections between the wood, add a rubber lip or so, otherwise everything will be flying around your boot... No matter how carefully you drive. A friend did that in his W124 T-Model. It looked so neat and tidy. A month later the wood was scratched to pieces and he cursed all the time...
your "floor board" idea was in my mind as I read "what to do?"
I've also decided to do the same with my XJ8 boot... Just a classy wooden floor/trim to give it that "plus" in style.A tip: along the connections between the wood, add a rubber lip or so, otherwise everything will be flying around your boot... No matter how carefully you drive. A friend did that in his W124 T-Model. It looked so neat and tidy. A month later the wood was scratched to pieces and he cursed all the time...
The following users liked this post:
bullittandy (08-15-2015)
#128
08-15-2015, 07:13 PM


#129
08-20-2015, 06:28 PM
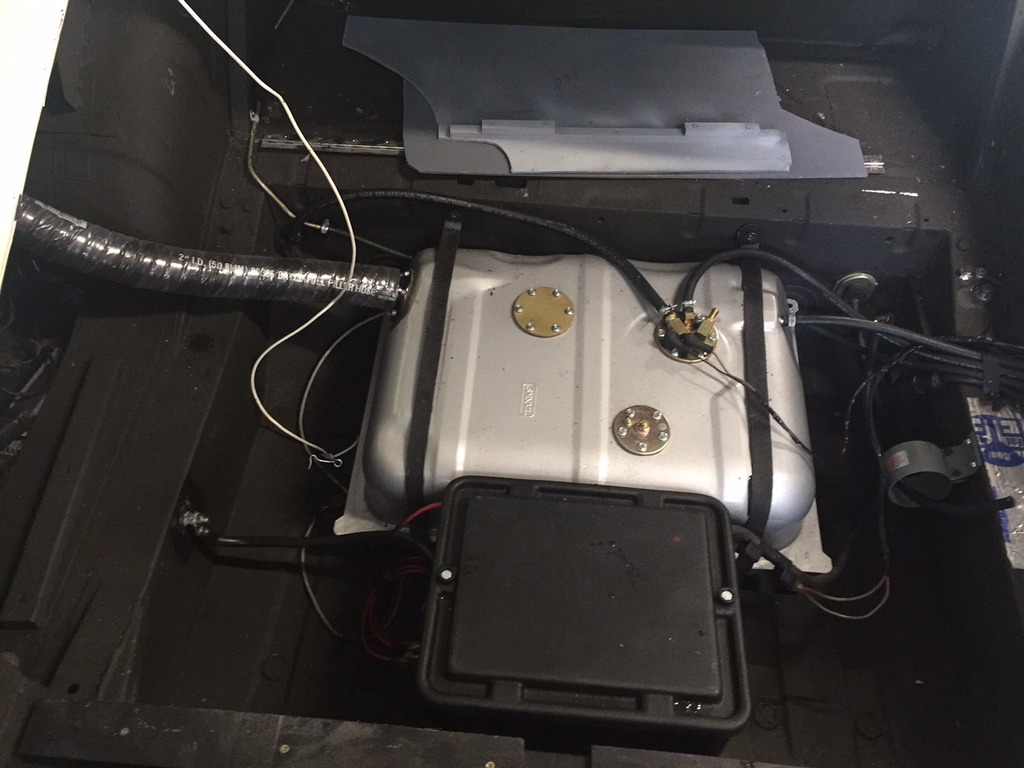
Gas tank in for good, along with battery and battery box, as well as fuel vapor separator mounted. Not sure if I need the fuel vapor separator but since the my gas tank has a fuel vent in the body of tank and the another vent in the fuel pump so it will (almost) recreate the stock tank with three lines returning to the tank. 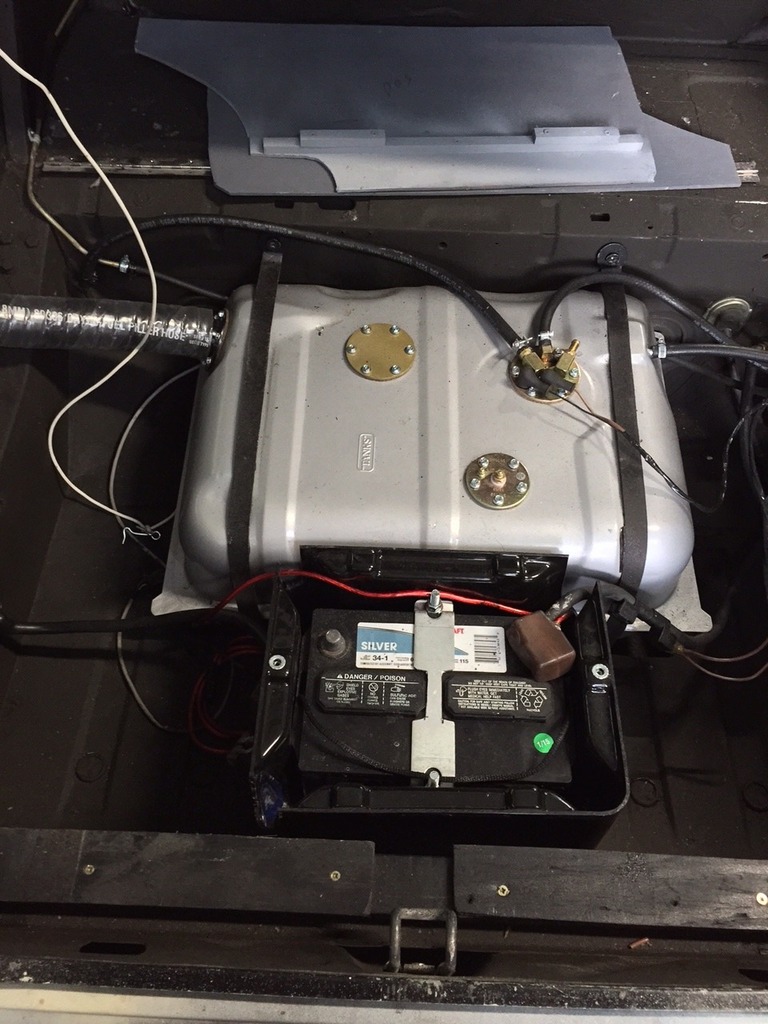


#130
08-21-2015, 06:42 PM
I'm sure some people have heard of the product called 'Lizard Skin' which is a sound deadening product. I discovered that it is a latex paint with glass microspheres. After reading some threads on the process I decided to make my own with some leftover "oops" exterior paint from Lowes and microspheres purchased separately and mixed in. Sprayed with a undercoating gun. Very impressed with result:

#131
08-21-2015, 08:21 PM
Senior Member
#132
08-21-2015, 08:55 PM
Link below:
I can't recall the exact ratio I used but I think it was about 1:1 (i spilled some and and added some water and extra paint), 1 gallon of microspheres to 1 gallons to paint. I mixed to the consistency of grits, or Cream of Wheat if you're a yankee (like me).
I can't recall the exact ratio I used but I think it was about 1:1 (i spilled some and and added some water and extra paint), 1 gallon of microspheres to 1 gallons to paint. I mixed to the consistency of grits, or Cream of Wheat if you're a yankee (like me).
The following users liked this post:
JagZilla (08-21-2015)
#133
08-21-2015, 08:58 PM
#134
08-22-2015, 09:47 AM

Veteran Member
Join Date: Jul 2012
Location: Walnut Creek, California
Posts: 6,796
Received 2,399 Likes
on
1,880 Posts
Interesting, indeed. My dear departed wife loved "Cream of Wheat". In her last days, I made it for her. in need of nutrition, I loaded it with eggs and butter. with fruit it made a healthy breakfast. As a rebel, I guess it's grits. Can't stand the stuff. Treasonous, huh?
In my former career, one of my case involved a guy that used a product for coating roofs. White and granular. Sprayed on. Done right, it really looked good. Well, he enlisted guys on % to do it. Poor. It seemed they skimped on the solid and merely sprayed a weakly tinted solvent.
One of my distant projects is to spry the underside of the bonnet on my car. it's moth eaten bear rug is gone. I tossed it,. better bare than with it. Bedliner, as for pickup truck beds, is my choice.
I lined the trunks/boots of my cars with sheet rubber with a pattern that resemble;es fish plate. Serviceable and looks decent.
But, that wood with rub strips is magnificent!!!
Carl
#135
08-22-2015, 09:35 PM
I like the home brew lizard skin. You can also buy undercoating that is water based and smells like it is a latex product. I use it on new sheet metal as it is a much nicer product to use and can be easily over coated with any paint once dry. It also builds film thickness much better and more rapidly than the butyl based products, has a much faster dry time and dries all the way through to a proper set unlike the butyl products.
Needless to say, cleanup is also ridiculously easy and low impact on any good painted surfaces, just use a damp or wet rag.
Needless to say, cleanup is also ridiculously easy and low impact on any good painted surfaces, just use a damp or wet rag.
#136
08-23-2015, 05:43 AM
I'm sure some people have heard of the product called 'Lizard Skin' which is a sound deadening product. I discovered that it is a latex paint with glass microspheres. After reading some threads on the process I decided to make my own with some leftover "oops" exterior paint from Lowes and microspheres purchased separately and mixed in. Sprayed with a undercoating gun. Very impressed with result:
#138
09-04-2015, 07:46 PM

#139
09-04-2015, 07:47 PM


#140
09-04-2015, 07:49 PM


The following 3 users liked this post by bullittandy:

