When you click on links to various merchants on this site and make a purchase, this can result in this site earning a commission. Affiliate programs and affiliations include, but are not limited to, the eBay Partner Network.
What I've been working on today (for the past month really) is learning how to use Fusion 360 to design and print a replacement to this piece of junk: Attachment 225269
Chances are, if you've ever done any work on your center console, you'll find it's incredibly easy to crack or damage this piece since it's so very, very thin. I've got two of the original pieces now - I'd been damaging my own every time I removed / replaced it in order to take measurements and do test fittings, so I bought one in rougher shape from the classifieds section of these forums. I believe it was in better shape when the seller shipped it to me, but it arrived with the top piece completely broken off, so I patched it with Sugru.
Anyways, at the start of this project I had no idea how to use Fusion 360, nor how to use a 3D printer, but I've been picking it up as I go with help from my local MakerSpace.
What followed was a series of the following:
So that's where I am now- the final design of this piece will be substantially stronger than the original, as it has none of the hollows/voids that were present in the original design (presumably to save plastic/money, or speed injection molding time). You can see this significant difference in the thickness of the plastic frame from terms of support, even though the total thickness of the design will be the same. I still need to adjust the recesses a bit, as well as add the rear pegs.
Ultimately I'm not aiming to make a 1:1 replacement, rather, something that is an improvement over the original design for my purposes. This is why the 1-DIN gap is not as recessed as it is in the original, and why I have not yet included the bottom "chin" piece that juts out a few inches. The final plan is to use that "chin" area to house an antenna raise/lower switch (something I've already wired in elsewhere), and to conceal the aftermarket 1-DIN stereo with a motorized retracting door, finished with a walnut veneer and switched to the accessories line. That way, when the car is parked, you don't have to look at the gaudy thing.
Anyways, work in progress! I'll keep you all posted.
F150 didn't want to start, figured either solenoid or starter, $17 on firewall verses $169 under truck and raining. Hand me that solenoid. That was it,, but since we left the house you have to go by the grocery store, AHHHHHH. 54 years and counting. She gives me pills every day and best I figure, one is arsenic and one is Viagra and she will be glad if either one takes effect.
123go (07-12-2022),arttomlin (04-04-2015),CA Jag (06-15-2022),Jon89 (03-14-2015),piper 888 (07-21-2019),XKRRANDY (06-17-2022) and 1 others liked this post. (Show less...)
Howdy Folks:
I would like to see this thread continue, as I enjoy what you all are into.
Having recently replaced my front upper shock mounts, as a last ditch effort to save my front (inner cupped) tires, I ground the high points off the inner ribs. While not perfect, it drove much smoother and has corresponding much better front footprints. (I hope time proves it to be a success)
I had not had it out of the garage since last Nov. Needless to say, I got the fever right quick. My goal now is to get it detailed hopefully for "The Gathering" at Shelton Vineyards in April. (kind of a "Queen's English for the southeast, maybe some of you on the west coast could talk Jay Leno into "dropping in"
I have had mine 4 1/2 years and love it more now than the day I bought it.
Enough about me, what's going on?
Last edited by Dr. D; 03-13-2015 at 09:00 PM.
Reason: spelling
Had a guy repair a rip in the driver's side seat bolster. Also cleaned up a few scratches and rubbed the whole thing black. The XK8 isn't registered (going to sell it next week after the A/C lines get replaced and A/C charged) so I had to take the seat out and bring it to the fellow. Turned out much better than it was.
Had a guy repair a rip in the driver's side seat bolster. Also cleaned up a few scratches and rubbed the whole thing black. The XK8 isn't registered (going to sell it next week after the A/C lines get replaced and A/C charged) so I had to take the seat out and bring it to the fellow. Turned out much better than it was.
So where is the "done" pic???
I just took my seat in a few days ago also, for a very similar repair. I'm fortunate to have a true craftsman here locally that does quite a few cars for me, and has always been very reasonably priced. he doesn't seem to like working on Euro cars, but said it should cost me about $220.00 . is that in the ballpark for what yours was? apparently the leather is fully glued to the foam in these cars.
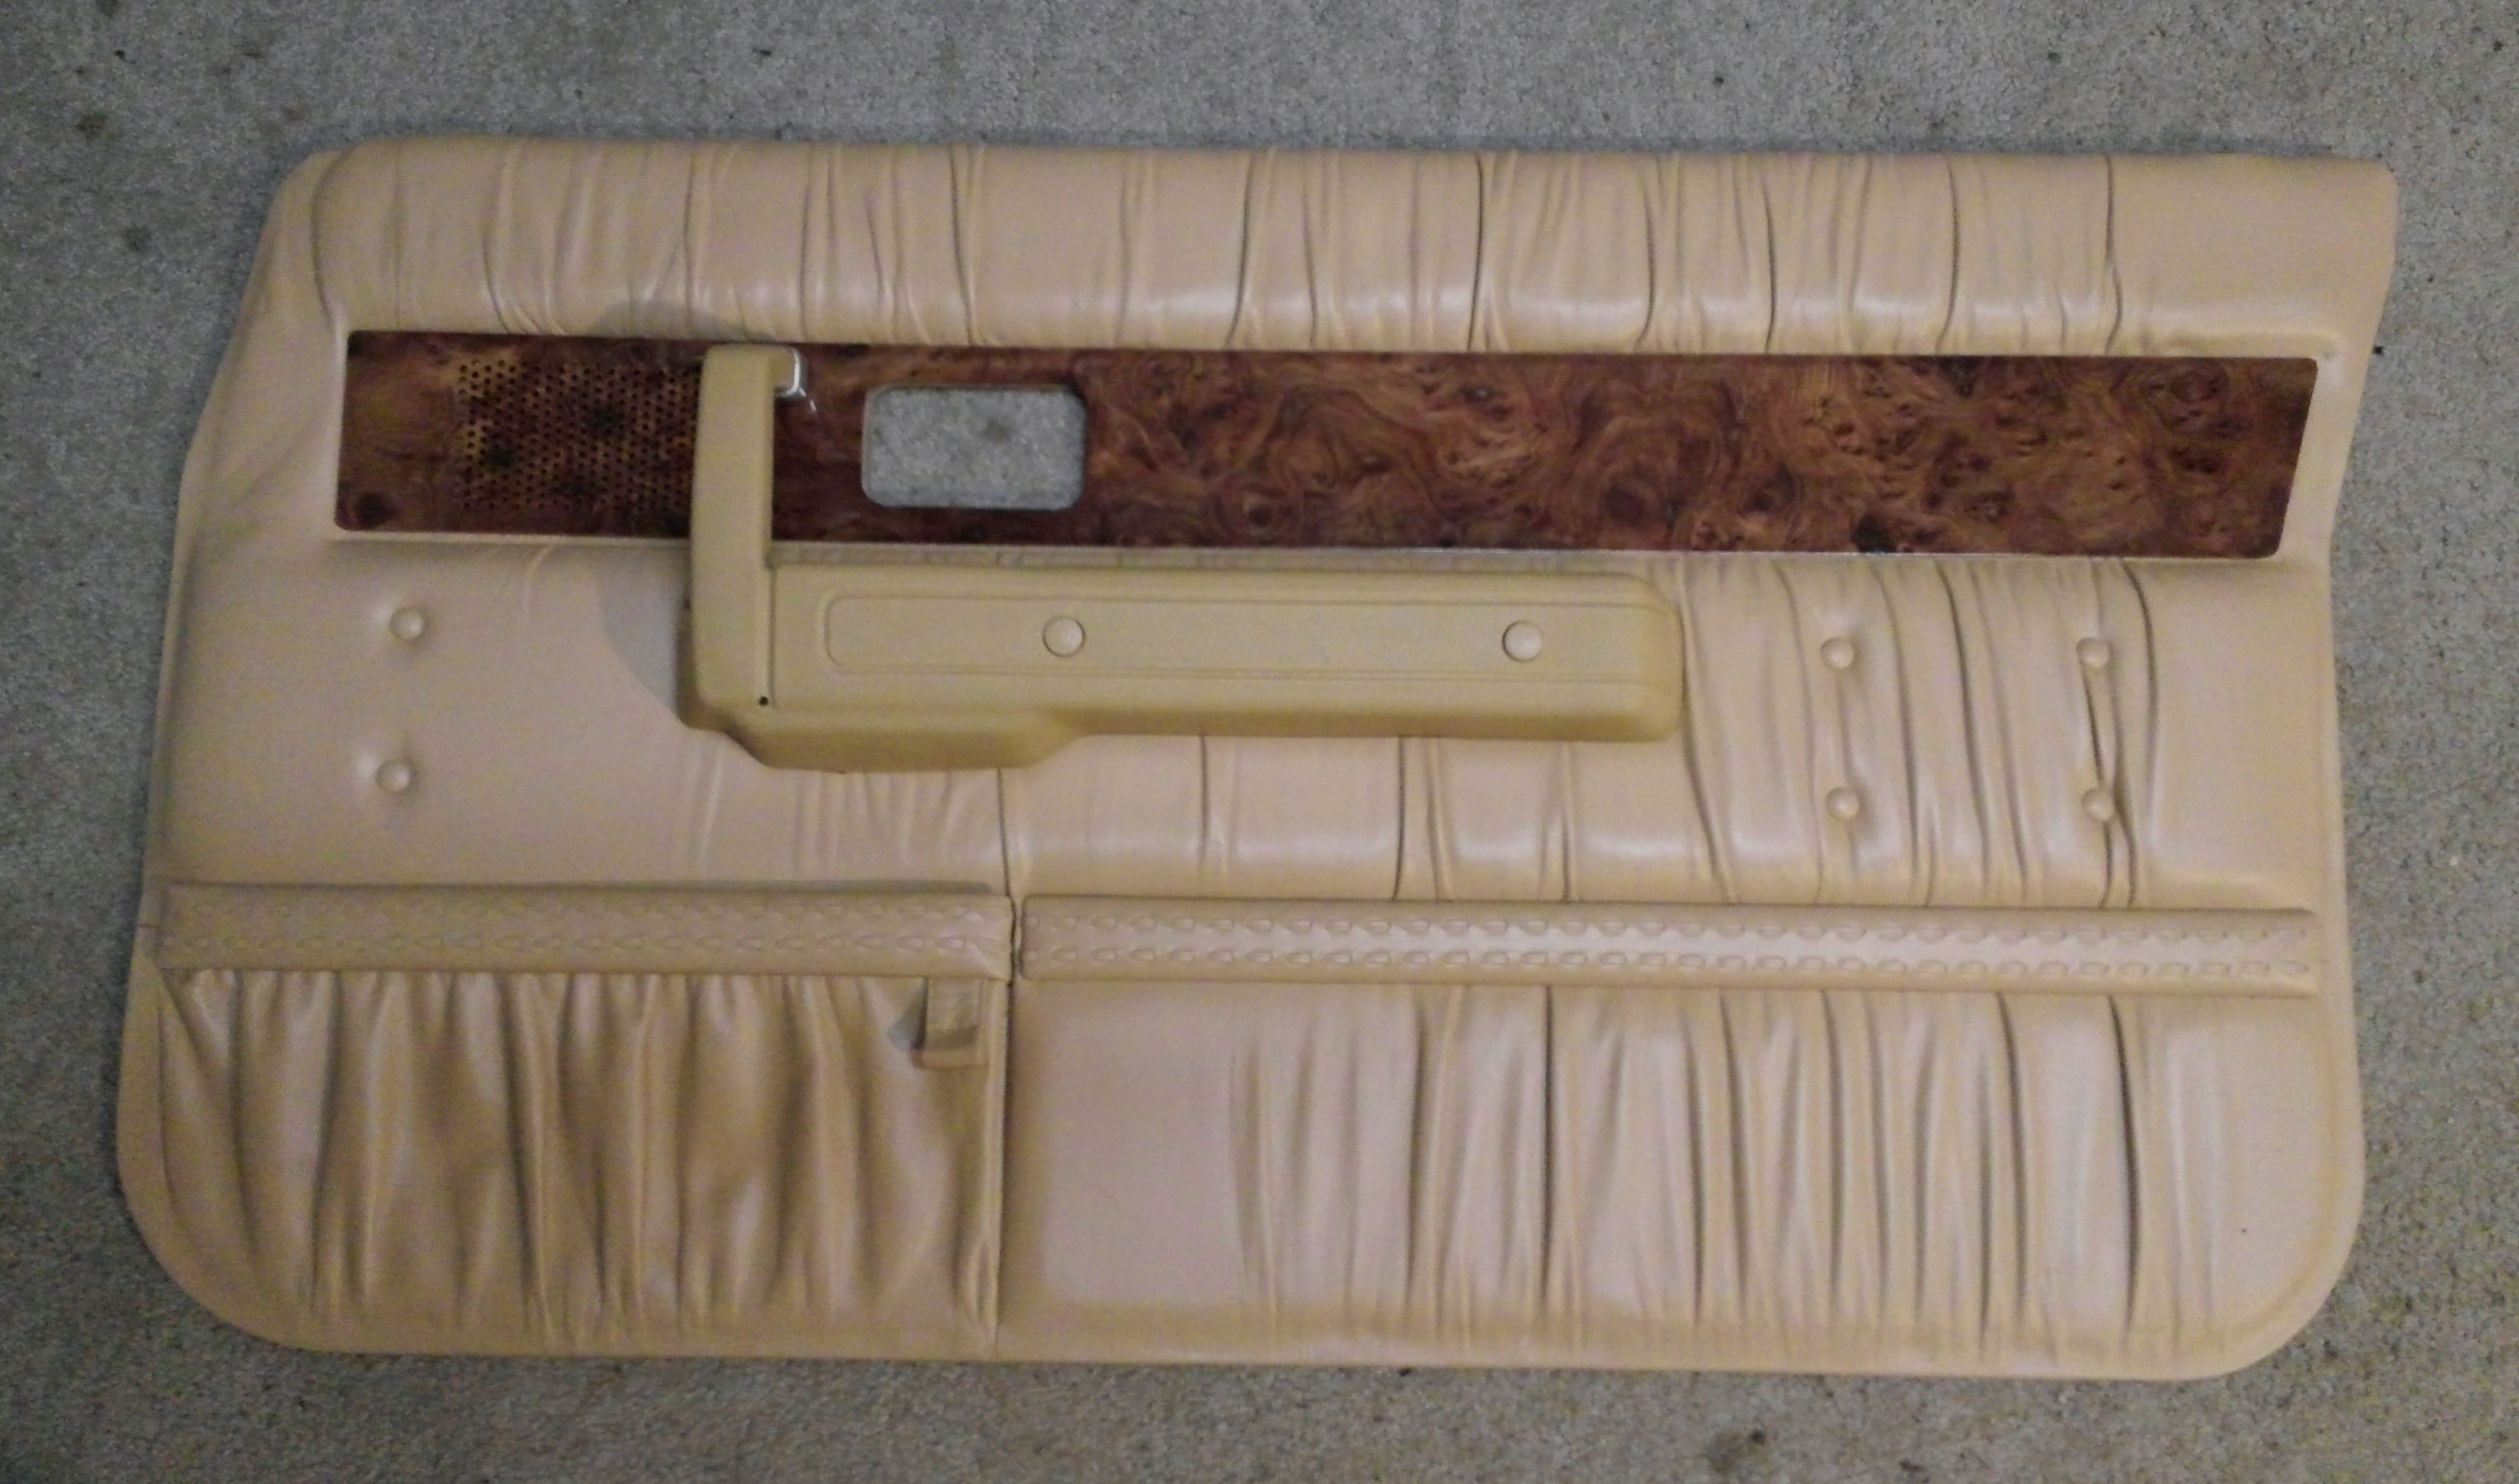
I drove my XKR today (in the rain) then spent the evening working on the E-Type. I'm reworking the console and radio panel on the inside, and replacing the driver's door skin on the outside. Need to get crackin' since good driving weather is rapidly appoaching!
Spent some time reviewing JTIS in preparation for helping Wayne (cjd777) and Rick (joycesjag) pull Wayne's leaking top hydraulic rams on Monday morning at his home shop so they can be sent off for refurbishment. Then, a big homemade spaghetti lunch (courtesy of my wife) will follow for the three of us and Wayne's charming wife Christine. Hilarity will ensue and I'm greatly looking forward to it....
I just took my seat in a few days ago also, for a very similar repair. I'm fortunate to have a true craftsman here locally that does quite a few cars for me, and has always been very reasonably priced. he doesn't seem to like working on Euro cars, but said it should cost me about $220.00 . is that in the ballpark for what yours was? apparently the leather is fully glued to the foam in these cars. Russ
It was dark and I didn't want to get chilly in this Northern Utah (Best Snow on Earth) winter, it went from 69f all the way down to 47 last night! Anyway, evidently the same spot had been repaired before I bought the car so it didn't quite turn out as good as it could have, but still not TOO bad. Repairing the hole was $95 and there were two long cracks that needed repair, and the guy also sprayed and polished the whole seat for an additional $20. So, $115 plus tax and guaranteed for three years.
It was dark and I didn't want to get chilly in this Northern Utah (Best Snow on Earth) winter, it went from 69f all the way down to 47 last night! Anyway, evidently the same spot had been repaired before I bought the car so it didn't quite turn out as good as it could have, but still not TOO bad. Repairing the hole was $95 and there were two long cracks that needed repair, and the guy also sprayed and polished the whole seat for an additional $20. So, $115 plus tax and guaranteed for three years.
Awww. I misunderstood. I thought you had the bad panel replaced. still� like you said, it looks a whole lot better now than it did.
Obsessed over my problem resulting from the badge removal on the nose (see my other thread), then took her out for a long drive; the first in a month or two. Reminded me how much I love this car. When the weather improves (if it ever does around here), I plan to try to find a cooler set of 17"rims that I can afford, install RealGauge, a backup distance alarm to make it easier to park, and maybe even the steering wheel motors. Can't be Spring fast enough for me.
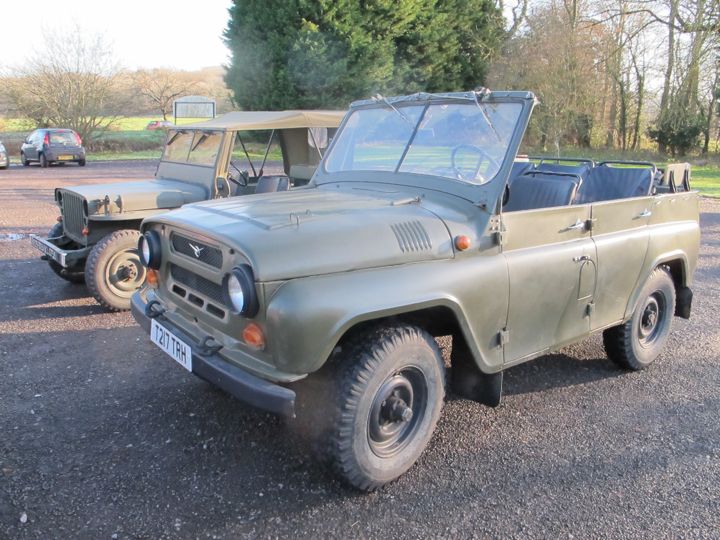
Have been trying to get the fuel system on a UAZ 469B to work properly. Here she is on a recent run with the local military vehicle club:
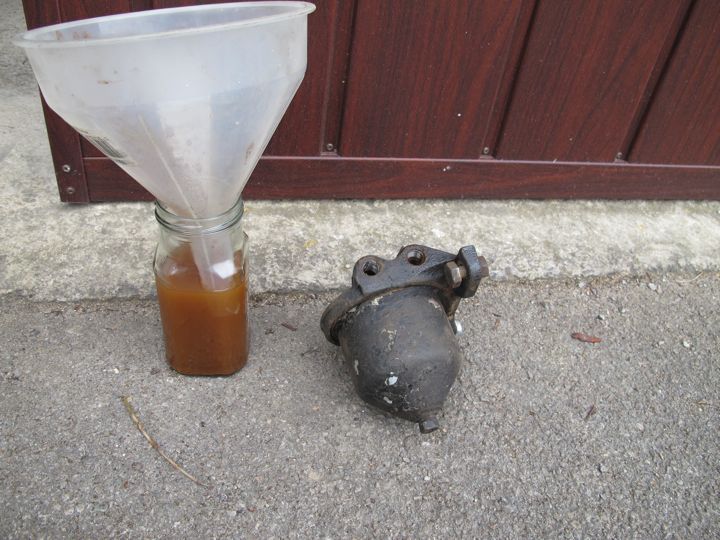
Had to bypass a number of bits and have been working through them slowly. Here's the first:
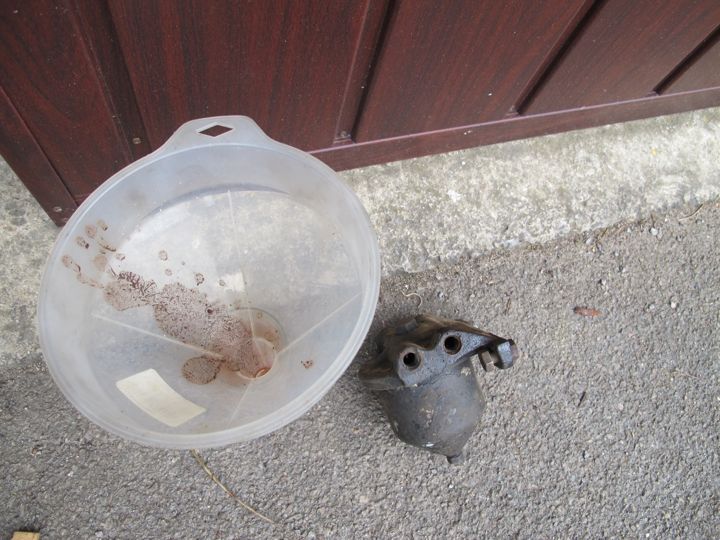
It's an in-line fuel filter (coarse filter). The colour of the crud in it speaks volumes. The drain bolt in the bottom of the bowl has been welded in, so it will need to be drilled out and re-tapped.
Will refit the fuel tank, fuel tap, lift pump and filter tomorrow. Hopefully, there will be a strong flow of clean fuel.
Finally got around to ordering everything (hopefully) needed to replace my secondary tensioners. Also spent much of the morning studying up on the zip-tie procedure.
One of the tensioners had failed when the car had 57k miles back in 2002 which bent 2 exhaust valves and the dealer replaced the tensioners and chains. Question is what did they replace them with? Probably 2nd gen plastic but who knows? They now have 41k miles and if they are plastic they need to go. Will be nice to get it sorted out so I can trust this thing.
Replaced failed O2 sensor, refitted cam covers with all new seals. New spark plugs, refitted coolant reservoir, broke a coolant hose.
Tomorrow - refit air box etc with new air filter. change oil and filter, refit battery, start car and hope that the bodge job I have done on the broken coolant pipe holds until I can get a replacement - see thread Coolant hose part No.
What a bugger it was, getting the harmonic balancer off to change the front seal. Finally gave up on the mega breaker bar with 2' cheater pipe, as I couldn't hold the damper well enough to use it's full advantage anyway. I ended up borrowing a killer 1/2" drive Snap On impact wrench, rated at 300 ft lb., and it took every ounce of that, rattling on it for several minutes, to finally break the bolt loose.
There's a leak in the A/C system somewhere anyway (will it ever end?), so I had pulled out the radiator assembly to make room for the impact wrench. wile I was in there I discovered the reason for the warm running condition . might be a good thing to put on your lists to check out also as, without removing the top retainer plate, you'd never see any debris that had built up between the A/C and radiator cores. 5 minutes to check and 15 more to clean, and could save a blown hd gasket, or worse.
I replaced my Interstate Battery today(rcd showed June 04 but was Jan 09 if I read the heat stamped code correctly). Conductivity tests were 850 CCA @34.5% and 1000 CA @36%
Got an Advance AGM-H8 (the new black one instead of gray with an "April 2015 date stamp">> ? Is that like new cars models coming out in Fall of the year before??
Car responded very nicely during startup and resets, but only time will tell how long this battery will last.
As a side note, my 03 Dodge Ram's original lead acid battery is coming up on 12 years in June. I know that is not a record (yet) but it sure has been nice that it has made it this far.
I've ripped out the center console to get to the radio.
I have a Parrot ck3100 installed by a previous owner. But id does not mute the radio. So I took it appart and connected apropriate wires so that works now.
I also tried to connect the line out from the parrot to the stereos phone in but it did not work. The line out is unballanced and the input of the stereo apears to be ballanced so the volume is way down. I spent hours on the web looking for a hidden setting in the radio to boost Telephone audio without success. Anyone?
But I did remove one gps antenna from the previously dismounted obsolete lowjack system, one hardwired tomtom cigarettlightercharger and Another hadrwired cigarette charger for an ancient Nokia phone. All nicely tucked in under the center console.
I tried to hook up the salvaged GPS antenna to the SCM to see if my FOB would work better but without success. Guess the GPS is tuned for 1Ghz+..
A nice day in the sun.
Anyone got any idea where to buy AI-Net connectors?

 03-13-2015, 05:51 PM


 . might be a good thing to put on your lists to check out also as, without removing the top retainer plate, you'd never see any debris that had built up between the A/C and radiator cores. 5 minutes to check and 15 more to clean, and could save a blown hd gasket, or worse.
