When you click on links to various merchants on this site and make a purchase, this can result in this site earning a commission. Affiliate programs and affiliations include, but are not limited to, the eBay Partner Network.
My car is a white model year 2001 XKR built in June 2000. Many thanks to ya’ll who helped me in my thread about using an impact wrench or not. I decided to see if I could do the job without using it for fear of tearing things up if something broke. I am writing this thread for those that this might help.
I tried the “Drain hole thru the firewall” method and there were too many things in the way.
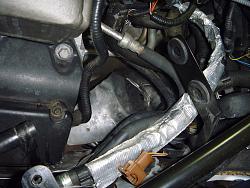
The next photo shows the rigid fiberglass heat shield on the top right side.
The screws were removed to allow it to be repositioned. I could not get it out without destroying it. Then I had to remove the bracket on the exhaust manifold which the heat shield was attached to. The nuts holding this bracket on were difficult to get to because of lack of clearance for the socket. The manifold stud also stuck up too high for a regular socket to get a good purchase on the nut. And a deep wall socket was too long in the squeezed space. So I used a 13mm impact socket which was long enough to accommodate the stud but still fit in the space –barely.
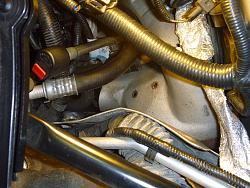
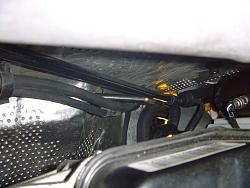
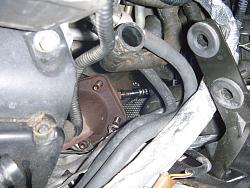
The next photo shows the heat shield jiggered around to sort of give the most access to the O2 sensor.
Obviously I couldn’t get any wrench or socket in there. I used the following O2 sensor socket from below and could not break it loose.
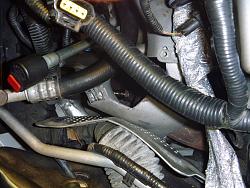
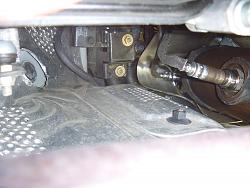
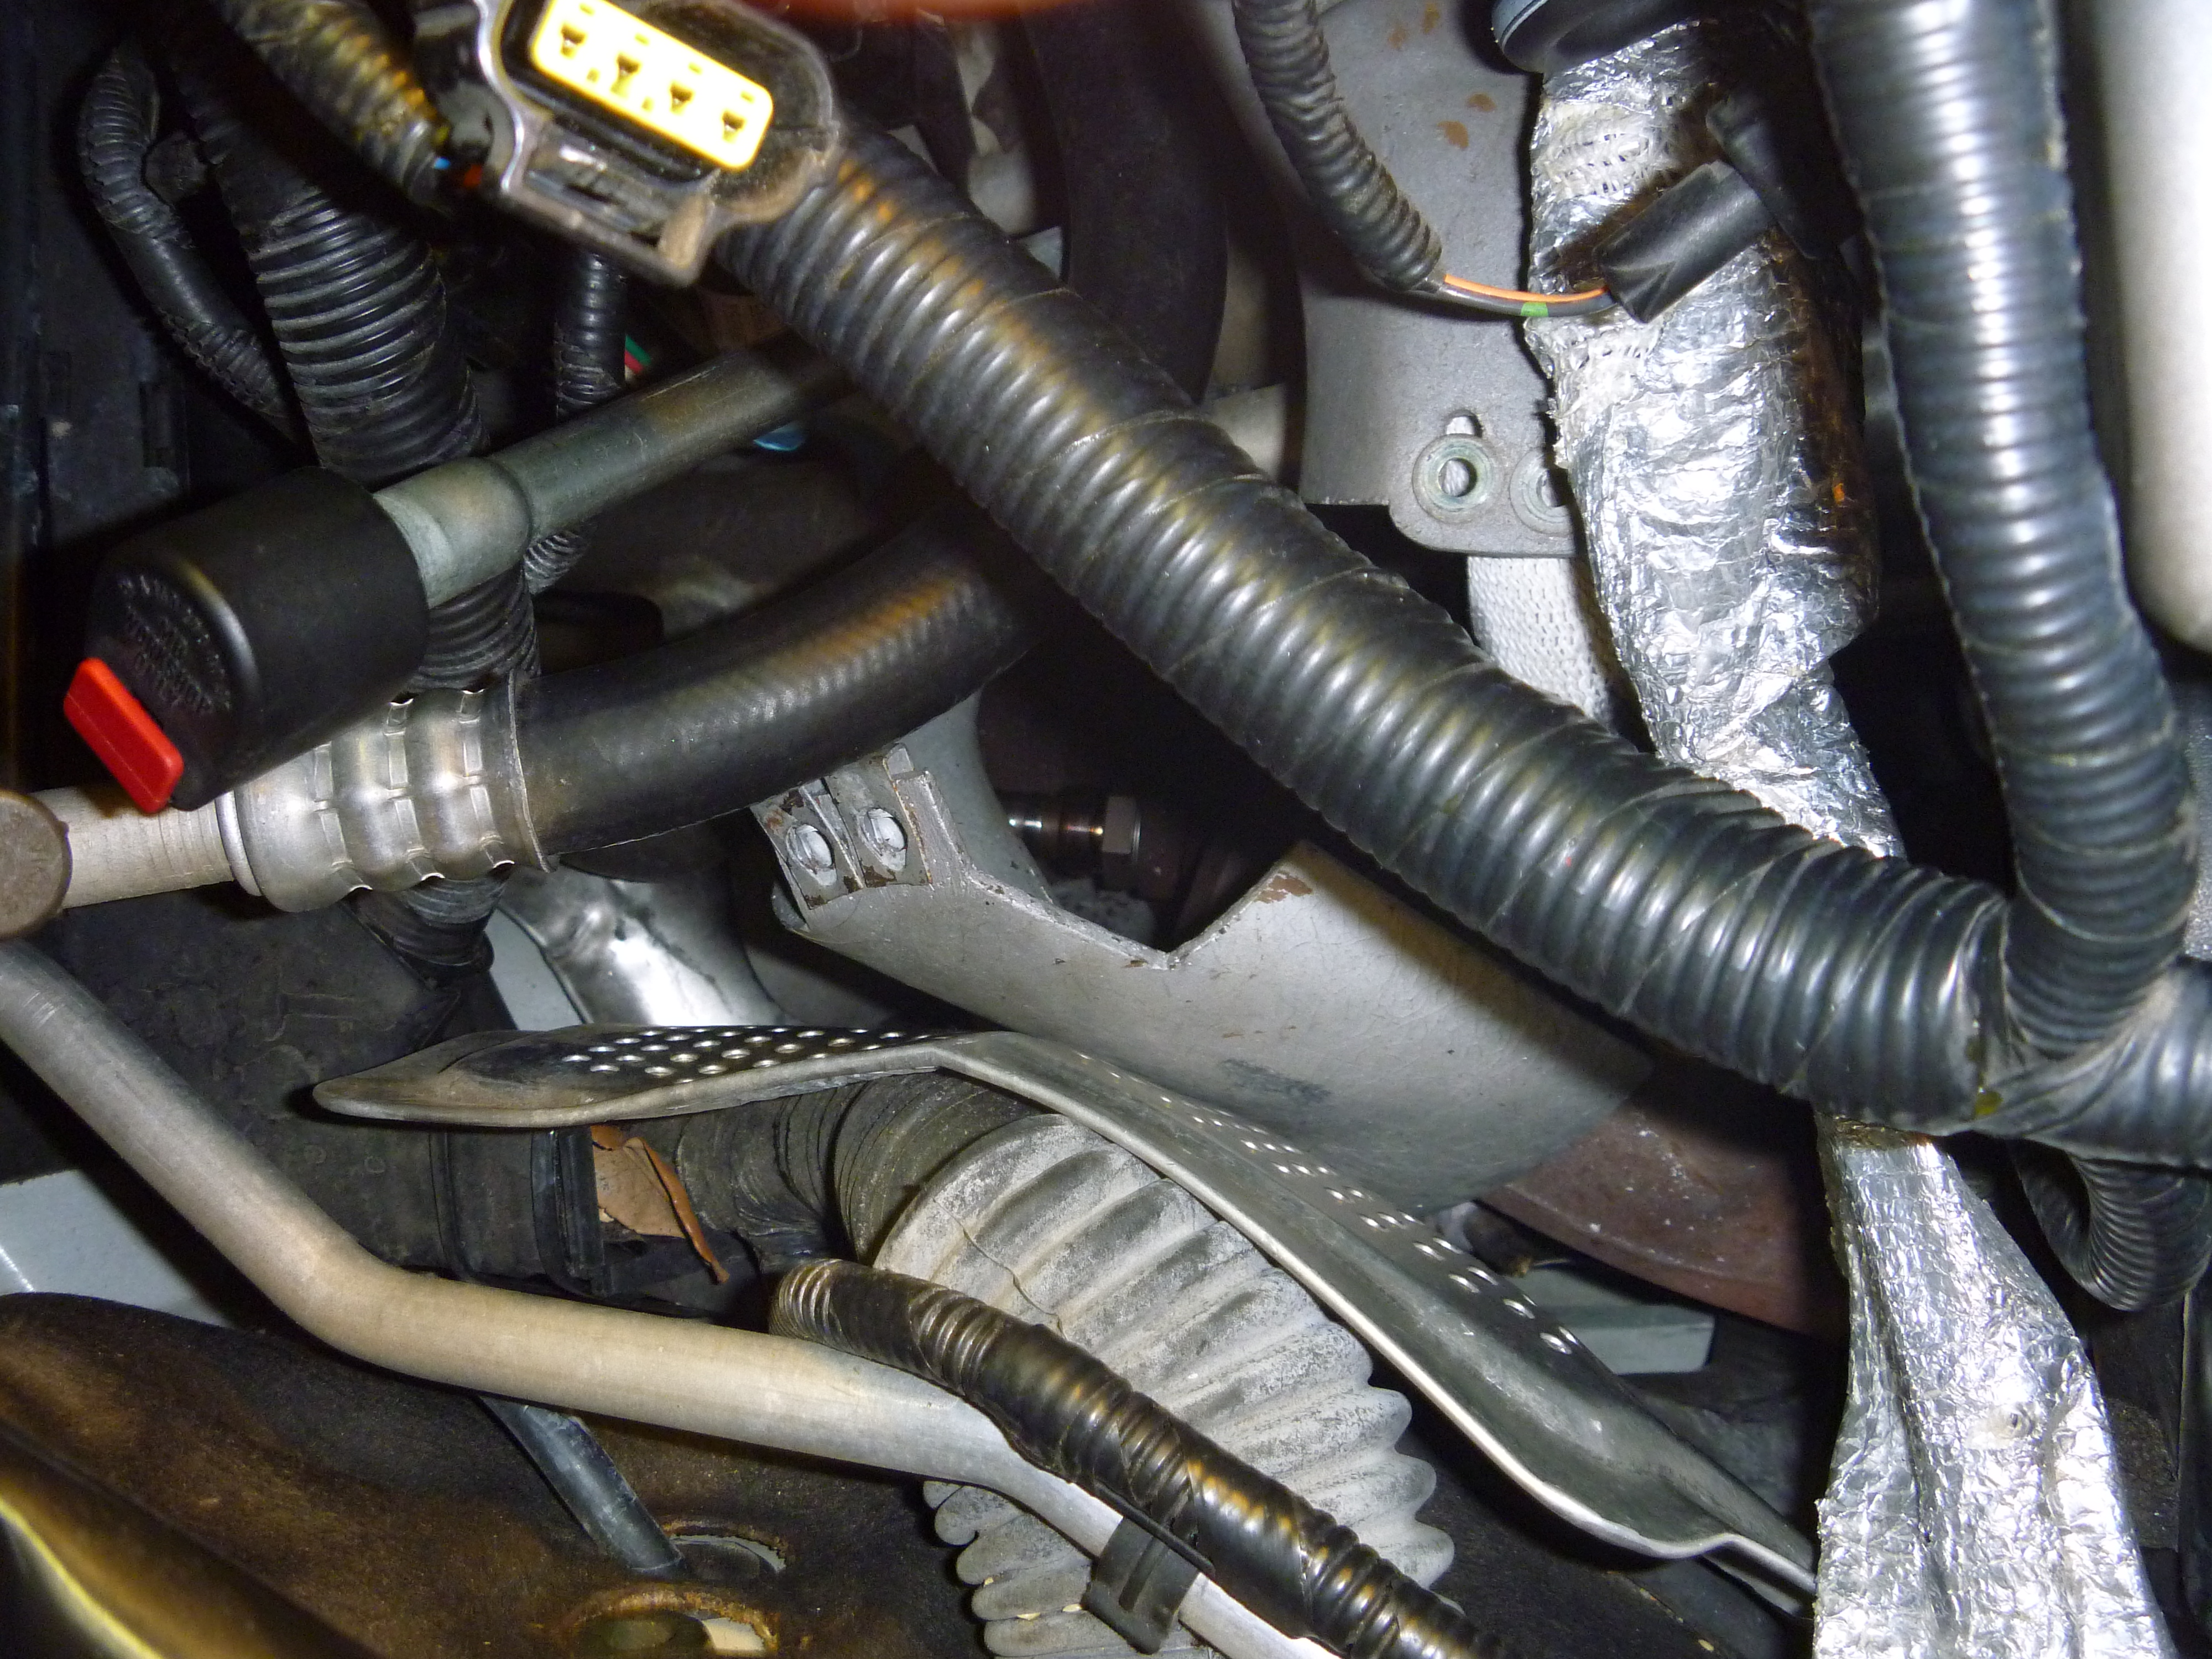
I put the socket extension up through the rear transmission mount as in the next photo. You are seeing the end of the extension bar.
And onto the sensor as shown below. The other chrome extension coming through the firewall does not line up enough with the sensor to use it even with a universal and/or wobble because of the tubing and its mounting bracket which you can’t see in the photo.
Even with a torque wrench and an iron pipe extension out to about 2+ feet I could not break it loose.
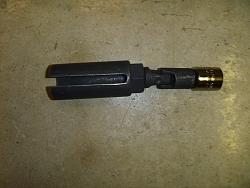
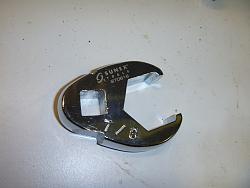
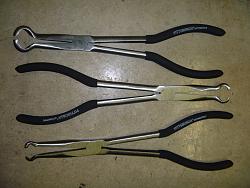
On to plan Crow. The following photo shows 7/8” flare tube crowfoot (from Amazon) with notches I ground into the sides. The notches are to give the hammer bar a solid purchase to seat on. Refer to the above picture of the sensor from the top.
I was able to barely get my fingertips down to the sensor from the top and put the crowfoot on. Then from above I placed the female end of a long socket extension on the ground flat spot and gave the male end a hefty swat with an engineer’s hammer. The first 4 times the crowfoot jumped off the sensor and fell to the ground. A long extension magnet fished it out from under the car each time. On the 5th try I got the angles correct and it loosened the sensor. Then I was able to turn it out with my fingers.
Before removing any sensor I did what others in the forum recommended and tied a loooong orange nylon string (spool from Ace Hardware) around the sensor wire female socket end to use later to pull the new wire up through the maze of hoses, wires, and stuff. The nylon string had an unexpected bonus. By tying several Granny knots I could pull the sockets up and by flopping the string around it would loosen the knots so I could undo them and pull the string out because I couldn’t get any way to cut the string off the wire back in that congested area.
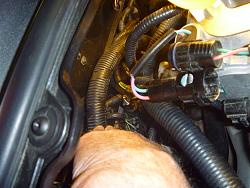
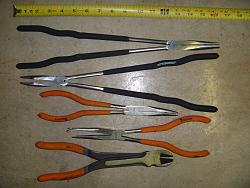
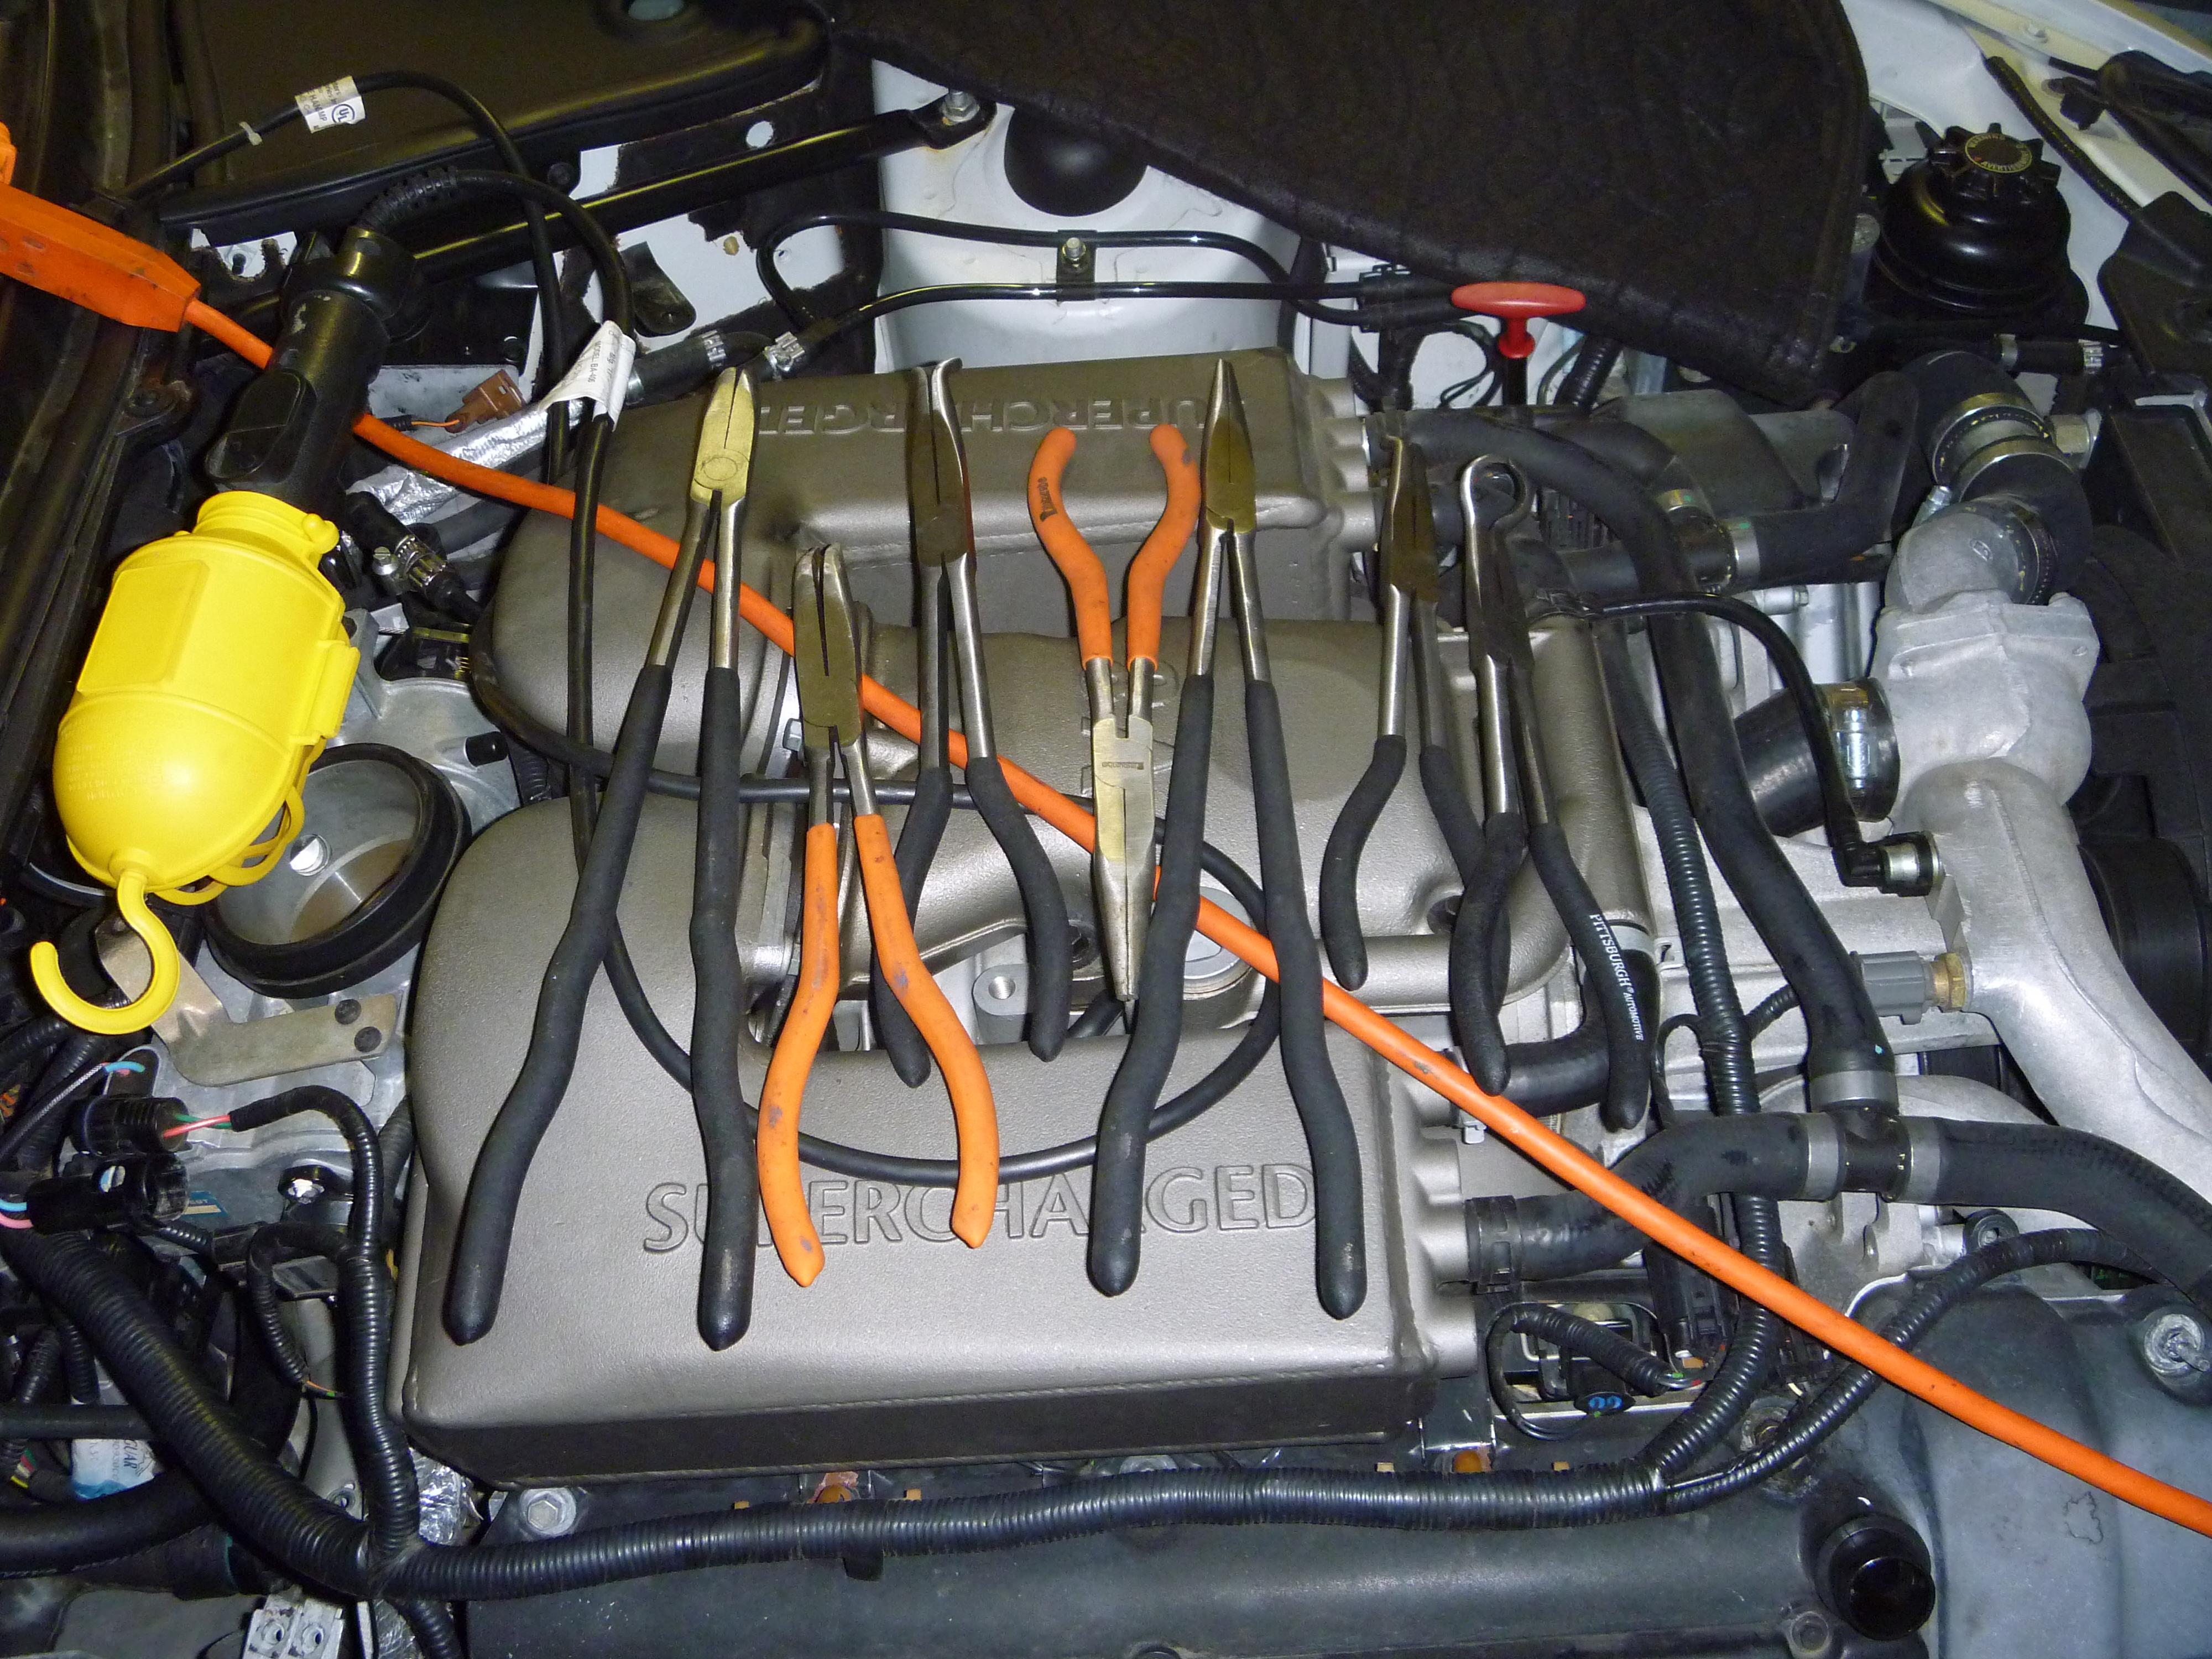
The following pictures show the connectors buried under wire looms behind the engine and under the cowl, and weird “surgical” tools (HarborFreight) which REALLY helped with pulling the connectors off their mounts and pulling them apart.
So OK I got the right upstream sensor out and have an orange string hanging under the car. Now what?
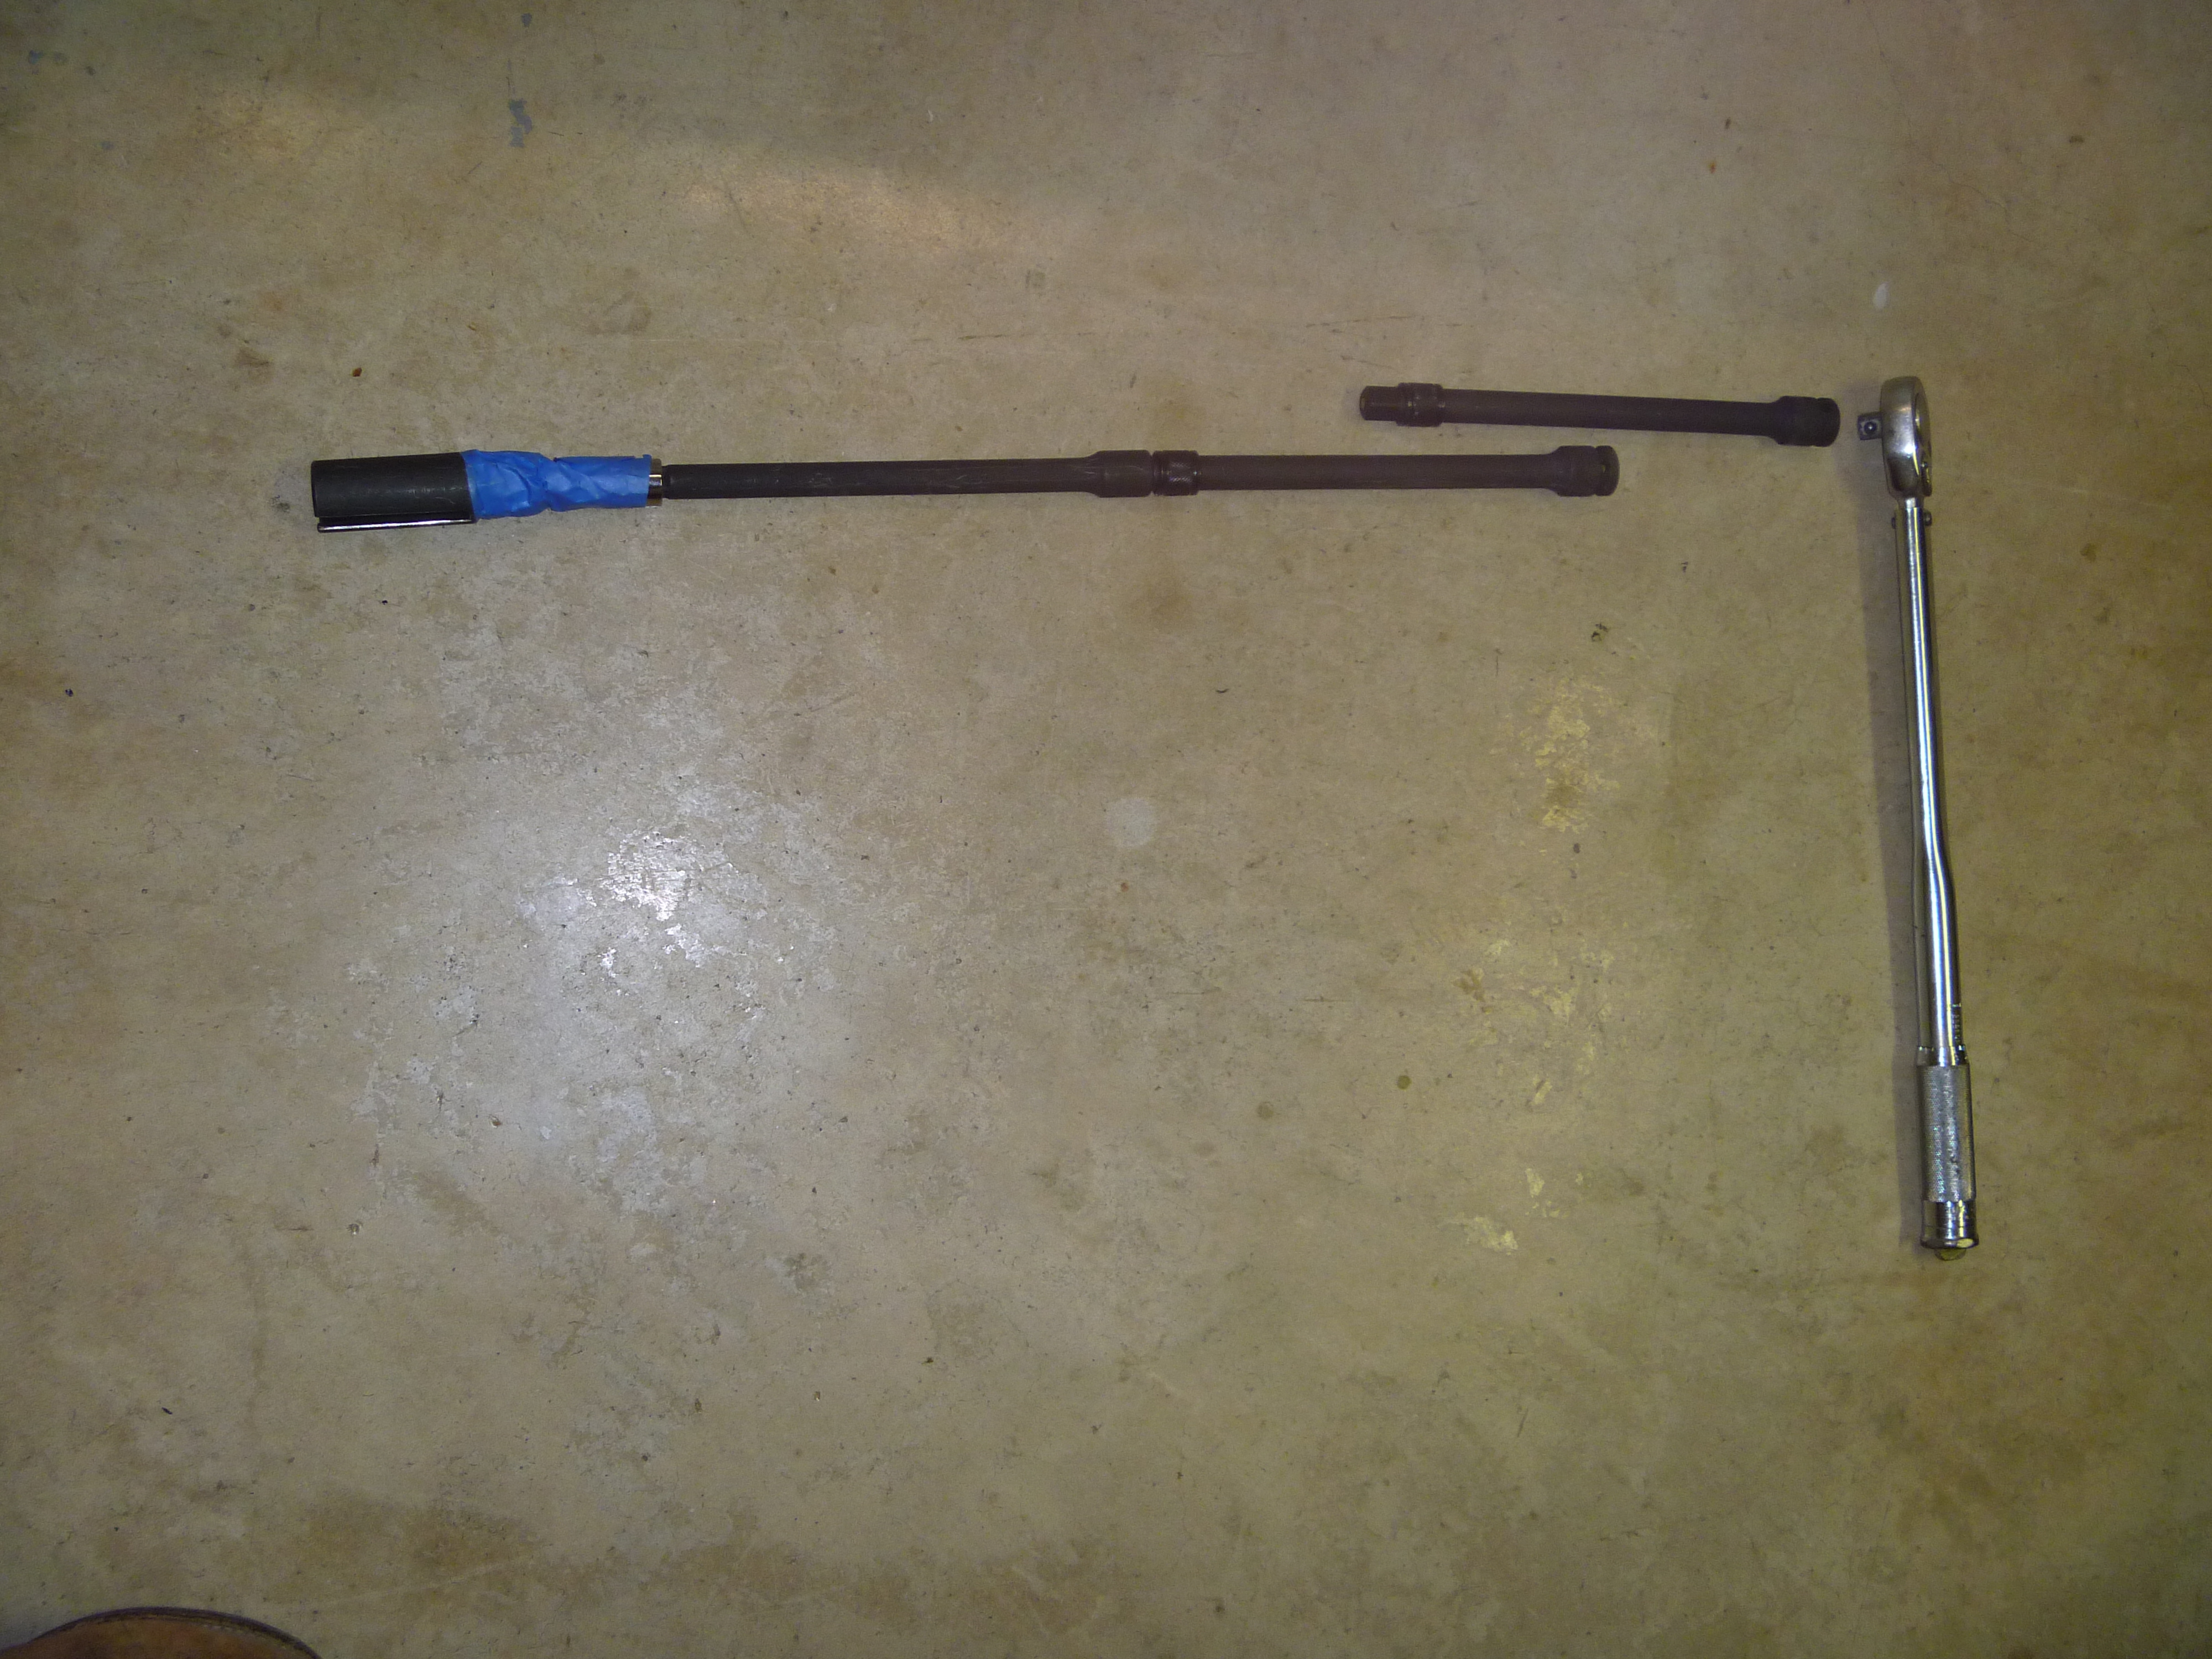
I was able to barely get my fingers down enough from the top to screw the sensor in but couldn’t tighten it. So I used the setup in the following picture which I fed up through the rear transmission mount to the sensor.
The socket with the universal joint as shown in a previous picture flopped around so much I couldn’t get it on the sensor so I wrapped it with the blue painters tape which made it flexible but not floppy. Then using a 24” long flat blade screwdriver (Harbor Freight) in the slot of the socket (remember I can’t reach it with my hand up in that area) I was able to guide the socket onto the sensor and then torque it to the recommended 35 ft lbs. Then using the orange string tied to the new wire socket I fished, cajoled,and dragged it up where it needed to be. The long screwdriver and long needle nosed pliers helped a lot to move the socket around when it would catch on various things during its journey upwards. All this took a whole lot longer than it sounds and I envy those who said they could do the whole job in 20minutes.
The following pictures show the left side upstream situation after removing the coolant reservoir tank.
The first picture shows the heat shield and the second shows the sensor after removing the heat shield and its mounting bracket from the exhaust manifold with the 13mm impact socket.
Although there is more access and I can get my hand on it I still can’t get a wrench of any kind on the sensor and be able to move the wrench enough to loosen the sensor. Also the crowfoot routine was much more difficult to do because the exhaust manifold flange is in the way to turn the sensor counterclockwise.
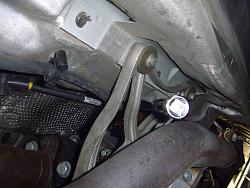
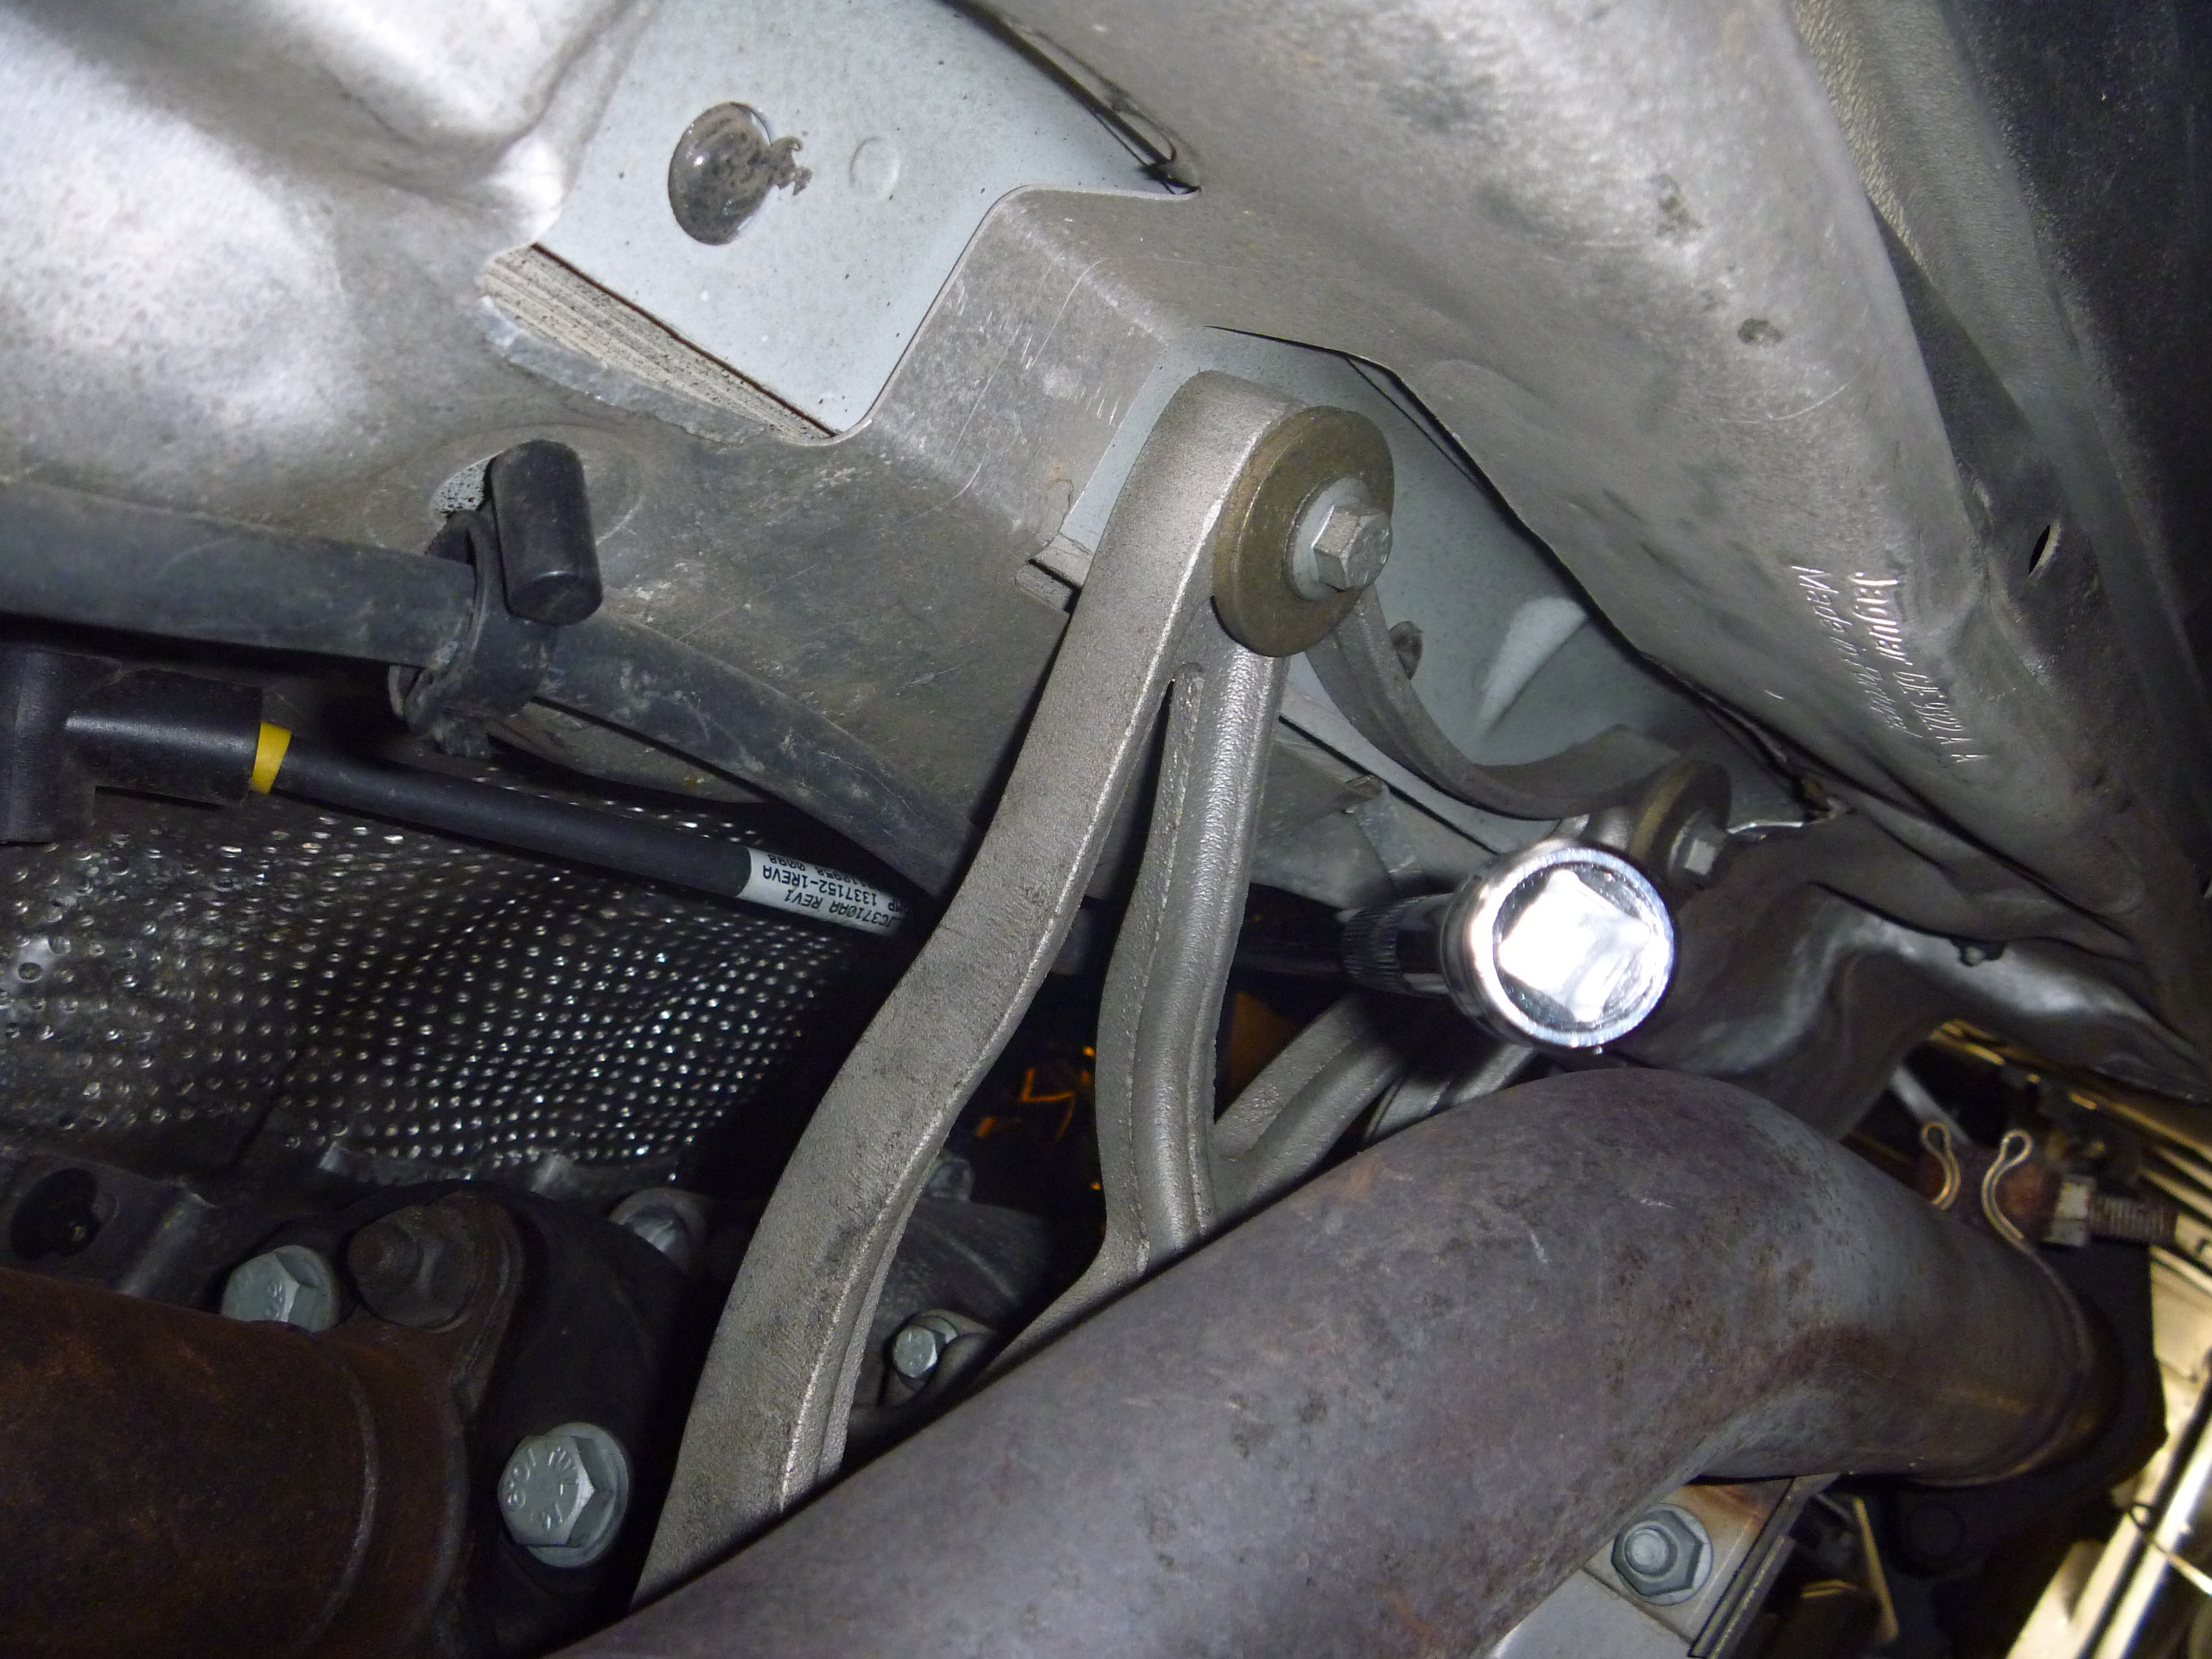
By now I’m getting a little testy and didn’t take pictures but I can tell you that I went under the car and fed the socket with extensions up above the left side of the rear transmission mount (the rightside had gone through it) to and on the sensor (with the help of the 24” screwdriver again). With a wood block to set the breaker bar against, much foul language,and holding my mouth just right I broke the sensor loose. Whew! The following picture was taken through the 1 ˝” slot between the exhaust pipe and the transmission of the completed left side job with the heat shield back in place.
The black plastic box with the 2 brass nuts was just enough in the way so I couldn’t go thru the firewall as others have done. What is that thing and what does it do?
The 2 downstream sensors were gotten entirely from the bottom by running the socket extension bars back where ever possible.
Did the orange string thing on all the sensors. (Need a LOT of fidget patience.) And thank God for those weird pliers.
Installing the ty-wraps to hold the sensor wires away from the cats was a problem. Used 18” long ty-wraps (Harbor Freight) and the really long weird needle nose pliers to fish and fidget them in to the tranny housing hole on the left and around a steel tube on the right. The long cutters (HarborFreight) were a big help.
Last edited by Poet; 09-25-2015 at 05:09 PM.
Reason: Included pictures
Thanks for the how-to and great photos. I've saved it to my "Jag" file for future reference. This has to be the most difficult repair/replacement on the whole car.
I'm in the process of replacing the upstream sensor on the right. I also tried using a wrench to loosen it, but no room to gain leverage. I then tried the special sensor socket, but no room to attach the socket wrench on the back of it. After viewing your article, and not being able to find a "crow" wrench, I bought the offset wrench from Harbor Freight.
I was able to slip it over the sensor, after soaking it overnight with penetrating oil, and gave it one big wack with the end of my floor jack handle.
It came loose with one wack and was able to unscrew it by hand.
Thanks for your suggestions.
just one question for my future reference
if the exhaust was hot and the car on a hoist do you think it may crack and come out easier
or do you have to get the hands in there so it wouldn't work because of the heated exhaust
dutchy
just one question for my future reference
if the exhaust was hot and the car on a hoist do you think it may crack and come out easier
or do you have to get the hands in there so it wouldn't work because of the heated exhaust
dutchy
I wouldn't want to try it with the manifolds and pipes hot. Too easy to get burned. Maybe if just "warm". You could warm it up and wait until cool enough to get your hands up in there without burning yourself. Good Luck.

 09-25-2015, 07:35 AM