
Problem with Powerflex polybush on front upper arm
#21
 08-20-2016, 09:15 AM


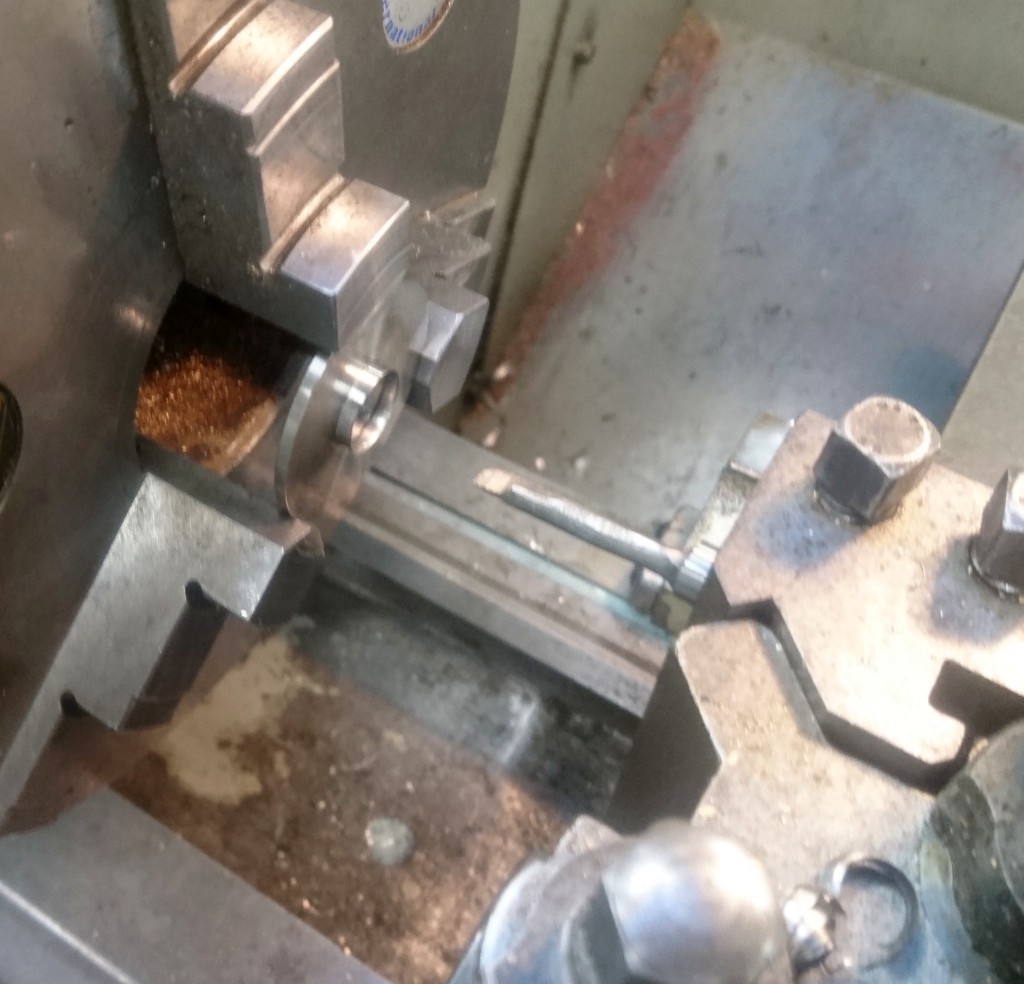
If the sleeve is too short then torquing up the fulcrum bolt will just squash and deform the polybush so it's too tight to rotate on the inner sleeve. That could also explain why the shim you've arrowed was squeezed out because it would be rubbing against the subframe when the whole assembly rotates. Normally, it and any adjacent washers would be pinched.
Could they have supplied an out of spec sleeve? Pretty odd but not impossible.
This is what I sent back to them.
Hi Paul,
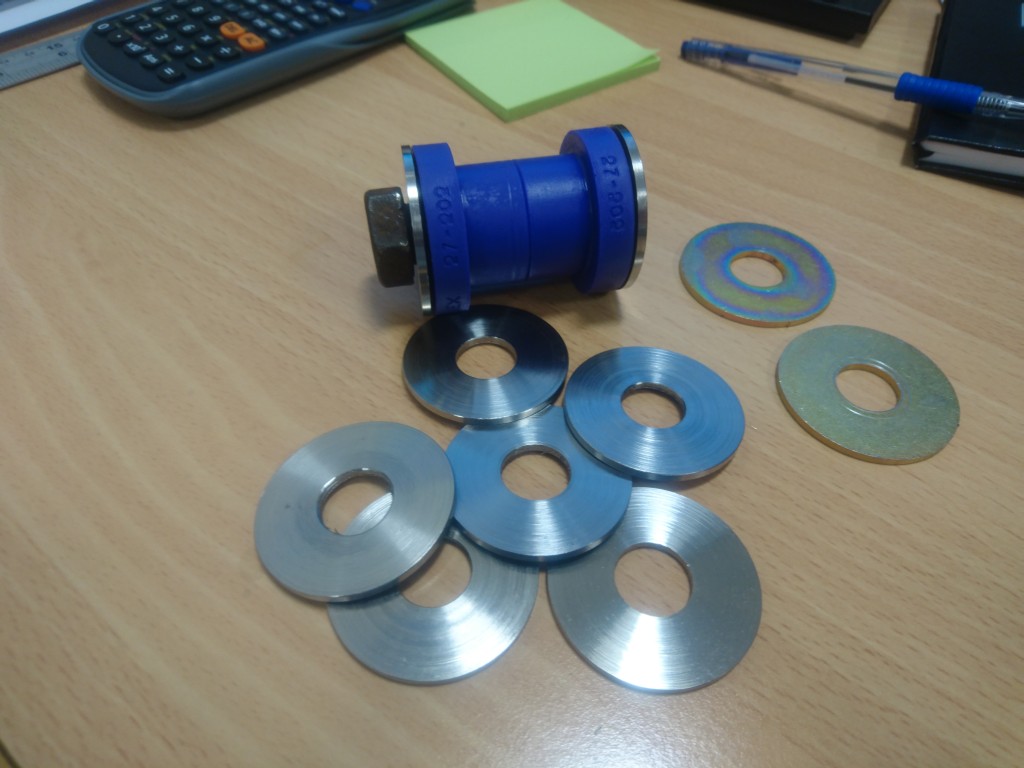
There is a bit of overhang of the bush on the sleeve but I am sure it is clamping down once the bolt is torqued up. I was surprised to see how badly corroded the large washers were, also there was a bit of deformation on the large washer where it had been crushed by the sleeve of the bush.
I think the problem is the corrosion on the large washers is pinching down on the bush holding it tight.
I checked the other side and it is also doing the same.
I am also pretty sure that this did not happen when they were first fitted.
The following users liked this post:
michaelh (08-20-2016)
#22
08-20-2016, 09:16 AM

Senior Member
#23
08-20-2016, 09:18 AM
#24
08-20-2016, 09:28 AM
Senior Member
Lost the shims? what all of them?. The assembly was original ( the rust in the middle was testament to that) but the design must have been changed as the end of the fulcrum bolt on mine has a small diameter peg on the end to allow you to smack it with a hammer to get it out without damaging the threads so none of it matches your drawing.
#25
08-20-2016, 10:18 AM
Veteran Member
Join Date: Apr 2014
Location: Jersey, Channel Islands
Posts: 4,077
Received 2,291 Likes
on
1,503 Posts
M
#26
08-20-2016, 01:29 PM

Veteran Member
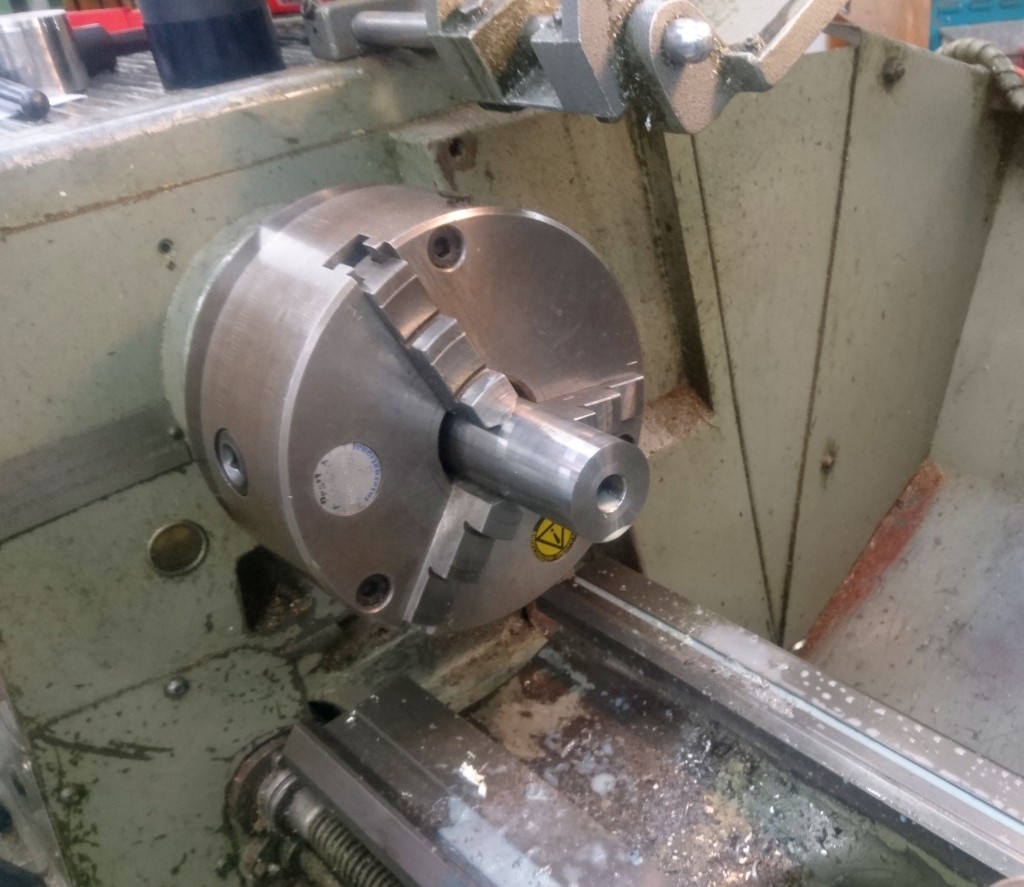
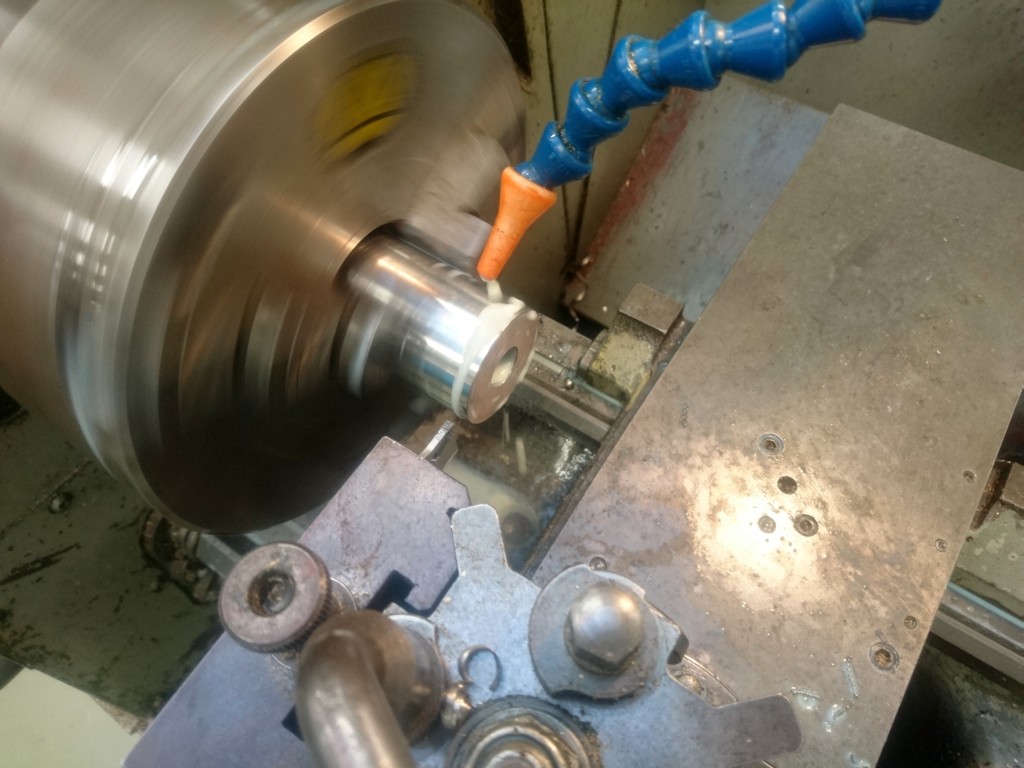
Maybe the flanges on the poly bushings can be sanded or the Wishbone edges filed a little to get movement between the poly bushes and washers? With a 6" caliper and a hand file you can do some precision machining.
It wouldn't take much. I'm sure you are correct that the rust "adding FeO" to the surfaces in the gaps can't be helping.
It wouldn't take much. I'm sure you are correct that the rust "adding FeO" to the surfaces in the gaps can't be helping.
#27
08-22-2016, 12:38 PM
Here is some more dialogue with Powerflex to close this one off.
Interesting as it was copper grease that was supplied with mine.
Hi Jim,
Thanks for your email.
Paul is now away on holiday, but I can certainly handle this for you.
I think the best course of action would be to send you a new set and recommend that you apply some grease between the bush face and washer to A) help movement between the two and B) help prevent corrosion of the washer.
The washers are zinc plated to prevent corrosion, but maybe the friction between the bush and washer has caused the plating to wear off allowing it corrode with water/moisture ingress.
Kind Regards
Hi
Thanks for the offer.
Thinking about this, do you recommend a service period for re-greasing, as eventually surely the same would happen again?
Best regards
Jim
Thanks for the offer.
Thinking about this, do you recommend a service period for re-greasing, as eventually surely the same would happen again?
Best regards
Jim
In theory, if the contact points are greased they should be a fit and forget part.
We used to supply copper grease with our parts that in extreme temperatures could dry, however we now use a PTFE/Silicone grease that is much better at coping in those sort of conditions.
However with any part that rotates and is open to the elements, an occasional re-grease is never going to do it any harm.
It’d be impossible to give a recommend mileage/age to do this however.
Kind Regards
#28
08-23-2016, 03:42 PM
OK, not quite closed off, the new bushes arrived today, seems like they have new tooling for the bush as its different from the first set I fitted.
You will notice the cross hatch on the inside of the poly part, there is embossed lettering round the edge, I don't remember either of these on the originals.
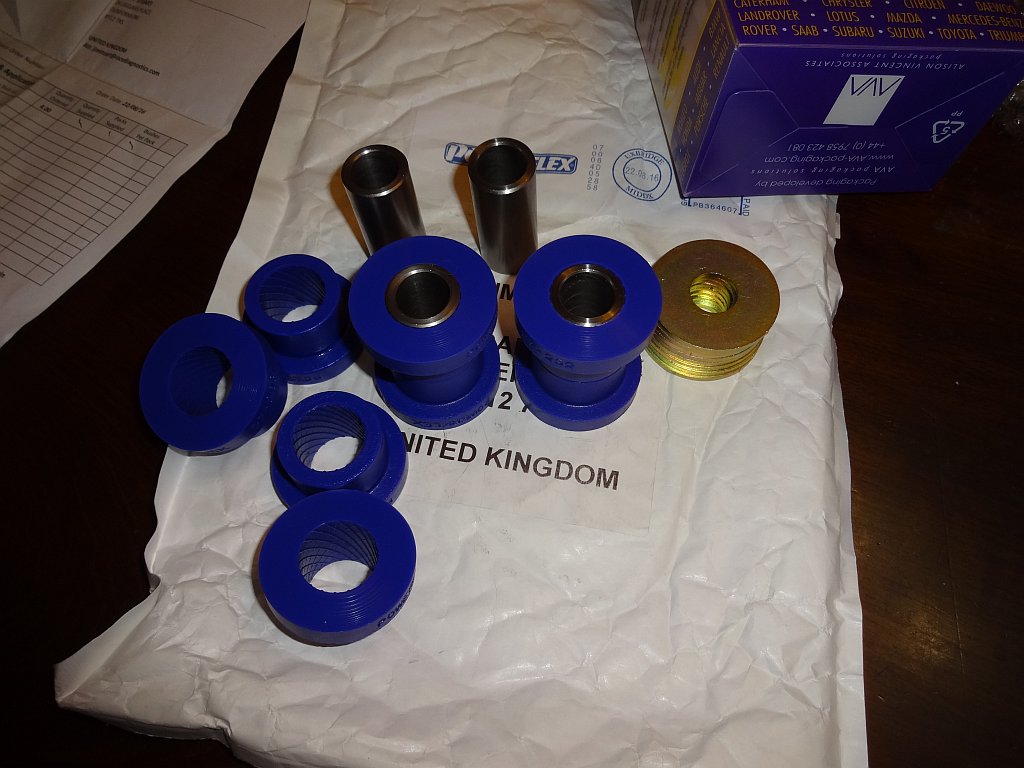
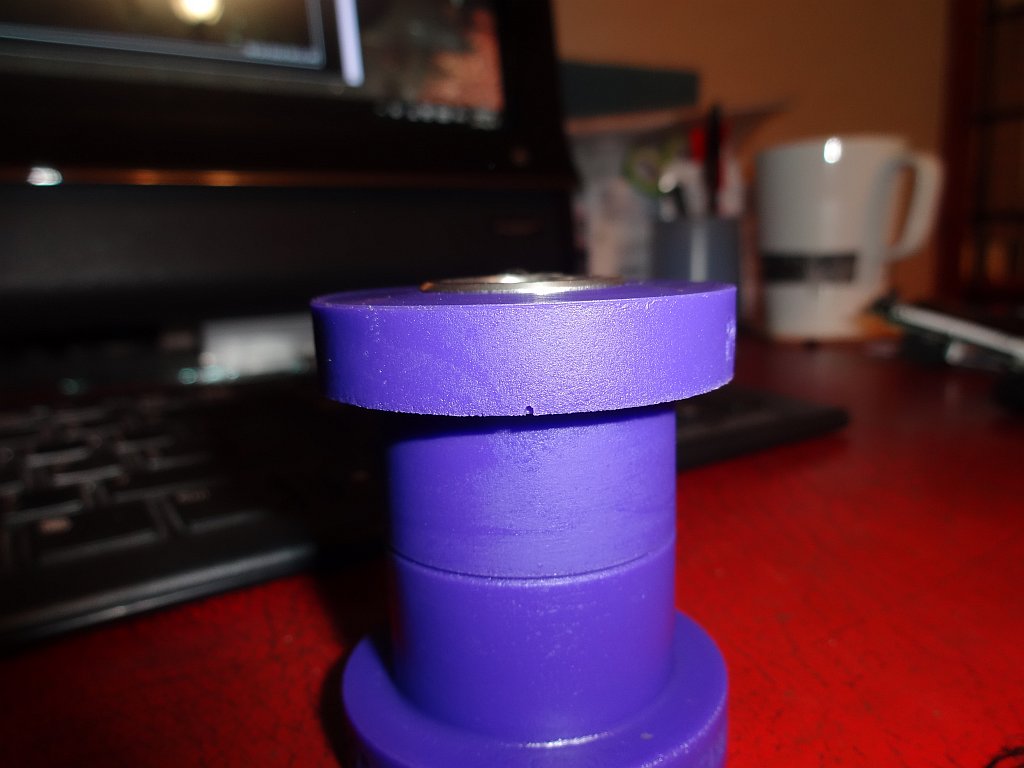
And more importantly the inner sleeve is now slightly wider than the poly parts, I noticed that on my originals it was the opposite, the poly overhang the inner sleeve.
Fixes to a design issue?
I would still prefer the washers to be made of stainless though.
You will notice the cross hatch on the inside of the poly part, there is embossed lettering round the edge, I don't remember either of these on the originals.
And more importantly the inner sleeve is now slightly wider than the poly parts, I noticed that on my originals it was the opposite, the poly overhang the inner sleeve.
Fixes to a design issue?
I would still prefer the washers to be made of stainless though.
#29
08-23-2016, 05:25 PM
Veteran Member
Join Date: Apr 2014
Location: Jersey, Channel Islands
Posts: 4,077
Received 2,291 Likes
on
1,503 Posts
Thanks for the follow-up.
That's what I'd expect to see. Once everything is tightened up there will be a small running clearance between the bush and its enclosing washers, although that inevitably makes water entry more likely.
Looks like they have indeed had issues.
I see from phanc's picture that his also have the embossed lettering, so perhaps he's got the revised type and hence not had a problem.
I'm thinking this ought to be another scheduled maintenance item (or a least a periodic check) on my list.
Mike
#30
08-23-2016, 06:24 PM

Join Date: Oct 2009
Location: Perth Ontario Canada
Posts: 11,058
Received 2,255 Likes
on
1,840 Posts
Just an interested bystander here wishing to learn. I've read the thread several times and didn't see a clear answer.
With the stock rubber bushing, where is the intended pivot point? Is the rubber put into torsion? Are there metal-on-metal or metal-on-rubber components that slide/rotate with respect to each other?
Does this change with the poly bushing?
I presume it's been established that the through bolt is not supposed to rotate in it's mounting point on the frame.
#31
08-23-2016, 07:08 PM
Veteran Member
Join Date: Apr 2014
Location: Jersey, Channel Islands
Posts: 4,077
Received 2,291 Likes
on
1,503 Posts
Just an interested bystander here wishing to learn. I've read the thread several times and didn't see a clear answer.
With the stock rubber bushing, where is the intended pivot point? Is the rubber put into torsion? Are there metal-on-metal or metal-on-rubber components that slide/rotate with respect to each other?
With the stock rubber bushing, where is the intended pivot point? Is the rubber put into torsion? Are there metal-on-metal or metal-on-rubber components that slide/rotate with respect to each other?
Only inasmuch as from what I can see, the inner surface of the polybush bears directly on the inner sleeve. RD would be better placed to describe this.
When the whole assembly seizes up and rotates as a unit, then the bolt holes can wear oval which is a Bad Thing.
Hope this makes sense,
Mike
Last edited by michaelh; 08-23-2016 at 07:18 PM.
#32
08-23-2016, 07:43 PM
Join Date: Oct 2009
Location: Perth Ontario Canada
Posts: 11,058
Received 2,255 Likes
on
1,840 Posts
#33
08-24-2016, 05:45 AM

Veteran Member
RD, I see they provided washers as well, they don't appear to have the stepping of the originals? I think this would be more matching to their design.
NOTE: Pic also provided as reference
#35
08-24-2016, 12:56 PM
Senior Member
#36
08-24-2016, 03:10 PM
If as you say your shims were the same size as the bush washers (45mm) diameter, they can not be original, the part number for the shims (and the size) is consistent across all X100 cars.
#37
08-24-2016, 03:13 PM


#39
01-14-2018, 04:44 AM

Junior Member
The stepped washers, shims and sleeves are locked together buy the torque on the pin which itself is locked into place, the stepped washers play a key role in this and can not be omitted. I like Powerflex bushes and use them in many other locations but not this one OEM only. Have dismantled and rebuilt these a number of times and you really don't want to have the pin rotate as it will make the beam mount oval quickly.
The following users liked this post:
RaceDiagnostics (05-25-2021)

Thread
Thread Starter
Forum
Replies
Last Post
FrankZ06
XJ XJ6 / XJ8 / XJR ( X350 & X358 )
13
08-28-2016 07:05 PM
Currently Active Users Viewing This Thread: 1 (0 members and 1 guests)