Any good ideas for polishing out the headlight lens by hand?
#1
 09-11-2010, 01:42 AM


I saw the videos with the power buffer, but wondering what anyone has done by hand that came out good. I used a buffing compound, then a scratch remover, then a polish and it worked ok, but I could tell it didn't take out the pits that well. Maybe I can just do find sandpaper first by hand then all the other stuff.
________
HONDA CL160
________
HONDA CL160
Last edited by jeffrimerman; 04-20-2011 at 09:04 AM.
#2
09-11-2010, 03:35 AM
Senior Member
Join Date: Sep 2009
Location: Orange County, California. USA
Posts: 573
Received 86 Likes
on
66 Posts
Honestly by hand you will be limited to the overall quality of the repair. It can be accomplished by hand , but why work harder when you can work smarter and more efficiently. Pits are one thing and a failed, yellowed cloudy light is another.....If pits are what your concerned about then you will definitely need some juice behind you....to level out the polycarbonate lens
#3
09-11-2010, 02:56 PM

Veteran Member
I've seen it done by hand with headlight restoration 'stuff', like what they sell at the auto parts store. The issue is, after some time (a few weeks), the yellowing comes back. My father gave it a go with his 2000 Nissan Maxima. It clearly didn't clean all of the yellow out, but it did look better.
I don't know much on the subject. My lenses are glass.
I don't know much on the subject. My lenses are glass.

#5
09-11-2010, 06:33 PM
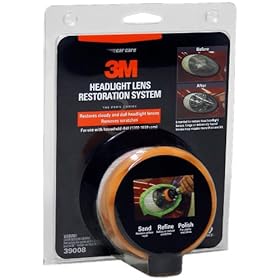
The way to go with your headlights is to use the 3M headlight restoration kit you can pick up at most automotive stores. It attaches to a standard drill and produces fantastic results. I had yellowing and cracking on my S type when I first bought her. After using the 3M kit, it was good as new again.
Pick up a kit - you won't be disappointed!
Here's a pic of the kit you're after :

Cheers,
Rob
Pick up a kit - you won't be disappointed!
Here's a pic of the kit you're after :
Cheers,
Rob
#7
09-12-2010, 07:55 AM
Trending Topics

#9
09-13-2010, 02:14 AM
________
Michigan Dispensary
Last edited by jeffrimerman; 04-20-2011 at 09:05 AM.
#10
09-29-2010, 08:17 AM

I have several older vehicles and I am a member of several forums. Here is a write up on the way to restore headlights. The difference is old to better then new.
Problem: My headlights were RIDICULOUSLY GROSS AND YELLOW!! (don't have a camera capable of showing the pics how bad it was)
Items Needed:
1) Brillo pads Cost: $2~$4 (Wal-Mart)

2) 2000 wet/dry Sand paper (I used 4 small 9'' by 11'' pieces) Cost: $3~$5 (AutoParts Store)

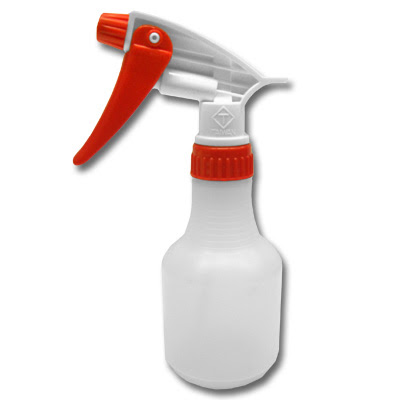
3) Spray bottle Cost: $1~$3 (Wal-Mart)
4) Meguiar's PlastX Cost:$5-$7 (AutoParts Store)

5) Polishing pad for a drill Cost:$20~$21 (AutoParts Store or EBay for roughly $10)
6) Drill Cost: Borrow one if you don't own one

Steps:
1) Pop the hood and using the Brillo pad in circular motions, scrape off all the nasty yellow from the lens. Use the Water bottle to keep it nice and wet spraying as you go along. This should scratch the lens a lot, but don't worry, just keep going till the years of oxidization are gone. (Took me roughly 10 minutes each headlight, but mine were BAD!)
2) Use the 2000 grit sand paper (or higher if you can find it, 2500 is plenty high) and keep the headlight wet while you go to town on it to remove the scratches you just made with the Brillo pad. It should look really good as of this point, but you will notice still tiny scratched all over it. (Took me 10 minutes each headlight, take the time during this step, it really matters!!)
3) Use the drill, buffer pad and Meguiar's PlastX with the drill on high and apply medium pressure as not to rip up the pad but to buff out those tiny imperfections. (Took me about 8~10 minutes a headlight)
4) Apply a coat of the Meguiar's PlastX and buff out with a towel
5) Stand back and admire how amazing the VX looks for hours till your friends tell you you are annoying and mention how you won't stop talking about how cool the headlights look
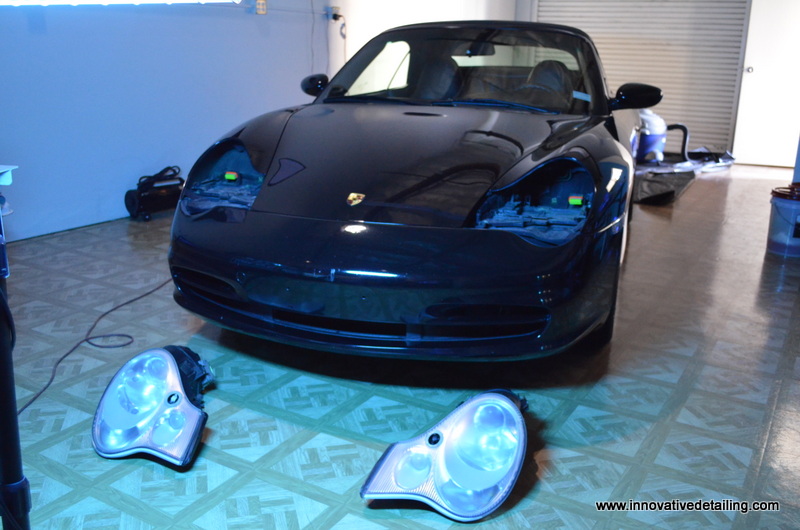
Photo #1 (sorry i have a horrible camera and this was at night)

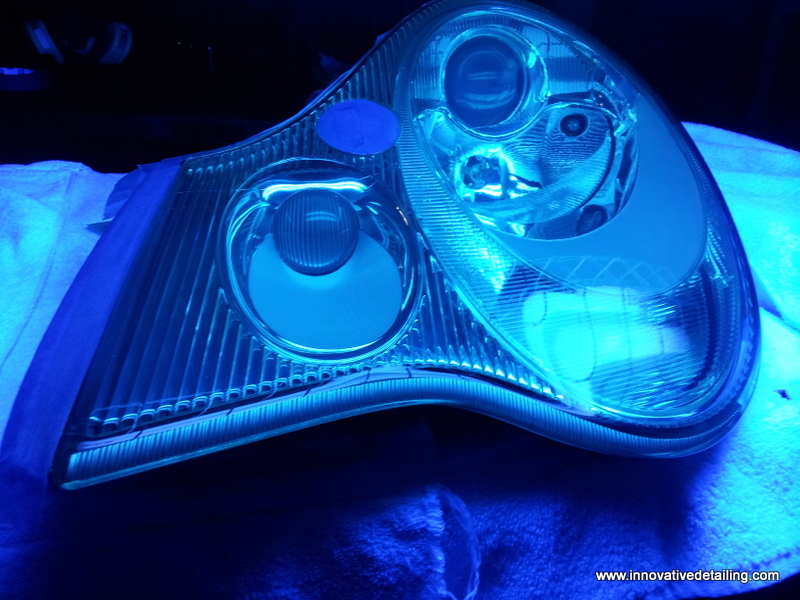
Photo#2

If I had something other than a crappy camera phone you could see they are crystal clear!!! Hope this helps.
Problem: My headlights were RIDICULOUSLY GROSS AND YELLOW!! (don't have a camera capable of showing the pics how bad it was)
Items Needed:
1) Brillo pads Cost: $2~$4 (Wal-Mart)
2) 2000 wet/dry Sand paper (I used 4 small 9'' by 11'' pieces) Cost: $3~$5 (AutoParts Store)
3) Spray bottle Cost: $1~$3 (Wal-Mart)
4) Meguiar's PlastX Cost:$5-$7 (AutoParts Store)
5) Polishing pad for a drill Cost:$20~$21 (AutoParts Store or EBay for roughly $10)
6) Drill Cost: Borrow one if you don't own one
Steps:
1) Pop the hood and using the Brillo pad in circular motions, scrape off all the nasty yellow from the lens. Use the Water bottle to keep it nice and wet spraying as you go along. This should scratch the lens a lot, but don't worry, just keep going till the years of oxidization are gone. (Took me roughly 10 minutes each headlight, but mine were BAD!)
2) Use the 2000 grit sand paper (or higher if you can find it, 2500 is plenty high) and keep the headlight wet while you go to town on it to remove the scratches you just made with the Brillo pad. It should look really good as of this point, but you will notice still tiny scratched all over it. (Took me 10 minutes each headlight, take the time during this step, it really matters!!)
3) Use the drill, buffer pad and Meguiar's PlastX with the drill on high and apply medium pressure as not to rip up the pad but to buff out those tiny imperfections. (Took me about 8~10 minutes a headlight)
4) Apply a coat of the Meguiar's PlastX and buff out with a towel
5) Stand back and admire how amazing the VX looks for hours till your friends tell you you are annoying and mention how you won't stop talking about how cool the headlights look
Photo #1 (sorry i have a horrible camera and this was at night)
Photo#2
If I had something other than a crappy camera phone you could see they are crystal clear!!! Hope this helps.
#12
09-29-2010, 01:17 PM
Senior Member
Join Date: Sep 2009
Location: Orange County, California. USA
Posts: 573
Received 86 Likes
on
66 Posts
Great DIY'er!
The biggest problem you face now is long term protection as H2Oboy mentioned. Now that the sacrificial OEM coating has been removed due to failure, just adding a wax or sealant is not enough over long term. What eventually happens over a period of time is that they will yellow again and start to check or crack. This happens because the polycarbonate lens is now bare or it has no UV coating. I highly recommend applying the UV coating once its been resurfaced, you will get a lot more life out of those lenses in the long run!!
The biggest problem you face now is long term protection as H2Oboy mentioned. Now that the sacrificial OEM coating has been removed due to failure, just adding a wax or sealant is not enough over long term. What eventually happens over a period of time is that they will yellow again and start to check or crack. This happens because the polycarbonate lens is now bare or it has no UV coating. I highly recommend applying the UV coating once its been resurfaced, you will get a lot more life out of those lenses in the long run!!
#13
09-29-2010, 02:39 PM
Veteran member
Join Date: May 2008
Location: Great Mills, MD
Posts: 14,200
Likes: 0
Received 3,823 Likes
on
3,142 Posts
I use some stuff called 3M Perfect It II (they also have Perfect It III). A terry cloth towel and a little bit of elbow grease and it will take cloudy lights and make them clear again.
If you are worried about restoring the UV protectant, you need to find 2 things. The first and more important part is a clear adhesion promoter. THis can normally be picked up at your bigger auto parts stores. Then you need a can of clear coat. Mask off the parts of the car you don't want to get hit with the adhesion promoter (need atleast 2 feet back covered in paper, if not more). Once that dries (in a few hours), hit them with the clear coat. Once done, you will have the UV protectant back (the clear coat has it in it) and the adhesion promoter will help keep the clear coat attached to the lens. A can of each will be more than enough to do 10 cars. It don't take much.
If you are worried about restoring the UV protectant, you need to find 2 things. The first and more important part is a clear adhesion promoter. THis can normally be picked up at your bigger auto parts stores. Then you need a can of clear coat. Mask off the parts of the car you don't want to get hit with the adhesion promoter (need atleast 2 feet back covered in paper, if not more). Once that dries (in a few hours), hit them with the clear coat. Once done, you will have the UV protectant back (the clear coat has it in it) and the adhesion promoter will help keep the clear coat attached to the lens. A can of each will be more than enough to do 10 cars. It don't take much.
#14
09-30-2010, 11:59 AM
#15
08-27-2012, 11:31 AM

Member
#16
09-27-2012, 03:38 AM
Senior Member
Join Date: Sep 2009
Location: Orange County, California. USA
Posts: 573
Received 86 Likes
on
66 Posts
The right way to restore headlight lenses is with a lens specific coating product..
A true UV coating is cured 8-10 minutes after UV application allowing the product to flash. Using a UV curing lamp like I do you can achieve almost full curing in 4-6 minutes per lens for the best results.
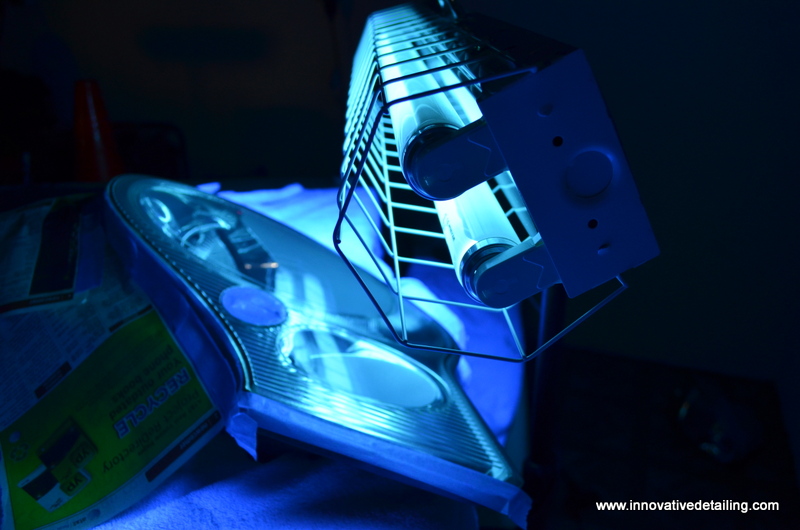
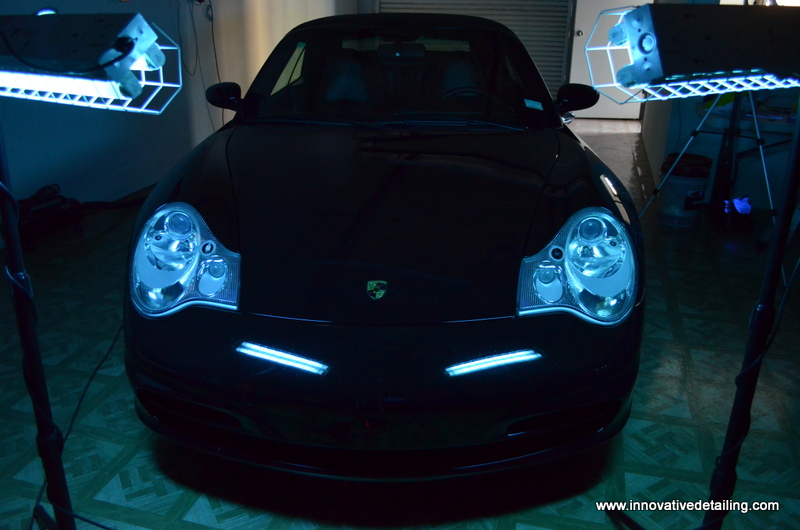
A true UV coating is cured 8-10 minutes after UV application allowing the product to flash. Using a UV curing lamp like I do you can achieve almost full curing in 4-6 minutes per lens for the best results.
The following users liked this post:
9mileskid (01-29-2013)

Thread
Thread Starter
Forum
Replies
Last Post
tonimccloud
S-Type / S type R Supercharged V8 ( X200 )
19
01-18-2020 01:56 PM
MC36
US Lower Atlantic
0
09-01-2015 07:34 PM
Currently Active Users Viewing This Thread: 1 (0 members and 1 guests)