When you click on links to various merchants on this site and make a purchase, this can result in this site earning a commission. Affiliate programs and affiliations include, but are not limited to, the eBay Partner Network.
JeffR1,
Autolite Racing plugs had been the choice at the machine shop. It's what's in my BBC in the '77 Jag.
NGK Racing plugs were used to dyno this SBF. I may go one hotter for the street with full exhaust.
Ah with Autolite plugs you then have Yttrium compounds just to add to the mix Jeff.
Who advised re the temp of the plugs Clyde, are you trialling to see what works or did the machine shop or dyno guys do a full temp analysis, just interested, the rule of thumb is 1 temp range down for every 100hp extra over stock, but I'm not sure there is anything stock about your setup at all !!!
I am doing a fast road upgrade on a standard Jag engine, porting, upgrade carbs, exhaust inlet runners etc. so was looking for a pointer if you have any added insight, I'm only heading for about an extra 40hp probably as I don;t want to lose low end torque or a fast road setup, I'm looking for good throttle response, good low end torque and reasonable increase in hp and not a full race engine.
The machine shop, Canton Automotive Machine Service always starts on the cold side of plugs on the dyno. Lot of experience going on there. We hit the number dead on for the BBC. I'd have to pull one to look at the number/ range. It's set up for 93 octane, 9.3 to one compression, iron heads. Keith reads the plugs with a plug magnifier and light.
The new engine, SBF, was a little dark on the plugs. It's 11.2 to one compression. Aluminum heads. I'll start one hotter on the street. Also set up for pump gas.
40 HP, not sure that is much of a concern.
A key point in my experience has been plug wires - spiral wound monel, Fiberglas/arimid carbon impregnated, aka mag wire. Low resistance and still providing radio suppression.
Get the juice across the gap, keeping the fire lit as long as possible.
I sold engine analyzers for several years. Better ignition systems had longer spark duration - more complete burn.
Thanks Glyn,
There have been many folks involved with this build. I serve up the wild ideas, then look for help. Currently I am scrambling to wire the beast. Soon after the wiring is done, I'll pull it off of the rotisserie, stuff the engine and transmission back in, and order the drive shaft. I will drive it this year with out paint, and glass. A helmet for myself, one for the passenger, strap ourselves in and light up the tires.
Full face helmets I hope Clyde, need to stop flies getting stuck in your teeth, mind you the way that engine looks the flies may take your teeth clean out !
Maybe "scrambling" and "wiring" should not go together in the same sentence Clyde, not the best combination, doesn't sound conducive to an entirely perfect ending !!!
Jon, I do have a full face helmet. Here I am blasting down the front straight of Mid-Ohio Sports Car Course.. Although the car does have a windshield. This is my beast with the 462 BBC.
The start of an electrifying experience. I once Chernobyled a Jeep under the hood harness and the dash harness when I pinched a hot wire during a valve cover change. I think the two harnesses combined were ~$65.
Just some quick test fits on the Gages. I'm including photos of a product I found on Aircraft Spruce. It is sized to the sheet you want to make an opening grommet/protector. It's sold by the foot, or 12.75" lengths, or 10 packs of 12" strips. This stuff is magic. No more splitting with a razor and gluing vacuum hose.
Everybody needs a vacuum gage next to their wide band & fuel pressure gages.
Last edited by lickahotskillet; 02-18-2019 at 11:26 PM.
Reflector replacement project. I'm turning the center boot back up light into a central "almost high" brake light. The TRUX LED in the picture is red with the lights on and goes white when you shift into reverse. Machinist is stopping by today. It will take aluminum bushing as a retainer.
Reflector replacement project. I'm turning the center boot back up light into a central "almost high" brake light. The TRUX LED in the picture is red with the lights on and goes white when you shift into reverse. Machinist is stopping by today. It will take aluminum bushing as a retainer.
what is the diameter of that LED adapted to the rear lamp? My S type has a similar reflector at the bottom. I like that idea a lot. In other words it is an ACTIVE light, as opposed to passive?
Light is 2" by 1" deep. Sides are tapered, to a very thin lip. Requires a bushing. I should have the aluminum bushings in about two weeks.
Three wire set up. Black & white on a molded plug. This powers the LED to red, in my case, an additional running light. There is also a yellow pigtail attached to the light. With power and ground applied to the black & white and applying power to yellow, the light switches from red running to white back up.
TRUX Light, purchased from Raney's truck parts in Florida. Two lights, pigtail wires with molded plug, and grommets (did not use - too big) $30. No affiliation.
The installed light will be sticking out of the housing 1/2".
thanks for the details, I like the idea a lot. Will try to find the business to see them in person, Bet I can wire it easily. I will bring my tail lamp for fit.
Good Evening,
Sort, re-sort, think, re-thing, read, re-read. Call the tech line back, what they told you the first time does not make sense. Add in "hey, what about?. You may note, nothing in the garage is road worthy.
Been awhile since I posted. Two gumption traps got in my way. Blew a plug out of the head of my van. Shipwrights disease took over - head replacement and too many other "hot rod" modifications created a backfire that took a couple of months to get corrected. The MK2 horns - short story is now they both don't work. One moaned before I started on them, now both just buzzy. I quietly slid each into a gallon zip lock an put them away for a while.
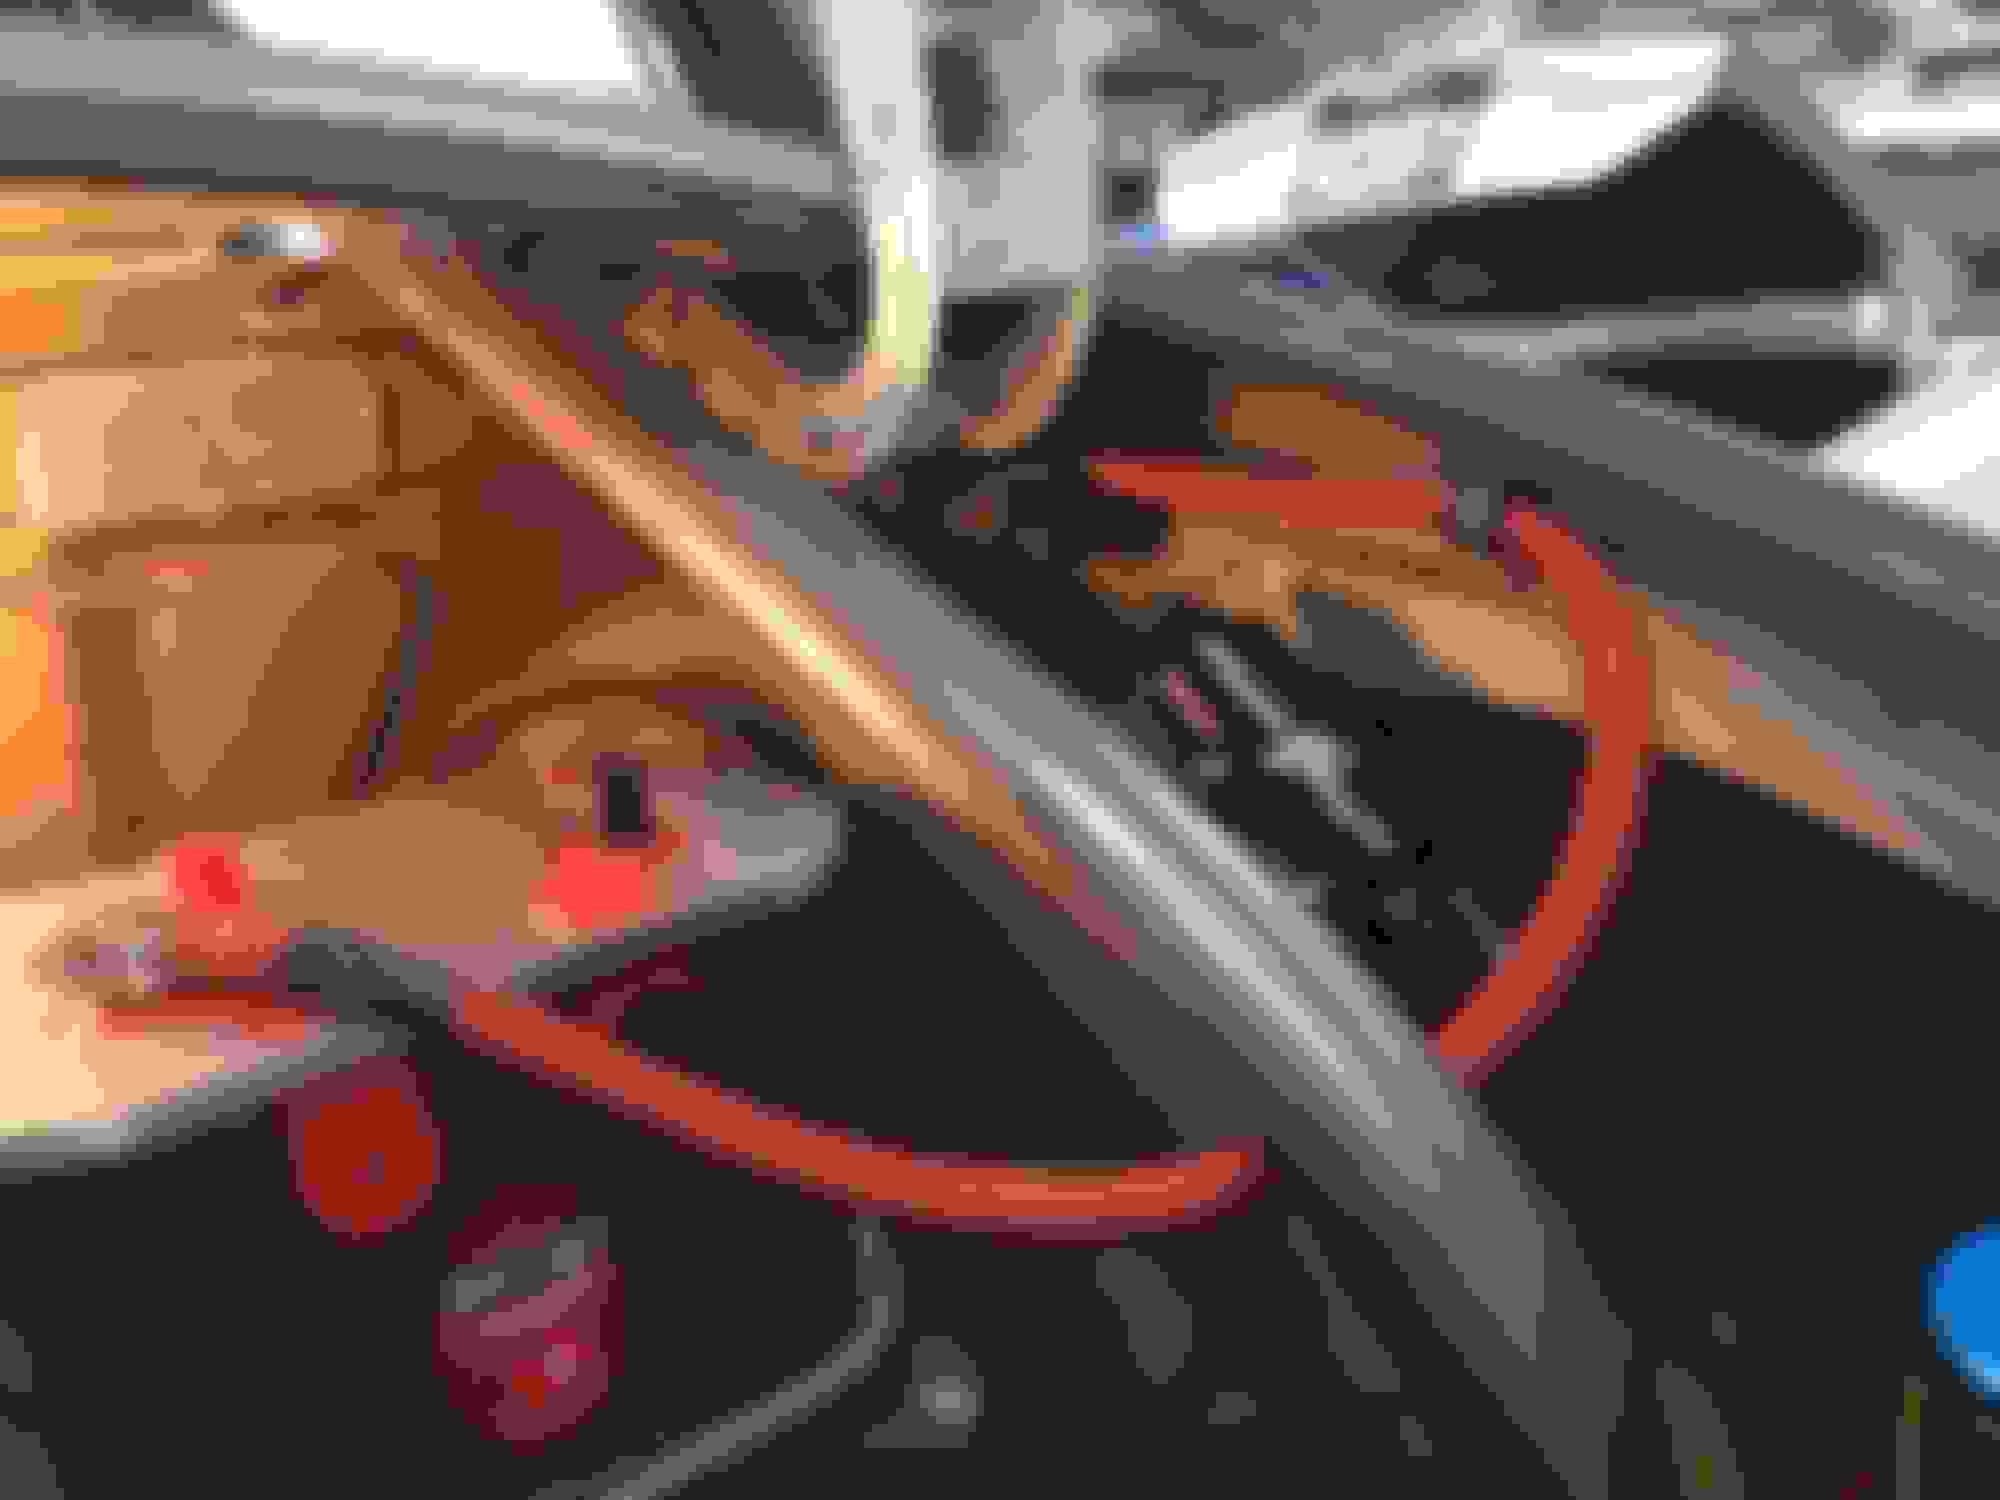
Main positive power is now run from the battery to the mail fuse panel. Negative cable is secured in the boot and headed for the engine compartment. The auxiliary ground system runs from the battery to the trans hump. Tail lights with their pigtails are installed.
Differential breather is installed.
I can't count the number of times I crawled in and out of the fuel cell hole to decide wire placement. LED is a combination run/back-up light Rivet Nuts/nut Certs have become my new best friend. Flex loop in main power - allows the relay and fuse panel to open. Made the positive cable twice. Didn't follow my own rules. Forgot to have all interference in place. Hinge bolts are fun with the roll bar in the way. Differential Breather Auxiliary ground system sits between the battery and fuel cell Breather at top of left differential tube
Remember when you got the body on the chassis and thought you were getting there? So many details...
Looking great as always Clyde - here's hoping for that first road test soon.
 01-13-2019, 06:18 AM