When you click on links to various merchants on this site and make a purchase, this can result in this site earning a commission. Affiliate programs and affiliations include, but are not limited to, the eBay Partner Network.
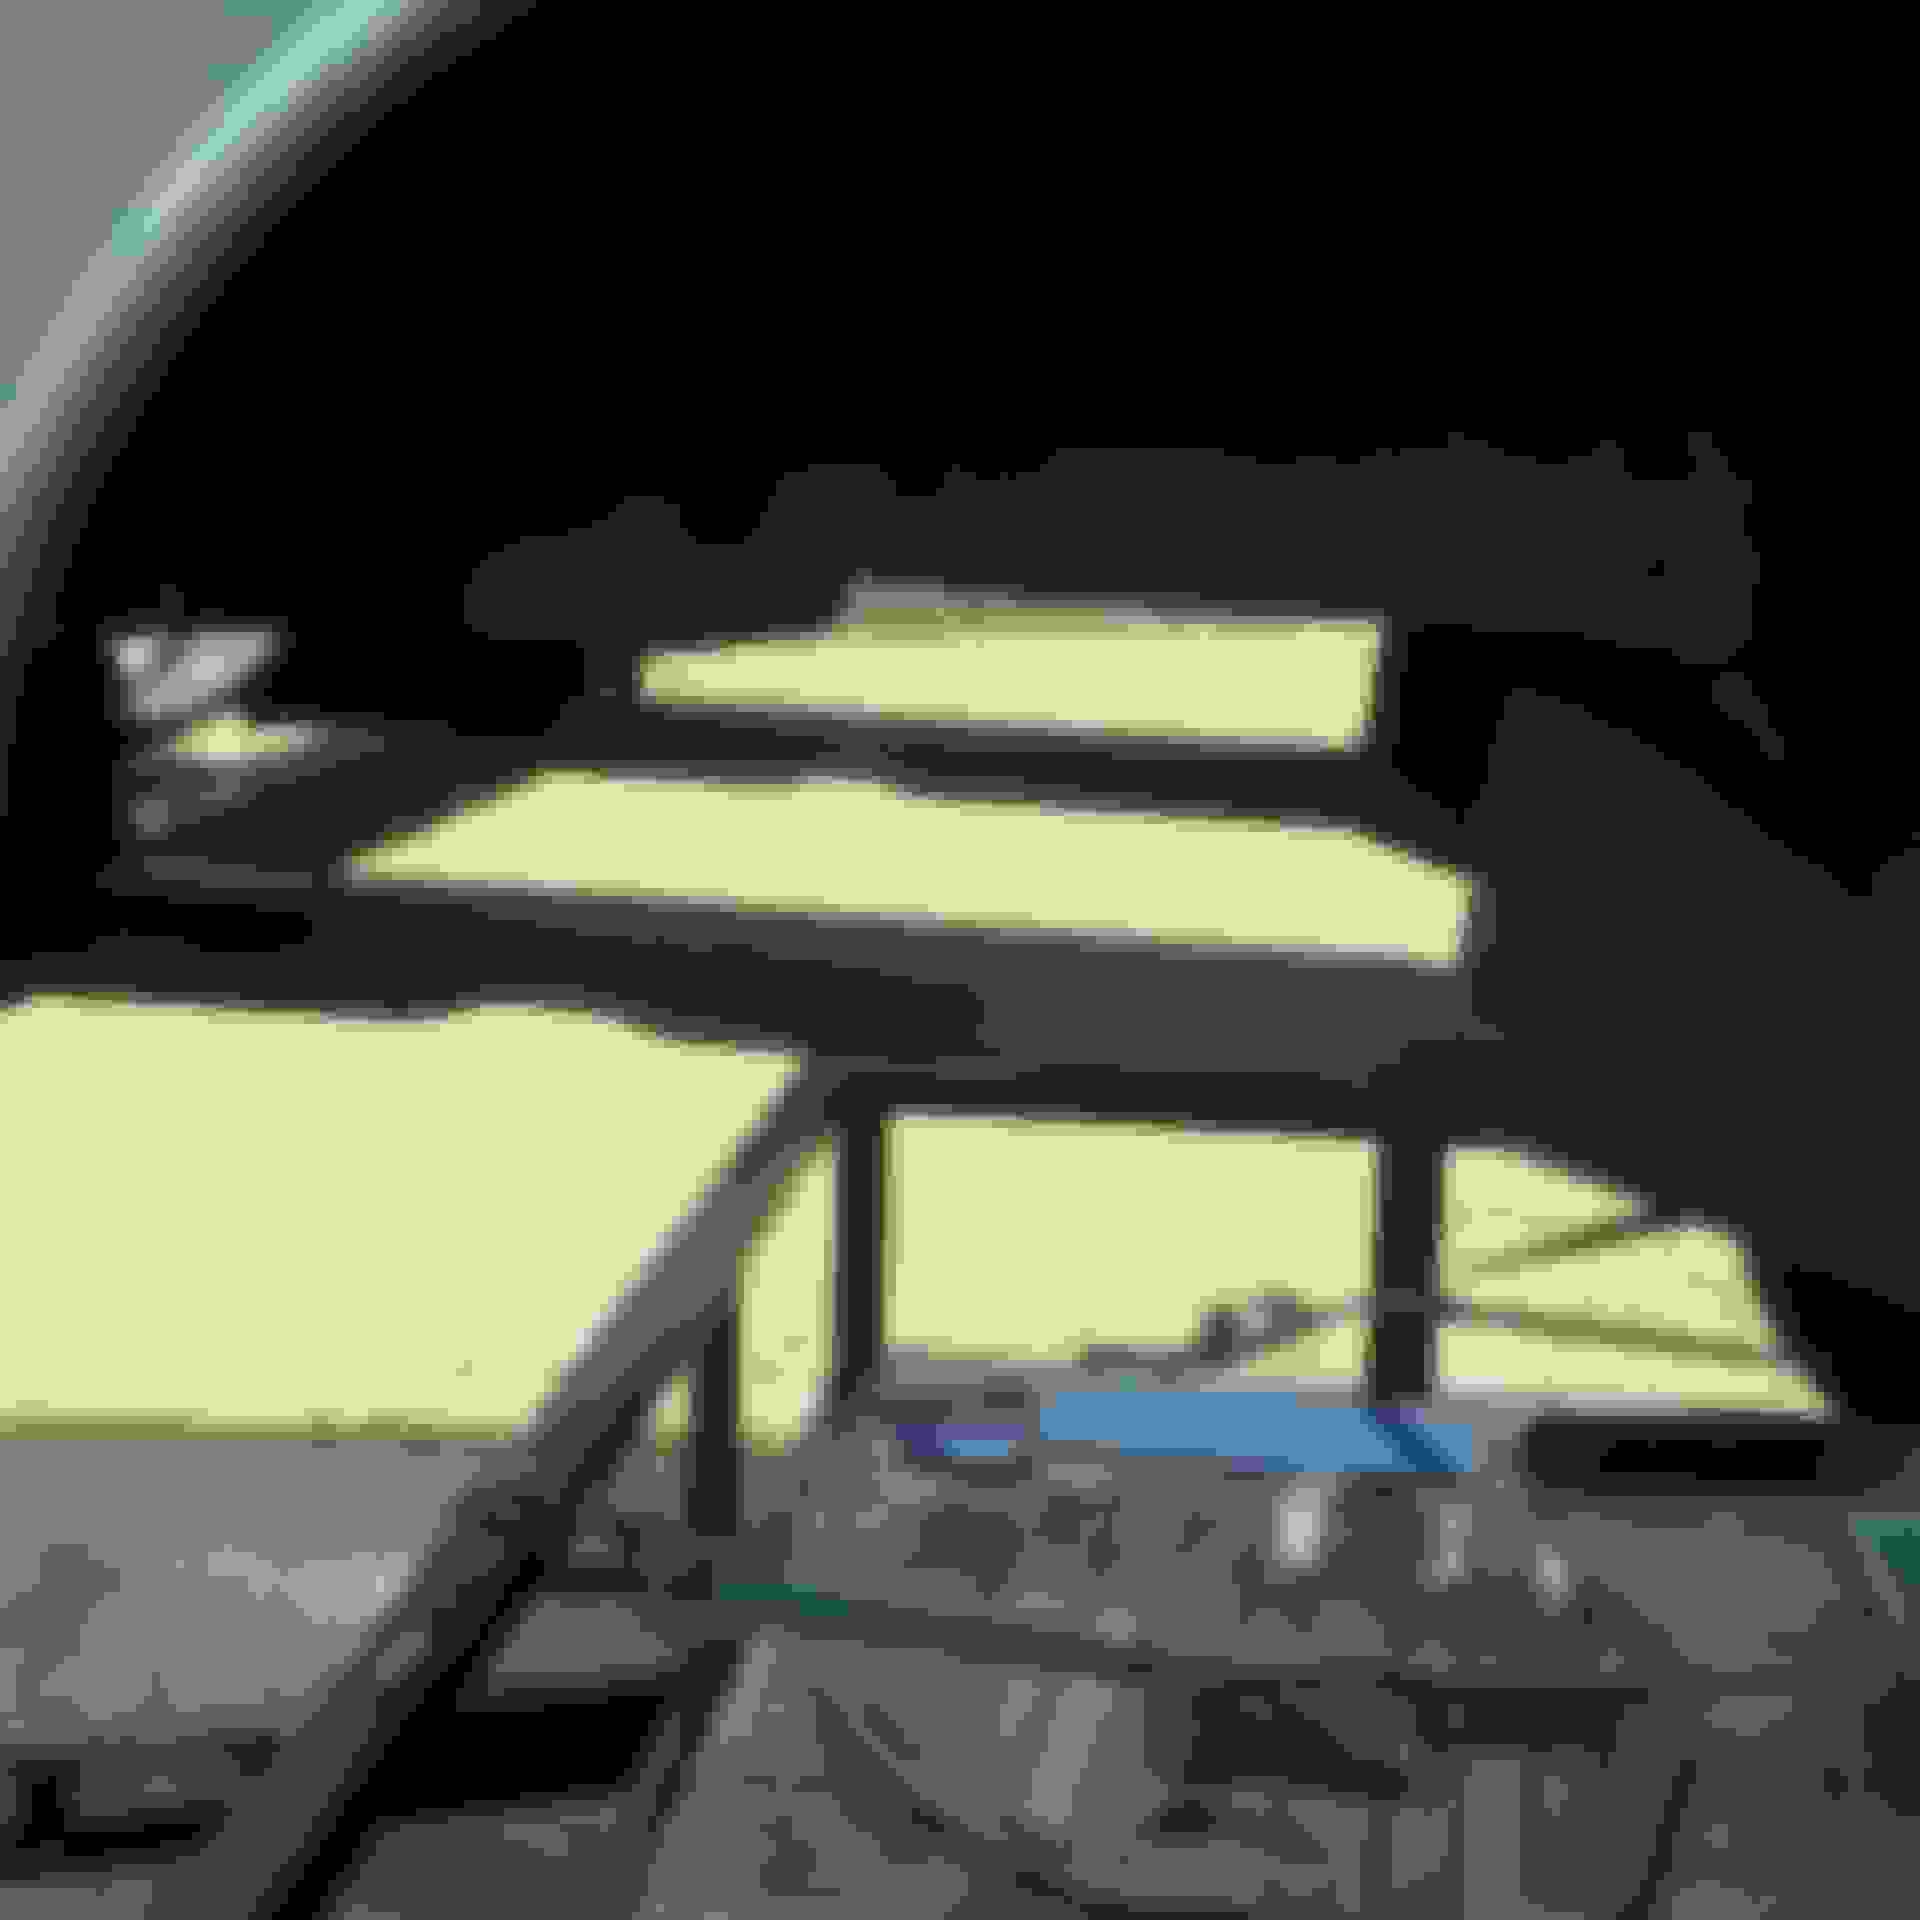
The narrower steering rack moved the pinion input shaft 2" inboard, so of course this meant reconfiguring everything from the bottom of the steering column to the rack. We had to go from two u-joints to three in order to clear the exhaust downpipe, which meant adding a heim joint to stabilize the shafts. In order to fit the heim joint we had to eliminate the XJR vibration damper. Fortunately we were able to find an upper u-joint that includes an integral damper. Of course this wasn't available in the metric spline configuration to fit the XJR column, so that had to be pulled, disassembled and the end machined into a standard double D configuration. Rather than pull the engine again to access all of this mess I opened up the inner fender where a lot of folks have recommended to help move air through the engine compartment. It was that or take take a match to the damn beast.
As you can see from the attached pic the heim joint is in the middle of nowhere, so we fabricated a Rube Goldbergerish structure to support it. It isn't pretty but it's strong - and removable should we ever come up with something more elegant. Tight doesn't begin to describe the setup - we have about 1/4" clearance at the u-joints and heim joint. All that's left is to bolt up the coil-overs and calipers and fill the power steering reservoir and we should have the beast back on the road. Wish us luck.
I recently acquired a project Mk2, that had been abandoned in a 'barn' by the 3 back previous owner. I was planning to part it out until I saw the very extensive and well exectuted work someone put into this body.
From the photos, can anyone identify the running gear this was built to accomodate? My only clues are the X308 pedals and booster, and the two X308 front seats it came with.
Do the mods to the engine mount area, and rear end look like they are for a 4.0 from a 98-03 Jag?
I think you're correct. That looks like an X308 trans tunnel, and the bulkhead mods suggest they may have wanted to accommodate that dash. The rear suspension mounts appear to be for the XJ IRS. No idea what the plan was for the front end.
Has anyone else tackled an XJR transplant similar to the Beachem Mark 2? I've been following the Primaz LS1 project and noticed a few folks mentioned they were undertaking or planning the XJR approach. I would love to exchange some project details as the hurdles are substantial and frequent. I acquired a rust-free CA car (not sure if the picture attached) and X-308 accident victim this winter, so there's no turning back now. Please let me know if there's any other interest out there.
Hello, where does the front of the rotisserie bolt to the front of the jag? Thanks
The narrower steering rack moved the pinion input shaft 2" inboard, so of course this meant reconfiguring everything from the bottom of the steering column to the rack. We had to go from two u-joints to three in order to clear the exhaust downpipe, which meant adding a heim joint to stabilize the shafts. In order to fit the heim joint we had to eliminate the XJR vibration damper. Fortunately we were able to find an upper u-joint that includes an integral damper. Of course this wasn't available in the metric spline configuration to fit the XJR column, so that had to be pulled, disassembled and the end machined into a standard double D configuration. Rather than pull the engine again to access all of this mess I opened up the inner fender where a lot of folks have recommended to help move air through the engine compartment. It was that or take take a match to the damn beast.
As you can see from the attached pic the heim joint is in the middle of nowhere, so we fabricated a Rube Goldbergerish structure to support it. It isn't pretty but it's strong - and removable should we ever come up with something more elegant. Tight doesn't begin to describe the setup - we have about 1/4" clearance at the u-joints and heim joint. All that's left is to bolt up the coil-overs and calipers and fill the power steering reservoir and we should have the beast back on the road. Wish us luck.
Doug, I hope you are able to finish this soon and I hope all goes well. I am sure all if left might be minor tweaks to the alignment. Get-her-done
Alan, I appreciate the constant encouragement - it's easy to lose enthusiasm after so much time and so many issues on this project. I'm happy to report the narrower rack has resolved the bump steer problem - we hit the same stretch of undulating road at high speed and all remained stable. The final rack position is also a few inches further back than the last setup, and this has made a big improvement in the Ackerman angle. There is no noticeable scrub as before when turning at full lock, and the turning radius is actually much tighter - I can now swing directly into the garage without making a k-turn approach as before. This is counter intuitive given the shorter rack travel, but with the inner tire now turning more sharply it's no longer pushing the nose out at full lock.
I had to redesign the steering column seal at the firewall since the new vibration damper and additional u-joint wouldn't fit in the old boot - we welded in a simple collar and cone panel to the tub which is then clamped to the outer steering column with a length of silicone hose. Once again not very elegant but it works. While working this out I discovered a clearance issue with the accelerator pedal - while the trans kickdown was activating with the pedal to the floor I wasn't getting wide open throttle at the throttle body. With that fixed the beast has gone from really quick to just stupid quick - I felt the traction control kick in a few times on my last run, so it should be interesting once we get the beast registered and play with the traction control off.
I stopped by a couple of tire shops to inquire about a wheel alignment but no one seems to want to deal with the front shims. My thought is to have the front and rear toe set as these are simple modern adjustments, and have them tell me the caster and camber specs. I'm assuming with these I can then calculate the shim changes needed to get the proper spec. If anyone knows the degree change associated with the various shims I'd appreciate any feedback. Until next time - we're almost there.
Doug, great to see you solved your issues! I would recommend to find a good local hot rod shop or other place that does alignments of older cars. There must be someone out your way that is familiar with older cars that use shims? For performance it is good to have a slightly negative camber. If I can remember right I think I have mine about 1 to 1.25 degrees negative camber, 4-5 positive front caster both even, and toe 0-1/16th out to 0 and 1/16 to 1/8 in on the rear; so these might be starting points? and the car tracks very well with only a minor amount of extra wear in the inside couple of inches but the increased handling is well worth it with no real loss of tire life as when the outside wear levels are worn down the inside is a bit bald. Many classic car shops that have an alignment rack should have no issues working with our Jaguars and the shims. I have also increased the response of the rebound so it does not float yet is not a harsh ride but handles well. I would buy some more of the shims as most likely you might need more to get it set right...Ideally you should try to find more of a performance or hot rod shop as they will be comfortable aligning cars with shims try an initial alignment around 1.25 inches negative camber and drive it and give them some feedback and they can quickly tweak it and then repeat until you find the settings that you like. When you have this increase power you should deviate from stock as the car can get out of control faster than it should in my opinion...
I agree with primaz if you are looking to improve handling. The virtually zero camber & castor & 1/8th toe setup stock by Jaguar had zero to to with handling, high speed stability, self centering action etc. Only later did they even consider anti dive in the front suspension design. I think all they were trying to achieve with the stock set up was lightest possible steering with a manual steering box & comfort with spring & damper rates chosen.
Dialing in some negative camber & castor is a good idea. Race set ups frequently go out to 3 deg negative camber so half that would be great for road & many modern cars run castor in the 9 to 10 deg area. (Autobahn cruisers for high speed stability)
Jon, I searched shims here on the forum and found a few references to a 1/16" shim corresponding to a 1/4 degree of castor/camber, so I think we're all set.
Alan and Glyn, thanks for the suggestions regarding suspension setup. Everything's currently as close to zero as I can get without the proper equipment, so I suspect when I start dialing in these changes we'll see some further improvements in handling. We're also pretty soft of the shock settings so I plan to increase the rebound damping a bit to keep her planted. Alan, just want to confirm you're suggesting slight toe out front and toe in rear? Thanks again all.
I thought I wrote down the settings but cannot find it; my memory is it was 0 to a little negative toe front and a slight bit positive in the rear but what is more important is getting those even on each side with at least the front about 1 degree negative camber. I bought a bunch of the spare shim sizes from SNG as nobody is going to ever stock them locally and with hard driving/miles some may break over time. I gradually brought the camber more negative and as Glyn said track cars don't care at all about tire wear so they are often 3-5 times more negative than a street car. Most of my street cars end up being somewhere between .5 to 1.5 negative camber in the front and depending on the car the same or closer to positive in the rear and you will get the same life of the tire as if it was neutral, the only difference is you will have the inner 1-2" basically bald when you are below the wear indicators of the outer edge. That is why I have the same 245 tires all the way around as I rotate the tires to maximize the wear and my last set if tires got about 35,000 miles. I also increased the rebound a couple of times and might go one more time as the ride is very comfortable but I think I can keep the car a little more planted without having my wife notice any comfort loss. I believe you are running some decently wide tires so play with your settings getting at least the front more negative camber and the car should carve thru the canyons pretty darn good for such a sedan...and with your V8 you should stun some people thinking they are faster than our old cars
Yes ~ For a road car neutral toe or very slight toe in is probably desirable on the front.
Track cars, F1 etc will run toe out with heavy negative camber. This is to get a car through a corner as fast as possible & provide extra stability under braking. Tyres & suspension wear are not considerations.
Running negative camber & toe out under heavy braking tries to splay the front wheels & gives tyres & bushings a hard time. It also causes tramlining & the car wanting to follow the camber of the road.
Slight toe in on the rear is desirable.
Last edited by Glyn M Ruck; 04-25-2019 at 04:31 PM.
Just a quick update. We managed to put a few thousand miles on the beast this summer after finally finding a shop to do the wheel alignment. The car is a blast to drive and it's been reliable as a daily driver. I'm still not satisfied with the handling, however. The car is fast, corners flat at crazy speeds, stops on a dime and is stable over all sorts of road conditions - but it just doesn't feel as good as it should. I've been playing with shock settings front and rear which has helped, but I don't think the front alignment is quite right yet. I'm concerned that I still might have some slight flexing in the upper shock towers. Since this would wreak havoc with the alignment I decided to reinforce the towers and fabricate a tie bar to eliminate this as a possible cause - will post some pics as soon as that's done.
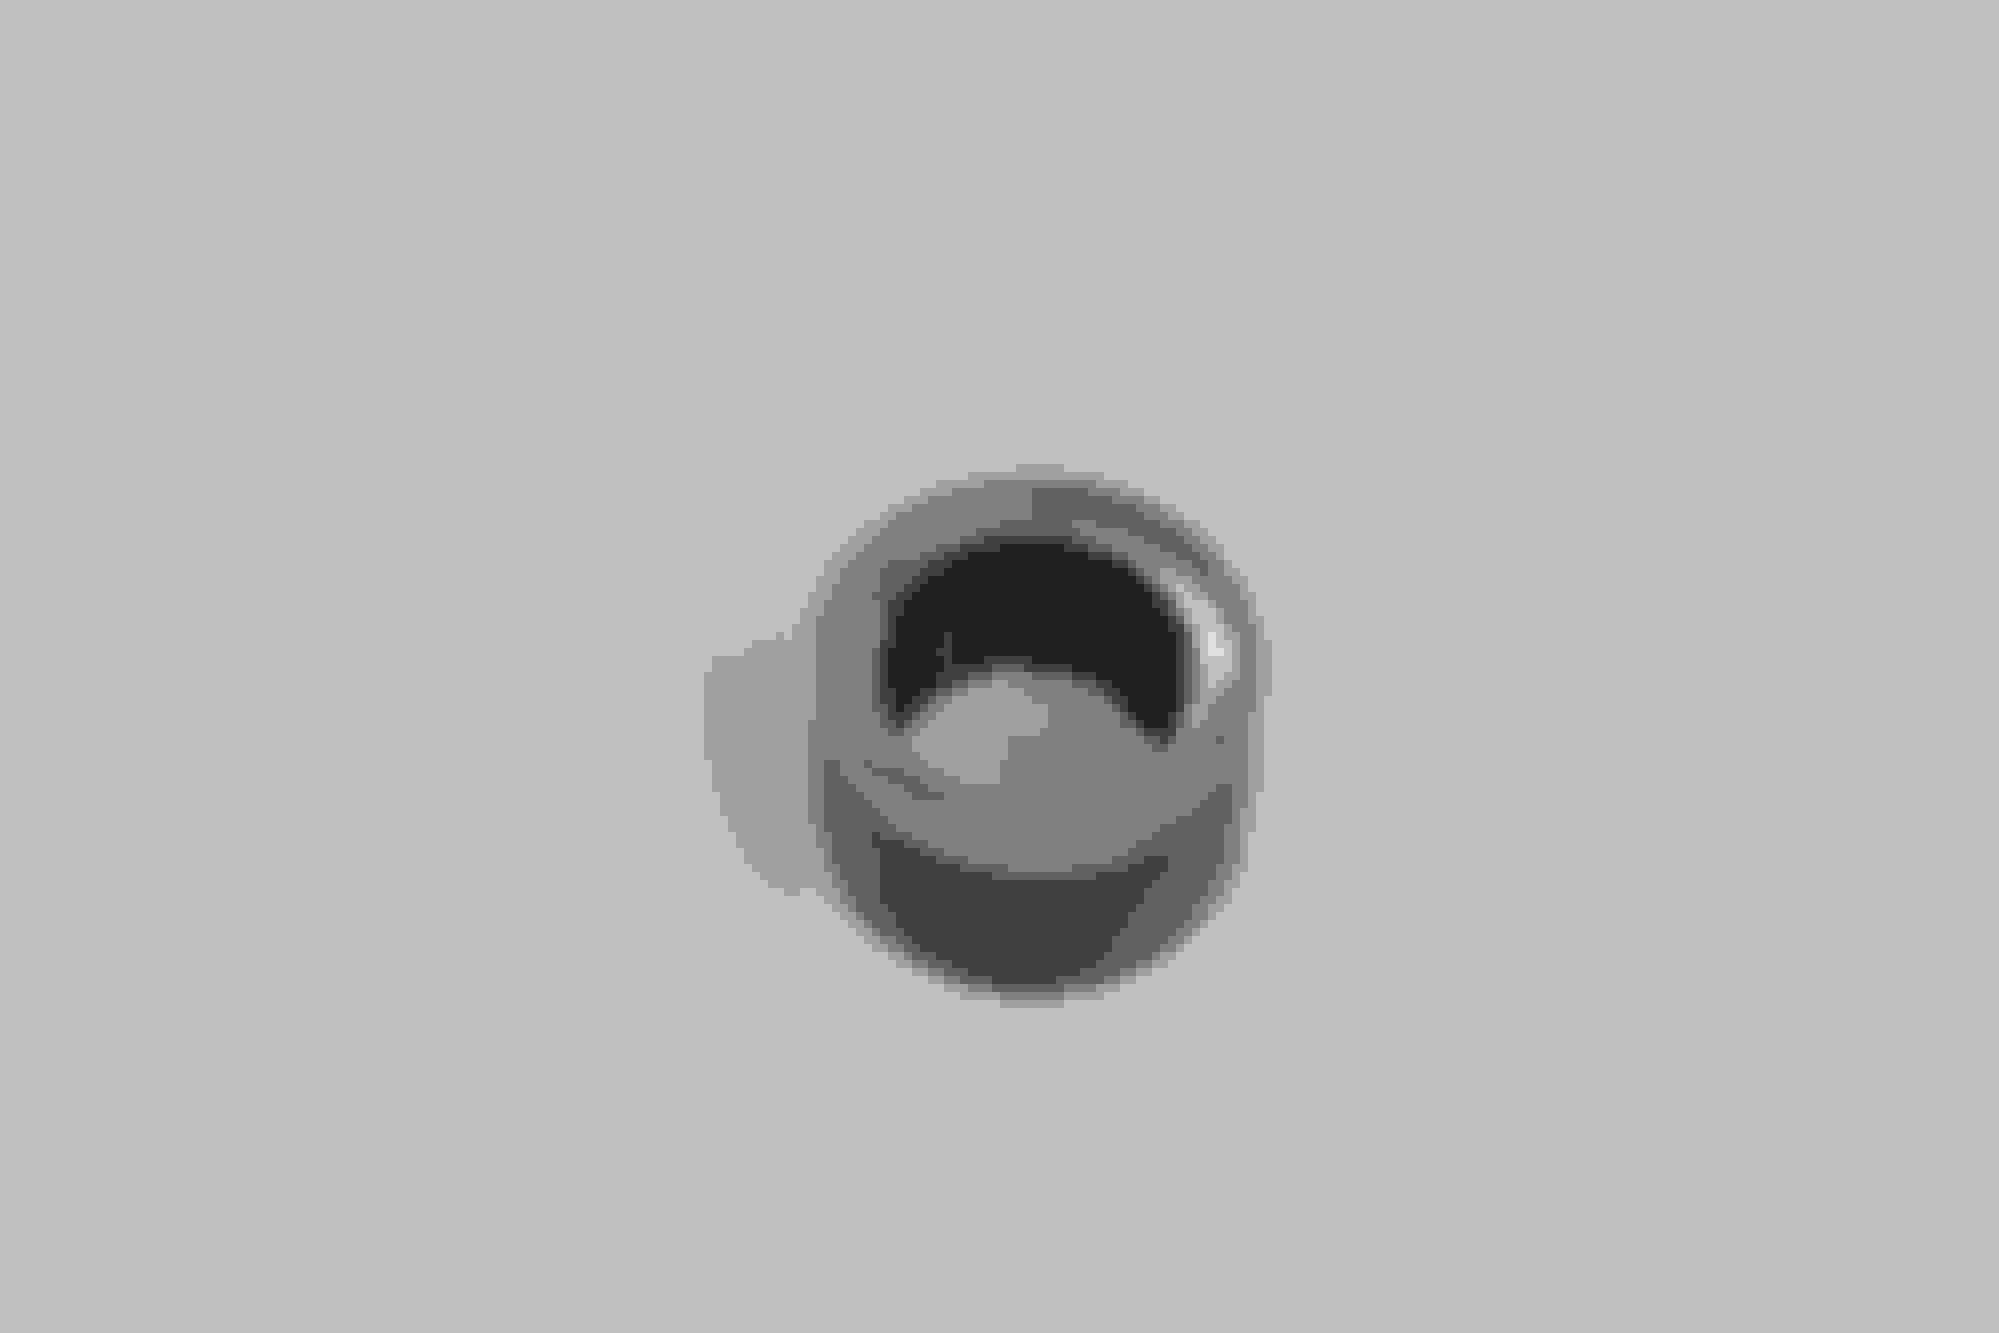
When I dropped the suspension carrier I discovered one of the front bushings was separating - this after only a few thousand miles. Granted the car's been driven very hard but this shouldn't happen. These were the cheaper aftermarket bushings - I asked SNG if they've had any other reports of problems like this and they said they have not. Hopefully I just got a bad bushing. To be safe I'm using the polyurethane bushings that are available from the UK (Polybush) - SNG now carries them. I also noticed the aftermarket V bushings were extremely compliant - with the tub on jack stands and the suspension hanging I got almost a half inch of vertical movement at the upper control arm bushings when jacking the wheel hub - with virtually all of this movement coming from the V bushing. I know Dave has solid mounted his carrier to eliminate this, but I want to keep the isolation for sound and comfort. I did spring for the Metalastic units which I was told were less compliant, and indeed a side by side comparison with the units clamped in a vise confirmed this. Hopefully they'll make a difference.
Here's a picture of the failed bushing - if you've used an aftermarket unit (not Metalastic) you might want take a peek to make sure everything's intact. Also shown are the Polybush replacements. Till next time.
It took me a bit of tweaking to get the suspension to track well. I slowly upgraded the front springs to heavier three times, and was surprised as I think we ended up with 600lb springs which shocked me but it feels very smooth and not stiff at all. I also ended up putting in a longer coil over in the front and that increased spring travel really helped as well. I think we are at about 1.5 degrees of negative camber in the front. I increased the rebound of the front shocks as it felt a bit to floaty and I wanted a bit more sporty response for driving it hard but still kept it fairly soft so when I am not racing it most people tell me that the ride is very smooth and comfortable. You might try a bit more negative camber and if that does not solve it you might try a heavier spring in the front?
FYI, I am upgrading the front brakes to 6 piston Fosseway vented massive rotors in a few weeks! I will post pictures when it is done. The Willwoods are fine but when you really race the car it just needed more brakes. I found that out when I tried to keep up with a local driving group of mostly Porsche, BMW, and Mustangs; the Jaguar was fine with the V8 but after two hours of switch backs I wasted the rotors and vaporized the brake fluid. Driving a car that is not manual really puts the brakes to their limits so these should do the trick...
Thanks for the thoughts, Alan. We did up the spring rates which helped - the plan after the tie bar is installed is to have a local race shop set up the front end. Fingers crossed.
That brake setup should certainly do the trick. With those big calipers I'm guessing you'll need a bigger master - what's the plan there?
Doug, supposedly, the Fosseway big brake kit is designed to work with the stock master so I will keep you posted. I should have everything completed by early December...
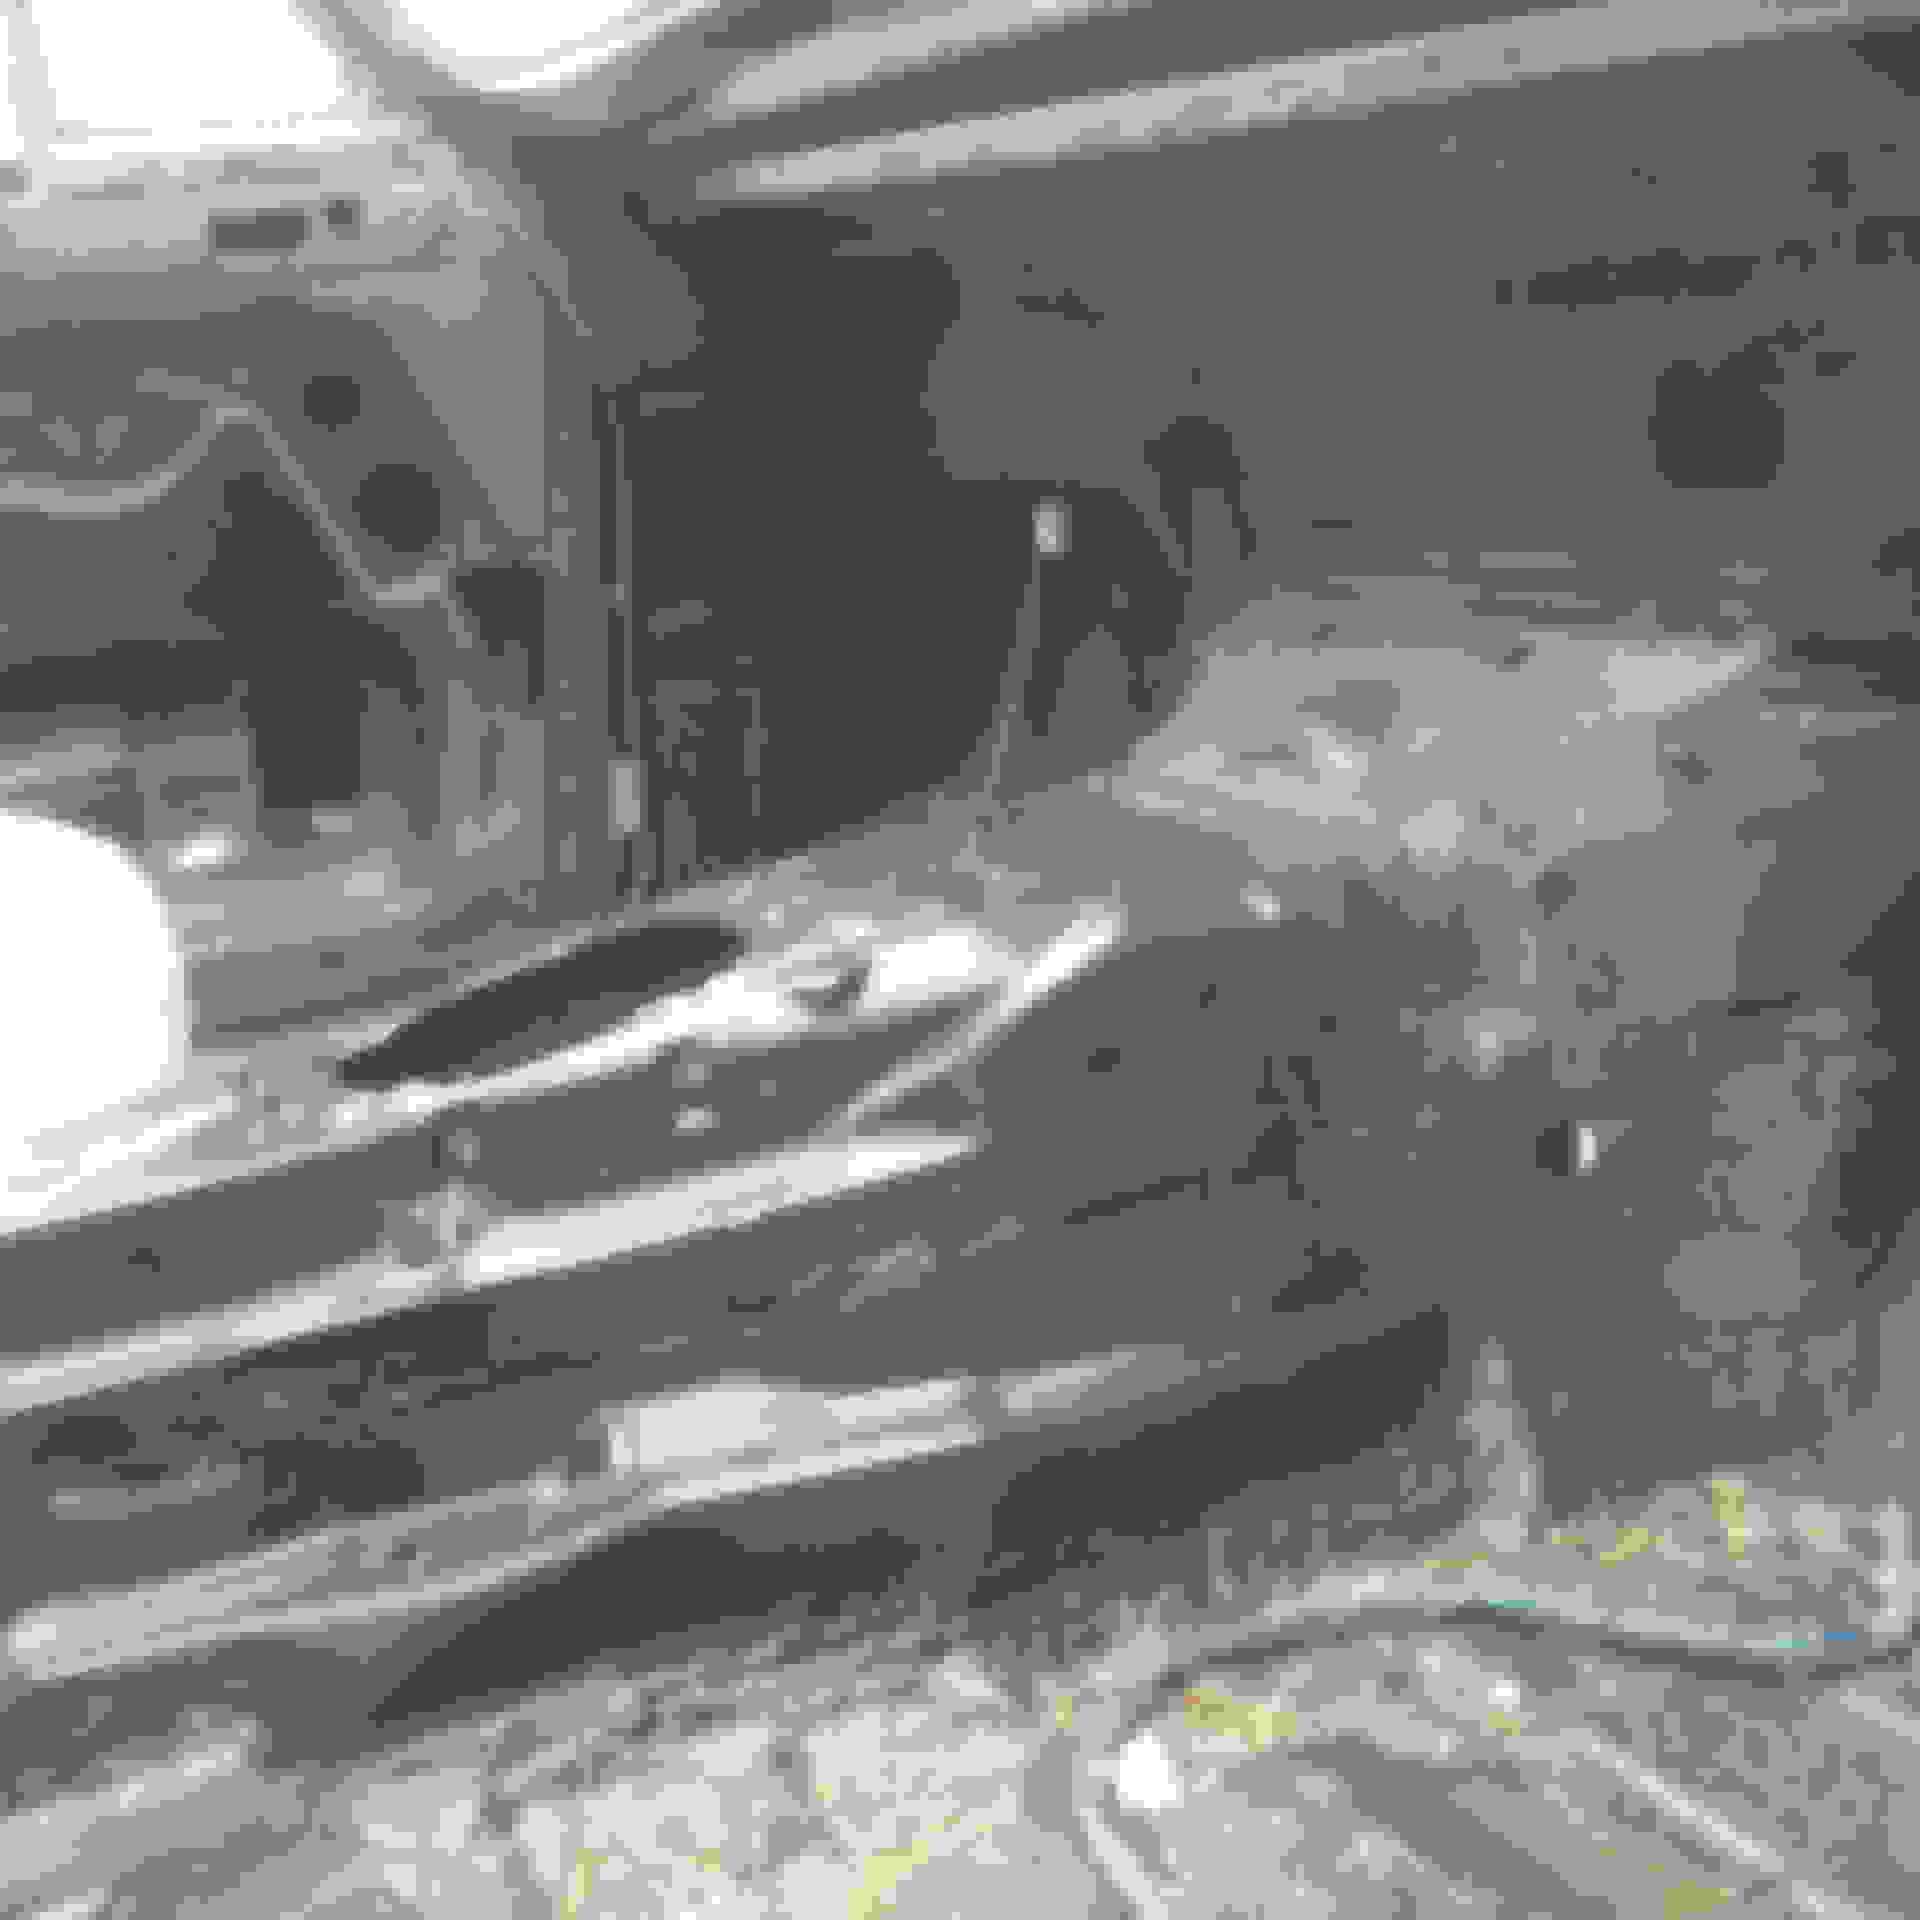
Here are a few pics of the tie bar assembly we just completed. Space limited us to 1 1/2" stock so we used heavy wall DOM tubing along with solid rod ends to facilitate installation and removal. The top of the shock towers are a full foot below the top of the fender where the tie bar crosses the engine, so we fabricated extensions using plate and heavy wall square tubing that's triangulated to carry the loads. The extensions bolt to the top of the shock towers for easy removal when the suspension carrier needs to be dropped - or in the event the ridiculous-looking things don't work as intended. You'll also see where we boxed in the lower part of the shock towers with 3/16" plate. This had been removed following what Beacham was doing with their front ends, but we realized it wasn't necessary for coilover clearance and it created an obvious weak point in the tower geometry. The reason we also went with the tie bar is that the coilovers put the spring load more than 6" higher in the tower than the original setup, so I'm pretty certain this is creating some flex under varying loads which messes with suspension geometry. We'll find out tomorrow - fingers crossed!
 03-17-2019, 03:50 PM