When you click on links to various merchants on this site and make a purchase, this can result in this site earning a commission. Affiliate programs and affiliations include, but are not limited to, the eBay Partner Network.
Hey everyone I have just restored my headlights with new adjusters, and i cleaned up all the yellowing off the lenses. My issue is that my lenses seem to have cracks in them, and I was wondering if this was repairable? They didn't show up until after I started spraying clear coat on them. I didn't notice them, or feel any cracks while I was sanding. Thoughts anyone?
As you can see it's pretty severe, and it's on both headlights. It's not all the way through the plastic, so I guess that's a plus.
Do you think there's any way of reversing it? What could of caused this to happen, and how would I prevent this for the future? Right now I sanded down the headlights until they're smooth, but I can still see the cracks just not as deep as before.
oooh, that's a bad reaction between the clearcoat and lens.
Was that a 2-pac mixed clearcoat or synthetic/polyester?
Or worse still out of a rattle can?
My guess is it's probably going to have gone most of the way through the plastic.
Why did you use a clearcoat anyway?
And what method did you use to clean up the lens in the first place?
I wet sanded with 400 then 600 and finished with 2000. Then i wiped them down with 91% isopropyl alcohol I got from walmart, and waited about 3-5mins to dry. Then I sprayed on this clear coat, yes from a can In the video he said that if you spray clearcoat on headlights it will help prevent them from ever yellowing again. I didn't expect the plastic to have a horrible reaction mainly because this is the first set of headlights I'm restoring do you think I'm past the point of no return? I sanded one down to smooth, but the cracks are still there. Some areas I completed erased them, but others still persist.
As you can see some patches are clear of the cracks, but the majority isn't. I have a feeling if I use something like 120 grit I should be able to dig into it, and get the cracks out.
The clearcoat has reacted with the isopropyl alcohol fumes.
The chances of recovering those lens is slim to none I'm sorry to say.
By the time you've dug your way through the damage they will be thin, and heat from the bulb will either melt or yellow them from the inside.
Chuck 'em in the bin, lesson learnt, get some replacements.
Damn, was really hoping that wasn't the case. For the future when I do this again, what should I do differently? I feel as though I should let the alcohol fumes air out way longer than just 3 mins, or should I go about a different process of restoring the lenses? Also do you by any chance know where I could find a pair of lenses for a 2000 jaguar s type? I would go to a pick n pull, and yank myself another set of headlights, but that's another $84 just so I can take the lenses off to use for these. Do you think a clear plastic epoxy would help if I were to sand down all the cracks out, and then apply a layer of the epoxy over it?
...Isopropyl alcohol dissolves a wide range of non-polar compounds. It also evaporates quickly and is relatively non-toxic, compared to alternative solvents. Thus, it is used widely as a solvent and as a cleaning fluid, especially for dissolving oils....
Guess what your plastic lenses contain huge amounts of.
The lenses on my s type were also yellowed.
All I used was some G3 and G10 polishing compound and a "mop" used for buffing finished paintwork after a re-spray.
Keep the speed low and it won't melt the lens with the heat of the rotating head, but will do the job quite nicely.
Alright I'll be sure to use the G3 and G10 for the next set of headlights I go scavenge. I'm not entirely sure what the lenses have huge amounts of judging by the wiki info you said I'm assuming oils? So just to be clear, these lenses are screwed, I have to go get new ones?
ALL plastics contain huge amounts of oils, that's why they are really difficult to recycle, hell we're still making loads of stuff out of plastics that cannot be recycled ever.
If you fancy a challenge before shelling out for others, recovering those lenses, use them as an experiment to see how far you can get them back before they get too thin.
I wouldn't use 120 grit paper though, too much, I'd probably start around the 240 mark using a strong solution of washing up liquid as a lubricant.
Just concentrate on a small area first and see how it goes.
Then if you think they are ok, put the bulb in and see if it starts to melt the plastic from the inside.
Like I said, it's an experiment, but you never know.
Haha I didn't know that about plastics. Alright I'll do that today. 240 grit it is then. I'll make sure to post results once I finish most likely later in the day. Thanks so much steve you've been a huge help you have no idea!
Check it out! The cracks are gone, and the plastic is still pretty thick, I should know, I gave it a good hard "taps."
Used 220 grit, it worked, but not that great, so I switched to 120 grit, and vioala! The cracks are gone!
Thanks so much for your help steve! I sincerely do appreciate it.
I'll update again once I get the clear coat properly on it WITHOUT the use of alcohol this time....
Looks like you still have a long way to go with the sanding, I can still see sanding lines on the photo.
It should be a smooth as a babies bum.
Go through the paper grades to ease out all the lines, use a sanding block or sanding sponge like we do on car body work before painting, and a final rub over with 2000 grit wet and dry.
Be patient and meticulous at the same time.
Wash everything off with hot water and dry it well.
STAY AWAY FROM ANYTHING LIKE ALCOHOL/THINNERS/METHS etc
I wouldn't clearcoat myself, just polish to a shine.
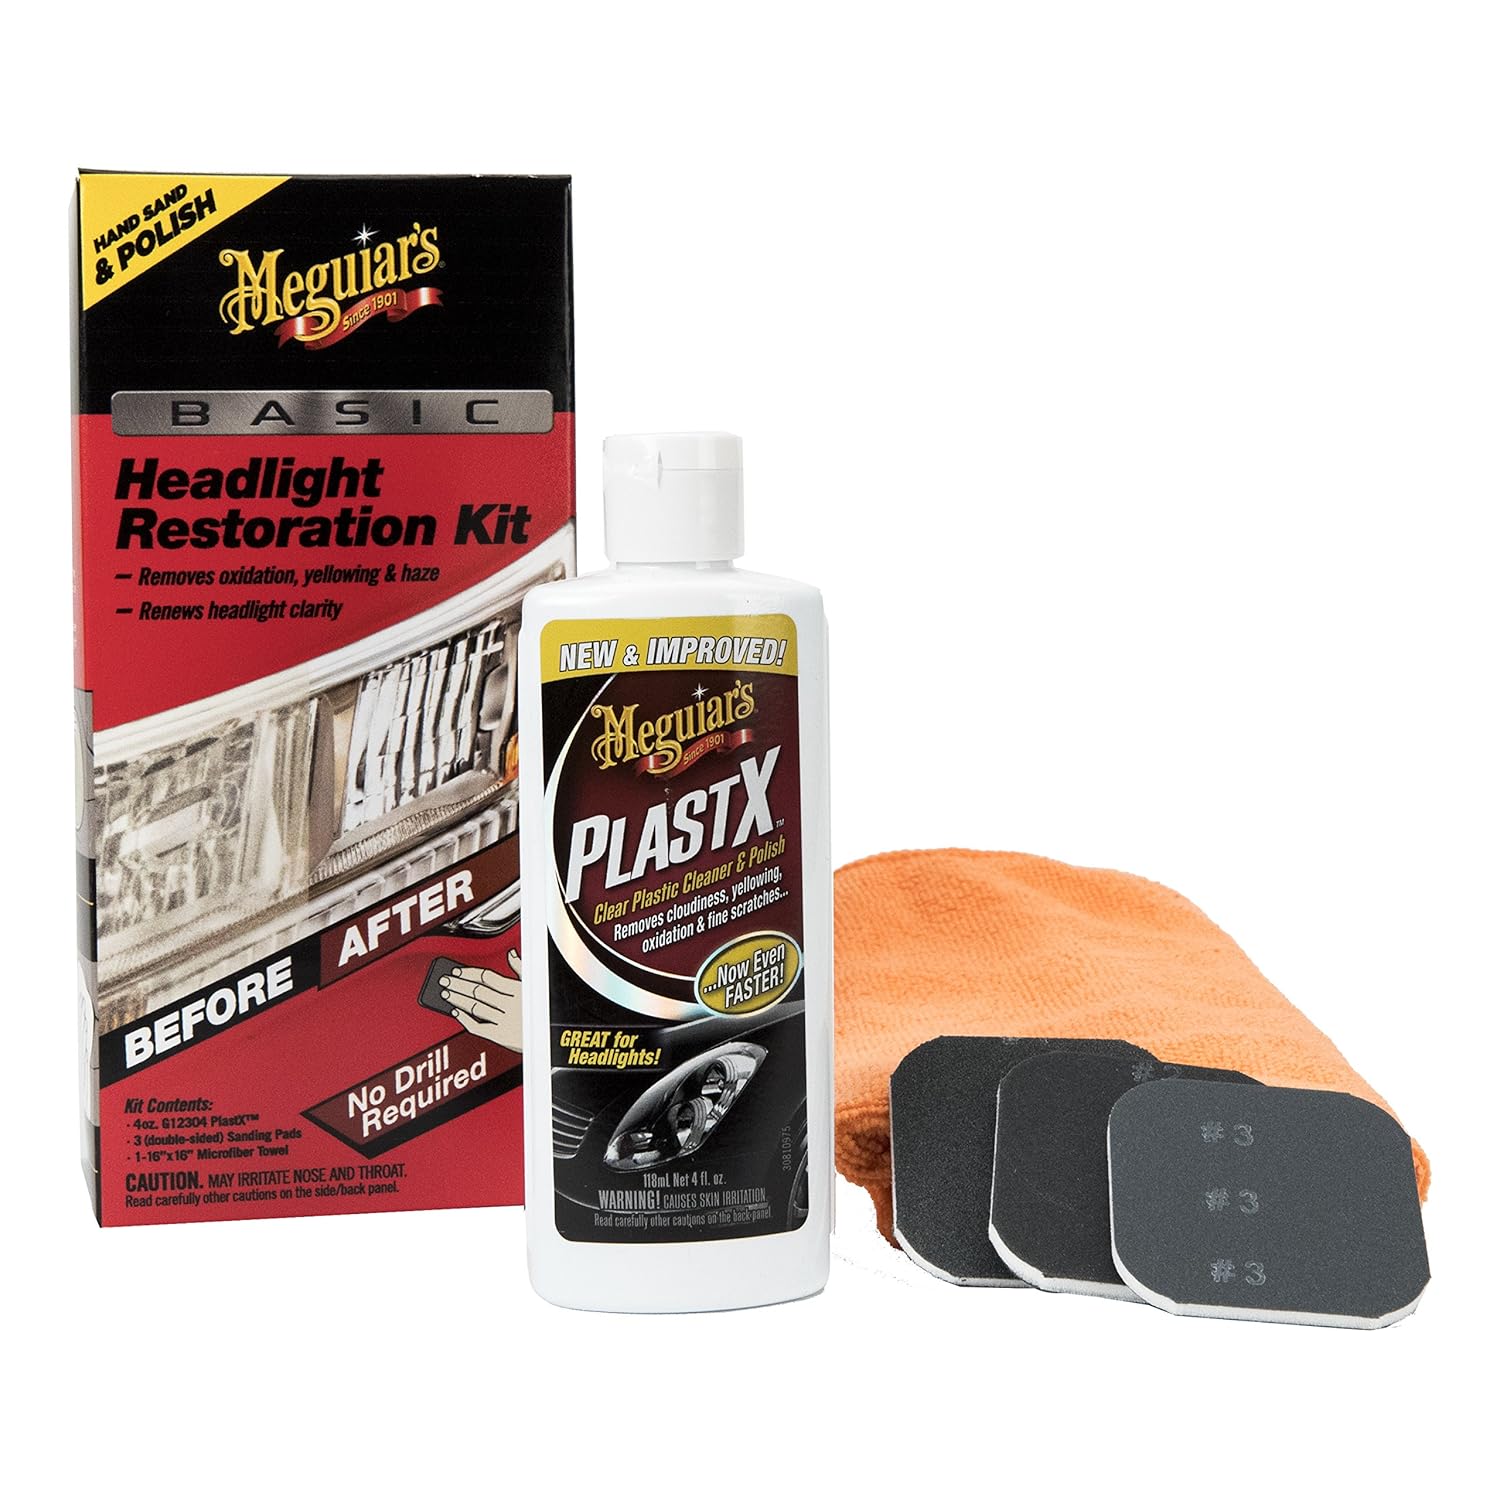
I second these recommendations, having polished my headlights several times.
After 2000 grit sandpaper, used Meguiar's plastic headlight polish and then a UV protectant. PlastiX polish can be applied by hand but a random orbit polisher also works great. Make sure the speed is not too high if you are using power tools because that can cause overheating and ruin your entire work. In my experience, this is not a one time procedure but requires periodic follow-up maintenance. Hopefully, over time, you will only have to repeat the polishing and UV protectant part and not the sanding.


 In the video he said that if you spray clearcoat on headlights it will help prevent them from ever yellowing again. I didn't expect the plastic to have a horrible reaction mainly because this is the first set of headlights I'm restoring
  do you think I'm past the point of no return? I sanded one down to smooth, but the cracks are still there. Some areas I completed erased them, but others still persist.


 ...
...