When you click on links to various merchants on this site and make a purchase, this can result in this site earning a commission. Affiliate programs and affiliations include, but are not limited to, the eBay Partner Network.
Ok starting off from this thread https://www.jaguarforums.com/forum/x...-190097/page2/
the reason im doing this is because cylinders 1 and 7 have low compression.
1 and 7 have around 30-40 psi. the rest are 115-135.
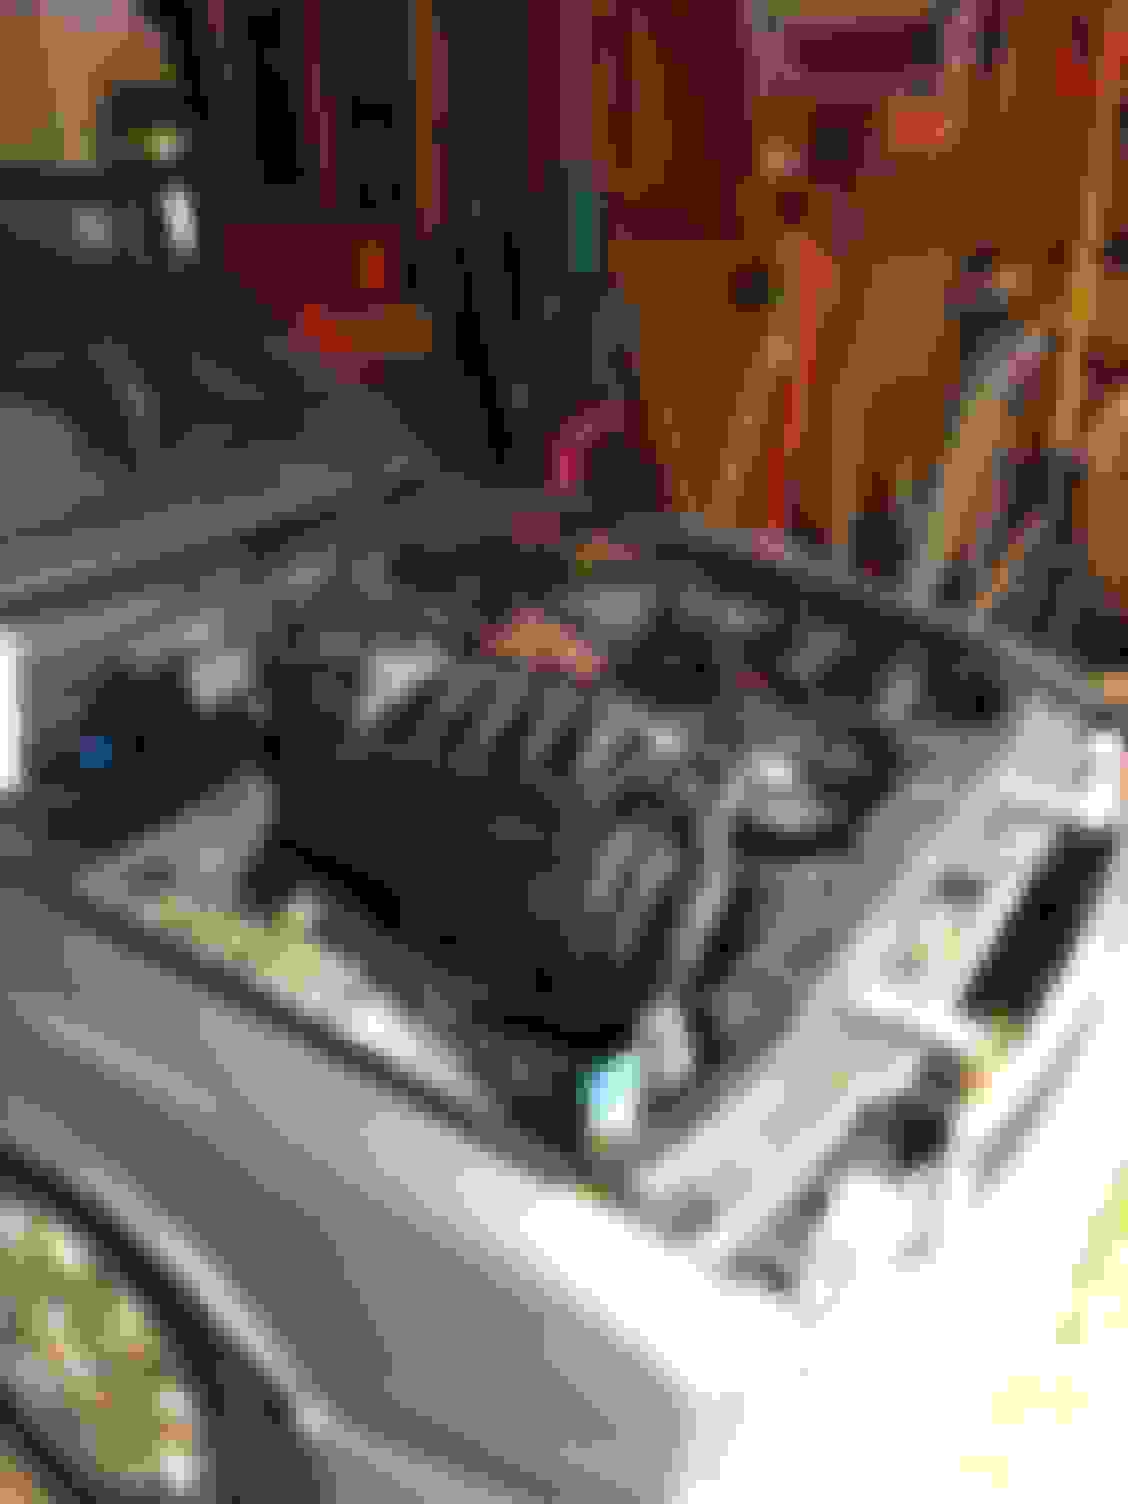
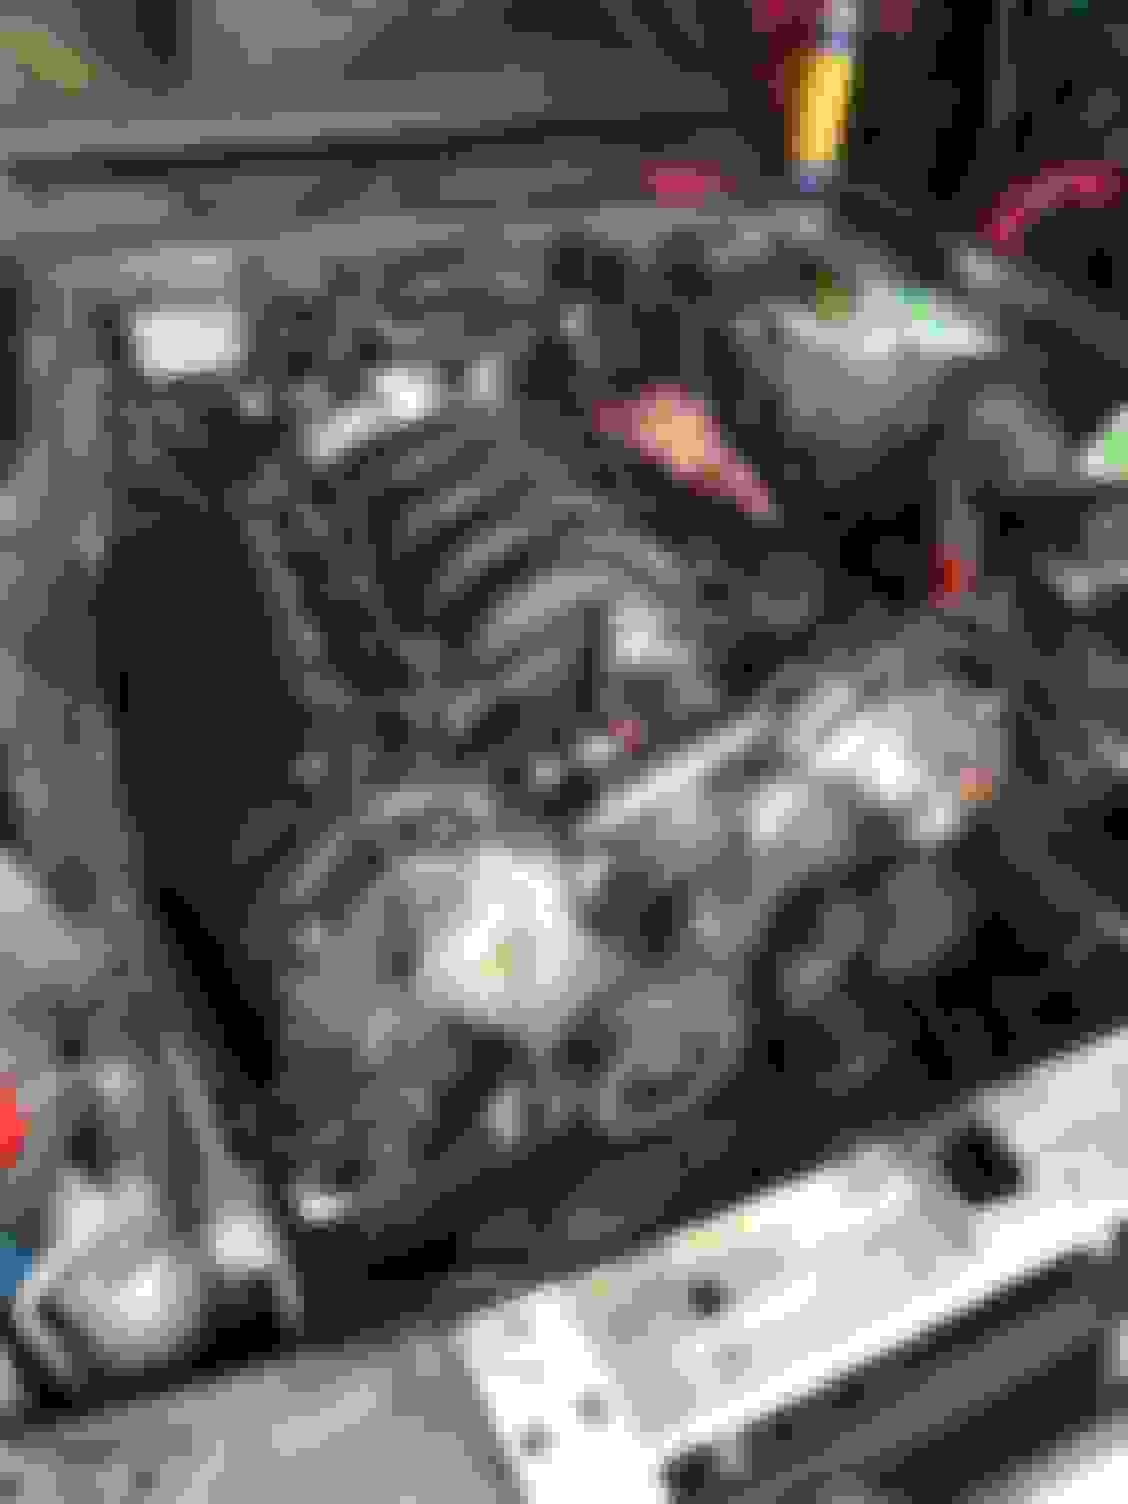
pulled it in my garage and begun the the removal. didn't get very far today got interrupted and had to stop. all i got off was the air intake and sprayed some penetrating fluid on the cat bolts to help with removal.
also when i removed the coolant tank it was empty there some coolant in the hose on the bottom of the tank so i might have a leak somewhere. and im guessing that the sensor in the tank is for the low coolant light/level. so that's shot or has a short somewhere.
also when i removed the coolant tank it was empty there some coolant in the hose on the bottom of the tank so i might have a leak somewhere. and im guessing that the sensor in the tank is for the low coolant light/level. so that's shot or has a short somewhere.
Before you pull anything else top off the coolant tank and slide the float up and down the shaft inside the tank to see if you get the level sensor back to functioning...
I've posted a few tips and tricks to aid removal in other thread - I'll try and locate it. The main one if pulling the engine out from the top is to keep the trans on the engine, and use a trolley jack on it's tail as you pull the whole thing up and forward out of the car. Also remove the front wheels and drop the front of the car as low as possible.
Not to discourage you from a complete rebuild if that's what you want to do, BUT. You might want to pull the heads first and check for dropped valve seats. The engine uses pressed in valve seats and have been known to drop out and cause LOW compression. You may not have anything wrong at all on the bottom end BUT then again you might.
Just a passing thought.
+1,Vern.
I was thinking the same thing. Another clue was low on coolant.
Belmon has the car ever overheated. Overheating can cause the valve seats to drop and give you a lower compression reading on those cylinders. As Vern suggested just take the heads off and see if this is what happened. More than likely you problem is in the heads.
IMHO.
Ok so the car has never over heated when I was driving it the temperature always stayed at the middle of the gauge. Also when I did the timing I replaced the thermostat and the thermostat housing. Also the rear main seal is leaking. If the rear main was not leaking I would just pull the heads and look at the valves.
Ok so the car has never over heated when I was driving it the temperature always stayed at the middle of the gauge. Also when I did the timing I replaced the thermostat and the thermostat housing. Also the rear main seal is leaking. If the rear main was not leaking I would just pull the heads and look at the valves.
Thank you for the info. I removed the engine and transmission together on a 98xj8 a year ago. I found the Workshop Manual useful on removing the engine and Engine Course Code 168 for the actual work on the engine.
Best of Luck.
sorry for butting in but bobroy where do I get a copy of this Engine Course Code 168 pls
I have a 3.2 98 jag and didn't know the 4.0L had the same sort of liners
thanks dutchy
Ok so now that the holidays are over and done with I have started the removal process and I’m now just waiting for my engine stand and engine hoist to show up. Also does anybody know the best way to get to the left engine mount bolt? At the time I got to that part it was to dark. That bolt and the hoist/stand are the only thing holding me up right now. Got everything off in about 6 hours.
It has been a couple of years but as I recall there is a single bolt or nut under the subframe that you remove. The mounts stay on the engine when you remove it.
My plan now is to get a video camera to record me taking it apart and do a time lapse of the disassembley and reassembley. And so if I get stuck reassembling I can look at the video
Last edited by Belmon; 01-13-2018 at 10:55 PM.
Reason: Spelling
Just a late question: did you check the valve settings and did you do a pressure loss test?
low compression can come from lack of valve settings, as these engines have standard shimed tappets rather than hydro tappets...
I did a leak down test on on #1 and #7 and they lost pressure. I did that in October. Also I told myself if I�m pulling the valve covers again I�m pulling the engine out to do the rear main seal and to fix other leaks that I cannot see.
 10-28-2017, 08:51 PM