When you click on links to various merchants on this site and make a purchase, this can result in this site earning a commission. Affiliate programs and affiliations include, but are not limited to, the eBay Partner Network.
So i finally, well, almost finished my conversion.
I changed:
Front headlamps
Front Bumper
XJR Sideskirts
Rear Bumper
Rear Tail Lights
Mataiva 20" wheels.
Exhaust rounds tips
and of course i upgraded the slow touch screen.
So it was a 5kEur upgrade.
Front Headlamps:
There were some challenges with front headlamps, but all is working fine. I used wiring diagram from this forum made by xdave. Except that LED's are in dimmed mode. They are not as bright, dont know why. But its a compromise.
Front Bumper:
All is good, just keep in mind that you have to use your old wiring, or the pedestrian protection system warning will keep on showing up.
Rear Bumper:
Also, use your old wiring, or reverse lamp, and number lights wont work.
I installed my old camera, because newer one doesnt work, because the connector is different, but after a bit of studying on itopix i found pinouts from each, so ill try to fit a new camera. Because when i installed the old one due to its location being higher - yellow lines in the camera point to the sky. Its not nice, but you can get used to.
So these were the challenges.
The last mod will be spacers. Rear 15mm, fron 100mm. waiting for them to be done. And will put on.
However the (lack of) availability of these parts and the communications with (some) of the ebay sellers are really a PITA. Well at least it is for me.
After investigating market, i know many parts sellers, and literally can get any part. Write me if you need some XJ parts. Now waiting for the illuminated door sills.
There were some challenges with front headlamps, but all is working fine. I used wiring diagram from this forum made by xdave. Except that LED's are in dimmed mode. They are not as bright, dont know why. But its a compromise.
I still think the light tubes (bits that light up) are snapped at the clips at the LED end. Once broken the tube sits a few mm further away from the LEDs so the light transmission is not 100%. One of mine was like that when I converted mine and I had to glue it back in place. The acrylic is very brittle and the moulded area is very small with a huge cantilevered force applied to it. There is a cover bracket screwed over the top to prevent too much movement, but there needs to be a little bit of wiggle to allow the materials to expand and contract. Sharp knocks or drops during handling/transit can easily fracture them, and is probably why Jaguar recommend they are replaced if they dropped during handling even if they look ok.
On OEM 2016 installs the lights can be dimmed, but with the retrofit it is either on or off, so I can't see how it could be a wiring issue. What diodes did you use?
I remember i opened the headlight before installing - it was all good. No cracks in the tubes. But who knows... i dont know which diodes, electrician put everything. I have a spare headlight for parts, i will play with it and see if i can make it light up fully.
The tubes themselves would likely not be broken, it is the bit where it flattens out to cover the white and orange LEDs and has two small locating clips/pegs that fit into holes in the driver PCB. If those clips break the tube is still held in place by the cover bracket but it is no longer held tight against the LEDs. It only needs to be a few mm out of position and the light intensity is dramatically reduced. On my damaged one I only noticed it because I was testing the functions on my bench and one side was bright and the other was dim.
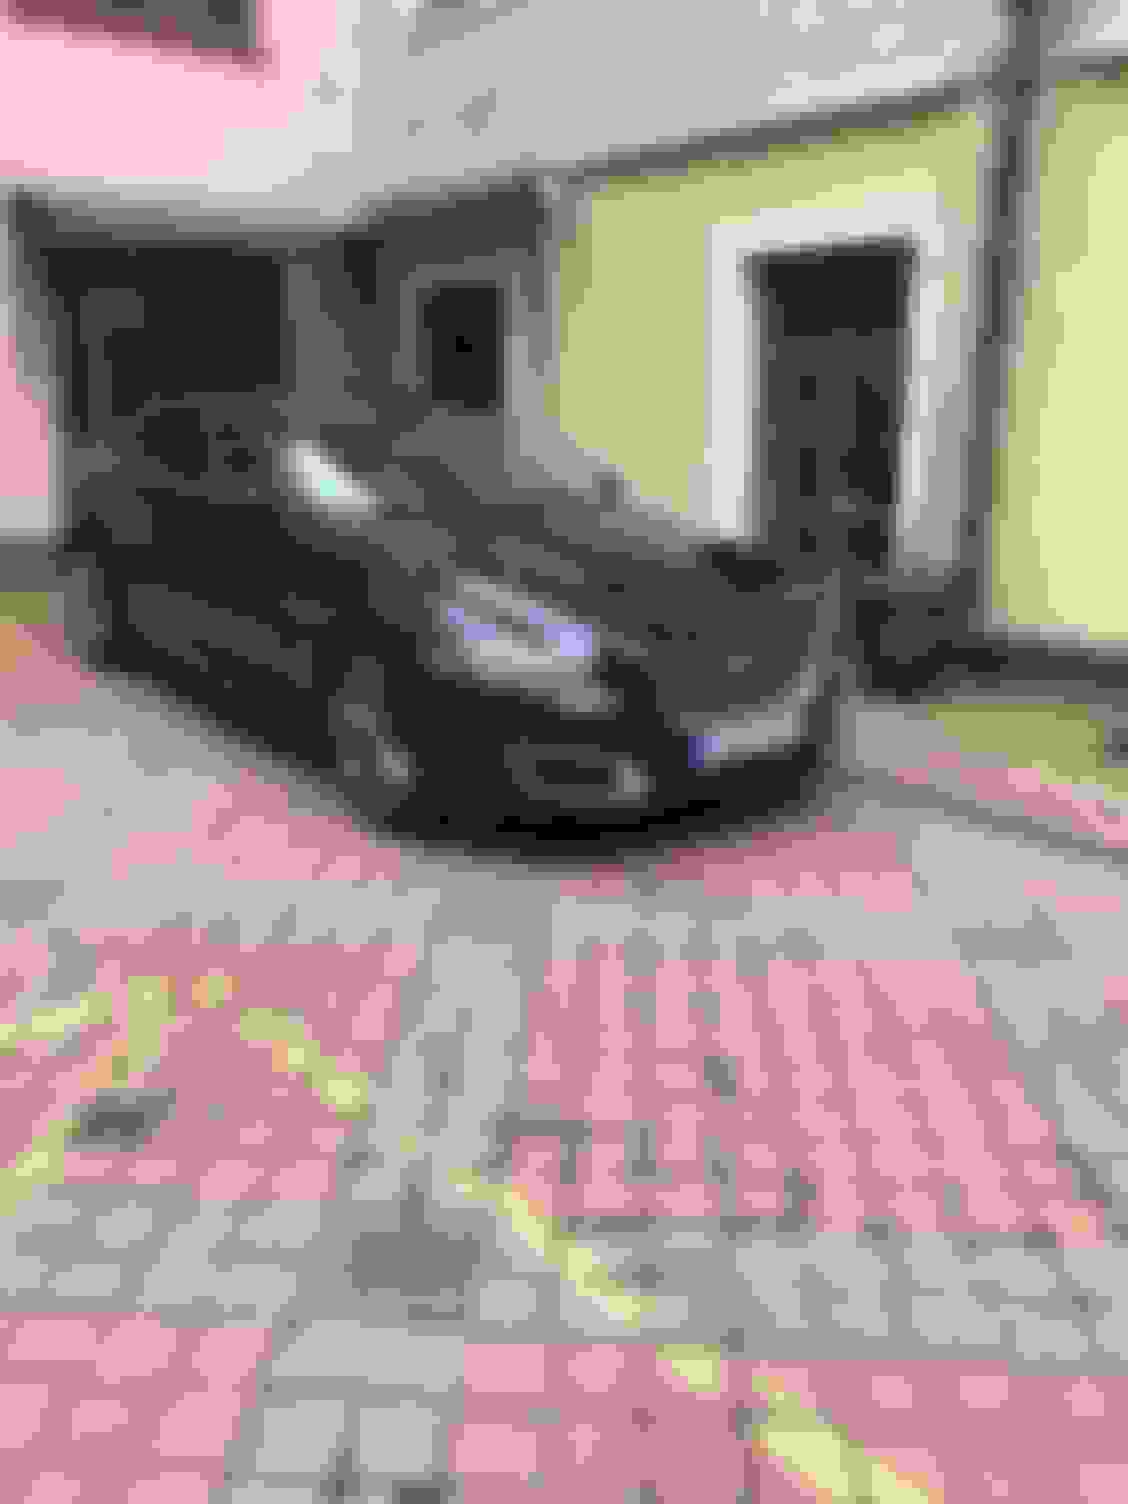
For all four to broken is very bad luck, but you don't know why the lamps were offered for sale. In the first photo in this thread they look ok to me, but in the second they look very dim. Have the photos been adjusted at all? Which is more accurate to what you see?
So if the tubes are loose. There is a possibility to open that metal thing we know. Which covers those tubes. And somehow make it flush with glue or something.
Your first photo looks normal to me, if that is the actual intensity when viewed in person? If you compare to the video in my tutorial thread (linked from my signature) do yours look dimmer than those? Although some photos online look much brighter than mine, they look similar to the 2016 cars I have seen in person.
In my broken unit I still had the broken clip in the headlamp so I glued it back on with some solvent weld adhesive to repair it. You could probably use a blob of flexible silicone too when reassembling (it would have to be done after the tubes are clipped in which is after the projectors and plastic trims are fitted). Don't use anything permanent to fix it to the PCB or you will never be able to dismantle the unit again.
I tried to find a photo of the cover brackets from my tutorial but I couldn't find one. You may be familiar with them though if you took yours apart? They are the little black pieces that have a central screw and clamp the tubes in place. when you remove that you should see the flat part of the tube pressed again the LEDs. If they are not clipped in properly then it should be obvious from looking at them.
It does seem odd that all four would be broken. I can't get that bugging out of my mind, so definitely worth doing a 1-1 comparison against another car before opening the lamps up again.
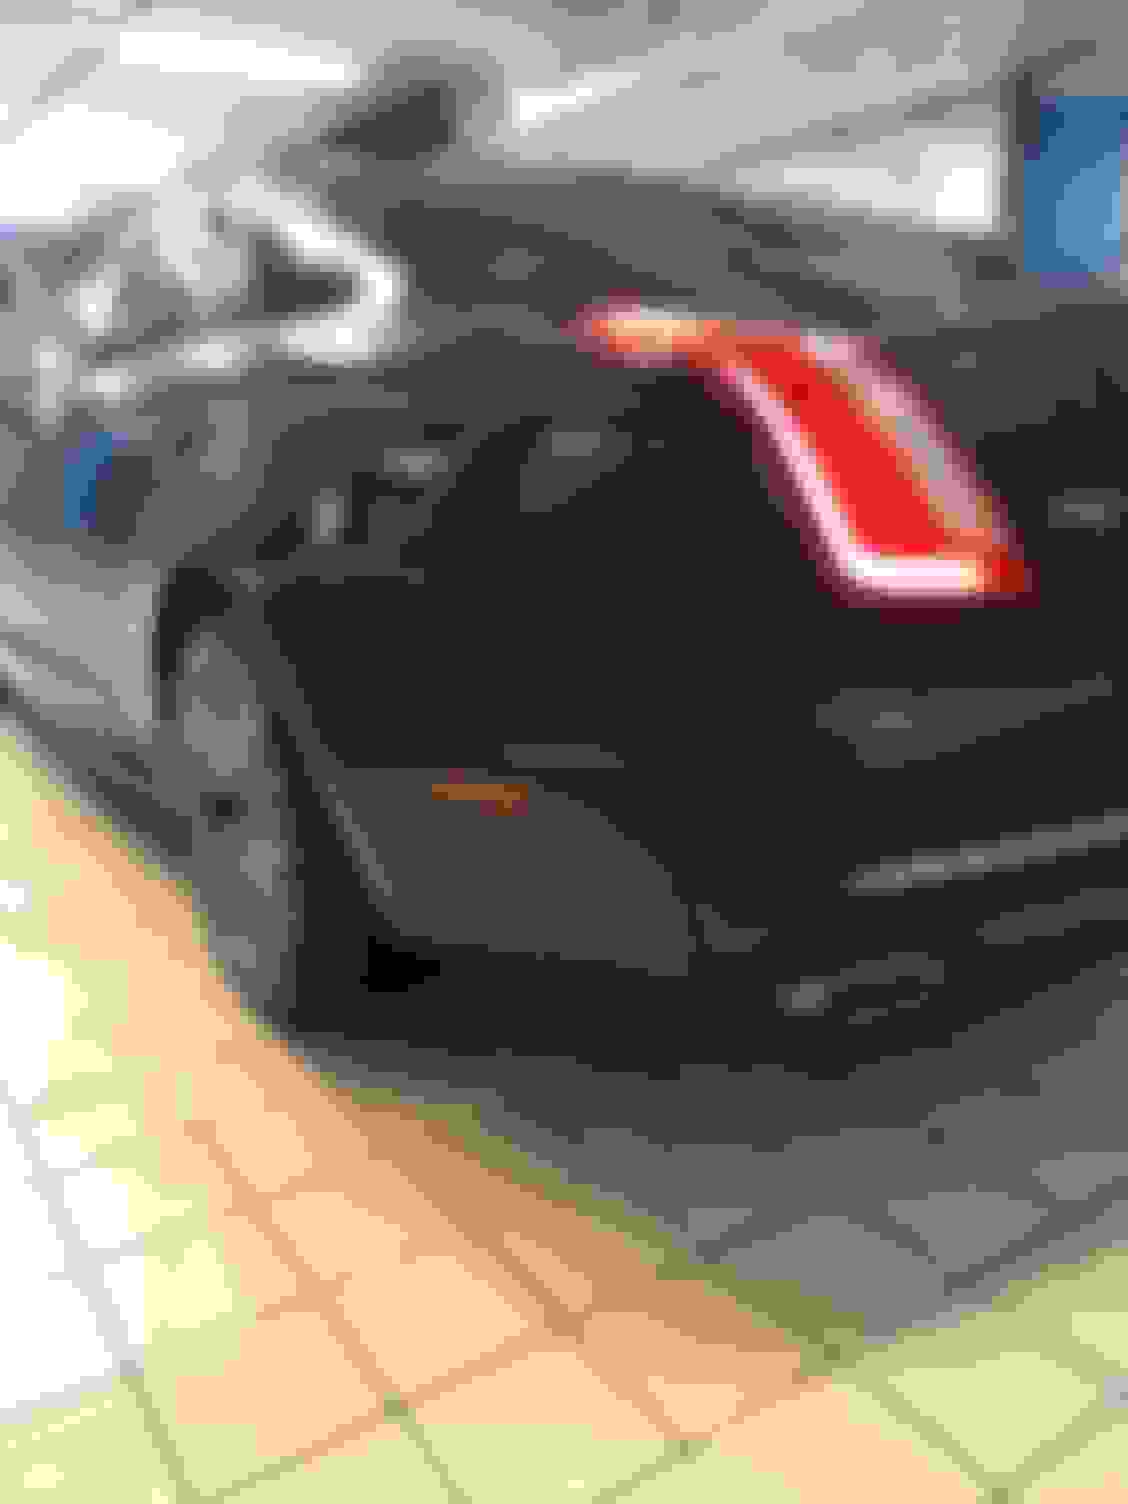
If you get a moment sometime, would you be able to take a photo with your new reverse lamps on? One of the LED strings in my NSR headlamp has blown and I am tempted to replace them both with the newer style like you have.
Sorry for the background lol but thats how it looks in the day time normally. Its bright enough, I just saw one time in london a brand new jag and it was brighter. Maybe im just looking for something bad, where everything is fine. Lol. Ill get you that pic of reverse tommorow.
That recent photo looks pretty good to me, and is on par with other retrofits I've seen and the 2016 with LEDs that I borrowed during a recent service.
Thanks for the final photo - that shows the screw in cover and on the left hand half you can see where the flat acrylic clip has broken off and been left behind (between the two screws).
 07-28-2017, 12:37 PM