When you click on links to various merchants on this site and make a purchase, this can result in this site earning a commission. Affiliate programs and affiliations include, but are not limited to, the eBay Partner Network.
I'm taking my front brakes apart and attempting to remove the calipers and rotors. I have an XJR with the Brembo performance brakes. I need to remove the rotors so that I can install new wheel studs. You may remember that several months ago, I had a problem with seized lug nuts and had to drill some off. I'm going to replace all the studs and nuts. I have all the parts on hand.
I'm stuck!
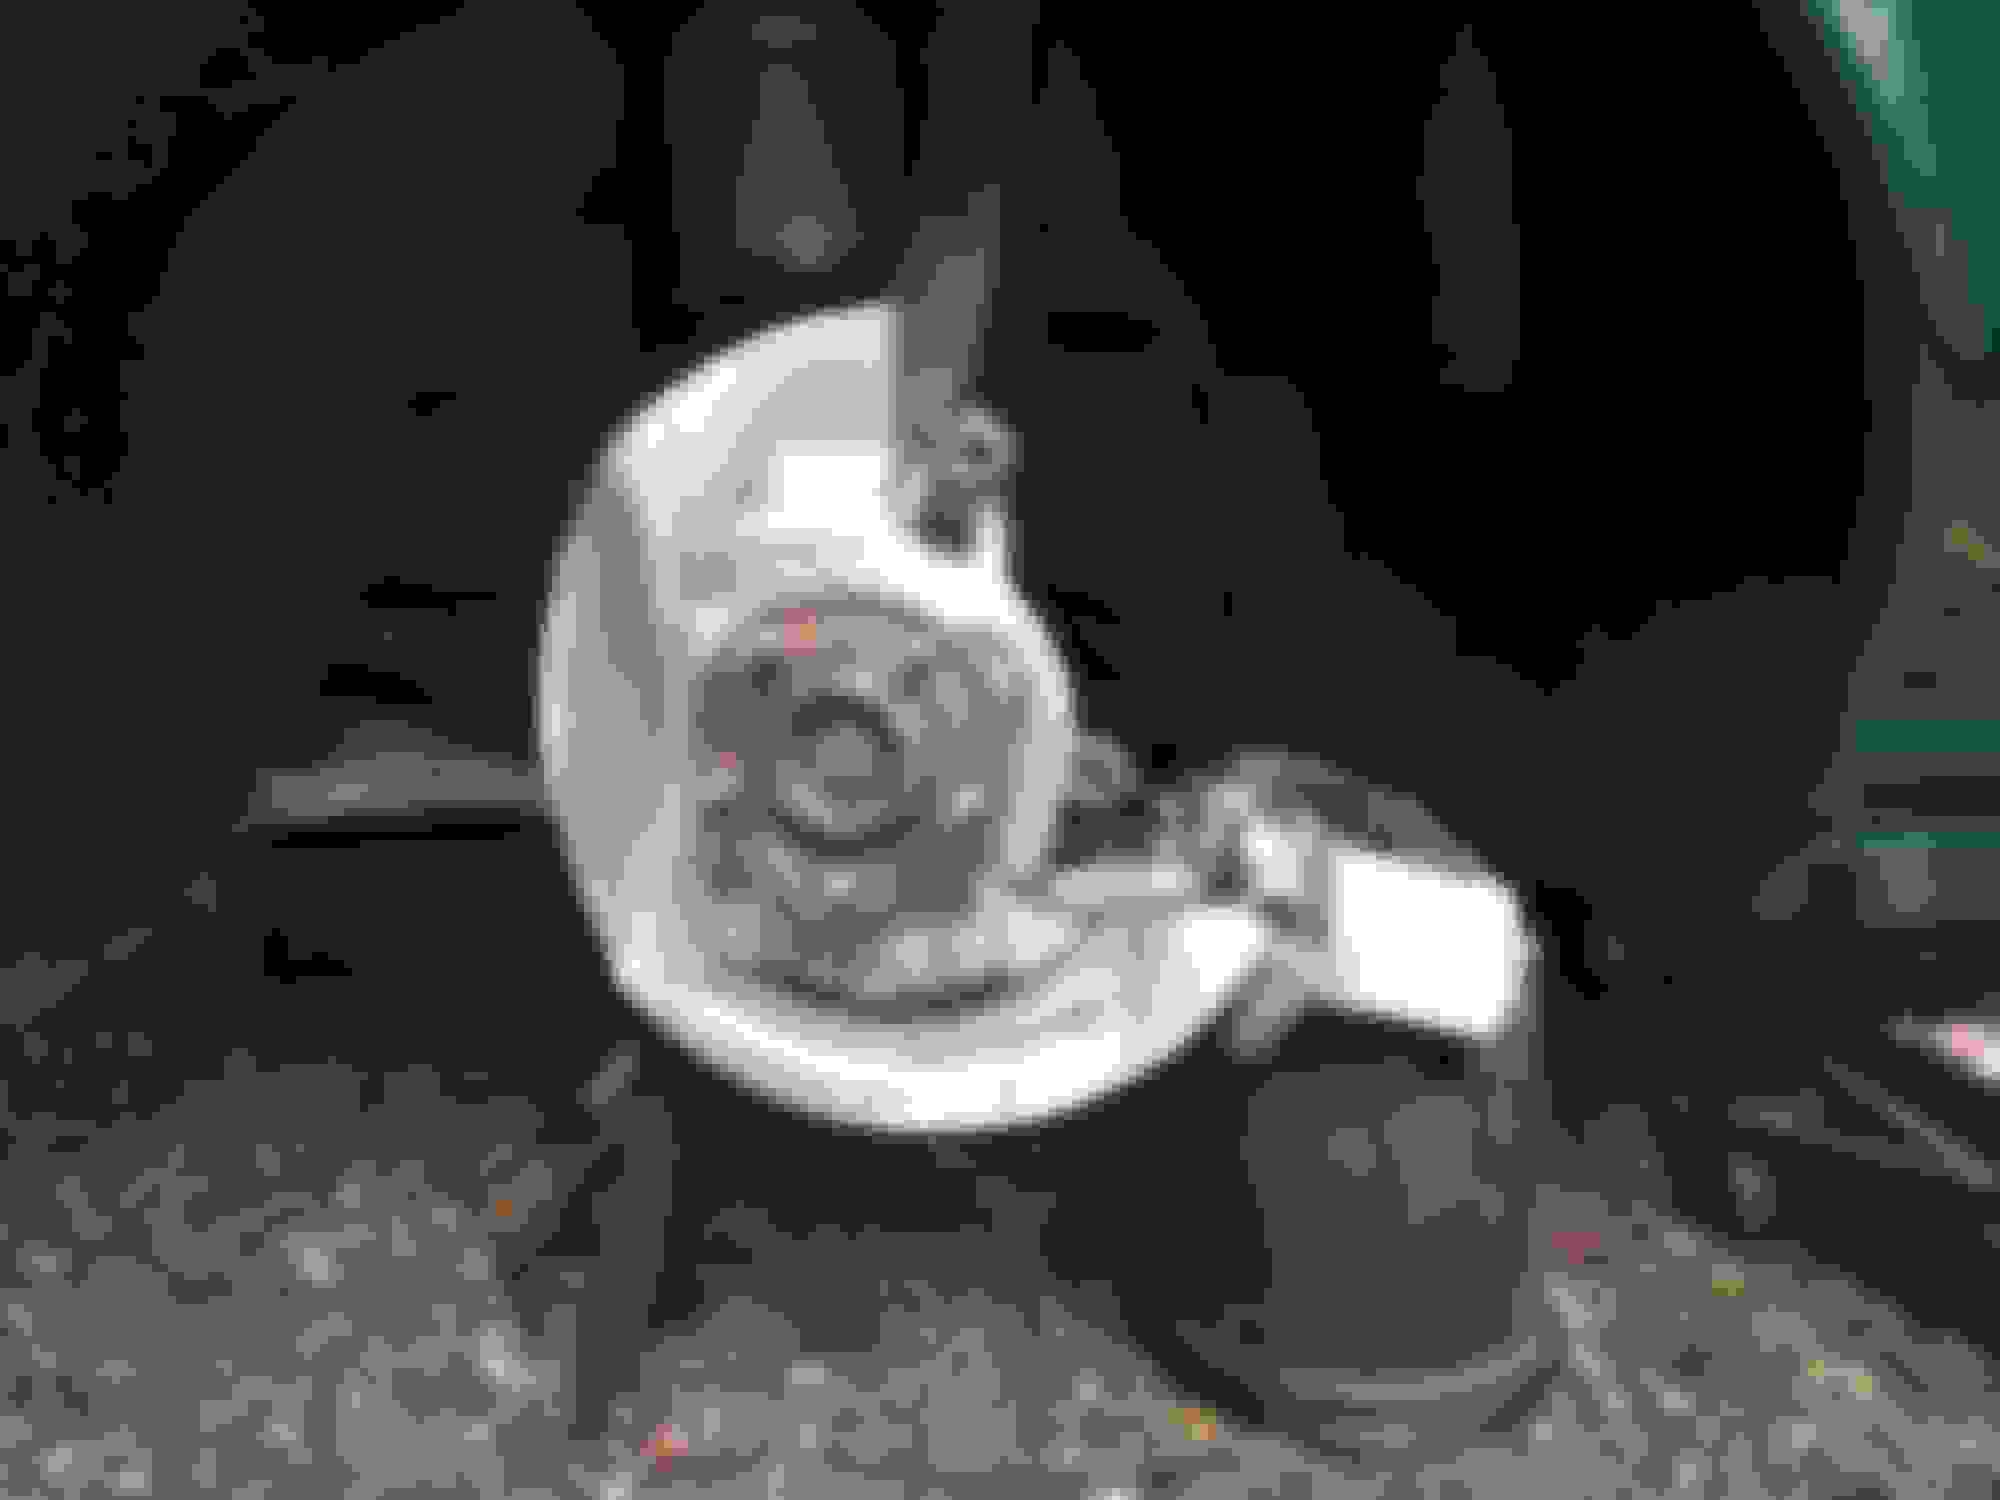
I've removed the wheel, removed the brake pad retaining pins, and removed the brake pads. The rotor is now lose (as it should be) but I need to remove the caliper to take the rotor off.
I've read the service manual and it clearly shows which bolts to remove. The problem is that they simply won't budge. They are a little hard to access as they are on the back of the caliper, but not too bad. I was able to get a socket on the bolt head and when I couldn't get it to shift, I even tried hitting the wrench with a hammer. Neither bolt will move.
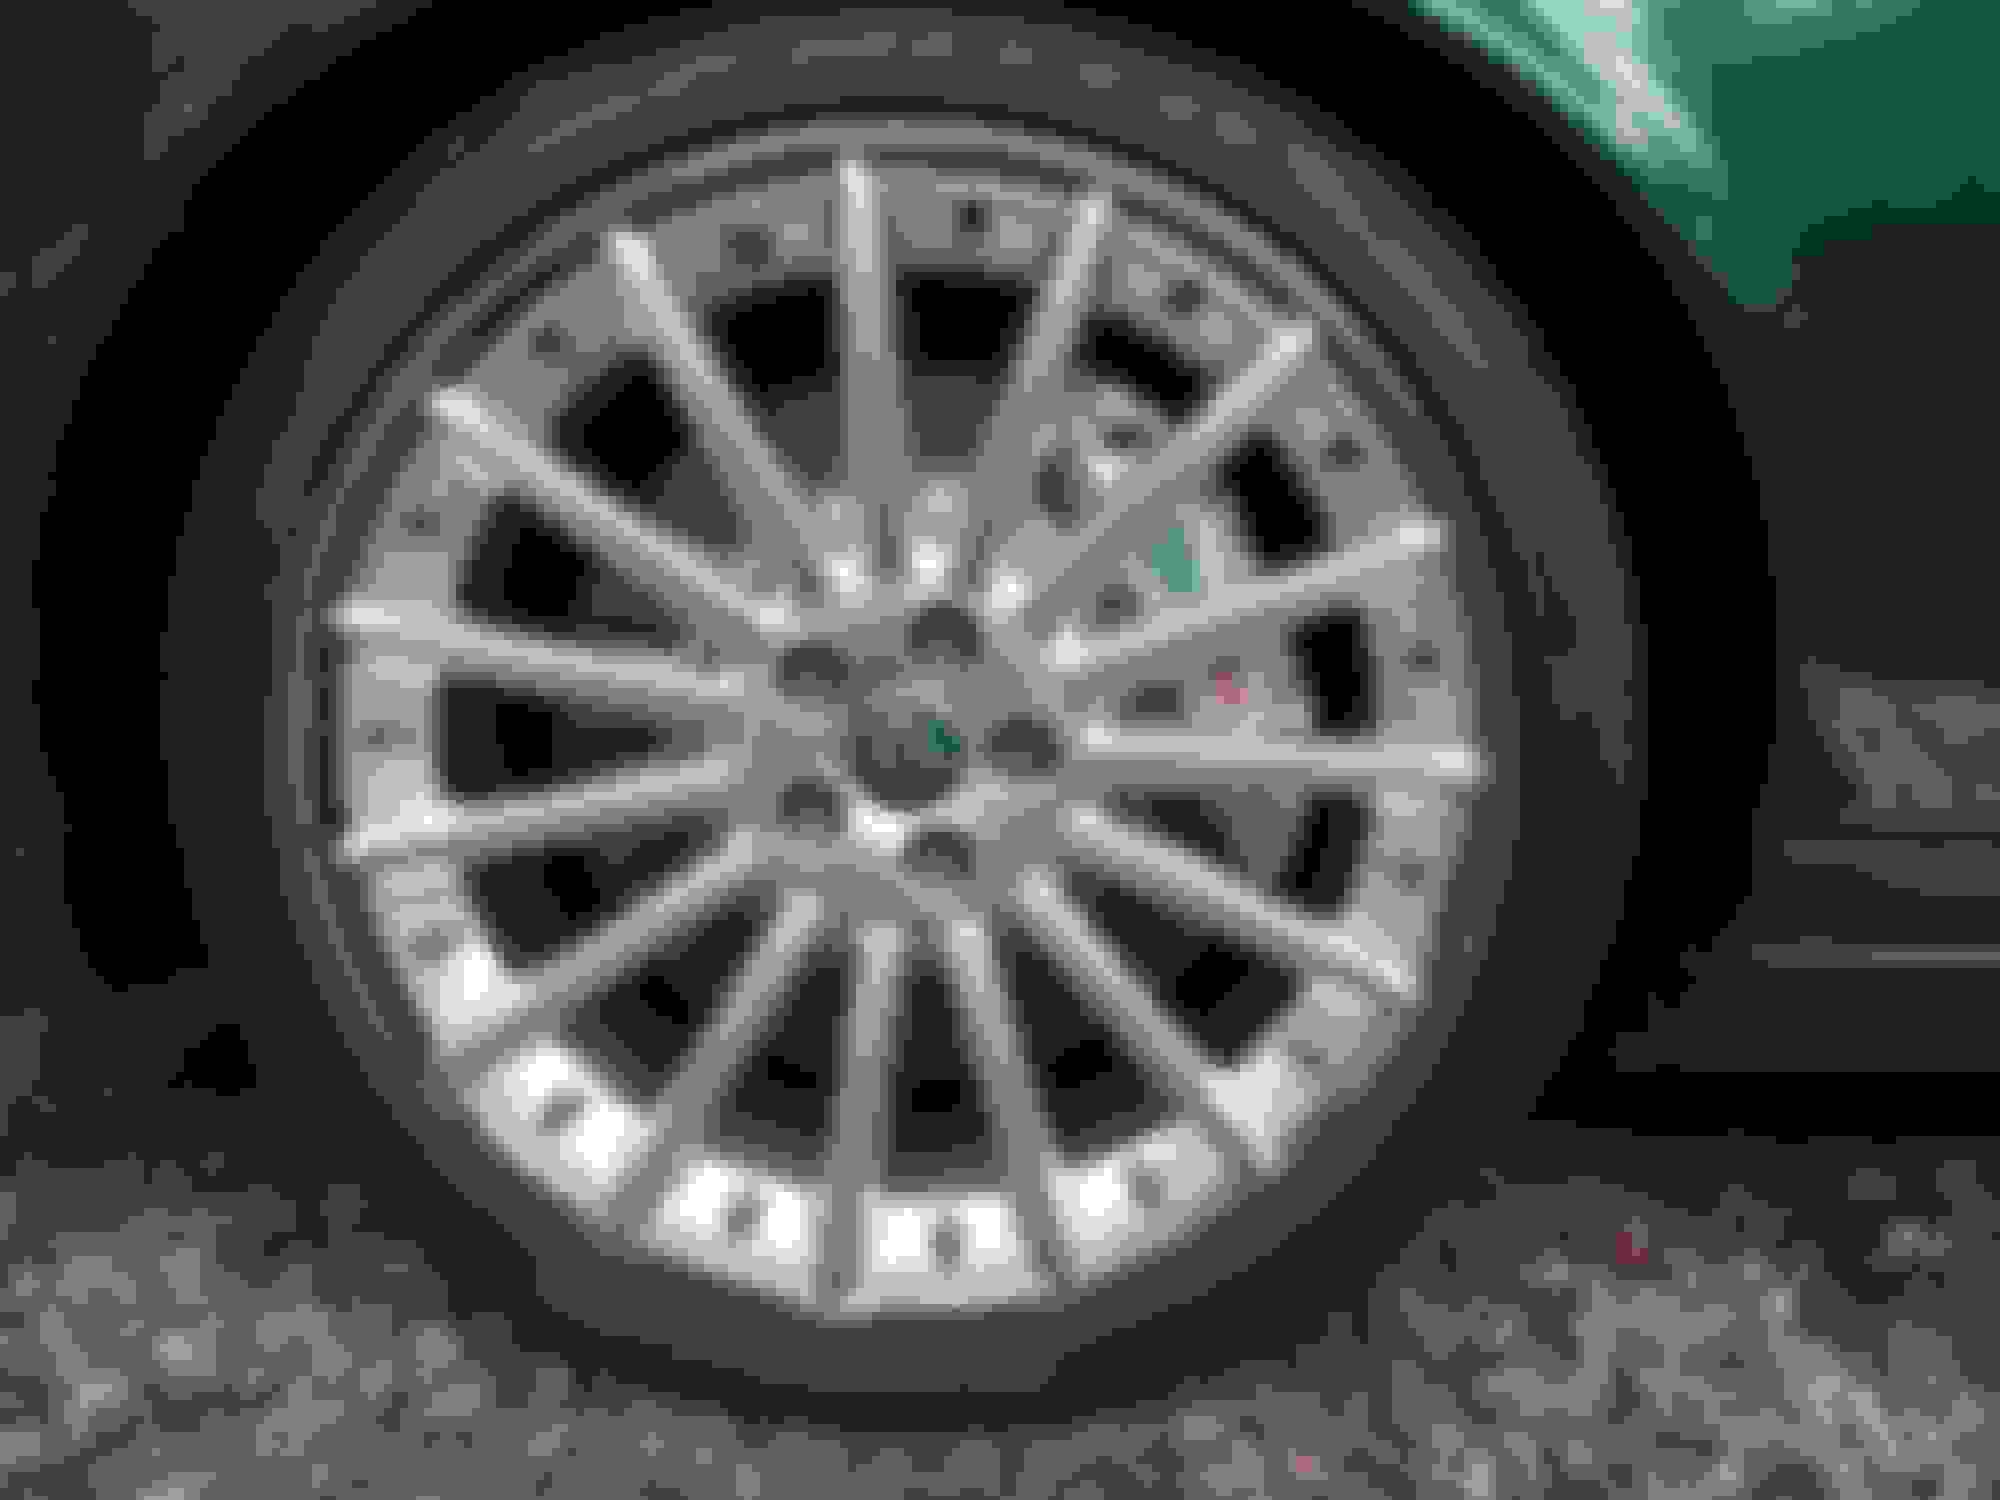
These are the bolts I'm talking about:
The re-installation instructions say to torque the bolts to 212 Nm. Holy crap! that's 156 ft lbs. Perhaps this is why I can't get them off.
Ditto on the breaker bar. You probably need one 24 inches long or longer, and mastersid's recommendation of a 6-point socket is also well advised.
The fact that the manual instructs us to discard the bolts probably indicates that they stretch when torqued to spec, which makes them even tighter than usual and hard to remove, but also makes them unsafe to reuse.
I agree that a breaker bar would seriously help, but this is inside the wheel well and there isn't room for one, certainly not a 24-incher. I'll try again tomorrow and see I have a breaker bar short enough to get in there, but I doubt it. Oh, and I'm using a 19mm 6-point socket.
+1 on a 6-sided socket or equivalent. You must not round off the head.
What I did was to get enough length of bar (wrench or whatever) to poke out to where I could use my floor jack against the weight of the car. You then have the irresistible force and the immovable object, except the bolt CAN move. So it will.
They are tight and have thread lock. When reassembling you're supposed to use new bolts (they come with it pre-applied) or at least new thread lock. (I can't see them backing out, but hey.)
That's a fantastic idea. Thanks! I'll give that a try in the morning.
If you put steering on full lock so as the caliper is facing outwards you can use a 24" breaker bar, but they are pretty highly torqued
That's it!!!!
Brilliant! Why the hell didn't I think of turning the steering wheel. Now I feel like a real idiot.
Since the car was on a jack stand, I tried using the floor jack trick first to move the short breaker bar. It looked like it was going to move, but I ran out of height in the capabilities of my small floor jack. I very slowly tried turning the steering wheel (so that I didn't drop the car off it's jack stand) and it worked. With the caliper turned, I was able to get the breaker bar on the bolts and remove them.
As a follow up on the caliper bolts for these brakes (in case anyone is interested), from what I can tell, the Jaguar part number is C2C6744. They are a M14-2.0 x 48mm flange head bolt. They are class 10.9 which is hardened similar to grade 8 in SAE bolts. I found some available from Fastenal HERE, but they are more expensive than the actual Jag part. The ones from fastenal are actually 50mm but it looks to me like that would fit.
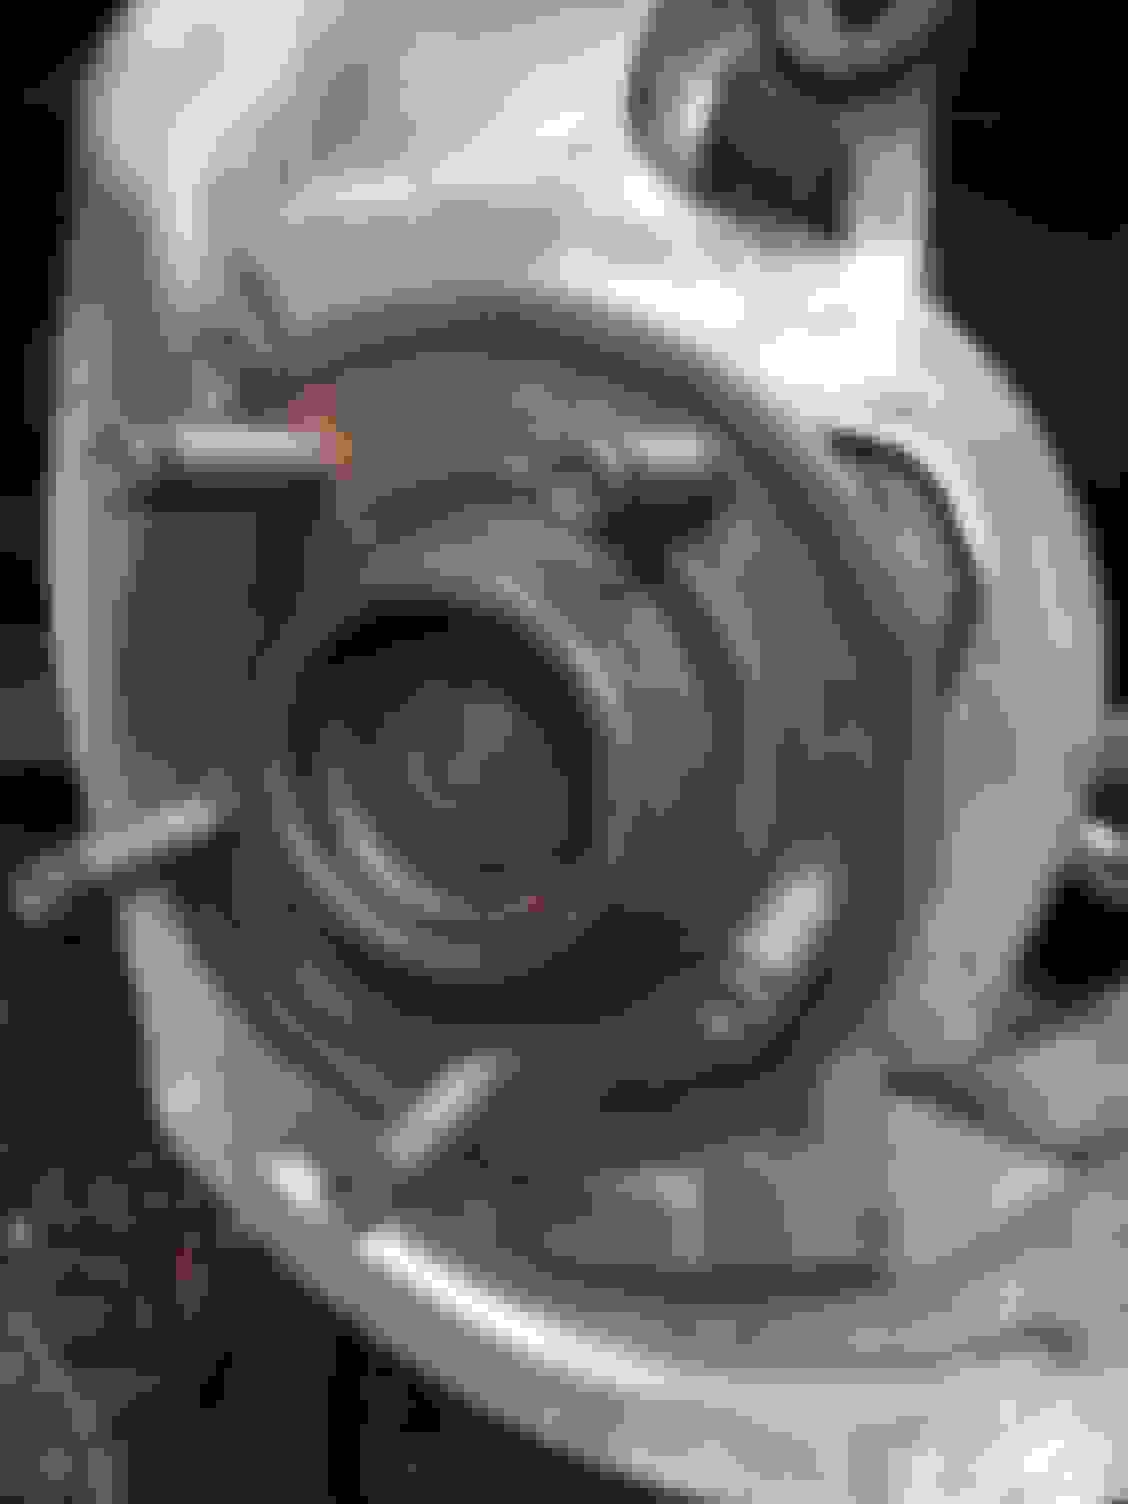
With the caliper removed, I was able to remove my very rusty rotor, from my very rusty hub. That's where I hit another snag. I had started tapping one of the wheel studs out of the hub, when I discovered that there is no room behind the hub to remove the wheel stud. No matter how you rotate the hub, there is no clearance to remove the stud. I re-seated the wheel stud and changed my plans.
I put a wire brush in my angle grinder and cleaned all the rust off of the hub, wheel studs, and rotor. I'm going to paint the rotors with high temp caliper paint. I'm also going to treat the metal hub with Ospho rust converter. I might spray these with a little paint also to prevent future rust.
Once all this is done, I can clean and de-grease the wheel wells and then put everything back together. I've also still got to decide weather or not to remove the trim rings from my Speangs to polish them. I've read a few horror stories about breaking the titanium bolts, and I'm kind of leaning towards trying to re-polish the trim rings in place.
Thanks for both of those links. Very informative. I see that we have very similar cars.
Do you think replacing the hubs is overkill? I have no noise coming from the hubs, but the car does have 107K on it. I just went through the complete service history on my car and there is no record of them having ever been replaced before. Would you have any concerns about changing genuine Jag hubs for aftermarket ones purely for preventive maintenance? $78 seems a no brainer, but would I be downgrading the quality of the hubs?
Would you have any concerns about changing genuine Jag hubs for aftermarket ones purely for preventive maintenance? $78 seems a no brainer, but would I be downgrading the quality of the hubs?
.
Reading the other thread made me satisfied the Detroit Axle hubs were from the same OEM source as jaguar so I don't see any downgrade in quality.
Originally Posted by Thermite
Folks... Smell the coffee.
Ford was on-watch when my X-350 rolled out. I said "Ford", not Pierce-Arrow. Jaguar were not buying Beck-Arnley or Timken parts. Lowest bidder got the order.
They were buying the same Chinese made hubs Detroit Axle is selling for about $105 the pair. They ARE OEM.
Same CNC toolmarks. So perfect a fit the burr from machining fits the marks the old one left in the upright. Mind, I then polished both upright and hub smooth. Surface flaws can weaken that alloy.
Even the old sensor leads are just a spring clip pop, swap, re-clip. No need to get back of the plastic fender liner to mess with the leads unless they are reported wonky upline with an ABS/DSC fault code.
However if you are concerned with your studs the $78 seemed a no brainier to me.
FYI I've bought these hubs even though I also have had no problems but plan on changing mine out when I next get a chance.
I debated replacing the hubs and decided that I'm going to hold off on doing that for now. When I next need to do the brakes, I'm going to install R1 Concepts slotted and drilled rotors with ceramic pads to keep the dust down. I'd like to do it now, but the current pads have less than 3k on them and it seems a waste. When I replace the breaks, I'll put in new hubs at the same time.
So the current job has turned into a disassemble, de-rust, clean, paint, and re-assemble affair. I'm also thoroughly detailing the wheels and will polish and wax them. I got mostly done with the front left wheel today. My "silver" brembo caliper was completely black and it took me nearly an hour with de-greaser and a toothbrush to clean it. I cleaned everything inside the wheel well at the same time and was surprised to discover that the back of the wheel well was green (not brake dust and road grime colored).
I painted Oshpo rust converter onto the hub and wheel studs to neutralize any remaining surface rust. After the reaction had occurred, I washed down the hub to get rid of any remaining acid. I dried the hub and studs completely and then coated them with a very light layer of copper grease to help prevent any future rust. I wiped most of this off, leaving only a thin layer. You can see how much was left below:
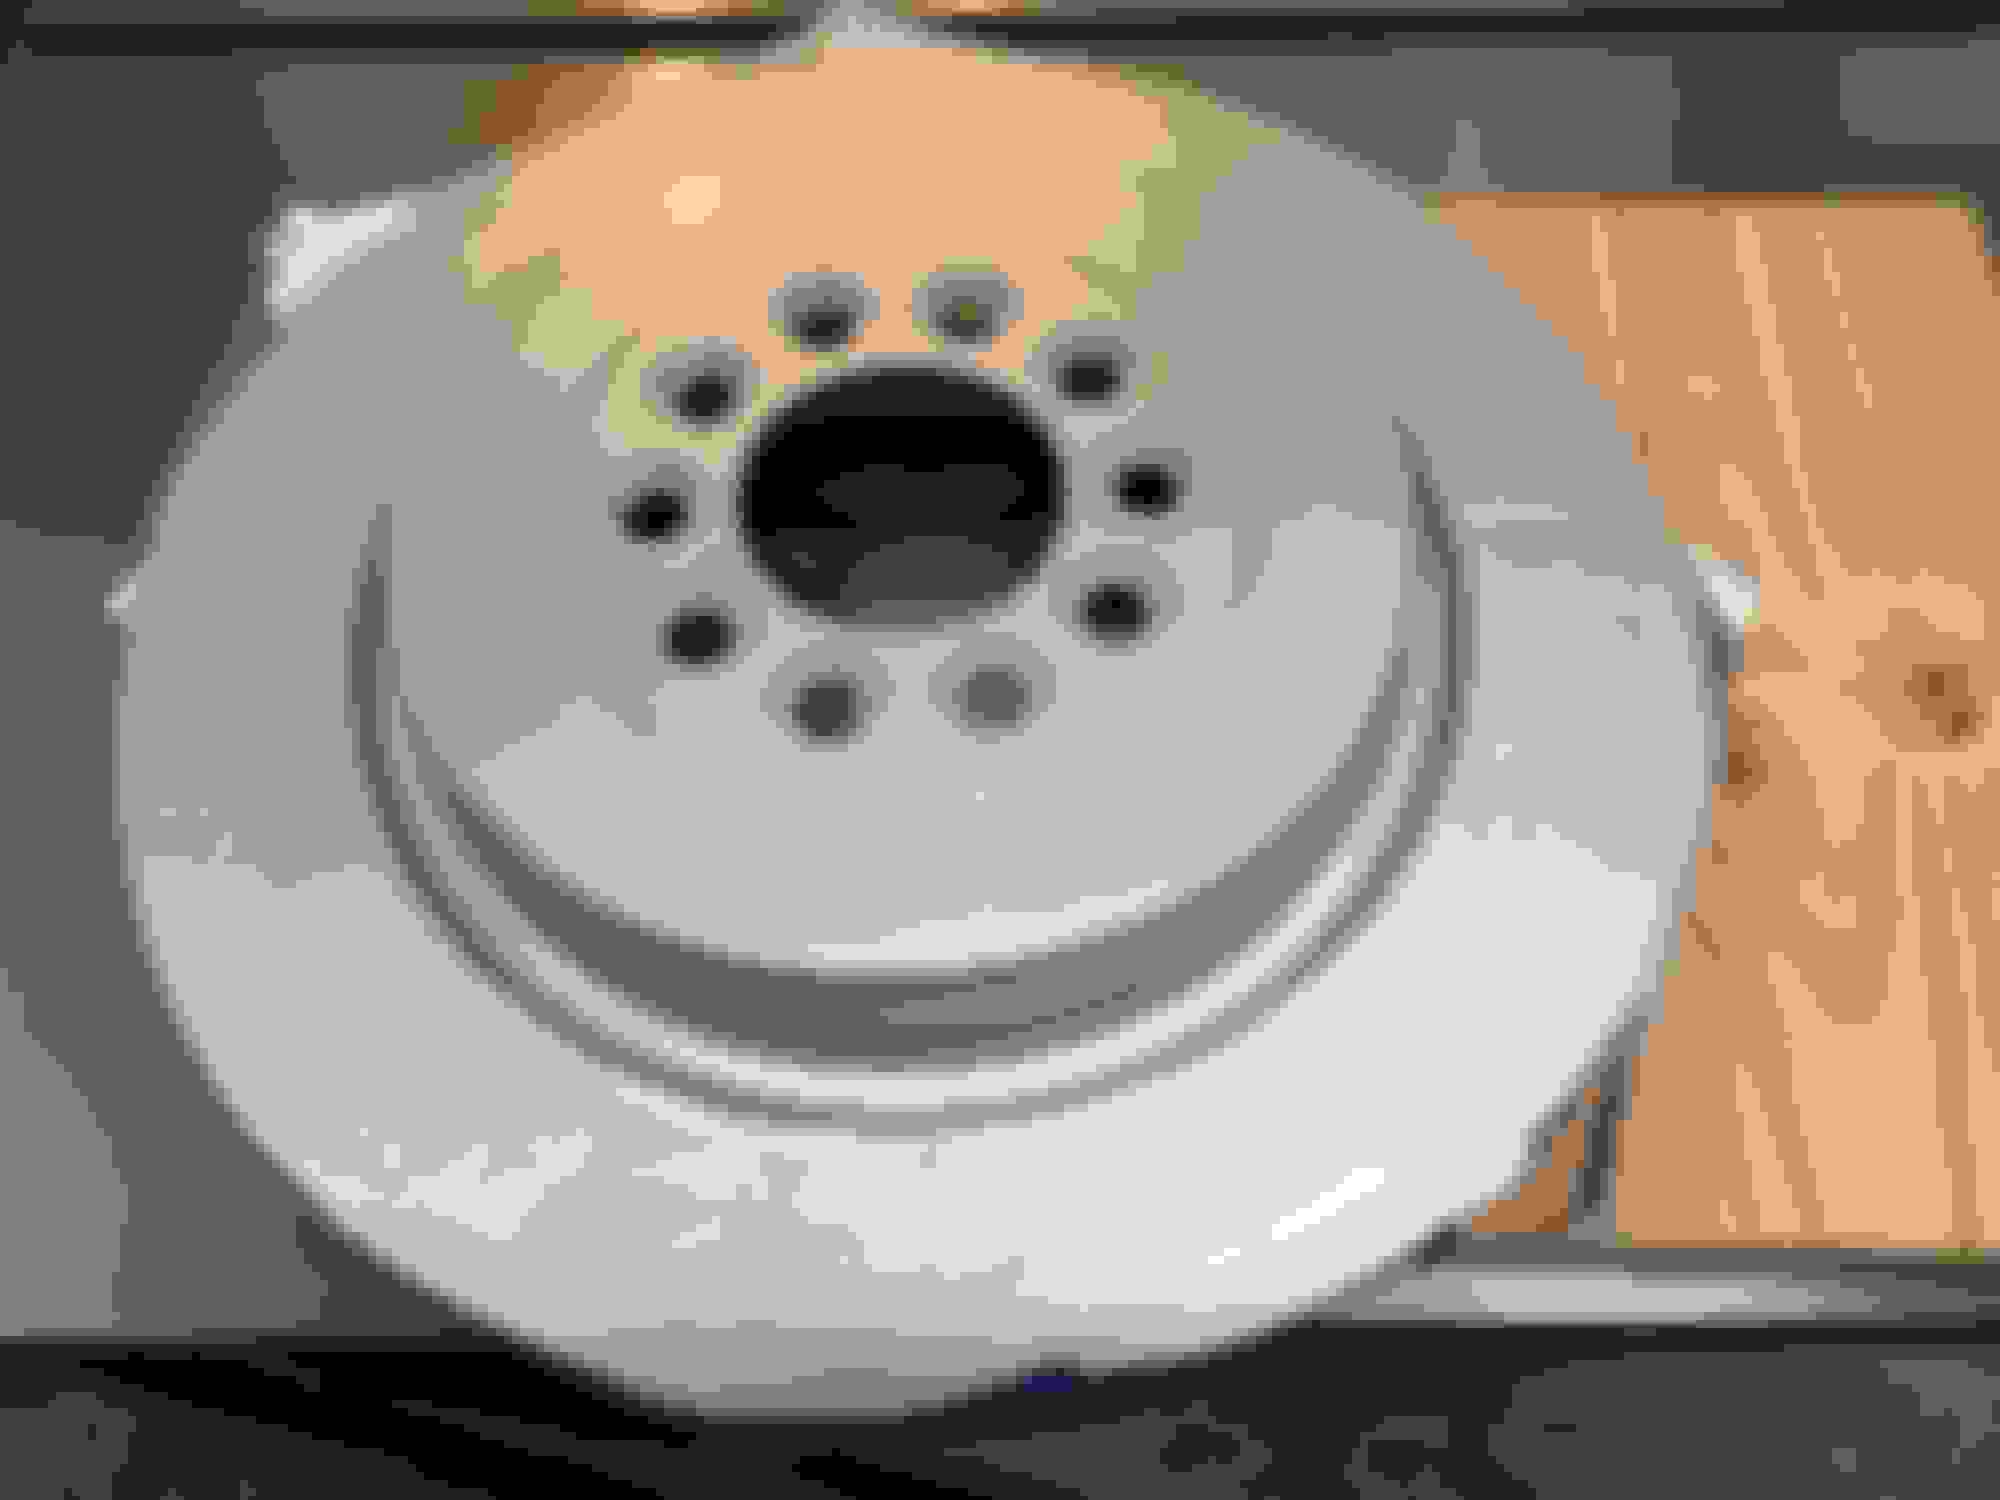
The rotor was seriously rusty and probably the cause of my rusty hub and studs. I took a wire brush in the angle grinder to it and removed loads of surface rust. I then cleaned it with de-greaser. Once completely dry, I masked off the pad wearing surfaces and painted the rotor with high temp caliper paint. This should hopefully stop the rust until my next brake job.
I painted both sides.
So the left front breaks are ready to re-assemble, but I need to finish polishing the wheel. Then, I get to repeat this whole process on the other three wheels. I think I'll be at this for a while. When this is all done, the car will be just about show ready. Not that I have a show to take it to, but it will make it so much more fun to drive.
One quick question. When I re-install the caliper bolts, should I put any anti-seize copper grease on the threads or leave them dry? They get torqued to 156 ft lbs. Thoughts?
Hi
Personally i would not, there is thread lock on the new bolts to keep them tightened once torqued... If i was going to put it anywhere it would be on the inbuilt washer on the bolt head inner surface where it mates onto the caliper bracket as this is the place corrosion/siezure might occur. As i said i would not tho as although these bolts are highly torqued i have not heard of any being siezed in, the main problem people have seems to be when removing them is an incorrect socket fit which can easily roundoff the bolt heads.
Also i would not of painted the mating surface on the inside and outside of your disc's, the mating surface on the inside only mates to the outer and inner ring on the hub anyway but i would be wary of paint build up and possible disc run out problems. Probably me just being a bit too cautious,but being in the motor trade for 20 yrs (in a previous life) ive seen some seemingly insignificant things cause some strange issues.
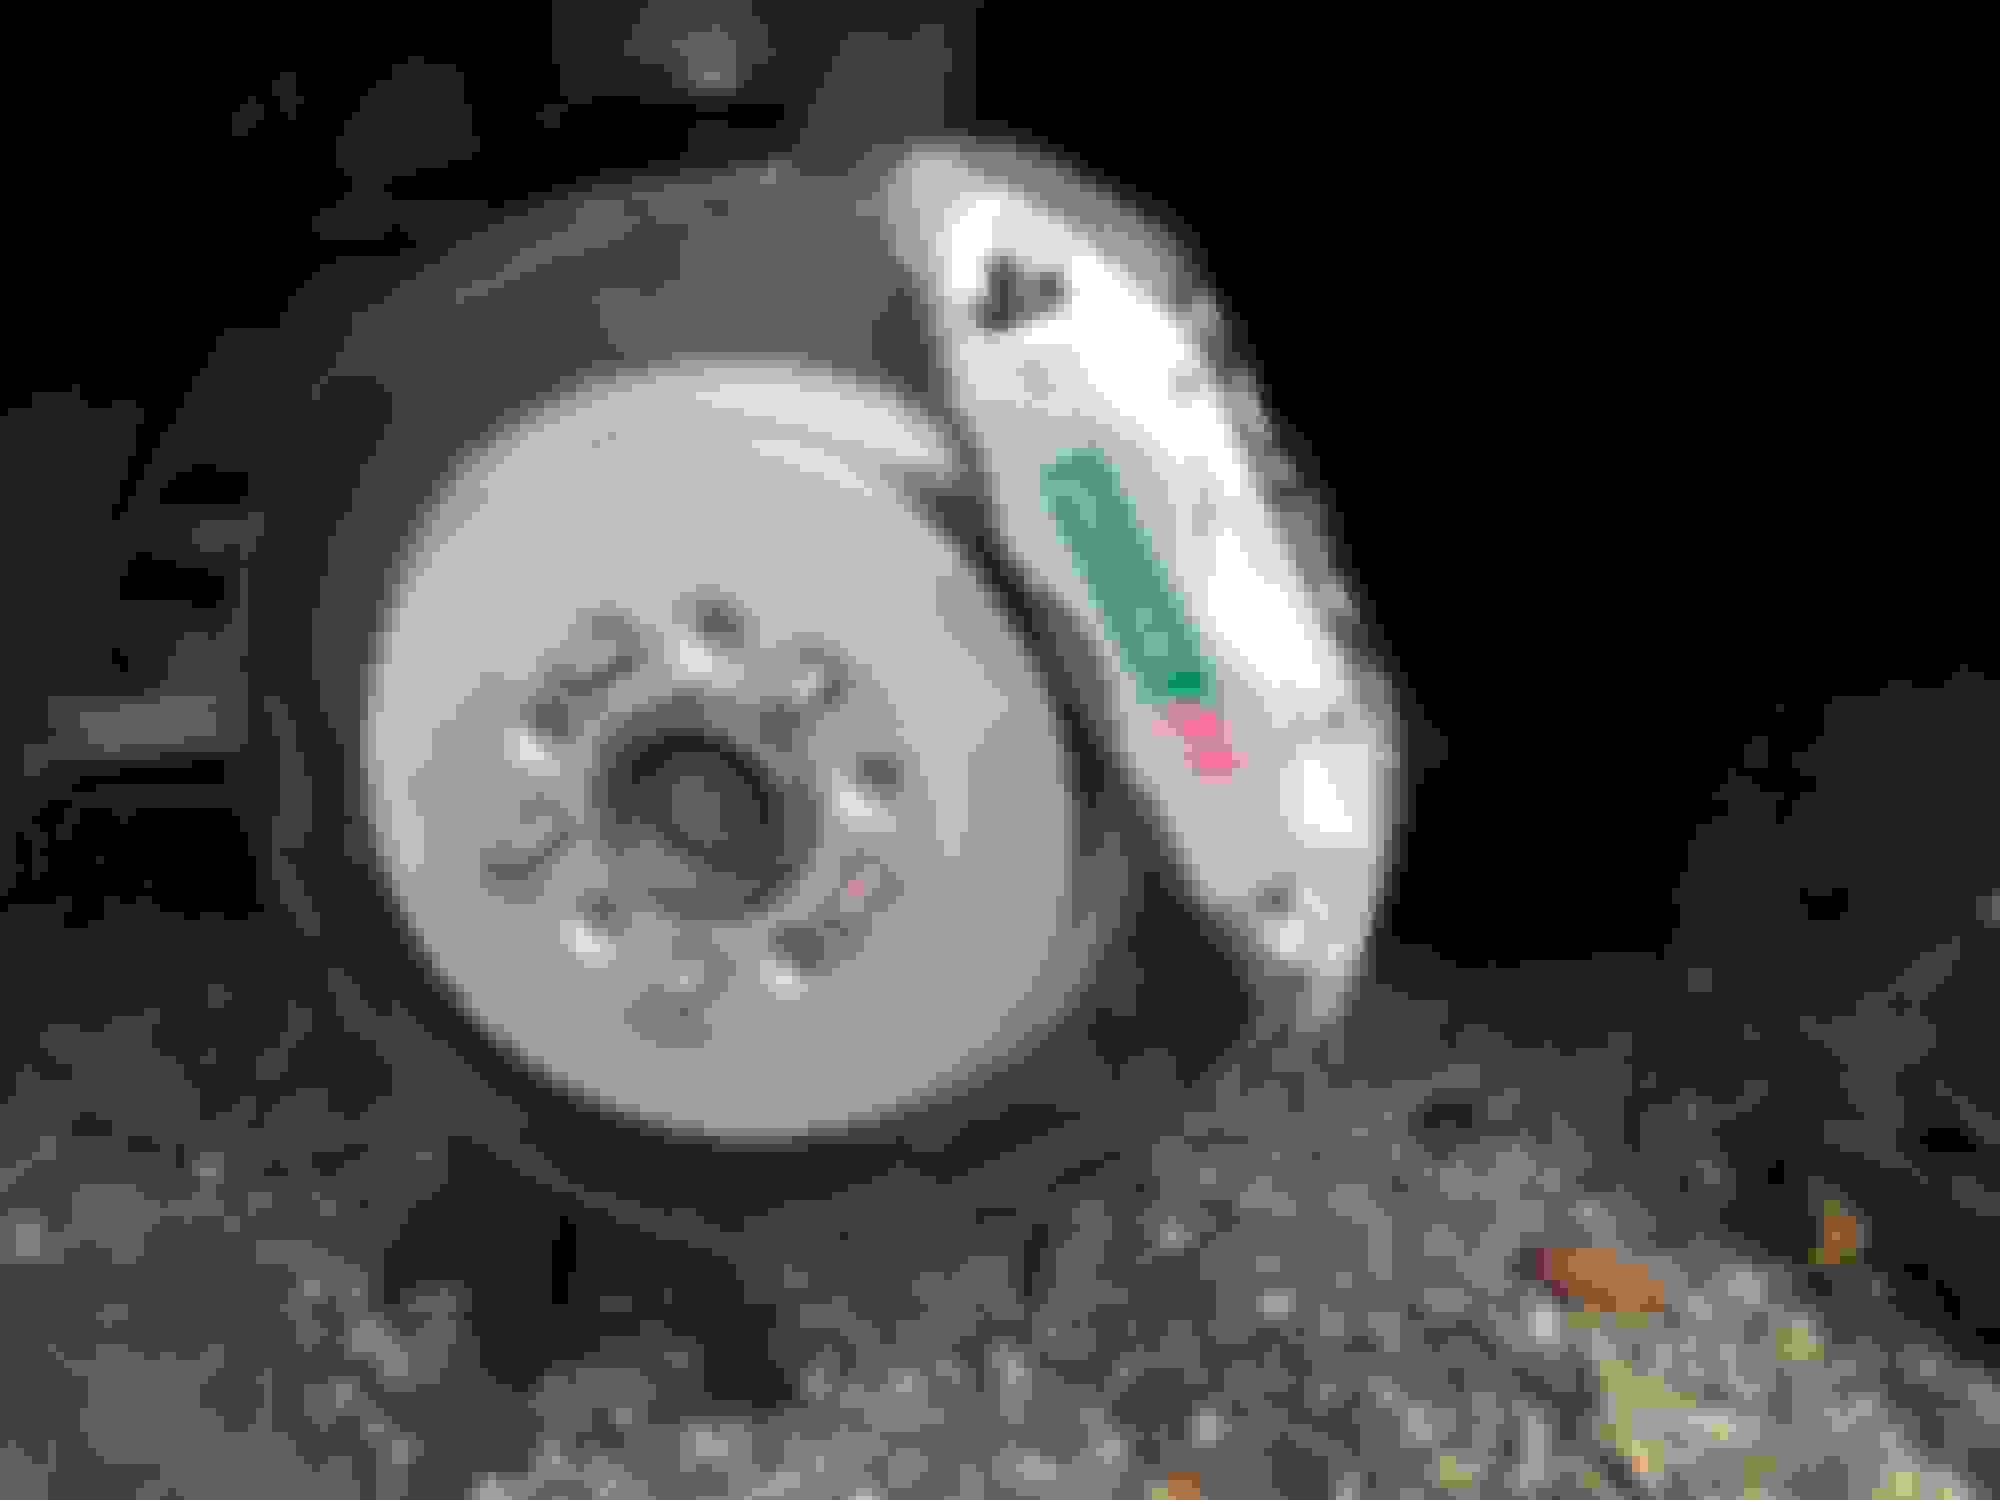
Well, I got the first wheel completely finished over the weekend. All of the brake parts were cleaned and reassembled. I put a very small bit of anti-size copper grease on the flange head and smooth shaft part of the caliper bolt. I was careful to get none on the threads.
I decided against taking apart the wheel to polish the stainless steel trim ring. I used progressively finer grits of wet/dry sandpaper to smooth out the curb rash and then polished the scratches out with a mini buffing pad in the palm router. This is the same set up I used in an earlier post when I polished the trim around the windows, Oxidation on Metal Trim - Polishing Tip. Some of the curb rash was deep and can still be seen, but it is much better now than it was before polishing.
All of the painted surfaces (inside and out) of the wheel were compounded with Meguiar's Fine Cut Cleaner, Polished with Meguiar's Ultimate Polish, and then waxed with Meguiar's Ultimate Liquid Wax. I hope this helps shed the brake dust and makes it easier to keep them clean in the future. They really were dirty.
I also replaced the green Jaguar center cap and installed new lugnuts. I'm happy with how this came out.
I moved on to the passenger front wheel and have already completed the break rotor and hub clean up procedure for that wheel. I've also cleaned that wheel and polished the trim ring, but haven't finished polishing the paint on that wheel yet. Hopefully in the morning.
To give you an idea of how it looked before any de-rusting, here's a picture after dis-assembly, but before any clean up.
I'll be happy when this seemingly endless car detailing is finished. I miss driving the car. Still, I'm enjoying my tinkering.
I have finished the detailing and clean up of the front wheels and brakes. They look amazing!!! I moved on to the rear wheels today. I pulled the wheel, removed the brembo caliper, and removed the Torx bolts to split the parking brake caliper. I then tried removing the rotor and it is not budging. I tapped it a few times with a hammer, with no result. I was about to start hitting it a little harder with mallet, but before I did this, thought that I had better check the tech service manual.
Unlike the front hubs, the rear wheel hubs have a large nut in the middle of them. I shouldn't have to mess with this to get the rear rotor off, right? The service manual doesn't mention anything about this nut, so I'm assuming that the rotor is rusted to the hub and I just need to hit it a little harder to remove it.
Does this sound right to you?
Also, now that I have finished both the front wheels, the car is sitting very, very low in the front. Like low-rider low. I've started the car to see if the air shocks lift up, but have not driven the car (the rear wheel is now off). When I am done with the rear wheels, is there some procedure that I will need to do to get all the shocks to level out at the correct height? Or do I just drive it and see what happens?
There are no warning lights on now, nor have I ever had any of the air-shock errors that we all see here so commonly. I think it is just a result of me jacking up the car to take the wheels and brakes off. I was a little surprised that the car didn't lift up when I started it though.
That center nut is for the bearing assembly. If your rear rotor is stuck, liberal use of penetrant oil and a hammer will free it up. I managed to get severely rusted rotors off my wife's 12 year old LS with this method in only a few minutes.
I take my hat off to you , those front brakes look brand new .
Your right about hitting it a little harder , I would think it's just a build up of rust around the hub , but before you resume the hitting , spray an anti rust solution ( WD40 )around the hub , let it settle for a while and try to hit the face of the rotor hat till it pops off .
If you must hit it from behind , and may have to , use a block of wood in between the rotor and the hammer .
As far as the height is concerned , you should only need to drive the car for a while .
FBH should do the trick , i take it theres no retaining washers holding the discs on?
Just replaced my Brembo rear discs and pads last week but its the second set so they were only on for about 4/5 years so no seizure.
Didnt split the epb caliper just took the pads out and undone the two retaining bolts on mine, but both ways should work equally well.
Fronts look cool by the way.
As a quick follow up. I started the car and let it run for the better part of an hour. The car raised up in the front and leveled itself out as it should. I worried needlessly.
The rear rotors came off with a little PB Blaster and a mallet.
 03-07-2016, 10:12 PM


 , i take it theres no retaining washers holding the discs on?