When you click on links to various merchants on this site and make a purchase, this can result in this site earning a commission. Affiliate programs and affiliations include, but are not limited to, the eBay Partner Network.
This may be a long post but I though it might be good to share a few things learned while doing this work on our current 2004 XJ8. I didn't start with pictures but took them while putting it all back together so I will be showing them in reverse order.
Firstly, you will need to remove the pillar covers front and rear. Simply pull them toward you to release them from the push on fasteners that locate them, and pop the last one out sideways. One will need to be released from its tether by sliding it out from the back of the panel. There are wire connectors at all four corners that will need to be unplugged before the headliner can be removed. The connectors at the rear C-pillers can be difficult to unplug, especially the one on the drivers side rear. This will require removal of the rear seat which should be done anyway.
Removing the seat is much easier than one might expect. You need to find the 4 latches along the front edge of the lower seat portion to release the cushion. Attachment 131700
If you slide your hand along the front edge you will feel them. They need to be pulled toward the drivers side (left side here in the states) of the car to release the pin. The trick is to hold each one up as it is released while moving on to the next one as it will naturally want to settle back down on you. This may take a couple of attempts. Once released the cushion lifts right out very easily as it quite light weight. Here is a picture of the mounts that you will be feeling around for. Attachment 131701 Attachment 131702
Removal of the seat back is as simple as pulling on two straps one on either side of the car. Attachment 131703 Attachment 131704
Again, it is a little tricky to keep one released while trying to undo the other. The seat back is heavy in comparison to the base. This will allow easy access to connectors located behind the rear seat back. Attachment 131705 Attachment 131706
Once this is done you can start to remove sunroof and overhead console trimmings. Sunroof trim simply pulls down with a little effort. Console mostly just pulls out also and has connectors behind it. The mirror trim and wire connections will also need to be removed/disconnected as well.
A small screwdriver will give you access to the retaining screws for the visors and side pull handle above the doors. The handles have lights and connectors that will also need to be unplugged to fully remove them. The visors will require you to remove with the small screwdriver a little cover piece that will allow you to pinch together the retaining tang that holds the visor pivot/retainer in place.
I'm sure I may be forgetting a few small details as I did this over a month ago and didn't document everything along the way. But anything that I missed should be fairly self evident while doing the job.
With all of the hardware removed and the wires disconnected you will be able to remove the headliner out one of the rear doors. This will require a little bit of compression of the headliner shell to accomplish removal. Attachment 131707
To remove the sunroof hatch cover one does not need to fully remove the whole assembly. First remove the stiffening plates, one on either side of the unit and this will give you access to all of the screws that hold the sunroof in place. Simply loosen the front two a few turns and the ones foreword most on either side you will need to loosen a little farther. Remove all the the rest toward the rear half and you will be able to tilt the whole unit down far enough to remove the panel out the back. You will have to flex the front edge of the panel down a little to get the handle portion past the frame toward the middle of the unit but once past this it will come straight out the rear. Attachment 131708 Attachment 131709
Now comes all the joy of removing the old liner and it's associated glue. The fabric comes off easily and the glue isn't too bad either, just time consuming. Make sure to remove all of the glue as any that is left over may show as lumps through the new material. This may not be as much of a concern with foam backed fabric but I chose not to use a foam backed material to avoid the same failure in the future. Once removed, the shell and door will look like this: Attachment 131710 Attachment 131711
The tools I chose to remove the glue were simple: Scraper, razor blade and stiff bristled brush, along with a shop vac. The scraper has rounded corners so as to avoid digging into the headliner shell itself. The razor is to clean glue residue from the blade of the scraper and the brush is use to sweep away glue quite often, along with the shop vac.
One only needs to drag the scraper perpendicularly across the surface a simply "roll" off the glue residue. This will take some time to get it completely removed, which may not be as important when replacing with another foam backed material. But since I chose to use a vinyl instead, it needed to be very clean to prevent any chunks from showing through the finished product.
After much research I chose to go with the 3M Hi-Strength 90 spray contact adhesive. Vinyl top cement might be better or some other professional product. But this was convenient and readily available.
Here is the finished product: Attachment 131712 Attachment 131713 Attachment 131717
While I was at it, I chose to cover the top side of the roof panel with a reflective barrier (since I had some kicking around) to help with heat rejection when closed. And since the roof glass is tinted you really don't notice it unless you get up real close to take a look.
As suggested elsewhere on this forum I did unbolt the passenger seat and rotate it sideways and forward to get the finished shell back into the car. It does seem to come out a lot easier than it goes back in. It's funny, when I first removed it, all I did was to tilt the passenger seat all the way back with the seat fully forward.
Here is the finished product: Attachment 131714 Attachment 131715 Attachment 131716
Finally, no sagging headliner or flapping sunroof panel, hooray!
At a future time I will cover the front pillars, rear C-pillers as well as the faded rear package tray. We went with the off white as it is classy looking, ties in well with the other existing colors and accents the accessories that attach to it.
I hope that this will be of some assistance to anyone else who may be tempted to try this themselves. None of it is fun but the results speak for themselves and it is sure worth the effort.
could i ask you how you removed the centre light cluster does not seem to have any fixings and thanks for all that valuable information every bit helps when you hav,nt done one kind regards Kevin Bishop
Sorry that I can't say that I remember that particular detail and as we no longer have that car I wouldn't be able to check it for you. But I vaguely remember a combination of both a couple of hidden screws accessed through the sunglass door and that it also kind of snapped up in place with some clips on the forward section. Wish I could be of more assistance with that.
Somewhere on this forum you can find the X350 workshop/service manual and download it. In there is the body and paint section that will have many of the details needed for removal. Although it did not specify the rear seat cushion clip location and levers but is a helpful guide non the less.
Hope this helps.
I went in a different direction and replaced it with the color black. WOW is an understatement. I now have a real triple black cat. [ ] Best money i ever spent. Interior is a one off and is gourous.
Can you post pictures or e-mail them to danlee5@hotmail.com? When I replace my 2006 double black XJ's headliner I was thinking of also removing the useless sunroof and adding a solar panel connected to the temperature and rain sensors, that would automatically tip open at 85 degrees interior temp and close when rain detected, and with fans that kick on at 100 degrees to keep interior vented with windows rolled up.
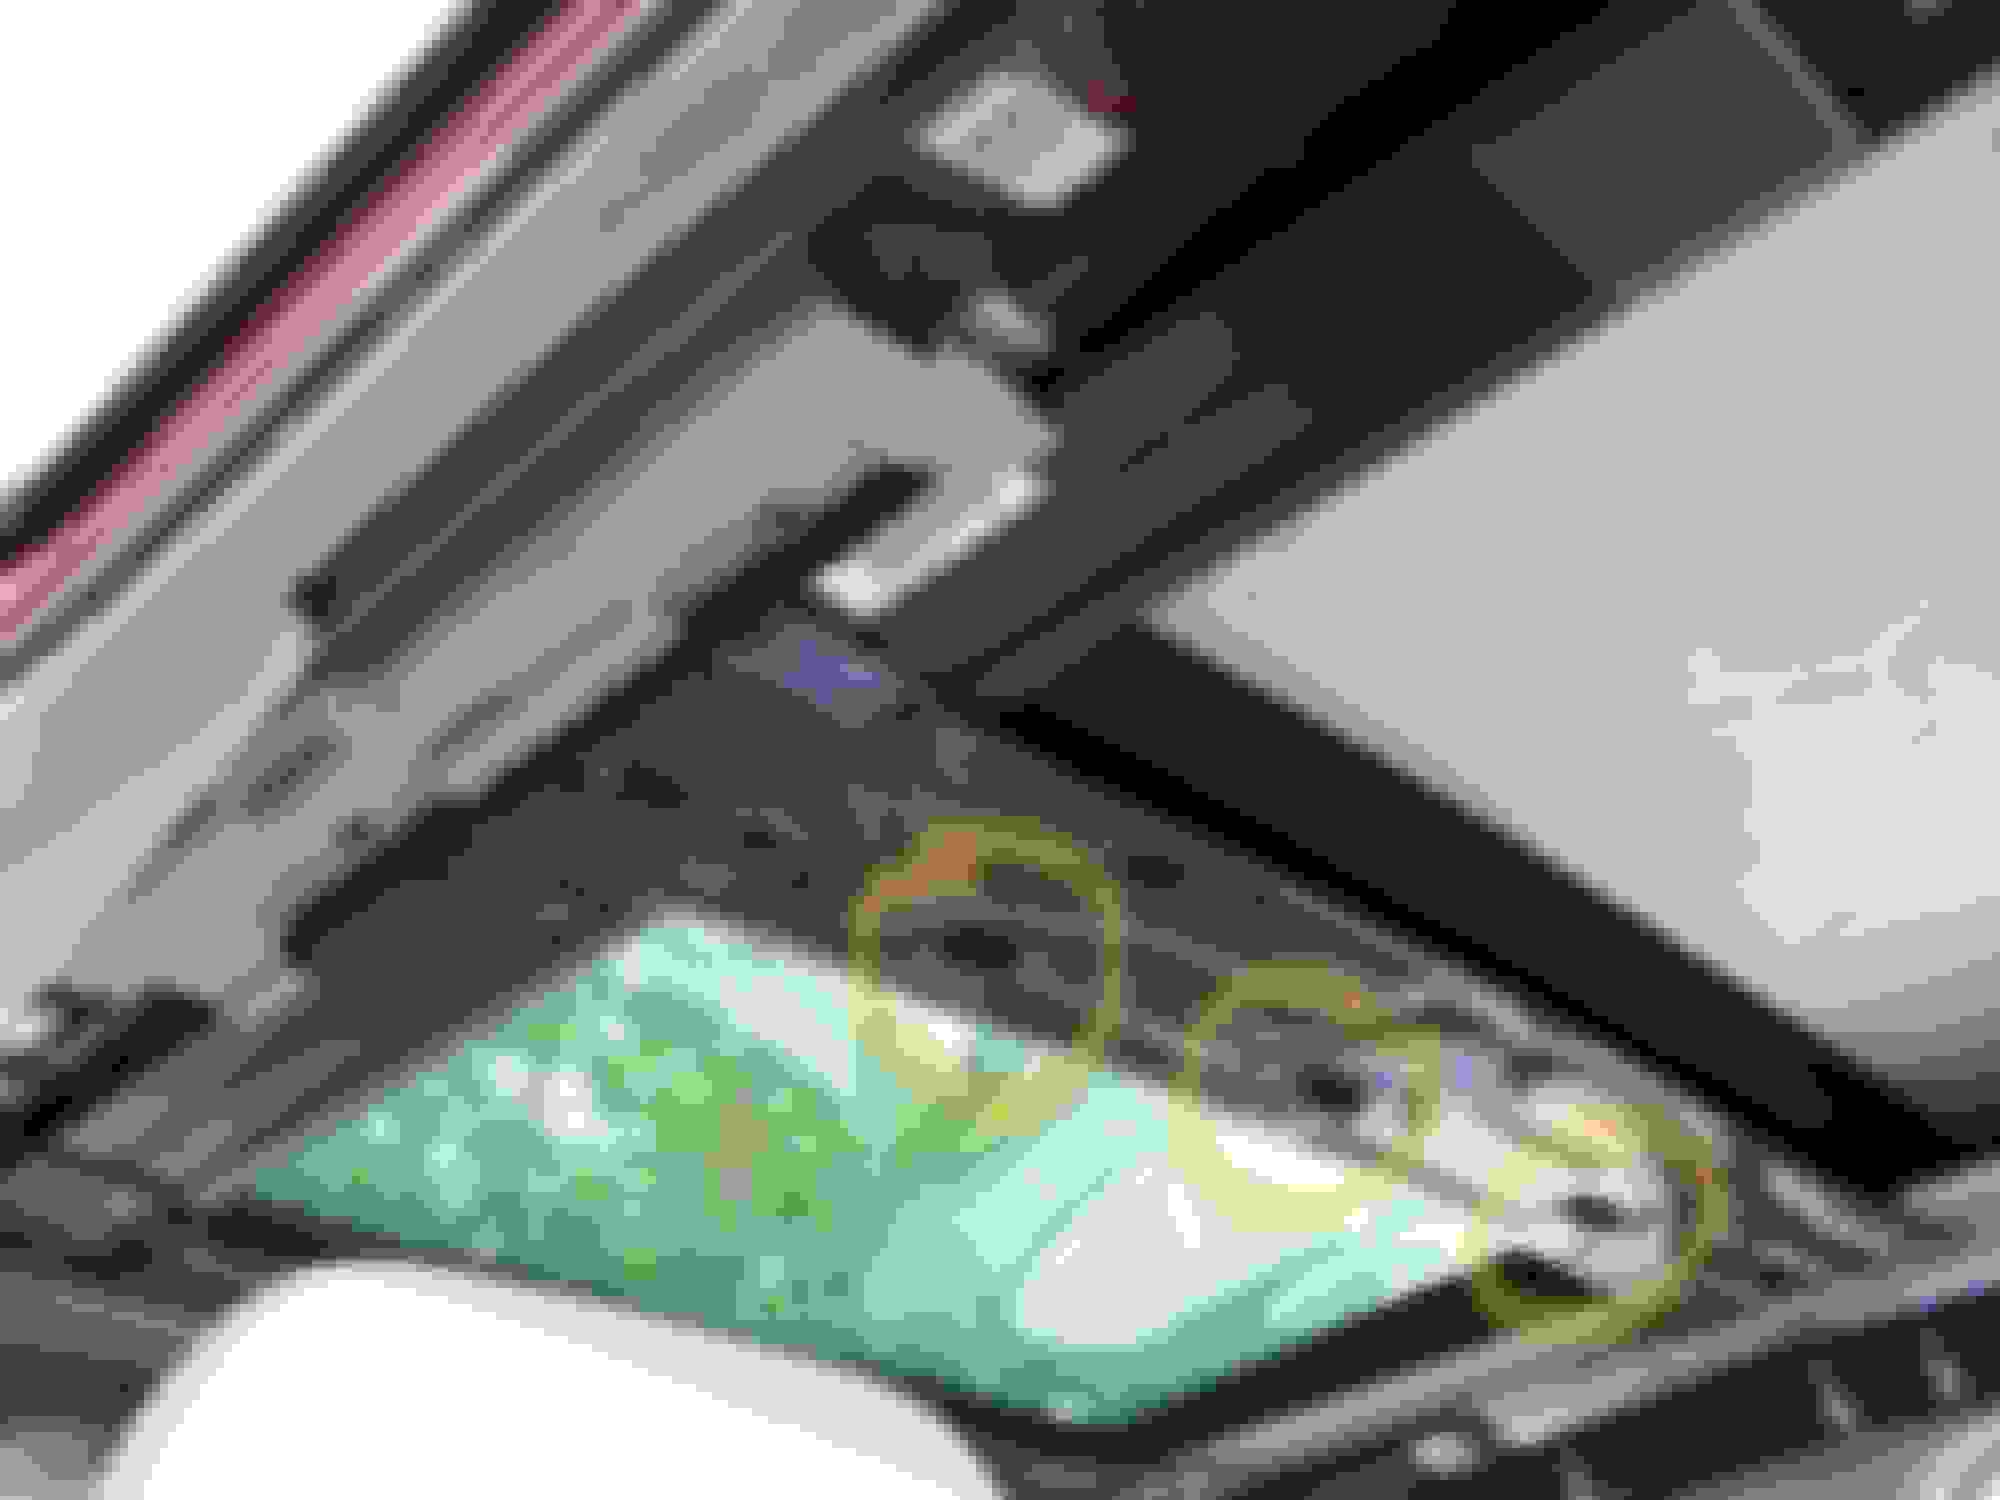
I�m in the process of removing my sagging headliner. Got all the pillars, domelight, rear seats removed. I am stuck with the clips around the sunroof. The two clips on the front were no problem but I am not able to lose the three ones on the rear side (see picture).
How to do that? Is there any trick or special move?
Honestly can't say I remember all these years later but judging from the picture it seems like there are tangs (for a lack of better words) that need to be compressed or squeezed to allow you to pop them upward.
I�m not sure if I explained my problem clearly. My headliner is still mounted. To get it removed I have to release these 3 clips and I don�t know how. The two clips on the opposite site (to the windshield) were easy. I released them by just pulling down the headliner in that location (frontside of the sunroof opening). But I cannot release the other 3. I already pulled very hard and tried to use a trim removal tool. Although I applied heavy force the clips didn�t release. I�m afraid of breaking my headliner.
Don�t know how to press or squeeze the tangs while the headliner is still in place. I see no chance to reach the clips while headliner is in place.
Any idea? Need to get the headliner out of the car to bring it to my upholsterer.
@clakkent: if I remember correctly, I would say yes.
I have checked again the Jaguar workshop manual, and for the LWB the it actually says that the headliner is to be removed via the rear door. As the door is longer, there is no need to flex it to make it pass.
It is only for the SWB that the Jaguar manual says to remove the rear window to etract the headliner, and as far as I can see that's the only difference stated.
Best regards,
Thomas
@GermanXJ
When I did the job on my car I did not have the problem, they came away easily the same way as the ones in front.
As I had replaced the headliner with a new one made of fiberglass that does not connect to the clips (actually, there is no need, the fiberglass is rigid enough to stay up by itself), I can have a look over the weekend to see whether I can find a solution for you.
Would that help, or would it be too late?
The occurrence of loose and sagging head liners seems to be prevalent of late. Would the main reason be that the affected cars are/have been left outdoors in very hot sunny weather too many times? Or just bad luck?
Have anyone changed the headliner without taking it out of the car? I wonder if it possible to remove the sagging material and the foam and just glue on the new stuff?
I had a upholstery guy do this on my e type (its glued directly to the metal in these cars), it should not be that difficult. Only problem would be to do the sunroof liner
The occurrence of loose and sagging head liners seems to be prevalent of late. Would the main reason be that the affected cars are/have been left outdoors in very hot sunny weather too many times? Or just bad luck?
The main reason isn�t hot weather or bad luck but simply Jaguars usage of poor materials and production methods. Almost all of the British car manufacturers weren�t able to get over sagging headliners for many decades now. It�s a shame. I have never had a car of a German manufacturer with a sagging headliner. My 05 XJ8 sat in the garage most of its life and the headliner is still sagging like crazy. Even the fabric on the sunvisors has losened largely.
Although climate is very mild in Germany around 90% of the X350s and 95% of X300/308/100s that are for sale here right now do either have a sagging headliner or the headliner has already been renewed. I have never seen something similar with other car brands. There might be some Audi or VW headliners renewed by a company in NZ but think of the production numbers of these cars compared to the Jags mentioned above - I guess the sagging headliner quota with Audi or VW for example is absolutely fractional compared to Jaguar.
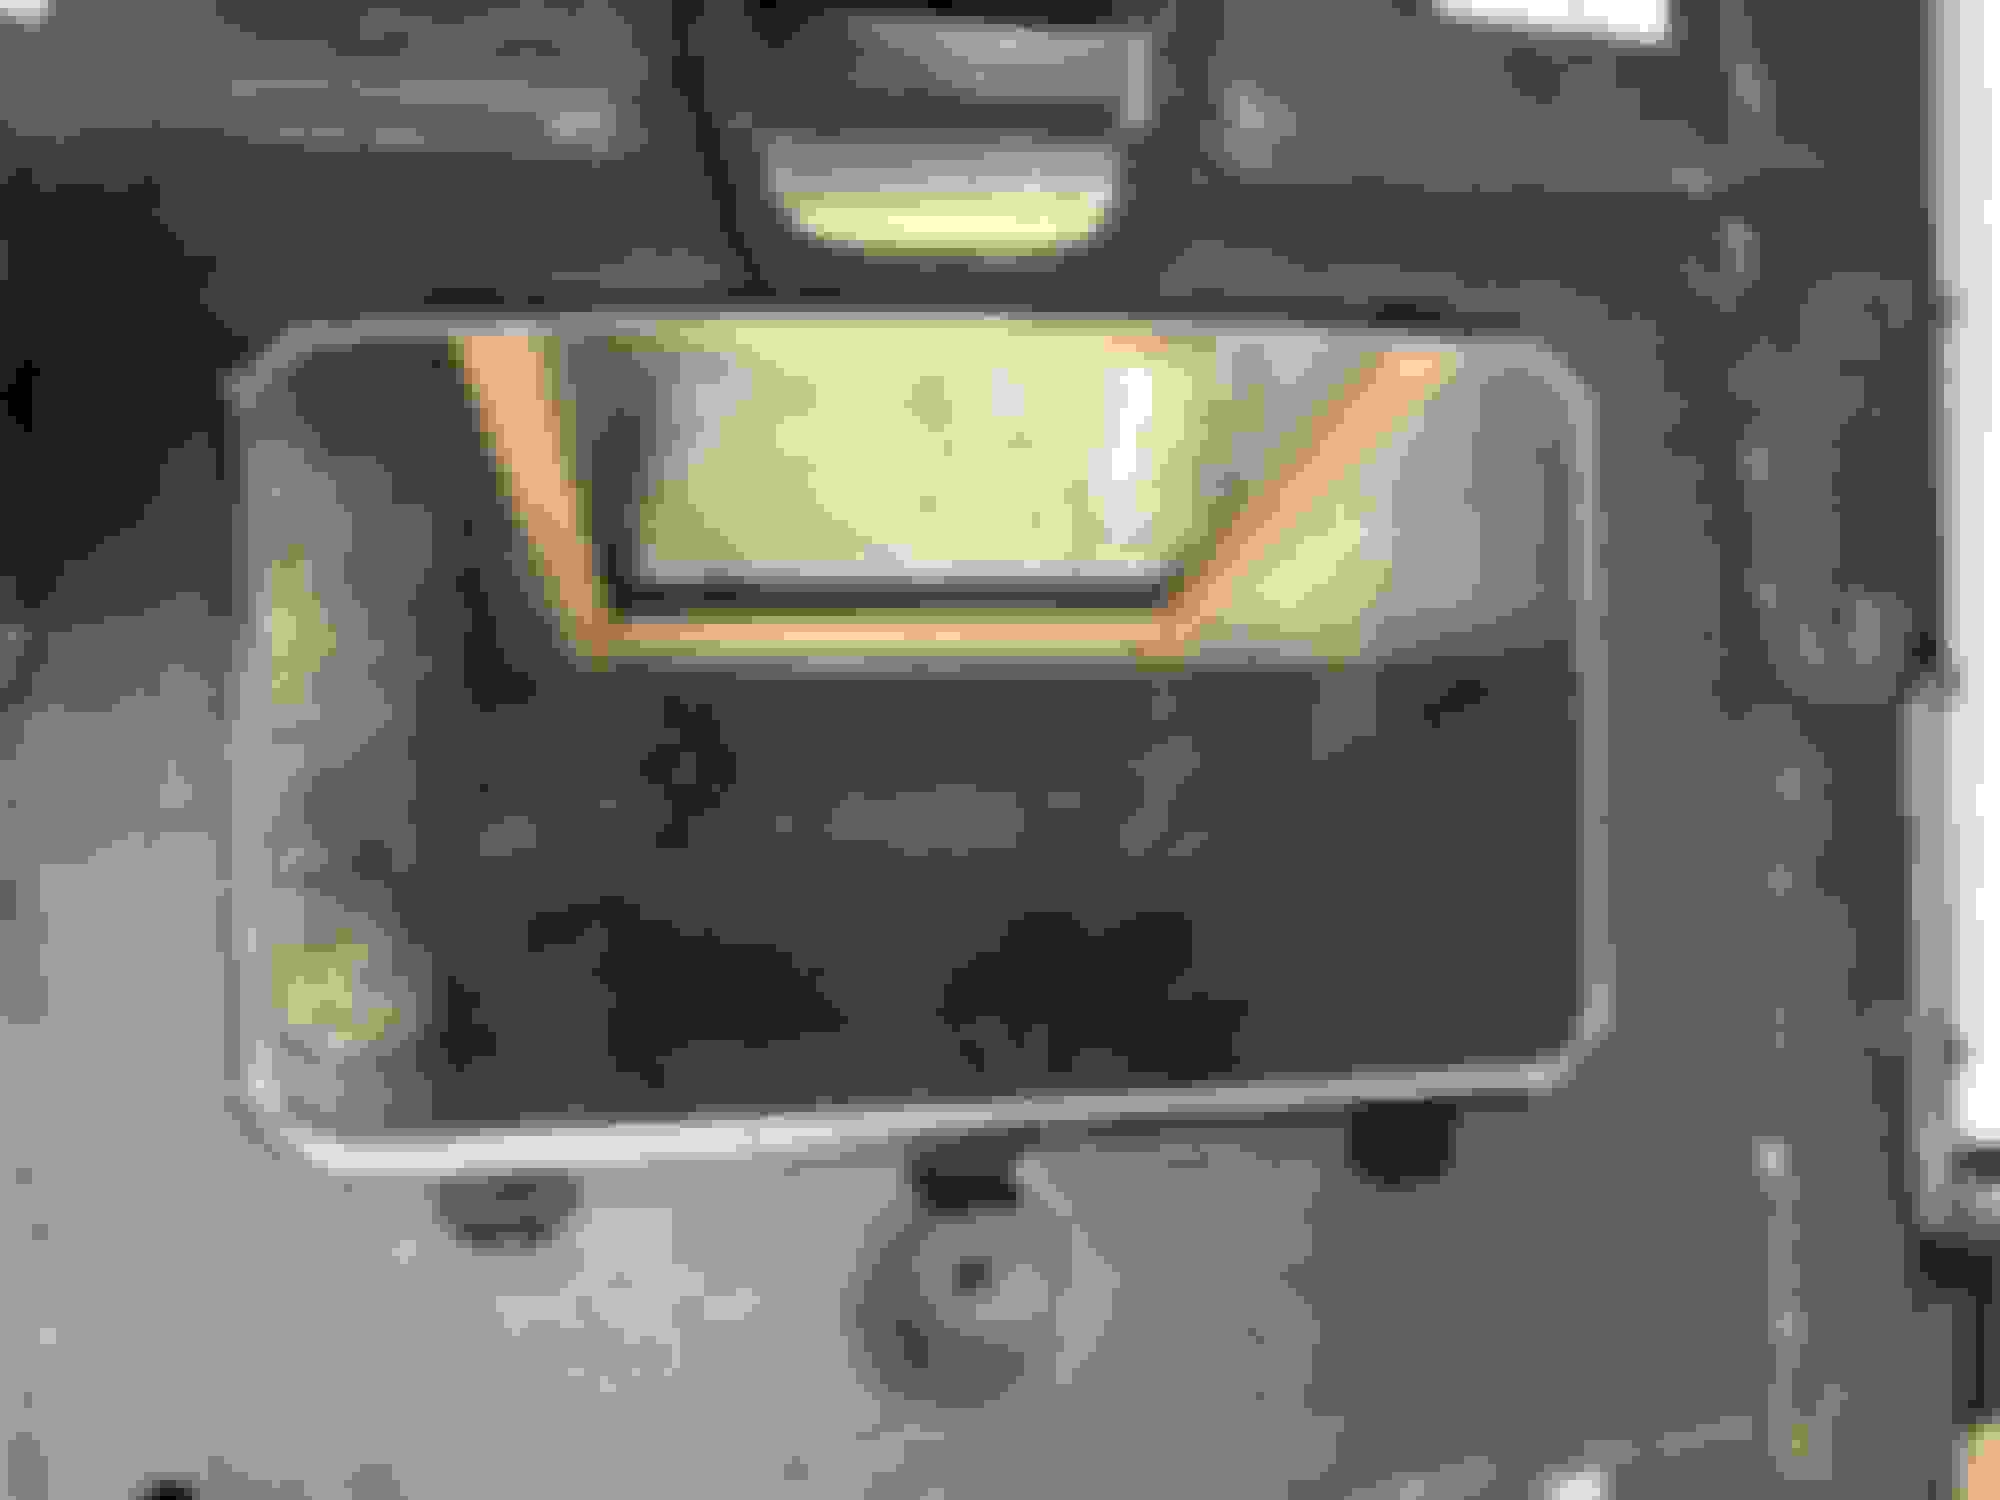
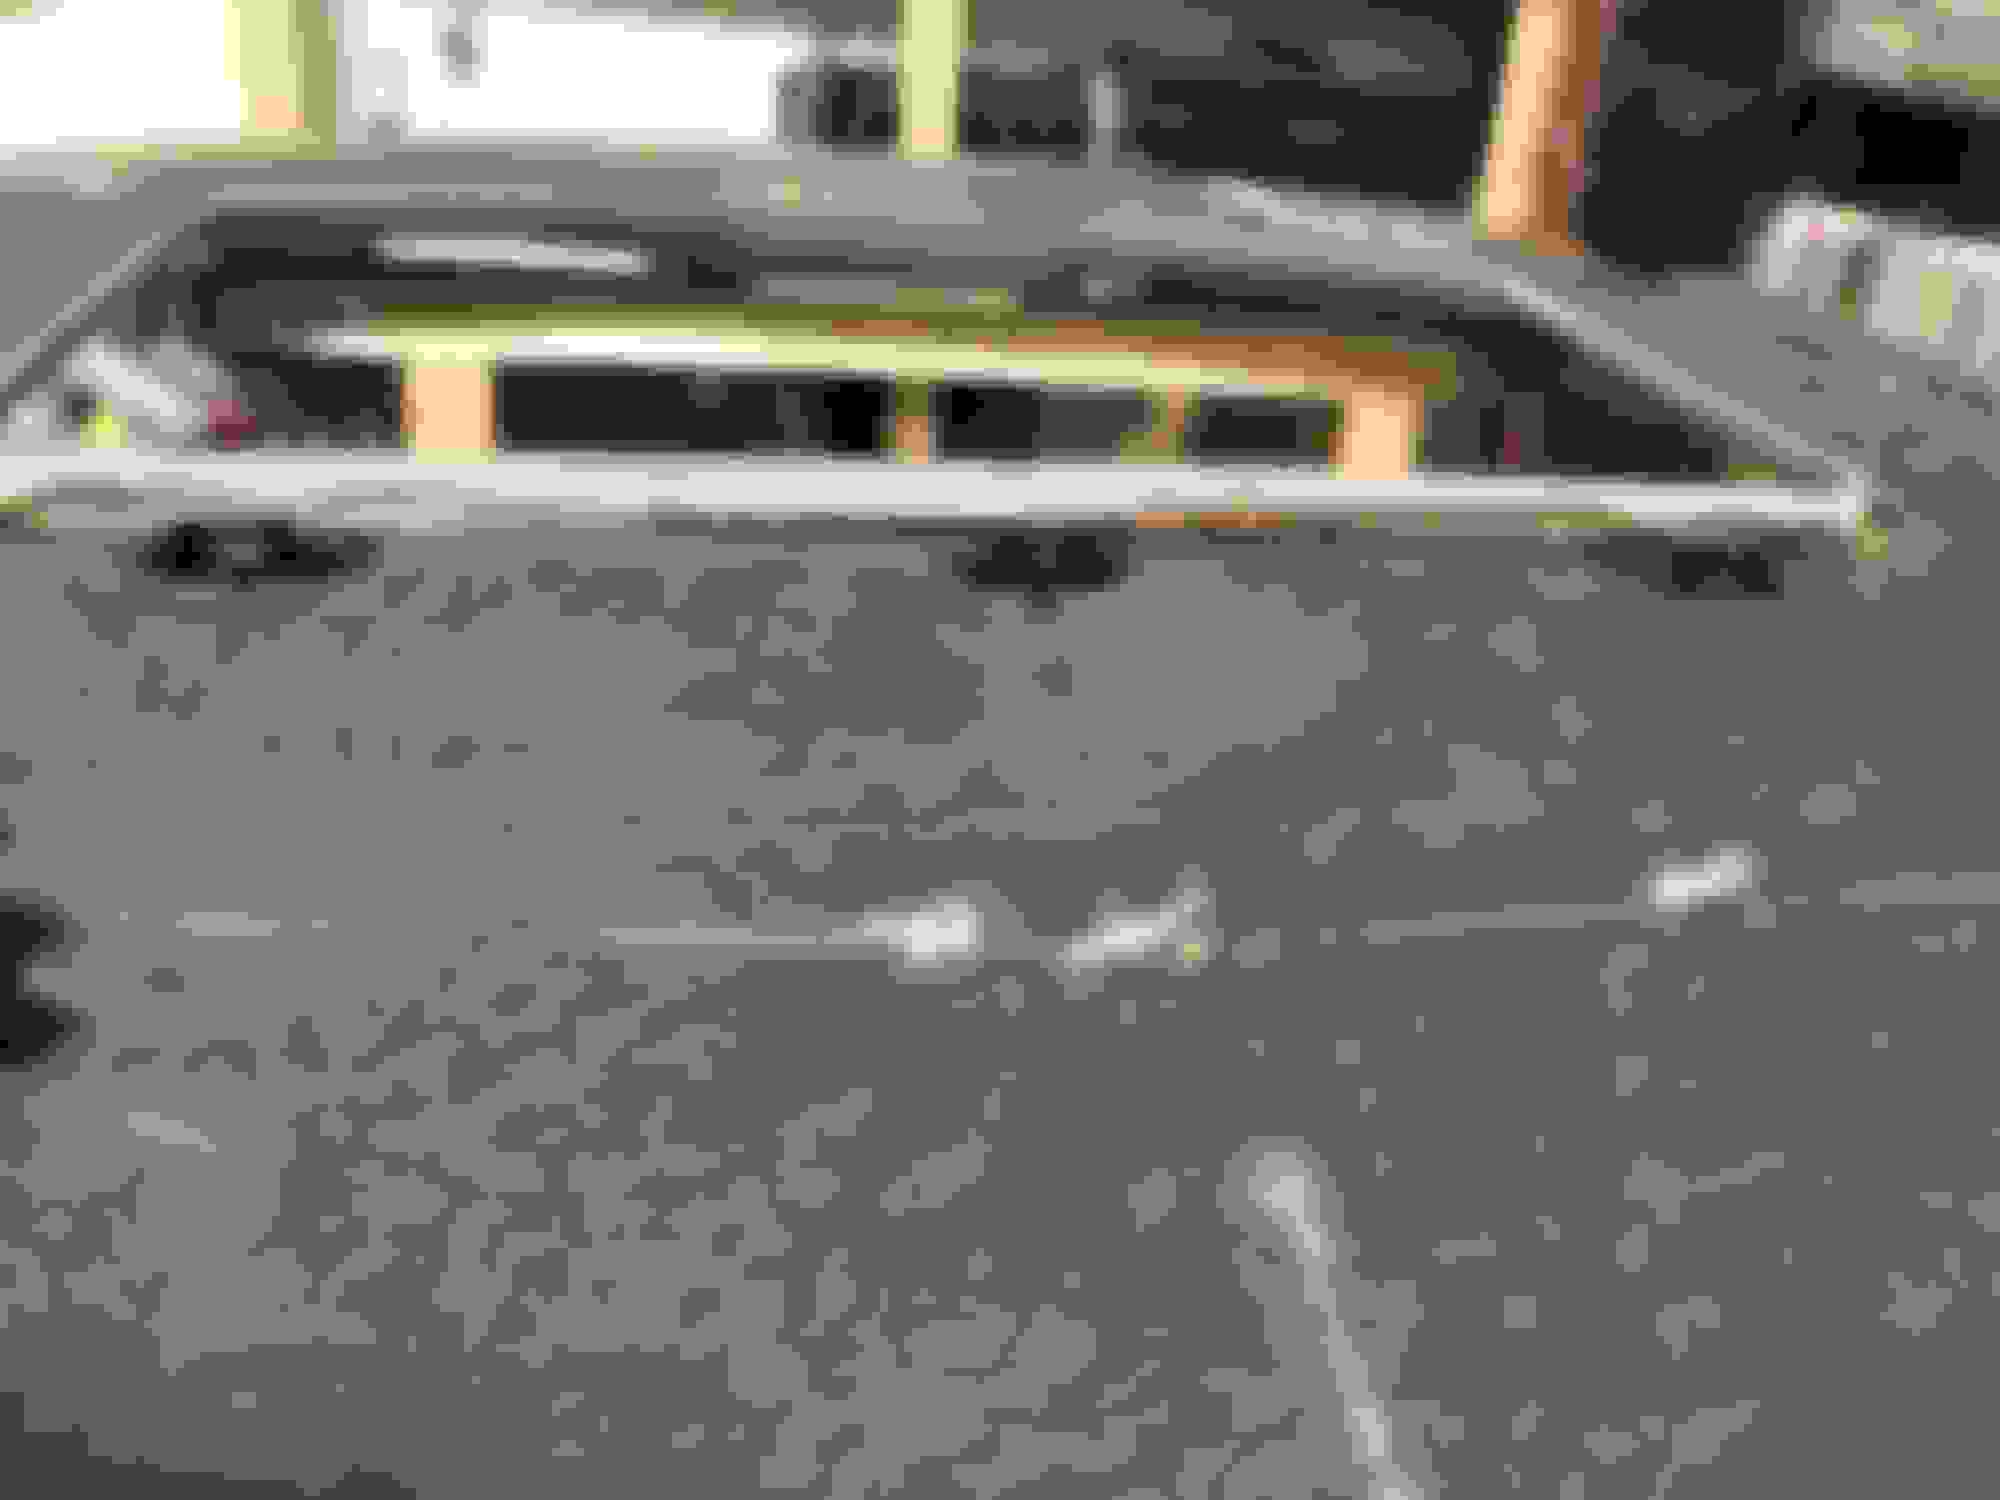
Hi, I have had a look at my old headliner and my car. I hope that your car has a sunroof, like mine.
Fortunately, the fixings on the headliner are not single pieces glued to the headliner, but they are integral part of a metal frame surrounding the sunroof opening, which should make it more resistant for applying some force to release the headliner.
Here's what the fixings look like:
When you open the sunroof and look in from the outside, you should see the plastic retainers like this:
So, i think that you could either try to cut the plastic retainers from above, or you could try to push on the metal frame around the sunroof opening from above with a slim tool to disengage the metal loops from the plastic clips, if pulling on the headliner does not work.
I hope that this helps!
By the way, I think that you are lucky that you did not experience the same problem on a German car, because in my experience they are not immune to the problem. I have had the problem on my Golfs Mk2 and it is starting on my Audi A4 Avant,anda friend has the problemon his VW Golf MK4.
In my opinion it is a general problem with this kind of headliner, where the foam starts to disintegrate with age, helped by the big temperature changes that a car is subjected to in its life... on some cars earlier, on some later.
Thomas, you�re the man. Thank you so much for the detailed information and pictures. Appreciate it very much. I�ve not thought of opening the sunroof as the domelight console is already removed and so is the control button. I think opening the sunroof and pushing down the metal frame from above might be a good try.
 12-05-2018, 10:34 AM