When you click on links to various merchants on this site and make a purchase, this can result in this site earning a commission. Affiliate programs and affiliations include, but are not limited to, the eBay Partner Network.
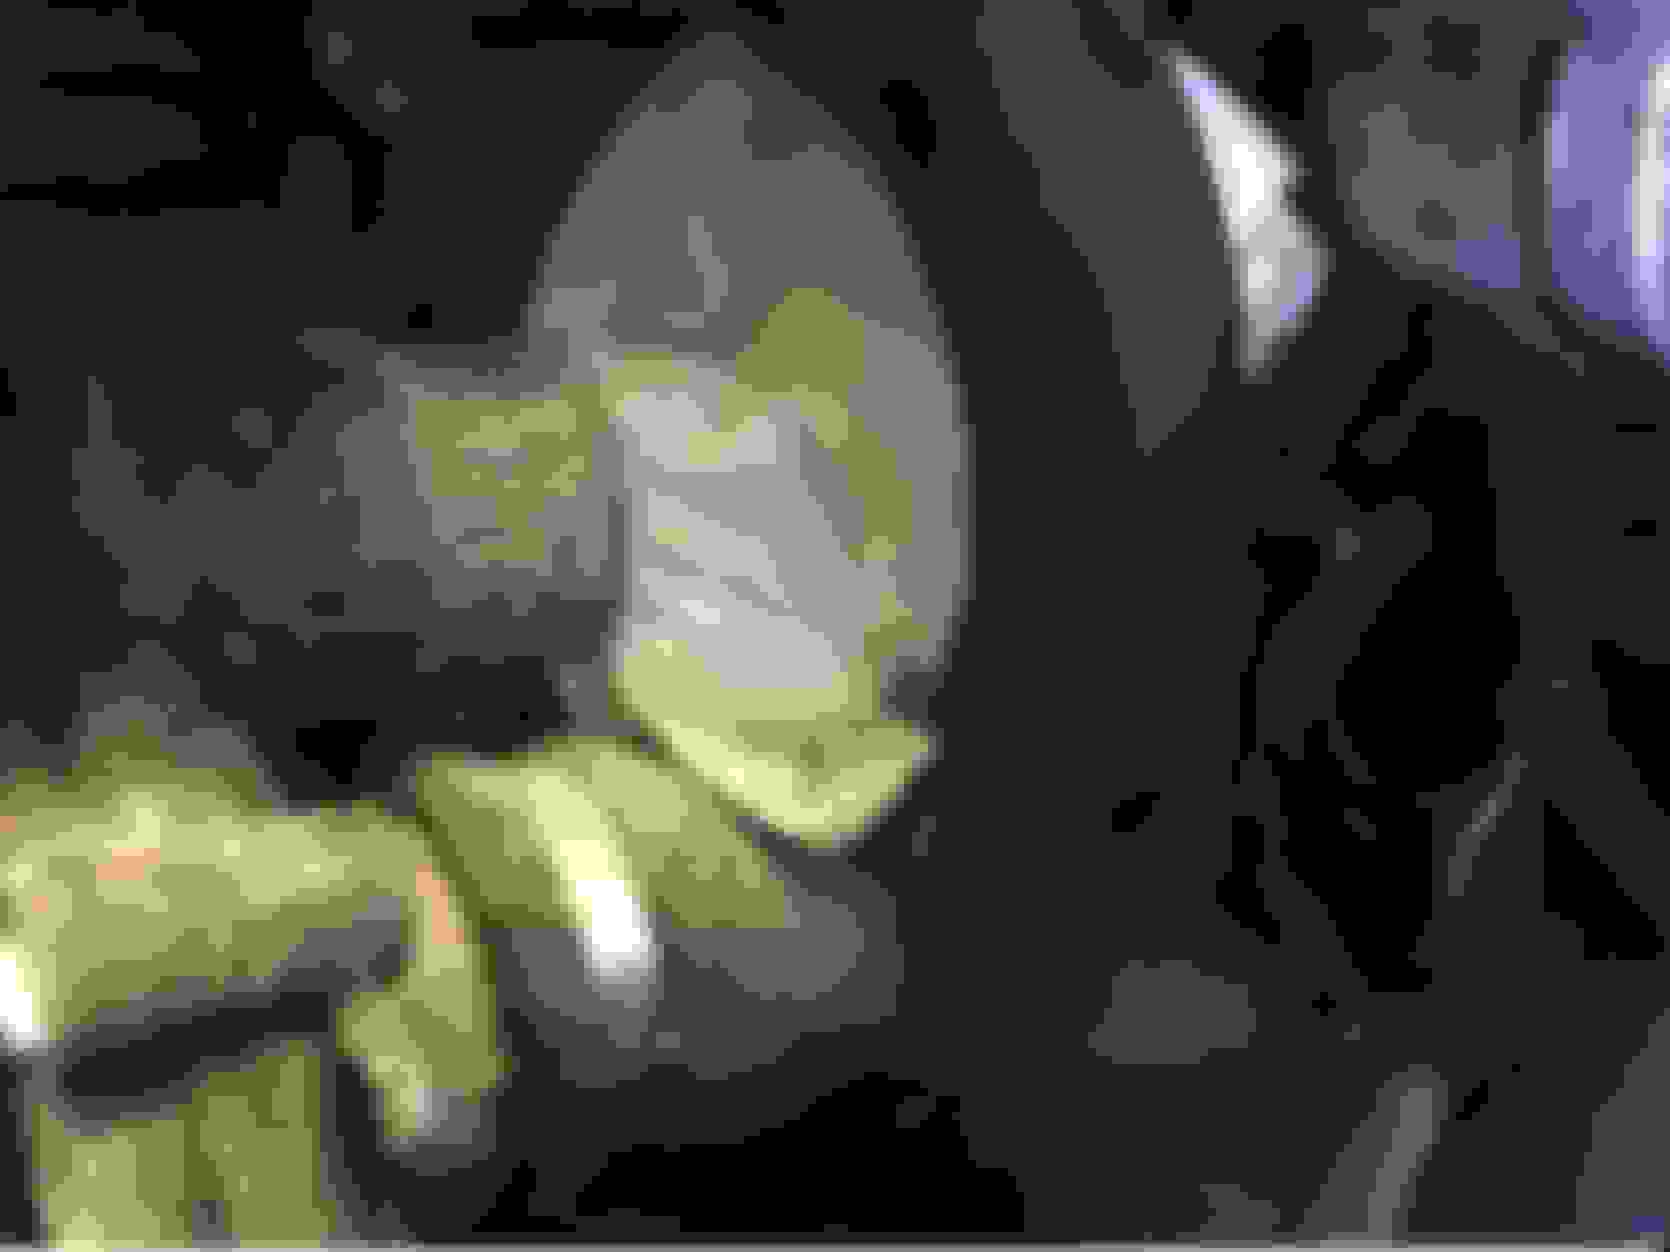
I have a 1995 XJ6. Recently it started loosing coolant, and within couple months it is to the point that it is not drivable. The coolant is gone within minutes after I pour it in. After raising the car and getting under it, I can clearly see the water dripping out in large quantities, right after I pour it into the reservoir, but i can't figure out the exactly location. I can see that it coming from behind the oil pan and some of it coming down the pan itself. I posted couple images that show the water dripping, which should give a good idea of the general location. I have couple videos as well, but they are too large to upload to the site. I am waiting for the water to drain so I can try to get closer to see if I can identify the leaky part. I don't have high hopes of identifying the part as it seems hidden behind the oil pan or the pillar, if I can call it that. The water is leaking from multiple locations, so I am guessing it might be a seal.
With the photos, I was wondering if someone can identify the leaky part and whether you think it will be a major repair. I am trying to decide whether to repair it or let the car go. It had a good life, it has 210000 miles.
Note, the images uploaded upside down. Not sure how to rotate them.
Thanks.
Water rail going into engine block on left side ? Pic shows Knock sensors , inlet are the larger holes . There is also a waterhose attached to the bottom of the throttle body , Nope not a big thing if this .
I'd bet the water rail gaskets, or else the b*st*rd hose, connecting water rail to water pump. I would change the b*st*rd hose without messing with the water rail gaskets if it's the hose. If the gaskets are leaking (you'll need two, they go on the flanged ports between the two ports in Lady P's pic. + an intake manifold-to-head gasket) and by ALL means, change the b*st*rd hose while you're at it!!!
I've changed water-rail gaskets once each on two cars, b*st*rd hose twice ea. on both cars. Hose and gaskets are not very expensive; b*st*rd hose renewal on a naturally aspirated 4.0L is an "ex-wife" of a job. Water rail gasket renewal is a "bitter ex-wife with a lawyer" of a job.
Either task on a supercharged car looks to be a "bitter 2nd ex-wife with a lawyer who is your bitter 1st ex-wife" of a job.
You might be able to get away with just replacing the hose and leaving the harder to get to gaskets alone and see what you end up with . It's pretty much a straight hose so a generic cut off piece from the auto store should work . length 8 inch outside diameter 2.165 inch . You can get a long screwdriver into the space between the intake ports from the top outside . Might be able to leave the waterpump installed . My smog pump is off at this time and you can see the forward gasket bolts . On the normally aspirated engine you would have to remove the smog pump for better access , on the SC engine it would be alot harder . Water line going into underside of throttle body ? Others ?
Last edited by Lady Penelope; 08-16-2017 at 11:12 AM.
Sorry, I took a lot of pics when I did the water rail gaskets, but never quite found the time to do a how-to. FOund this, which at least has the hose P/N and I think the gaskets for the water rail as well: https://www.jaguarforums.com/forum/x...engine-160640/
I guess I never circled back to the discussion, but for the record, I don't believe one can effectively renew the water rail gaskets without displacing the intake manifold. In both my attempts, I rolled it up and over, resting it on the cam-cover, while it was still somewhat attached by wiring looms and some other stuff.
Today, I got a better look at the leak. I put the light over the engine and crawled under the car. I was able to see water dripping down the clip from the hose going from the water pump to the water rail (bypass hose, #4 in this diagram), from the end connected to the water rail. I then poured water into the reservoir to see what happens and sure enough it changed from one drop at a time to almost continuous drip from the same spot.
I don't see a way for me to replace the hose without taking something out. If I take the water pump out, I may be forced to replace every hose connected to it which may force me to yet take more stuff out, which I don't want to do.
Is there a way to replace the hose without taking a tone of stuff out of the way?
The smog pump gives you plenty of room with the water pump still mounted . To put it back together soak the hose in hot water to make it more pliable with a crooked or bent scratch awl to bring the hose around the water pump outlet . Just don't poke the hose . You can always grind the point down .
Last edited by Lady Penelope; 08-18-2017 at 12:43 AM.
'zactly what Lady P. said....but I would add: a smear of liquid hand soap on the WP and Water rail nipples, as well as the inside dia. of each end of the hose should obviate the need of scratch-awl, thus eliminating the possibility of puncturing your new hose. Also, if you have whatever mondo-socket is required for harmonic balancer removal, you can press that into the end to "train" the hose the night before. If your water pump and water rail are supporting a coral-reef style growth, be sure you clean that off before fitting the new hose, or you'll have a persistent leak.
Some pics here: https://www.jaguarforums.com/forum/x...enewal-101914/
Not much labor involved in removing the air-intake piping and you may have even more room for elbows and such, though probably not necessary with air pump removed.
Word of Caution: First time through with each car, I used a Uro hose. <6 mo in, one of those ruptured. So I replaced it with the OEM version. When the rail gaskets let go on the car that still had a Uro hose, I replaced it with OEM pre-emptively. I obtained the Uro's from Rock Auto. Sorry, can't recall exactly where I sourced the OEM's.
I am a bit late for the OEM hose. I already have a URO hose coming in tomorrow. I'll just consider this a practice run and will replace it with an OEM version if I have to later. Yes, I see a lot of buildups and I am not looking forward to all the cleaning that I will need to do.
I spent at least 2 hours today trying to remove the bypass hose, but I am still not done. Access is really tight. I removed the smog pump and ended up removing the hood as well. Not having the hood in the way is a huge advantage, and it really only took 10 minutes to remove it. It looks like, if I remove the lower hose as well, I'll have a lot more access to the bypass hose, and the lower hose seem to be easily accessible and replacement won't be difficult. Do you agree?
Don't slam the hood when done because it most likely will be out of alignment and cause damage if you do so . Tighten the hinge bolts just enough so you can move the hood around to get your gaps round the edges . Once that is adjusted you can torque them down . Mine had the hood replaced by the previous owner and chipped the paint on the edges , missing hinge bolts and misaligned final fit . You can replace the lower hose on a while you are there basis and they don't last forever .
Last edited by Lady Penelope; 08-20-2017 at 09:32 AM.
You should be able to shortcut the removal process somewhat with a box-cutter. Unfortunately, that won't help any with fitment of the new one. Generally a good idea to replace ALL the coolant hoses at this point, unless you know some of them to have been renewed in the recent past. My tip on the lower hose is not to remove it until you have the replacement in-hand and are ready to install - helps with what goes over and under what and that sort of thing. Fine to disconnect it from all the various ends, but I'd leave in-place til you are ready to replace it. I've tried photo-documenting such things before dis-assembly, and always find there is that ONE PICTURE you wish you had but didn't take...
Thank you all for your advice. I was able to replace the bypass hose and fix the problem.
Here's what I did:
To get access, I removed the hood, the smog pump and a smaller hose that I don't know its function, but I have it highlighted in one of the pictures below.
As Lady Penelope mentioned, do not slam the hood after reinstalling it, because most likely it won't be aligned. Mine didn't and still isn't, but I decided to deal with it later.
After removing the parts to get access, I started with slicing the hose from the exposed end. For that, I used a utility knife and a garden shears which worked really well. This got me most of hose, but not the other end which was still solidly intact. To remove it, I used a utility knife to weaken it as much as possible, then used a screwdriver pick to pry it out. It took me probably little over 2 hours to remove the hose.
Now to cleaning the rims. I used different size screwdriver picks, then I taped a sand paper around an old belt and wrapped it around the rim in order to clean and smooth out the back side of the rims. It worked ok, but not great. I also wrapped a thin wire around the rims and moved it back and forth and side to side to also cleanup the back of the rims. Between the 3 or 4 different methods, I was satisfied with how the rims looked at the end.
For a replacement hose, I used the URO brand. It looked shorter than the original hose and when it was mounted it did not fill the rims, but it worked. I also replaced both clamps.
As recommended, I soaked the hose in hot water for around 30 minutes, then put dishwashing liquid inside the ends of the hose to lubricate them.
Installing the new hose was surprisingly fast, it took around 15 minutes, and about 5-10 minutes for tightening the clamps.
After the installation was done, I tested the leak with distilled water and everything looked good. I then filled it with coolant and installed the hood.
All in all, it took me a long time to identify the source of the leak. Once it was identified, it took a ton of time removing the hose. A lot of time was spent contemplating what to do next, how it should be done and reading posts. Now that I have done it once, I have not doubt that I can repeat the process in 2 hours or less.
Before removing the parts to gain access.<br/>1 is the smog pump<br/>2 is the hose that I don't know its function
[I]After removing the parts to gain access <br/>1 is where the smog pump used to be<br/>2 is the unknown hose<br/>3 is the exposed end of the bypass hose[/I
Replacement hose
close up of the exposed end of the bypass rim after some cleaning, but before the cleaning was complete
After the new hose was installed. You can see how it is a bit short and does not fill the rim, but still plenty of room for the clamp.
 08-15-2017, 11:38 PM