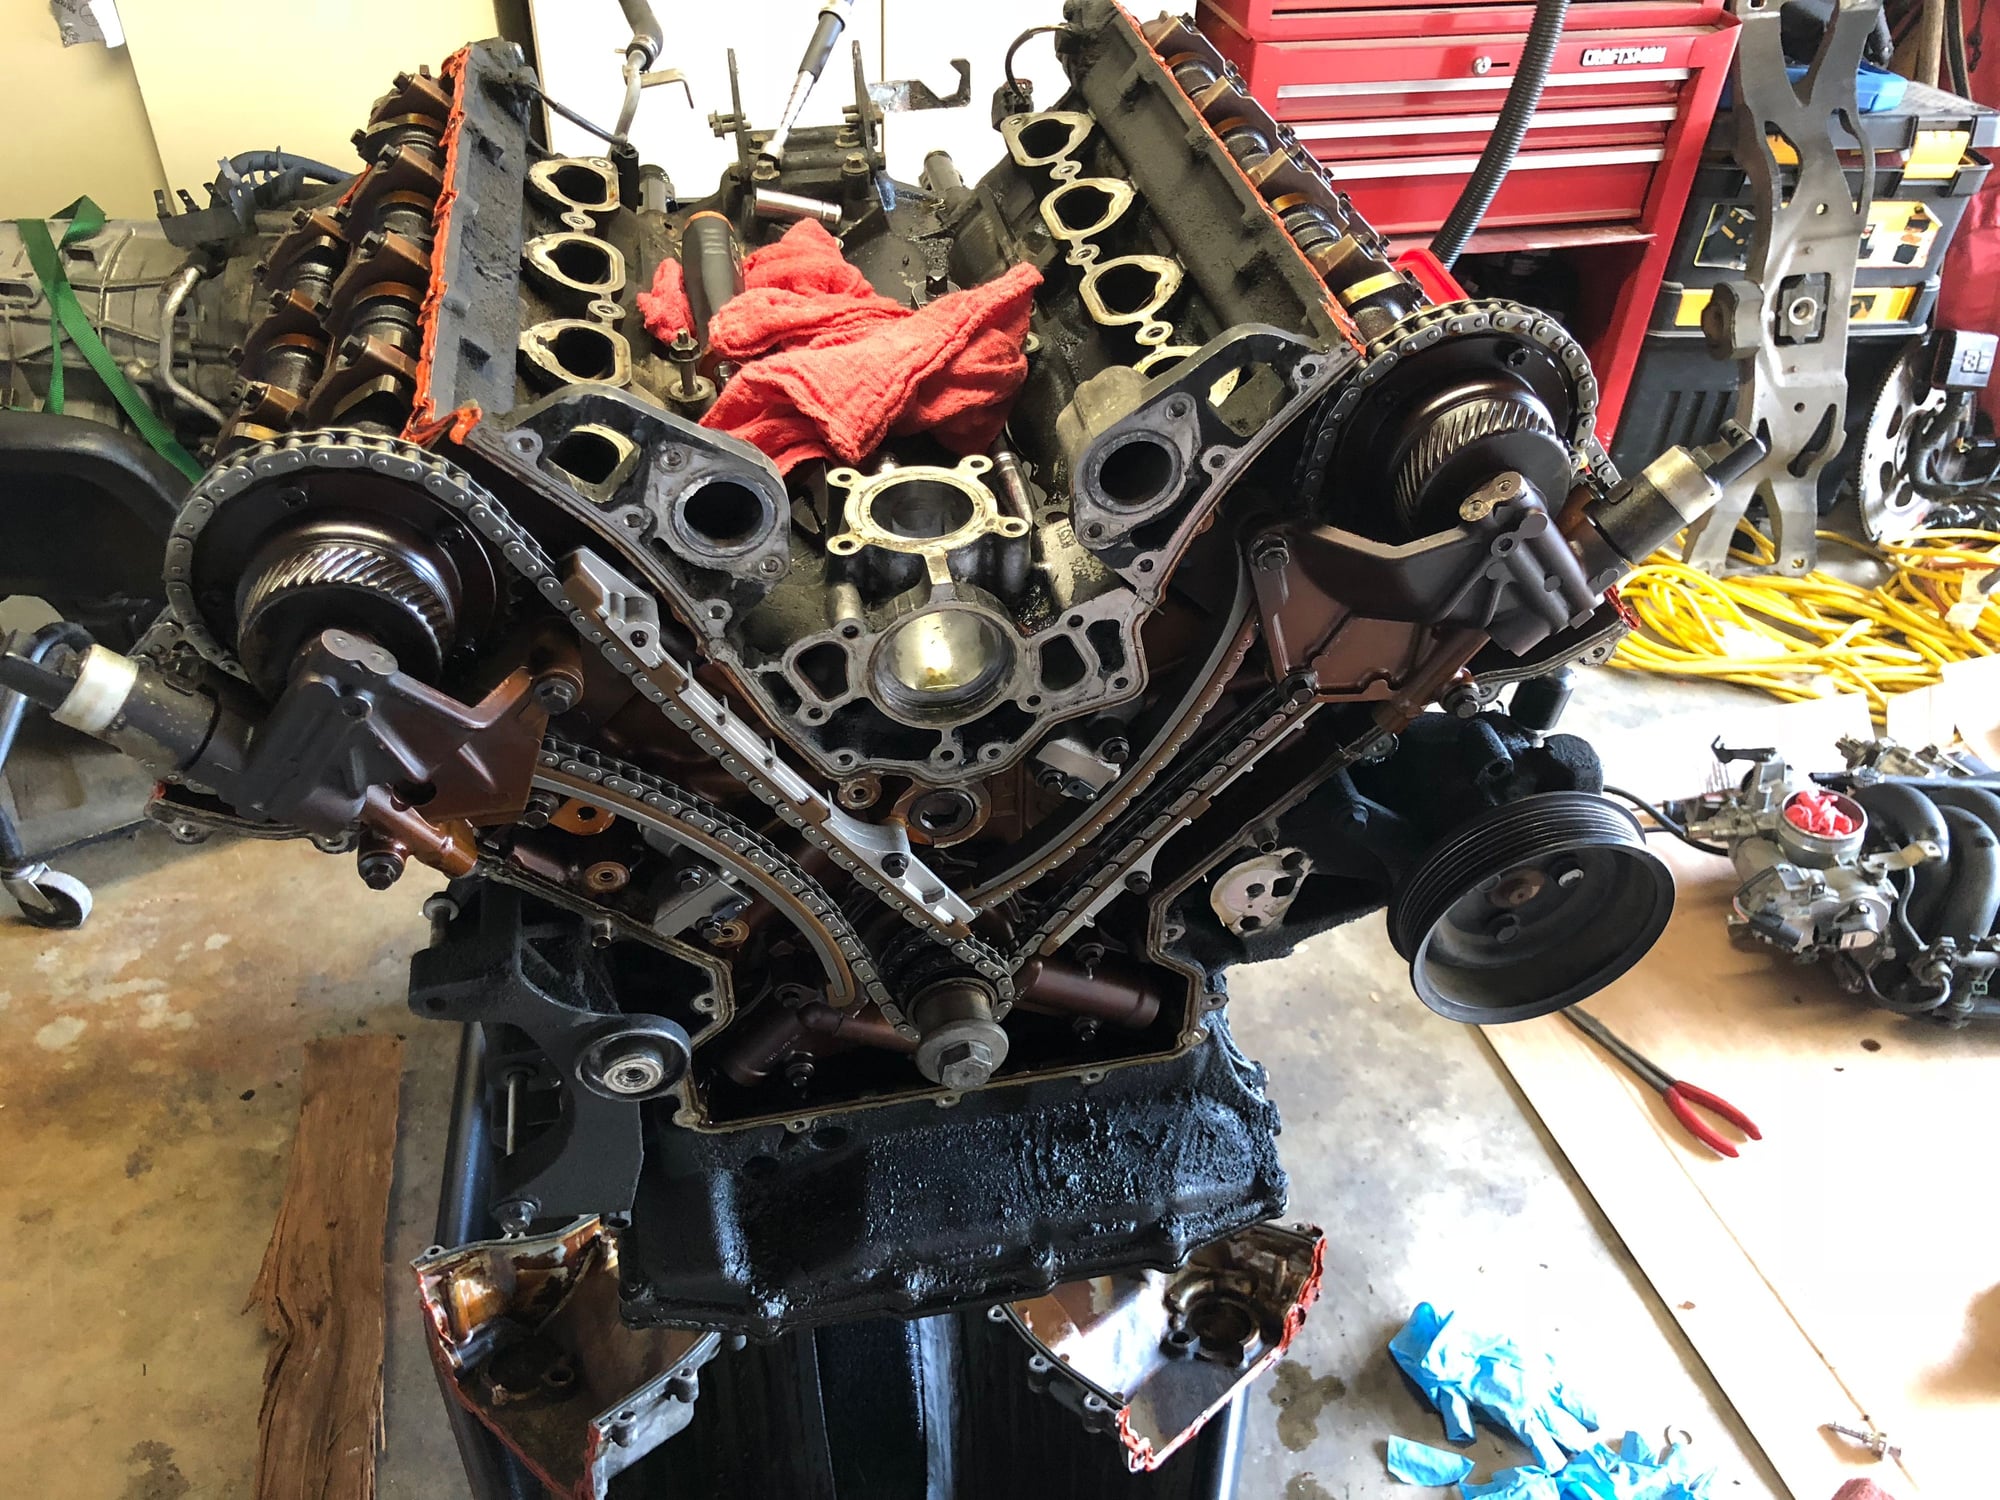
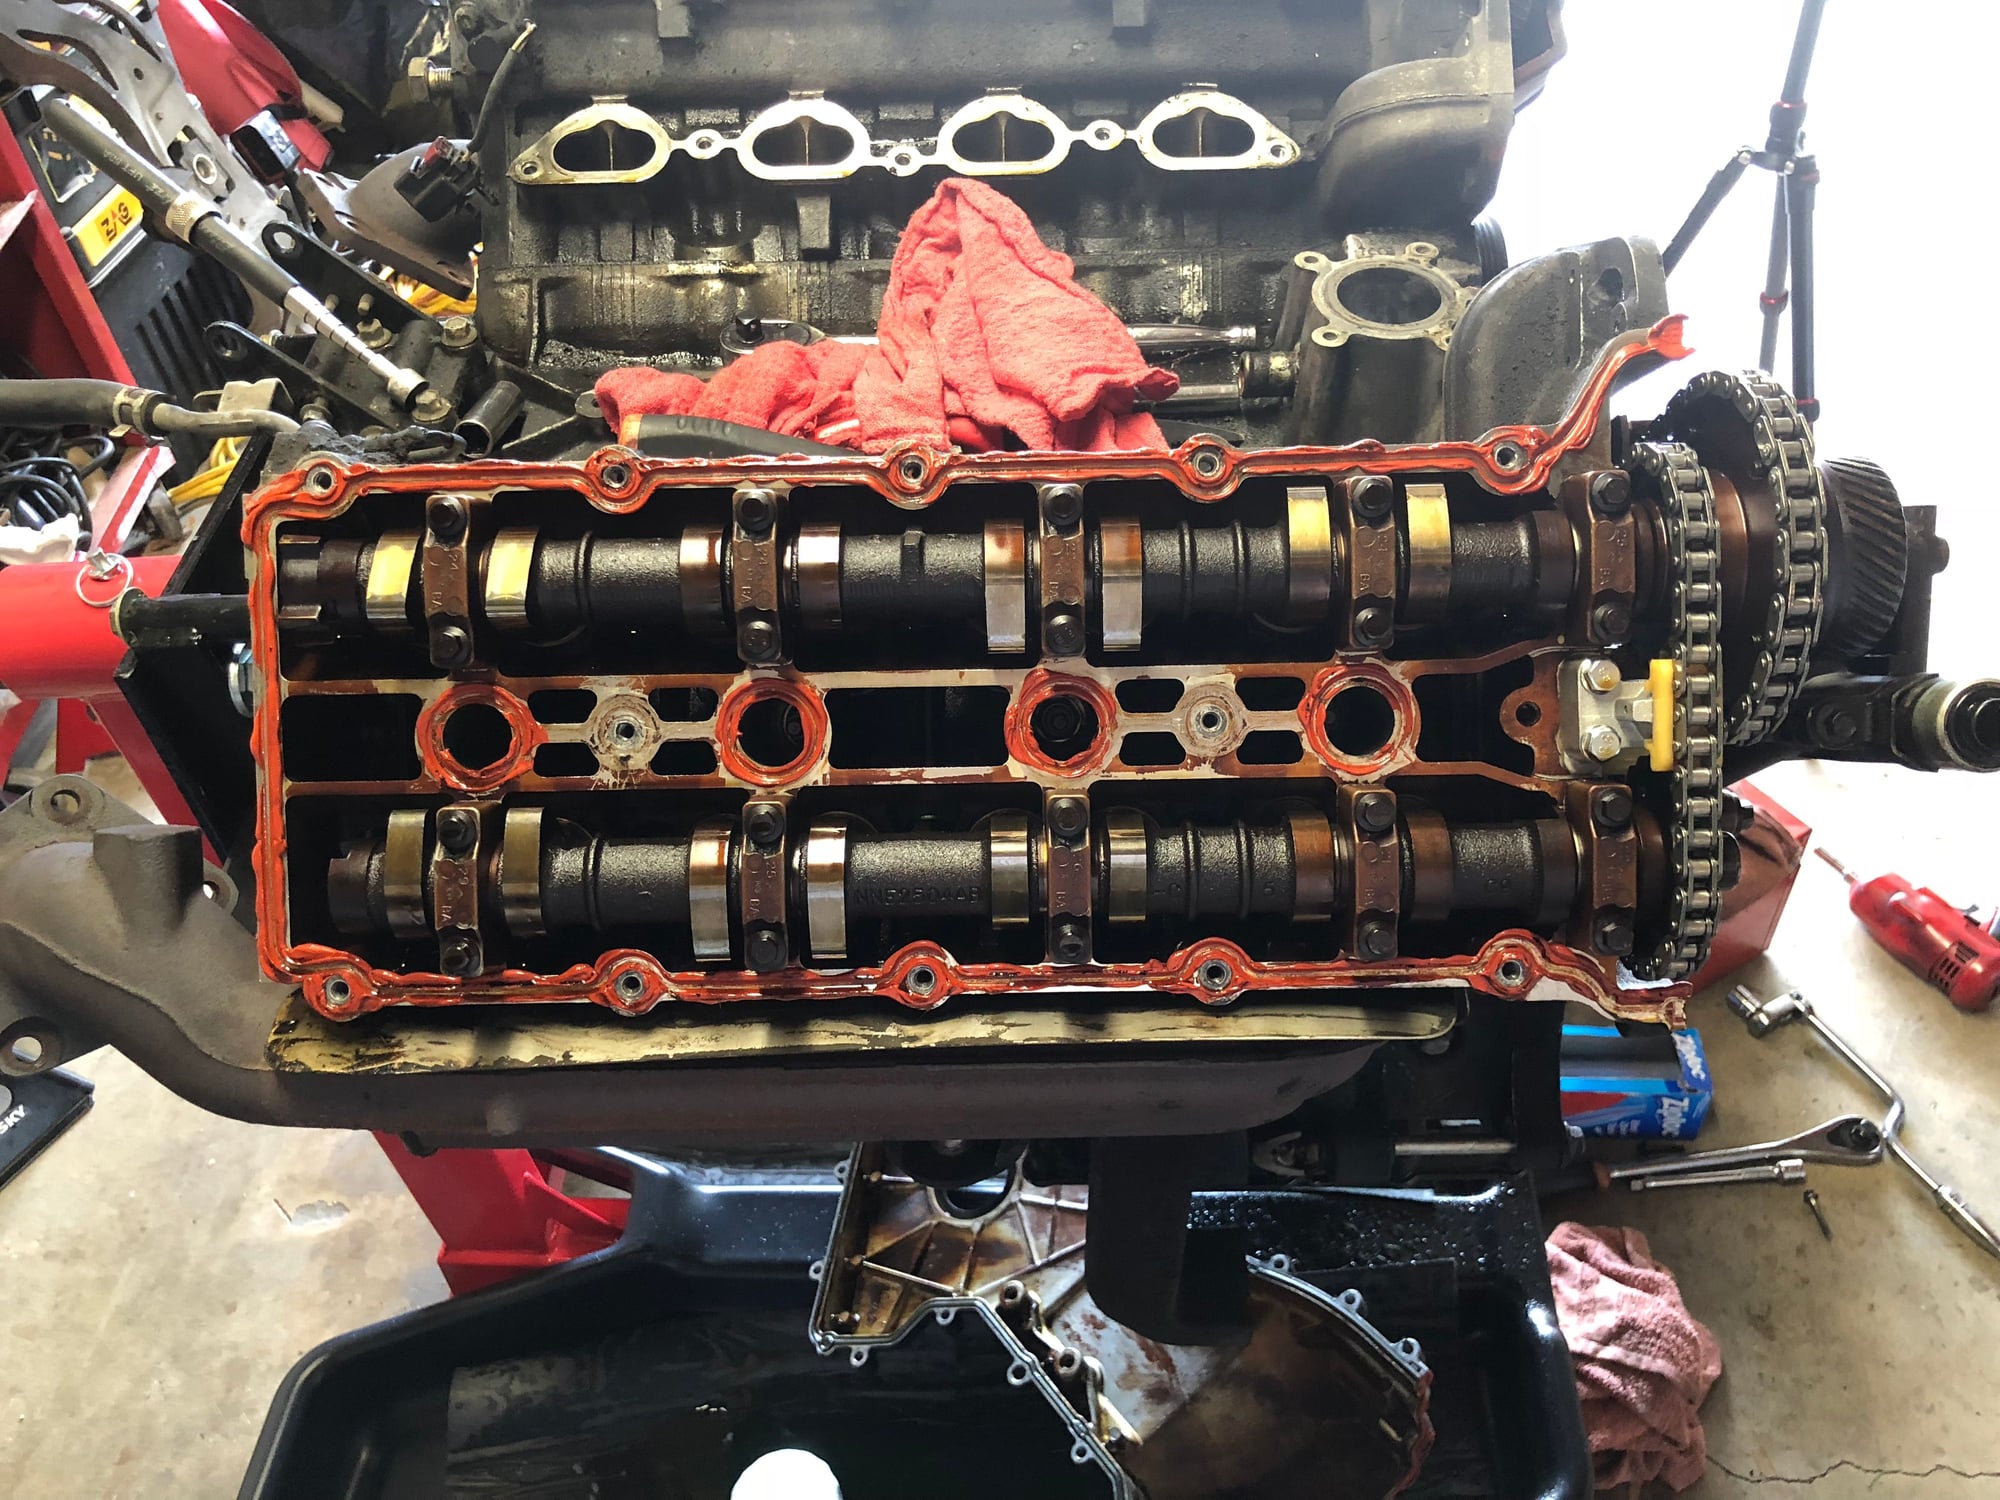
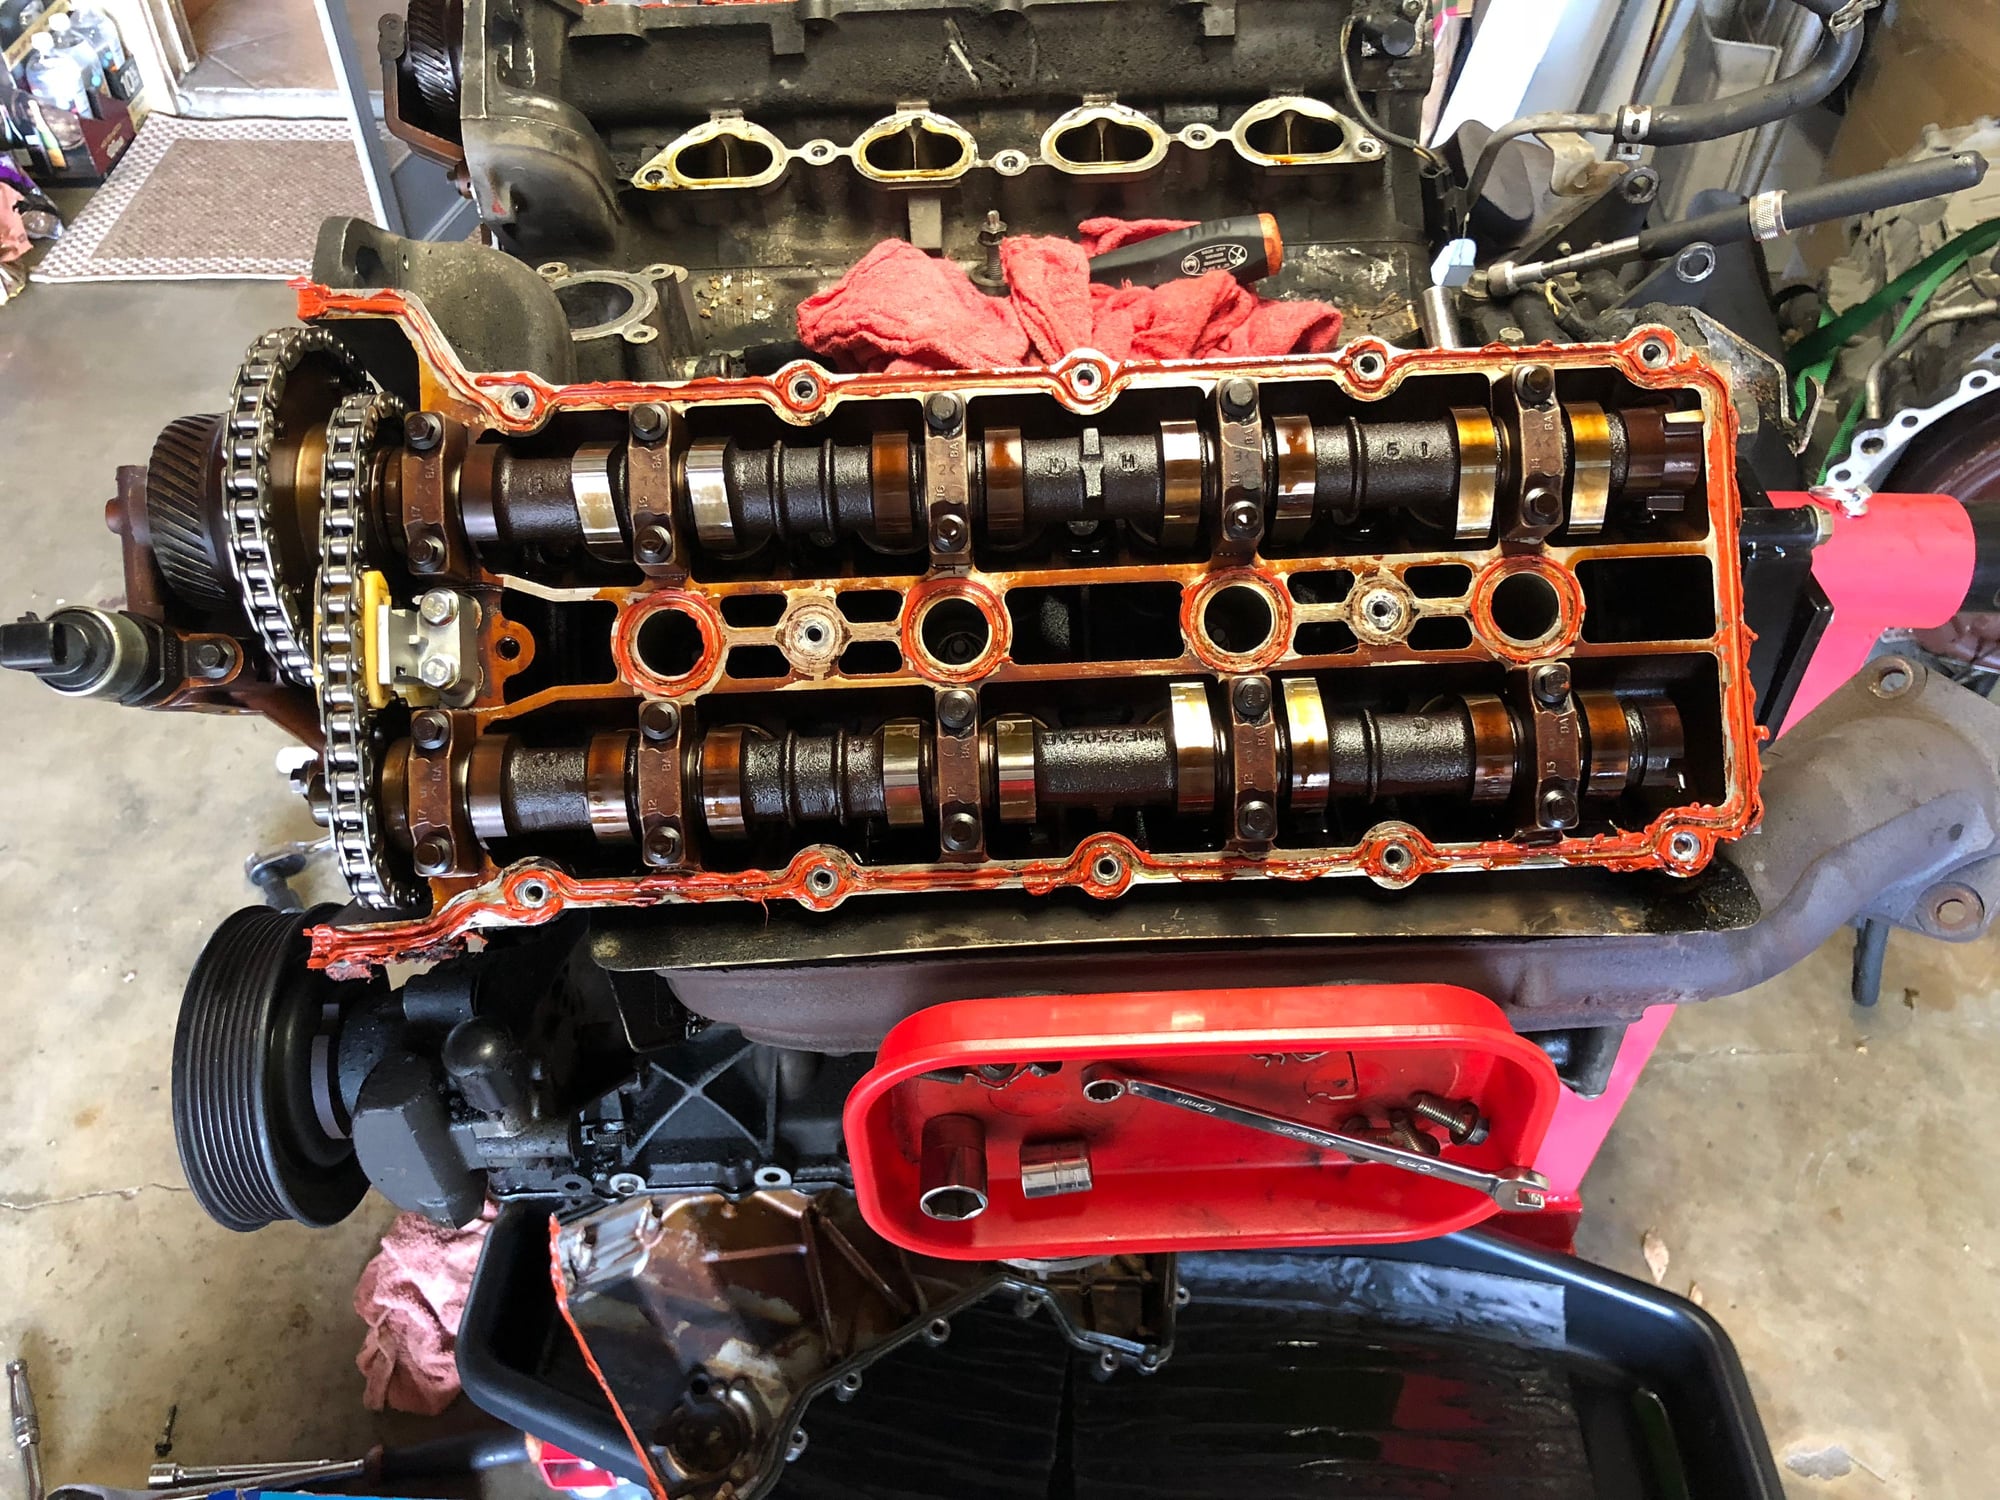
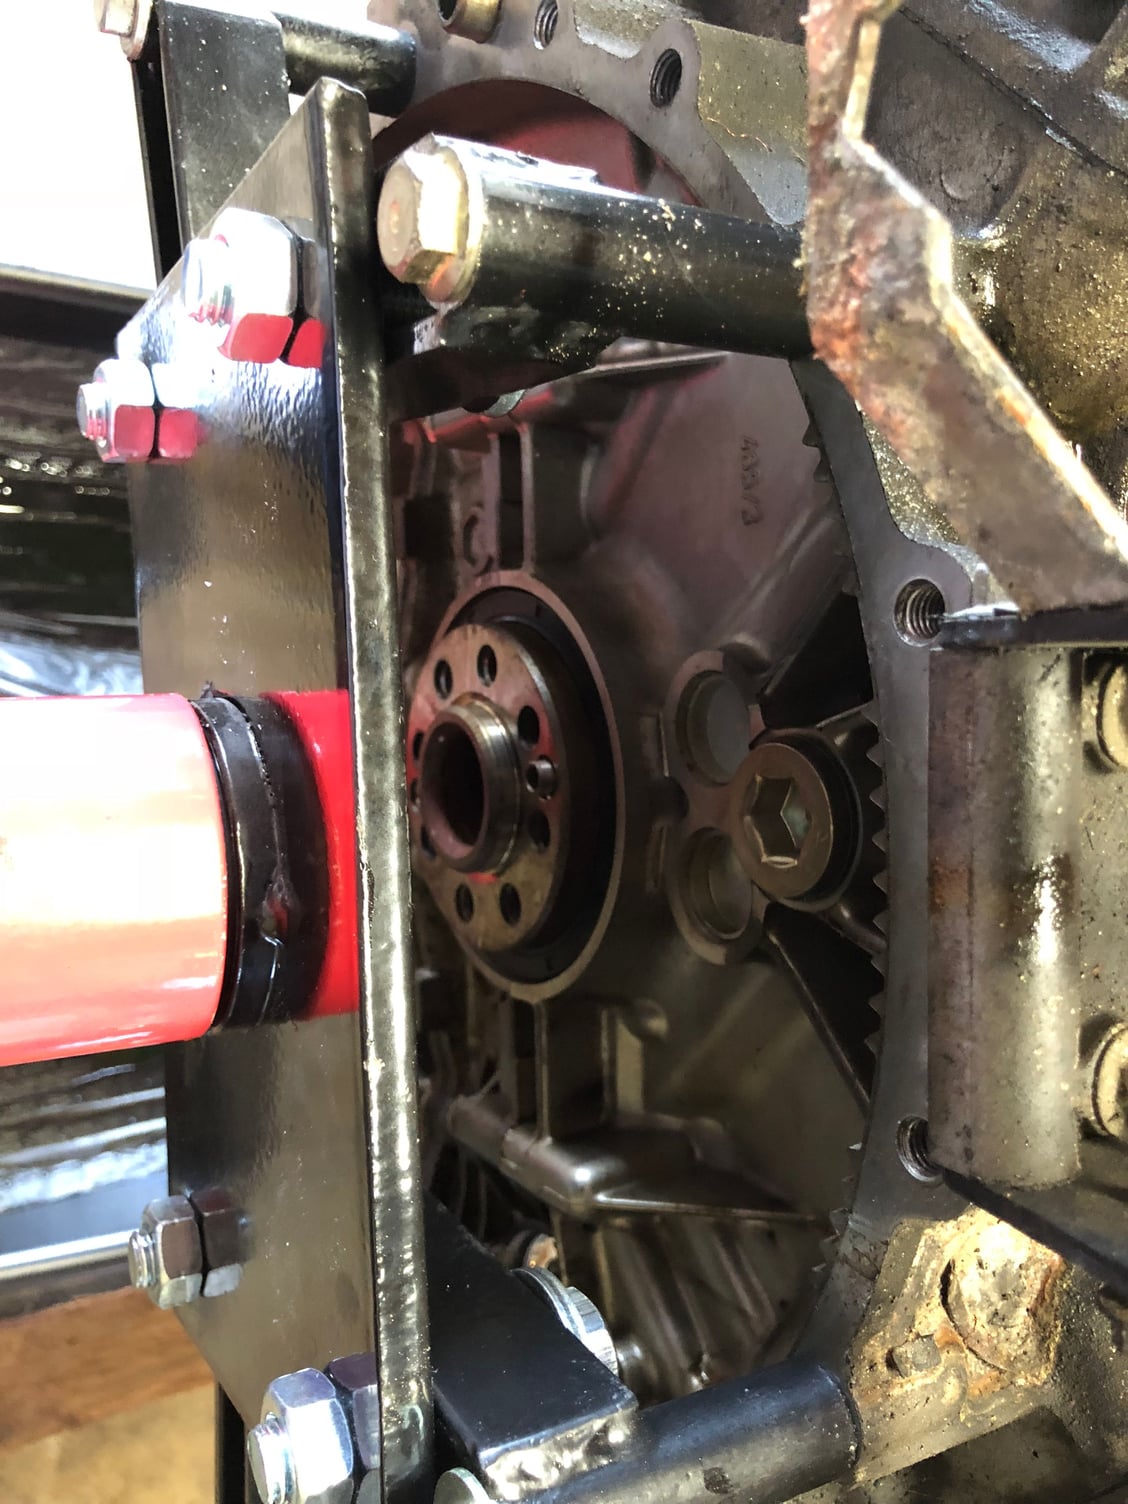
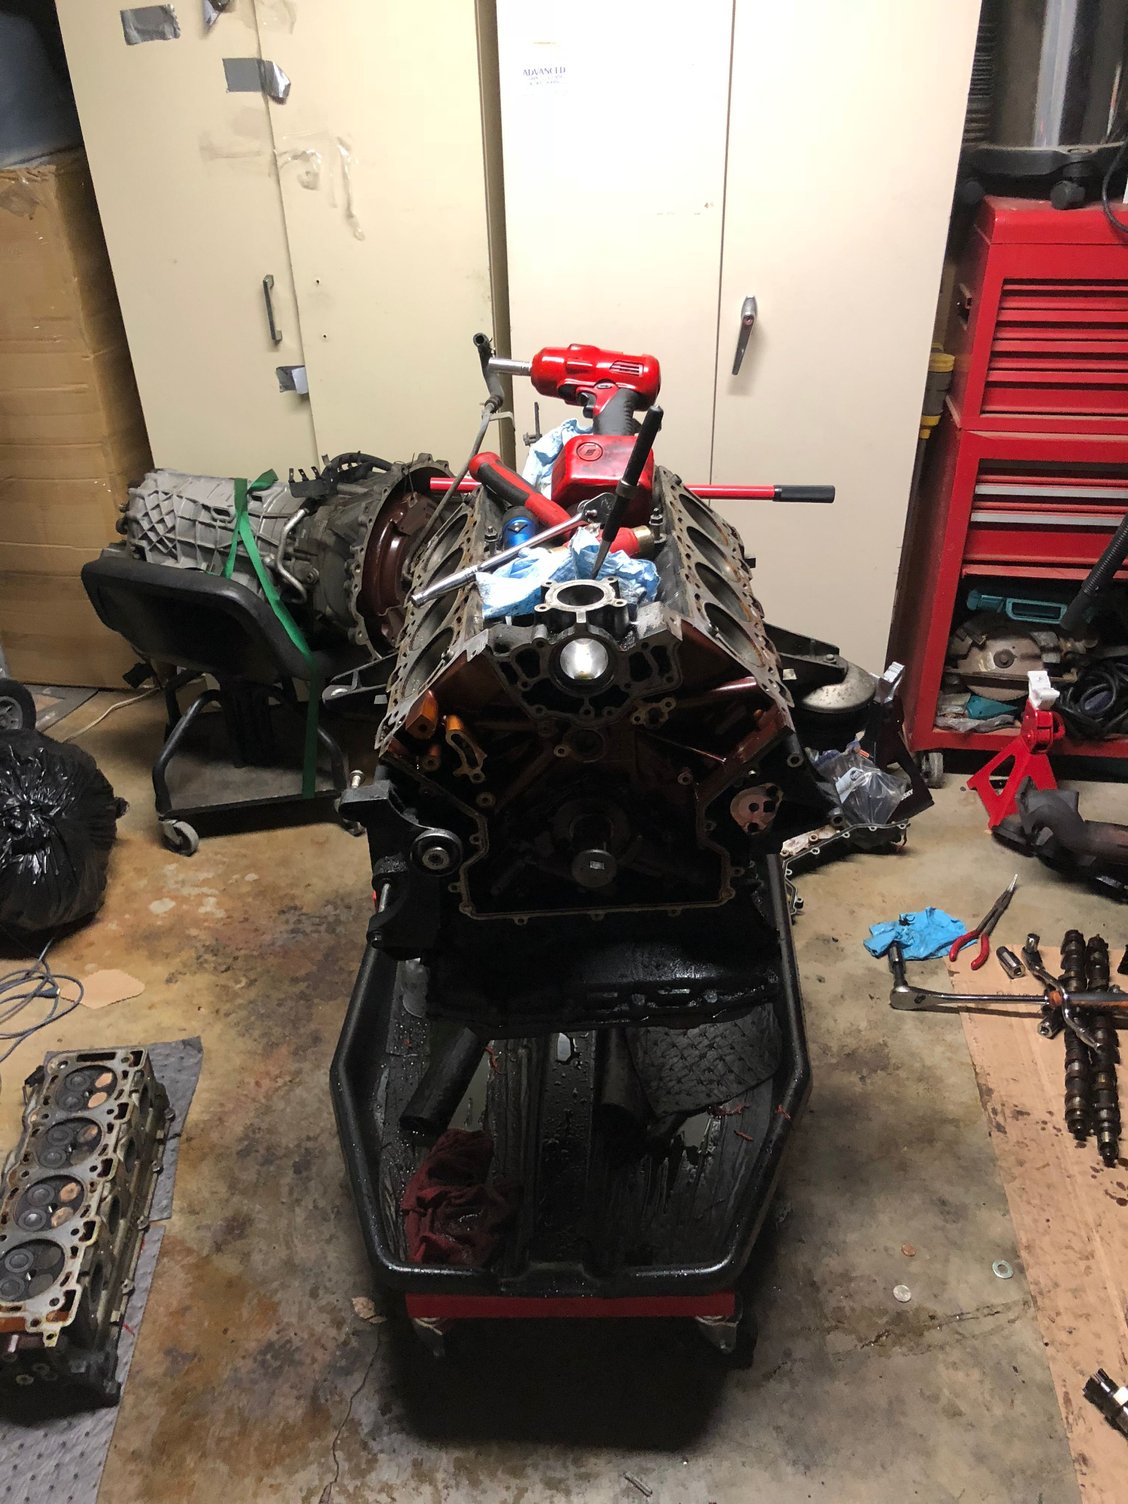
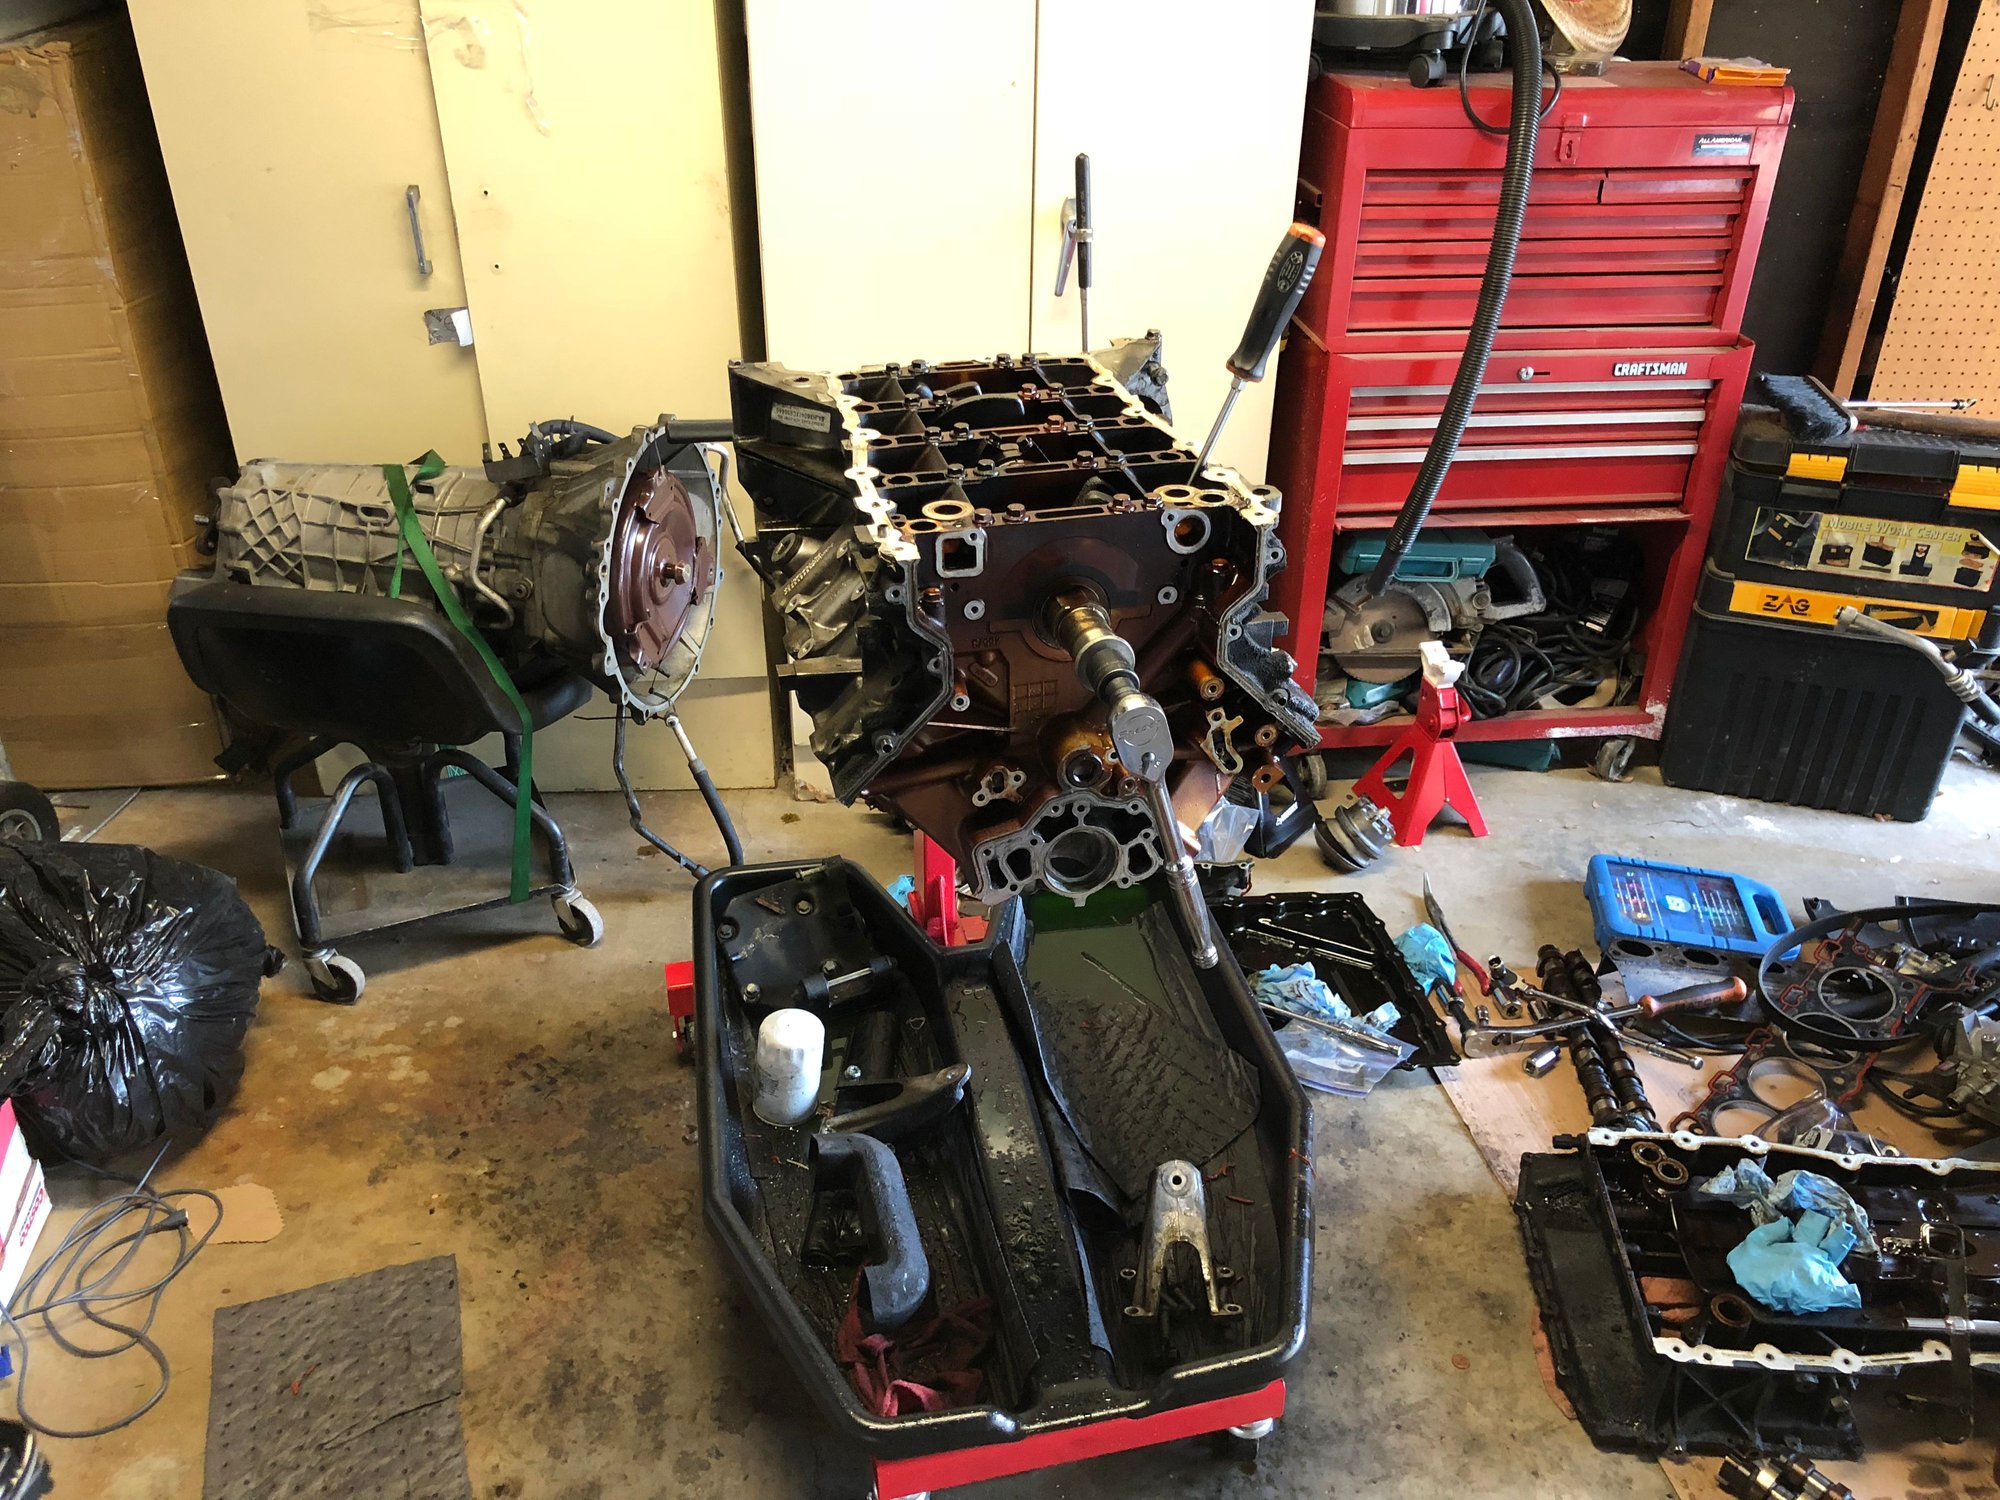
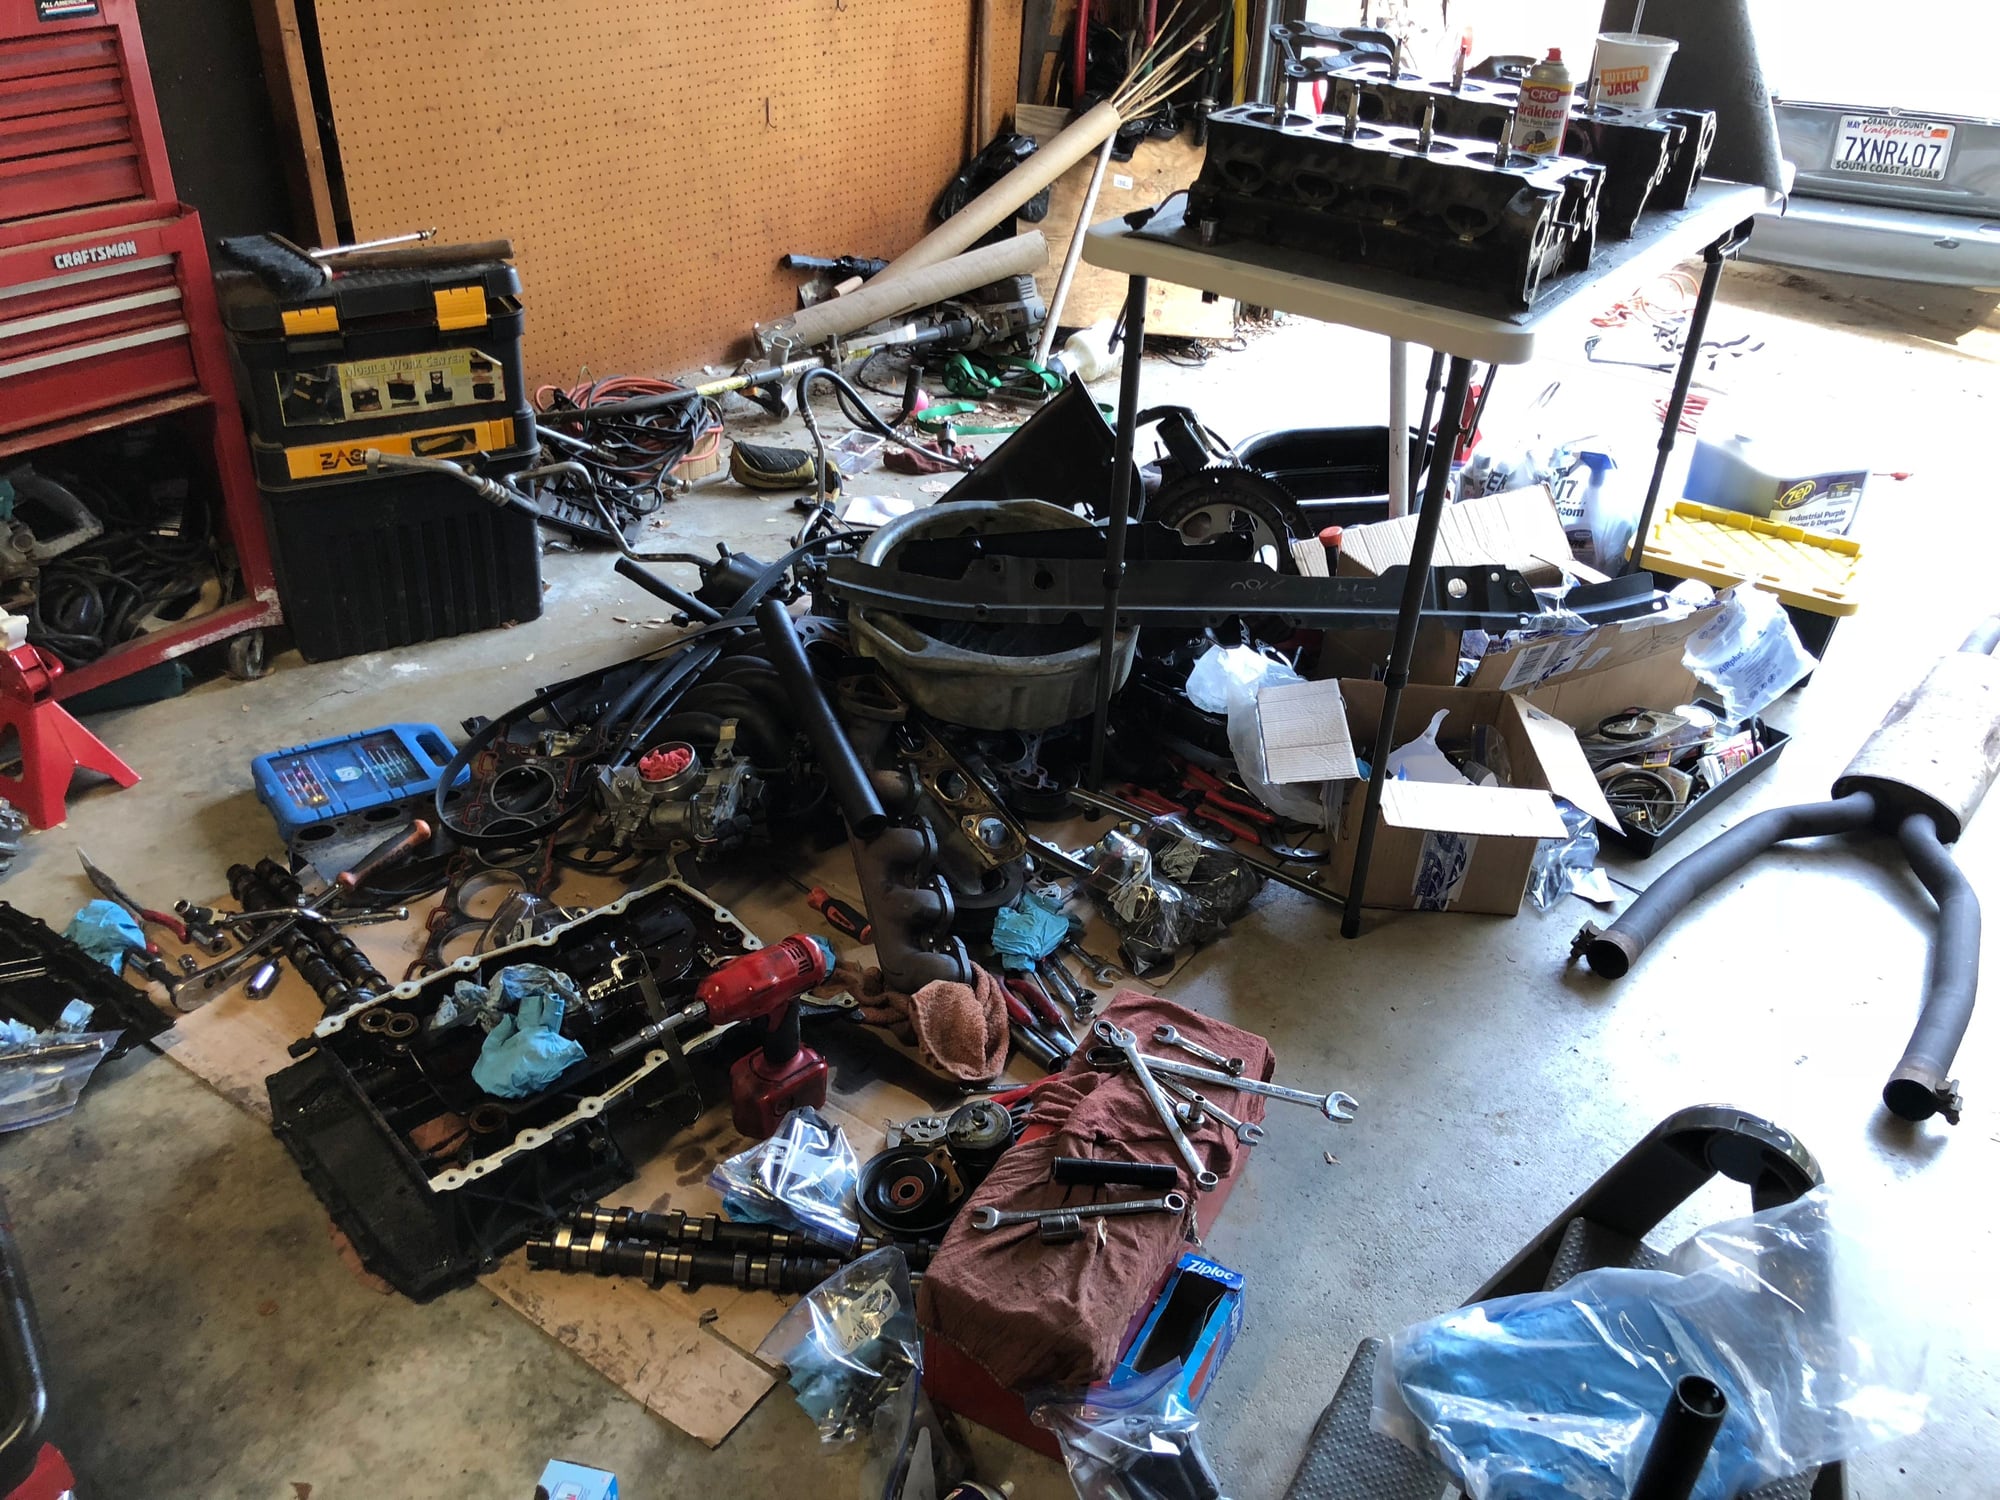
engine removal and rebuild
#24
But it didnít. So I think thereís a crack on both of them. So I got new ones.
#25
The following users liked this post:
Belmon (01-16-2018)
#30
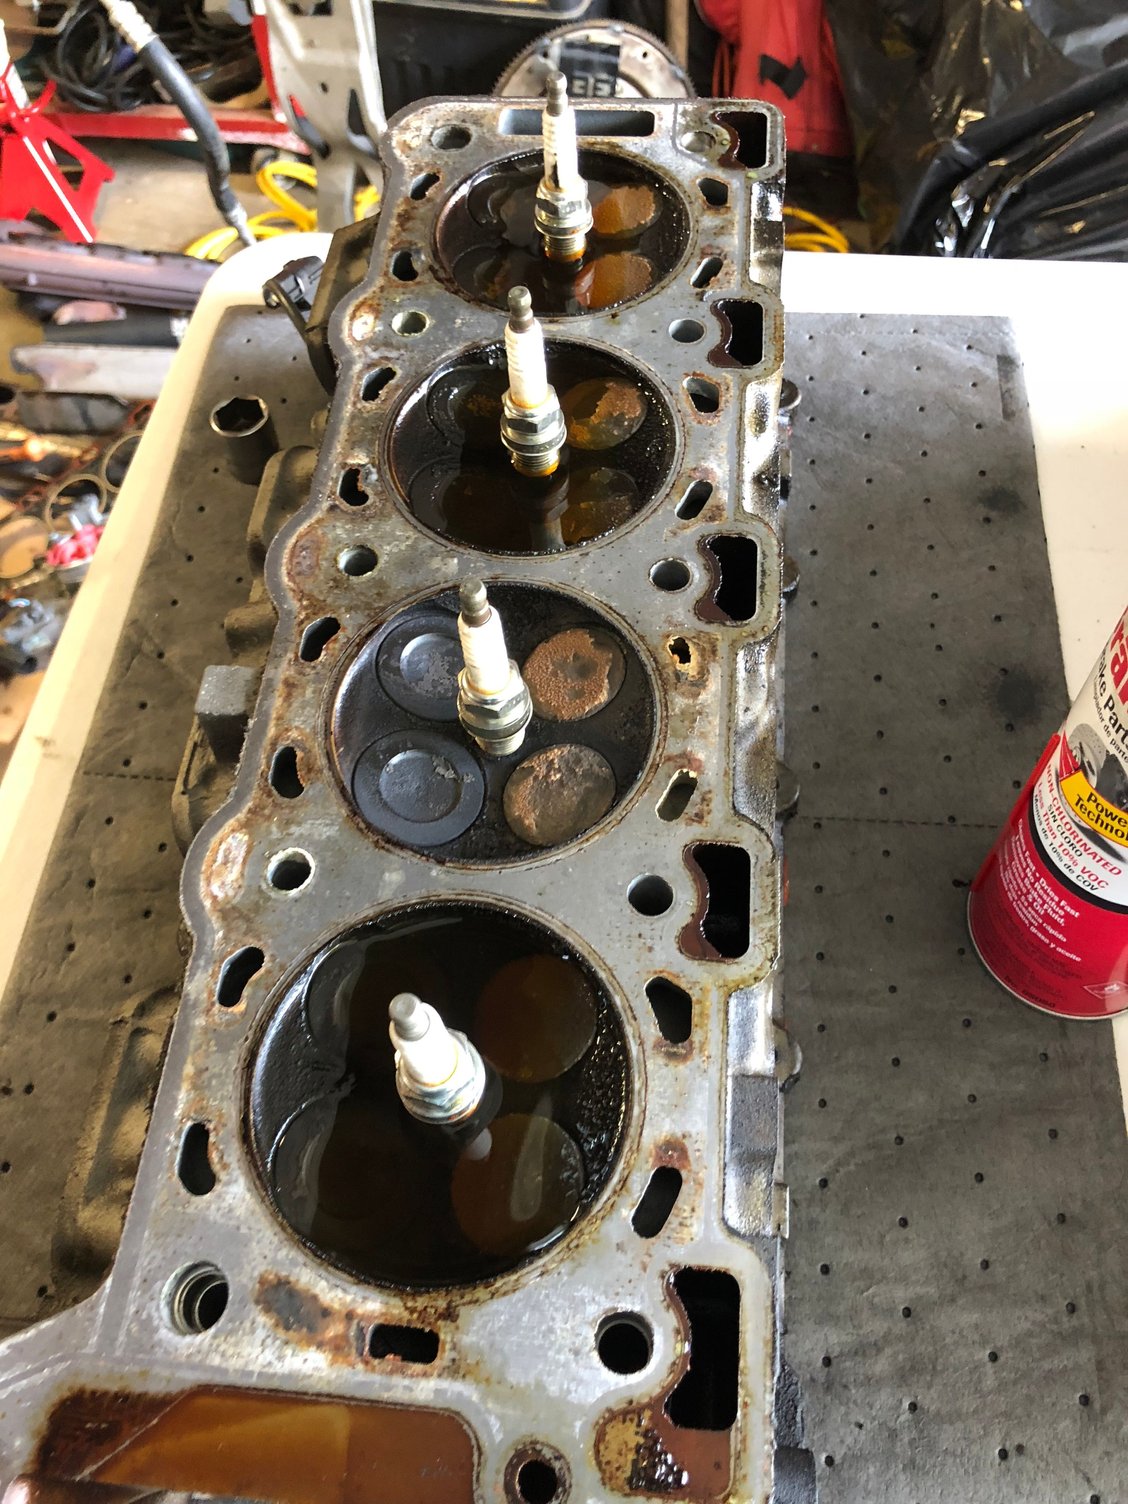
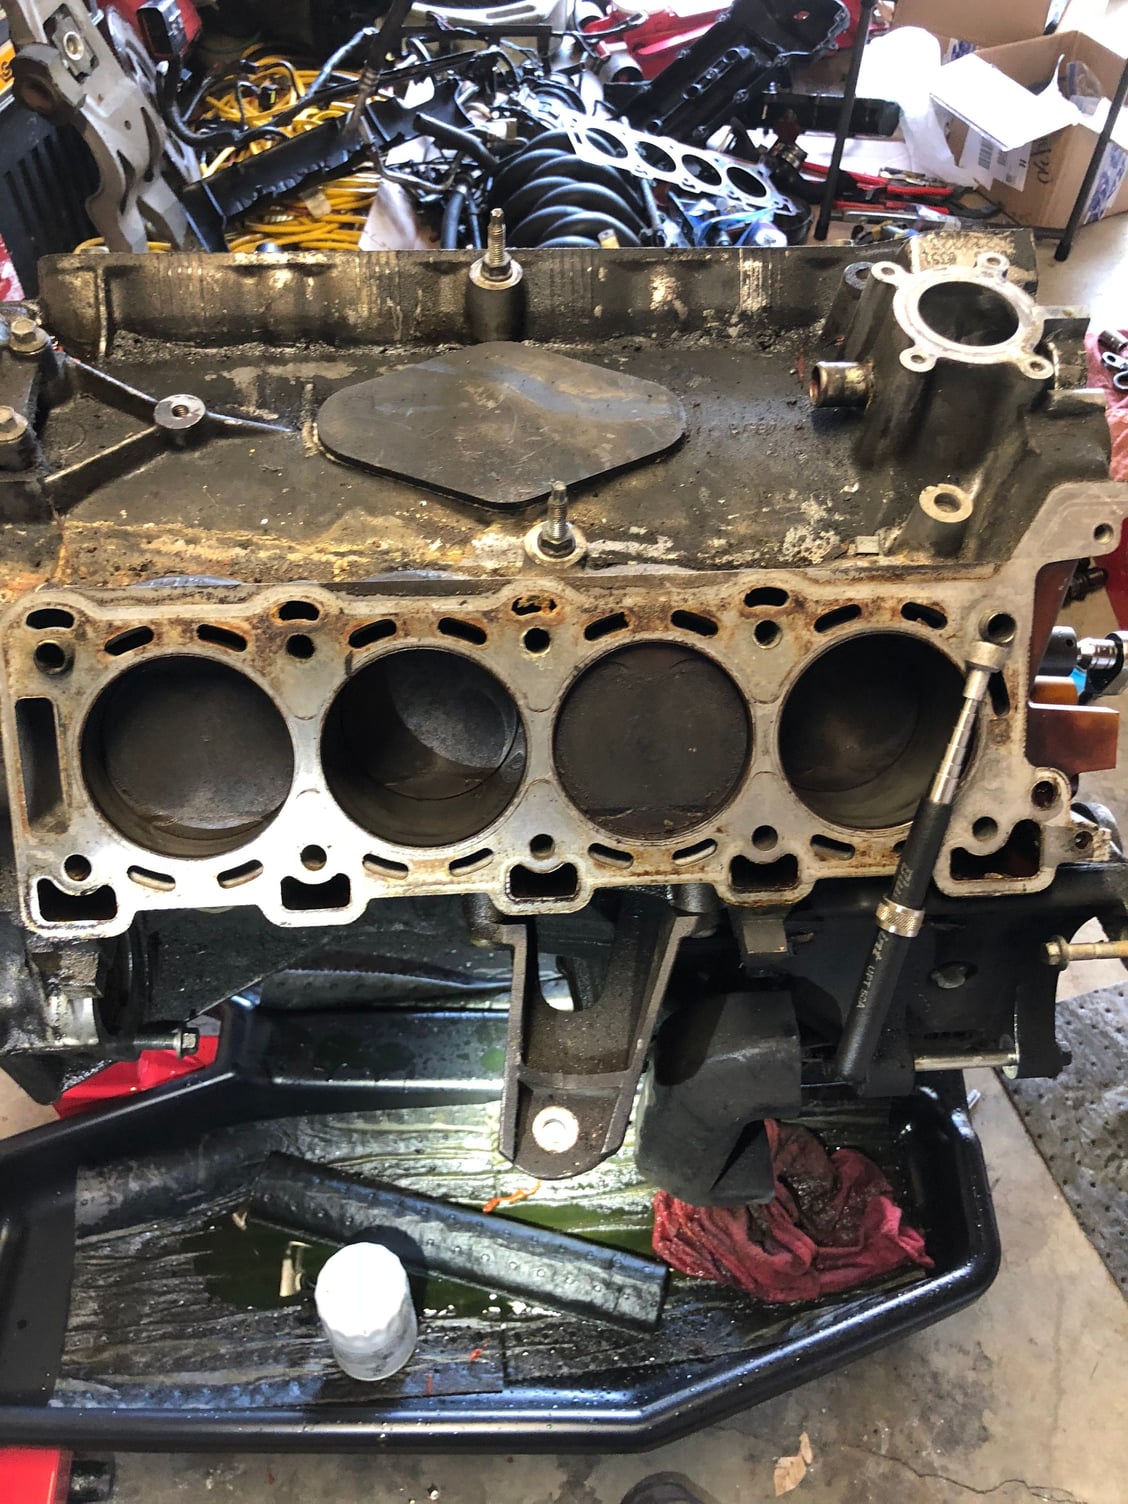
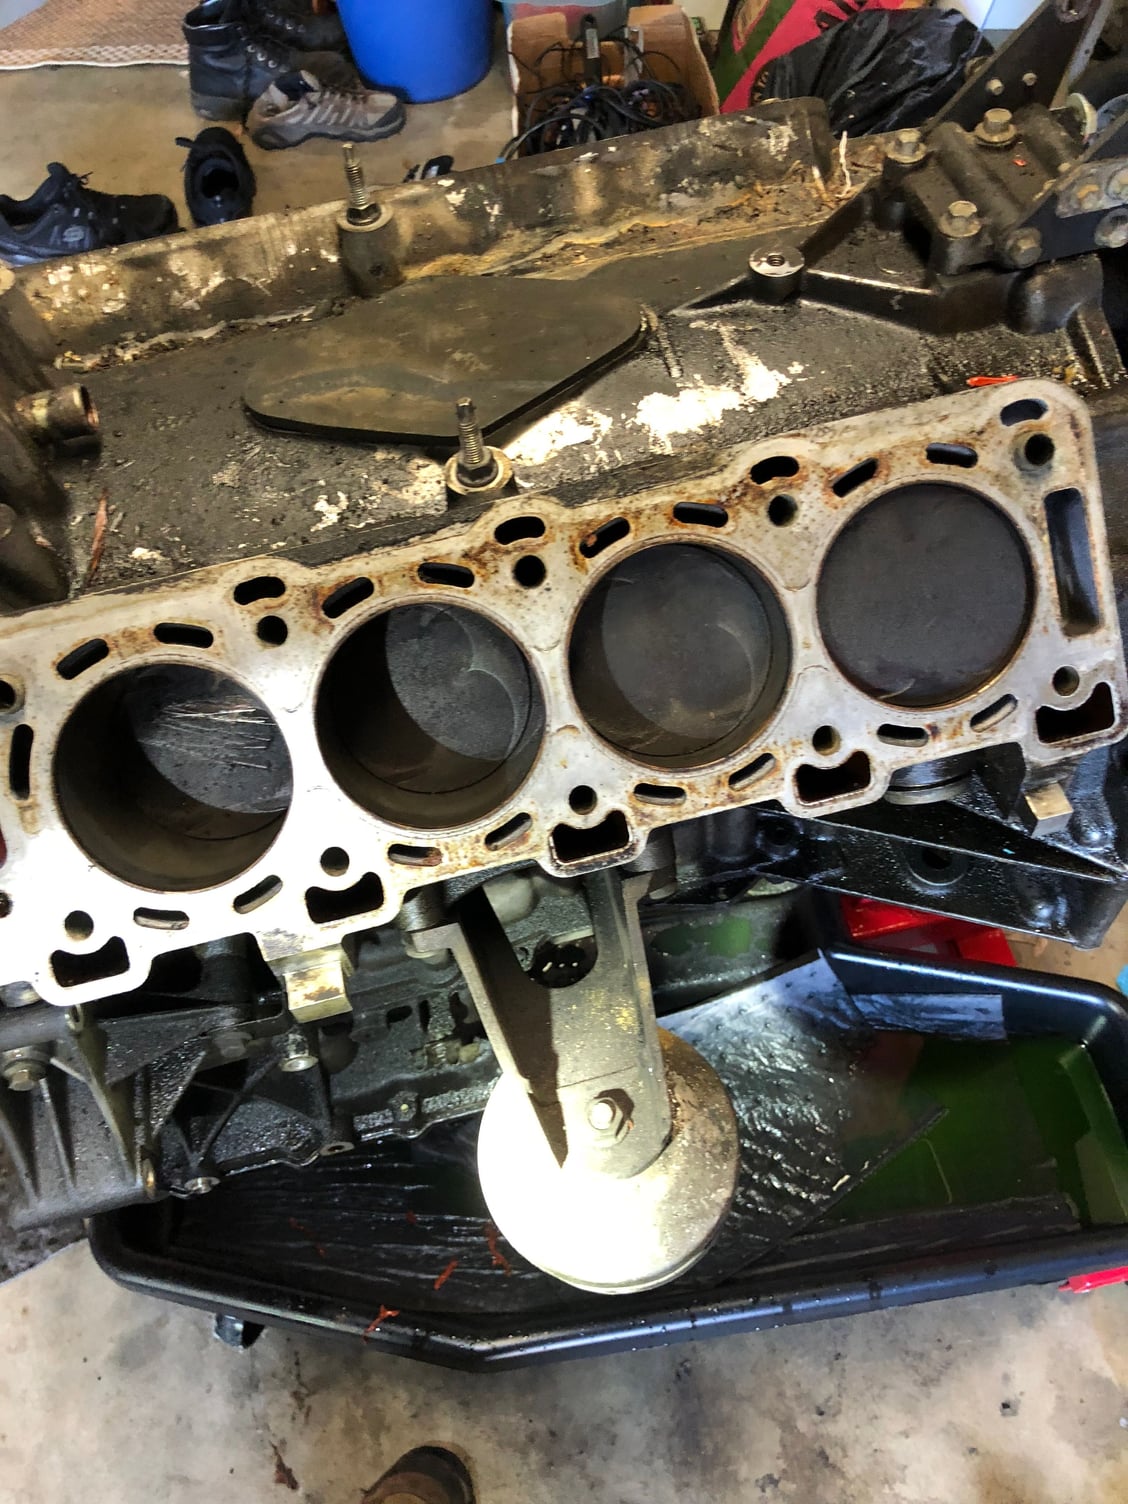
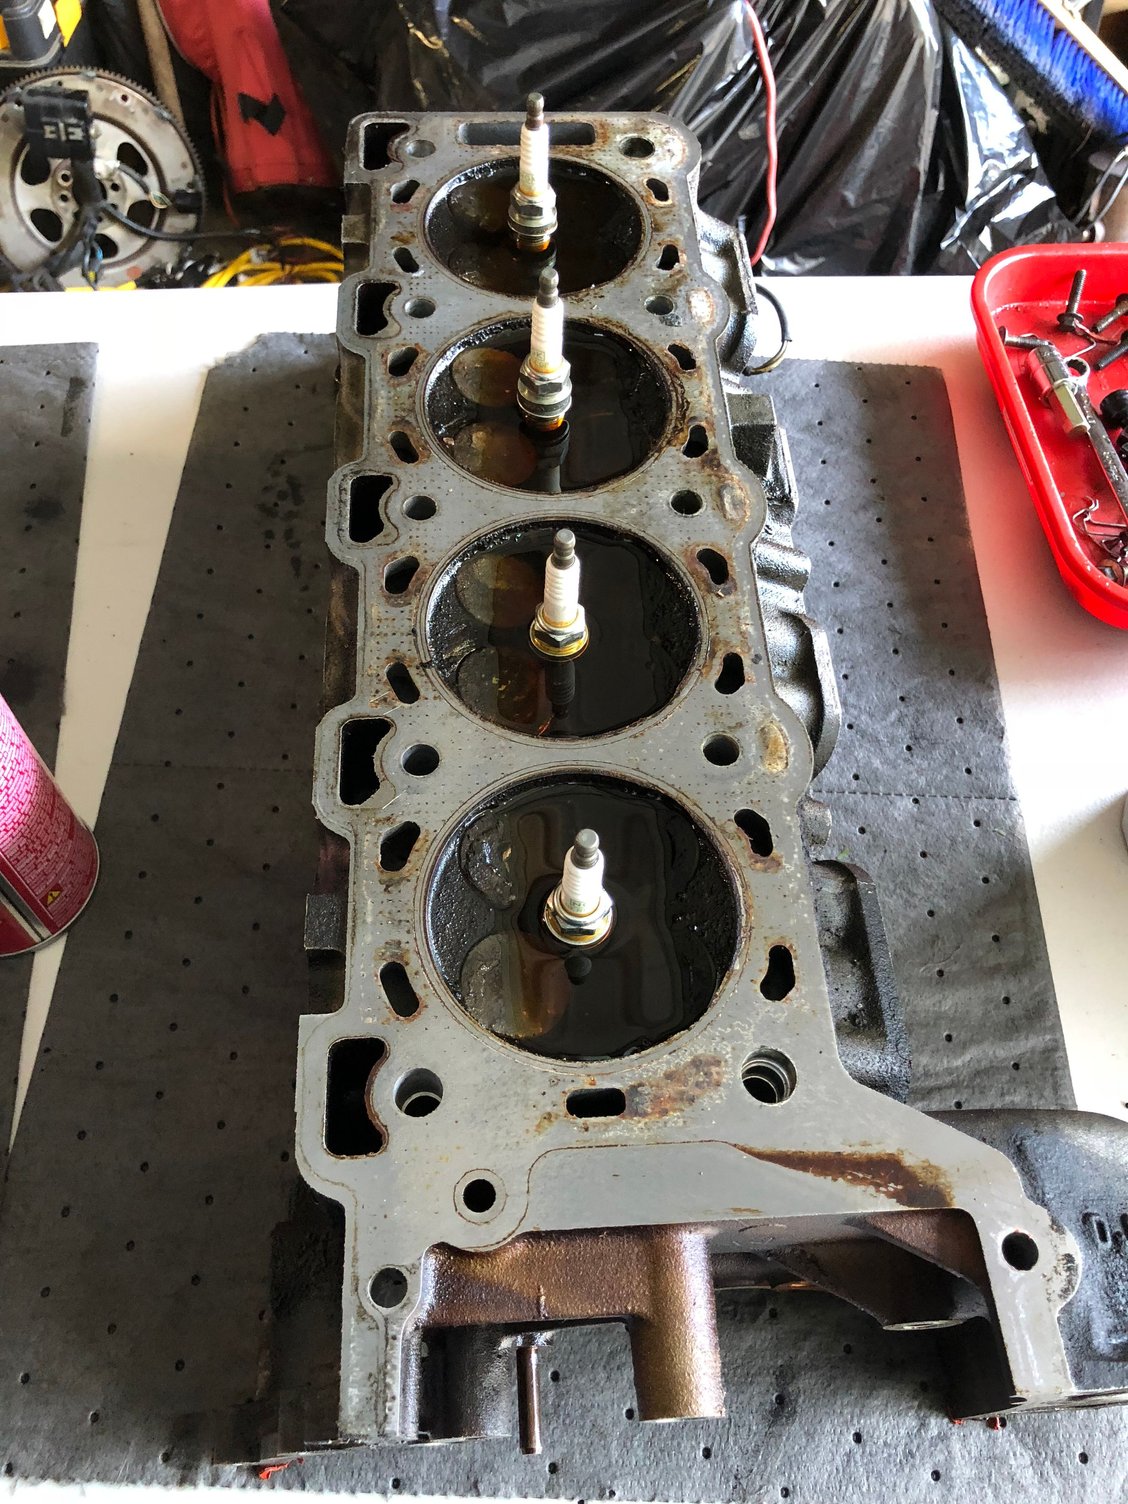
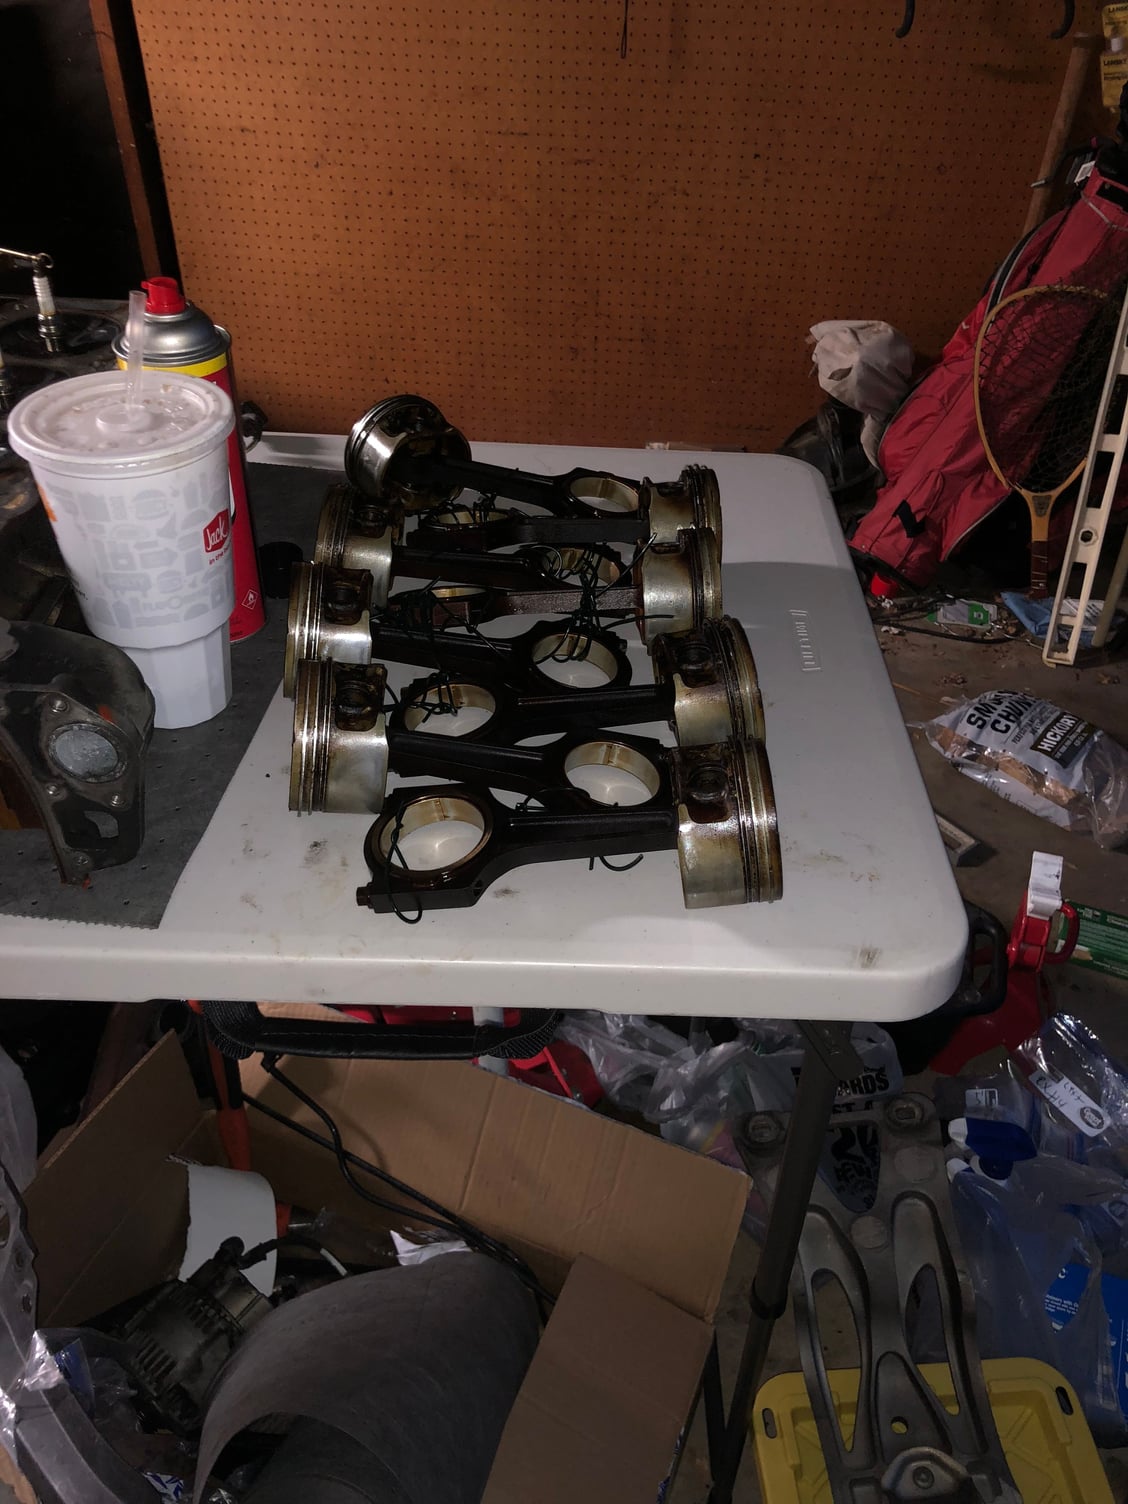
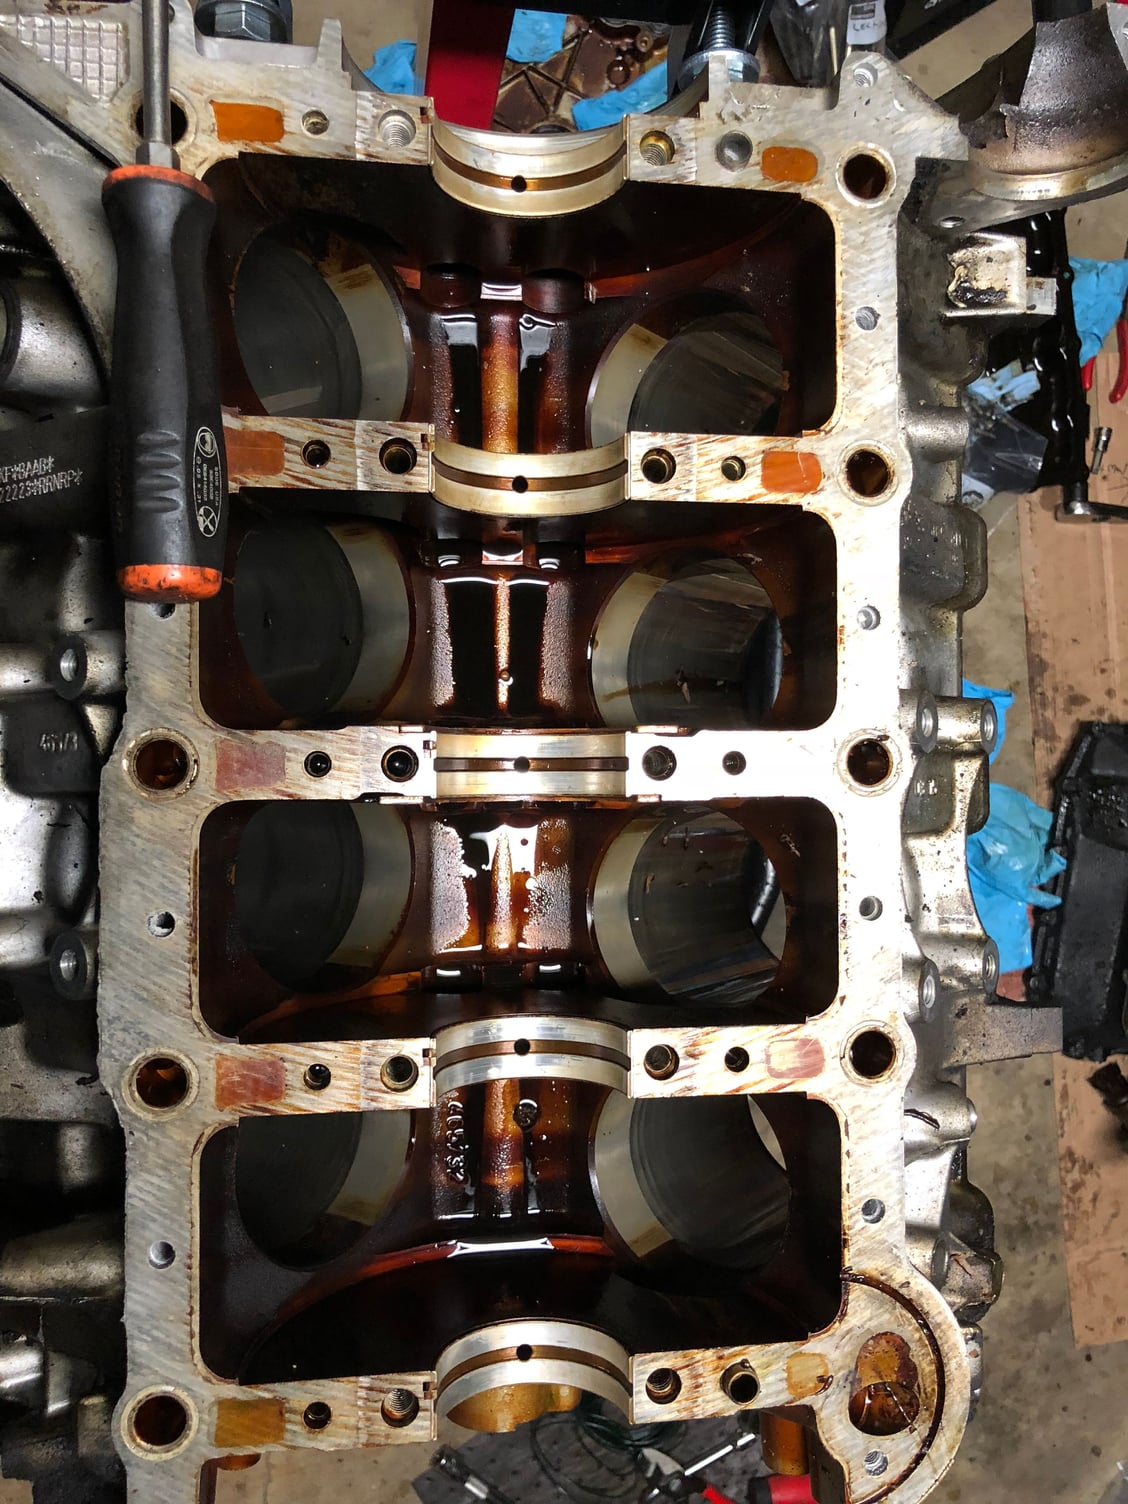
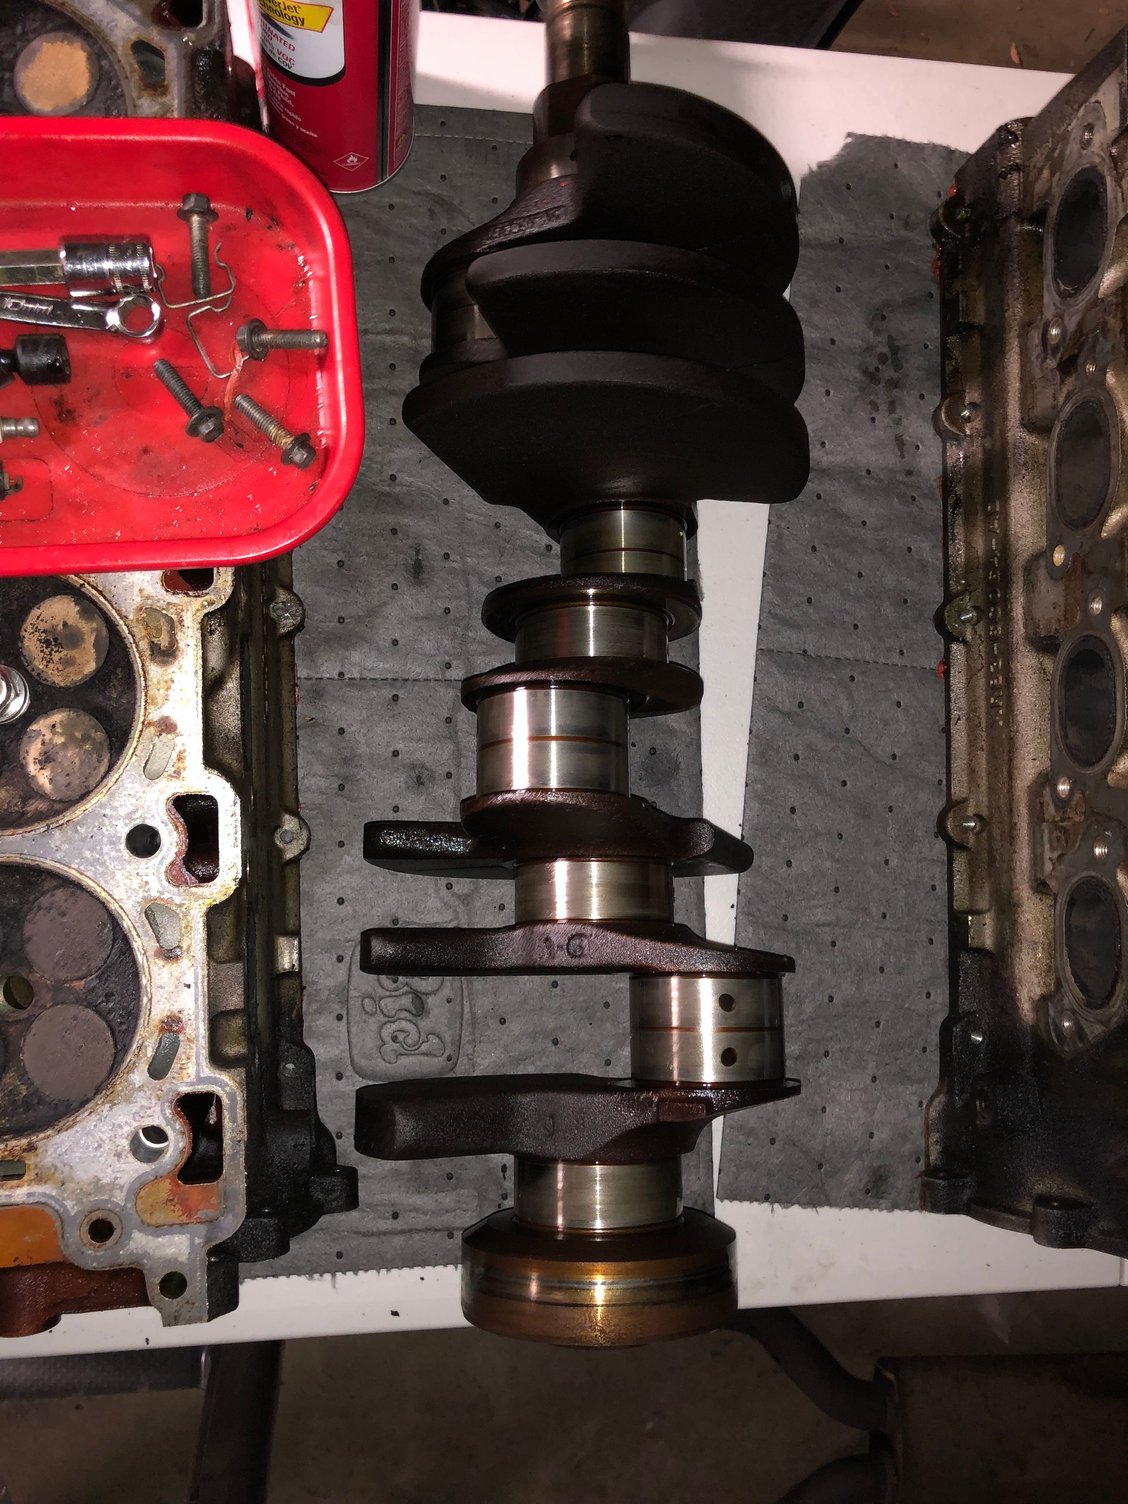
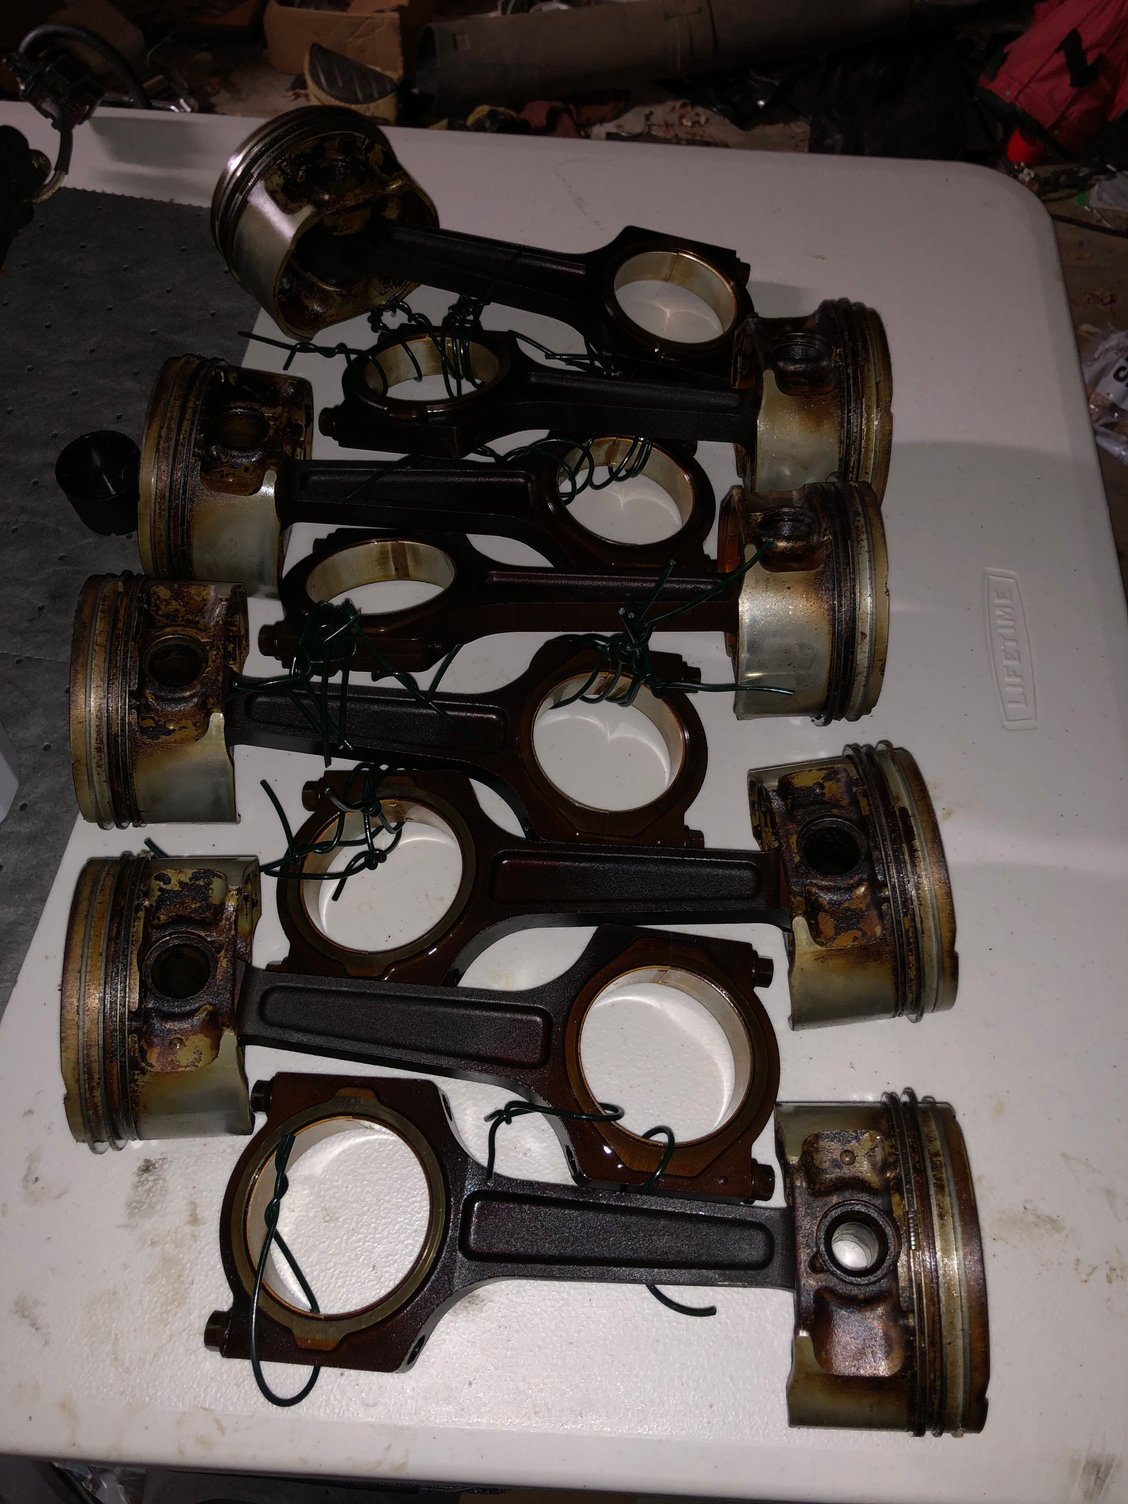
Only one valve matched up to the right side with low compression the left side Iím going to look at more closely tomorrow after work. Itís a good thing I took the engine out and apart some of the rod bearings were starting to spin now. I need to translate the bearing codes to get the colors and de grease the engine and find a place to hot tank the block/main bearing plate/sump/heads. And get a straight edge to check if the head/block it true.
#32
And on the head bolts bob I found that my 13mm was fitting loosely and felt like it wanted to round out the bolt heads so I went to a 1/2” Crome deep socket and it fit a little tighter. That worked for the left head. But it broke on the right one then I got a 12 point 1/2” impact socket for the rest. Also bob what tool do you use to get the valves out. I went to some auto parts store and the ones they rent won’t work for these heads because the valve springs are in there own little pockets.
#33
The one I have is similar to the one in the link. I won't vouch for the quality of this one but the one I have was around $90.
https://www.googleadservices.com/pag...3D%26veh%3Dsem
I use a multi compartment container and put everything from each valve in its own compartment and mark where it came from. I like to put everything back together the exact way it came out.
Be careful of the retainers. They are very small and can be easily lost. Have a clean area for disassembly and assembly. You will probably drop a few and they will be hard to find if it's a cluttered area.
Edit: If you are having a machine shop do your heads let them do the disassembly. On my heads I did it myself since mine only needed to be lapped in but if the seats or valves are bad enough that they need machine work I would let a machine shop do the work.
Last edited by BobRoy; 01-16-2018 at 07:22 AM.
The following users liked this post:
Belmon (01-16-2018)
#34
The one I have is similar to the one in the link. I won't vouch for the quality of this one but the one I have was around $90.
https://www.googleadservices.com/pag...3D%26veh%3Dsem
I use a multi compartment container and put everything from each valve in its own compartment and mark where it came from. I like to put everything back together the exact way it came out.
Be careful of the retainers. They are very small and can be easily lost. Have a clean area for disassembly and assembly. You will probably drop a few and they will be hard to find if it's a cluttered area.
Edit: If you are having a machine shop do your heads let them do the disassembly. On my heads I did it myself since mine only needed to be lapped in but if the seats or valves are bad enough that they need machine work I would let a machine shop do the work.
https://www.googleadservices.com/pag...3D%26veh%3Dsem
I use a multi compartment container and put everything from each valve in its own compartment and mark where it came from. I like to put everything back together the exact way it came out.
Be careful of the retainers. They are very small and can be easily lost. Have a clean area for disassembly and assembly. You will probably drop a few and they will be hard to find if it's a cluttered area.
Edit: If you are having a machine shop do your heads let them do the disassembly. On my heads I did it myself since mine only needed to be lapped in but if the seats or valves are bad enough that they need machine work I would let a machine shop do the work.
#35
I don't think that will work. Even with a spring compressor it is difficult to reinstall the retainers. You will have more access to get them in with the spring compressor.
I cleaned my heads with the purple degreaser and a pressure washer. The almost looked new when I was done.
First pic is my Harbor freight container then the before and after on cleaning the heads.
I cleaned my heads with the purple degreaser and a pressure washer. The almost looked new when I was done.
First pic is my Harbor freight container then the before and after on cleaning the heads.
The following users liked this post:
Belmon (01-16-2018)
#36
I don't think that will work. Even with a spring compressor it is difficult to reinstall the retainers. You will have more access to get them in with the spring compressor.
I cleaned my heads with the purple degreaser and a pressure washer. The almost looked new when I was done.
First pic is my Harbor freight container then the before and after on cleaning the heads.
I cleaned my heads with the purple degreaser and a pressure washer. The almost looked new when I was done.
First pic is my Harbor freight container then the before and after on cleaning the heads.
The problem is washing it. They tore down some self car washing places and are rebuilding them. I might just buy a big tub to dip the heads in degreaser. Not sure about the block yet. Iíll look around for a place.
The following users liked this post:
Belmon (01-16-2018)
#39
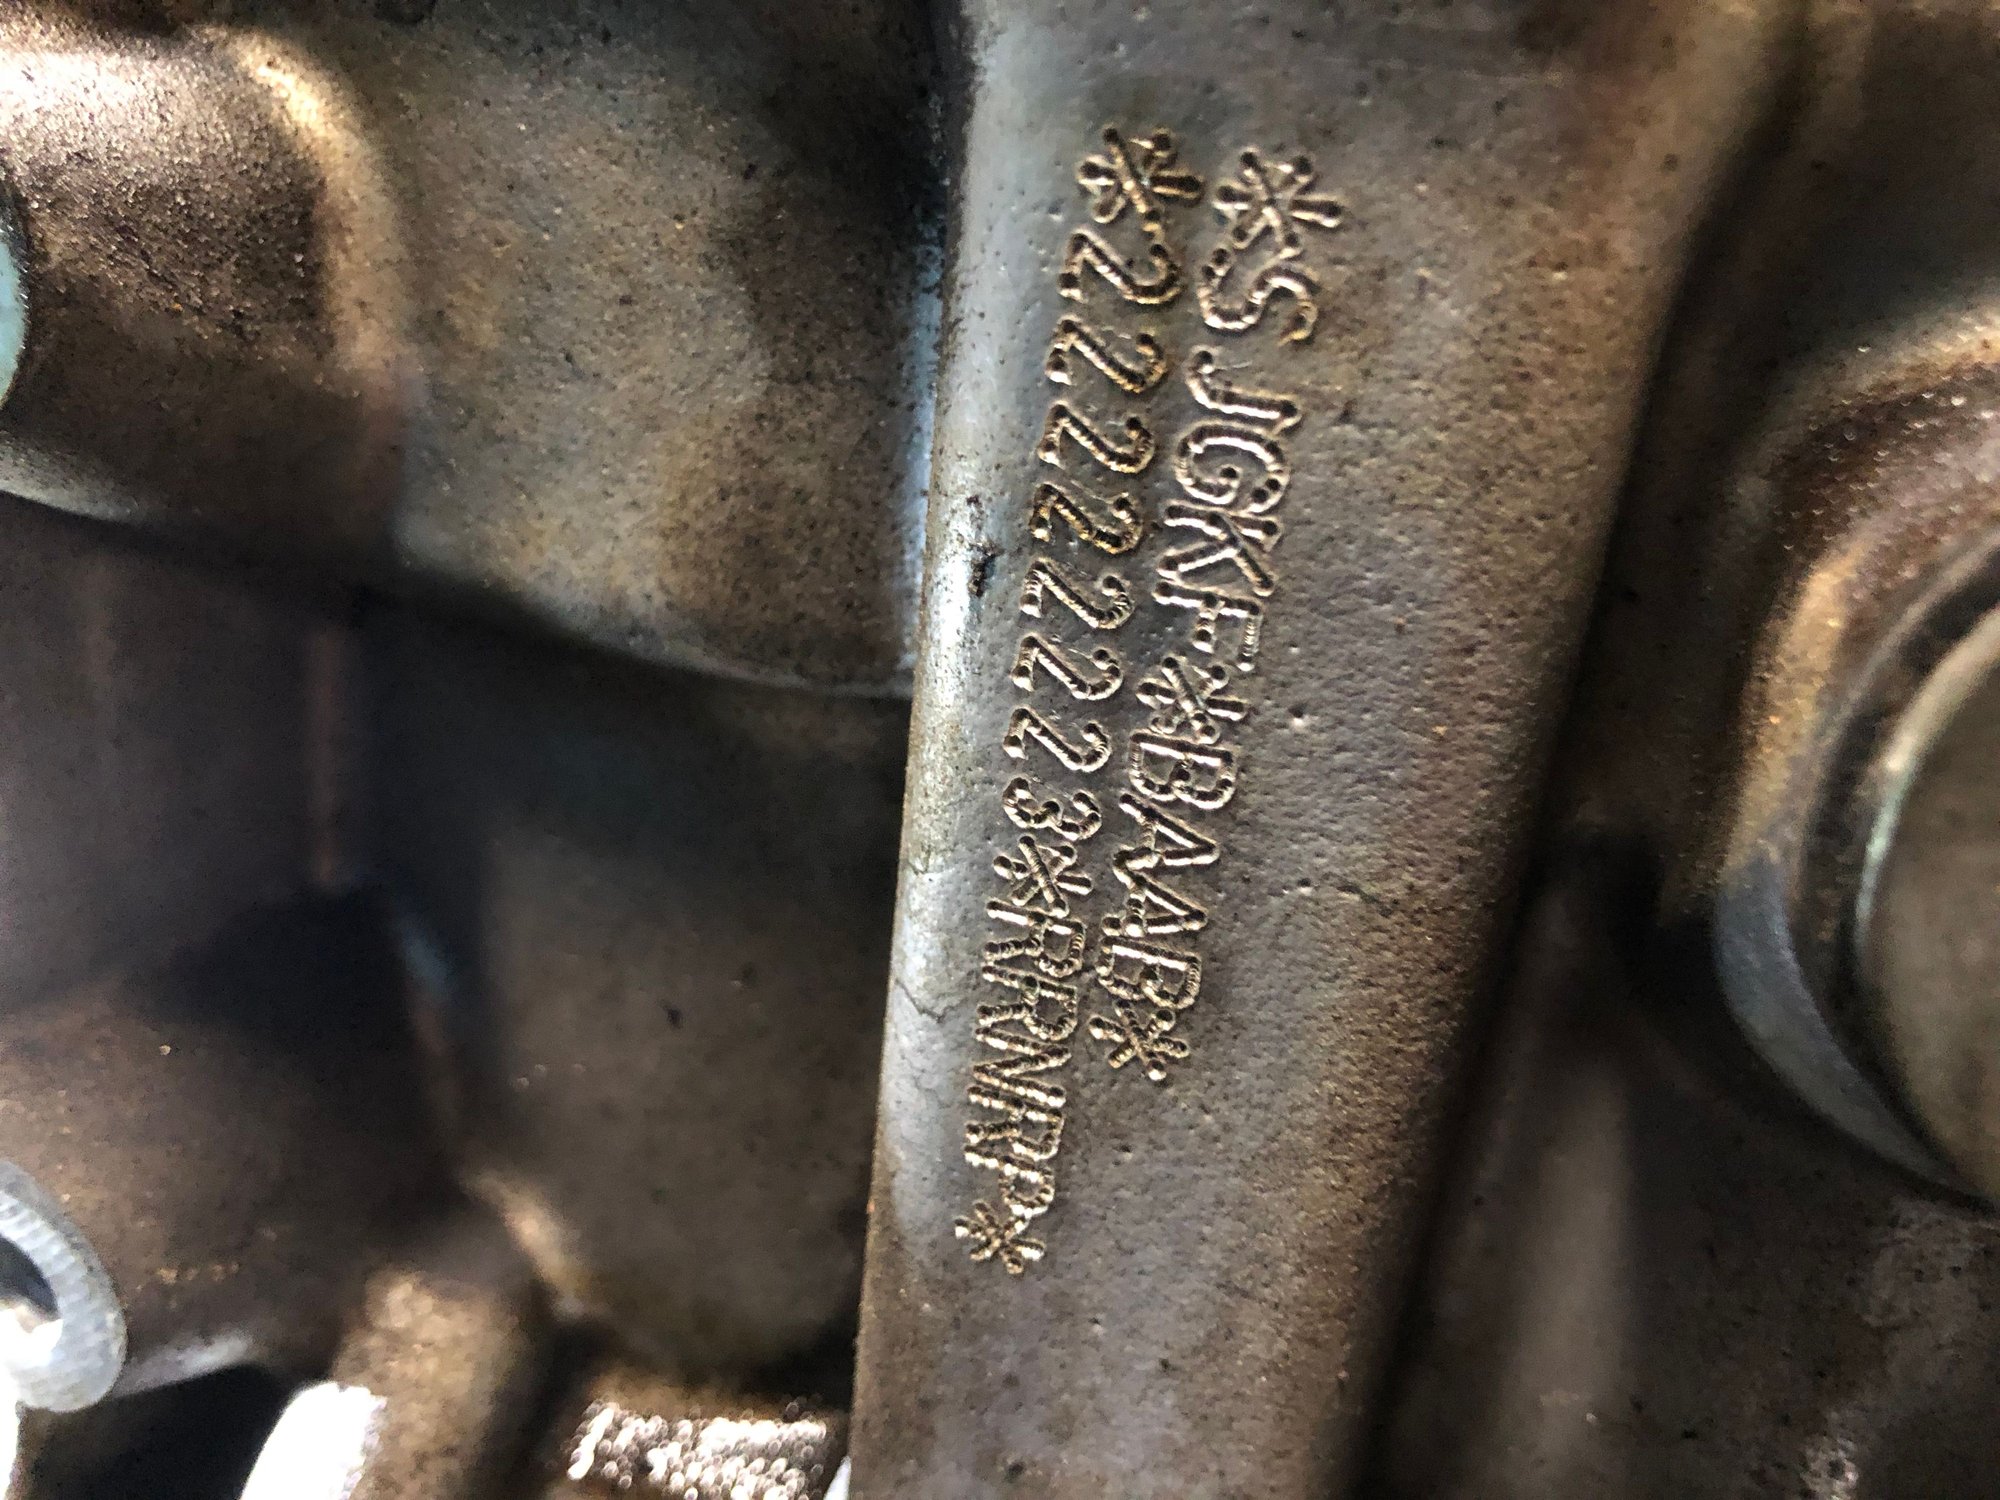
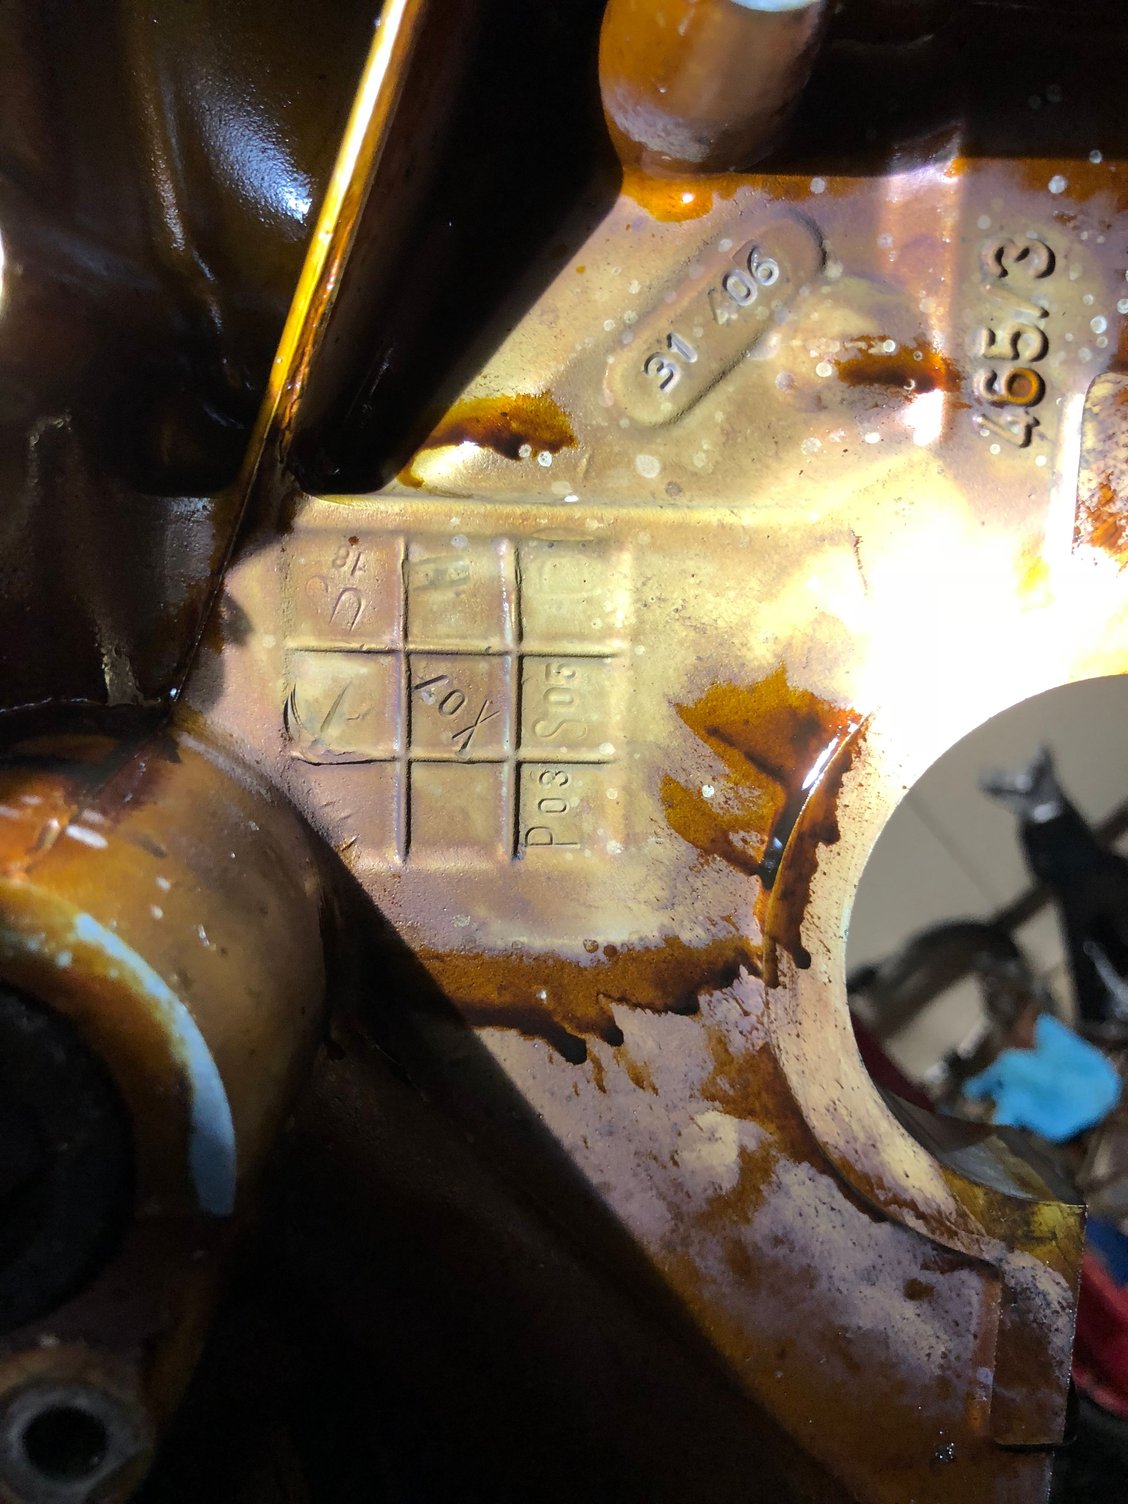
ok so i think i got the right bearing colors but i would like someone else to double check my work to be sure
engine numbers sjgkf*baab 22222223*rrnrp
link to engine pdf http://www.jagrepair.com/images/Auto...Code%20168.pdf
pages 54-59
rod bearing color
b/1 green
a/2 blue
a/3 blue
b/4 green
main bearings crank journal diameter
s/1 61.985mm
j/2 61.992mm
g/3 61.994mm
k/4 61.991mm
f/5 61.995mm
main bearing bore inside diameter
r/1 66.018mm
r/2 66.018mm
n/3 66.020mm
r/4 66.018mm
p/5 66.019mm
main bearing color
1 blue/green
2 blue/blue
3 blue/blue
4 blue/blue
5 blue/blue
cylinder bore
2 b1
2 b2
2 b3
2 b4
2 a4
2 a3
2 a2
3 a1


