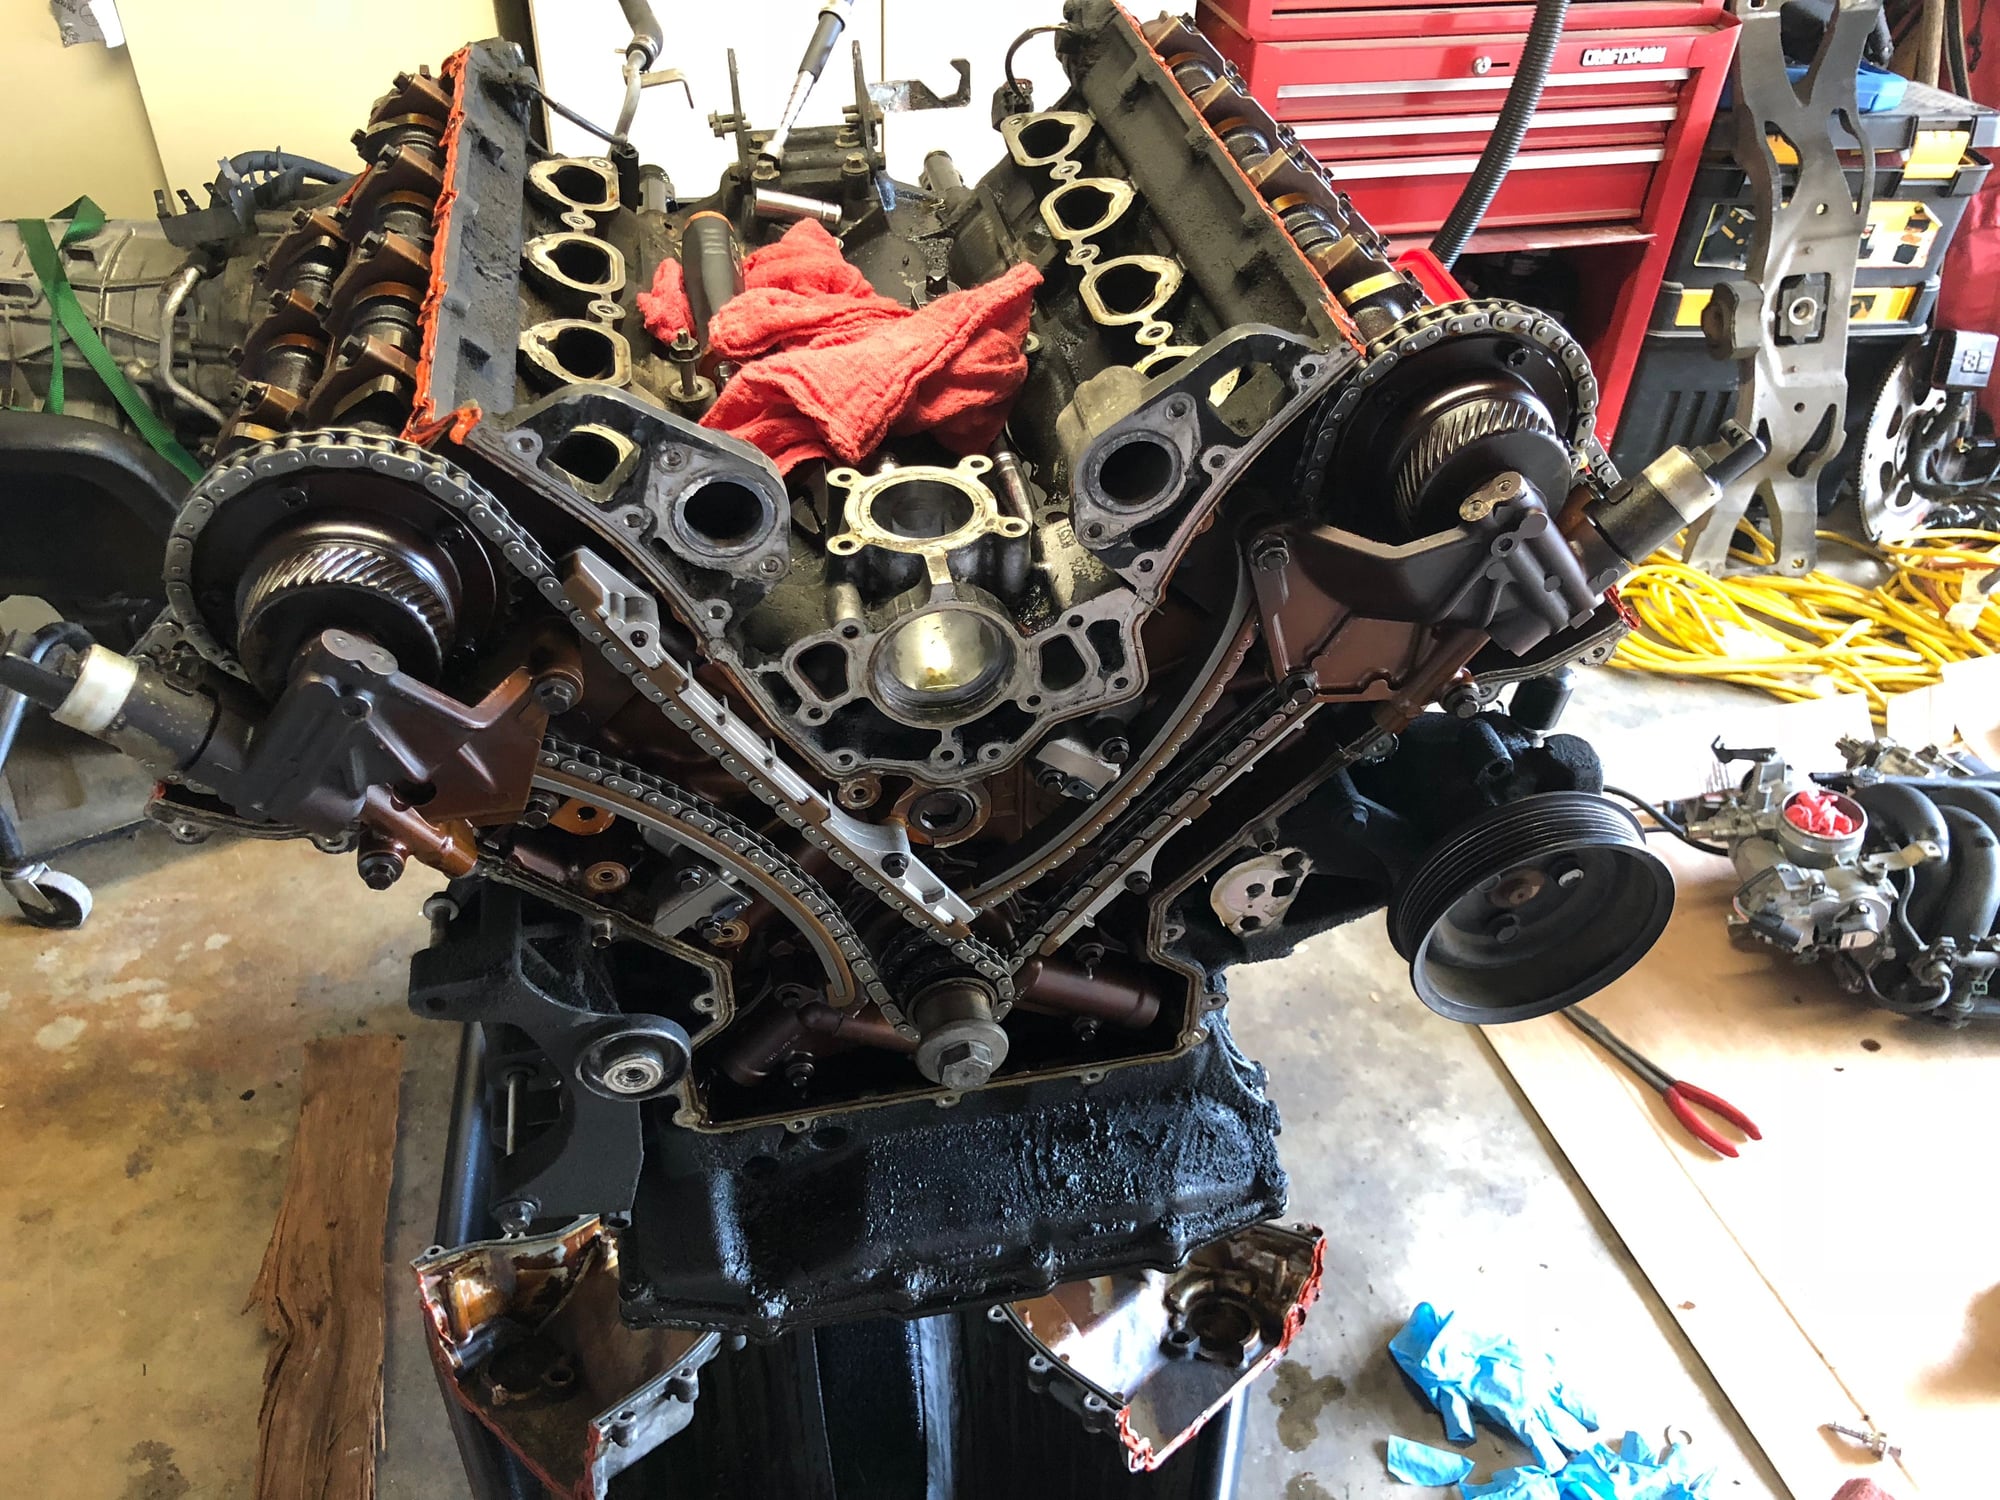
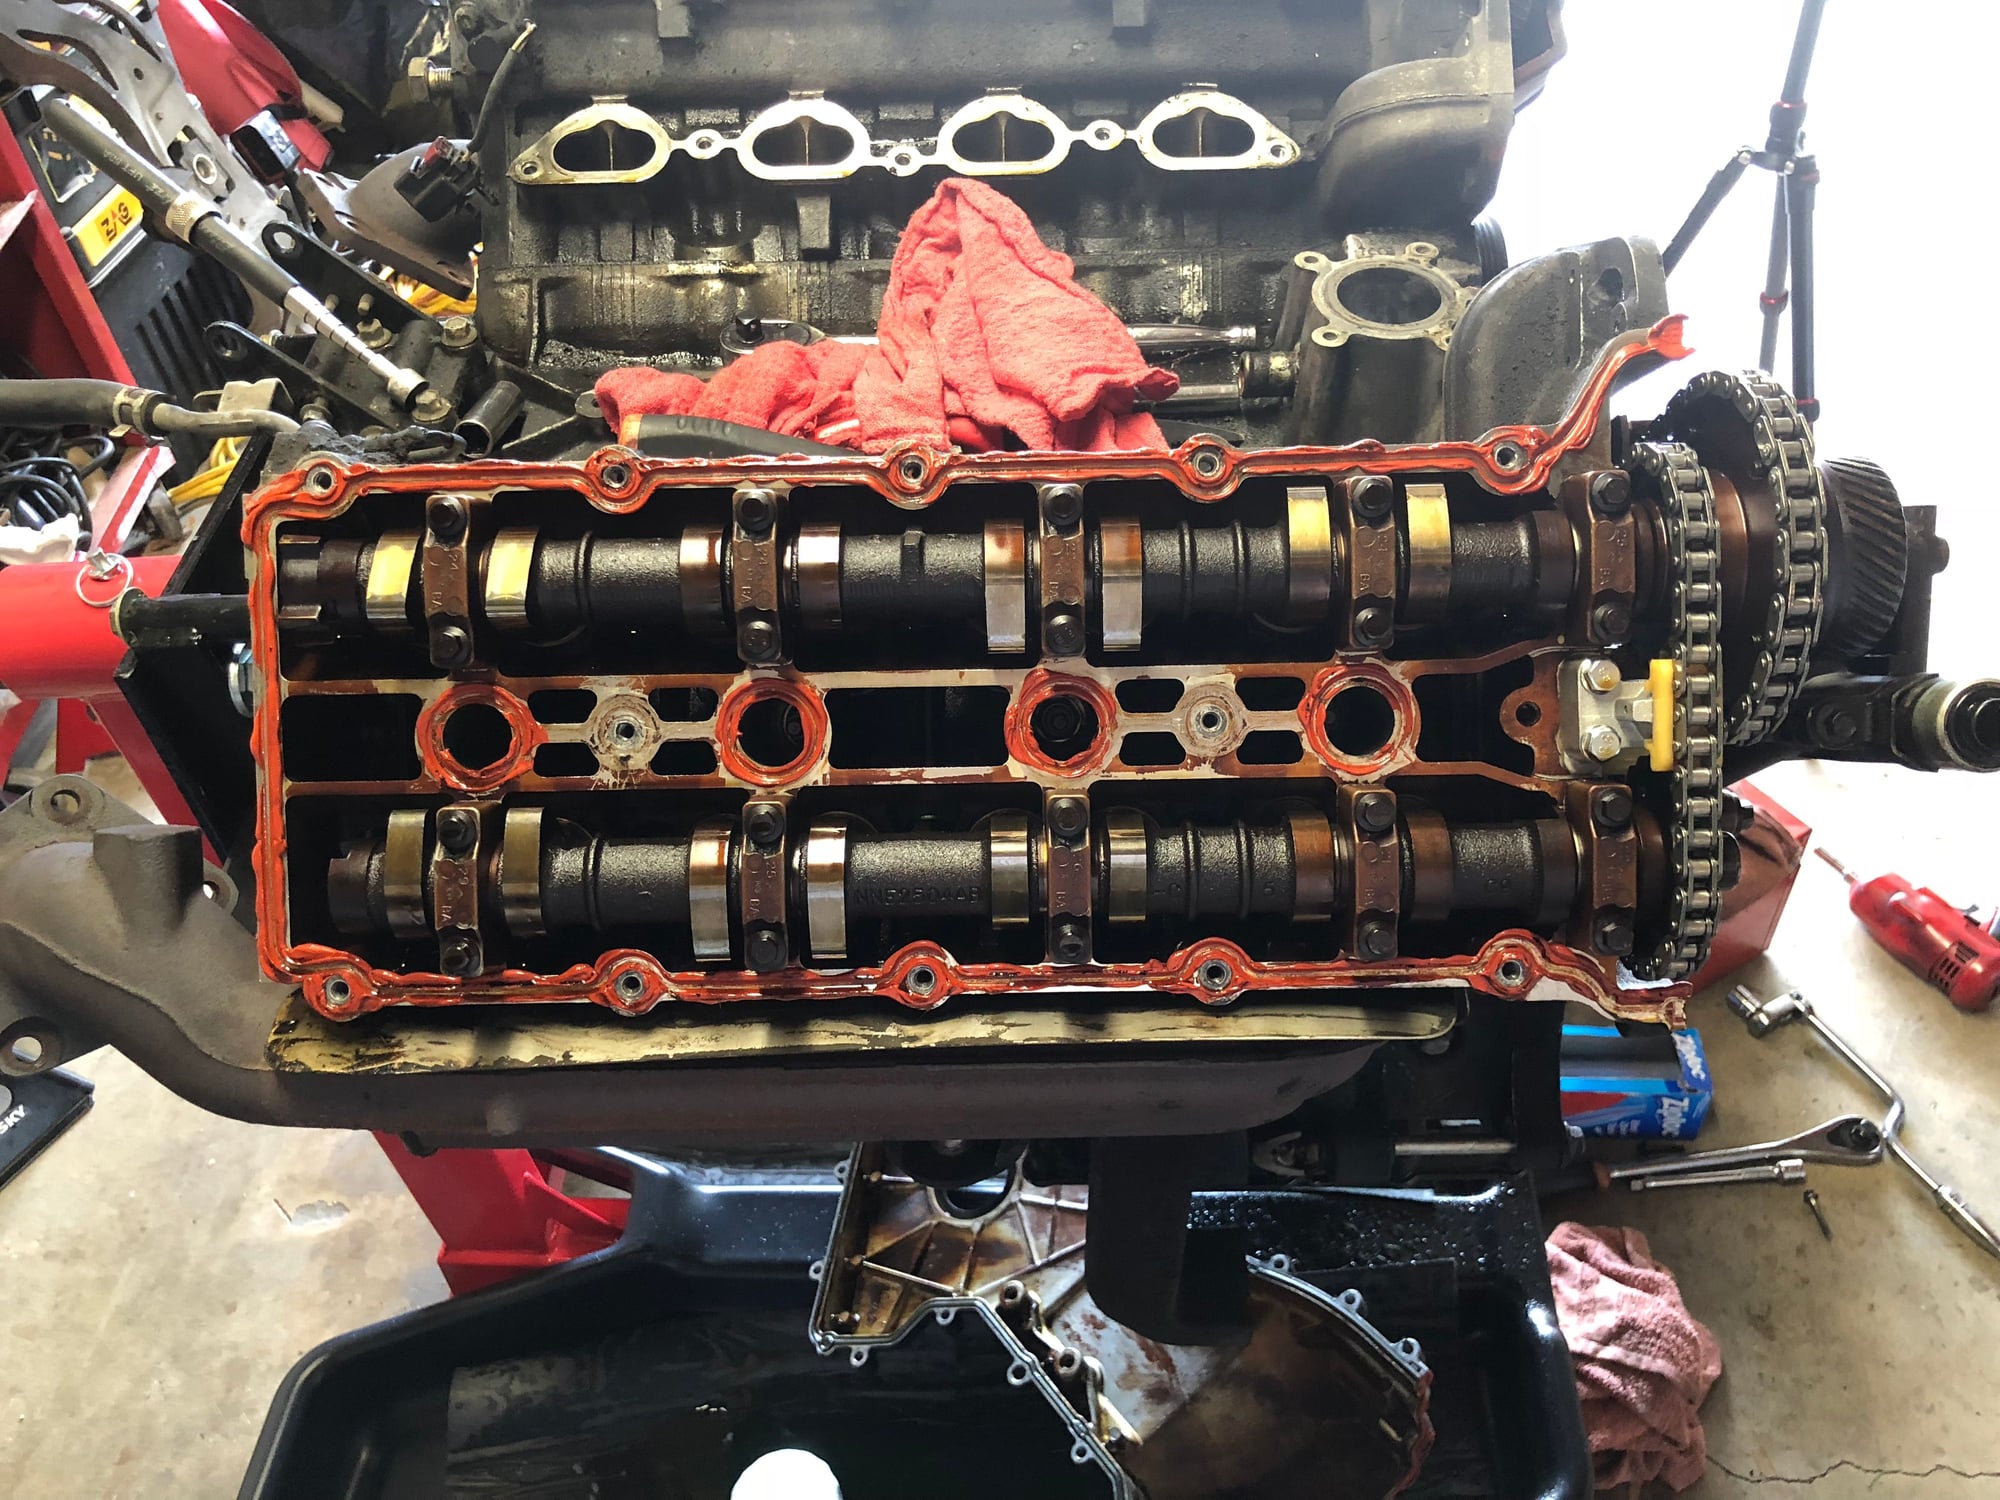
engine removal and rebuild
#42
#45
Belmont,
When I did the engine repairs on my XK8 I didn't do the main bearings but only a single rod bearing. So the info I'm giving you is from research I did and not from actual experience.
I found a pic of a main bearing with the oiling grove. I believe the grove will be on both bearing halves. When you order the bearings for the mains it will have the oil grove.
#46
Belmont,
When I did the engine repairs on my XK8 I didn't do the main bearings but only a single rod bearing. So the info I'm giving you is from research I did and not from actual experience.
I found a pic of a main bearing with the oiling grove. I believe the grove will be on both bearing halves. When you order the bearings for the mains it will have the oil grove.
When I did the engine repairs on my XK8 I didn't do the main bearings but only a single rod bearing. So the info I'm giving you is from research I did and not from actual experience.
I found a pic of a main bearing with the oiling grove. I believe the grove will be on both bearing halves. When you order the bearings for the mains it will have the oil grove.
#47
#48
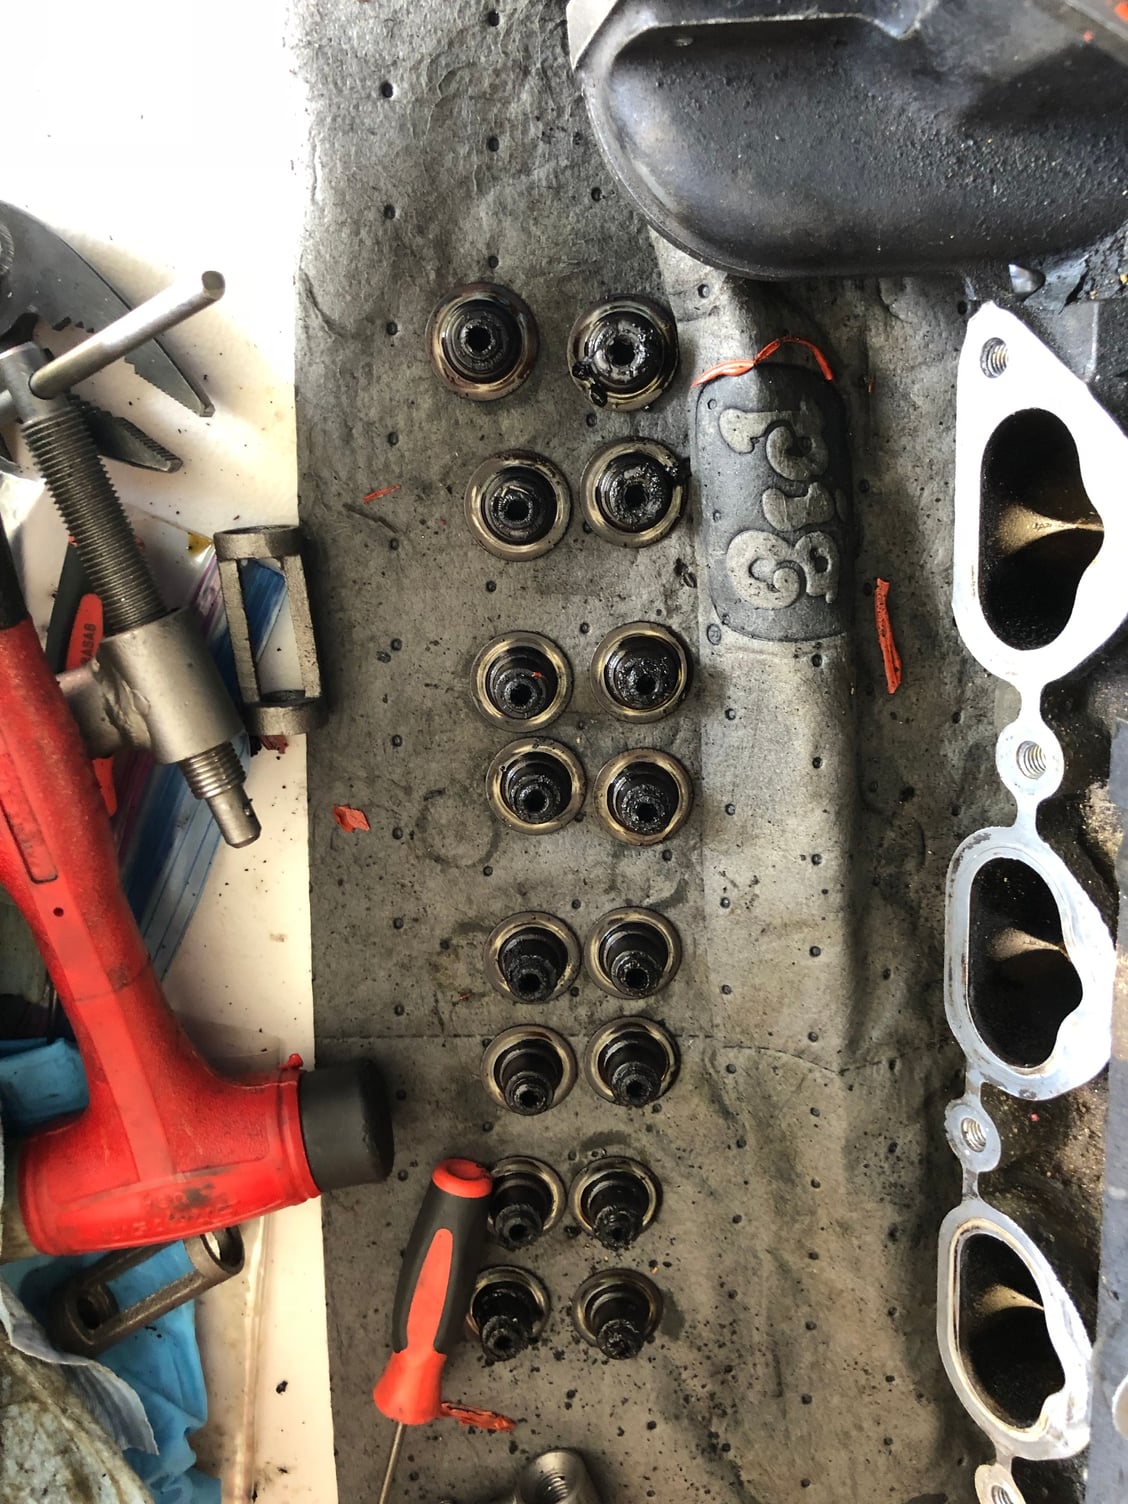
Like your storage box for the valve components. Where are your cam buckets, I put them with the valve they belong to. I also take the bucket shim off and mark its size on top of the box to its corresponding valve. I do this so when I'm adjusting valve clearances I know what shim is on that bucket and can calculate what size I need. Also drill a hole above each tray in your box. This way you can close the lid by guiding the valve through the hole. If you accidentally spill the box with the lid open you will never figure what part goes where. It is a little old fashion but it is the way I was taught.
I confirmed you main bearing sizes to yours. Install the bearings in the same configuration they came off.
Keep posting your pictures.
I confirmed you main bearing sizes to yours. Install the bearings in the same configuration they came off.
Keep posting your pictures.
The following users liked this post:
Belmon (01-22-2018)
#49
I have never heard of someone trying to rebuild a Nikasil engine .... be it a direct cause or not.Do you know why the compression was down .. was it a cyl problem?
Also -- the temp gauge registers normal for a very wide temp .... it's designed that way. It only hits the overheat when it too late .. it's no better than a overheat light.
It's really only good for informing when the engine has warmed up
Also -- the temp gauge registers normal for a very wide temp .... it's designed that way. It only hits the overheat when it too late .. it's no better than a overheat light.
It's really only good for informing when the engine has warmed up
#50
Like your storage box for the valve components. Where are your cam buckets, I put them with the valve they belong to. I also take the bucket shim off and mark its size on top of the box to its corresponding valve. I do this so when I'm adjusting valve clearances I know what shim is on that bucket and can calculate what size I need. Also drill a hole above each tray in your box. This way you can close the lid by guiding the valve through the hole. If you accidentally spill the box with the lid open you will never figure what part goes where. It is a little old fashion but it is the way I was taught.
I confirmed you main bearing sizes to yours. Install the bearings in the same configuration they came off.
Keep posting your pictures.
I confirmed you main bearing sizes to yours. Install the bearings in the same configuration they came off.
Keep posting your pictures.
also where did you get your rod bearings?
Last edited by Belmon; 01-23-2018 at 12:00 AM. Reason: more info
#51
I have never heard of someone trying to rebuild a Nikasil engine .... be it a direct cause or not.Do you know why the compression was down .. was it a cyl problem?
Also -- the temp gauge registers normal for a very wide temp .... it's designed that way. It only hits the overheat when it too late .. it's no better than a overheat light.
It's really only good for informing when the engine has warmed up
Also -- the temp gauge registers normal for a very wide temp .... it's designed that way. It only hits the overheat when it too late .. it's no better than a overheat light.
It's really only good for informing when the engine has warmed up
#54
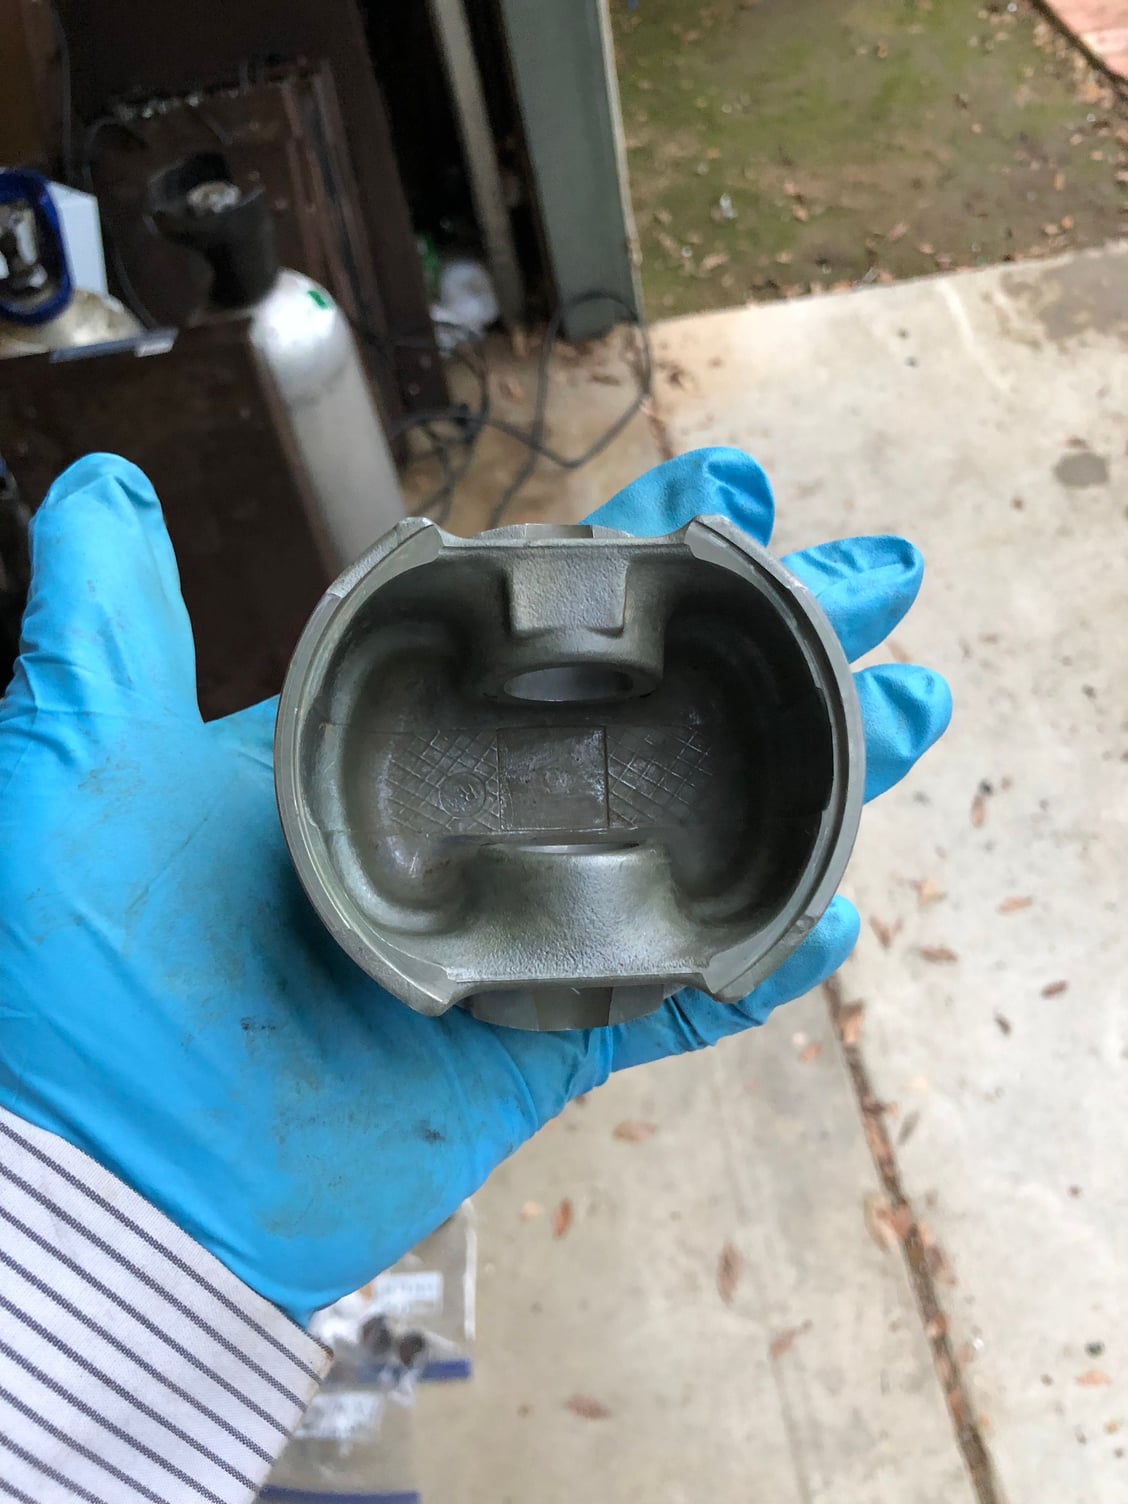
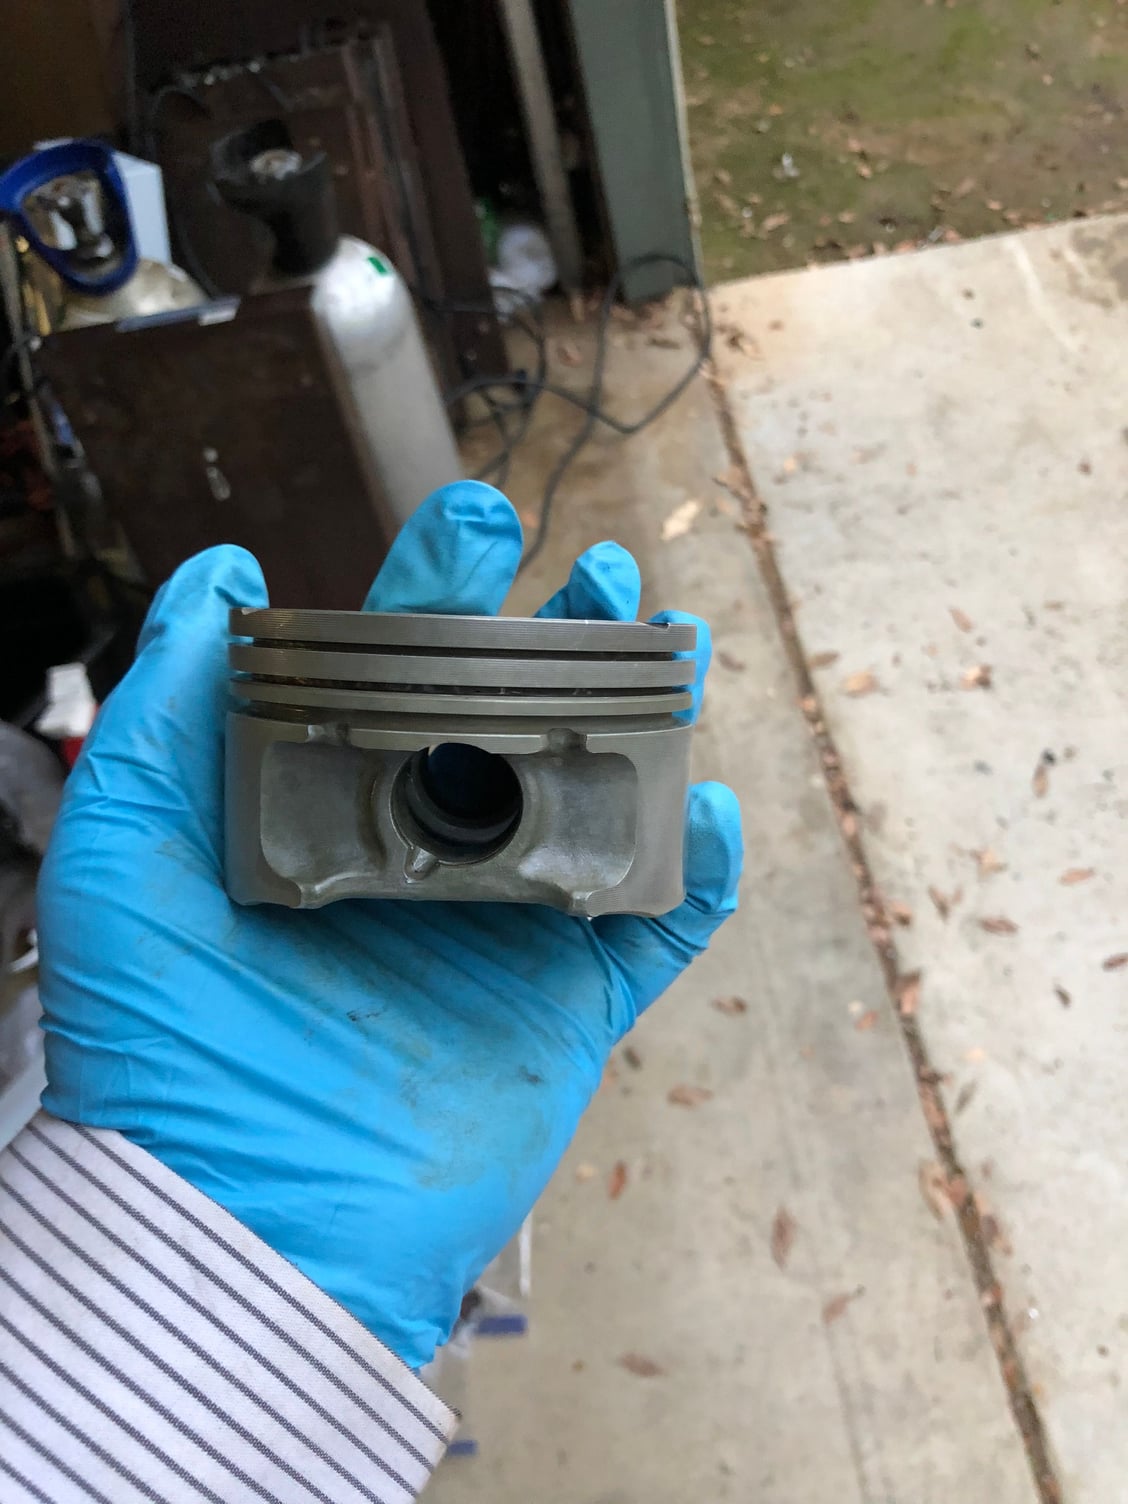
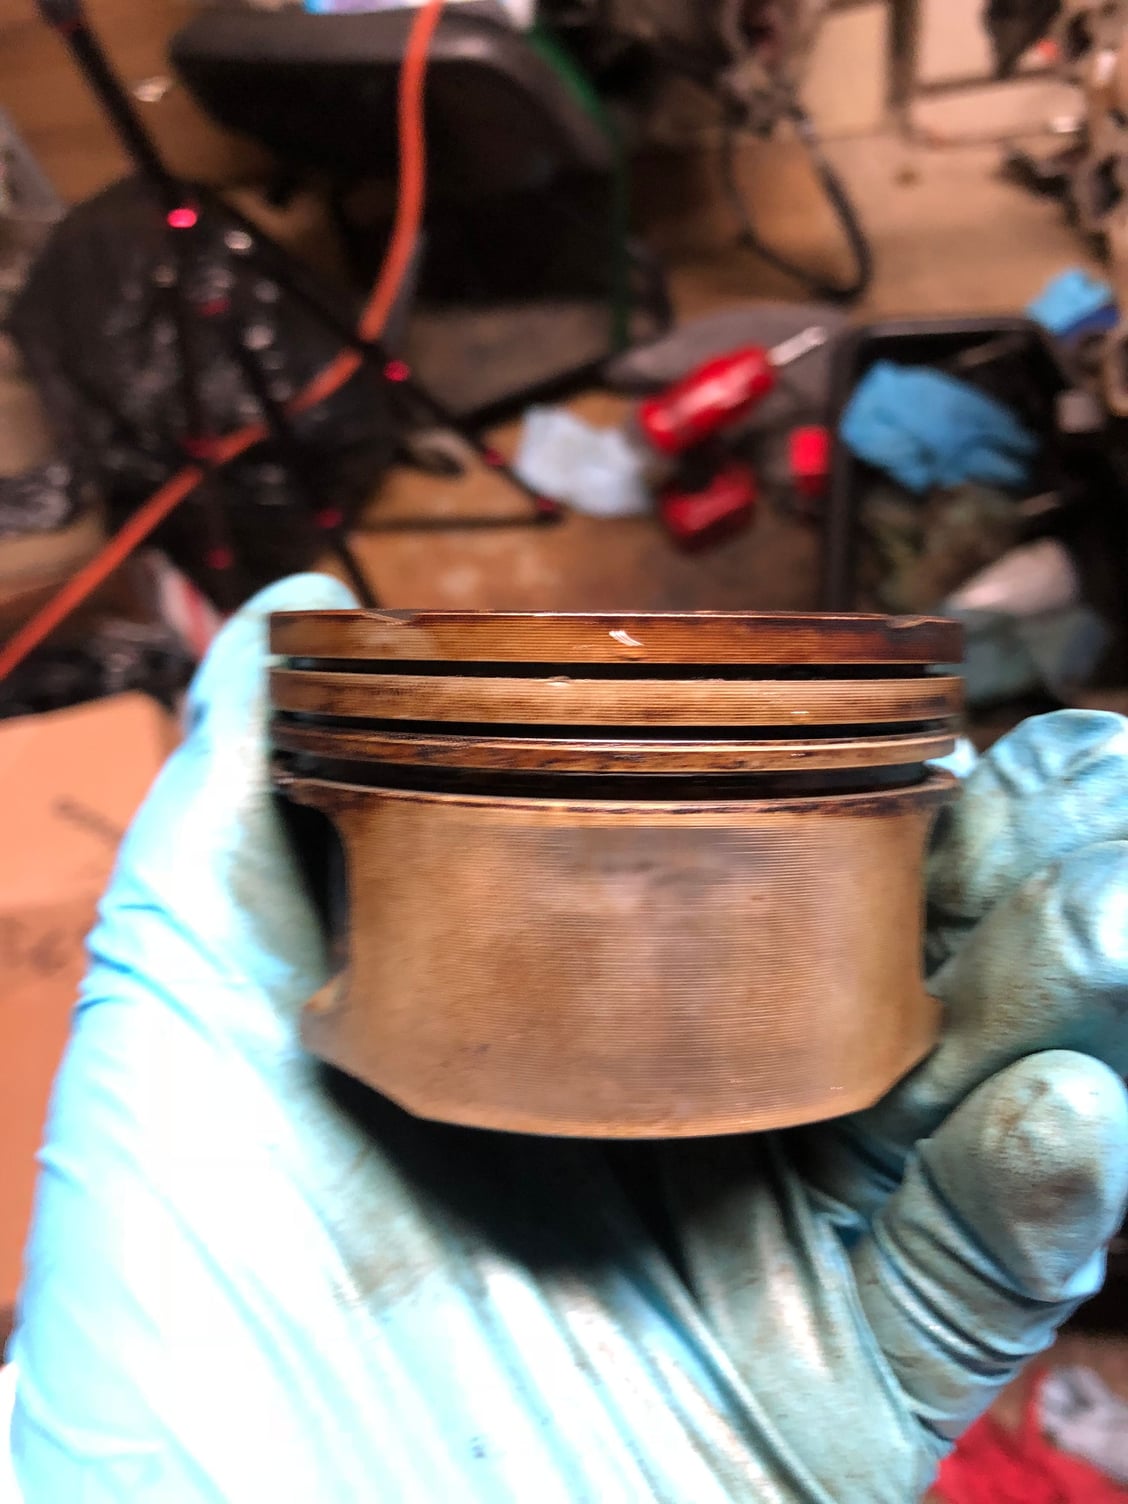
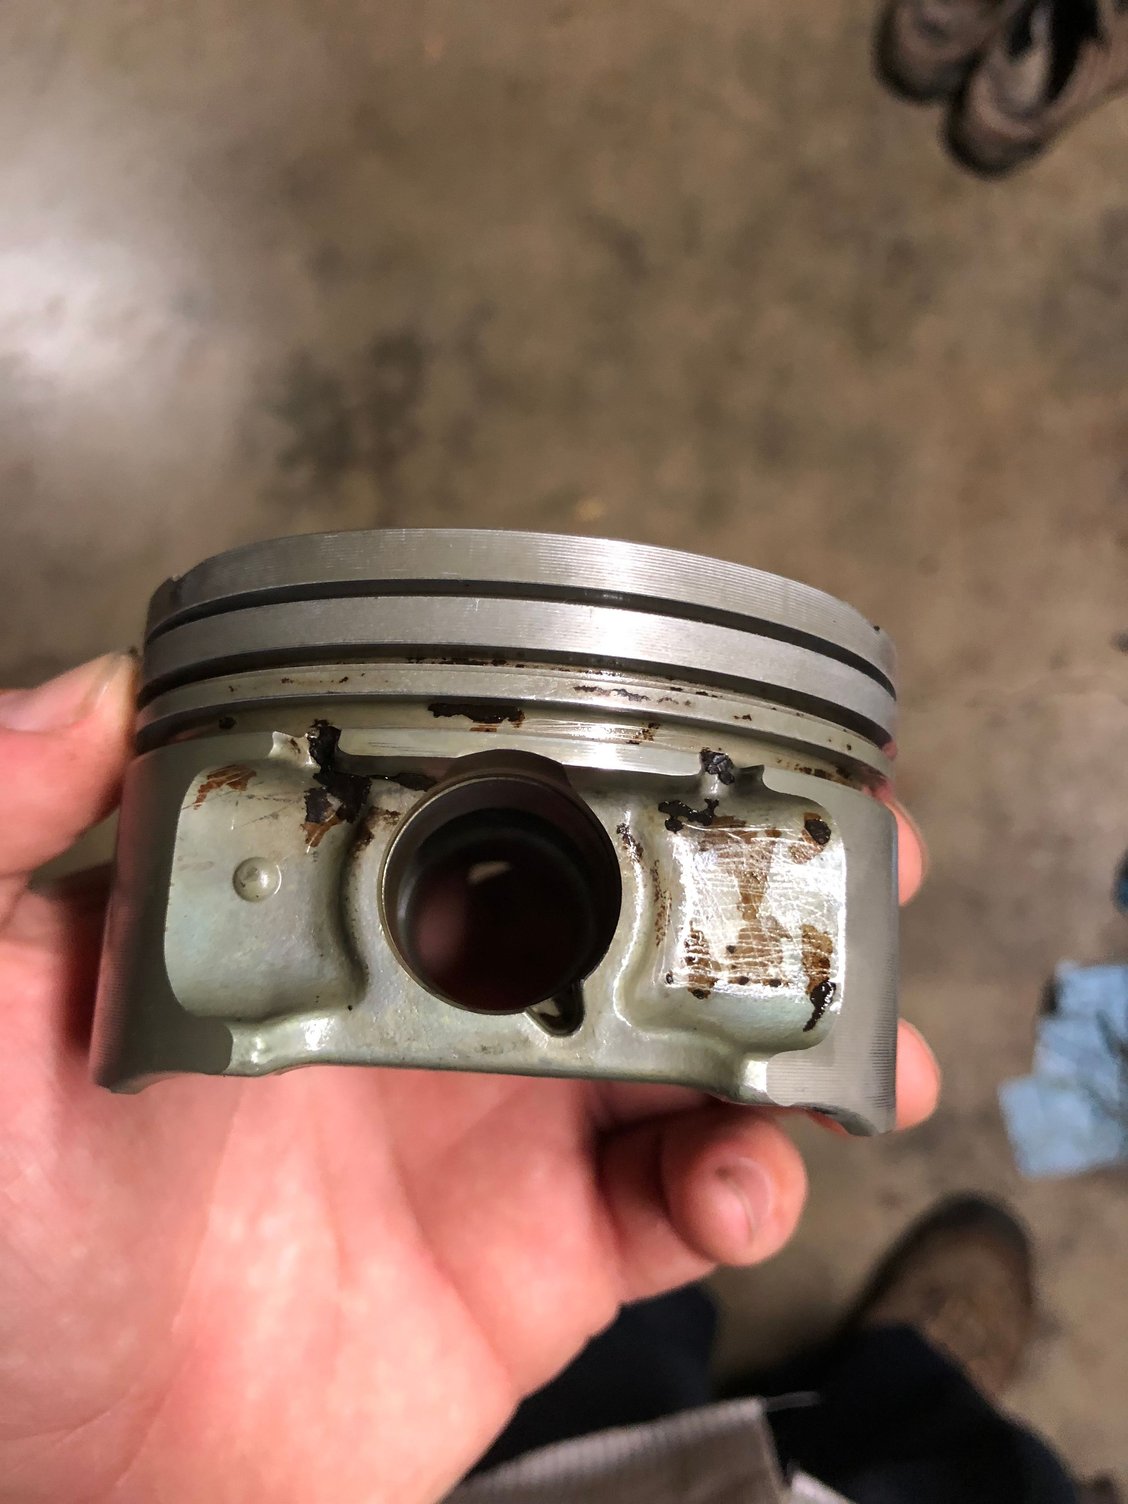
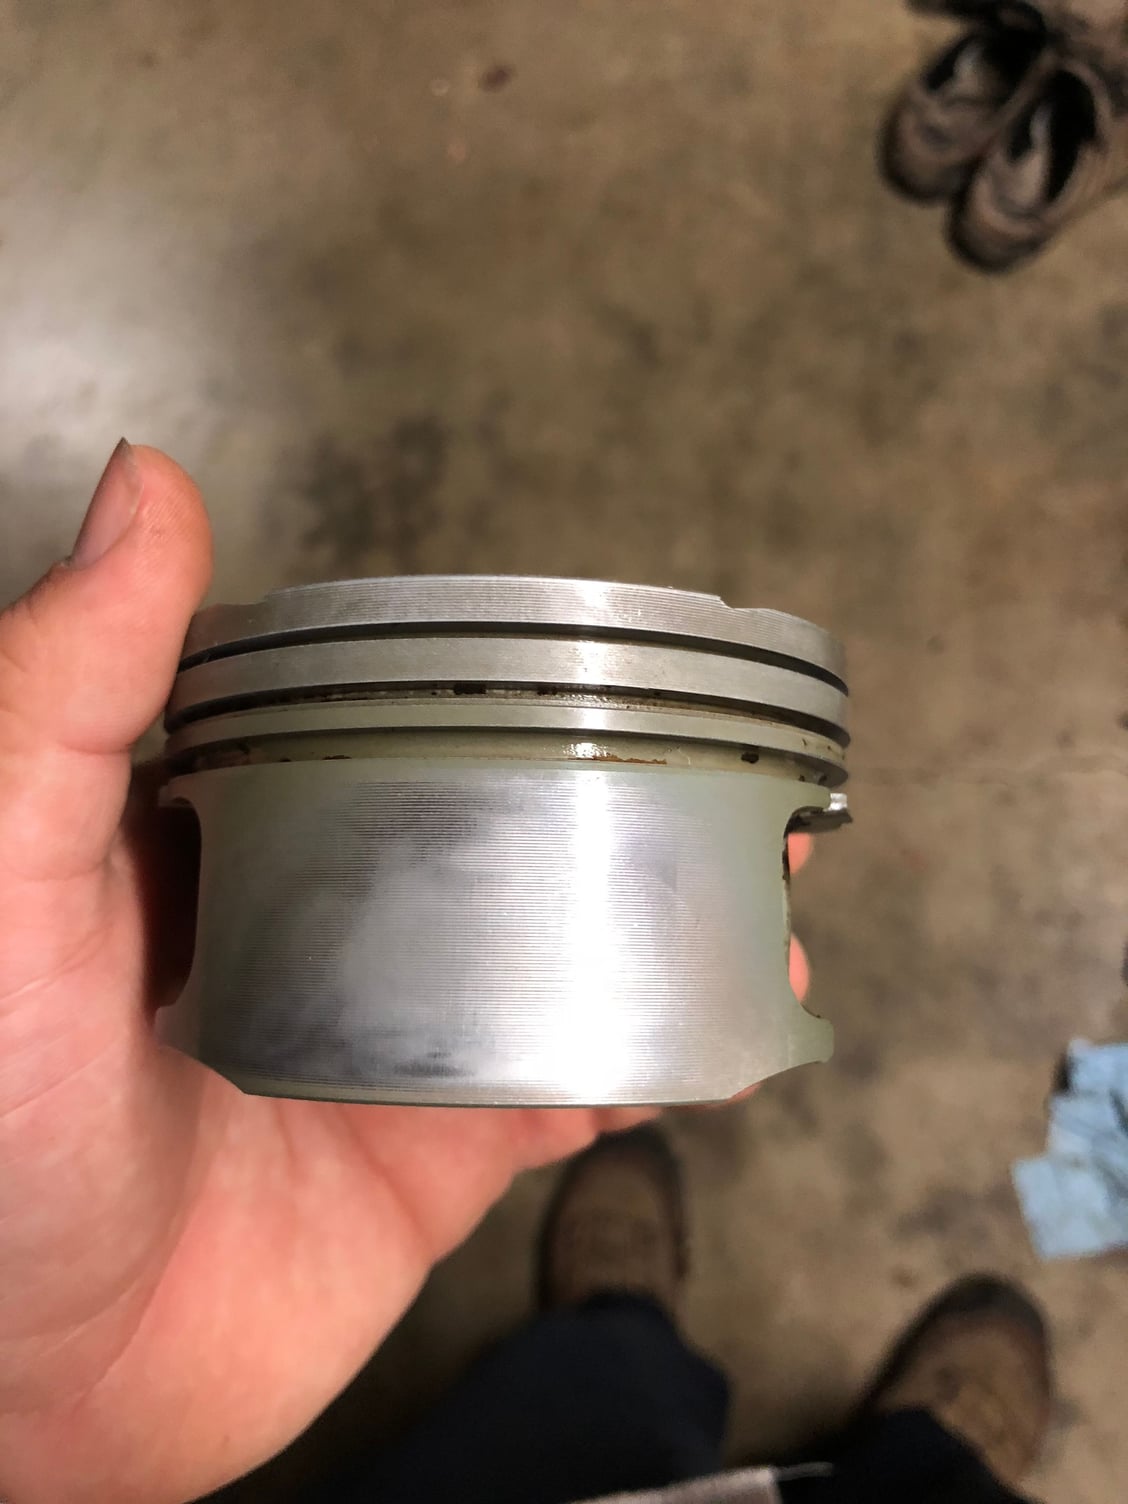
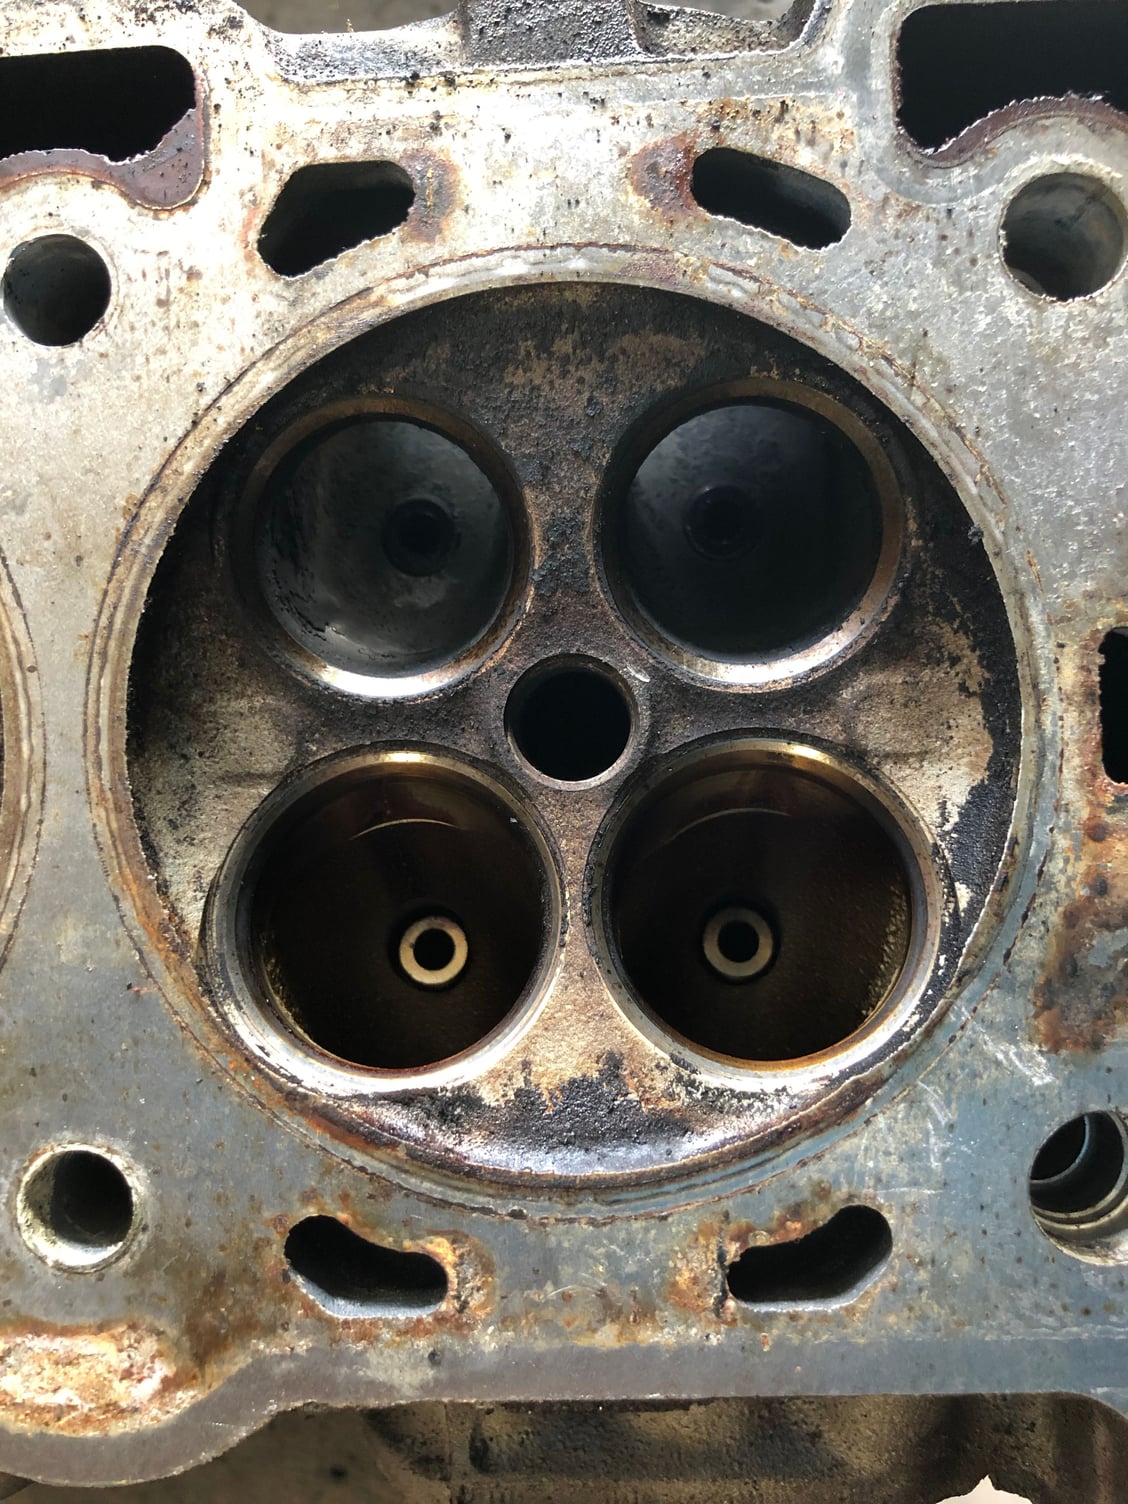
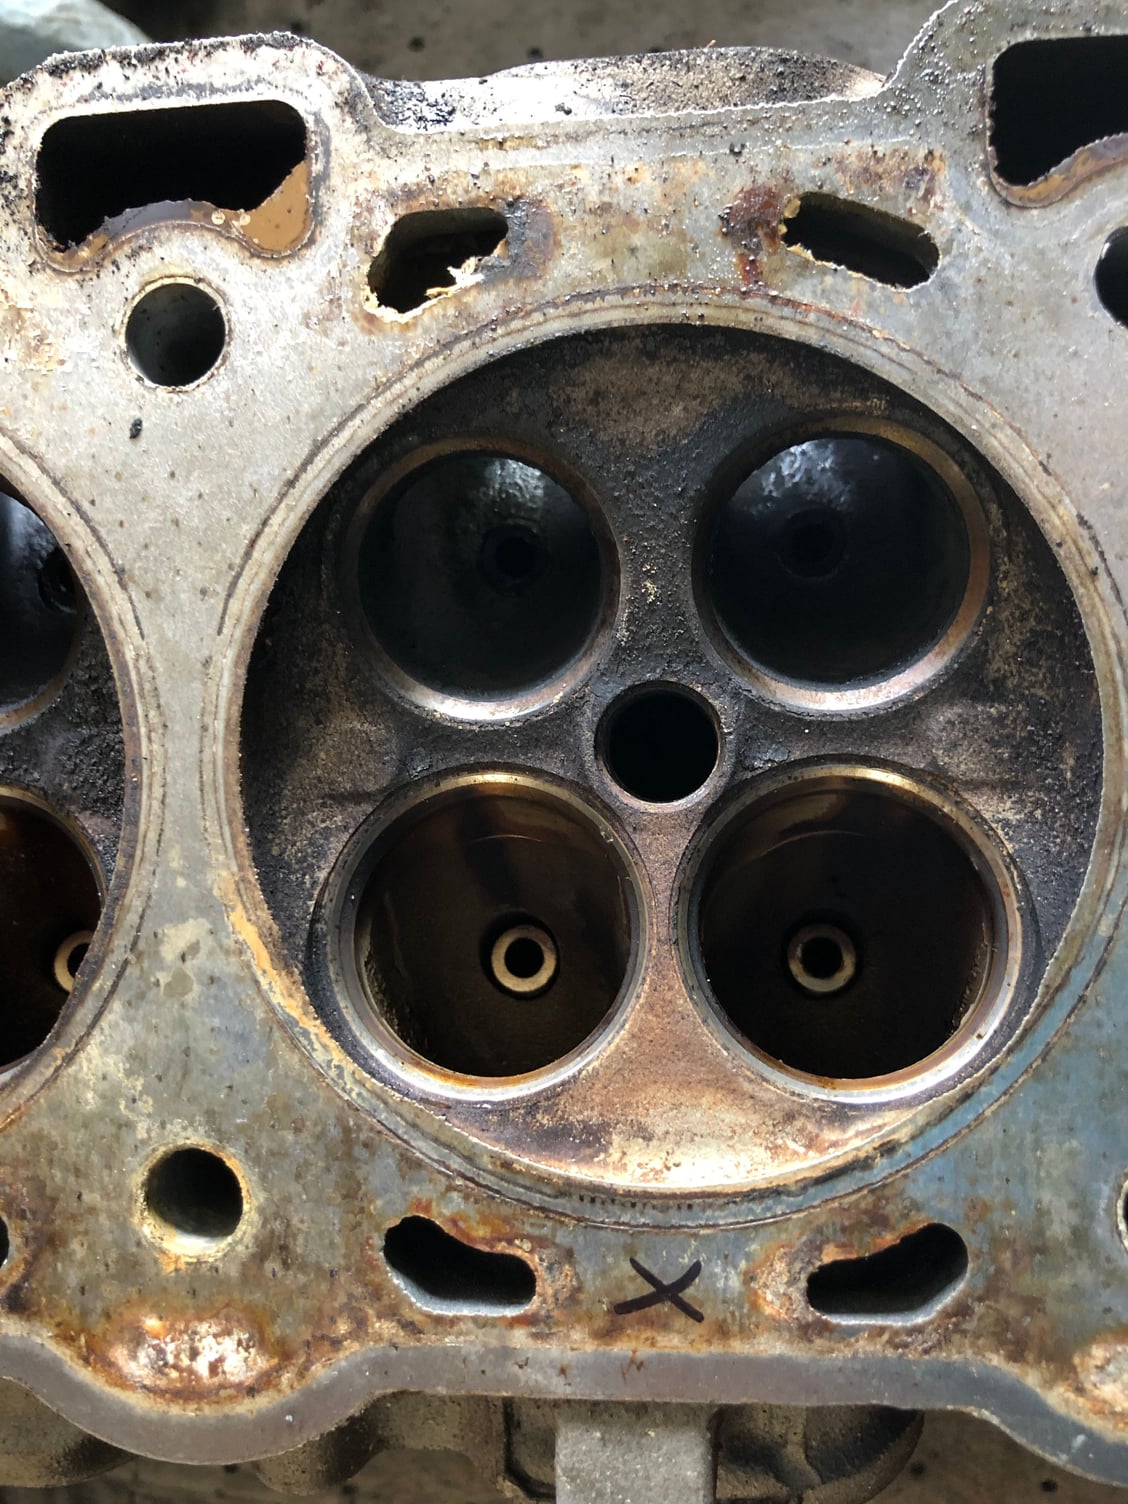
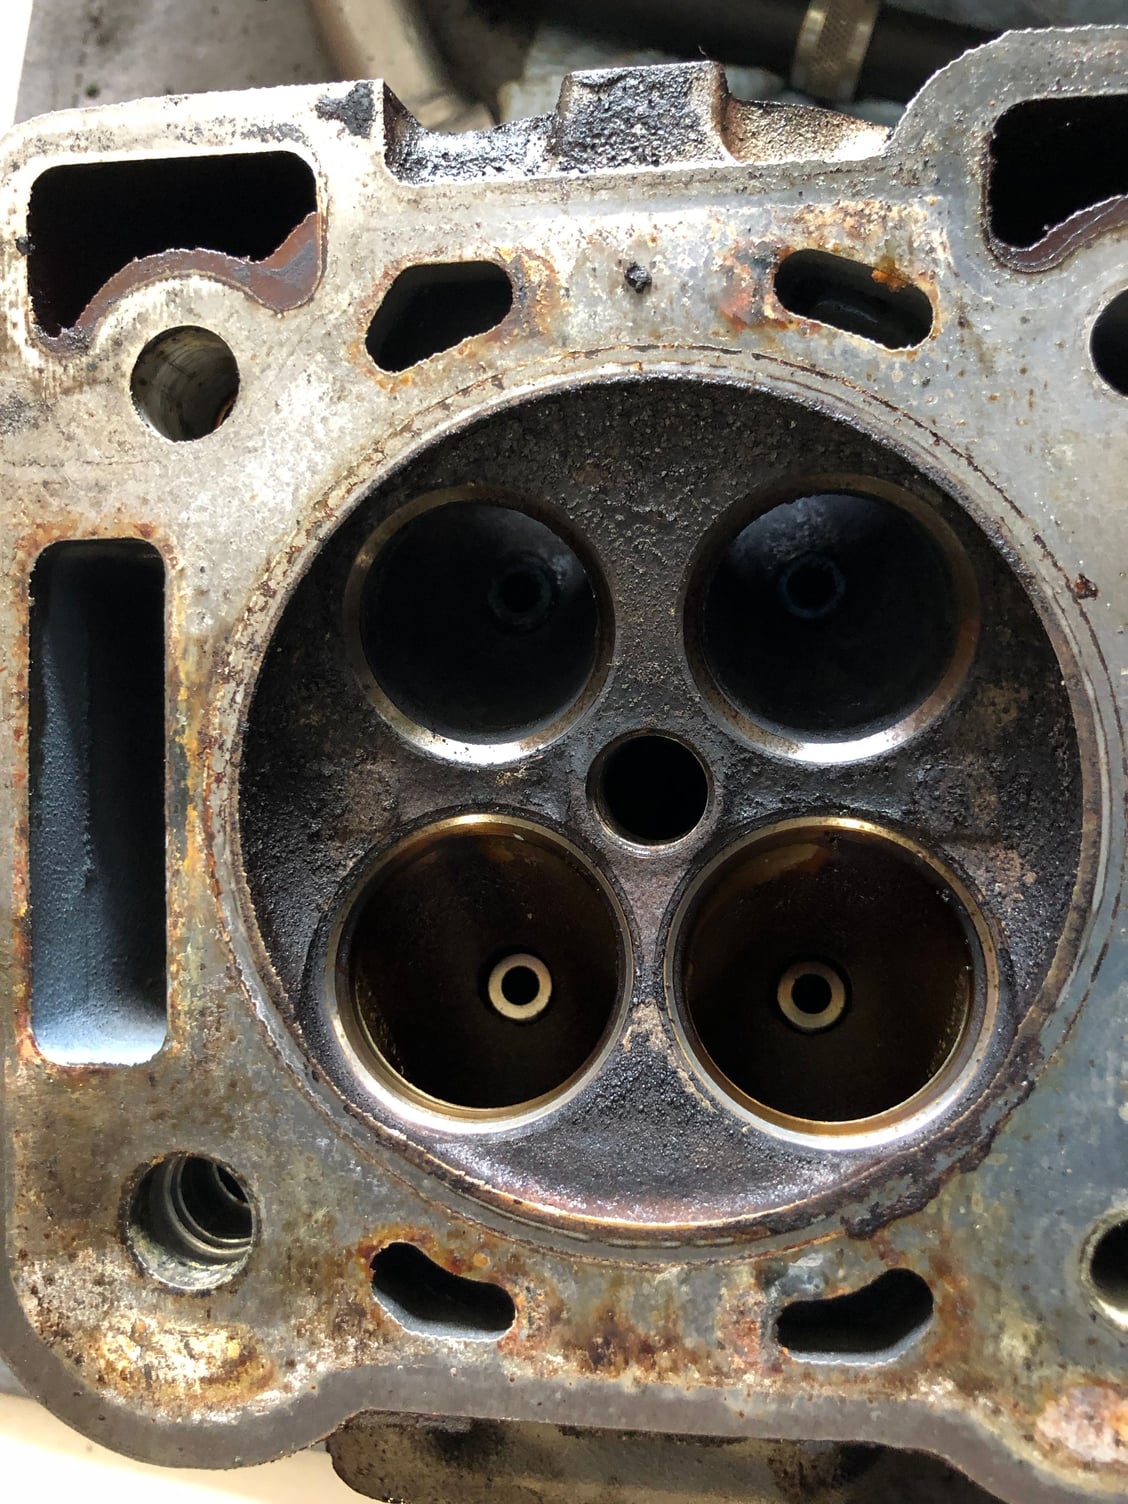
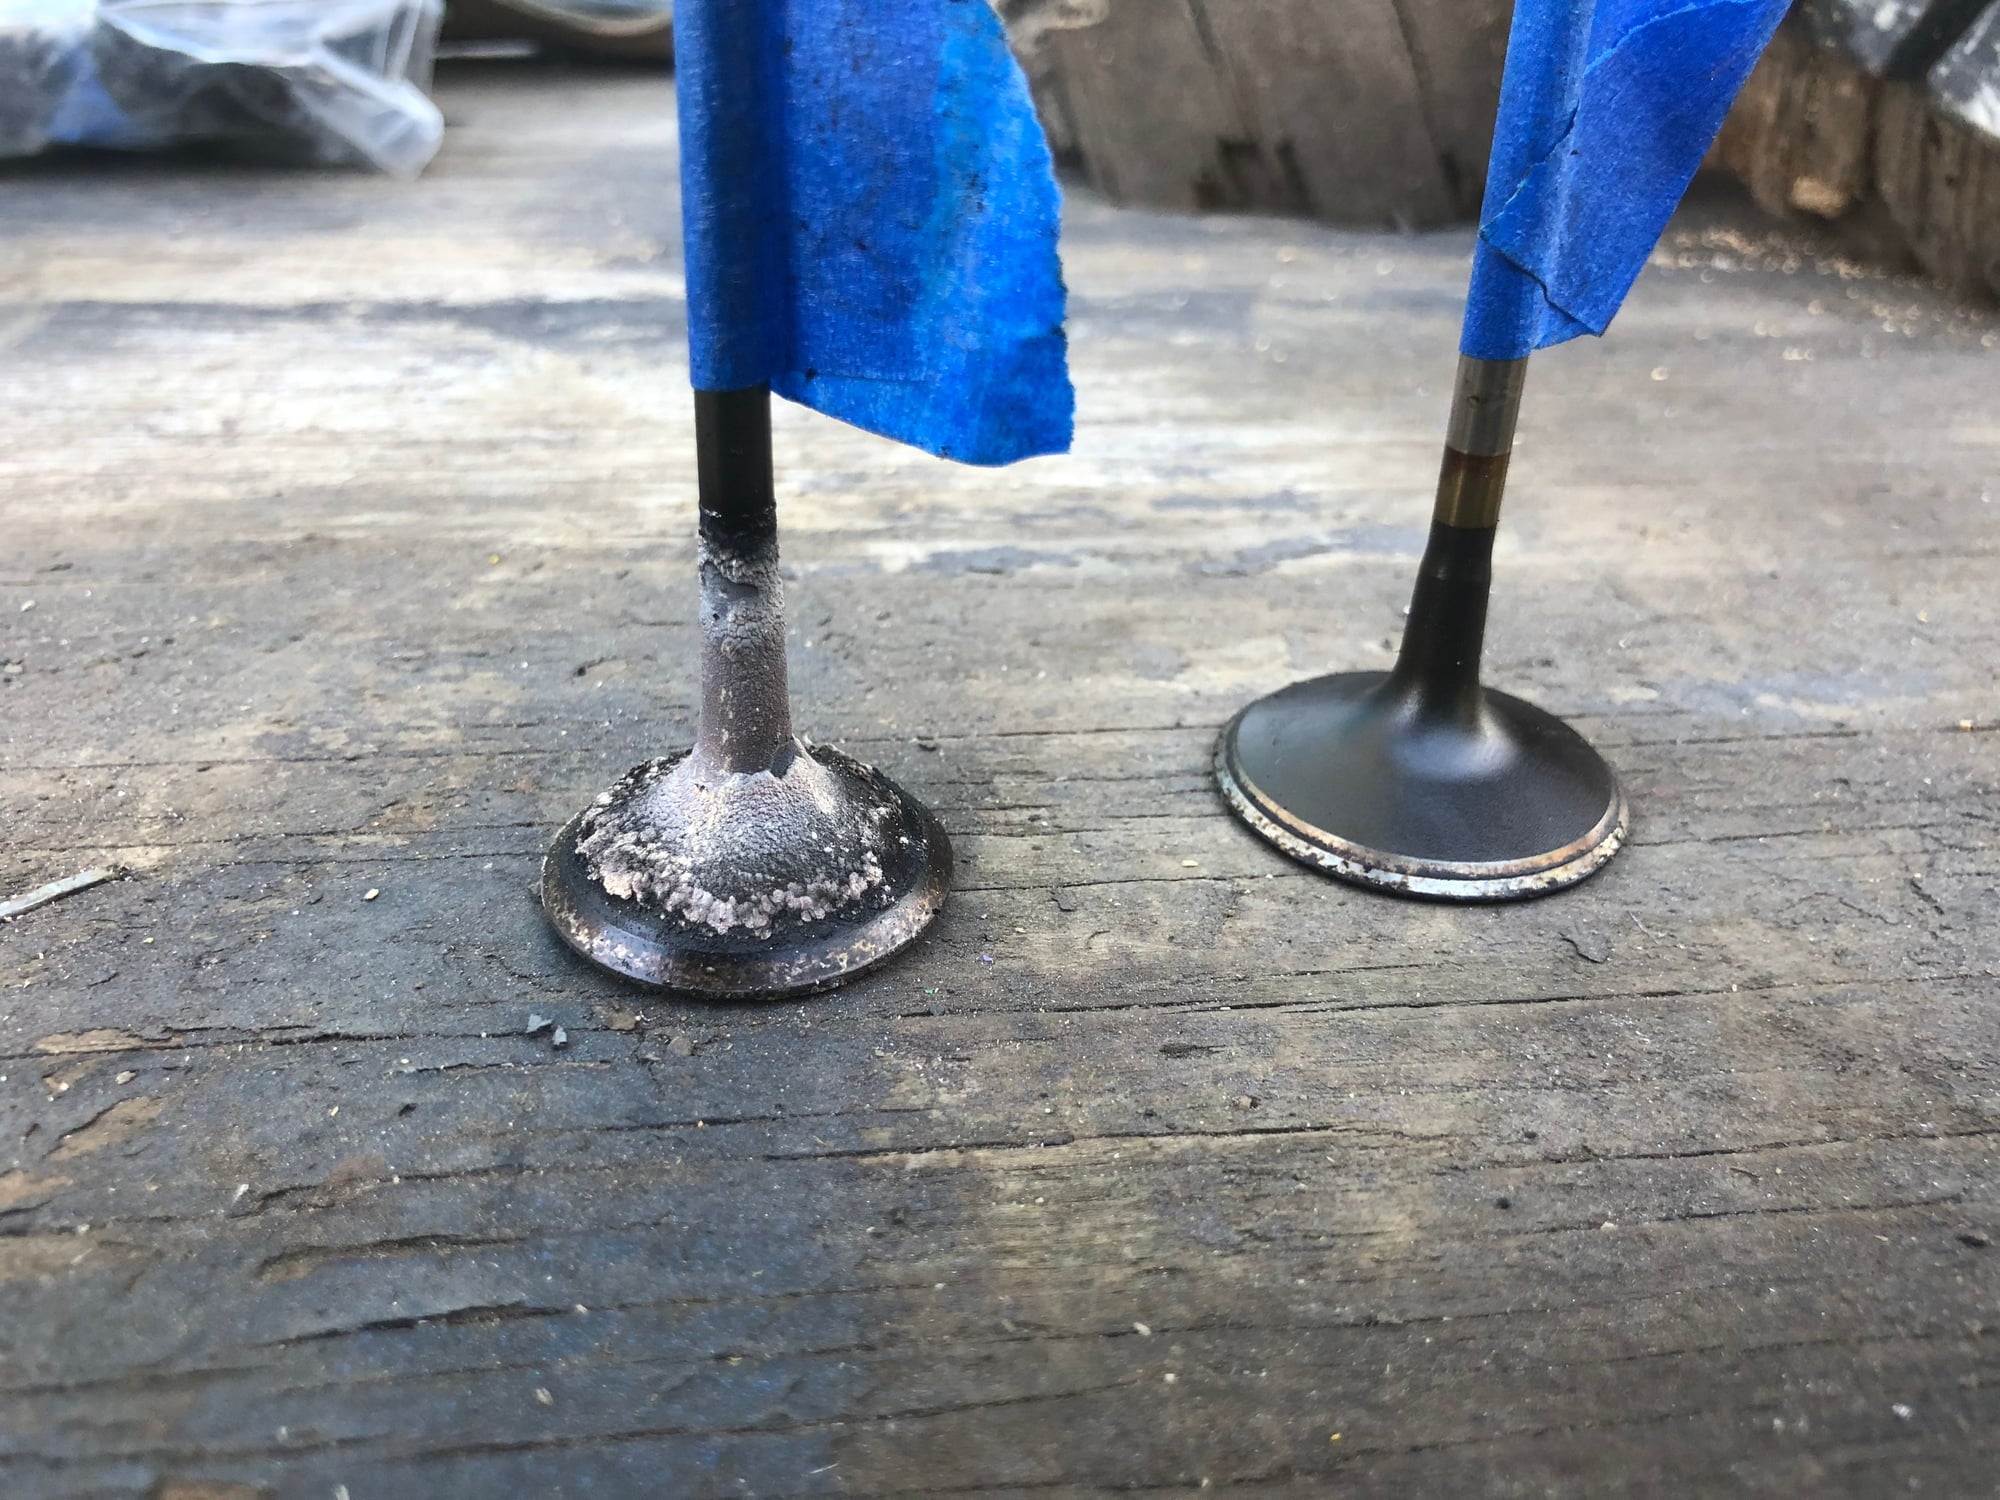
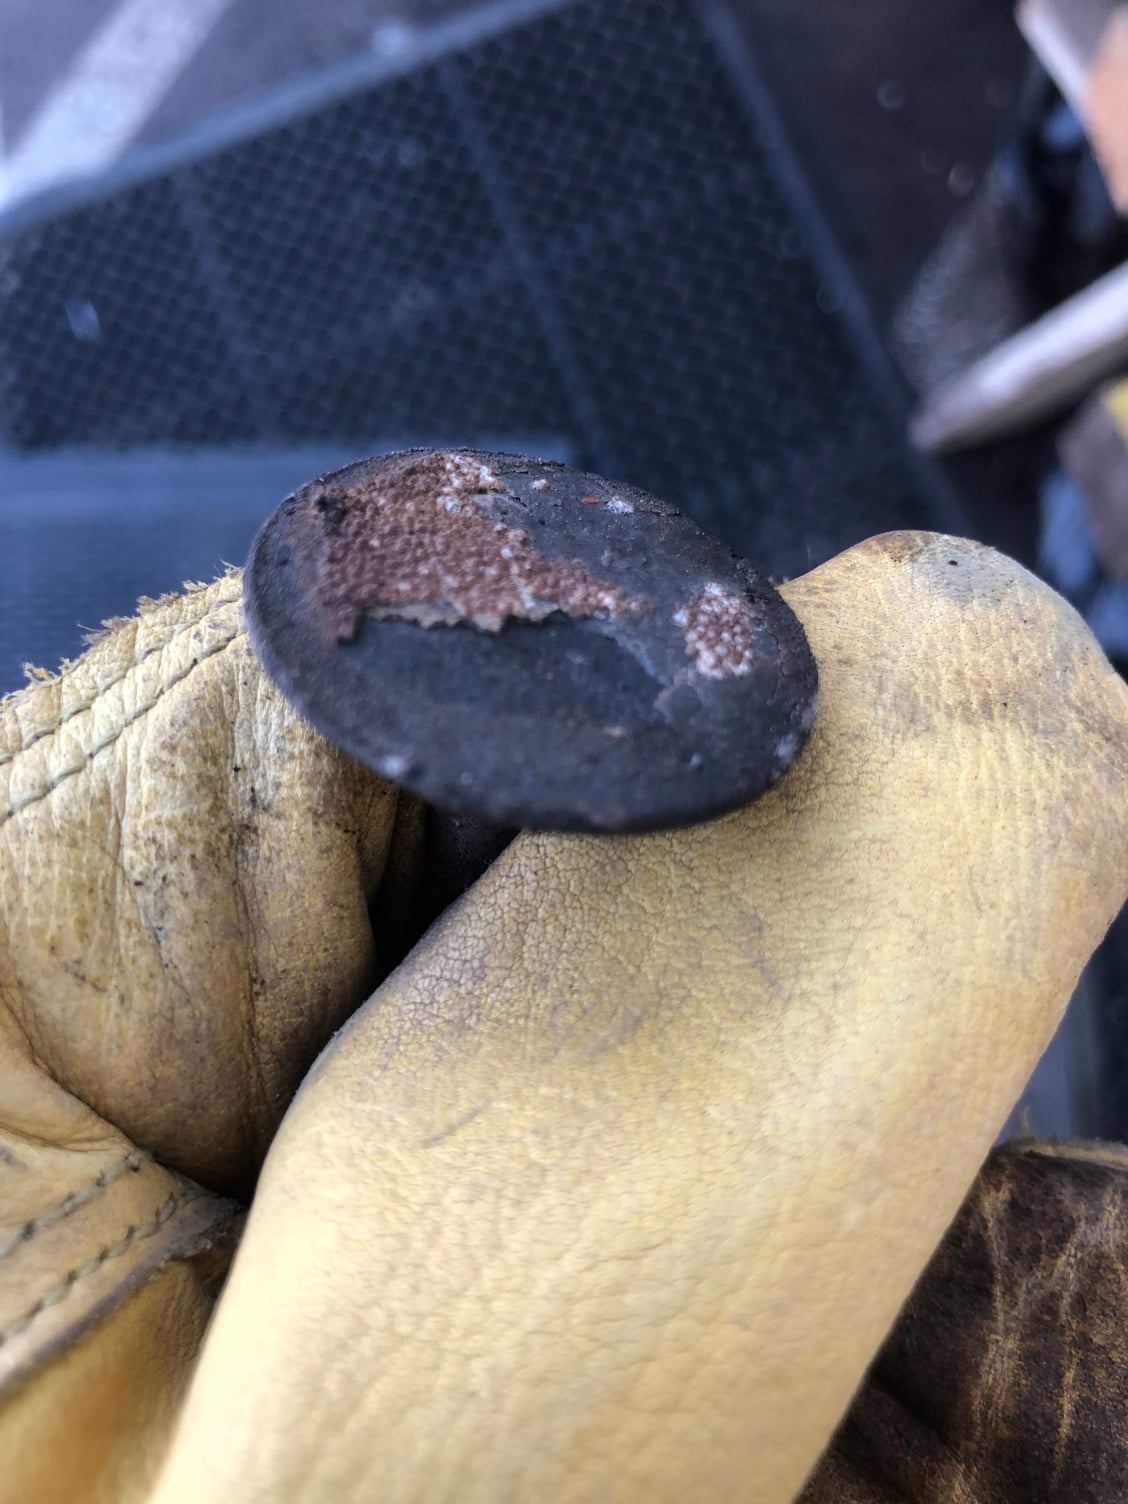
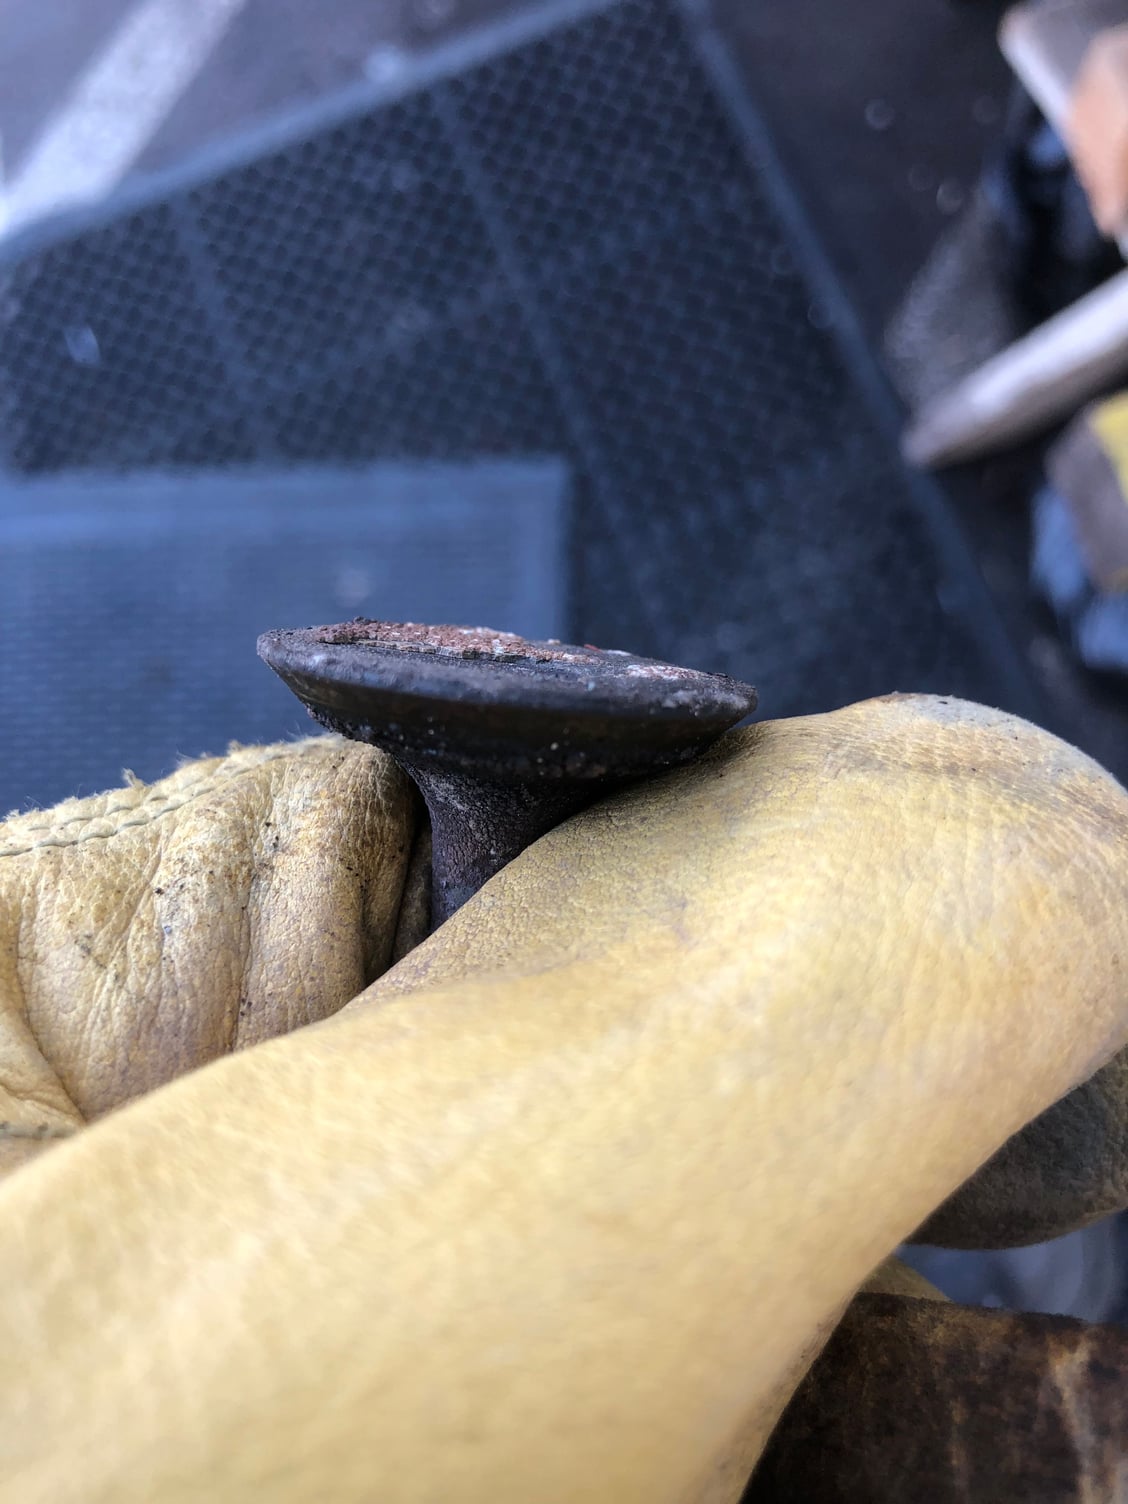
From what I found when I took apart the engine some of the piston rings were stuck closed from the gunk and the oil control rings and springs were completely clogged with gunk I donít know how those pistons got any oil sense they have no holes on the inside of the piston like other cars do. And some valves weíre leaking.
Well -- when the lining fails it creates blowback. Oil gets into the intake --- did you do any checking?
Jaguar never fixed any of the N coated engines .. they removed them and replaced with a new engine with steel Cyl liners -- all the later cars came with lined Cyl's
#55
As for the rod bearings I got mine from the dealer.
The following users liked this post:
Belmon (01-25-2018)
#56
Check the transmission cooler line that runs alongside the driver side of the engine. I had an xj8 that it rubbed against something, I think it was the steering rack, and caused a leak in the line. It is easy to change with the motor out but a real pain with the engine in the car.
In your picture I see a hose on the driver side that has some wear, looks like a power steering hose.
The following users liked this post:
Belmon (01-25-2018)
#57
Valve shim adjustment can only be done with cams in, with a rather expensive tool from SPX (factory tool supplier) it pushes the bucket down on their shoulders so the shims can be replaced. I would love one!
When ordering the crank bearing set, don't forget the thrust bearings.
A dummy crank set tool made out of an old bedplate

Last edited by Sean B; 01-25-2018 at 12:51 PM.
The following users liked this post:
Belmon (01-25-2018)
The following users liked this post:
Belmon (01-25-2018)
#60


