When you click on links to various merchants on this site and make a purchase, this can result in this site earning a commission. Affiliate programs and affiliations include, but are not limited to, the eBay Partner Network.
Bought a press kit and am going to attempt to replace the u-joint in the passenger axle shaft this weekend. I figured since I couldn't get the bolts out of the other end, it was time to just go for the joint itself. How hard can it be, right....?
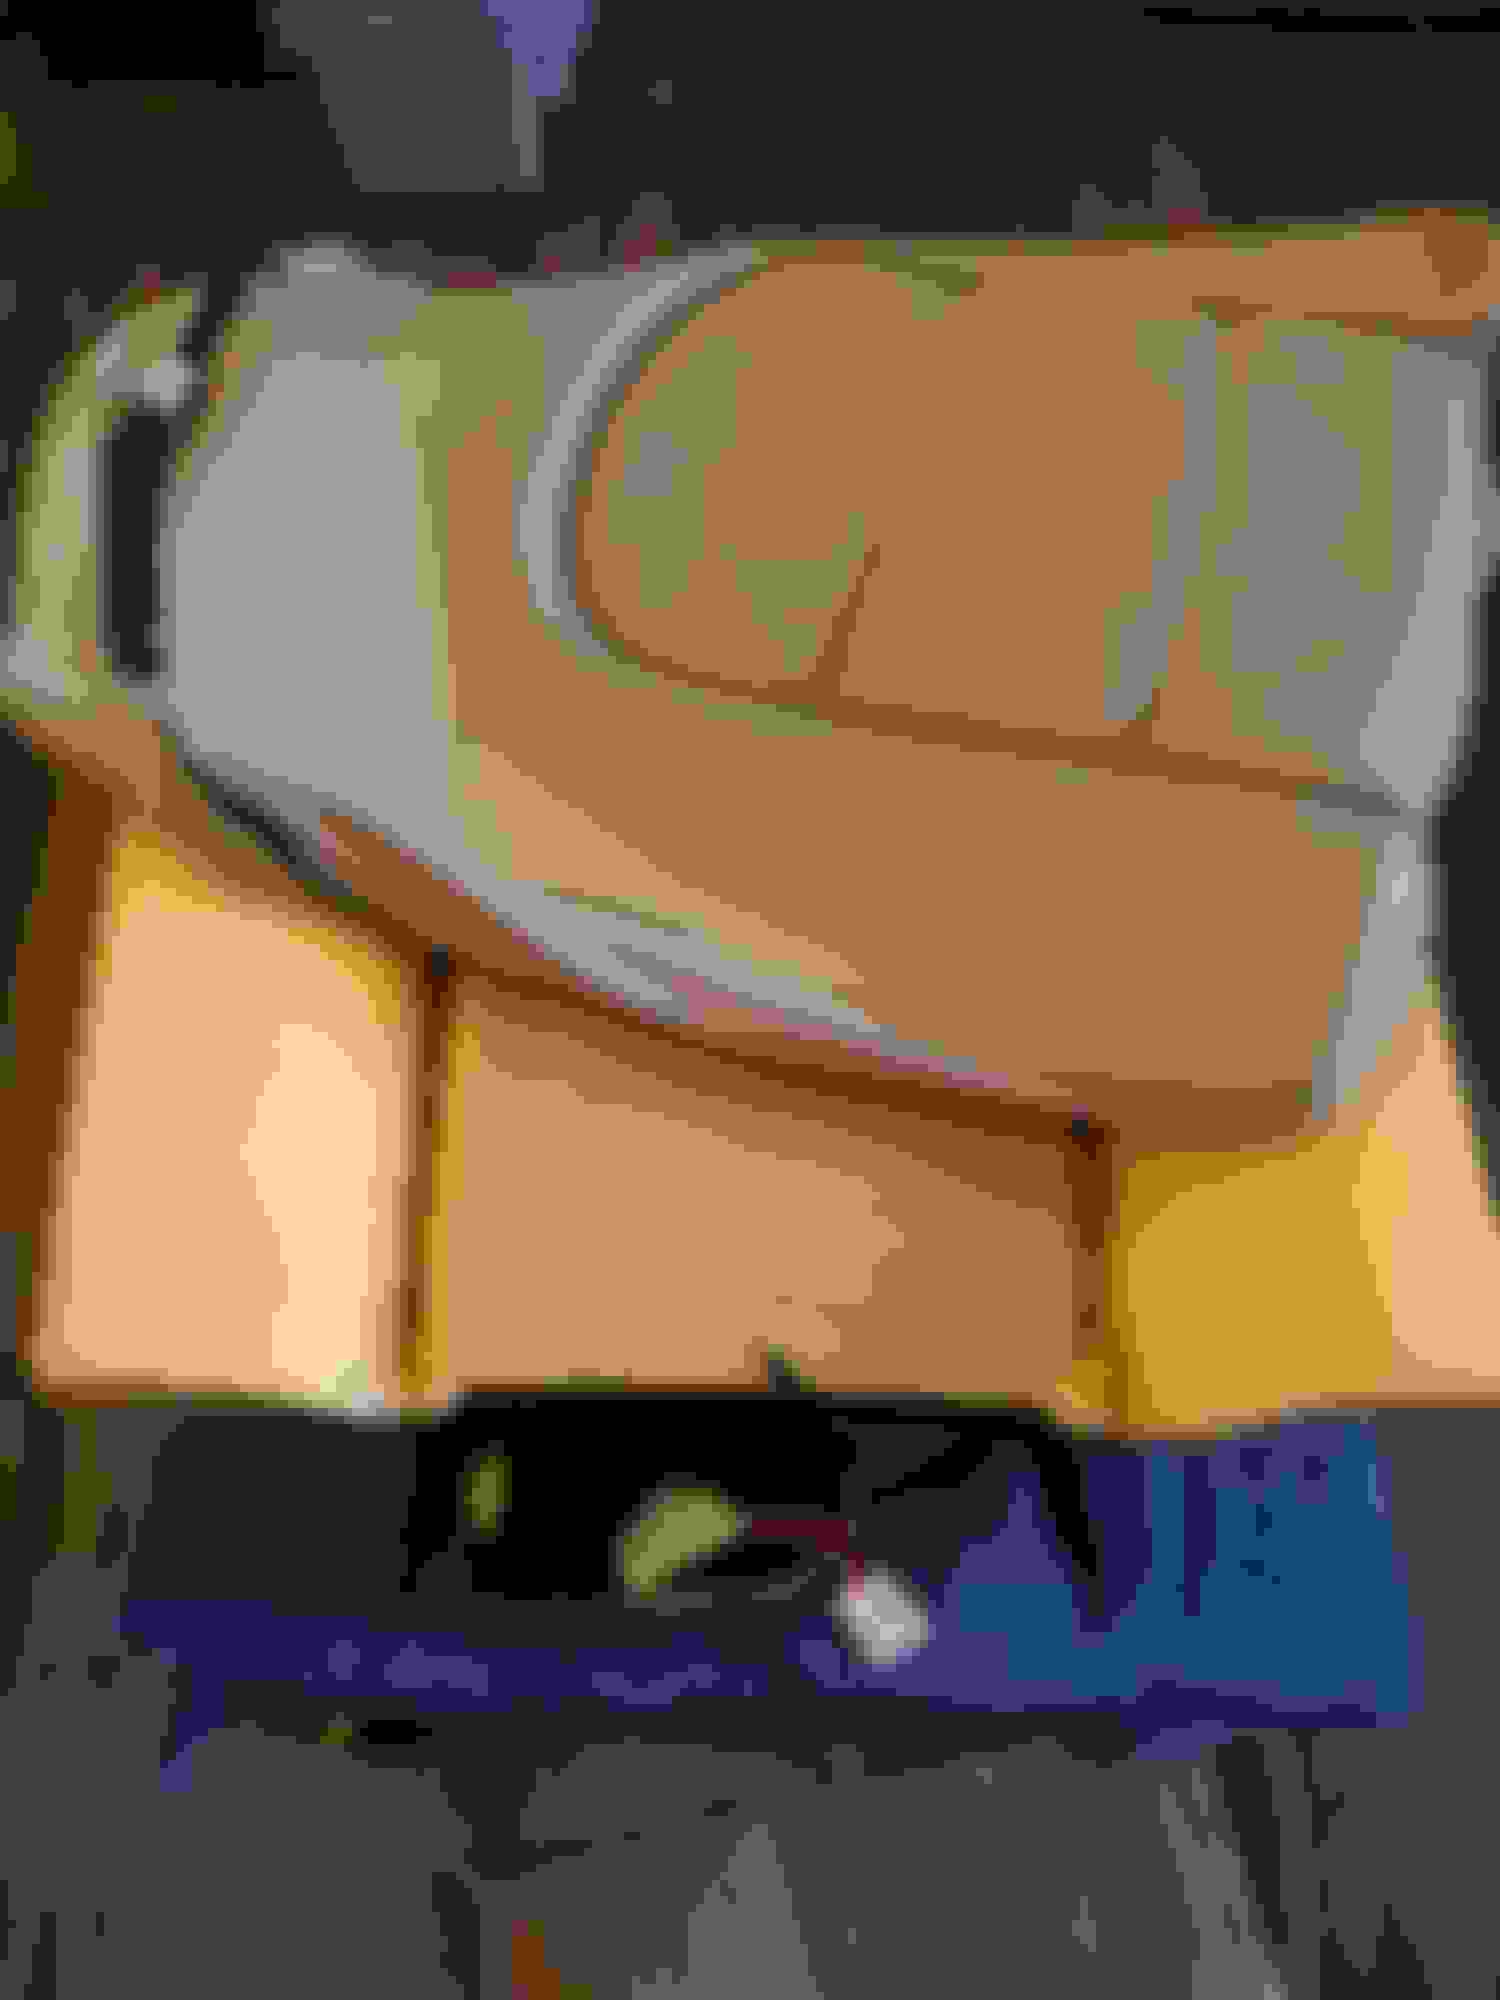
Had a pizza delivery kid admiring my car, he was all over it "Nice Jaaag !" little did he know the mess that lurked inside lol dash deconstructed w/ wood & trim tools sprawled about. I must say the AC blows much better with the center vent removed lol.
I'm likely purchasing a 2016 Infiniti Q50 w/ 13K miles Sunday or Monday If all goes as planned.
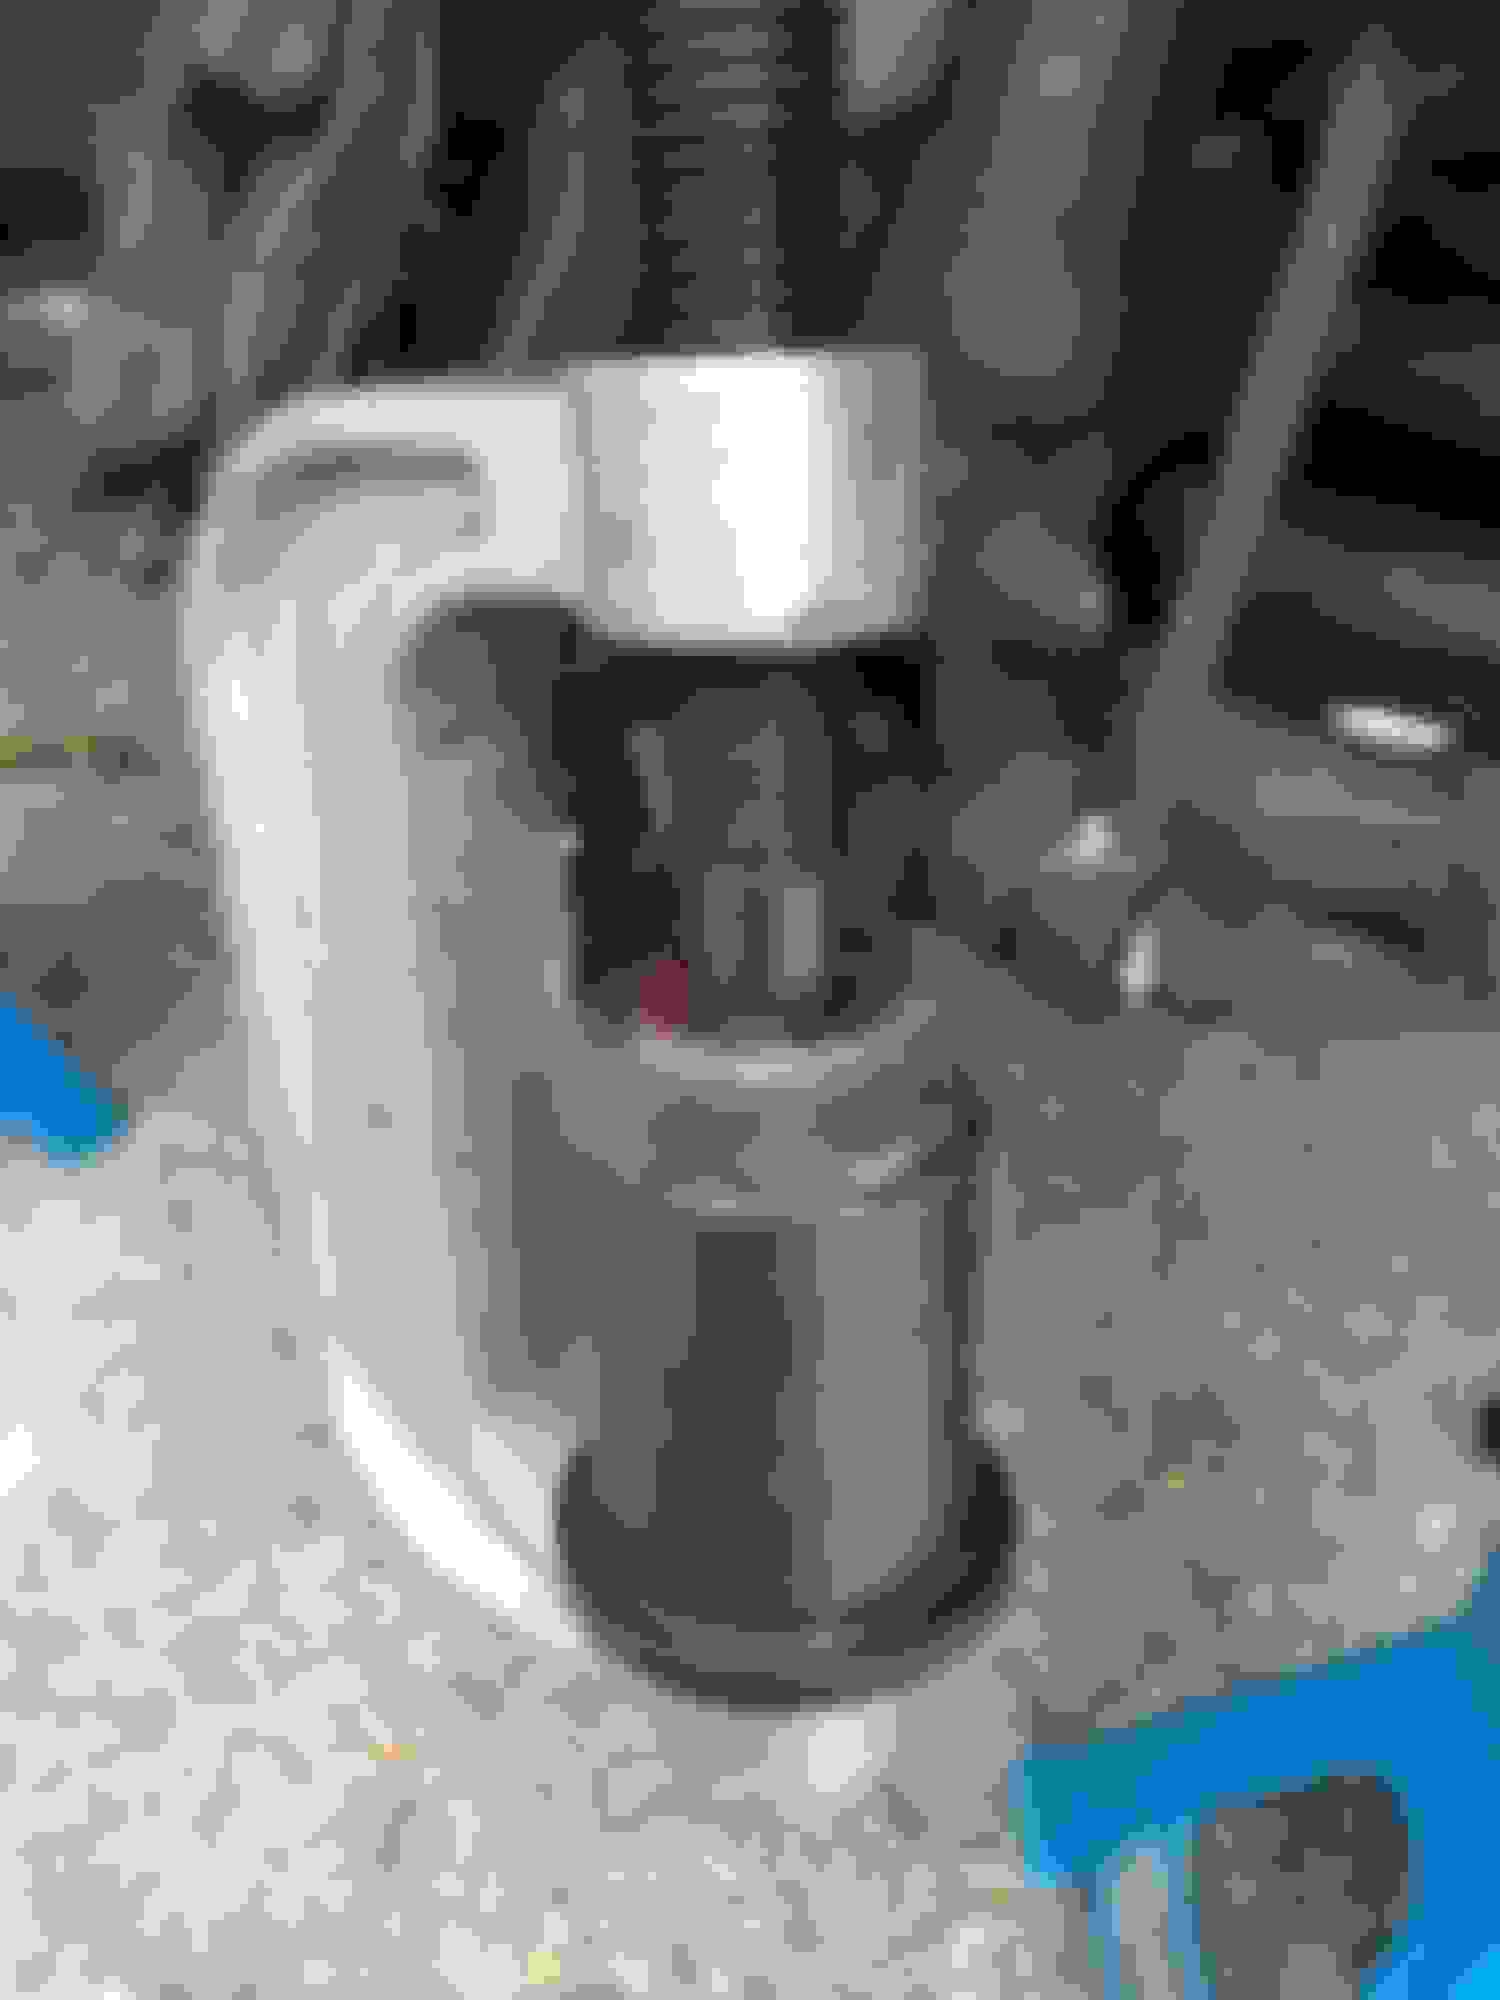
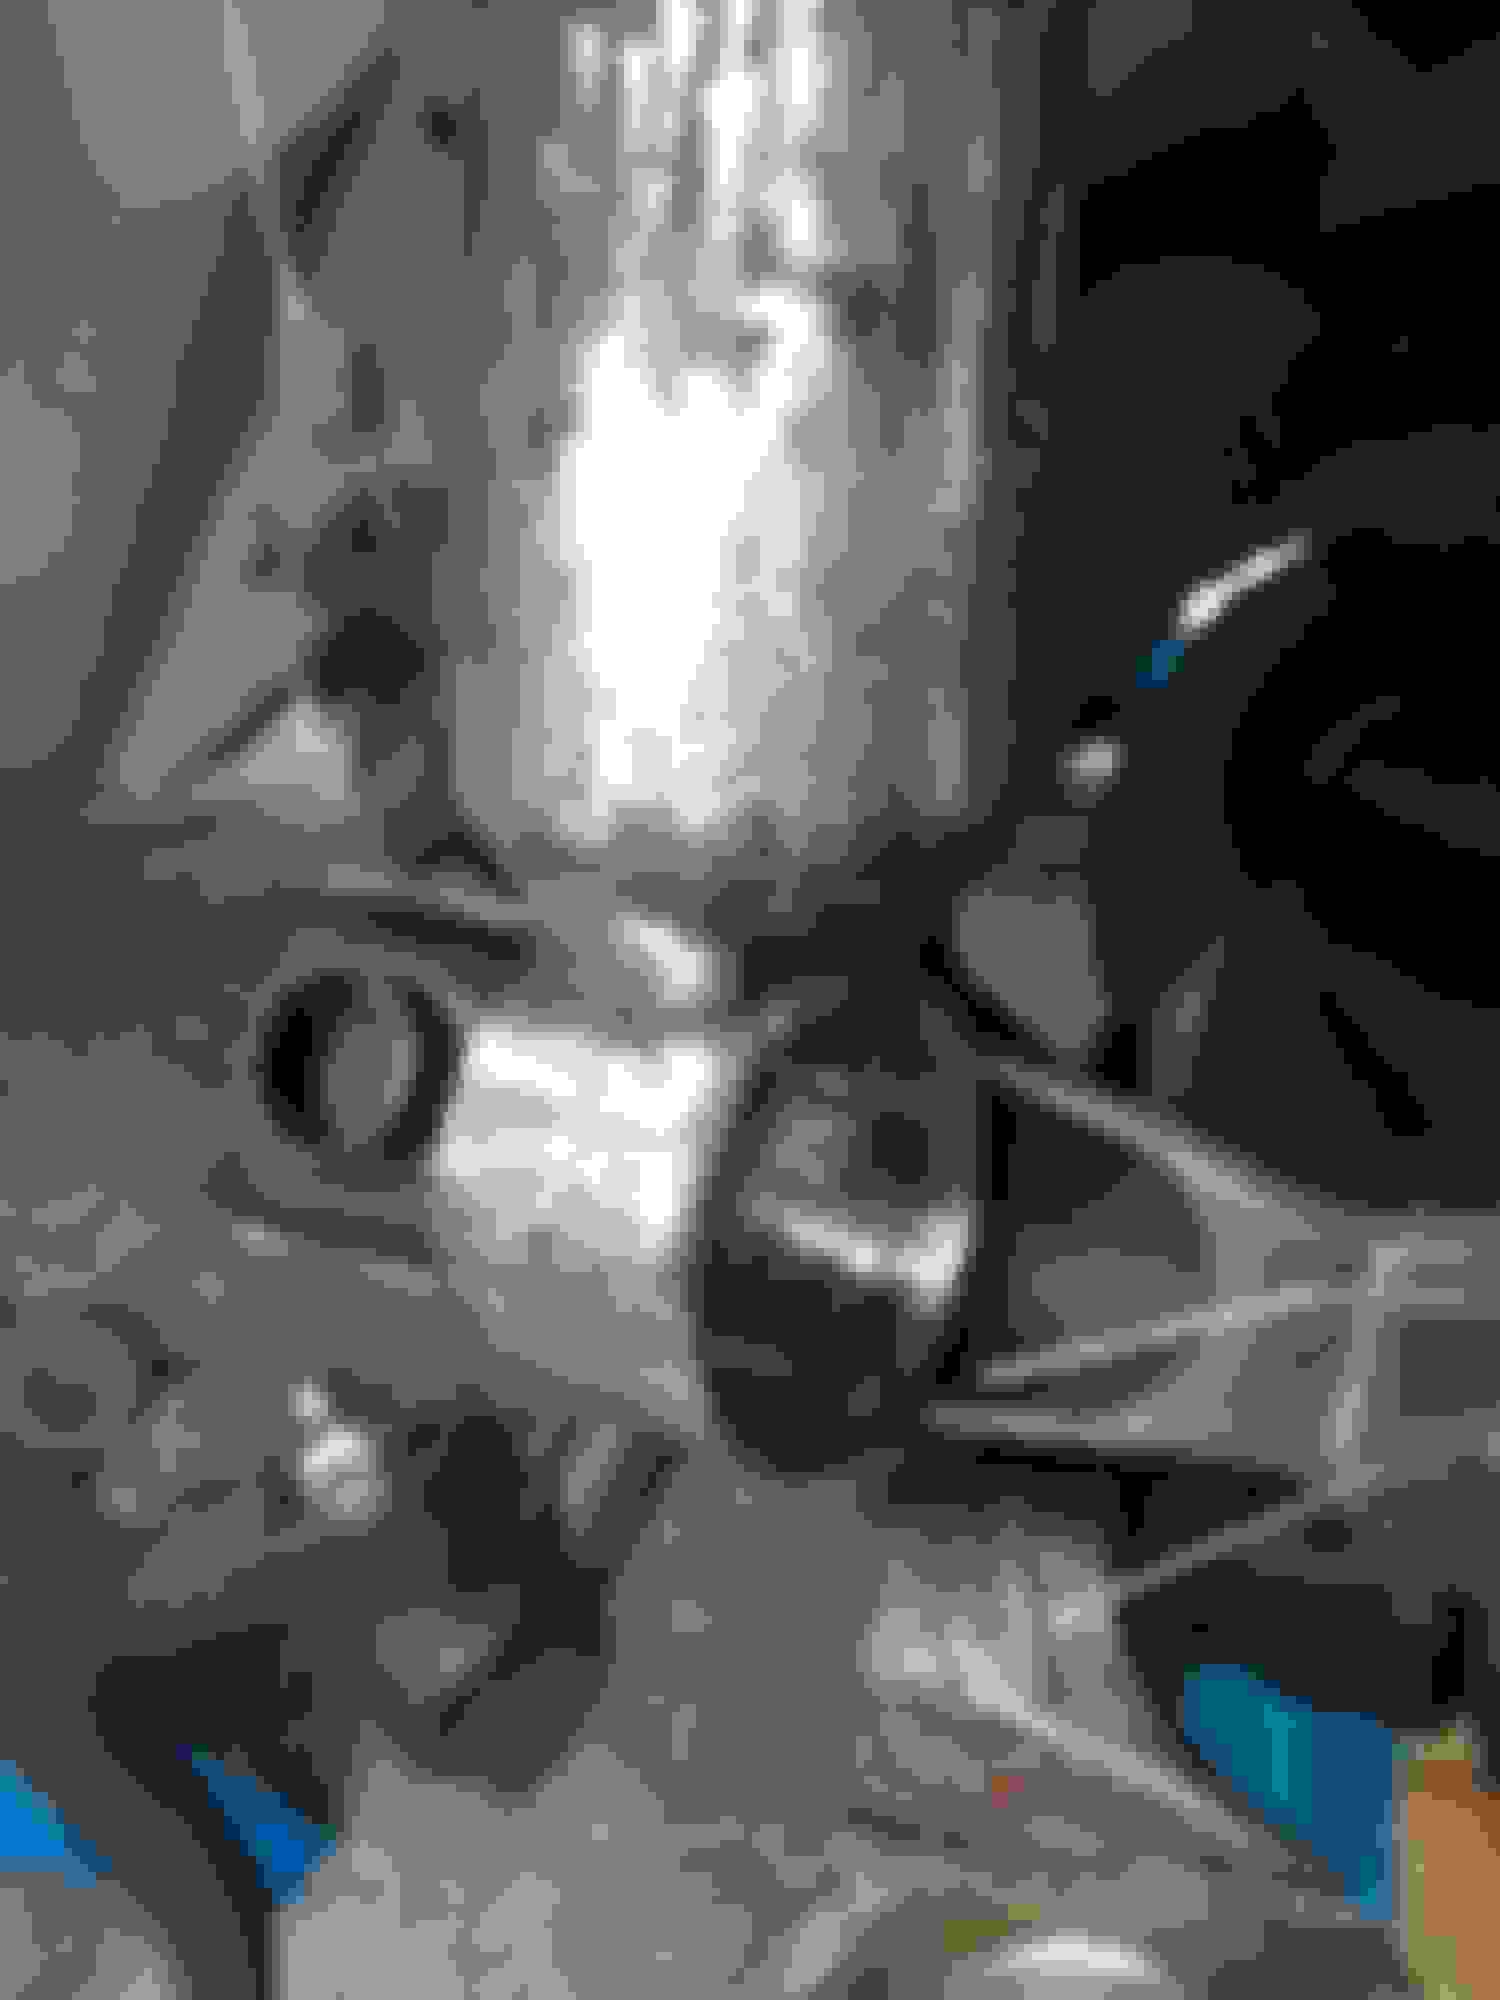
Demolition phase, complete. Or rather, removal of the old U-joint. Couldn't get the rotor free to save my life, so I just said f it, and pulled the whole hub with it still on it. Well, rotated it downwards, so I could free the axle and get to the u-joint. My snazzy little ball-joint press kit worked fine - to a degree. Turns out I have no way to pull the caps the rest of the way out of the shaft/yoke to free the joint out. Well, it was bad anyway, so... cutoff wheel in the grinder solved that. Kicking myself for not buying the new U-joint while I was out and about today, so I basically have it all apart and ready for tomorrow to put it back together. It HAS to go back together easier, right? All new stuff? Oh, and I only broke two of the four retaining clips! Yay me! I still have the entire spare axle in a box that I bought before, so I'll just grab a couple off there. I'm feeling productive today for a change.
And that went well.... until I realized one snap ring wouldn't QUITE fit, so ok, lemme give it onnnnnnne more turn on the press and CRACK - oh good, smashed right through the other end. So, sent a runner back to the parts store for another u-joint, and again had to cut the old (new) joint back out of the axle and yoke. Would love to know where all these guys on YouTube were getting their vehicles from where they just pop the cap right out after the press it down halfway. This time I won't bother putting any of the rings on until I know that I'm centered and not binding.
I love my car, I love my car, I love my car, I love my car....
saying it makes it true, right?
EDIT:
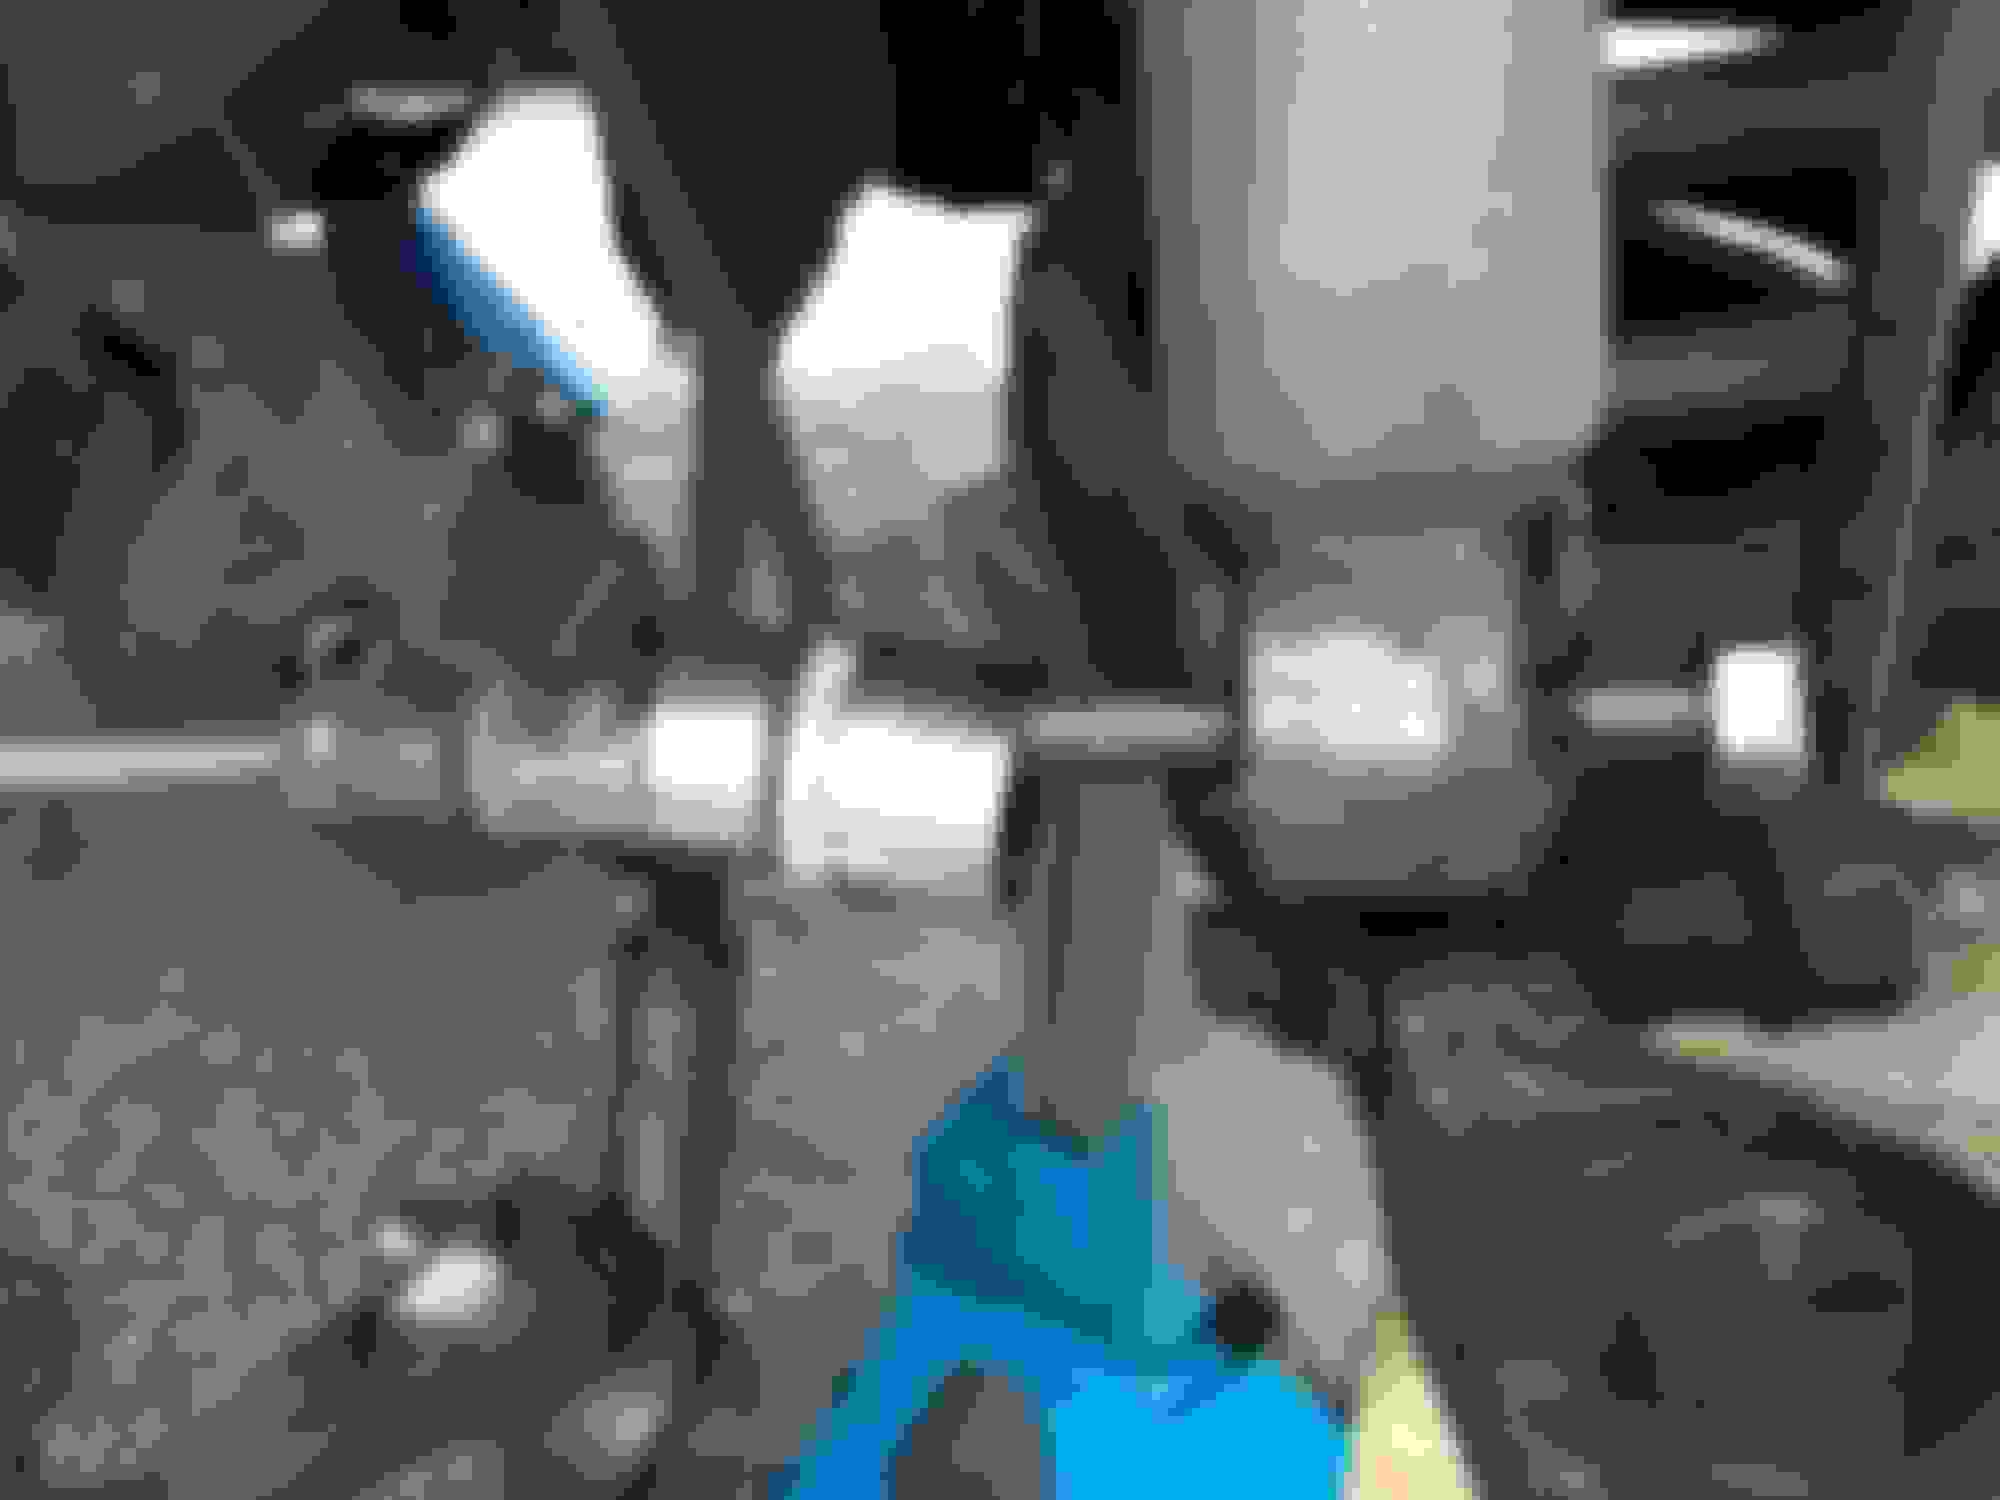
Success! Went a lot smoother on the second go. Decided not to put the rings on, pressed the caps in to where I could just see the groove, and then the other side, and alternated sides barely pressing in until I could get both rings on, and not a billionth of a mm further. Decided I was going to swap tires left to right since the right was pretty much bald after that. Annnd the right has JUST enough play that I'll have to get another one to do. That one's not nearly as severe and hasn't affected tire wear at all, so I'll do that next weekend likely - since the local store only stocked two of those, and I used them both. But at least the problem side is now tight as a drum (and yes I used a new axle nut - I only had a 30mm socket so I use some washer spacers on the flats to take up the slack and that actually worked well). Going to take a break and then go pull the master cylinder and try to figure out where I have the air leaking between them. I'm glad I have the rest of the weekend to relax after though. It'll be nice not to feel like I've been busting my butt up until work again on Monday.
Last week I installed heated seats in my cat. Today (and for the last few days), I applied leather conditioner to my seats, and all leather surfaces. As you all know, my VDP has REAL leather inside (unlike "lesser" X308 models ), and the multiple leather treatments, make the leather supple like the finest lambskin jacket, from the Bond Street.
My "new" seats have only 32K miles on them, but I don't think they ever saw any conditioner. So every day since the installation, I apply one coat of the treatment, and let it soak into the leather. Once the leather stops absorbing the lotion, it will be done for at least a year.
I used to own couple of full service car washes, and detail shops, so I have all the commercial stuff available, and a know how.
I am on a lookout for the low mileage engine and transmission, which I will purchase and properly store. My cat has 82K on the clock right now, and I think it will go more than double that. Once her drivetrain goes, I'll have another one ready. Did I mention I intend to keep her untill I am too old to drive? And then I will give it to my daughter as an antique gift. Since I live in the snow free states (I move between CA and AZ with the season), there is no rust at all, and she WILL live forever!
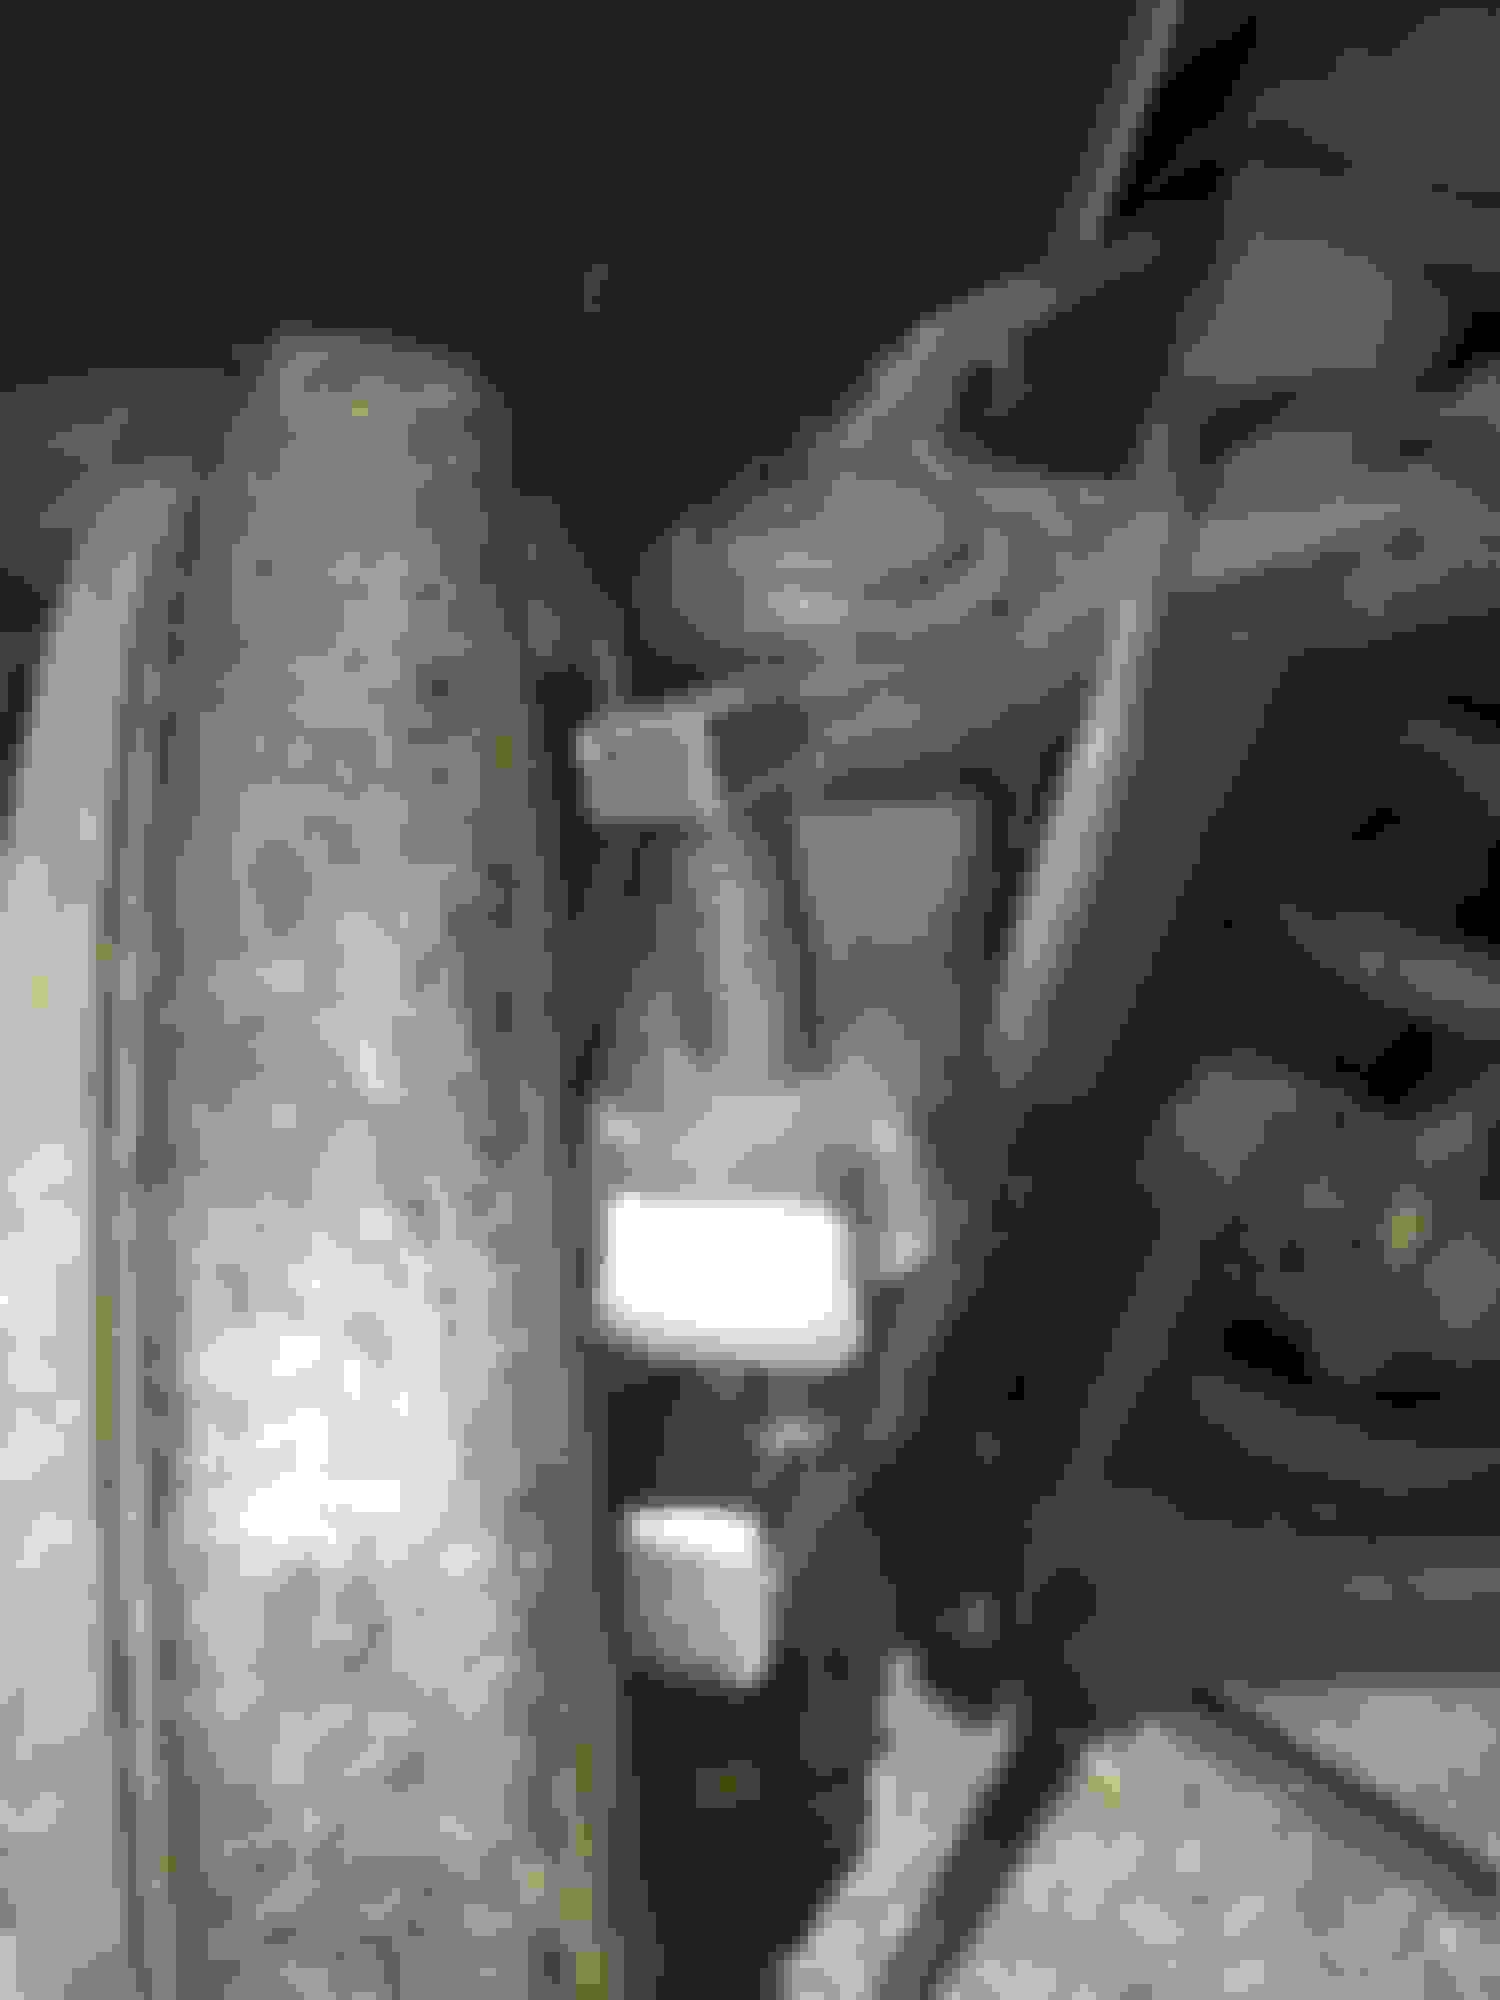
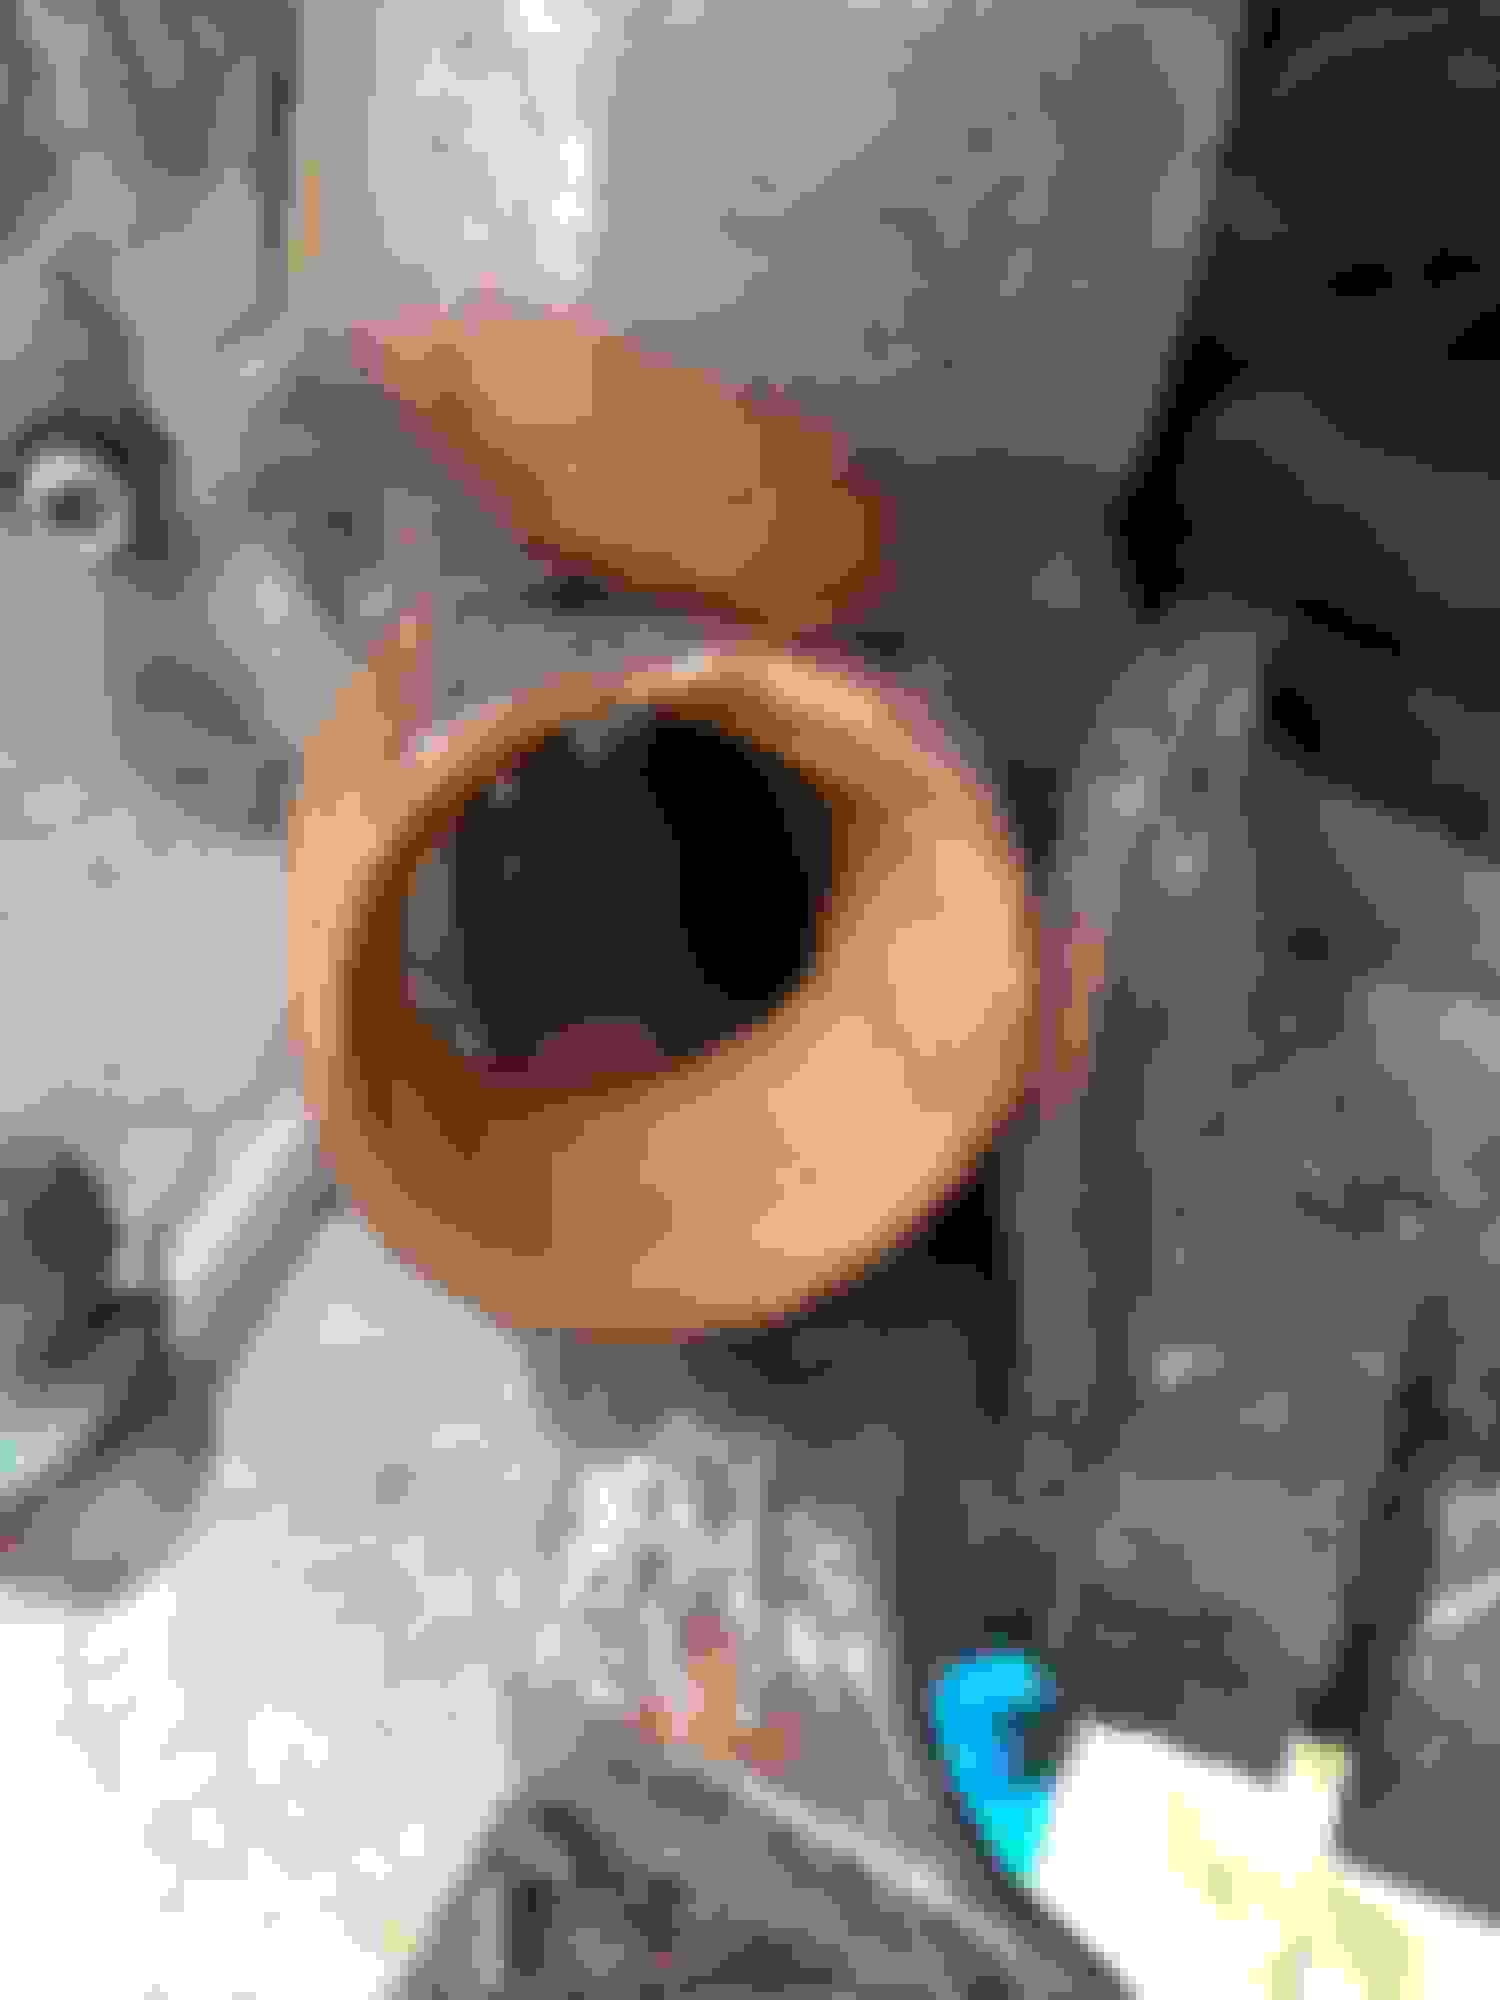
Rusty inner wheel
No rust what like none none?? You Sir, are a very lucky man !
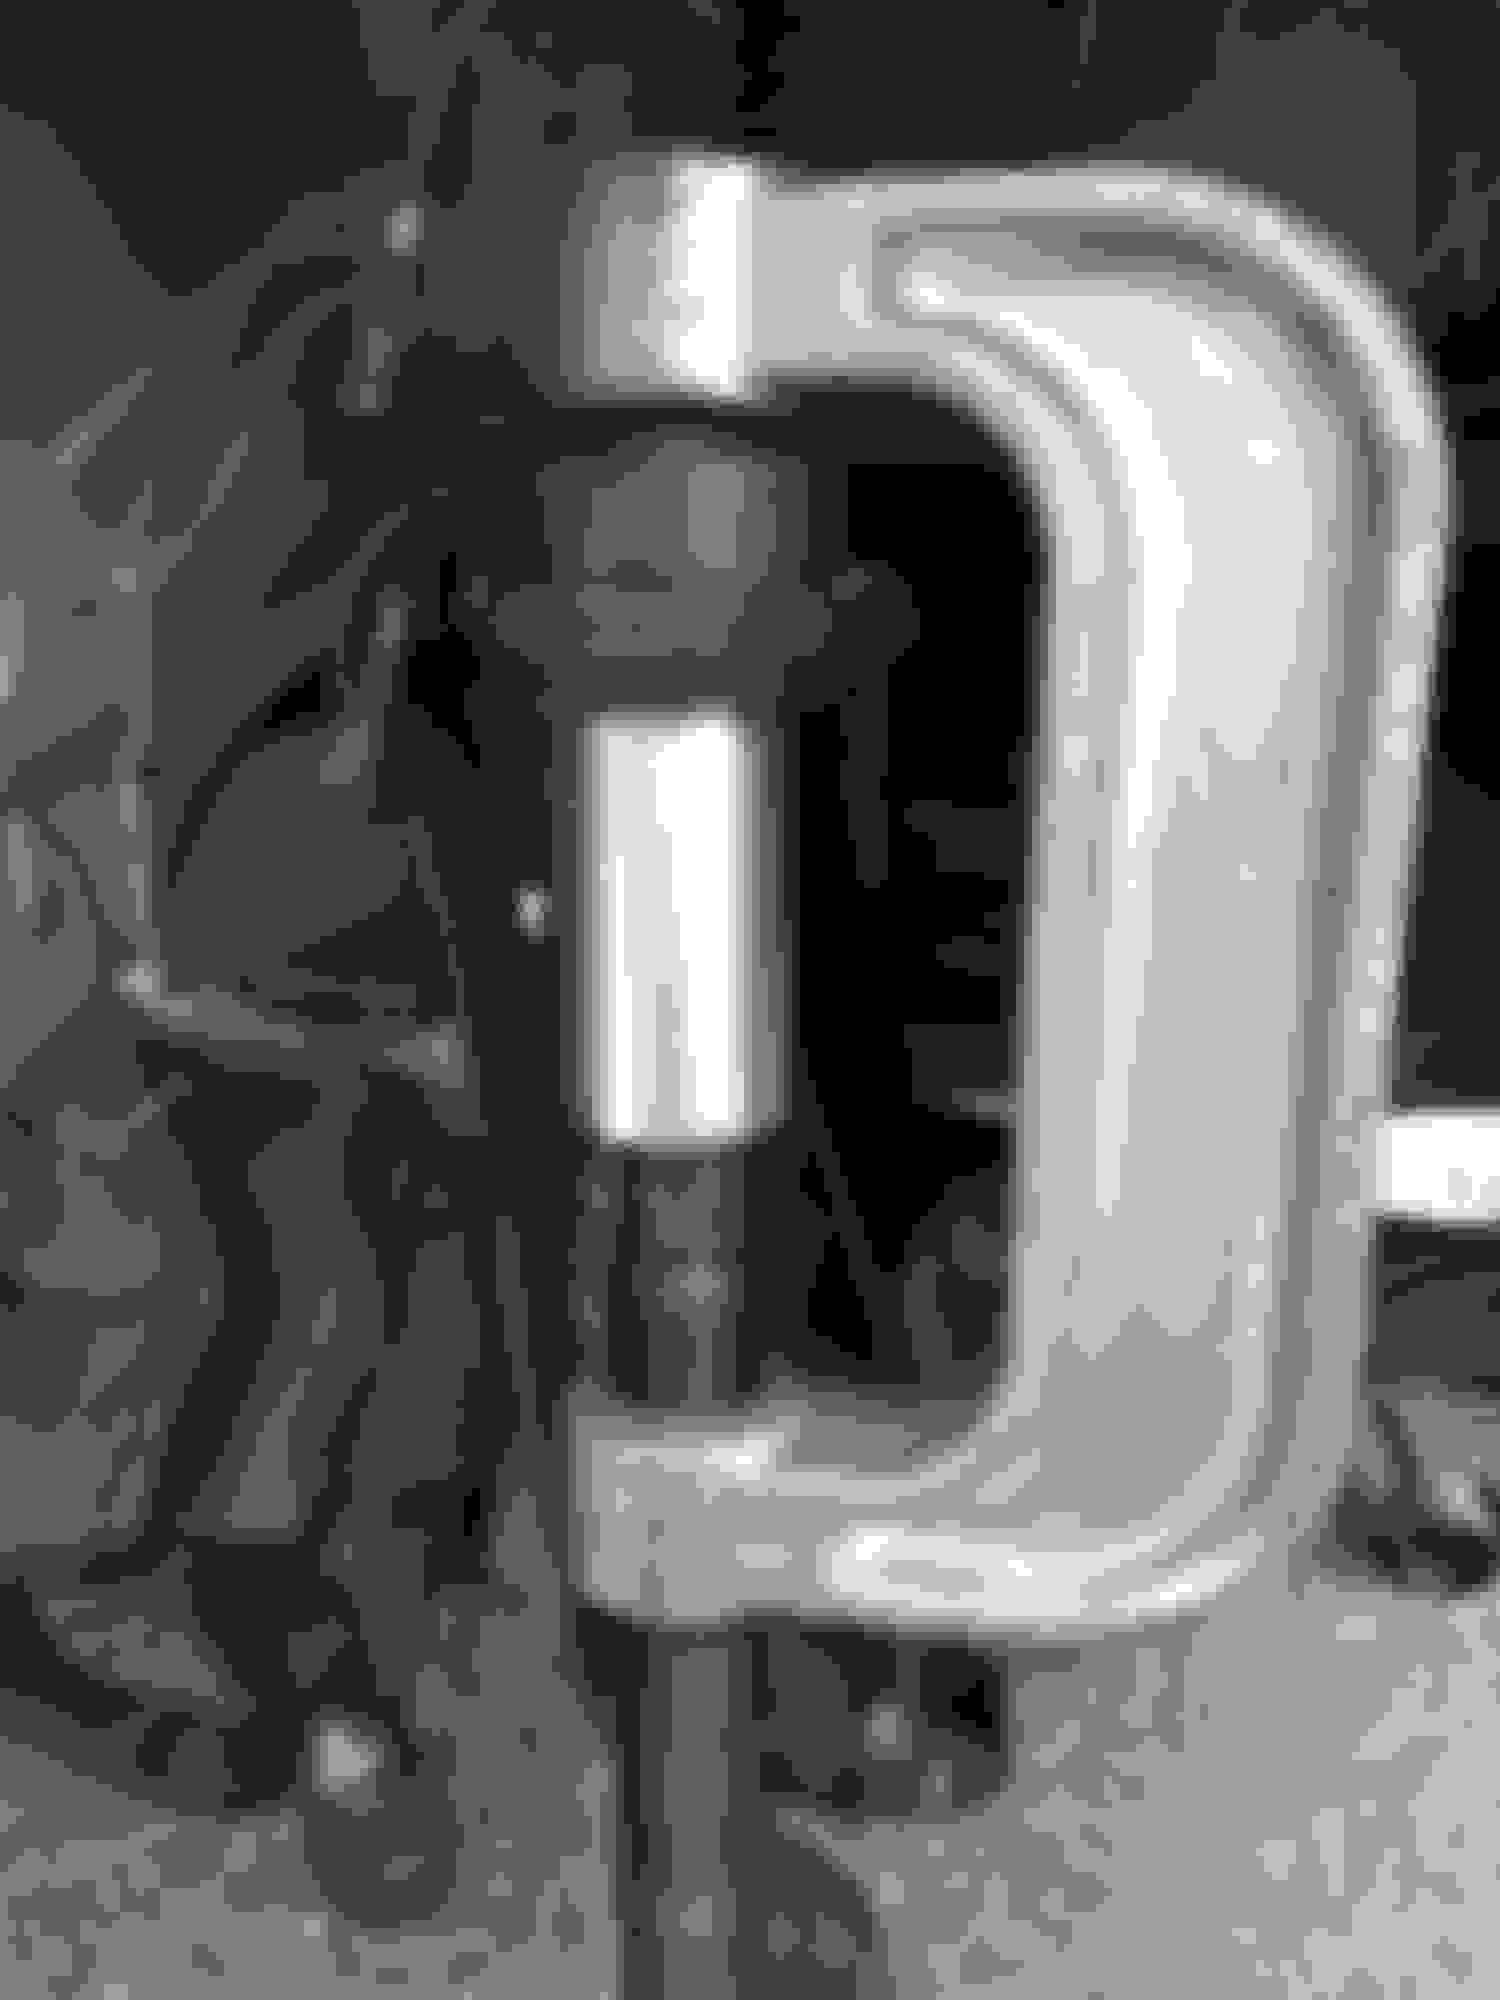
Finally cracked the correct method for removing the ball joints this weekend.
I've been working on this for a few weekends, held up by little things such as breaking every tool I've bought from ebay
Ball joint 1 - banana bolt failure
That ball joint splitter isn't designed for a jag it seems!
Ball joint 2 - complete failure with this!
A fine piece of fork but this didn't budge it an inch!
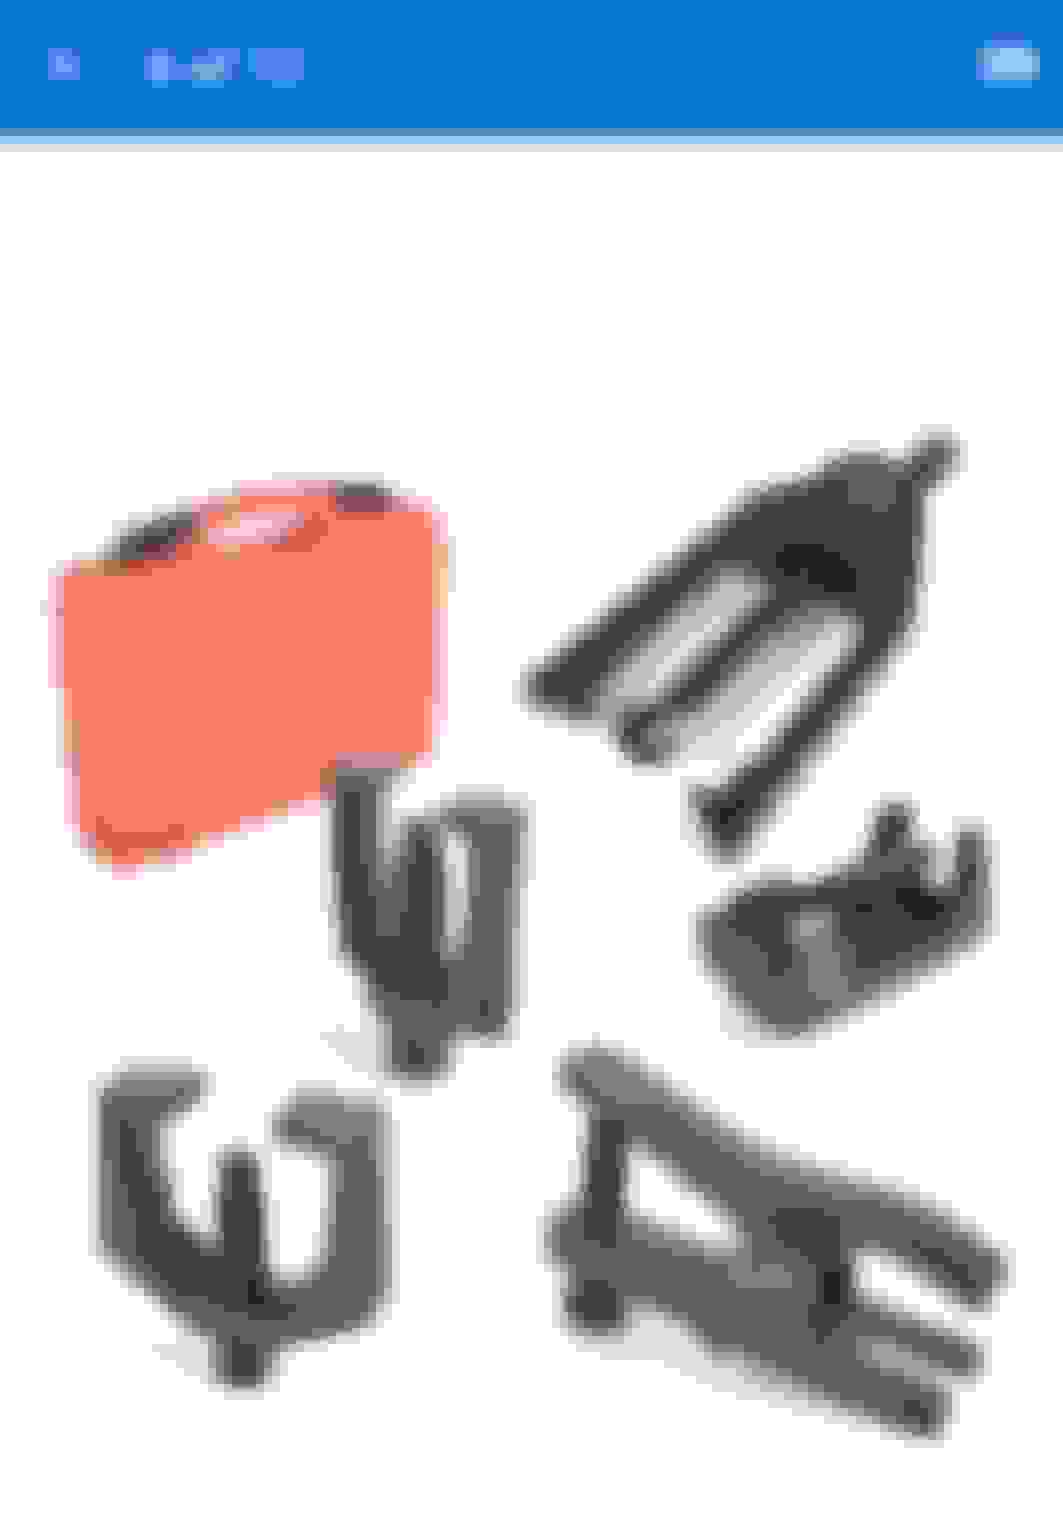
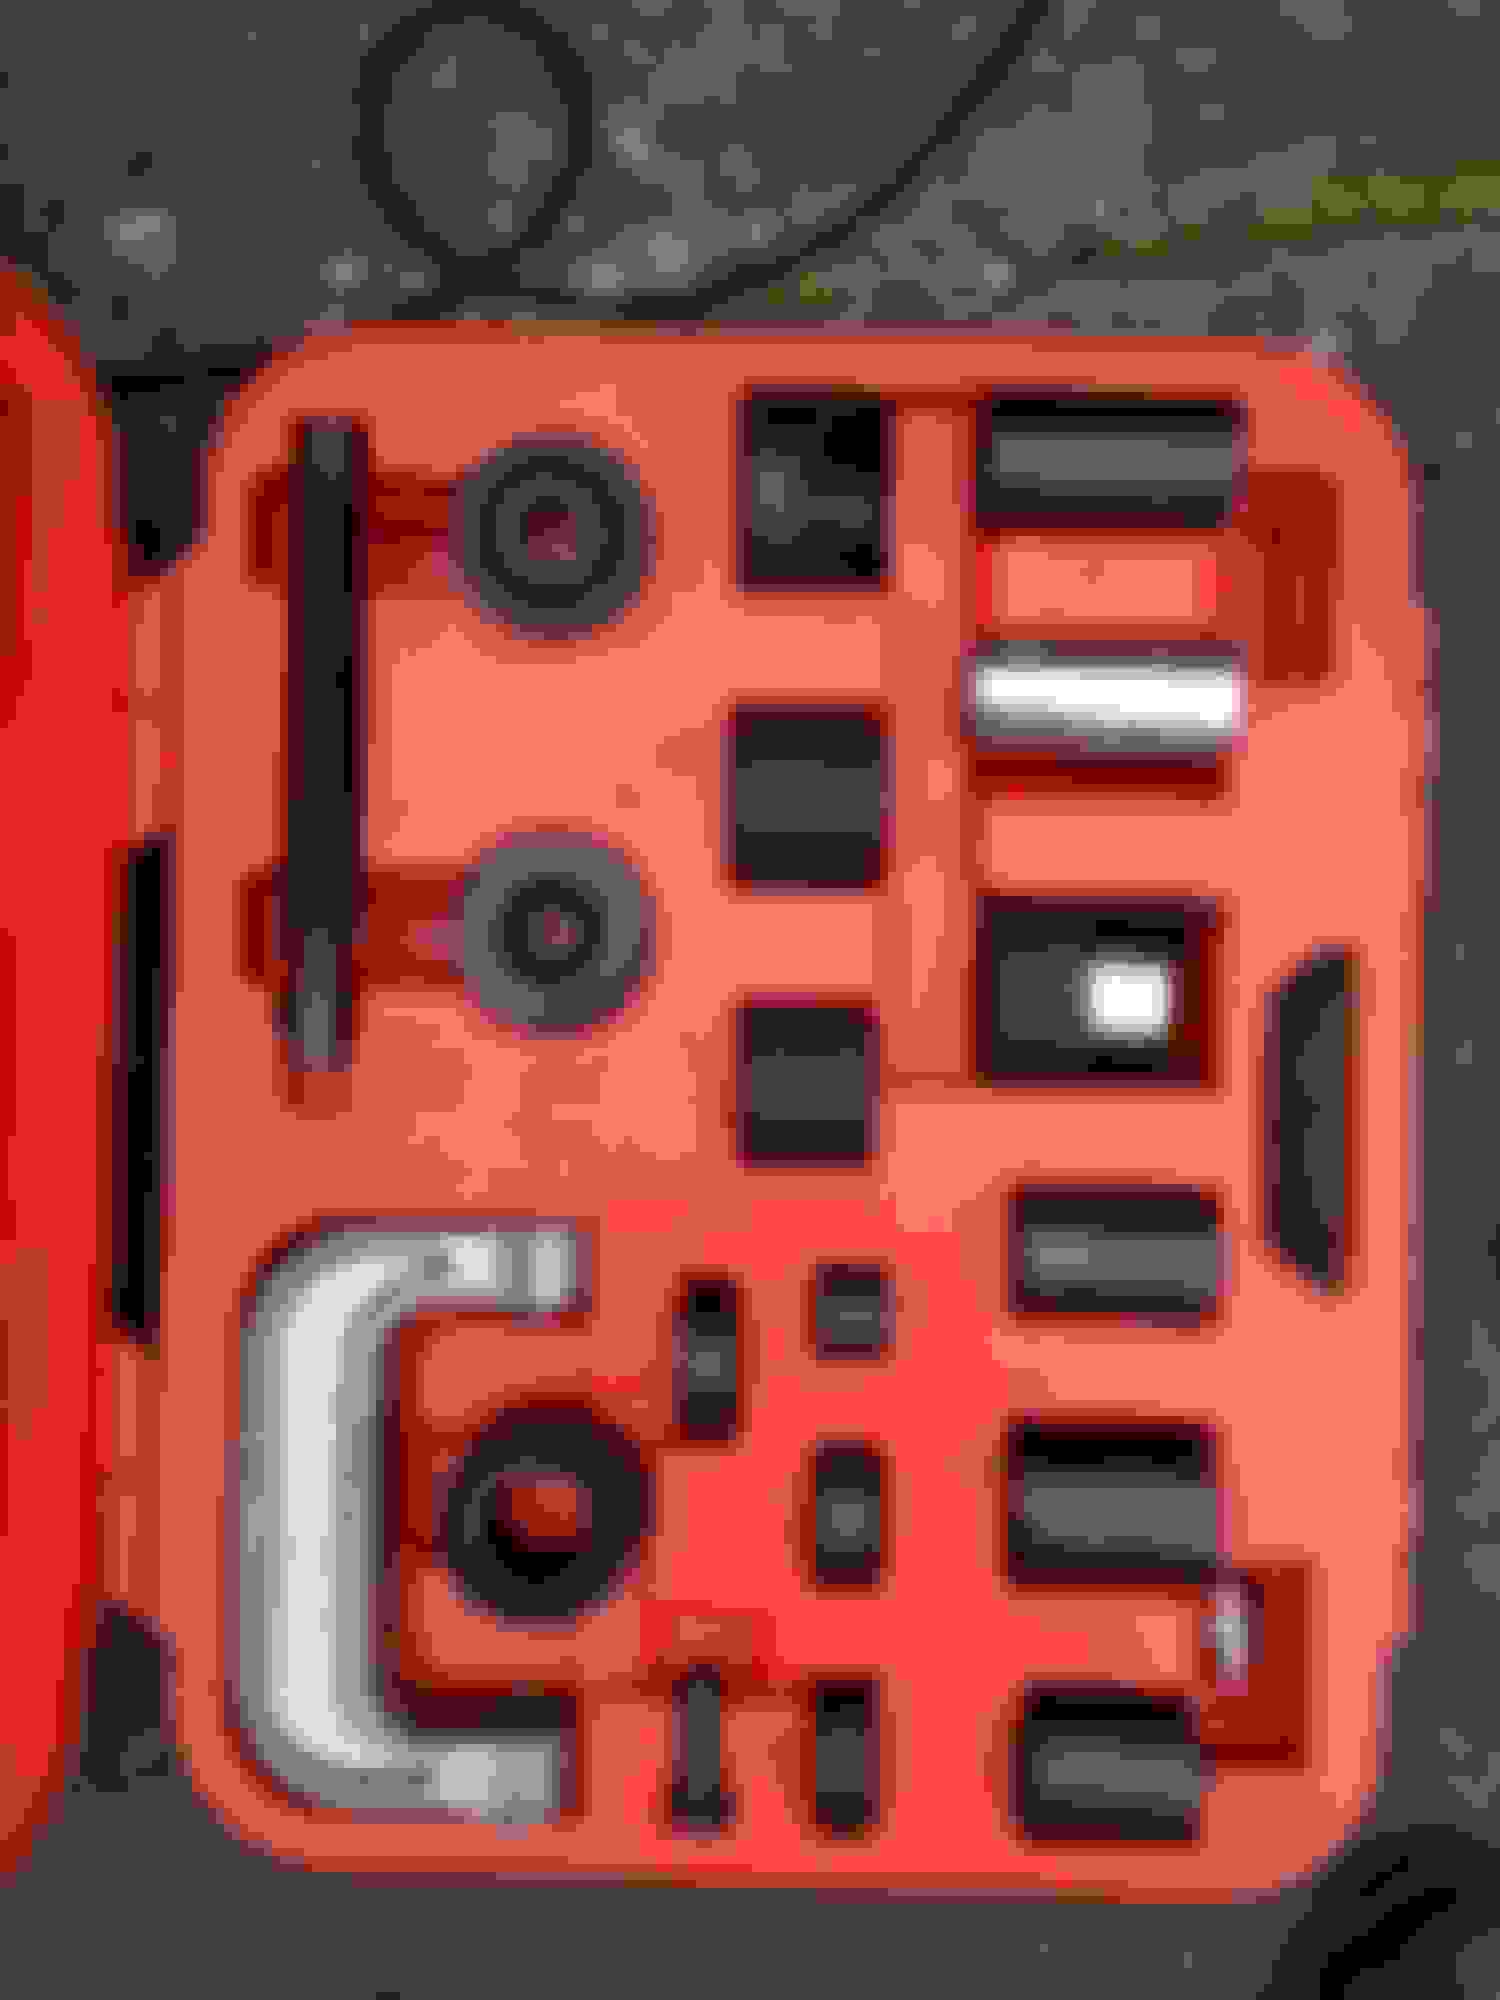
Finally - a decent ball joint kit using two tools at once plus the occasional use of plusgas and a solid mallet!
Nice ball joint splitter style kit for the jag - �35 from ebay and really up to the job!
Dremel for cutting the top of ball joint, but a 4" angle grinder is a lot quicker
Cutting the top of the upper ball joint so you have room for your normal pressing tool fittings
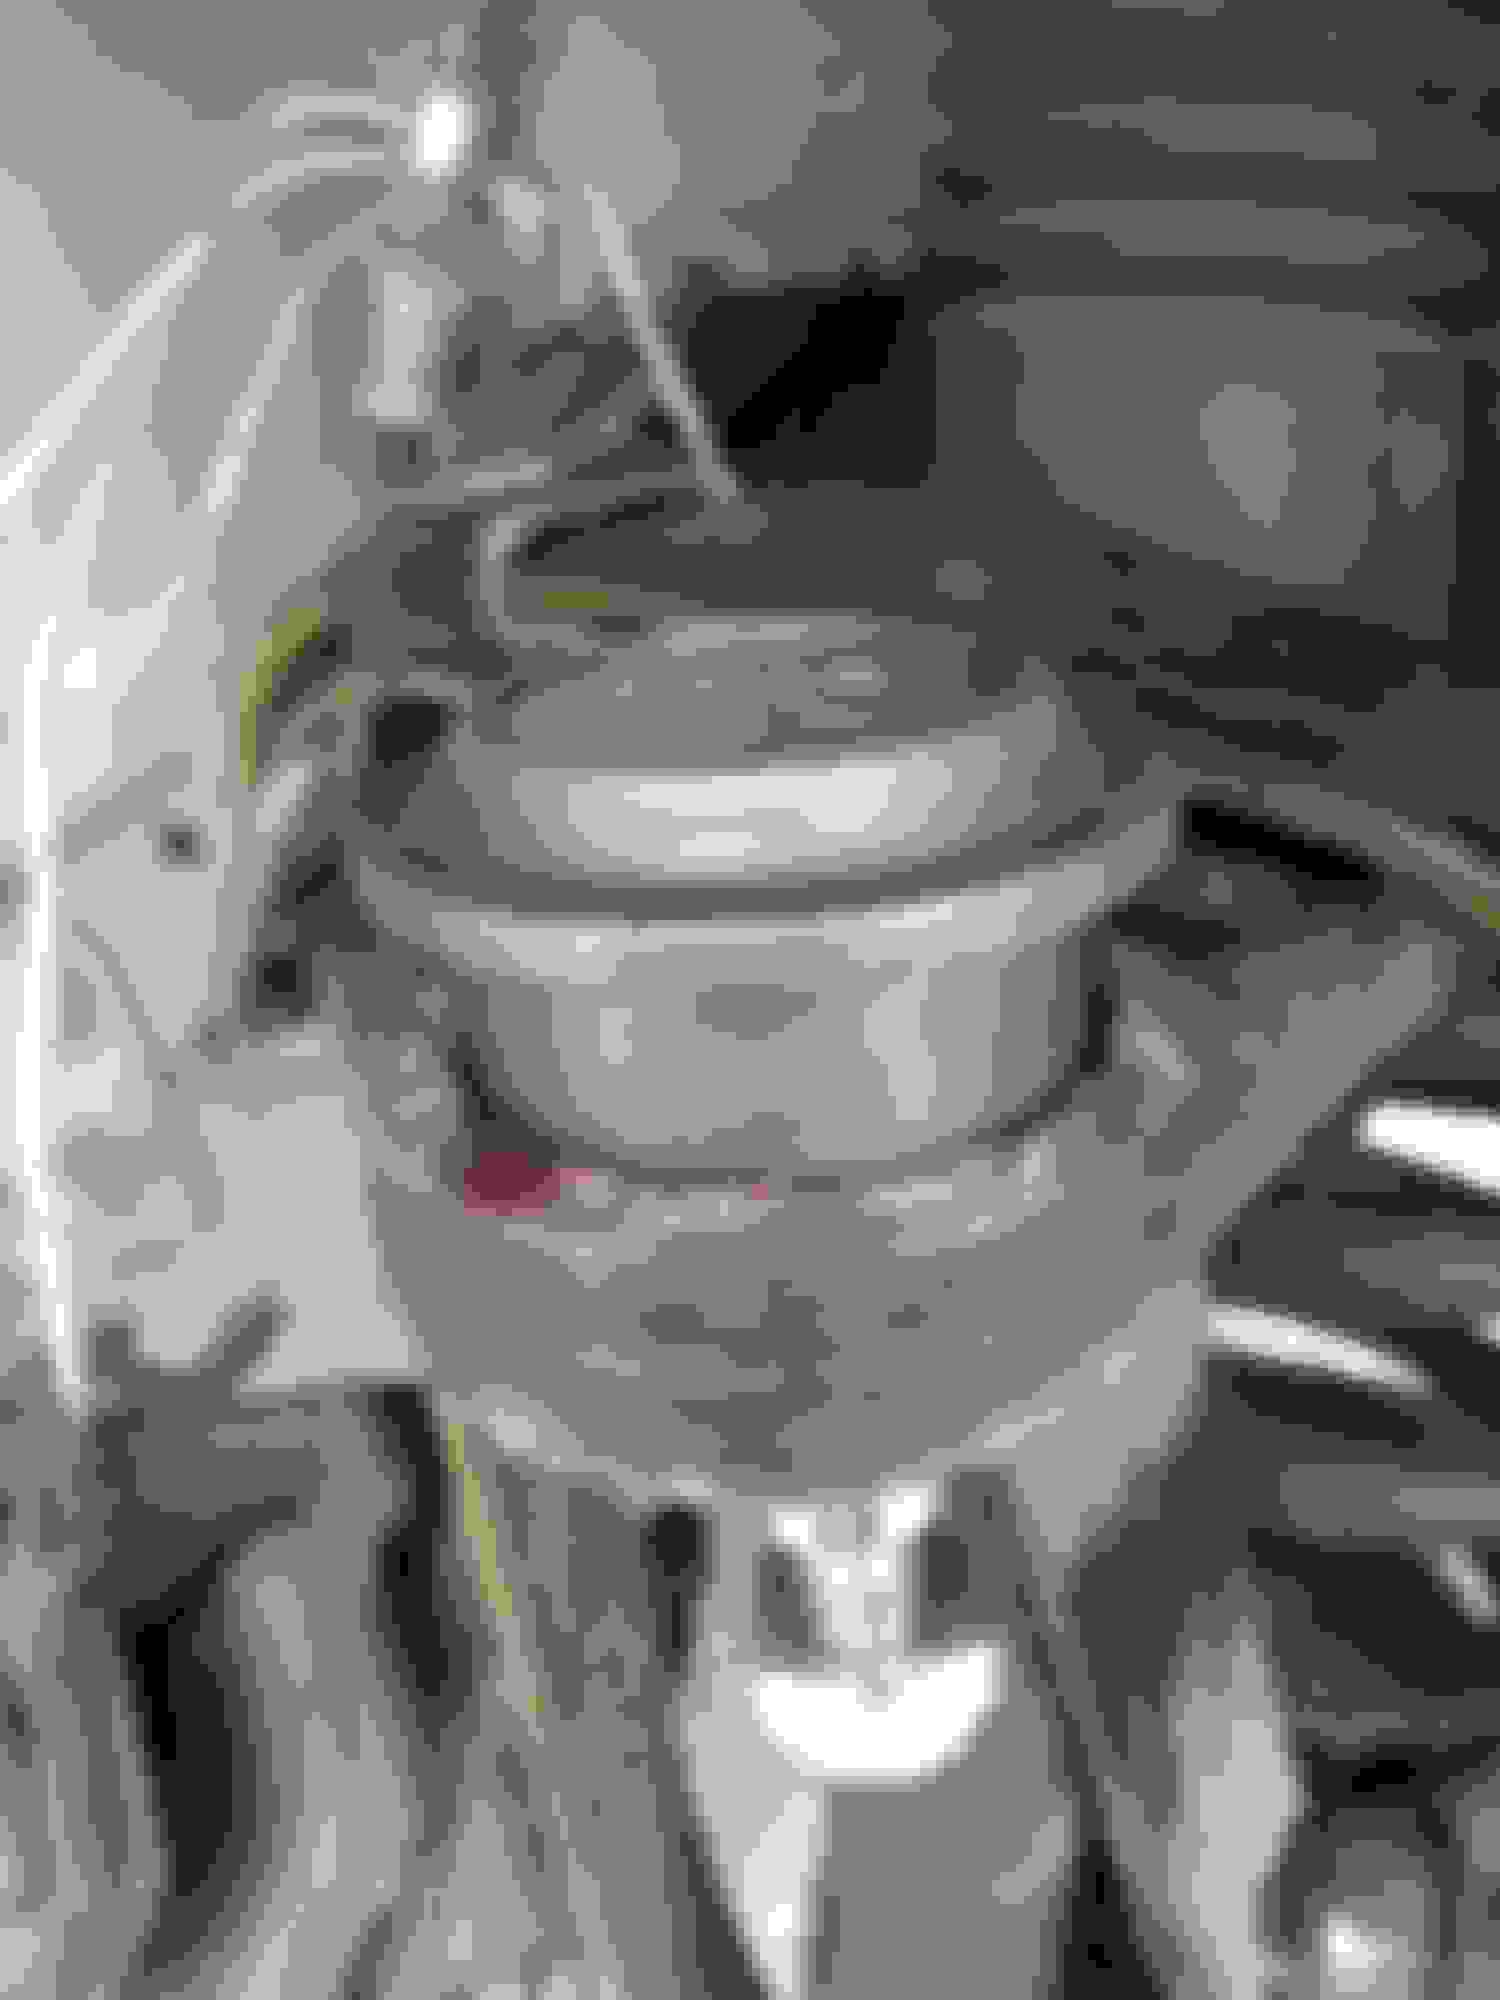
Using the jaguar tool 204-200 (basically a 38mm diameter pipe x2mm thk x 70mm long) to push out the upper ball joint. In truth, a slightly smaller tube would be better I think.
Nice feeling when the upper ball joint finally gives in
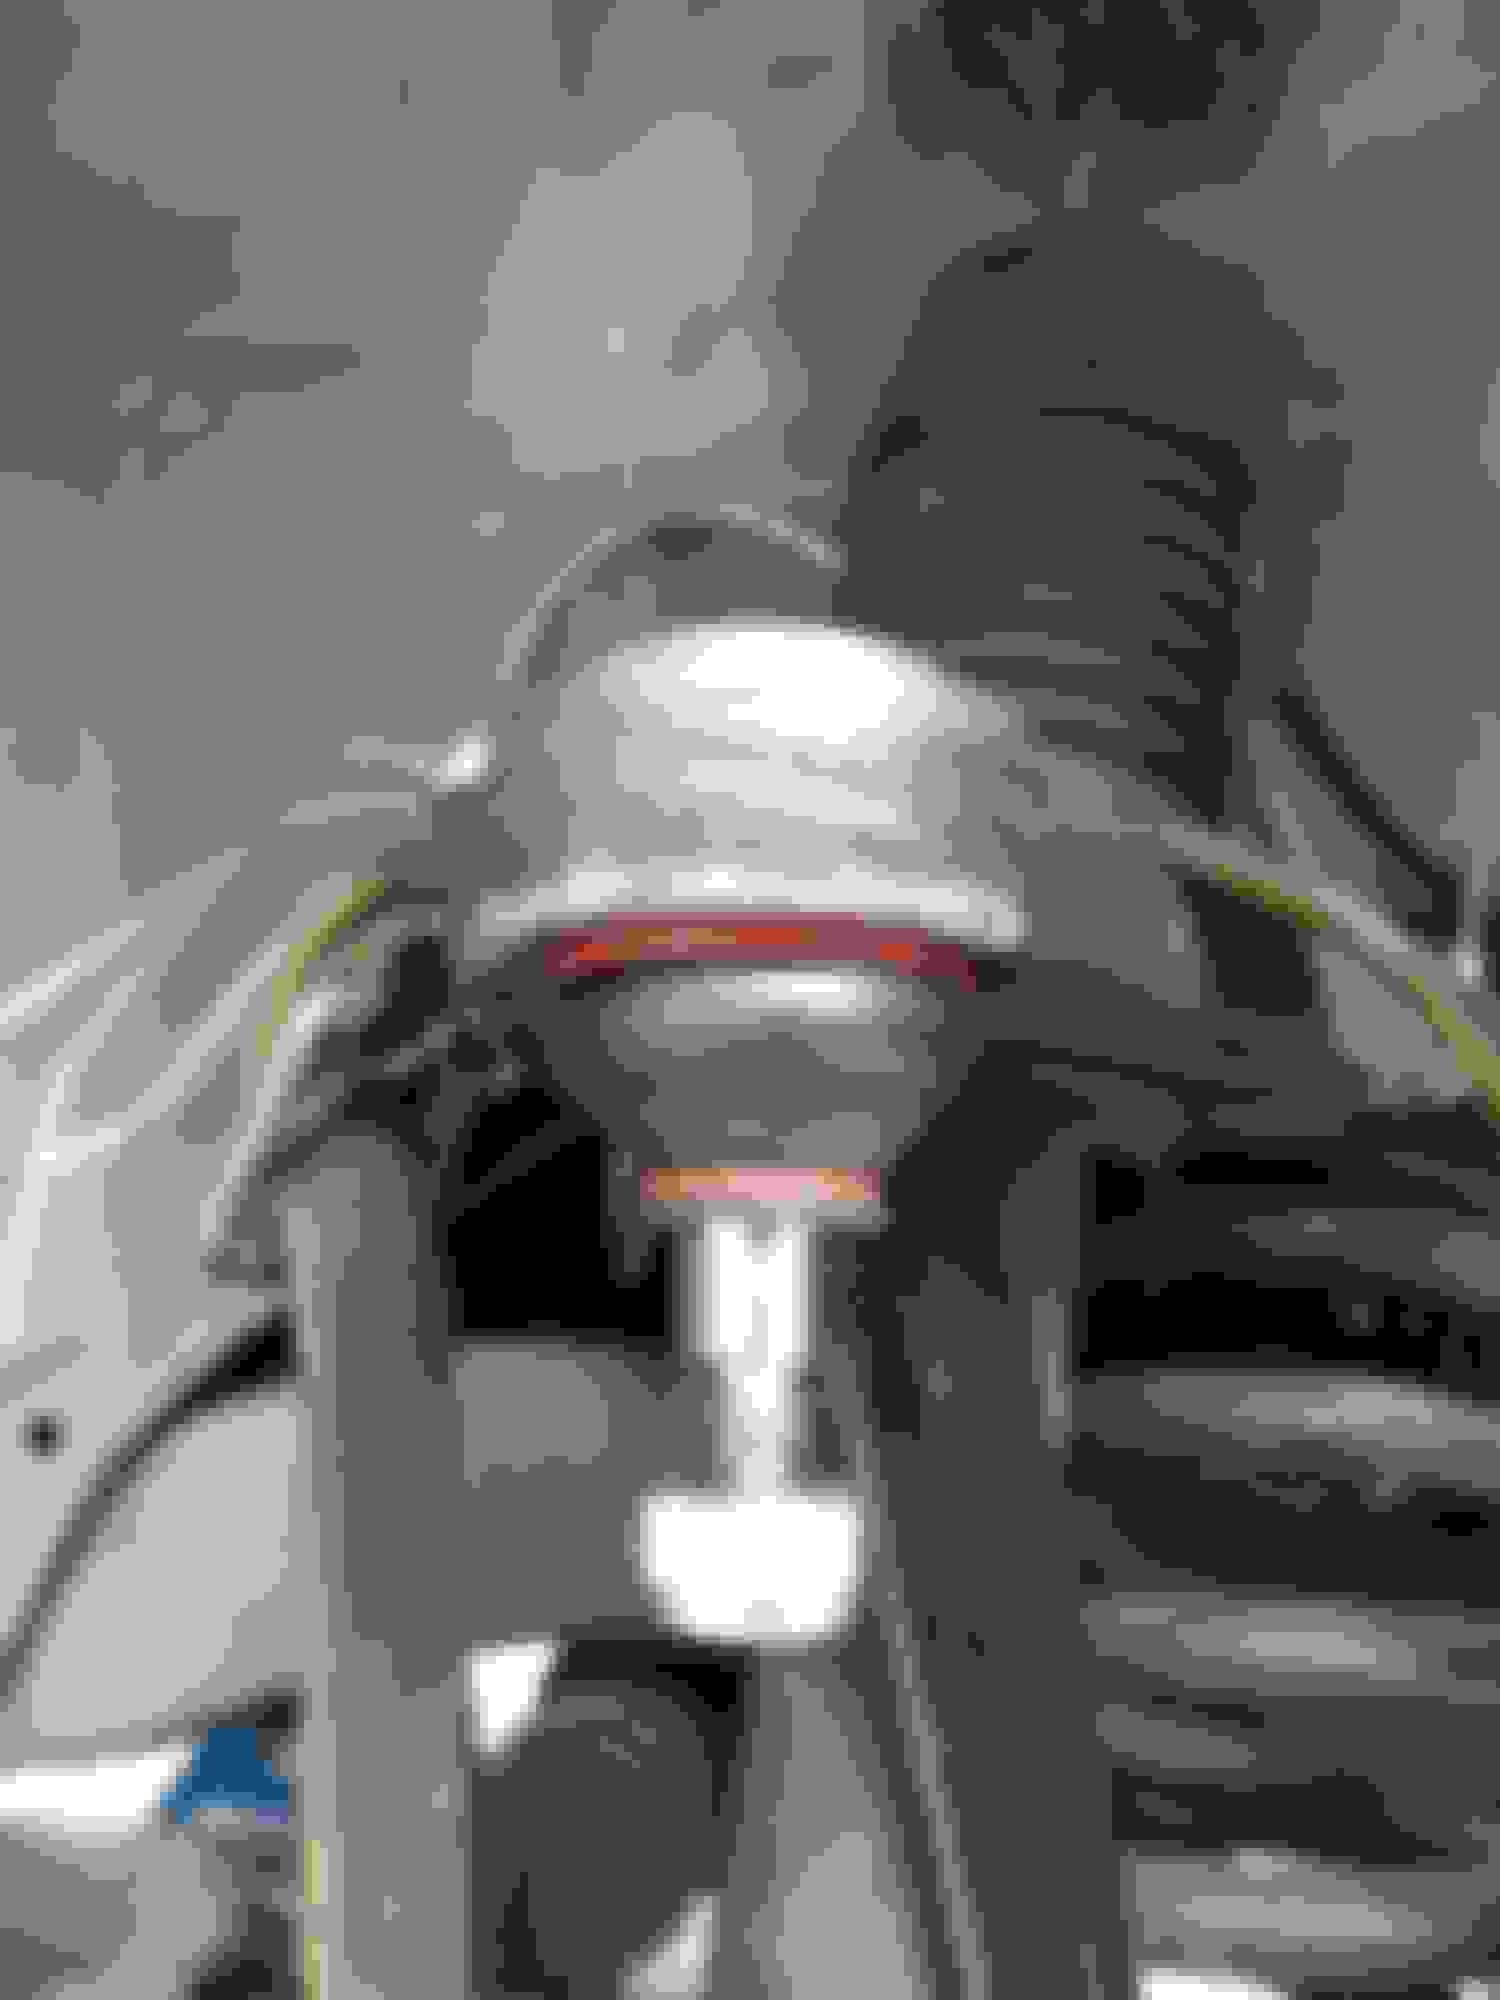
Pushing out the rest of the ball joint once its been cracked - I put the old nut back on so it was easier to push against.
Upper ball joint out!
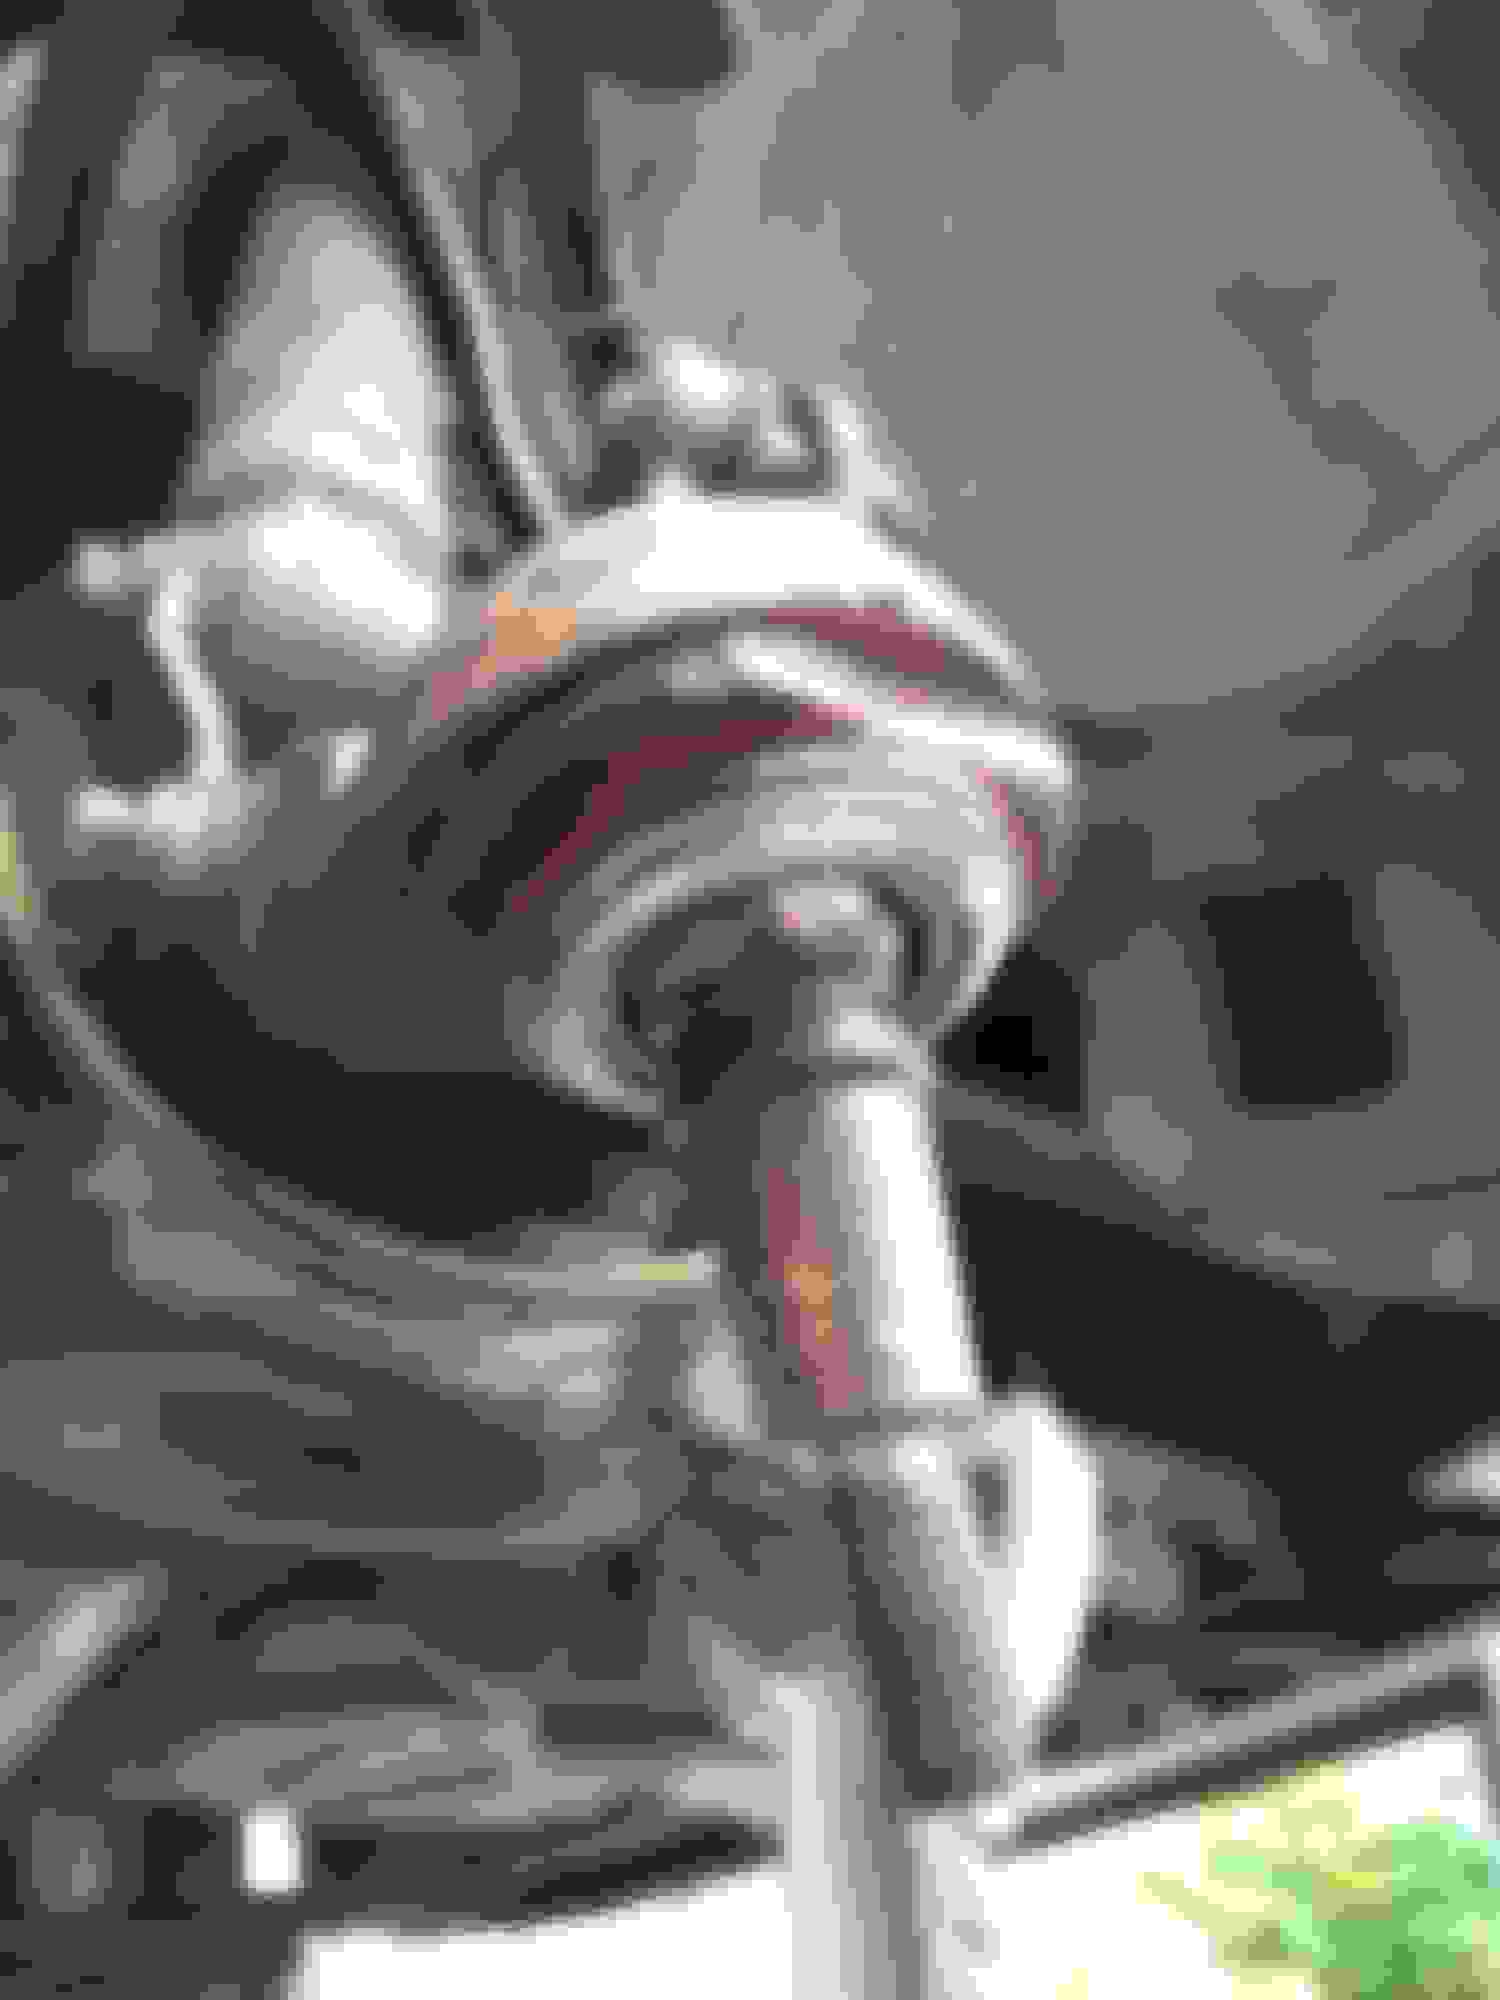
Press set up for pushing in the upper ball joint. keep it square obviously.
She's in!
Cutting the edges of the lower ball joint in the same fashion as the upper. Once again, a small angle grinder with a cutting wheel is a lot quicker than the dremel
Press set up for the lower ball joint. Basically just tighten it until it seems like it wont go any further ever, then a little more, then whack it with the hammer. if it doesn't pop, it needs to be tighter.
Cleaned out the lower ball joint and used a dremel with a buffing wheel of sorts
Press set-up for the lower ball joint
Lower ball joint installed
Upper and lower ball joints after removal. It seemed a good idea to chop off the shaft of the lower one - might have been because of the tool sizes
This is the standard van C press kit. It worked more than ok on the jag. I think you need to remember to oil all the parts involved!
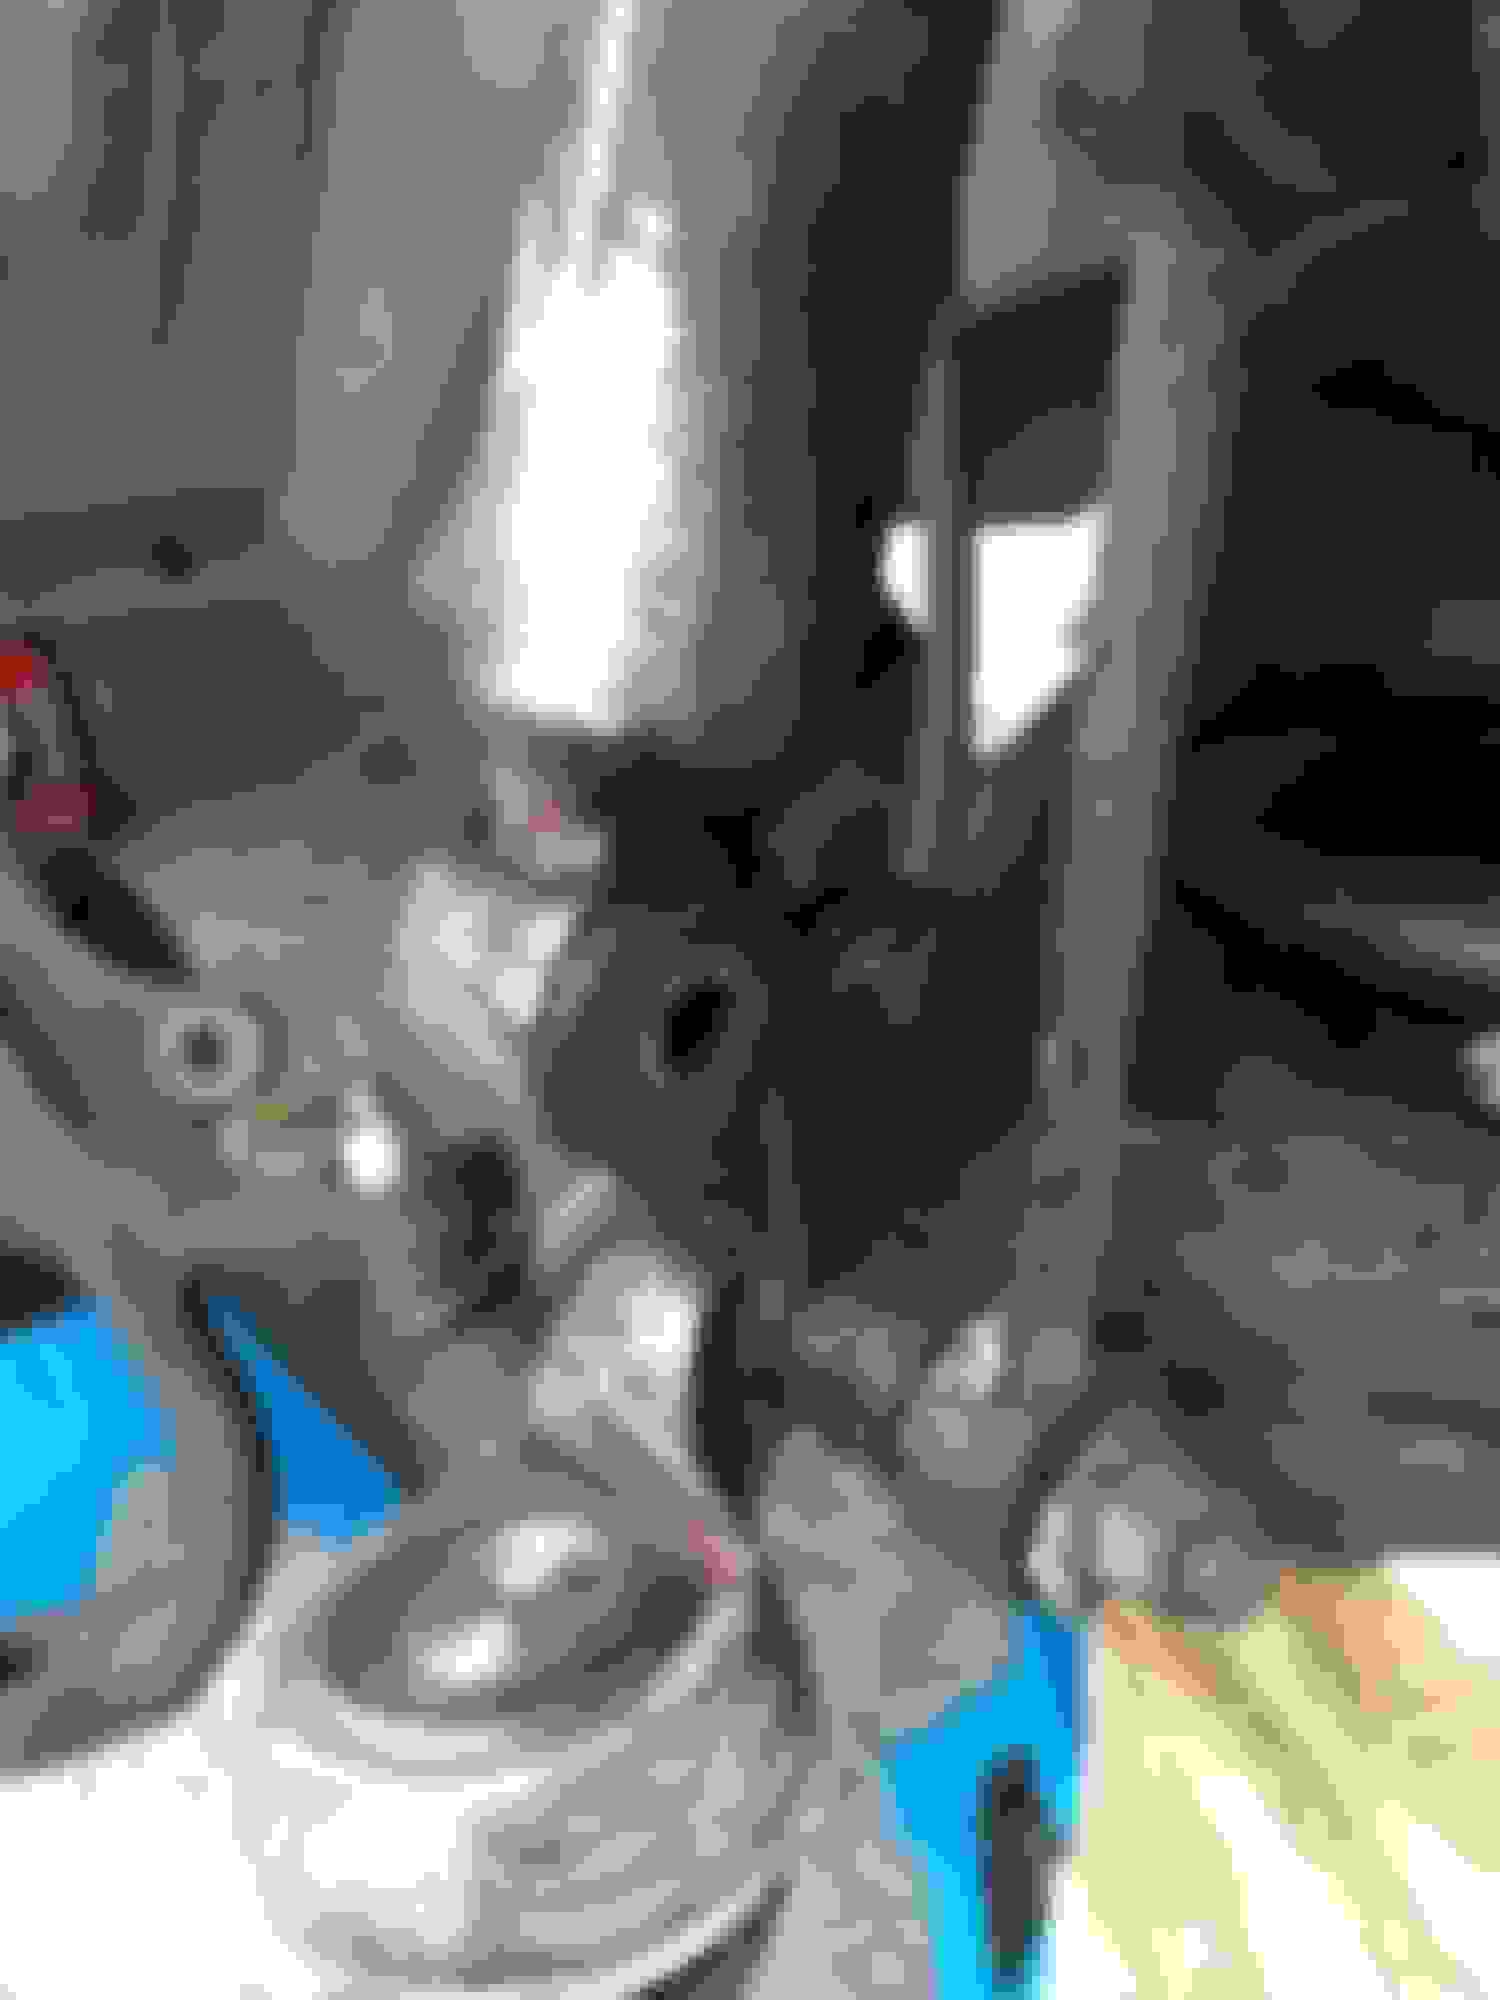
Lower suspension bush needs some TLC!
Wow, lower suspension bush fitting was more nasty than it looked! Rust everywhere
Cleaned up suspension area with the dremel cutting & buffing wheels
Retaining bolt has seen better days. M10 bolt, 55mm shaft for future reference.
The new suspension bushing slips in very easily with some silicone grease. Used the old bolt and socket method - thank you youtube.
Those must've been VERY stubborn! I've had no issues with popping them off with the first splitter you posted (the bent bolt). But I'm glad to know that I'll be safe with the ball joint press kit I bought when it comes to the rest!
Those must've been VERY stubborn! I've had no issues with popping them off with the first splitter you posted (the bent bolt). But I'm glad to know that I'll be safe with the ball joint press kit I bought when it comes to the rest!
It was horrendously stuck. A hub from hell!
Having never done one before on any car, it was an uphill battle on all fronts.
I've got a good mind to write into Chris Fix and complain.
He said they were EASY! :-)
It was horrendously stuck. A hub from hell!
Having never done one before on any car, it was an uphill battle on all fronts.
I've got a good mind to write into Chris Fix and complain.
He said they were EASY! :-)
Just wait until you do the wheel bearings :P
But I have found that to be the case. Any easy fix on every video and DIY write-up will invariably be completely difficult when it's time for you to do it. Sway bar links though, I haven't found one that was too horrible on any car yet, though I did have to cut one off once? But that was just as fast as unbolting it
flushed the cooling system 4 times to remove all the crap, fixed/bodged a few flexi hoses as previous owner had been topping up a leak so had only water in system.50/50 mix in there now.apc washed the whole car ,iron-x on the wheels and clayed all the paint.will compound and polish tommorow to remove bad microscratching...
interior needs a good going over to as seats are dry and cracked,did one section and came up well. saggy headliner so will need to figure out a fix or how to get a spray adhesive in there ??
saggy headliner so will need to figure out a fix or how to get a spray adhesive in there ??
Nice to see the action ...
I don't really see how to "fix" the headliner once it start sagging, any spray glue will leave marks, and it will probably only move the problem to the next stretch.
Headliner out, cleaning, and new fabric is the only way, panel can go through the rear doors (but easier/bit less difficult on a LWB than a SWB).
As per yesterday, 2 pm CET, I am XJ8-less... Scrap collectors took the rot Buckel and now I am back down to only having my XJ-S...
Do I regret buying the XJ8? - NO
Do I regret bot checking a few spots prior to repairs? - YES
Would I buy another X308? - Hell yes! But only an XJR100.
How much have I earned in parts since I dismantled it? - About �3900
flushed the cooling system 4 times to remove all the crap, fixed/bodged a few flexi hoses as previous owner had been topping up a leak so had only water in system.50/50 mix in there now.apc washed the whole car ,iron-x on the wheels and clayed all the paint.will compound and polish tommorow to remove bad microscratching...
interior needs a good going over to as seats are dry and cracked,did one section and came up well. saggy headliner so will need to figure out a fix or how to get a spray adhesive in there ??
I wouldn't use just any spray adhesive as in high temps >28 degrees say, it starts to sag again. Make sure you go for the high temperature adhesive for headliners, as I've already made this mistake! You can get a nice piece of new material to stick onto the biscuit for not that much money. Getting it to match your other trim around the visor etc might be another problem though High temperature adhesive for your headliner Get that headliner out ! It folds/creases slightly as it comes out Headliner foam backing peeling off / failing
i dropped the trans sump to investigate and had a spare new filter and oil ready for the best but got what I suspected. Lots of fillings and several chunks of metal in the sump.
Ah well, box out time ...
Not looking good Chunks and more chunks , if Zf did Ben & Jerry�s
You lucked out with those LBJ's, mine were hell to free up... I was doing the driver's side and after several hours of cutting and hacking and hammering I finally freed it up. Doing everything carefully (freezing the LBJ, heating the control arm, lining everything up perfectly, etc) the LBJ cup bound up in the arm, causing the flange to bend under the press's force. Partially my fault for not having the exact right diameter tool for pressing the cup in, even still... Immediately went and ordered preassembled arms for both sides, new bushings and arms, and wished I had started there.
On the topic of things that are a pain...
I started my driveshaft service today, in hopes of solving an occasional vibration at highway speed (new center carrier bearing, transmission side jurid, transmission mount). The first bolt I was taking off snapped (rear muffler clamp bolt) and then a storm started rolling in. Managed to get the driveshaft out of the car before it started to rain too hard.
Didn't realize how much of a pain removing the old carrier bearing would be, the shaft flange doesn't fit through my press's skirt so I can't press it out. Didn't have much luck hammering the shaft out of the old carrier, bought some tools and I'll try again tomorrow, with enough parts on hand to fall back to "grind till you find it" if all else fails.
Oh and the trans mount that I got off rockauto was underspec by about a mm dia for the aligning dowel, so no go with that. Fortunately my old one isn't falling apart, just starting to sag and dry rot some.
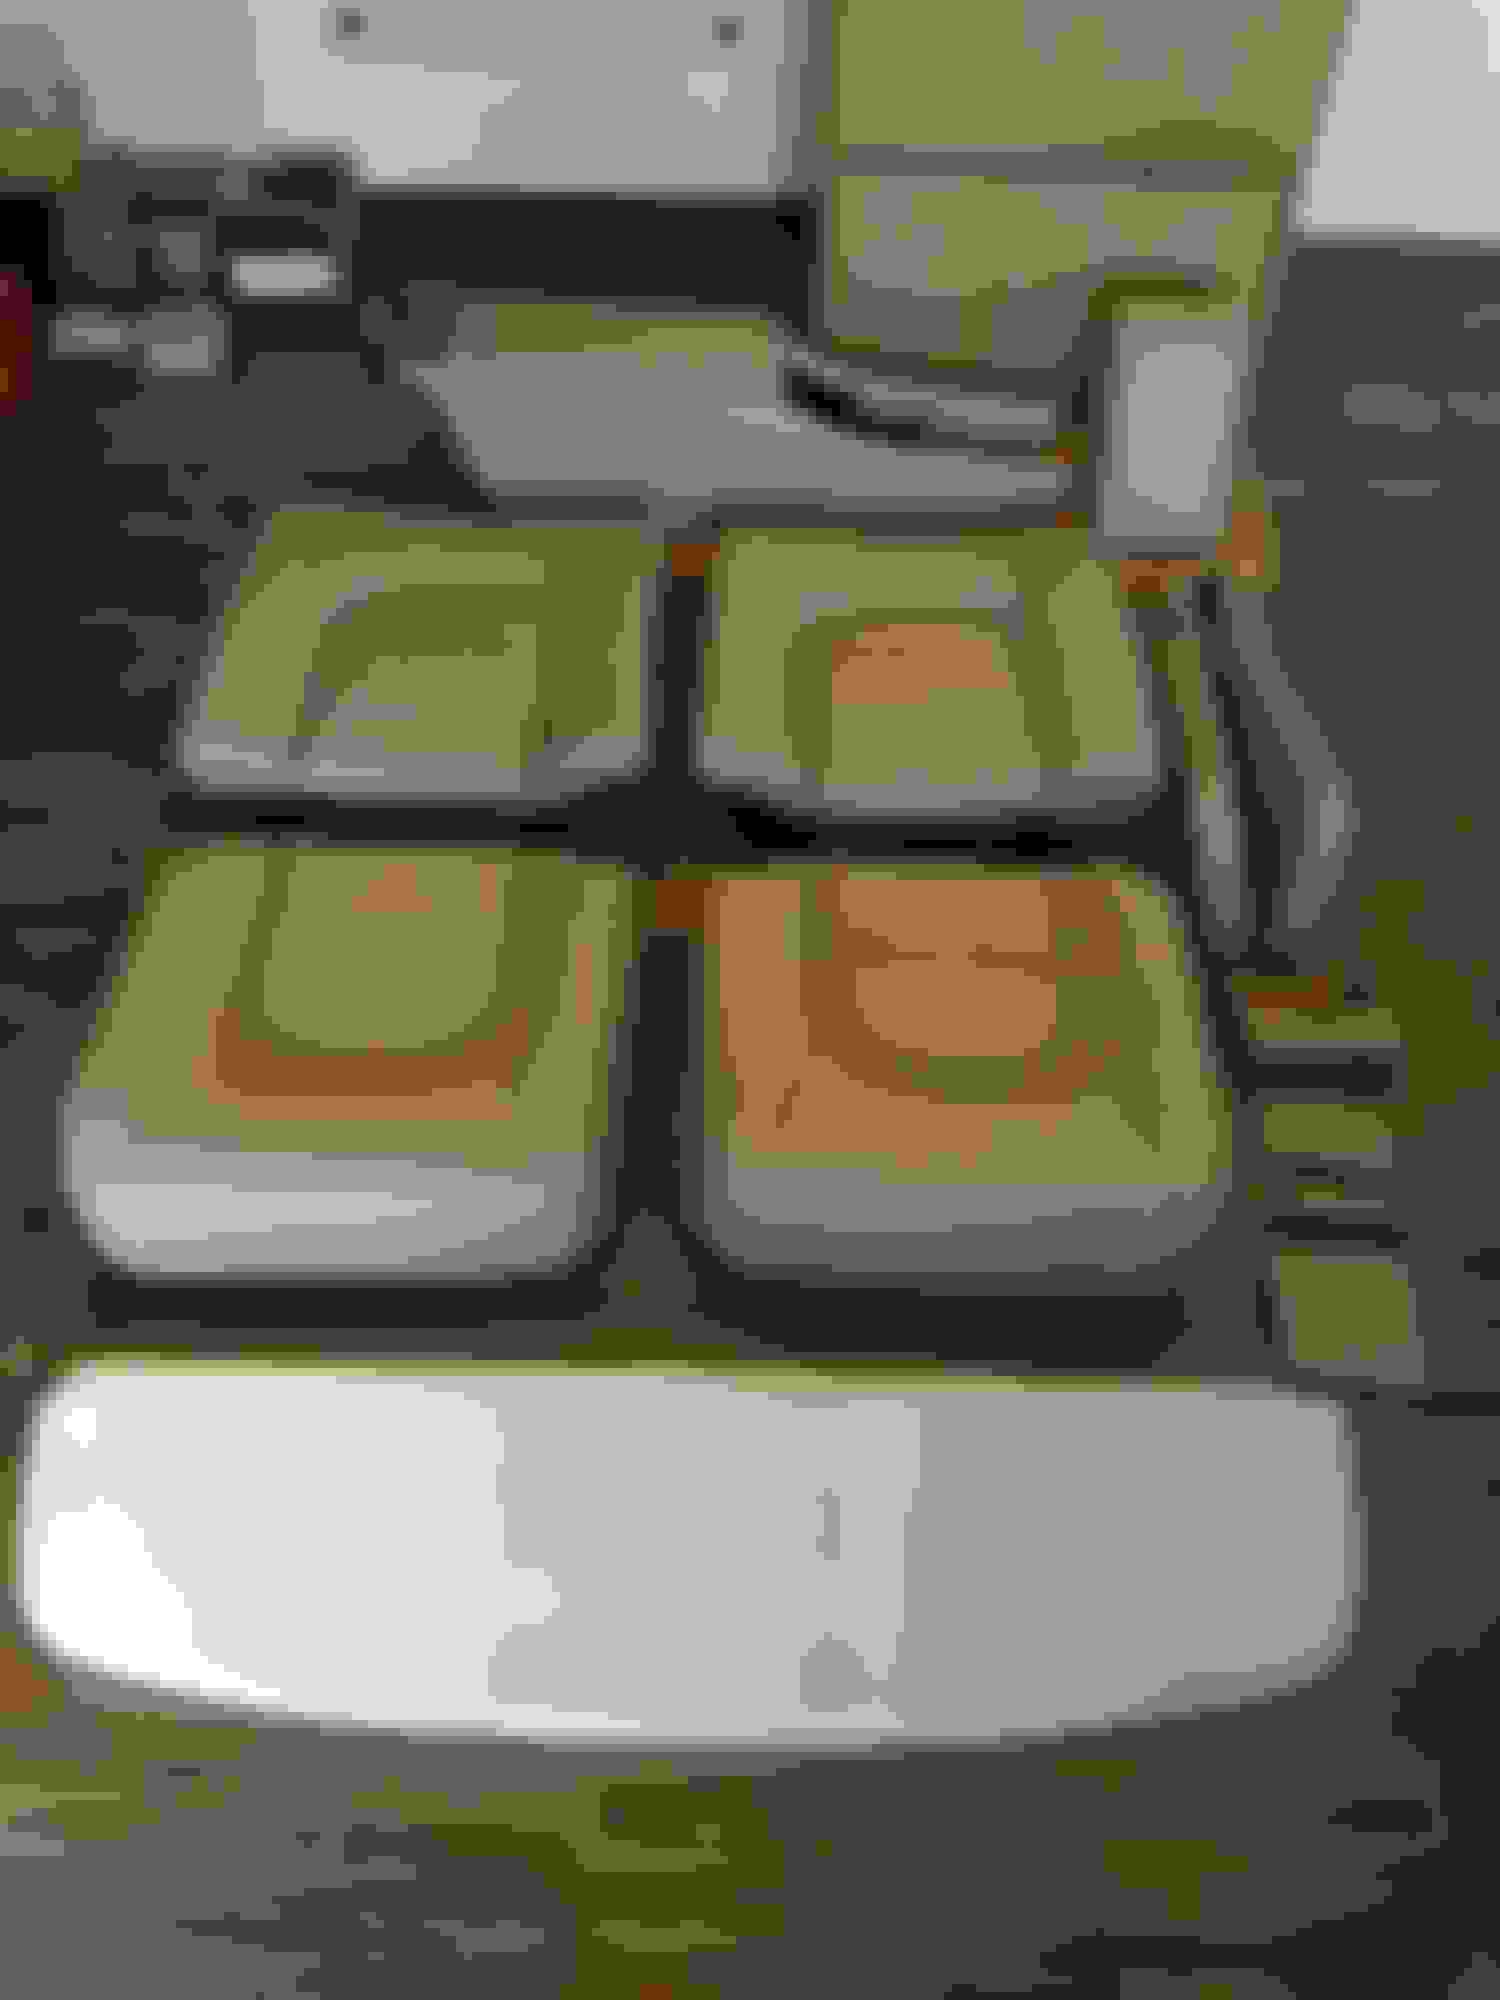
Over the last days; Sorted my newly received executive seats, cleaned them up, disassembled the parts where needed for a proper re-dye, and made a new parcel tray insert, as the old one had the speaker hole.
Also re-upholstered one of the back-seats, where the leather was completely loose from the padding.
Not sure what happened there, but all internal hog-rings were completely rusted away, and pulverized while removing their remains.
Will hopefully get my ivory dye tomorrow, huge job for the weekend.
 06-15-2018, 05:19 PM


 ), and the multiple leather treatments, make the leather supple like the finest lambskin jacket, from the Bond Street.