When you click on links to various merchants on this site and make a purchase, this can result in this site earning a commission. Affiliate programs and affiliations include, but are not limited to, the eBay Partner Network.
Posted a couple of threads regarding my most recent purchase but thought I would start afresh with an update and try and keep you all abreast of the ongoings of said XJ40. So here she is.
Bought with no key and as it turned out a non-runner. Over the past couple of years I have had a steady flow of Jaguars. I tend to go for the unloved and neglected. We then go on a journey together where the end result is hopefully a roadworthy classic or future classic that can enjoy a new lease of life. Hopefully this one will prove no different.However, upon closer inspection I think in this instance I may have to take a slightly different path. You may feel different and I am happy to take on board suggestions/criticism.
So, to bring you up to speed. Apparently there was a service book which had 17 stamps (13 main dealer) but this had been mislaid by the previous owner....It has had a re-spray at some point and in the wet and from a distance she is quite striking. Up close, not quite so good, as it appears that no preparation work was undertaken. Some one has either covered aor replaced the headlining.
Not really sure about this...
Every last bit of trim has de-laminated. The bulkhead and other areas have been 'seen to' with glass fibre.
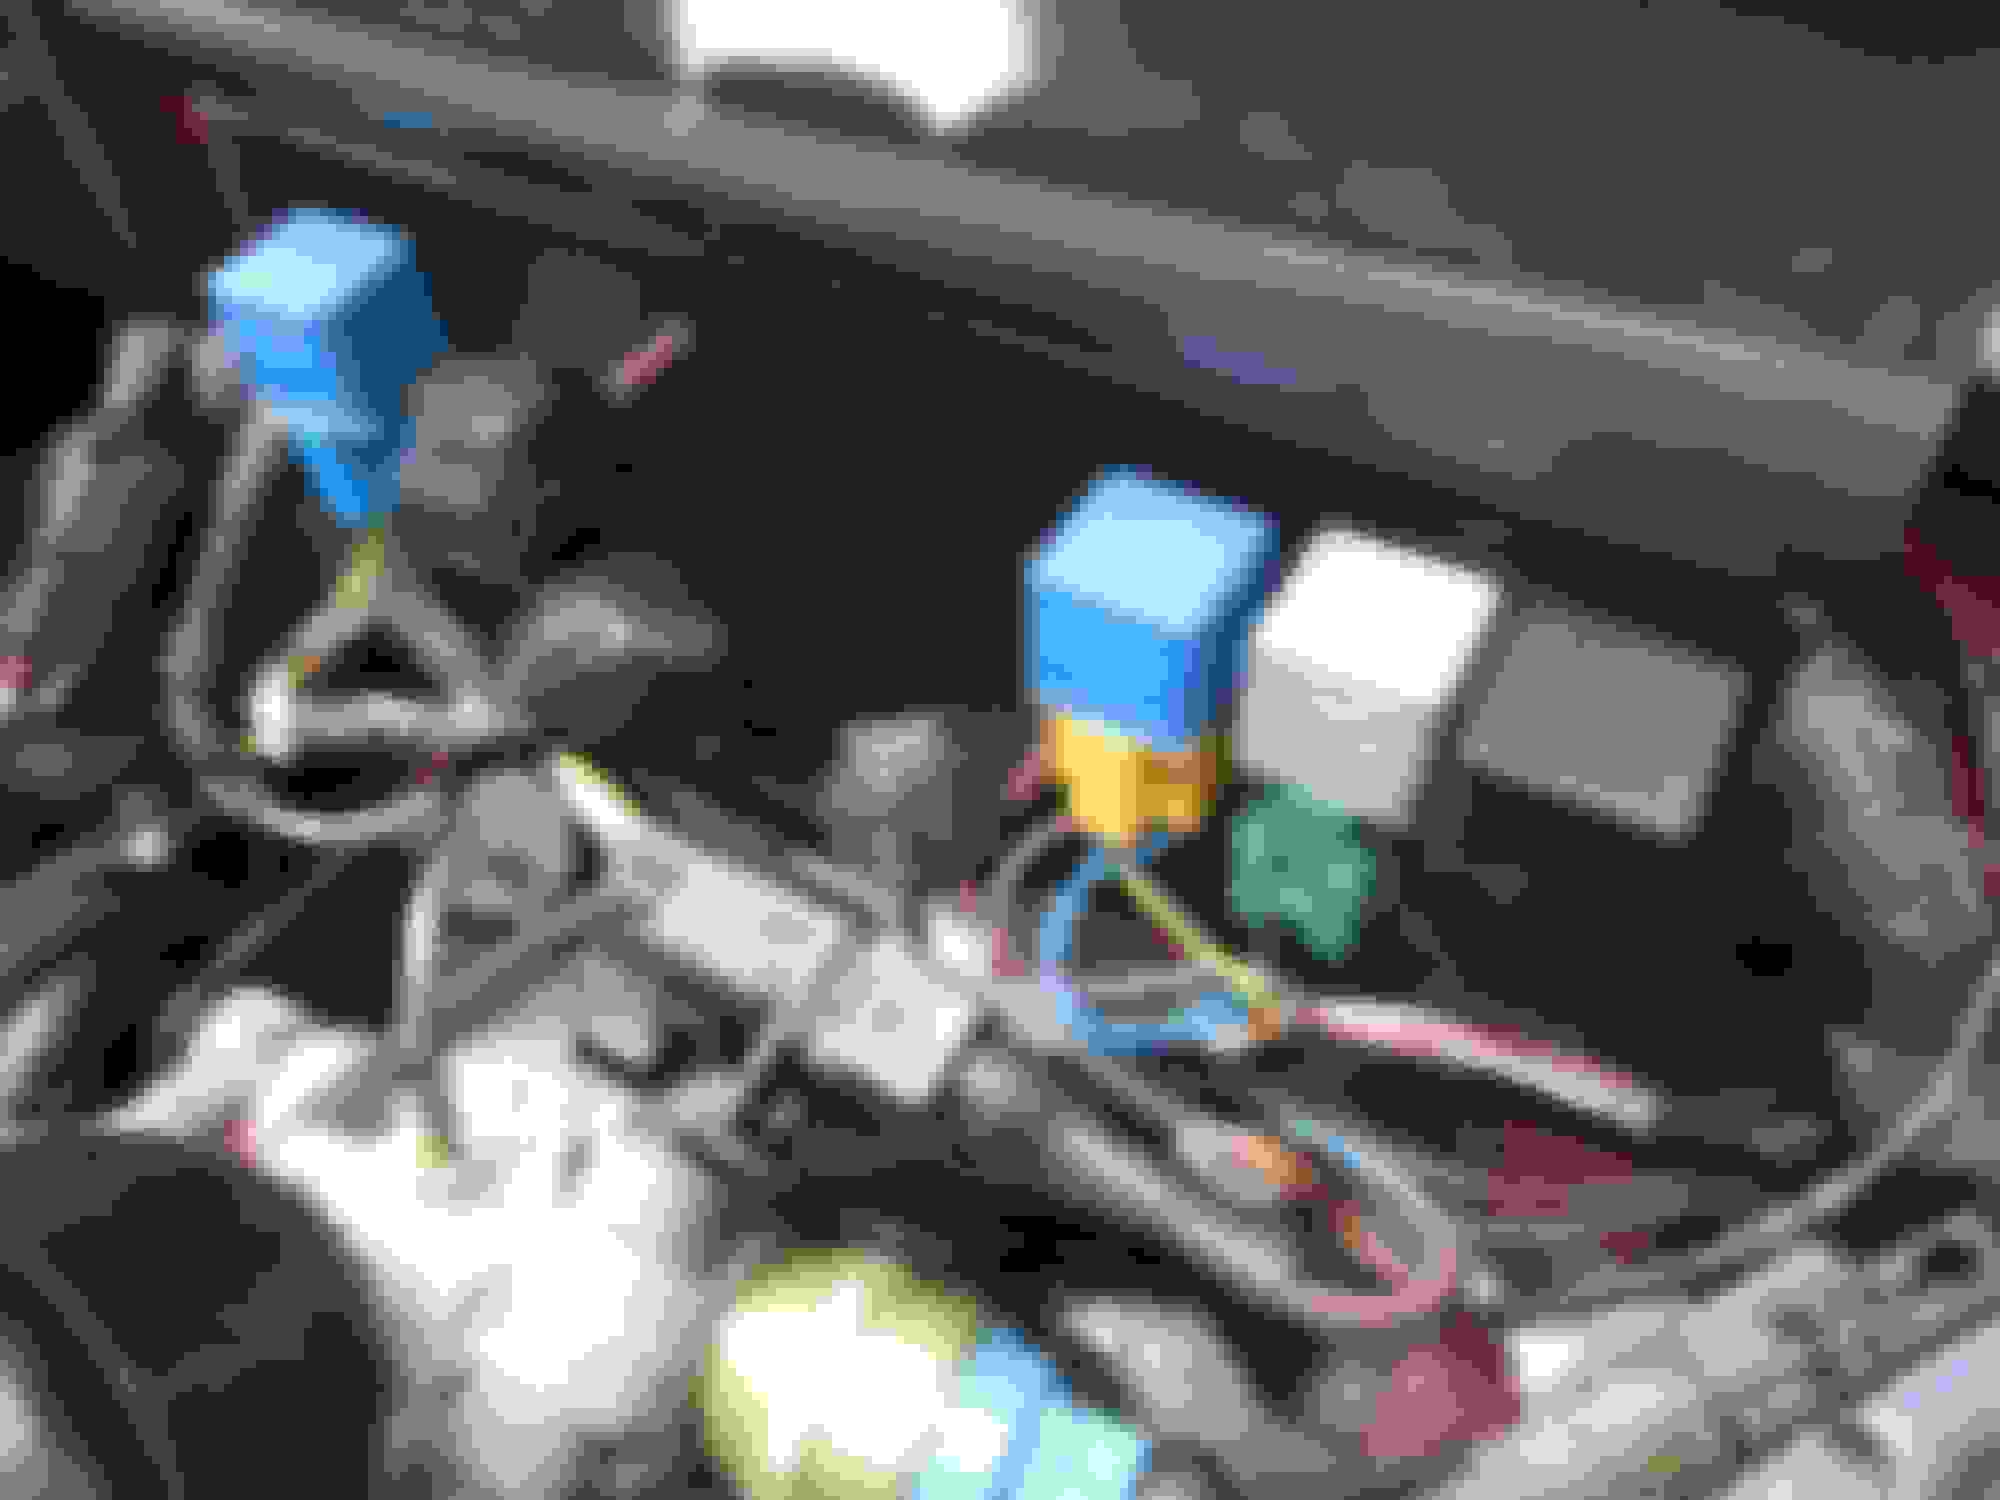
Some of the wiring, well, have a look.
And when it rains we have very soggy carpets.
All that being said,when I finally managed to get her running properly she is a pleasure to behold. There is only 91k on the clock and the engine is quiet and smooth although I did have to address the relay area as one tap on the black one and she cut-out.
Not perfect but better
Some of what came out.
So my normal rules of engagement seem not to apply. I shall take her for an MOT in the next couple of weeks and my gut feeling is that she won't need a great deal to get through...my dilemma is....then what? I have a few ideas...
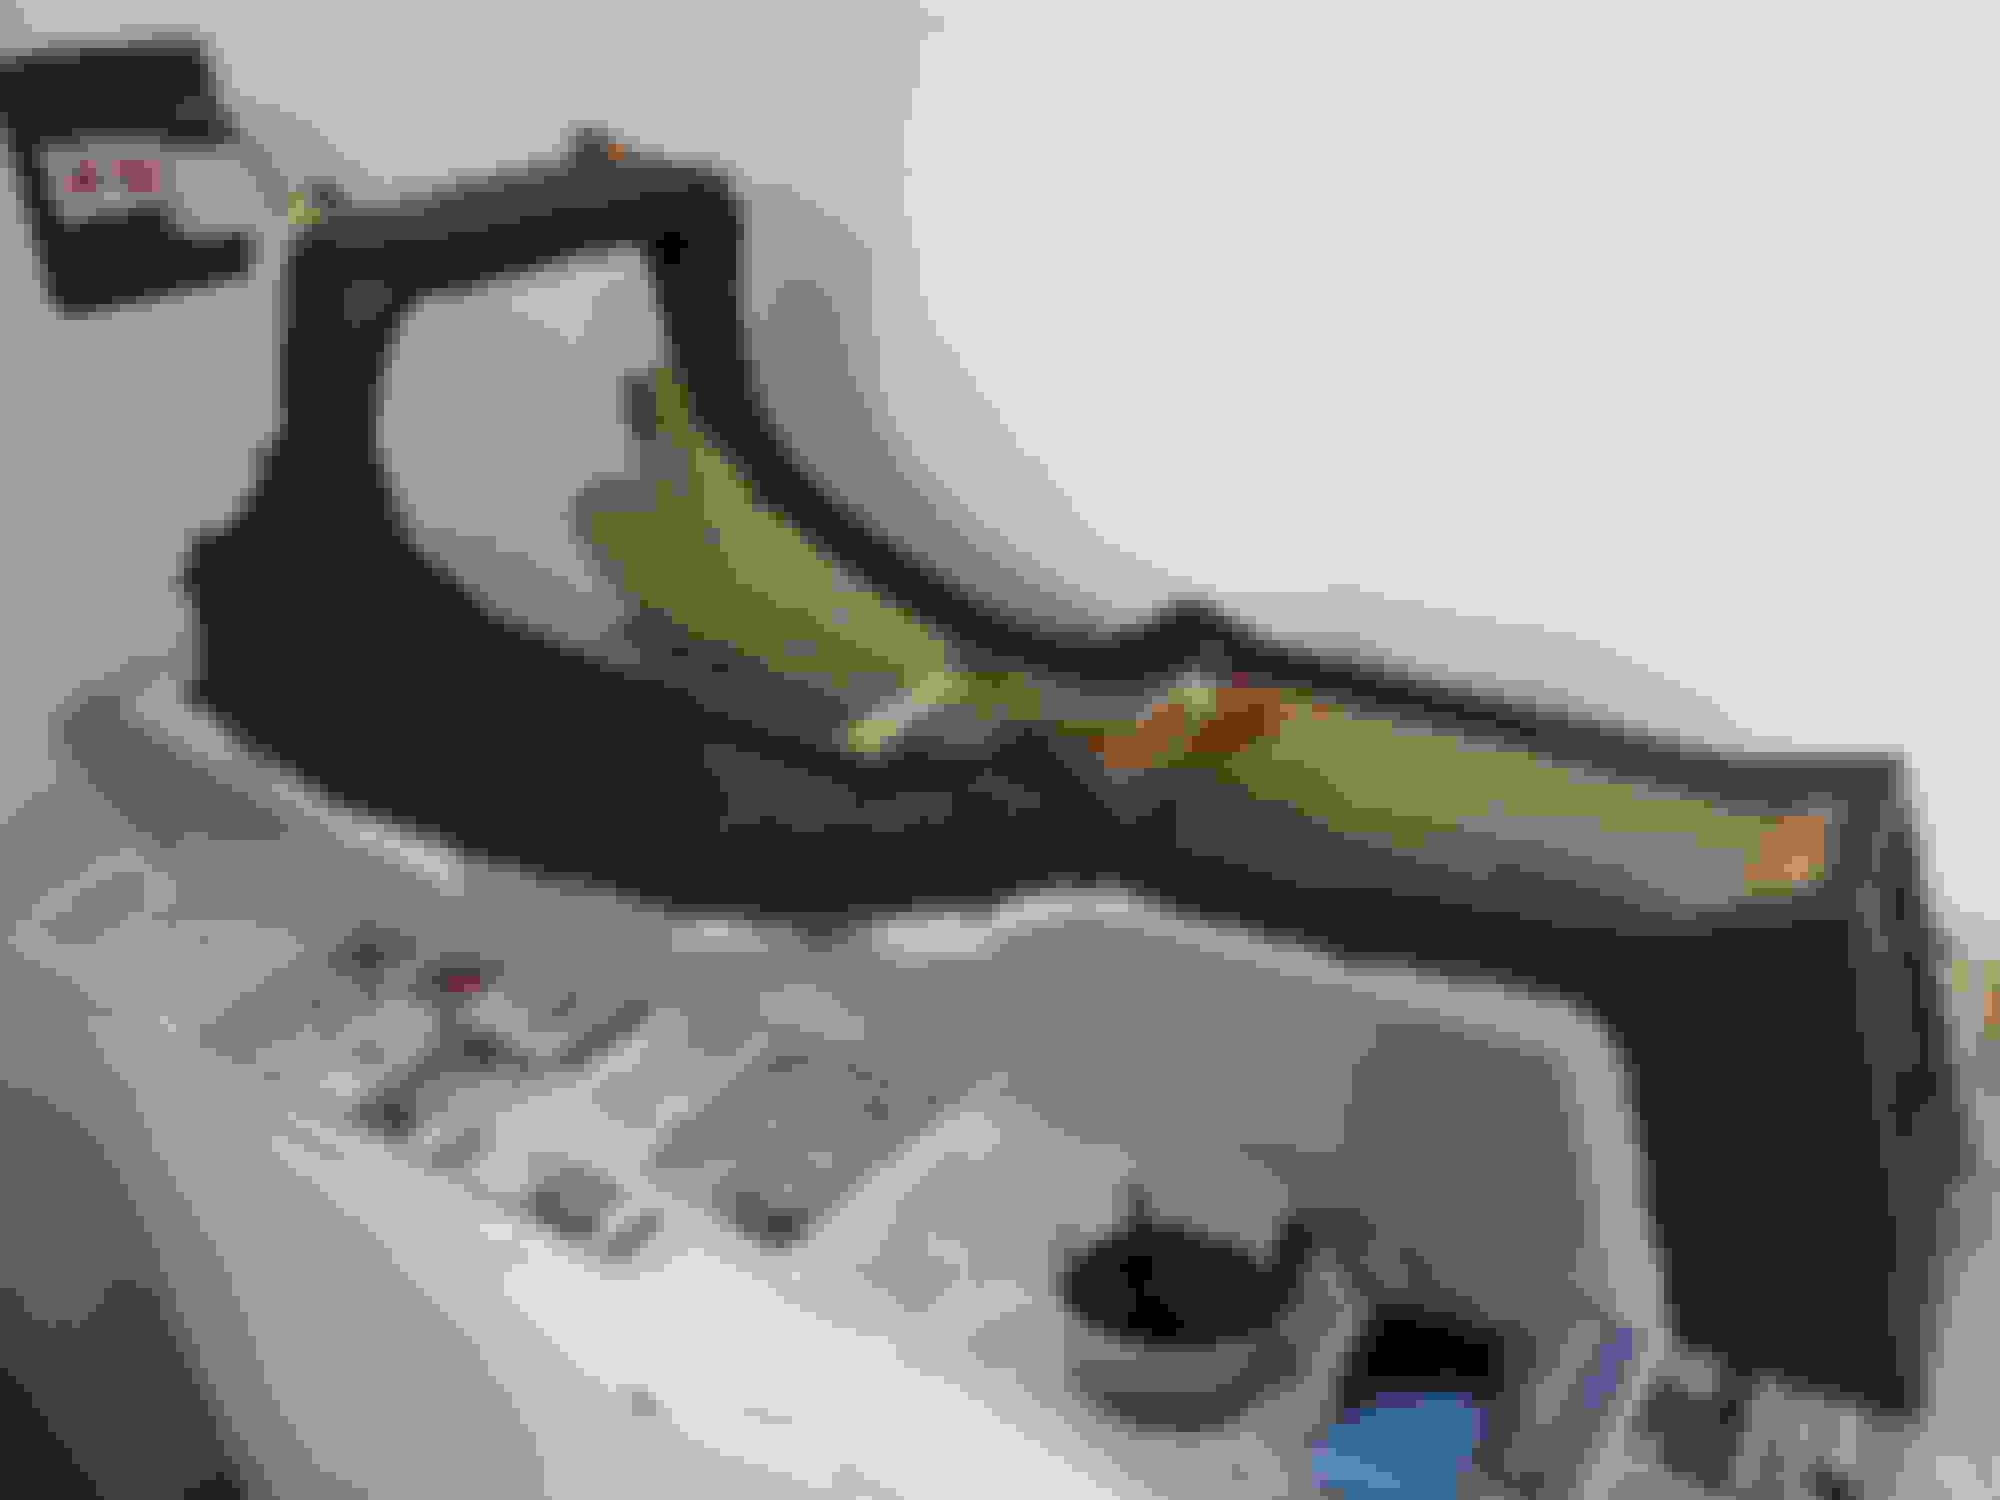
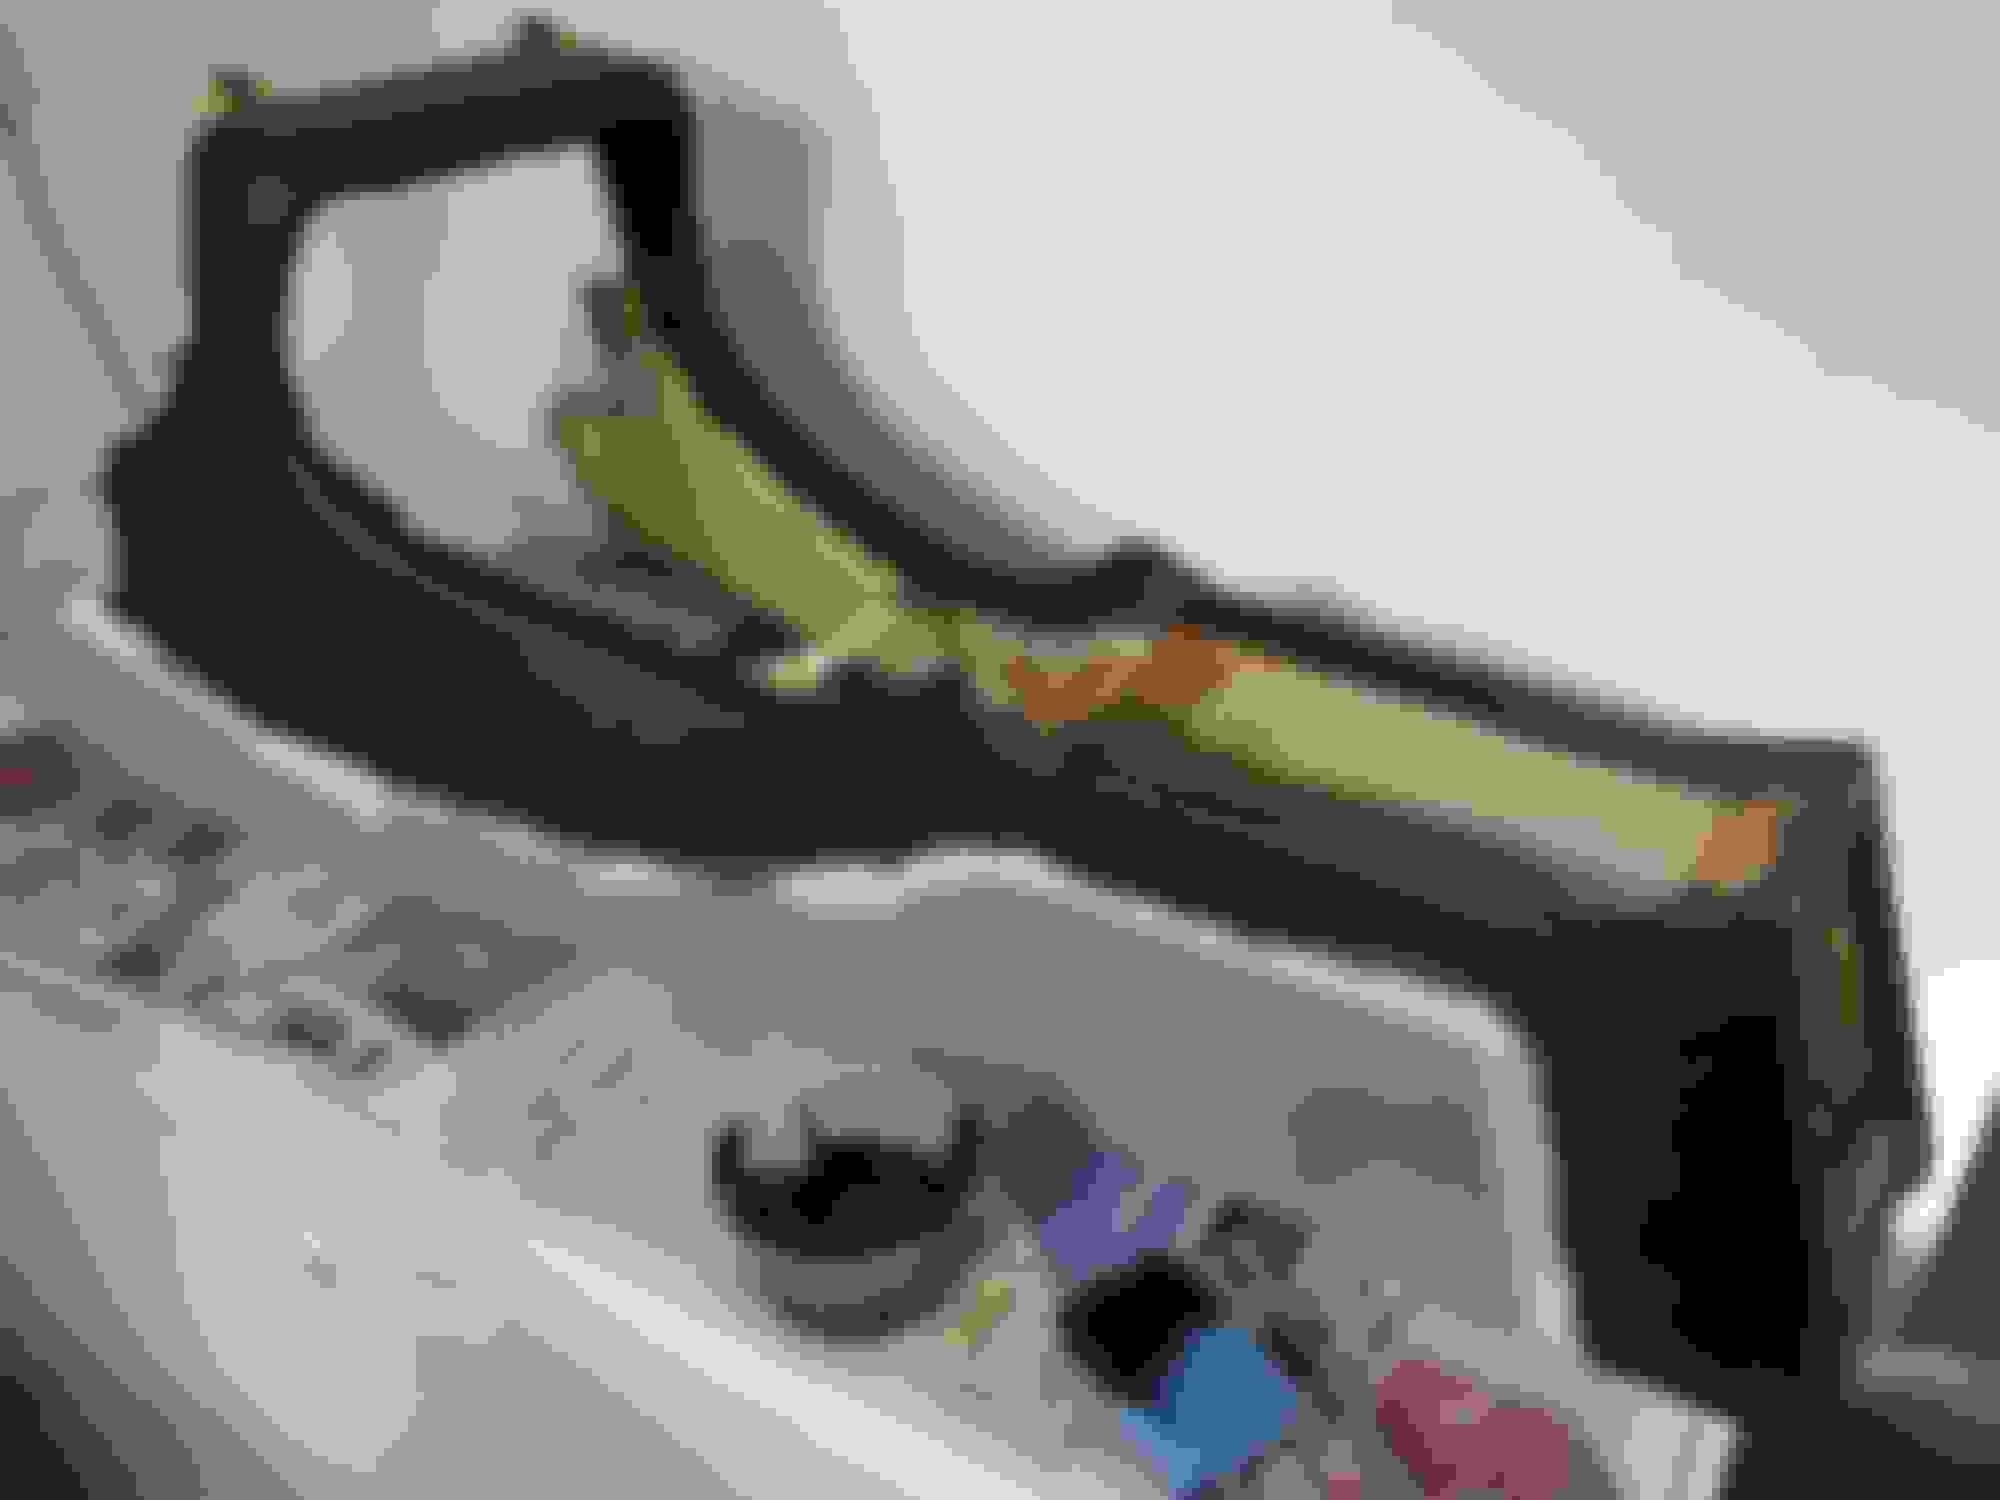
So we're part way through another Bank holiday weekend and time for me to find something to do whilst waiting for parts to arrive. One of my personal 'Bugbears' so to speak are radiator bushes or insulators possibly. These are the two bushes that sit at either end of the radiator between the top of the radiator and a metal support plate that runs across the top. Almost without exception, every X300 I have had and now this XJ40 have suffered with perished bushes...the result being the radiator wobbles back and forwards..not the best.
Hope the yellow line shows up.
The part number I have used to order is CBC1576 though I won't know for certain they fit until they arrive in the next couple of days. Trying to do things without great expense this little job is ideal.The pair of bushes cost about �15. I removed the support plate without to much hassle, although it is worth mentioning that the torx head bolts holding the plate in place were quite rusted. Once I had cracked open each one a couple of turns I sprayed some penetrating oil on them and left the scene for half an hour,came back and undid them without any breakages.Cleaned up the area underneath.
The discs at either end are all that is left of the old bushes...I think. The rest turned into dust.
Then onto the plate itself. Half an hour with a wire wheel in the cordless,some emery cloth and then some finer paper and it was ready for some paint. I had some gloss black spray left over from some wheel touch-ups,so I used what was left of that and bought a another can just to finish off, with plenty left over. Three coats.
Washing line and a short bungee cord.
Lastly, as I don't have a stock of spare nut and bolts to suit, I used some Kurust on the old screws and wire brushed the threads, ideal, as the rust inhibitor goes black when dry. Love to show more but will wait for the parts,then put it back together.
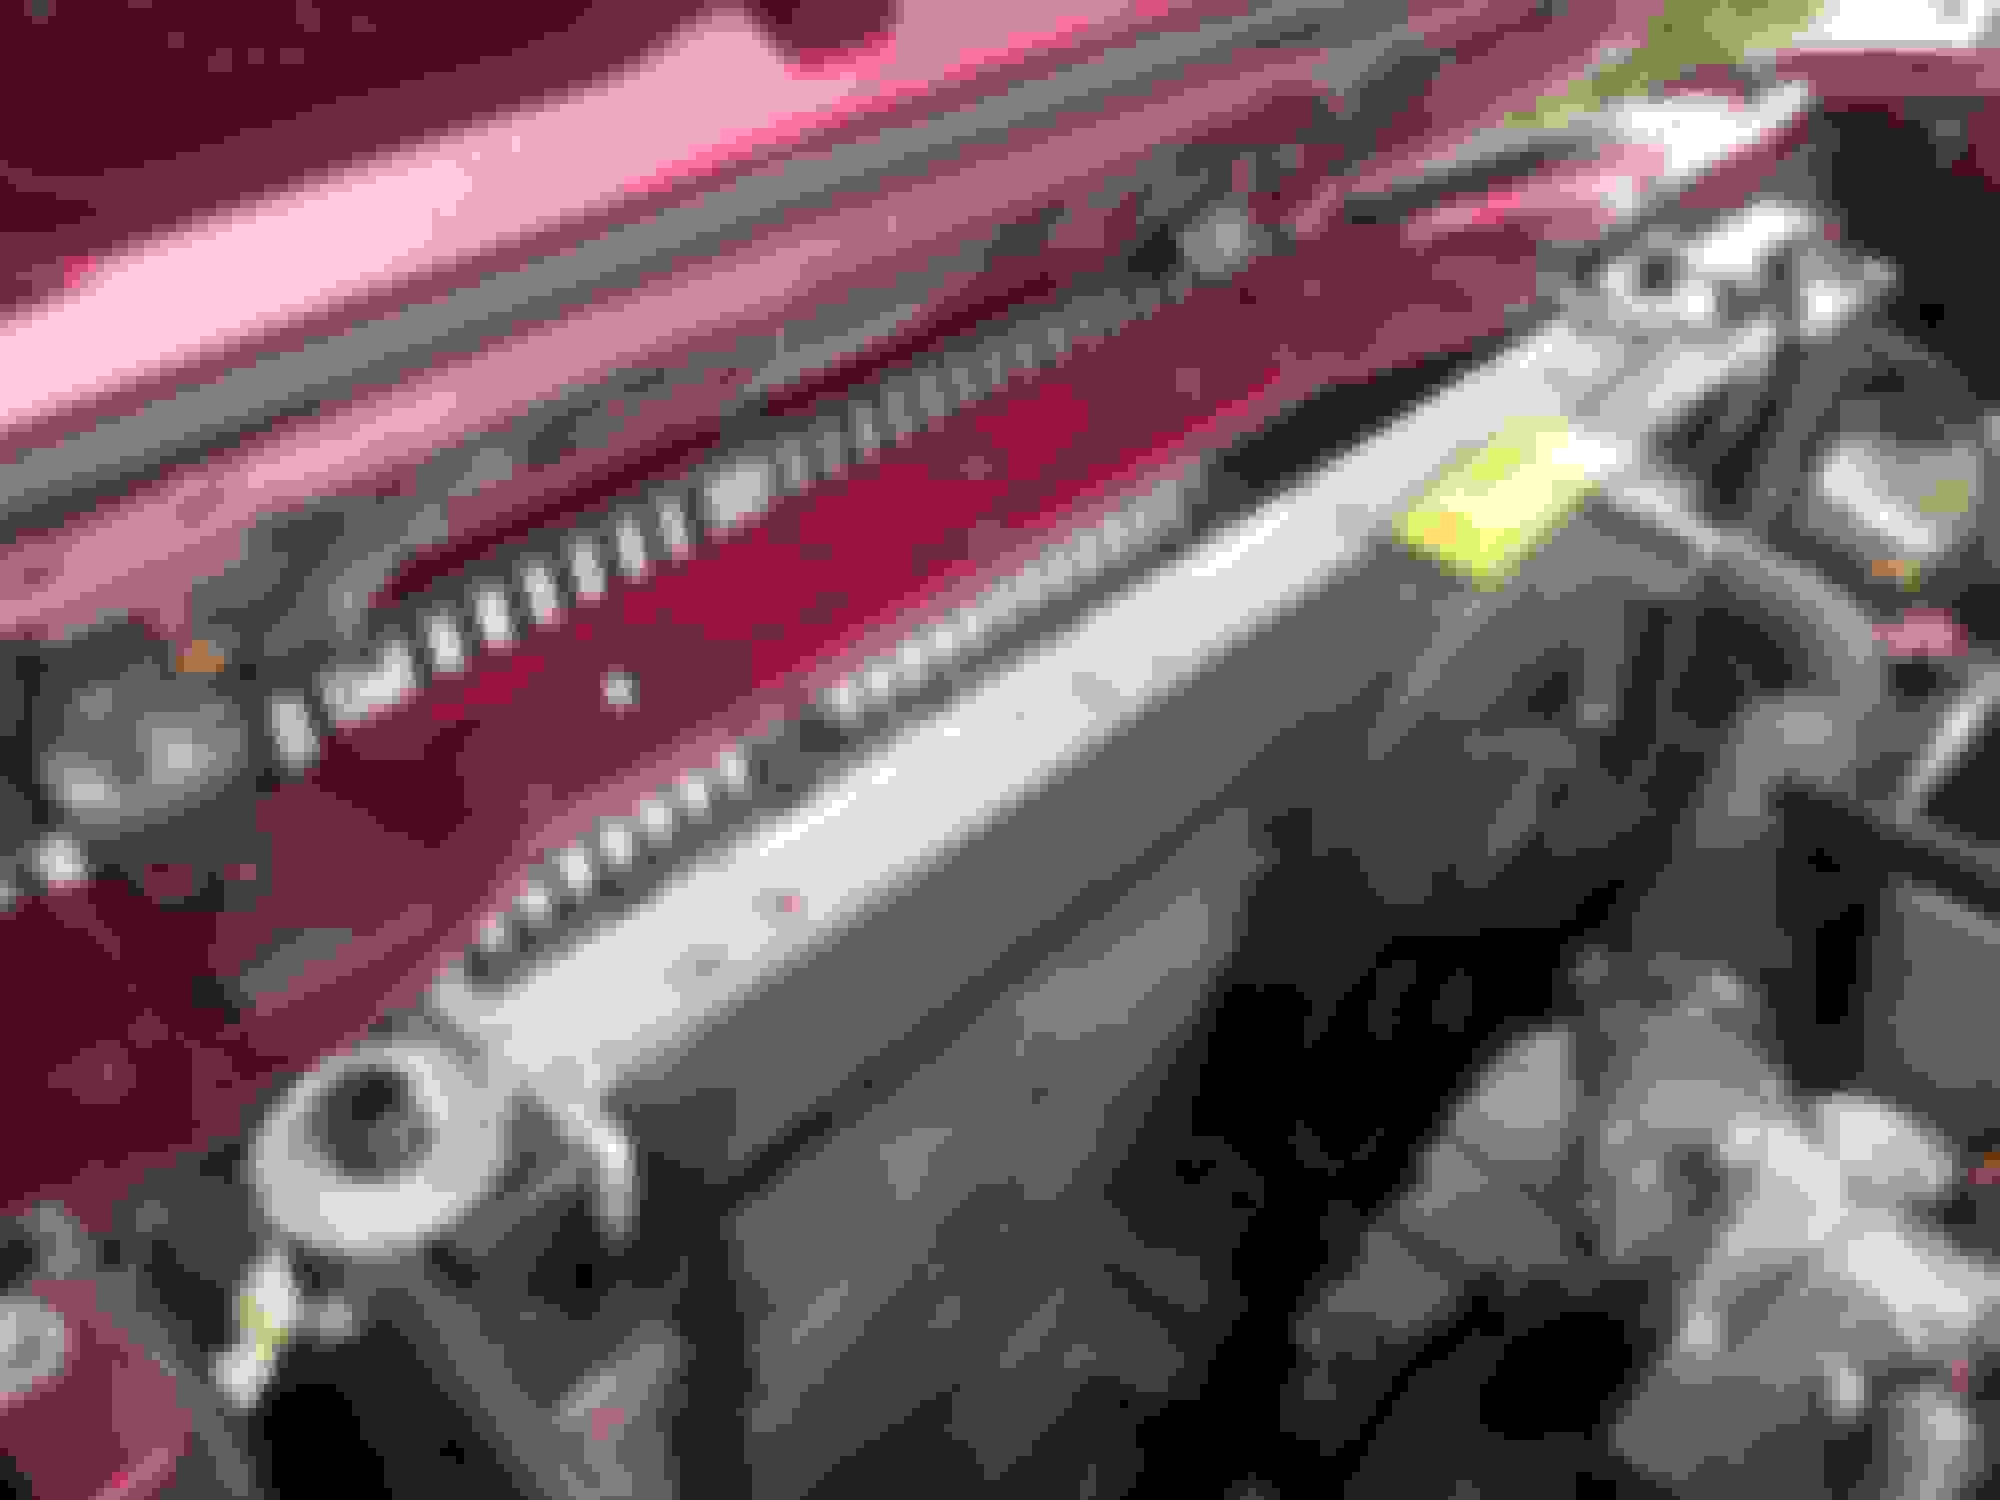
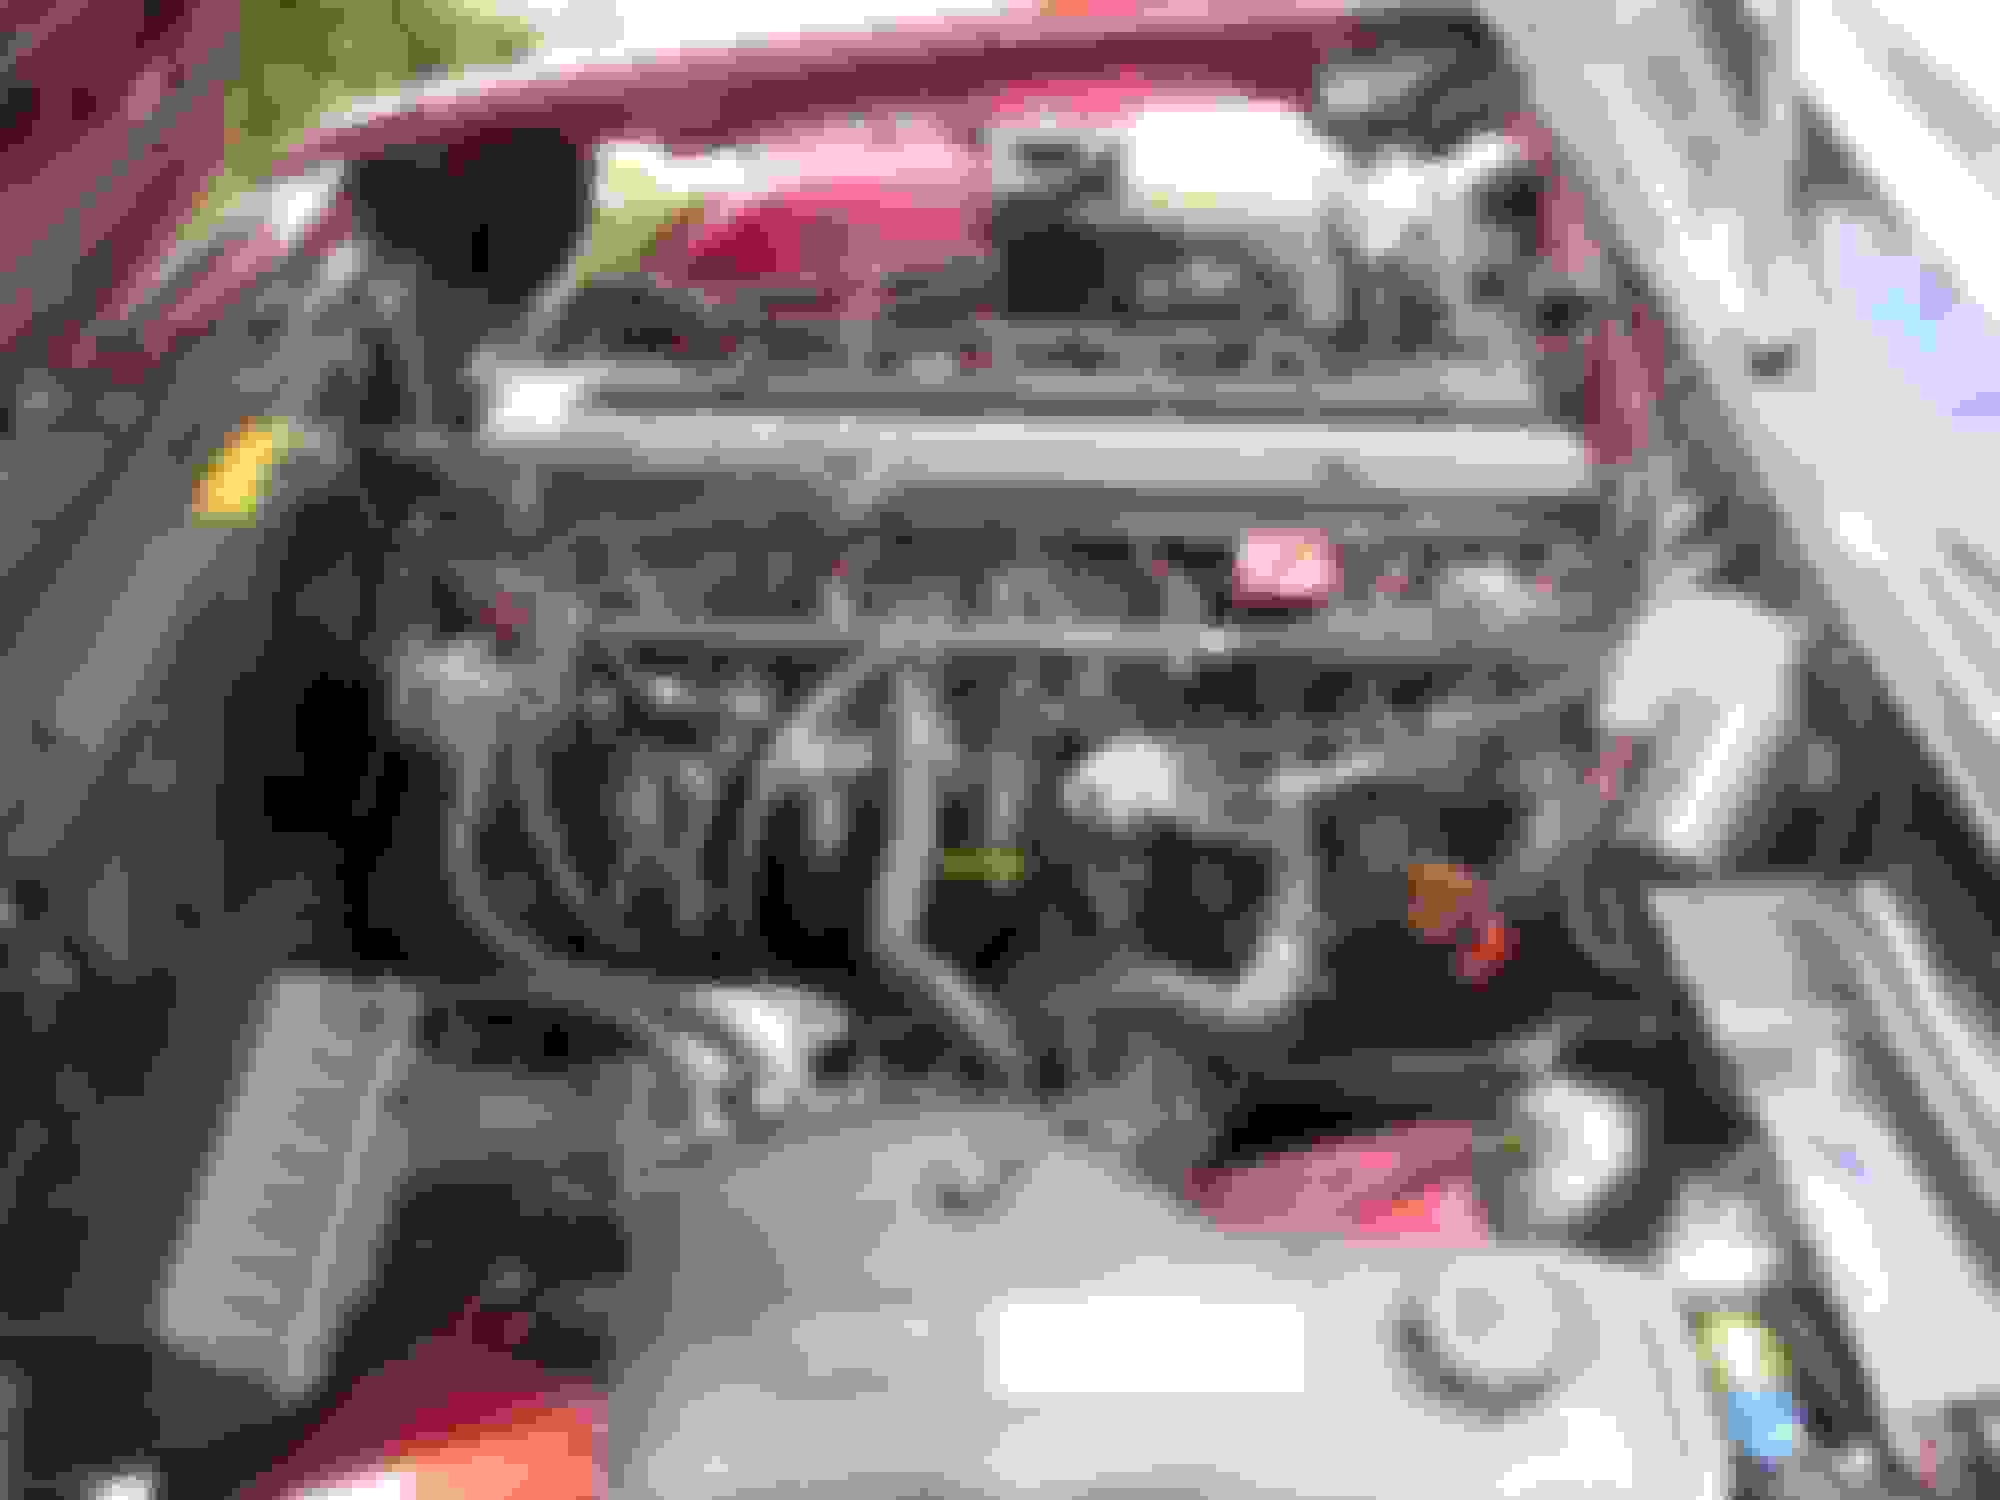
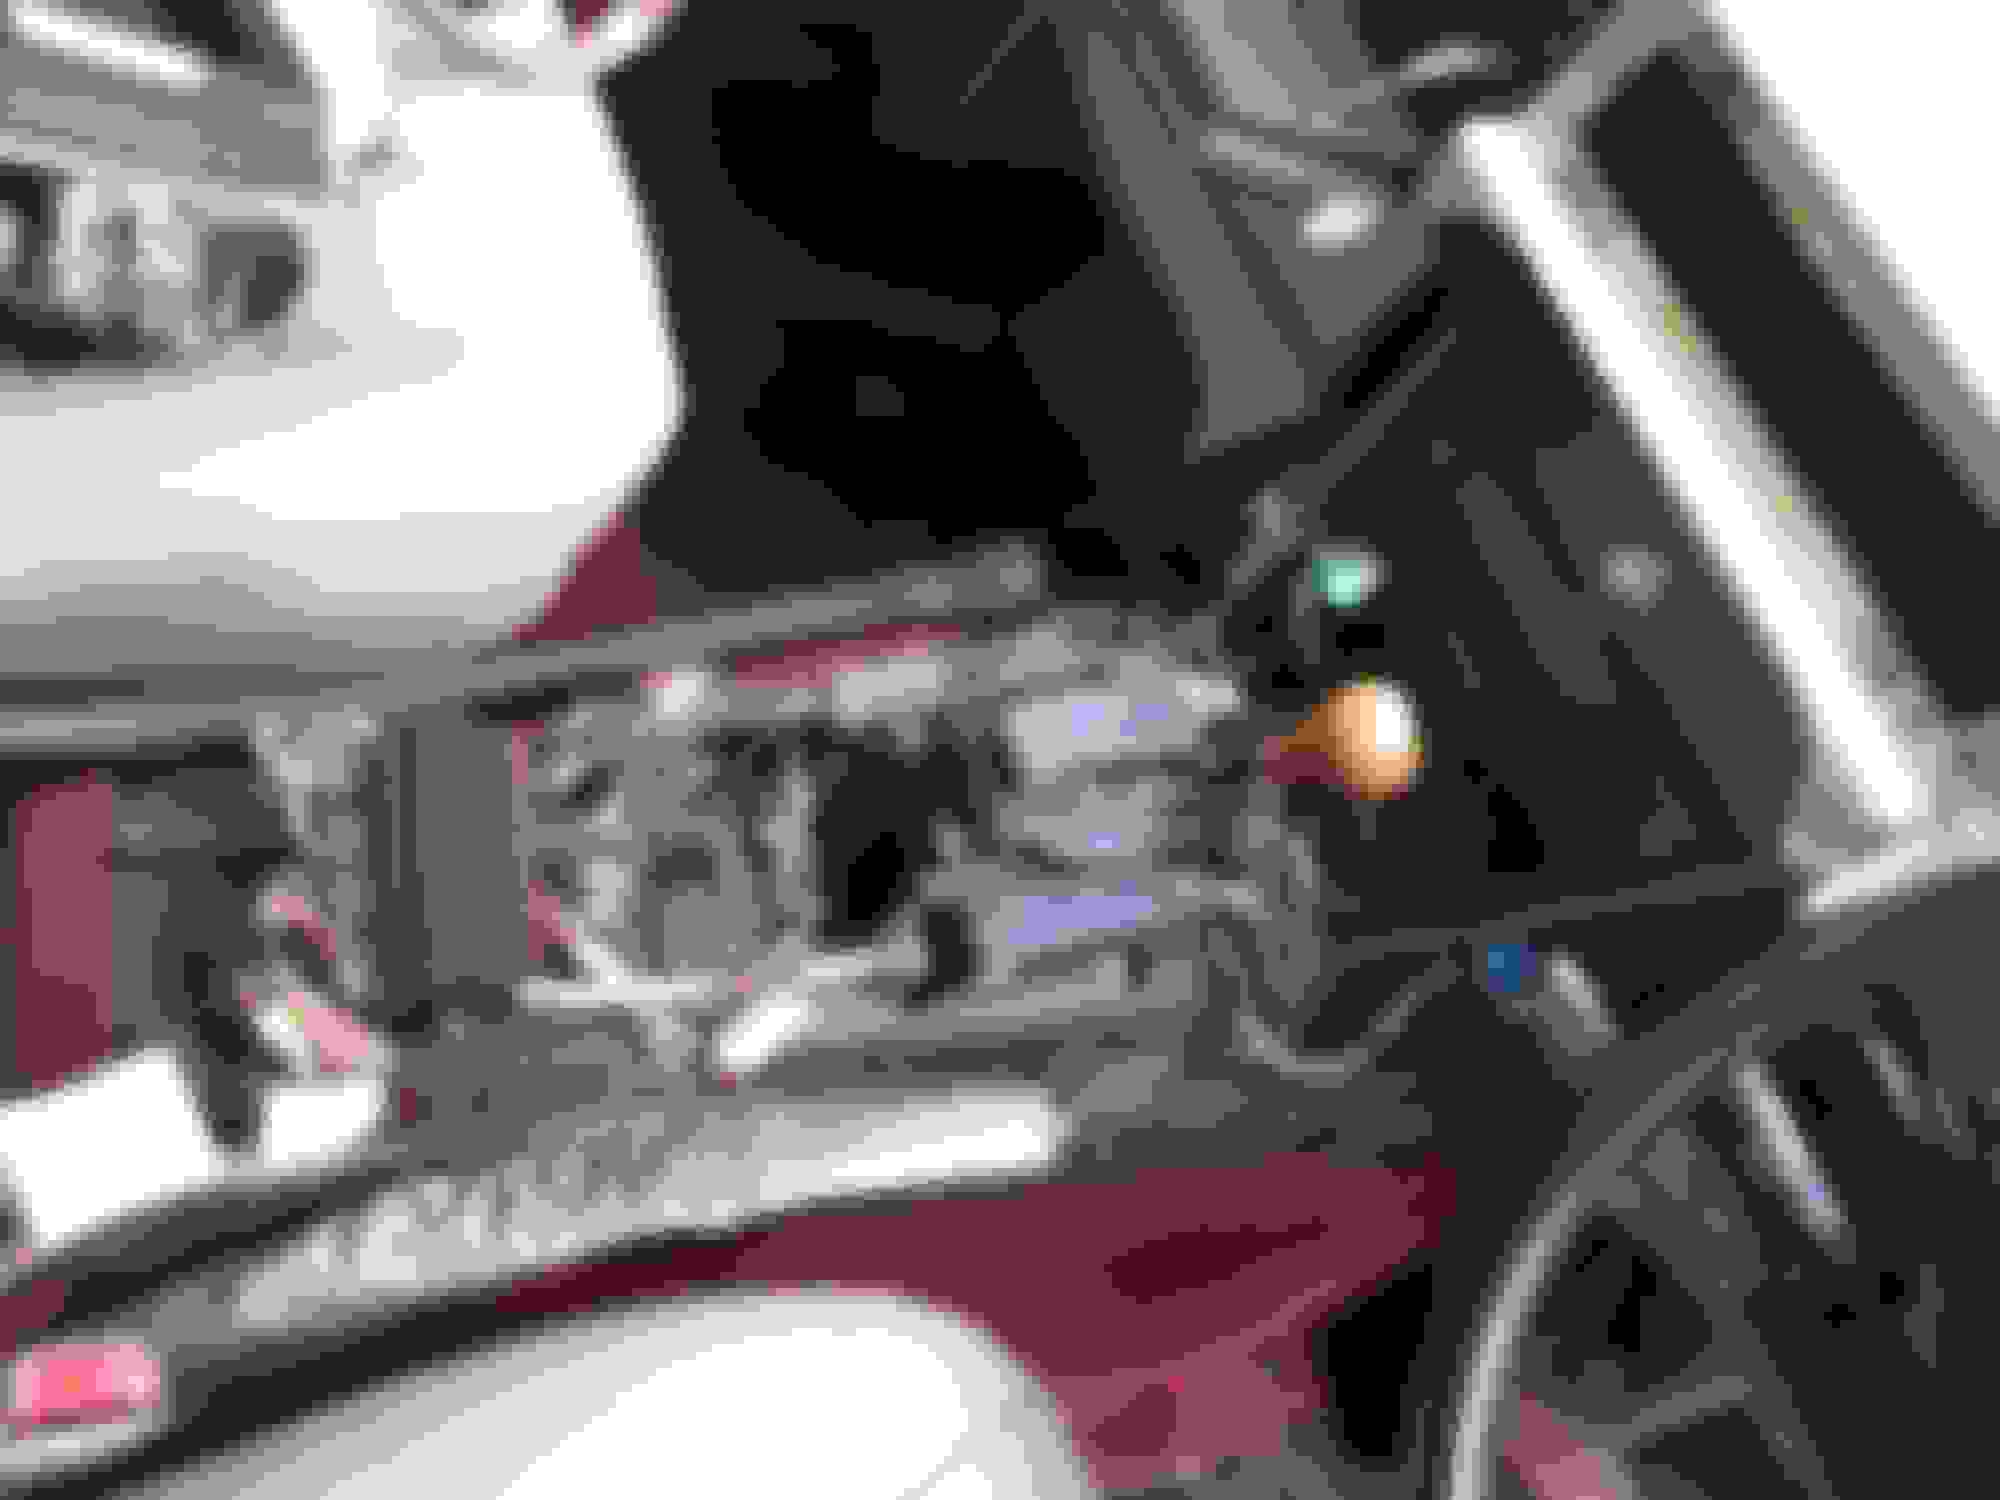
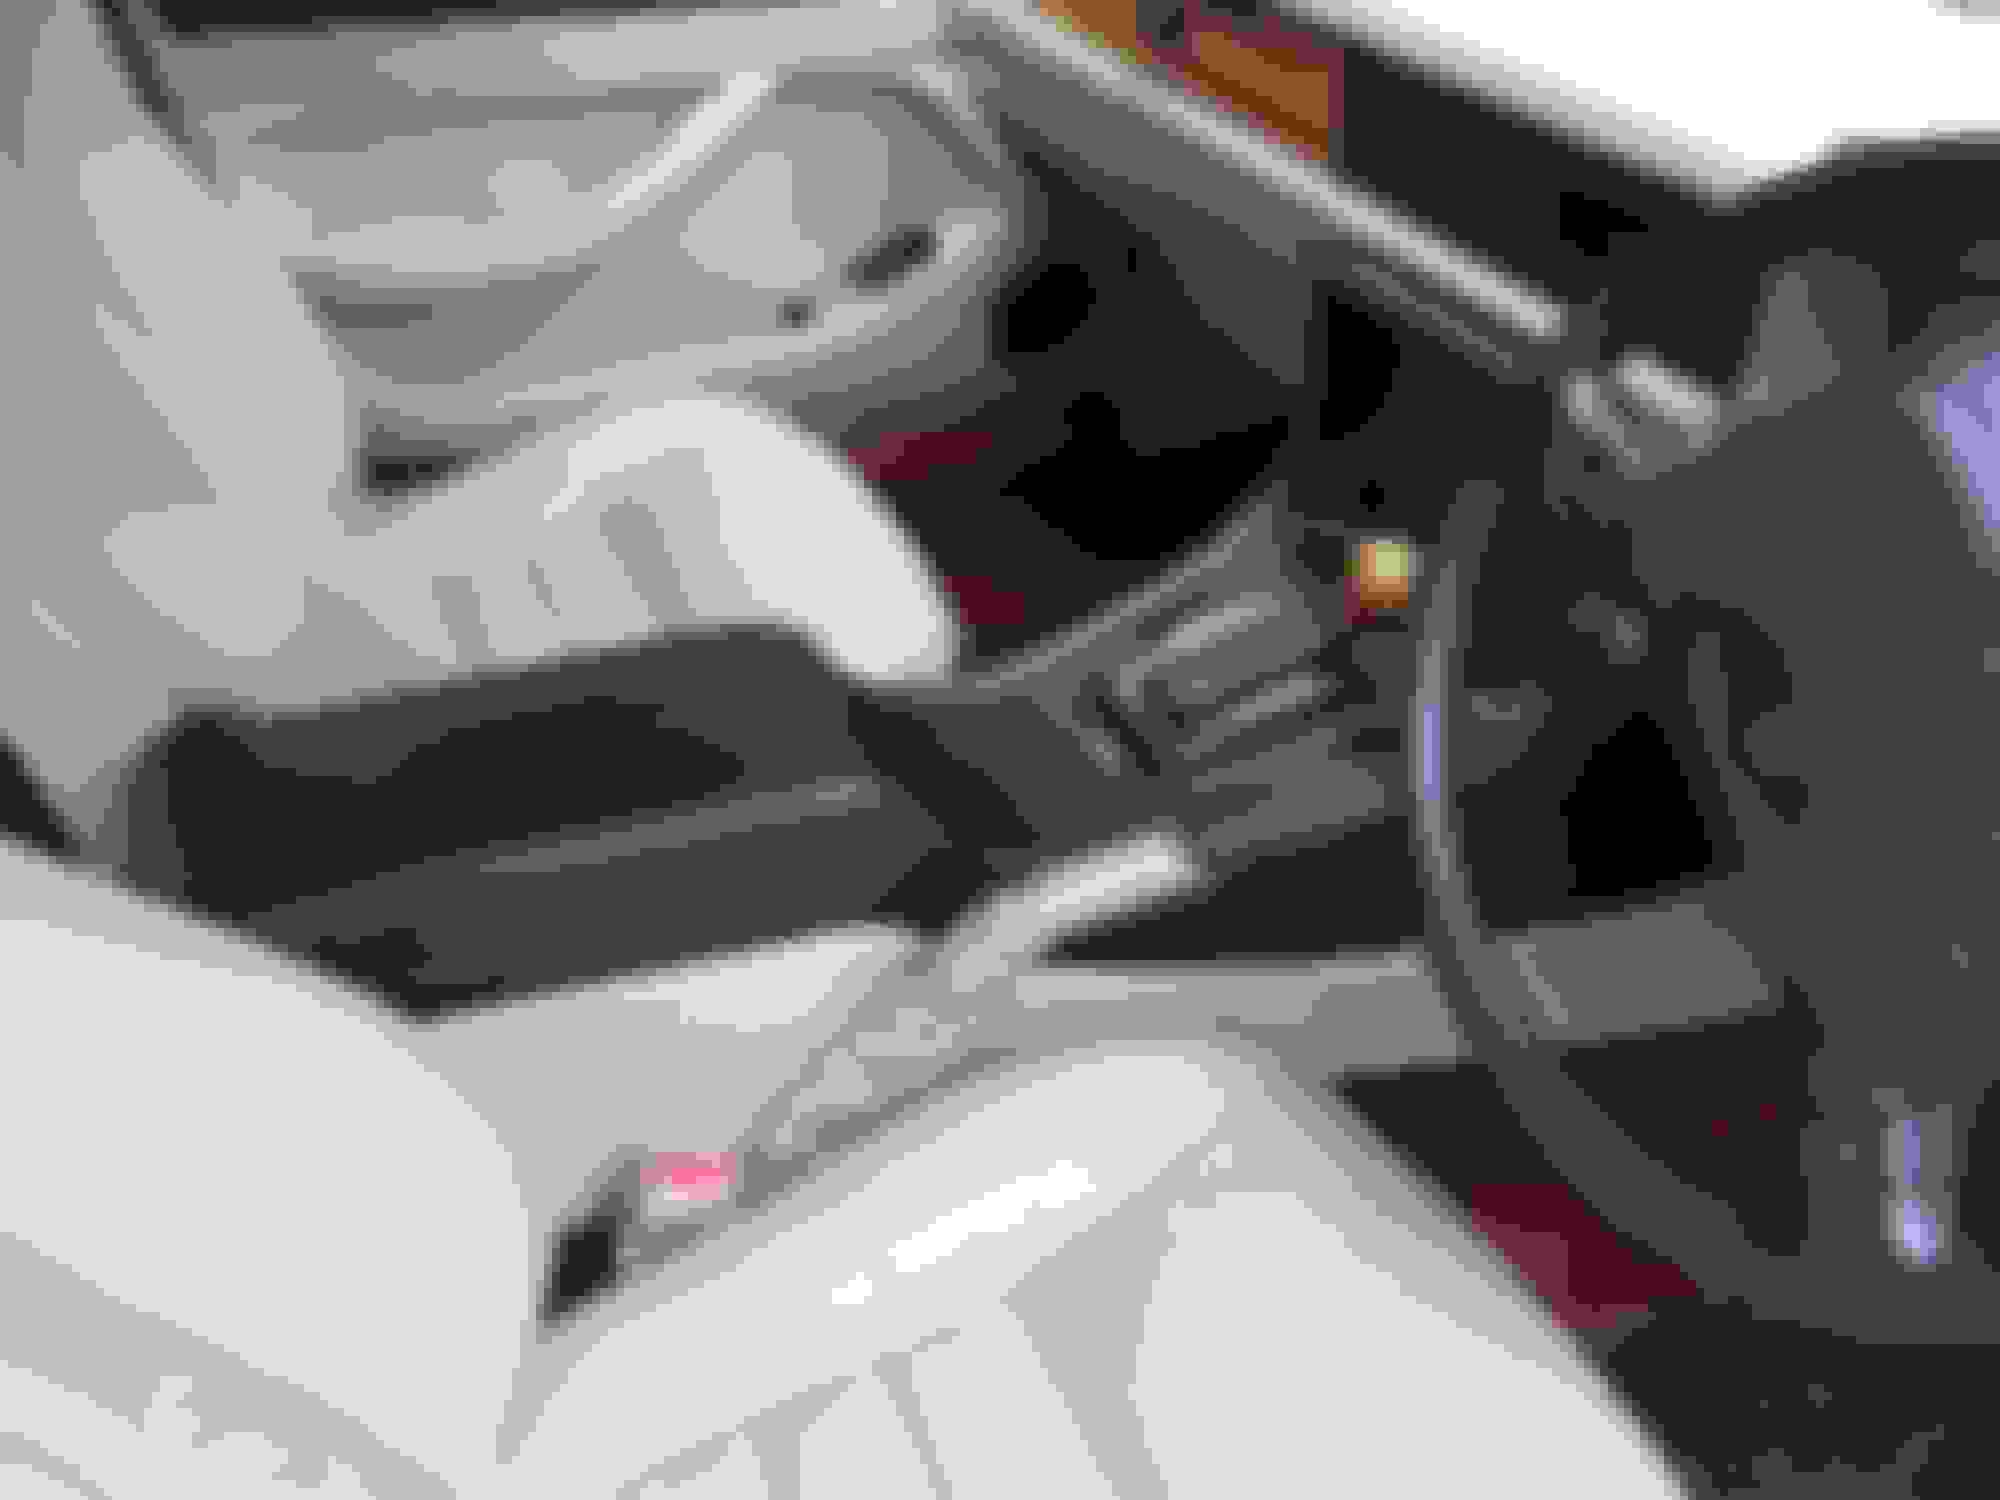
Whilst I was in the engine bay I spotted this.
Not really sure what it's for (yet) but it's on the air intake just after the MAF and goes across to near the throttle body,just to the side.
Before
After
Look for the yellow arrow.
Luckily there was enough pipe to cut the offending tear and re-attach without restricting the pipe.
Looks like you're using a healthy amount of patience on this. What did you do about a key? I once bought a pick-up truck without a key. I bypassed the switch and used a toggle and pushbutton combo. It was always a very iffy truck anyway.
According to jaguarclassicparts.com, CBC1576 is the part number for the radiator mounting rubbers for the '87-'92 cars. For the '93-'94 cars, the part number is CCC6996, which supersedes to MNA4241AA, then MNA4241AB. Whether or not CBC1576 will fit your '93 you'll just have to see.
One thing to note is that there are two identical mounting rubbers on the bottom of the radiator, and they tend to deteriorate also, so it's prudent to replace all four of the rubbers.
Also, the A/C condenser is mounted with smaller rubber grommets on the bottom and top and they also tend to disintegrate, and while you're replacing the ones on the radiator it's a great time to do the ones on the condenser too. The upper grommets are C2C16681 and the lowers are CBC1788.
Regarding that hose that was cracked, it connects the intake elbow to the Idle Air Control Valve (IACV).
Hi Jerry,
Yes patience does seem to be a learned attribute and these cars are certainly a constant learning curve. The key actually turned out to be the easiest stage so far. I had contacted our local main dealer before buying the car to find out availability and cost before committing to purchase. I was informed that I just needed the VIN number and they could get one in under a week. The technical guy also pointed out that he didn't think there was a transponder within the key so that would keep the cost down. Bought the car,ordered the key and collected a week later for the princely sum of �15.Bargain.
All the things that need doing which I can do the labour myself are free...so that's what I'm doing at the moment. The decision time will be when it goes for its MOT in a couple of weeks the I'll have some decisions to make.
Thanks again for the info Don. It took a while to track down the rubbers for the radiator and there is,as always, some ambiguity on certain sites with regards to compatibility.Just as an example the part number MNA4241AB when searched through one site lists it only for the 4l and 6l models. Also through David Manners the part number MNA4241AB (Which,as you say, is the superseded number) is listed for the X300 model and is �2.88,however if you search through their site using the other number,CCC6996, it only lists for the X300 with no engine specification and is priced at �7.69....minefield,lets just hope they fit. I will make a note of the part numbers, thank you. If the rain abates for long enough I shall have a good look at the other mounts and grommits insitu and see if any or all need replacing, like you say,it makes sense to do them all at once.
The 93 3.2s model does seem to be throwing some curve *****, form the small amount I've manged to read regarding this model a number of 'things' were tried maybe with a view to the upcoming X300 model. Any truth in that do you think?
Nice pointer about the IACV as the engine has had a very very slight 'hunting' to it, which I had point down to maybe the MAF needing a clean and or a set of plugs but after repairing the pipe it seems to have abated...or maybe I'm just hearing what I want to hear.
It took a while to track down the rubbers for the radiator and there is,as always, some ambiguity on certain sites with regards to compatibility.
The independent Jaguar parts specialists generally do a great job of identifying the correct parts, but the highest authorities are jaguarclassicparts.com (the parts service of the Jaguar Daimler Heritage Trust), the Jaguar Electronic Parts Catalog (EPC, which you can download for free from this forum and install on your computer), and the online sites of Jaguar dealerships like jaguarmerriamparts.com and gaudinjaguarparts.com. So when you run into ambiguity, consult the above references to see if they clear things up (but even they won't clear up every question).
As far as the 3.2L cars go, I would think that most of the non-engine parts are identical to the 4.0L cars made at the same time. If I'm not mistaken, even most of the engine parts are the same aside from the crankshaft, rods and pistons.
According to jaguarclassicparts.com, CBC1576 is the part number for the radiator mounting rubbers for the '87-'92 cars. For the '93-'94 cars, the part number is CCC6996, which supersedes to MNA4241AA, then MNA4241AB. Whether or not CBC1576 will fit your '93 you'll just have to see.
One thing to note is that there are two identical mounting rubbers on the bottom of the radiator, and they tend to deteriorate also, so it's prudent to replace all four of the rubbers.
Also, the A/C condenser is mounted with smaller rubber grommets on the bottom and top and they also tend to disintegrate, and while you're replacing the ones on the radiator it's a great time to do the ones on the condenser too. The upper grommets are C2C16681 and the lowers are CBC1788.
Regarding that hose that was cracked, it connects the intake elbow to the Idle Air Control Valve (IACV).
Cheers,
Don
Just a very quick one, just so I know I'm not going mad. The condenser is normally in front of the radiator? If so, then this one hasn't got A/C. Looks like the power steering fluid gets to go through the side of the radiator though, which is a nice touch. One less thing to worry about then.
Just a very quick one, just so I know I'm not going mad. The condenser is normally in front of the radiator? If so, then this one hasn't got A/C. Looks like the power steering fluid gets to go through the side of the radiator though, which is a nice touch. One less thing to worry about then.
Yes, on A/C-equipped cars the condenser sits in front of the radiator. The power steering fluid and transmission fluid coolers are part of the radiator assembly.
P.S. I never for one second thought you were going mad!
Apologies if I should be starting a new thread but it's all part of the ongoing so seems sensible to keep it here,however if it needs to be moved please feel free to move it.Kind of feels wasteful to keep starting a thread with every question that might occur.
So today I took the 40 for her first proper drive. Since managing to sort out the starting and then subsequent poor running issues I have been reticent to venture out. However, having sorted the relays and wiring in the engine bay and giving all the brakes a good clean and lube as well as all the suspension bushes etc (that I could get to through the wheel arches) I had no excuses left for not taking her out. Apart from making sure she performed I also wanted to give the brakes a good work out,make sure there were no 'binding' issues and to clean up the discs. Anyway, probably clocked up about 10 or so miles locally and she was great,engine was quietly powerful and responsive and the autobox was smooth in the changes and the kickdown. All this brings me to my first question. Oil pressure whilst on the drive,idling, when warm was just a tad past the middle of the gauge (4). On the journey this reading tended to fluctuate, going down to 2 when stopped and upto about 5 and a bit when accelerating.My gut feeling is that the current oil is well past its' sell by date and the drop down to 2 on the gauge is more down to the oil thinning at the higher temperature than anything catastrophic happening internally. Now, an oil and filter change is the next service job on the list as I have no idea when the last oil and filter change was done. I have looked through various threads with regards to which oil to use and there seems to be plenty of different views and all seem to be valid. So taking into account our 12 month climate and a 24 year old car with 92k on the clock, should I be looking at a higher viscosity oil like 20/50 (Halfords do a Classic oil at a reasonable price) or will the standard 10/40 semi-synthetic do the job adequately enough.? My plan would be to use a Wynns or Forte engine flush,drop the oil and replace with 8 litres ish ? of the required flavour.
Oil pressure whilst on the drive,idling, when warm was just a tad past the middle of the gauge (4). On the journey this reading tended to fluctuate, going down to 2 when stopped and upto about 5 and a bit when accelerating.
The XJ40 oil pressure gauge reading is notoriously unreliable. The most common causes are the use of oil with lower-than-recommended viscosity, oil contamination of the oil pressure sender threads or electrical connector, or failure of the sender itself (especially the early transducer type senders, but the later switch type also fail). It is highly unlikely that your oil pressure is too low, and in over 20 years of XJ40 ownership I've never heard of an AJ6 engine failing due to low oil pressure, with the possible exception of one or two that were run low on oil.
The sender is on the left side of the engine block to the left of the oil filter, and is very difficult to access with the intake manifold in place. It's a one-wire device and its ground path is via its threaded sensor end that threads into the block. As oil seeps between the threads, it interrupts the flow of electrical current to ground, which can cause incorrect gauge readings. The same with oil contamination of the spade terminal and harness electrical connector.
Originally Posted by twack
So taking into account our 12 month climate and a 24 year old car with 92k on the clock, should I be looking at a higher viscosity oil like 20/50 (Halfords do a Classic oil at a reasonable price) or will the standard 10/40 semi-synthetic do the job adequately enough.?
For most climates Jaguar recommended 20W/50, but 10W/40 is acceptable in the winter if your temperatures fall below freezing. With summer coming I would highly recommend a good 20W/50. It does not have to be synthetic or semi-synthetic. A good conventional oil such as Castrol GTX High Mileage or any other oil that meets Jaguar's specifications will be just fine as long as you maintain the appropriate change intervals.
According to jaguarclassicparts.com, CBC1576 is the part number for the radiator mounting rubbers for the '87-'92 cars. For the '93-'94 cars, the part number is CCC6996, which supersedes to MNA4241AA, then MNA4241AB. Whether or not CBC1576 will fit your '93 you'll just have to see.
One thing to note is that there are two identical mounting rubbers on the bottom of the radiator, and they tend to deteriorate also, so it's prudent to replace all four of the rubbers.
Also, the A/C condenser is mounted with smaller rubber grommets on the bottom and top and they also tend to disintegrate, and while you're replacing the ones on the radiator it's a great time to do the ones on the condenser too. The upper grommets are C2C16681 and the lowers are CBC1788.
Regarding that hose that was cracked, it connects the intake elbow to the Idle Air Control Valve (IACV).
Cheers,
Don
So the bushes arrived today,well actually only one arrived (clerical error I dare say,although charged for two), not that two would have been any better than one as they most definitely will not fit. Don you were spot on and I have now ordered the correct ones. Thank you.
So the re-ordered bushes arrived on Saturday and I wasted no time in inserting them.
The correct parts for my 1993 XJ40 3.2S.<br/>
They were an exact fit with just a touch of WD40 for good measure.Worth noticing the package labelled for the X300..
Finally back together.
With just a small amount of leverage everything went back in place and I now no longer have a wobbly radiator.
I'd had an e-mail on Saturday letting me know my parts were to be delivered lunchtime ish. So as I was homebound for the morning I thought I would put my time to good use. The rear back on the seats looked like someone had tried to remove it and not managed to put it back in properly, possibly looking for a way into the boot whilst there was no key to unlock it I'm guessing. It's been a niggle so I though I would sort it. The back part of the seat hooks into the rear panel at the top and is secured with four screws at the bottom so the only way to re fasten the seat is to remove it and put the top part in place first, you can loosen all the screw at the bottom and do it that way but I thought I'd get all the rear seating out anyway and give them a good clean out of the car.
First step was to remove the lower (bit you sit on) section,this is secured with just a couple of screws at either end.
Either end of the seat on the upright part of the footwell..
The lap belt and seatbelt receiver just pull through the seat itself.Once out you are left with this.
The upright section of the seat is secured with four screws across the length on the bottom. The ones at either end are easy enough but the two in the middle are slightly hidden so you have to pull down the centre armrest to get good access.
Once both sections were out I gave them all a good clean with some 'interior cleaner' and mildly soapy warm water and used a worn scouring sponge.(not a brillo pad) Putting the seats back is obviously just the reverse process. Putting the back section in first and making sure all of the slots on the back drop onto the hooks would probably be much easier with two people but if you position yourself in the centre you should be able to do it.Don't forget to pull all the seatbelt stuff through the apertures before doing the screws back up.
The centre ones.Raise the armrest slightly and pull up the flap of fabric,
One of these at either end.
Ideal time to clean and check under the matting for any signs of corrosion.
Just above the black area you can see the hooks that the top of the seat slots into form above.
Much easier to clean.
Clean and secure.The piece of trim missing in this photo is the next job on the list.
Sometimes the smallest changes can make a huge difference and if they can be done with very little expenditure, so much the better. The interior of this car isn't the worst I've had but it is in need of some tidying. One of the main eyesores is the veneers, I think there is only one piece that isn't dis-coloured or de-laminated and that's the ash tray. I've previously had an X300 Sport which had and interior I really liked,easier to show rather than describe.
So with this in my minds eye I thought I would try to improve the tired interior of the 40 with a few subtle changes. All of the wood trim on the door cards had either fade or de-laminated. So I decided to treat them to a coat of black.
This was probably one of the better ones.
Removal was fairly straightforward. There is a small screw hidden behind a removable piece in the door handle surround, which allows you to remove the handle surround. Once that is out of the way you can just slide the whole wood section off the door card,slide it towards the handle.
This cover just pops out with a little leverage in that small recess.
Remove this screw.
Gently pull the trim away from the card and slide towards the front of the car.
That yellow sticker had the dates that the trim was possibly fitted,nice touch.
Once I had removed all the trims I had then to remove the top coat of what I am guessing is some sort of gloss lacquer (veneer). I used a Stanley blade to separate the more stubborn bits, taking care not to score or damage the actual wood underneath. Worth taking your time here as the end result will be better if there is no visible damage. At this stage you could also choose to re-apply some clear varnish or spray lacquer. Unlike some, Jaguar have actually used a real wood layer under the clear finish which means that the grain of the wood will still be apparent even after a covering of spray paint.
Before.
During.
After.
I used a very fine 'wet and dry' paper to to remove any residue,dirt and dust.I also used it again between coats,very lighltly.
The paint I used was just some leftover black gloss in a spray can. (leftover from spraying the radiator support)
1st coat
2nd coat
3rd and final coat.
One more light rub off and then with a damp cloth. Done.
I like the way that the paint left more of a satin finish even though it was a gloss paint.
I was really pleased with the finish, so much so that I didn't have much of a choice when it came to the window switch surrounds. At the bottom of each set of switches there is a removable section of leather,once out of the way there is one screw which when removed allows you to just pull the whole wood trim piece off.
Same process as before.
Did exactly the same for each of these as I did for the larger section.
Here's how they turned out.
Next stage of the interior makeover was to make nice the centre console area.
I put a picture up earlier of the interior of an x300 sport which I liked so decided to do something similar with the 40. Again trying to do this with as little expenditure as possible. Fist off was to remove the entire centre section.
Before
Before
I guess there is an order to removing everything and probably plenty of instructables of how to do it, so I'll just go through briefly how I got there.
First out was the ashtray,then the ski-slope,follwed by the cubby box ?(if that's what its called) finally the switch and stereo section. All fairly straightforward up to this point.
Two screws,lift up and back.
Two screws at the back and two in the base although one was hidden under some felt.You can also undo the fuse holders four screws or leave it in and disconnect the connectors underneath.
Wing nuts under the front of the slope hold it in place,once out of the way the switch/clock fascia is removable,two connectors on the back.
The centre surround itself was only held in place with three screws. Two of them are behind the centre air vents.The veneer trim just pulled out as did the vents,just a little persuasion needed.The other screw is at the other end and is accessible once you remove the vent at that end.
Two screws are just inside the lower edge.
Ideal time for cleaning.
Anything that had the veneer on was redone in the same fashion as the door trims but the tunnel itself needed a colour change. Not having dyed leather before I bought way to much. I probably used 100ml max and bought 500ml.
I masked off the area I was keeping original and armed with a small sponge and brush embarked.
Patchy is norm after the first coat.
I did go over the seams and awkward areas with a small paint brush.
After the third coat we had this.
I did another coat after this for good measure but probably needn't have bothered.
The masking tape did a good job but there was a little seepage, luckily I had my daughters oil pastels to hand and found a match for the original leather colour. I probably waited between 10 and 15 minutes between coats. The dye was also water based as that seemed to be the easiest to work with for a novice. Left it an hour after the final coat and then put everything back together.
The end result.
And as a reminder.
I did have to buy the shifter surround as all the clips on mine were snapped and the dye, also some new screws for the switch fascia. Could have saved a few pounds not buying as much dye as I did but all in all total spend was about �39 and half a days labour, which is free. I'll tackle the side vents and the glovebox front another day.
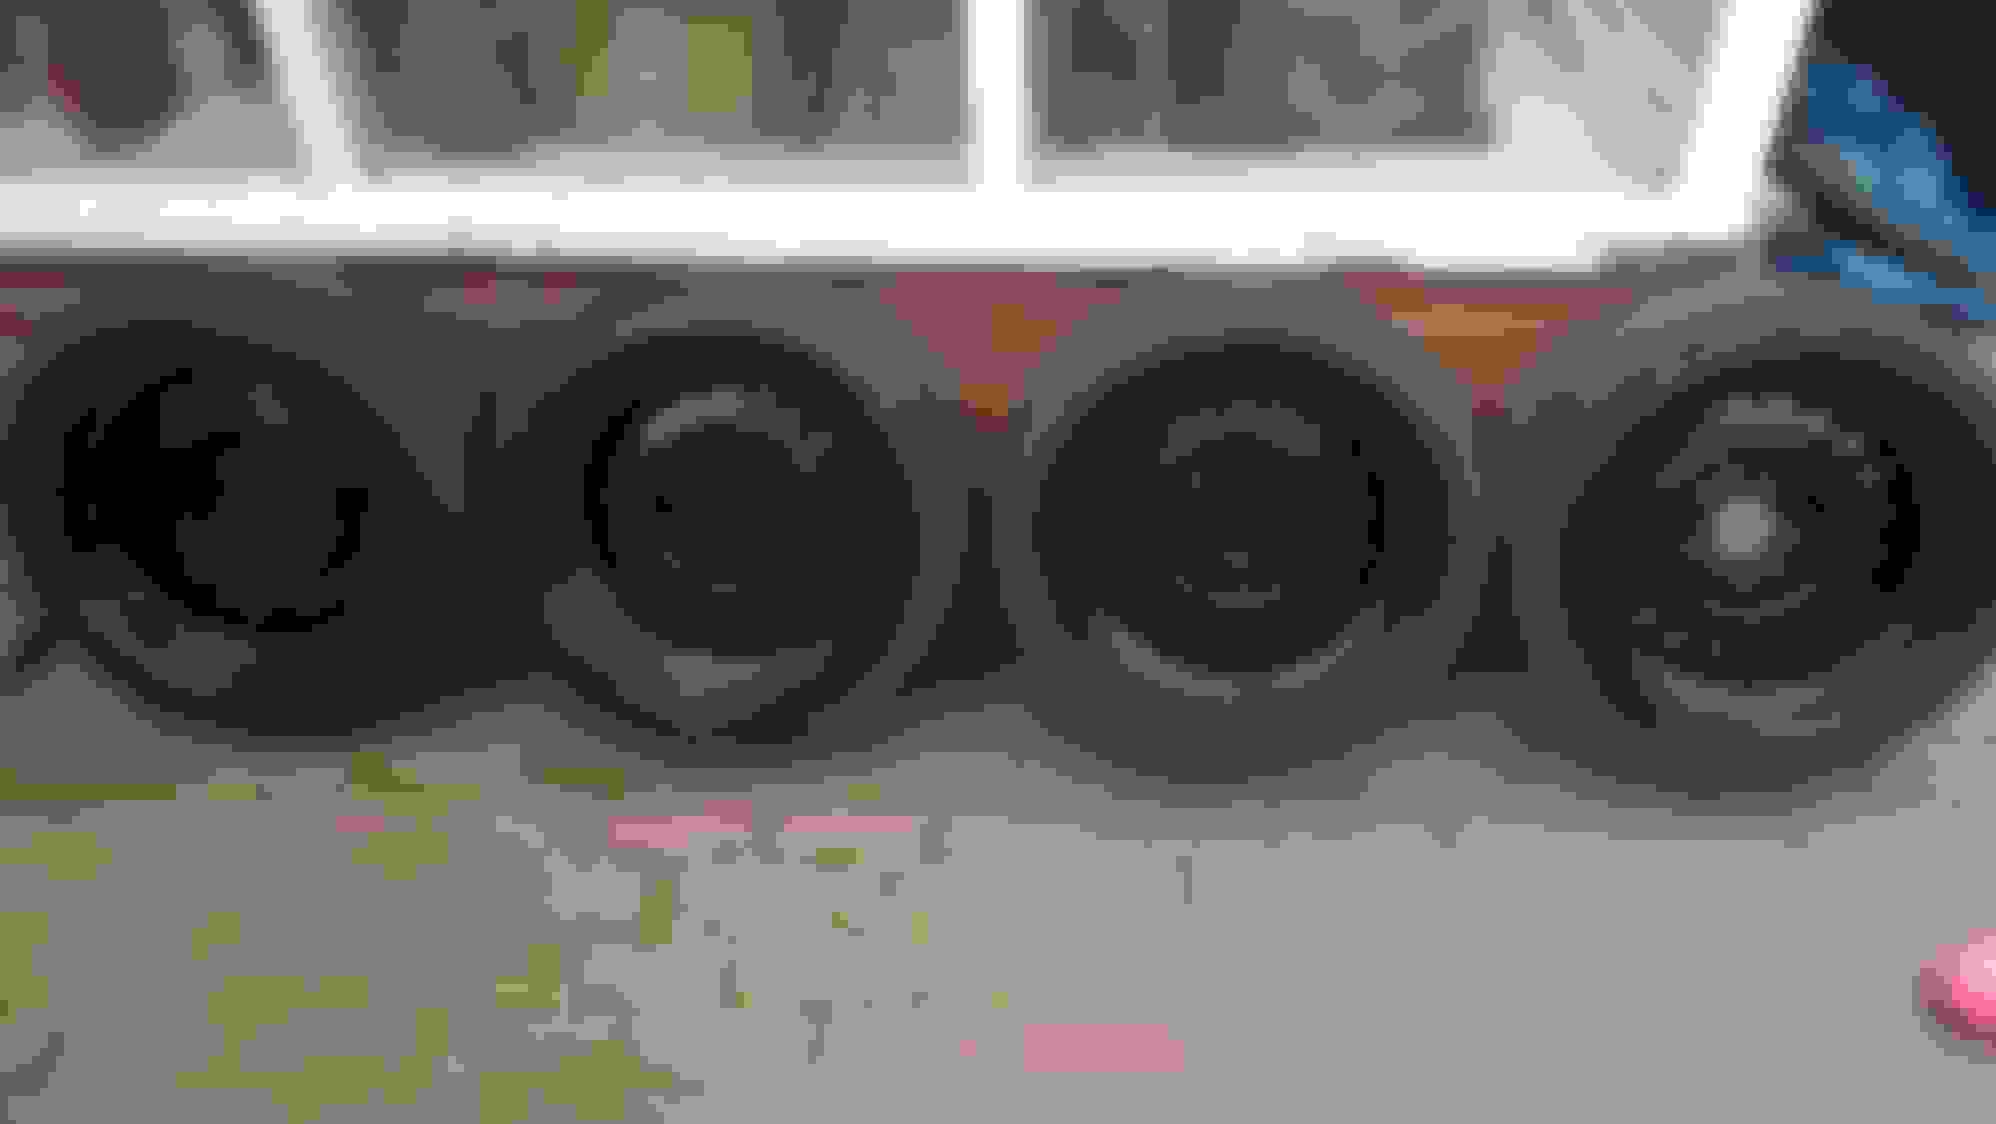
I'd mentioned in another thread about the wheels that were on the 40 and had been informed that they originally would have been on the XJR6. tHEY ARE 17's and I don't like them,sorry. Also helpfully I have been pointed in the right direction of what might have on this model originally...possibly a 'Kiwi' style wheel...I certainly prefer those and could pick up a set relatively cheaply. Still I feel this particular vehicle is asking to be taken in a different direction. So being polite and listening to said vehicle I bought a rusty set of banded steel wheels.
15" banded steel 5 x 120
I'll be honest, I didn't delve to deeply into the whole geometry side of things. They were 5 x 120 by 15" and banded..Good enough for me. When I picked them up the seller informed me they were off a BMW..Anyway ,the other week I manged to get round to trying one on for size....I know..'Should have checked the hub size'. Long story short they don't fit....almost but not quite.The centre hole of the wheel is 1.3mm to small. All is not lost,they were cheap enough that I could sell them on and get a set that will fit or I can explore other options,such as taking .65mm or the aperture..do-able. The other option is putting spacers on..not sure about that one. All that is a problem for another day.
When they do go on they're going to big ,tall tyres so as to fill those big arches...bit like the series 2 I had many moons ago. This is the kind of look..just a differnet car and slightly different wheels but they are 15".
Couldn't see the size in full just 195 r15.Bonus points if you can guess what car they're on.
So this afternoon before the rain came I managed to wire brush the inside of the wheels. So from this.
Before.
To this.
After.
When I get the wheels to fit, a set of 225 65 15 tyres should give me almost the same diameter as the wheels on at the moment give or take just under an inch I think. Won't know until I try I guess.
The outsides were like this.
Just a coat of lacquer? Don't think so.
Now they look like this.
That's better.
Not worried about the overspray as theses tyres will be coming off.
Last edited by twack; 06-11-2017 at 01:33 PM.
Reason: Finished article
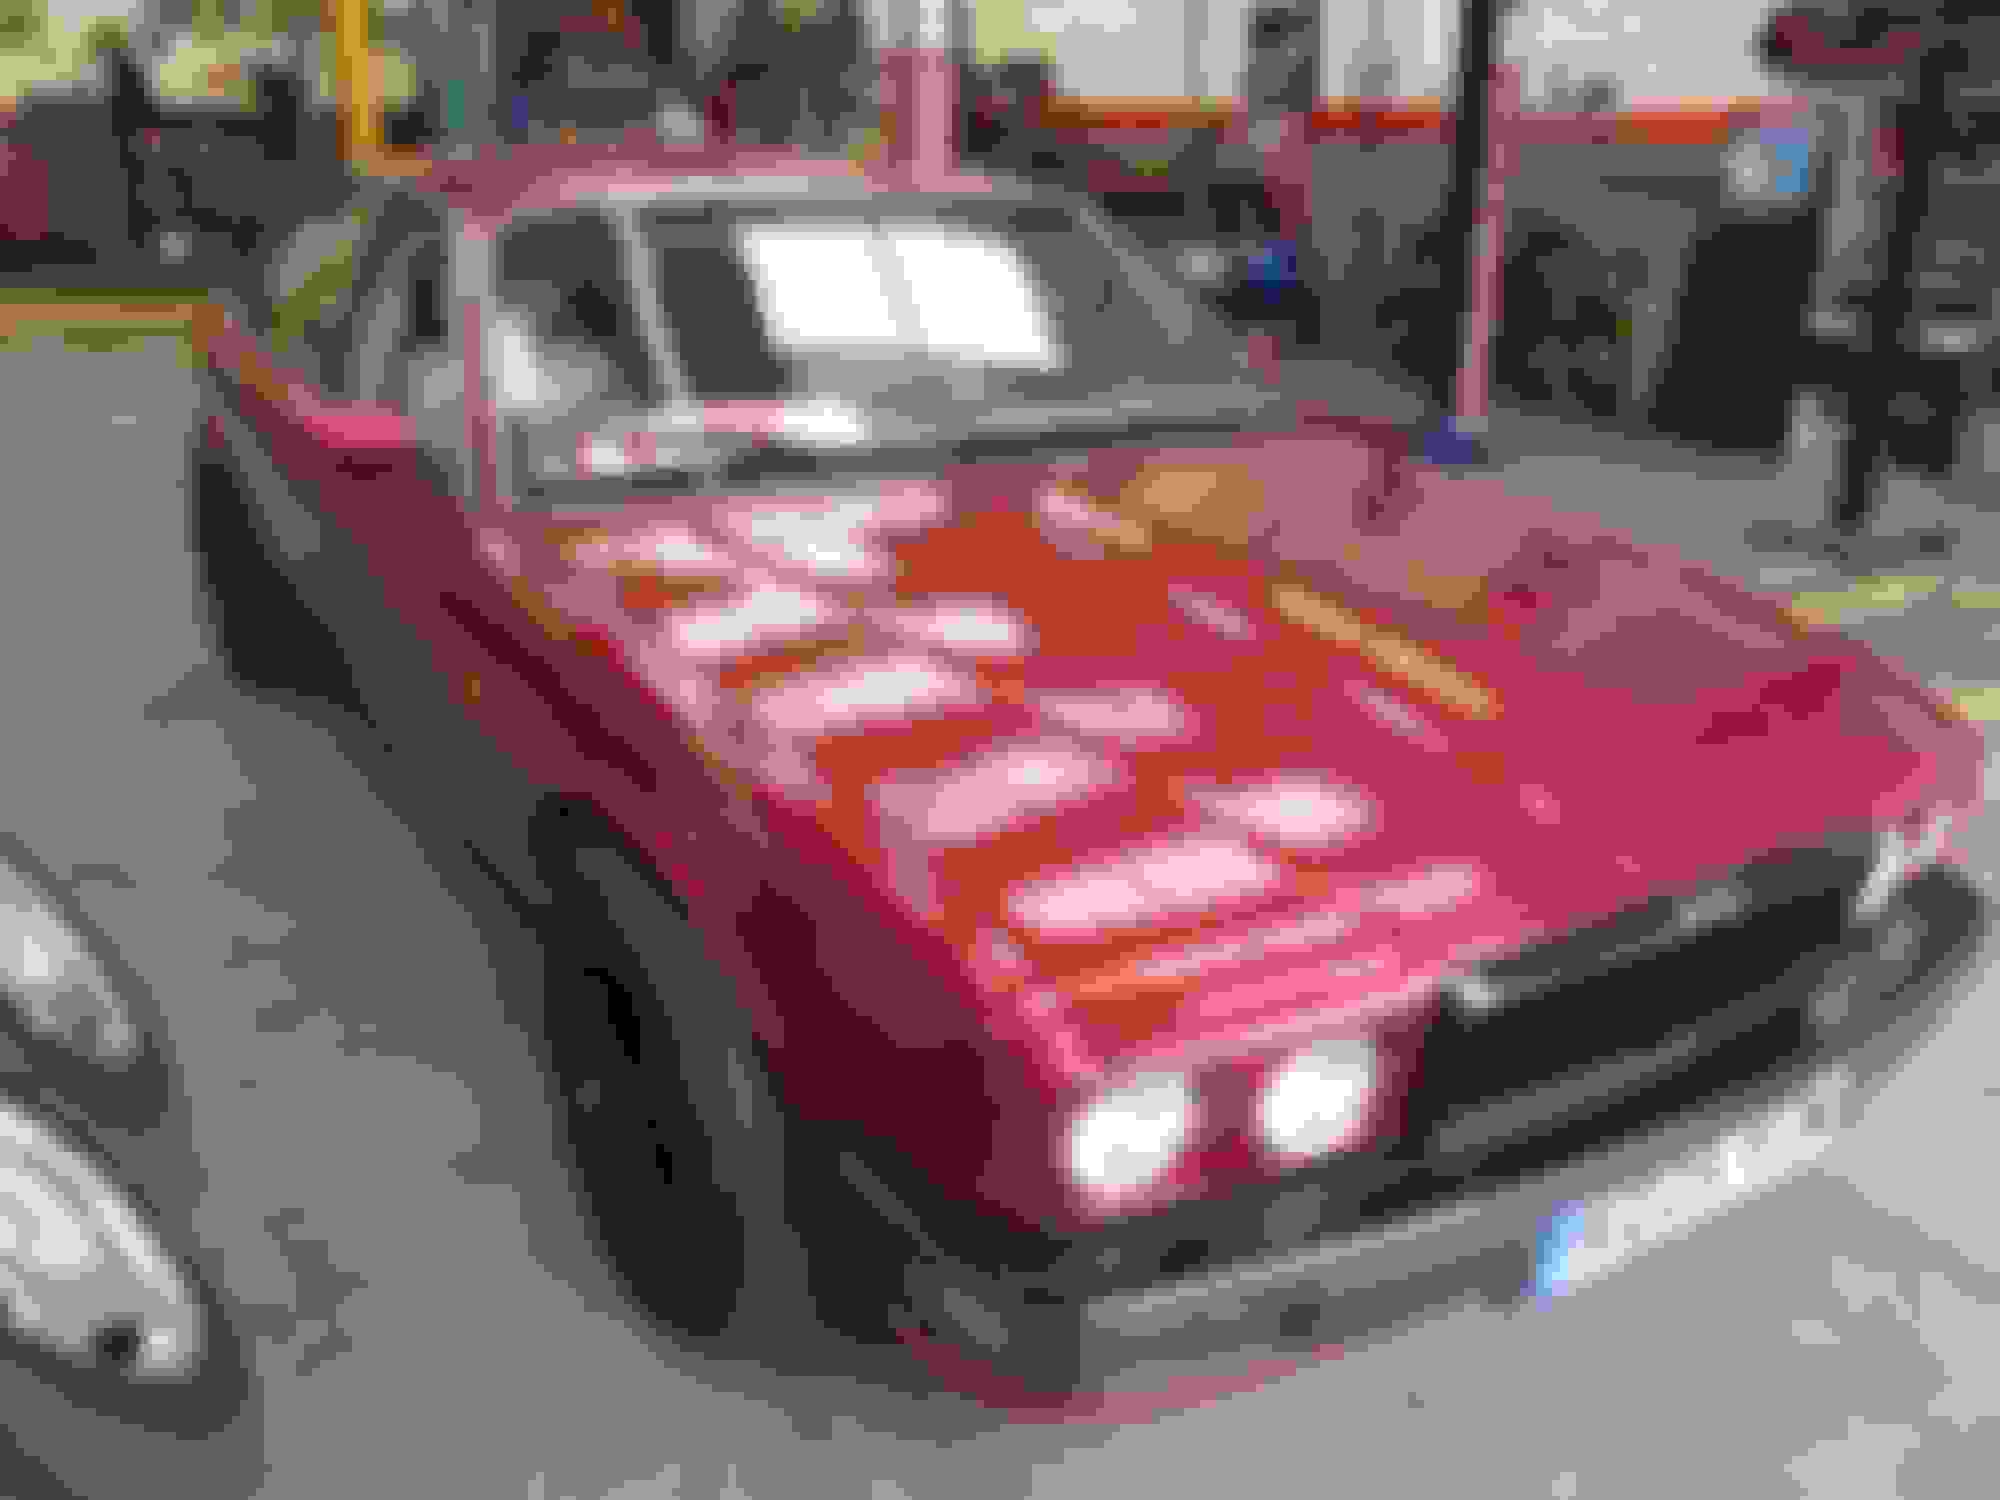
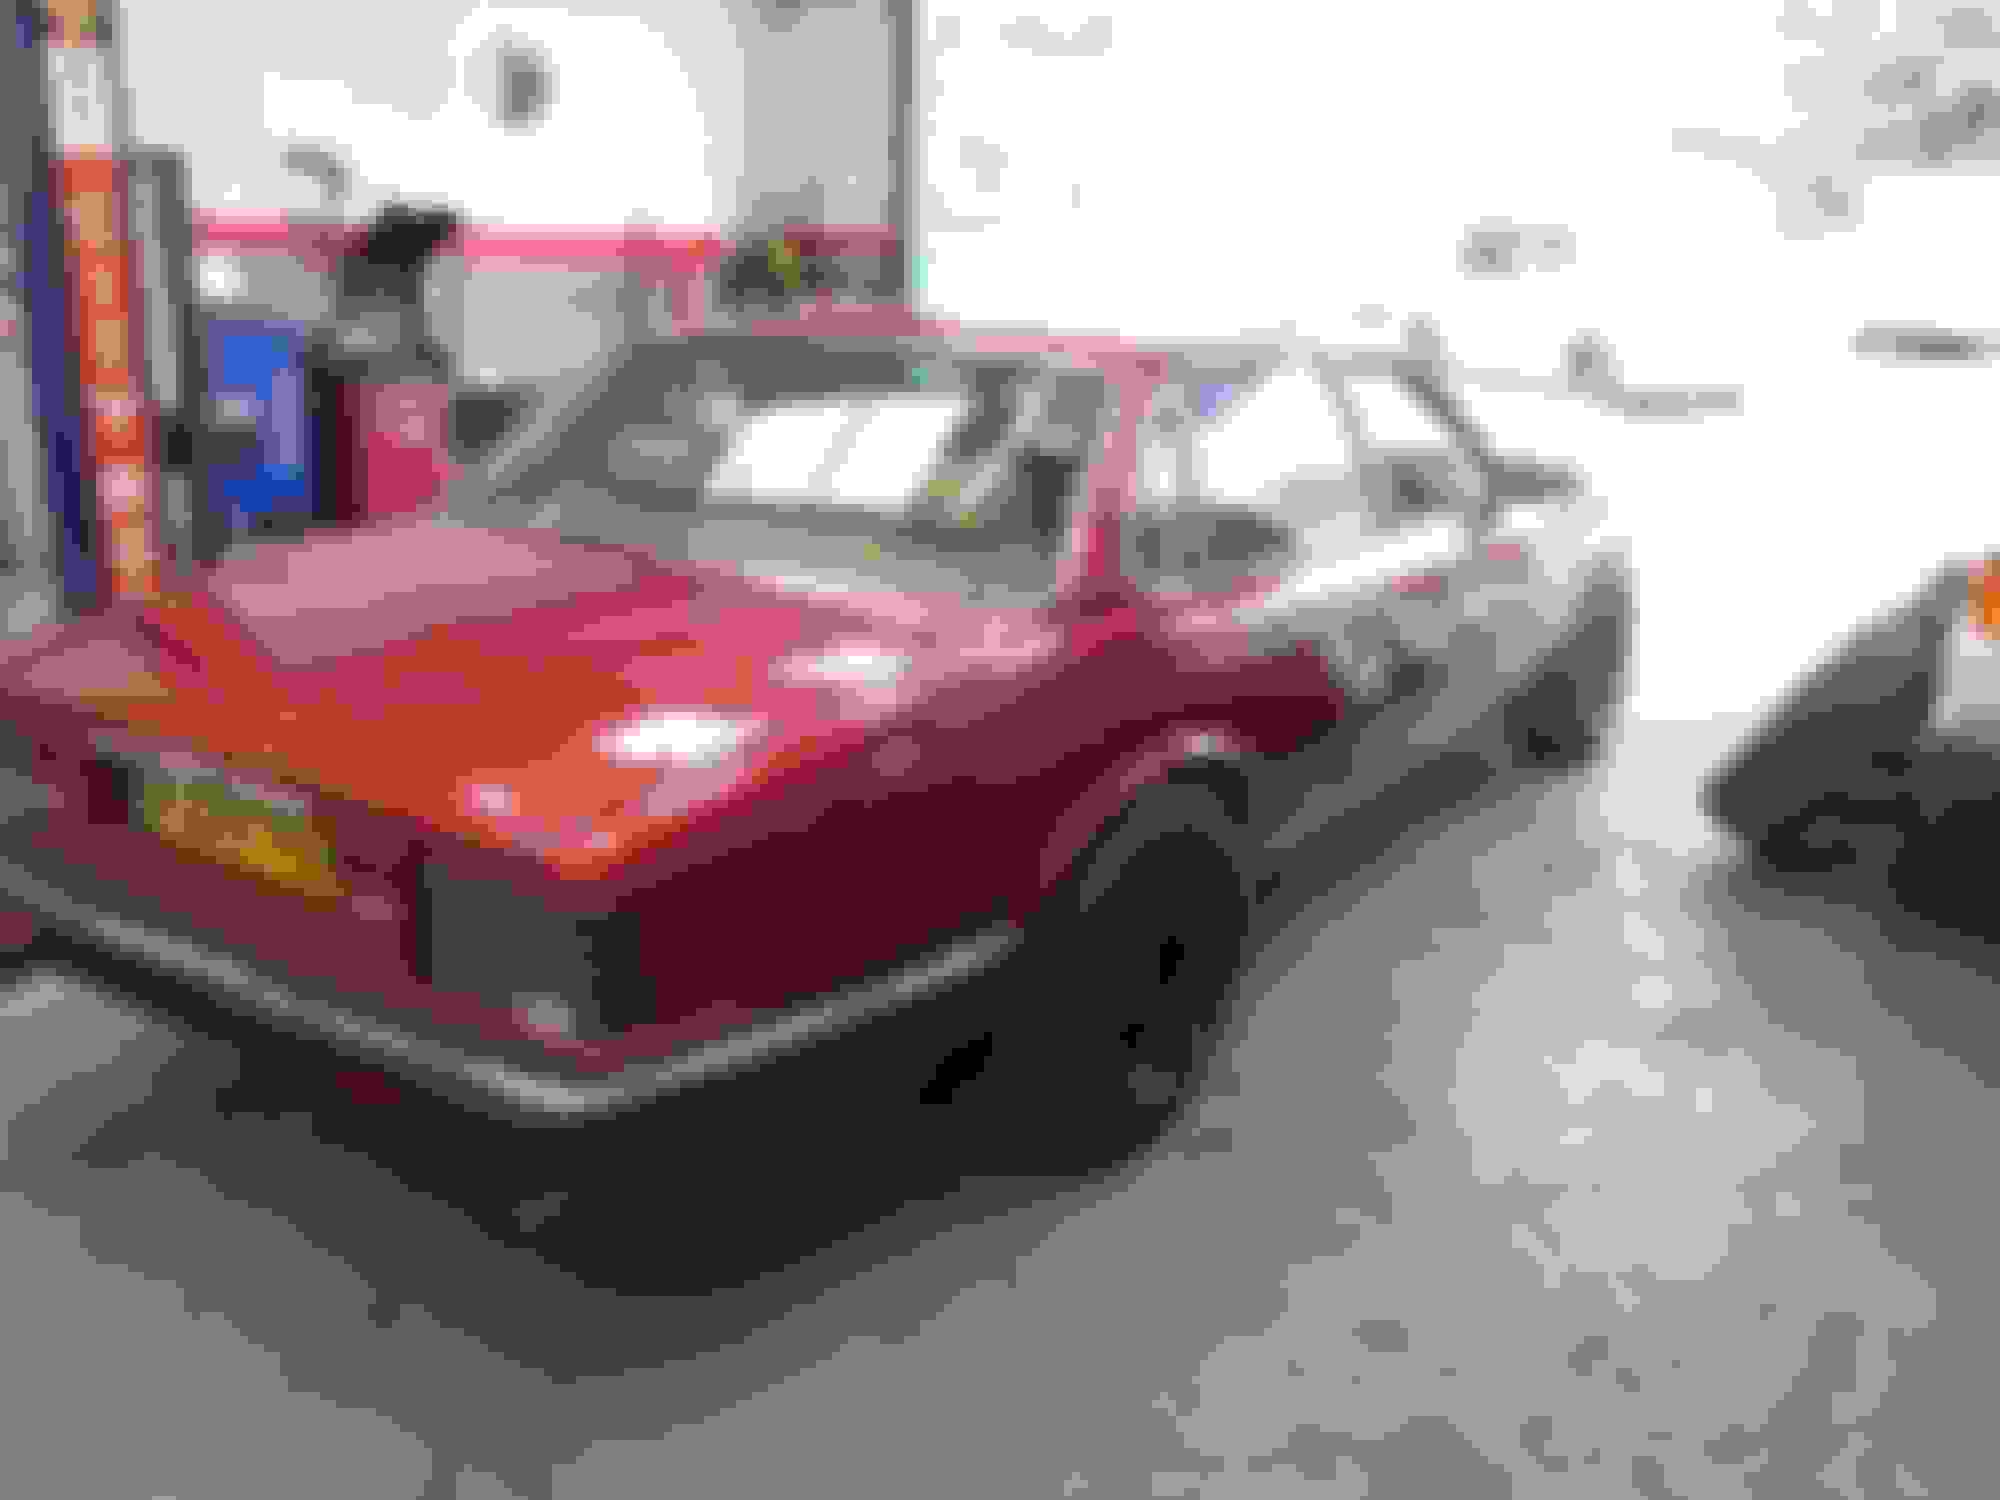
Life and a lack of funds had delayed any real progress over the last three weeks. However, the tide has turned. I had a picture in my head of how I wanted the new wheels to look but you never know how things are going to turn out until you can actually see it. The last post showed the wheels painted and ready for some new tyres. The wheels that were on the car were 17" XJR6 alloys and certainly filled the arches. I didn't want to lose that but the problem was the wheels to go on are only 15". Using various online wheel/tyre calculators I was able to come up with the ideal tyre size, which was going to be 225/65/15. Turns out this is not an overly common size. After much searching on Ebay and trying a local part worn company I ventured back to a small business that I hadn't used for a while who specialise in part worn and new tyres. I told them what I was after and they didn't have the exact size but did have a matching set of 225/60/15, what's 5mm between friends. My local garage and friends removed the old tyres (two were nearly new and were duly gifted to one of the guys that works there for his Fiesta) Back to the other place with the empty wheels and they fitted nicely,although not overly easy to get on I was told. Back to the garage for the moment of truth. I knew that the centre hole had to be made bigger. The banded wheel were originally BMW ones with a centre hole that had a 72.5mm diameter and the hub diameter on the XJ is 73.8mm, so using a die-grinder 0.65mm was removed and the wheels slotted on perfectly, even clearing the calipers. Any thoughts of subsequently lowering the car went out the window, at least temporarily. The end result was so much better than I had anticipated. I've ordered a set of the correct nuts as the original ones aren't ideal. There are a couple of tiny niggles to sort out, the front tyres rub everso slightly against the front,plastic,inner arch when on full lock (in reverse mainly) and the clearance at the top on the rear arches is tight enough to touch when going over larger bumps at speed. Might have to look at flaring the arches,tastefully of course that's for another day though.
Although not by much these are a staggered set.
Big fat tyres.
At this point I was misguided into thinking they looked a tad small.
Sorry, forgot tot mention I 'd tidied up the front grill and bumper a bit.
Great posting! I know you put a lot of effort into taking and posting all those photos. You achieved a great result with minimal expenditure of money, but plenty of elbow grease and thought. Bravo! Can't wait to see more.
 05-23-2017, 11:32 AM