Frustrating Leatherique Seat Re-Dye
#21
To answer your question, yes. The droplets = more dye, so it will be a different color.
Here is my recommendation with a caveat. Poor prep = poor finish
Lightly wet sand the droplets or rather the complete area with 800 grit. Pay particular attention to the divots.
The gun was probably spitting because of the air pressure. Every spray gun reacts differently.
Increase air pressure at the gun not the compressor to 20 psi and since you already have the color on, thin the dye down a further 10% with warm distilled water, and apply as if it was paint.
PSI at the compressor and at the gun will differ because of the length and size of the air hose. I use an air pressure regulator at the air input of the spray gun and set my air pressure there.
#22
Thanks, @sanchez. This is what I was thinking as well. Couple of follow ups:
1) When wet sanding, I am thinking I will just use a bit of soapy water as a lubricant for the sandpaper rather than the surface prepping solution as I am running low on it and I still have to do the back bench seats. I think if I use soapy water then use the surface prep to wipe off any soap residue that should be OK. What do you think?
2) When you spray, what distance do you spray from. I was at about a foot or so (I was trying to mist) and I think I was a bit far off.
3) When doing coats, it seemed like the coats dried really fast. I went back and forth over the seats. Would you recommend a stop and clean between each. In other words, do one pass over the whole bunch. Clean tools then wait a hour then do a second ( I think even with sanding I will only get away with 2 more coats before it starts being too thick).
4) What's the significance of "warm" as opposed to "room temperature" distilled water?
#23
Now that you have the color on, after you sand the bad spots, mix the dye @ 40% and spray all the pieces. Hold the gun 6 - 8 inches with a wide fan from the seats.
Nice and steady strokes. Clean equipment. Let dye set for about 45 minutes to an hour depending on temp up there.
Sanding: 800-1000 grit paper. I used Dawn dish washing liquid sparingly and after wiping off the soap completely, I left it to air dry. I used a fan to help it along.
You won't have to wait too long, as the dye is water based.
I applied 5 coats on my seats.
#25
My gun came with a 0.8mm tip. With a 0.6mm tip you may have to thin the dye. You can thin the dye up to 50% with no adverse effects. Do the trial and error method until you get the spray pattern you want. Reduce/increase air: Reduce/increase liquid flow: reduce/increase fan width.
What size gun are you using?
My tips are in regard to a Touch-up Spray gun from Harbor Freight. (4 ozs). That will cover both front seats with 1 pass and still have some left in the gun.
Room temperature distilled is fine.
What size gun are you using?
My tips are in regard to a Touch-up Spray gun from Harbor Freight. (4 ozs). That will cover both front seats with 1 pass and still have some left in the gun.
Room temperature distilled is fine.
Last edited by sanchez; 06-11-2019 at 03:23 PM.
#27
If you are a novice with a spray gun paint, just put some plain water with some food coloring in the gun and practice on a piece of masking paper. Don't waste the dye. You want to get an elongated (oval) pattern with clean edges when you trigger the gun. Practice;Practice;Practice
I learnt to use a spray gun by practicing for weeks on end.
Every so often I screw up royally. I feel your pain.
I learnt to use a spray gun by practicing for weeks on end.
Every so often I screw up royally. I feel your pain.
The following users liked this post:
yachtmanbuttson (06-12-2019)
#28
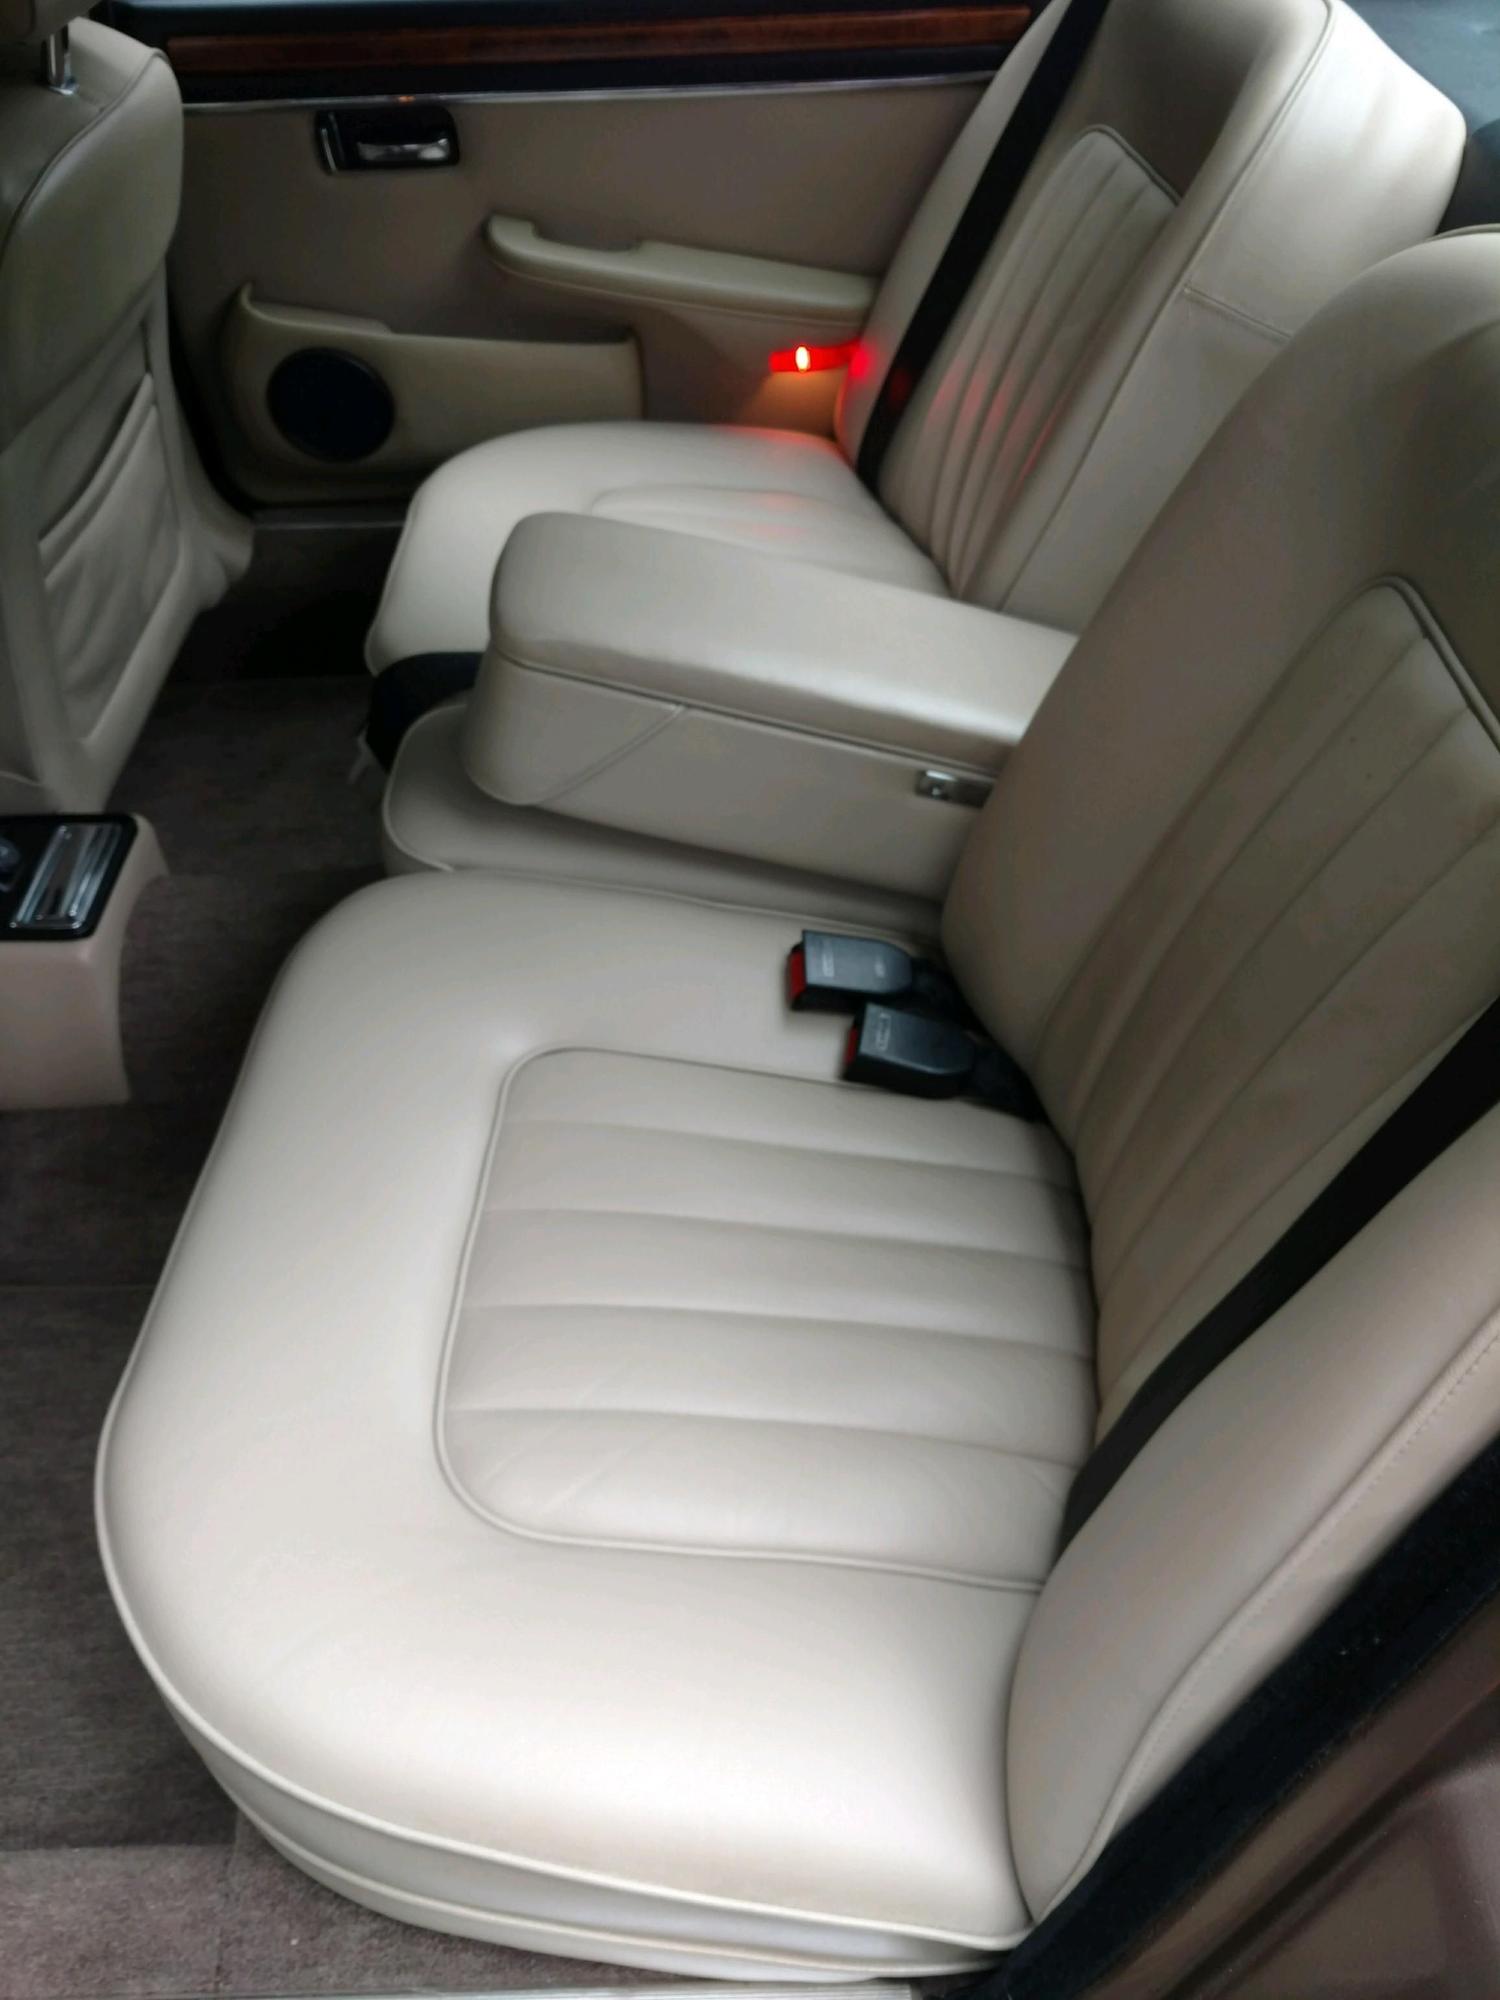
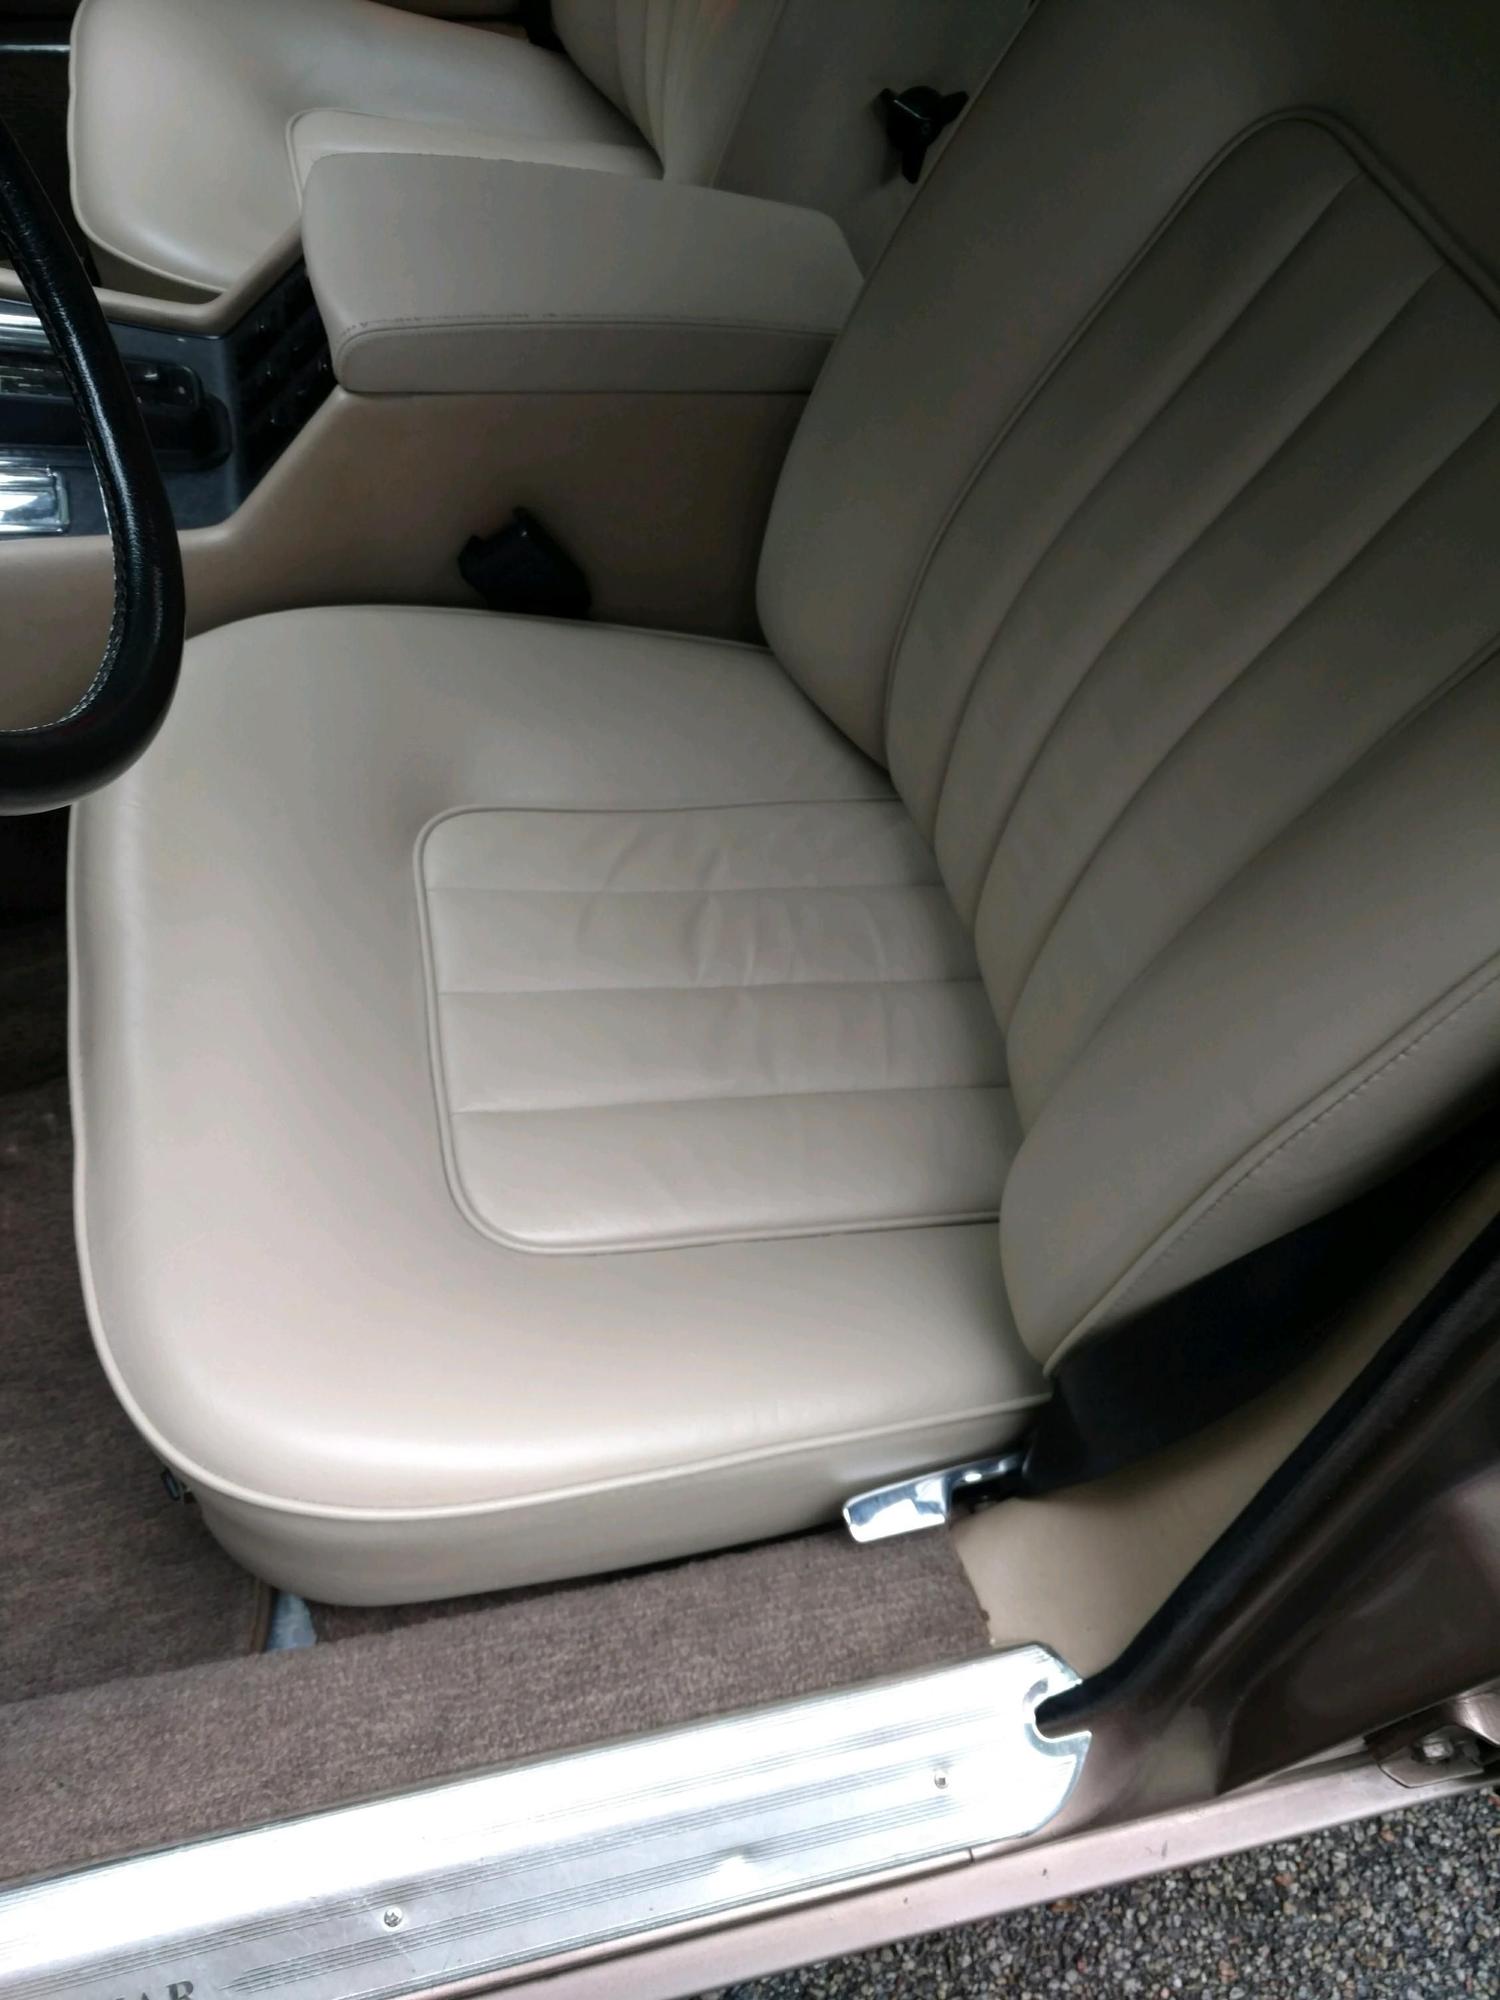
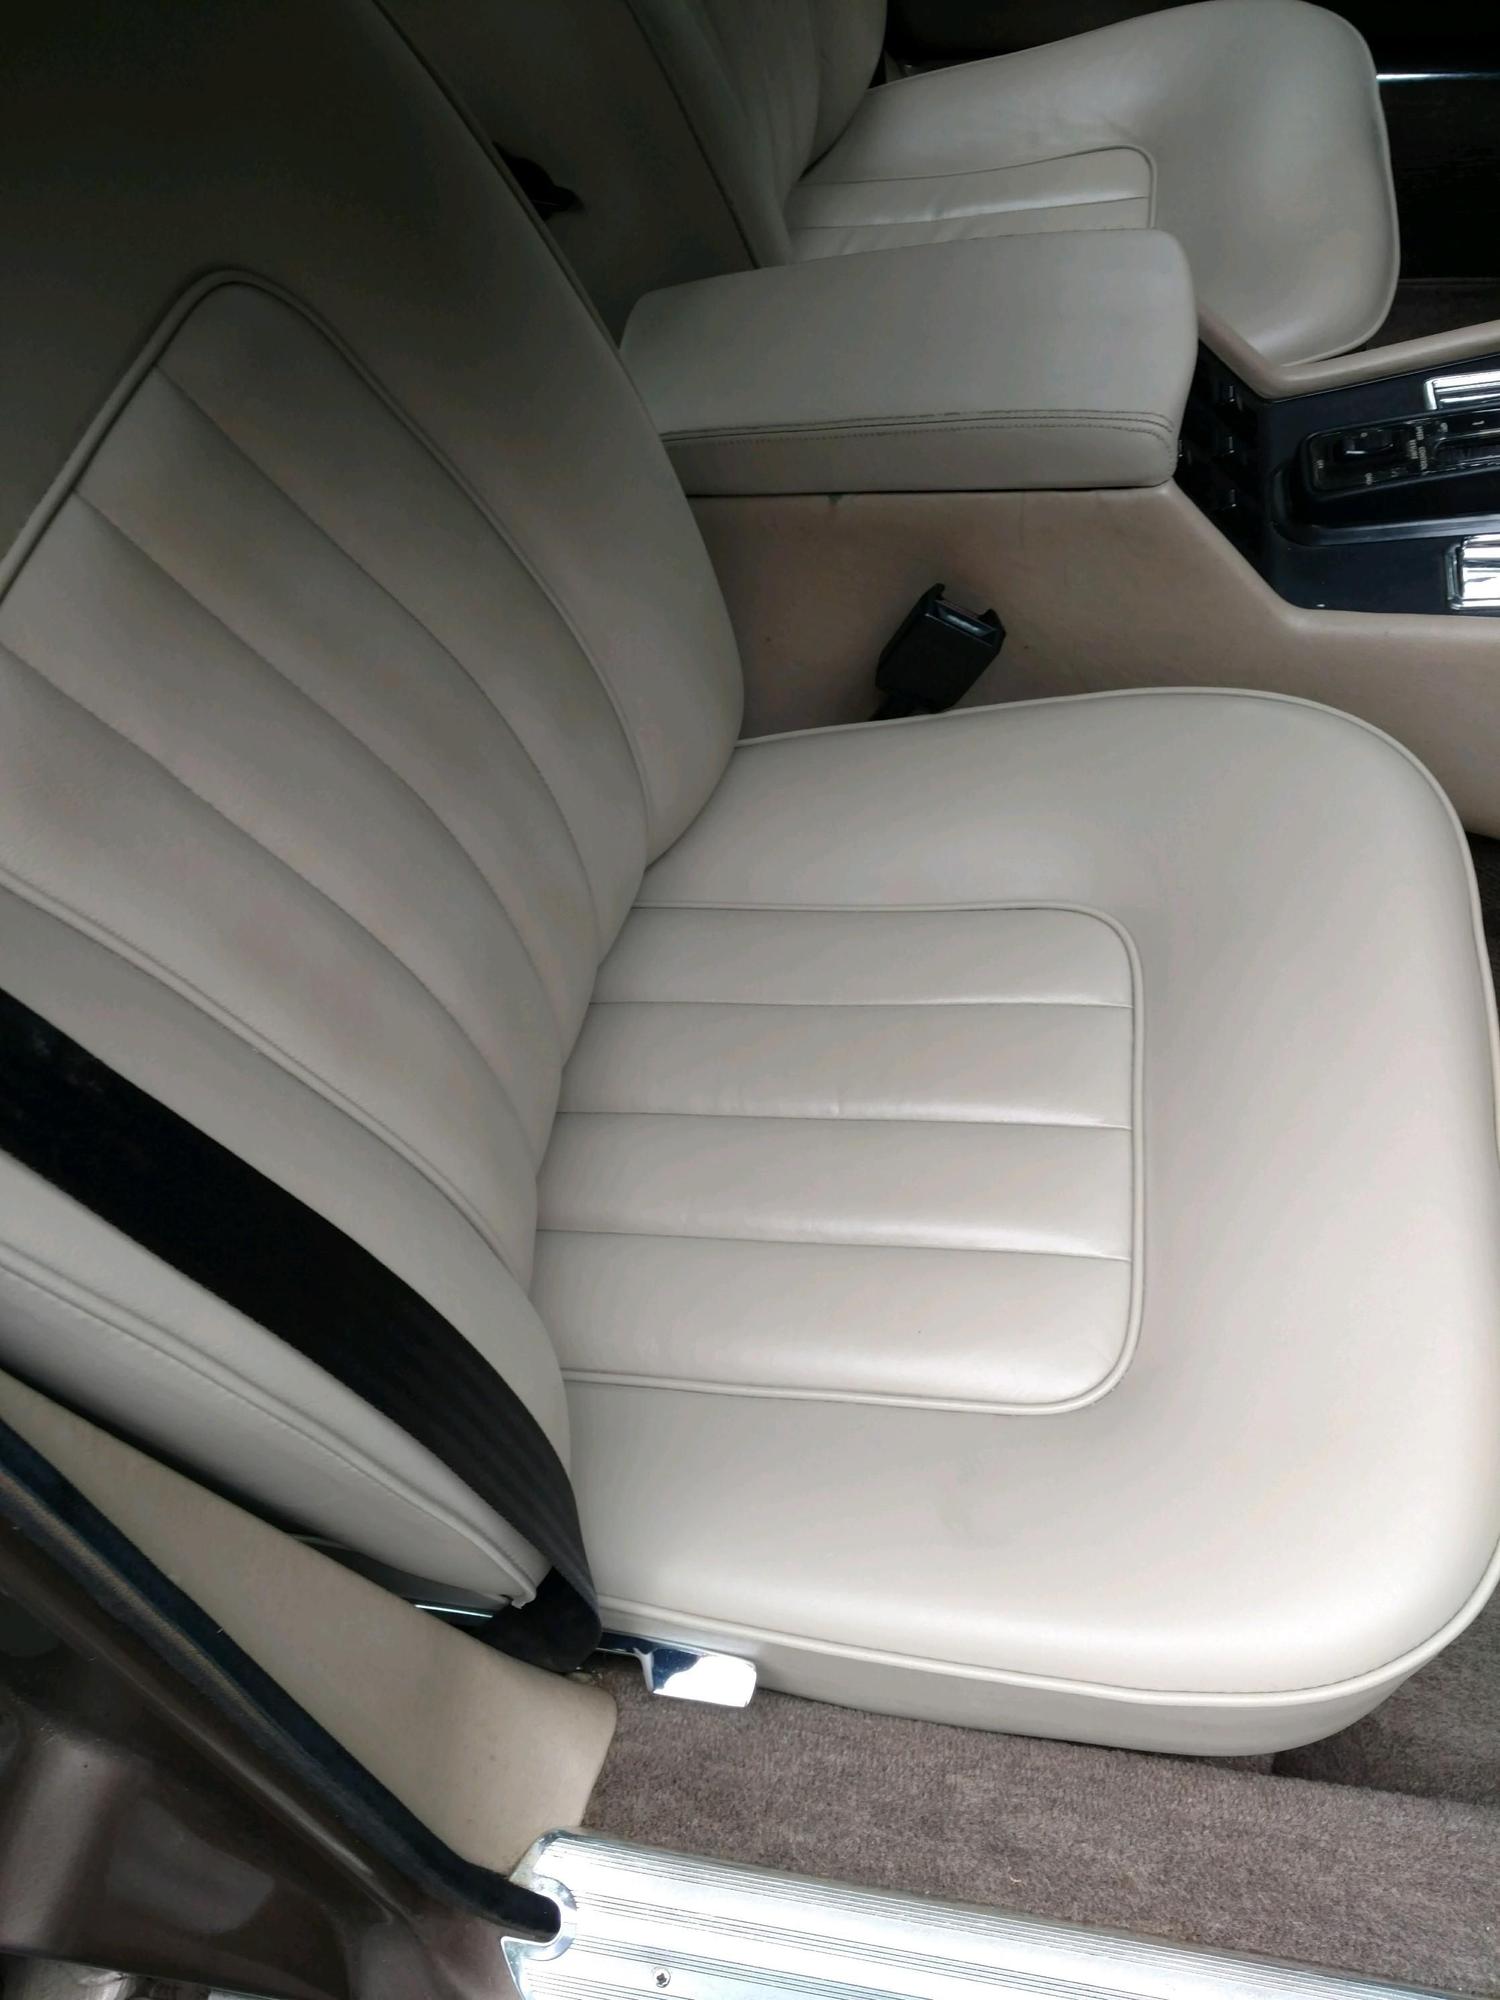
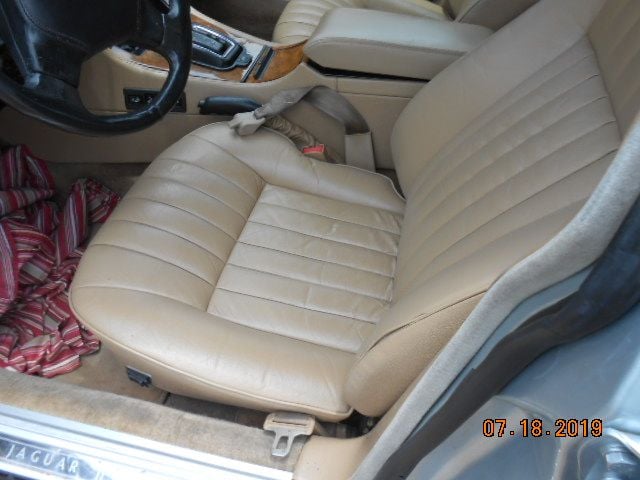
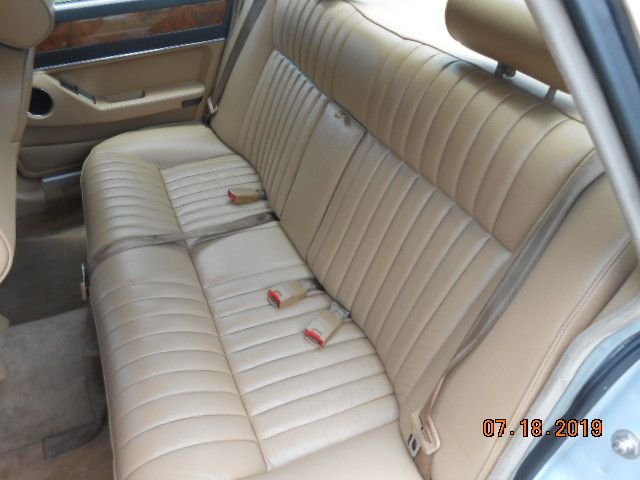
Got the seats all done to a good finish that I am happy with. Turns out my problem was with thinning the dye TOOO much. I used it straight without thinning and it worked perfectly with my Harbor Freight spray gun and 20psi pressure. It isn't quite perfect because I had a hard time removing all the runs from the thinned dye, but from two feet away (as far as my crappy vision works) you can't notice anything. So all in all very pleased with the outcome. I'll post some pictures and observations later this week for posterity's sake.
#30
The following users liked this post:
yachtmanbuttson (06-22-2019)
#31
The following users liked this post:
yachtmanbuttson (07-20-2019)
Thread
Thread Starter
Forum
Replies
Last Post
weisberg
XJ XJ6 / XJR6 ( X300 )
12
06-30-2015 03:15 PM
Currently Active Users Viewing This Thread: 1 (0 members and 1 guests)

