Pabst Blue Ribbon meets Tea and Crumpets
#161
Join Date: Jul 2012
Location: Walnut Creek, California
Posts: 6,796
Received 2,399 Likes
on
1,880 Posts
The following users liked this post:
sunchip (08-02-2017)
#162
Thanks! Im going to start making the new center console once i get the fuse box located behind the dash. Then its off to the hobby store to get some wood, undecided on what to use heres some options:
walnut
teak
cocobolo
ebony
goncalo alves
granadillo
katalox
kingwood
koa
i stumbled upon the store randomly and an in love with the look of the exotic woods, definitely going to be going for a more refined interior now
walnut
teak
cocobolo
ebony
goncalo alves
granadillo
katalox
kingwood
koa
i stumbled upon the store randomly and an in love with the look of the exotic woods, definitely going to be going for a more refined interior now
#163
Join Date: Jun 2012
Location: SW Ga. Home of grits and gnats!
Posts: 492
Received 115 Likes
on
86 Posts
Remember, the nicely colored woods like Paudauk (one of my favs, bright orange naturally, sanding smells like cotton candy) and purpleheart etc... will turn brown down the road no matter what you do. The ones you list there would be very stable.
I'm making a counter top using paudauk and will finish it so I can sand it every few years to brighten it back up.
Have a custom fretless bass with a paudauk fingerboard and expensive 2k poly coating, took about 6 years for it to get brown Finish is exceptional so I'll have to leave it be.
I'm making a counter top using paudauk and will finish it so I can sand it every few years to brighten it back up.
Have a custom fretless bass with a paudauk fingerboard and expensive 2k poly coating, took about 6 years for it to get brown
Last edited by slofut; 08-06-2017 at 07:03 PM.
#164
#167
#168
Join Date: Jul 2012
Location: Walnut Creek, California
Posts: 6,796
Received 2,399 Likes
on
1,880 Posts
#169
#171
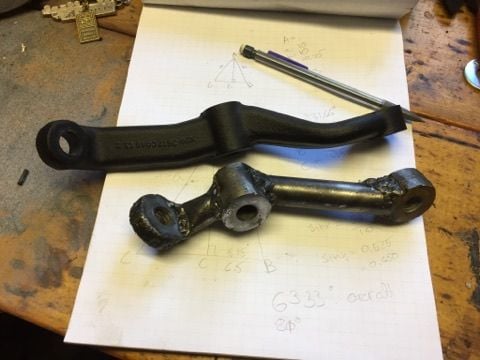
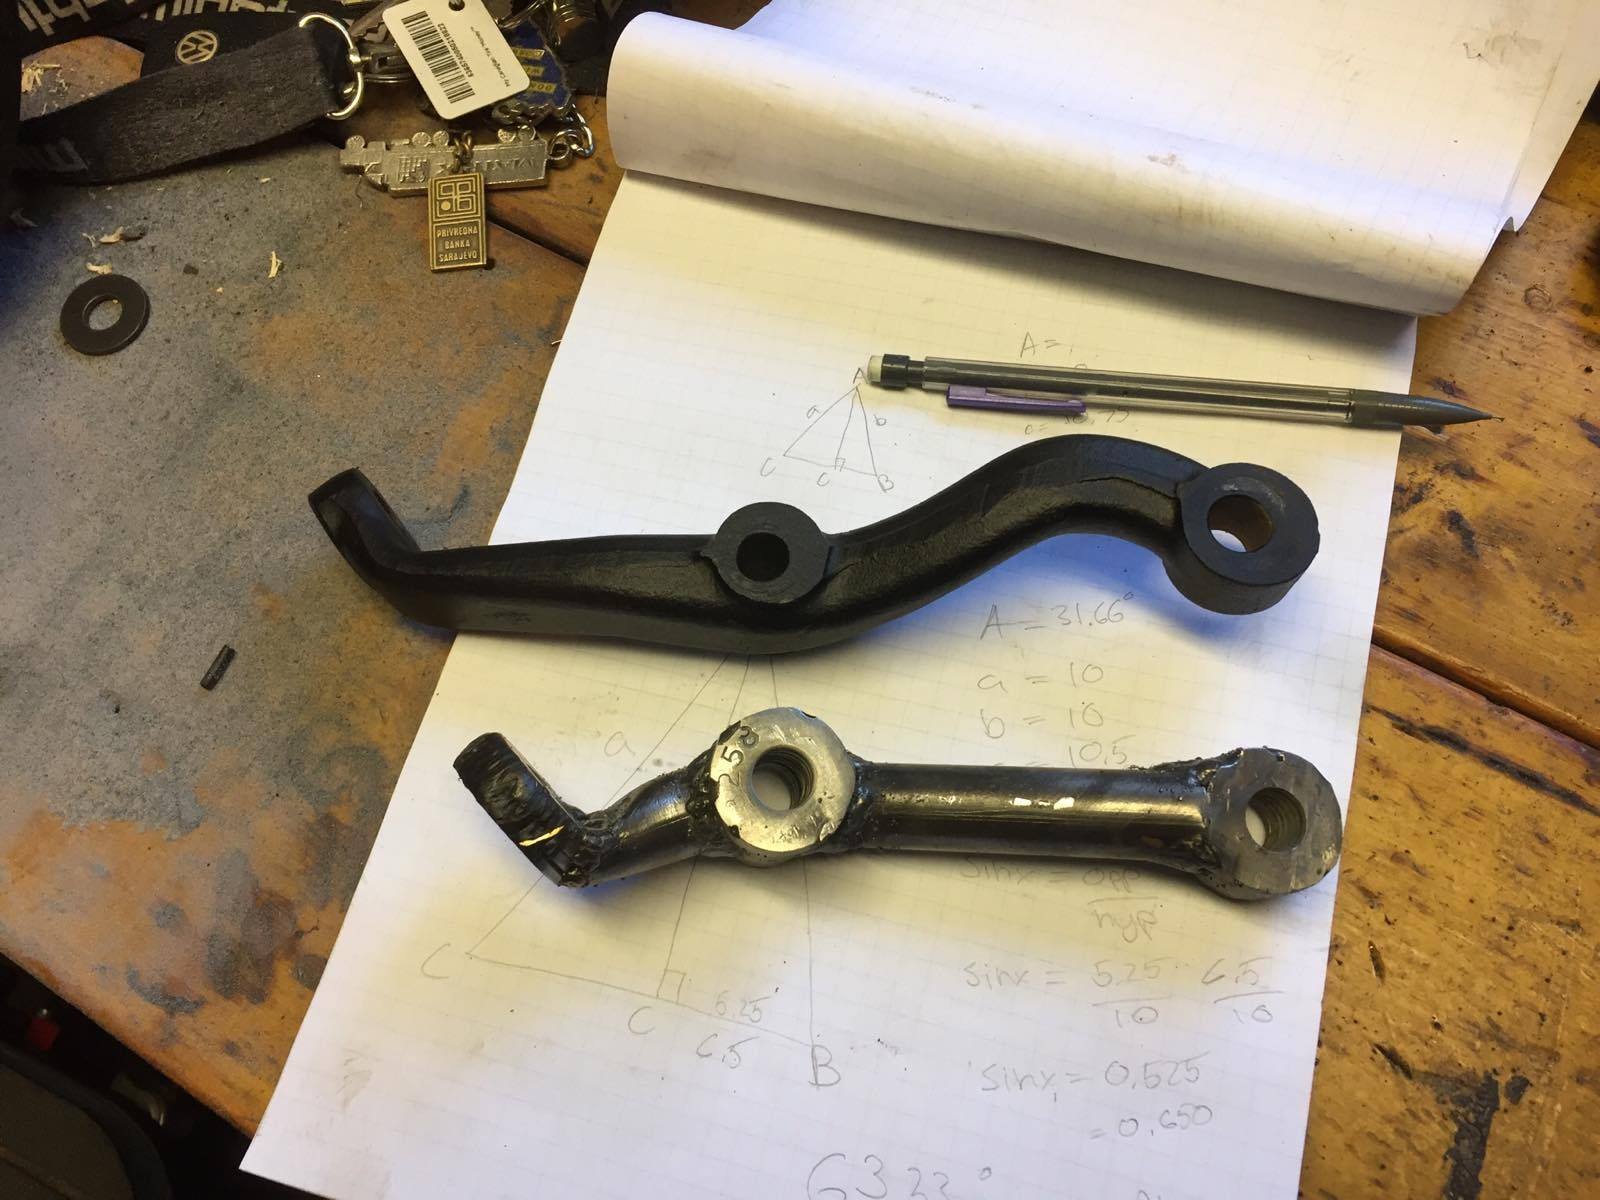
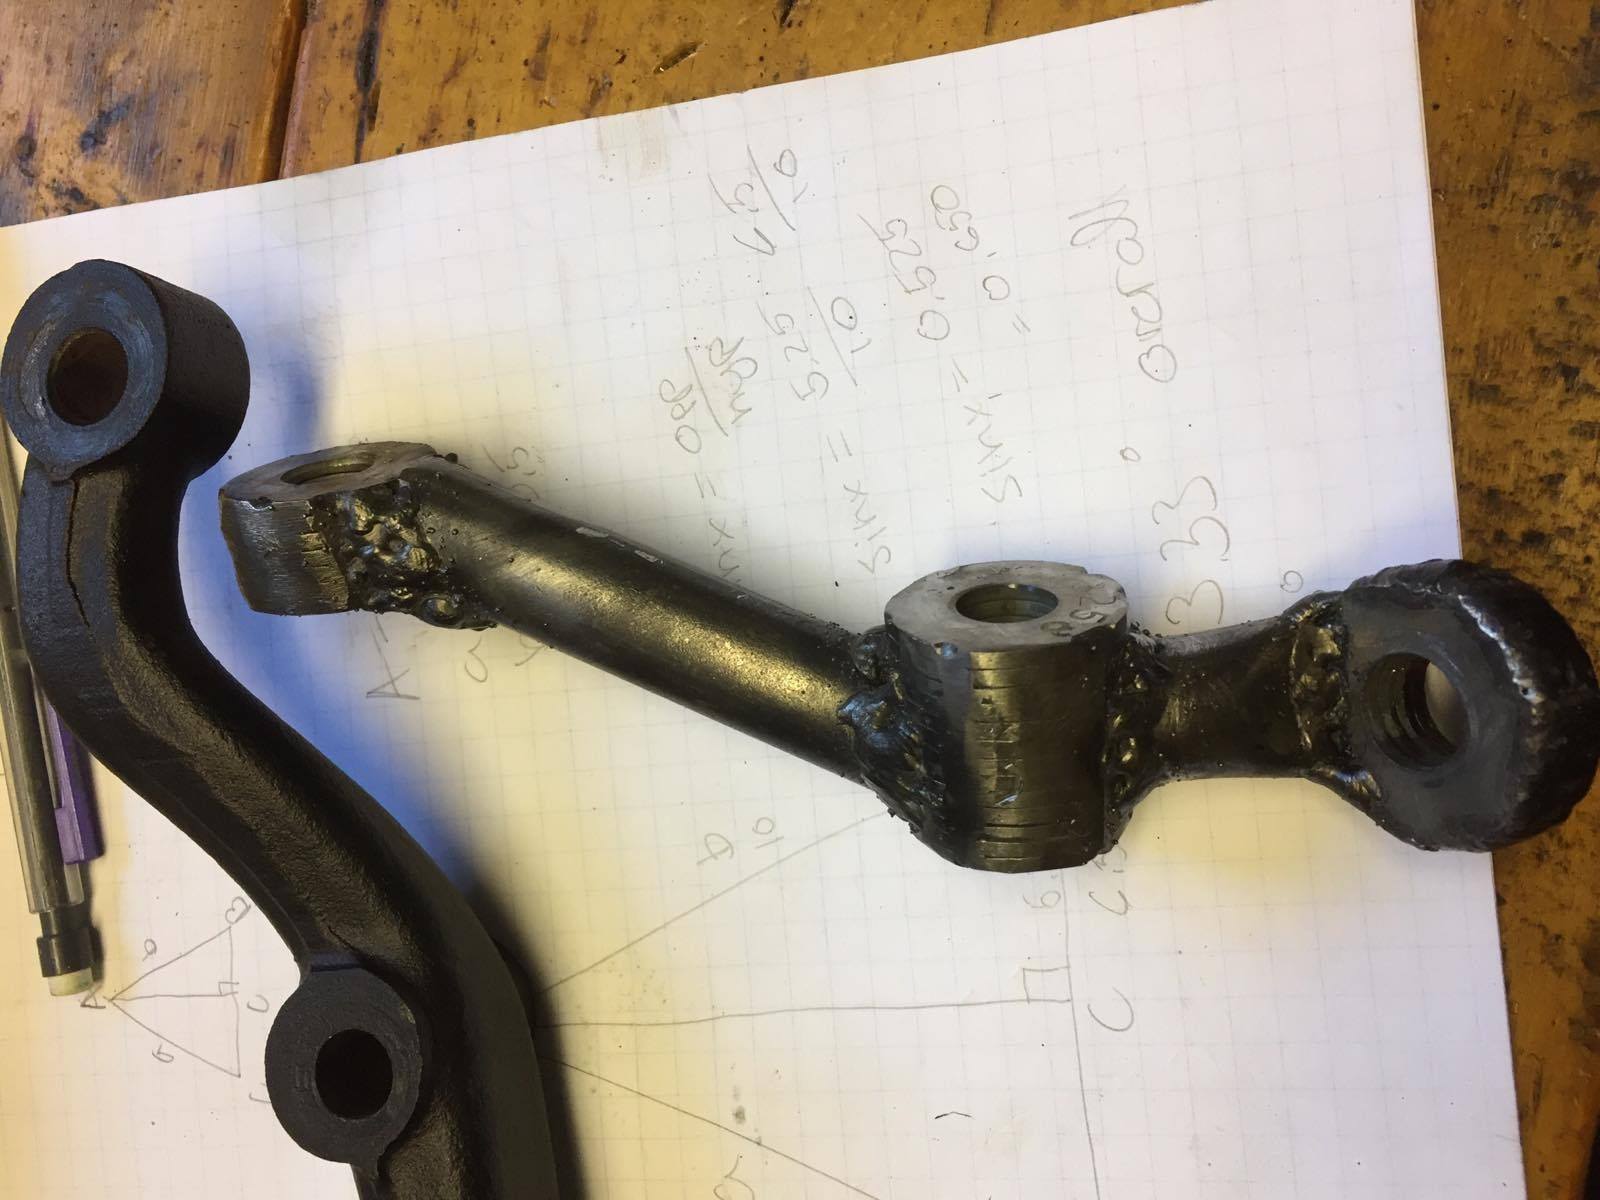
i ended up scrapping the arms i made in favour of a cnc shop making some of the stock ones but slightly modified.
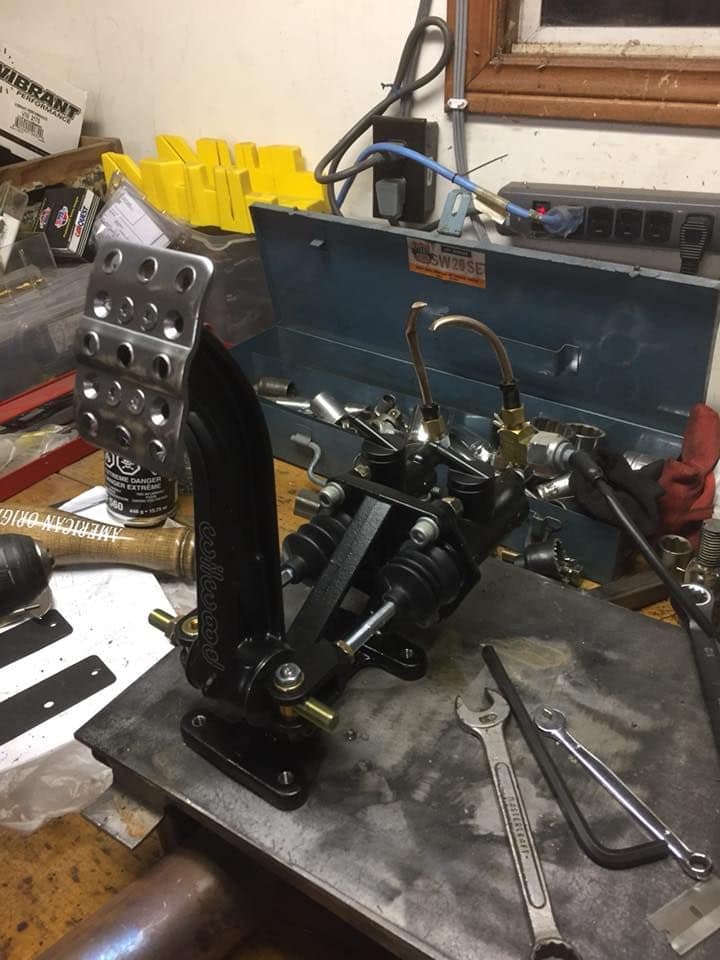
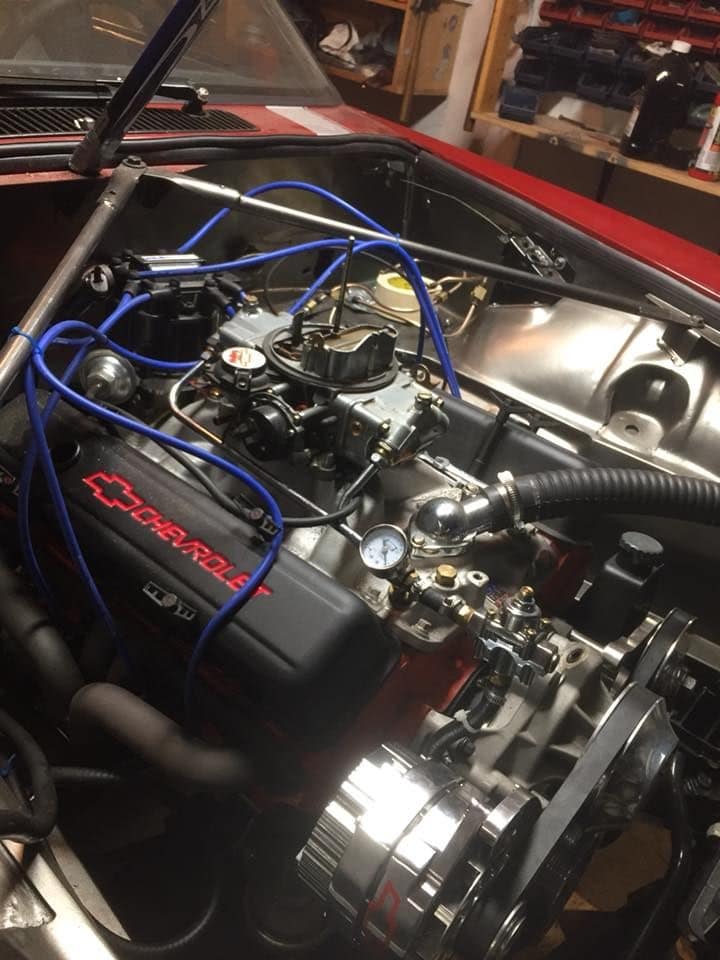
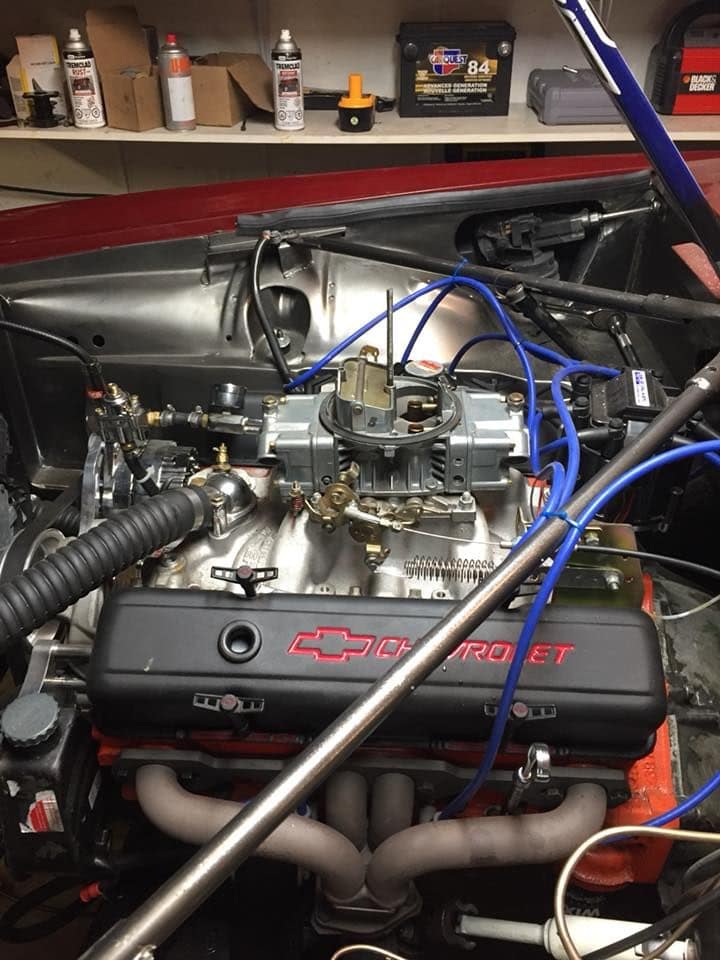
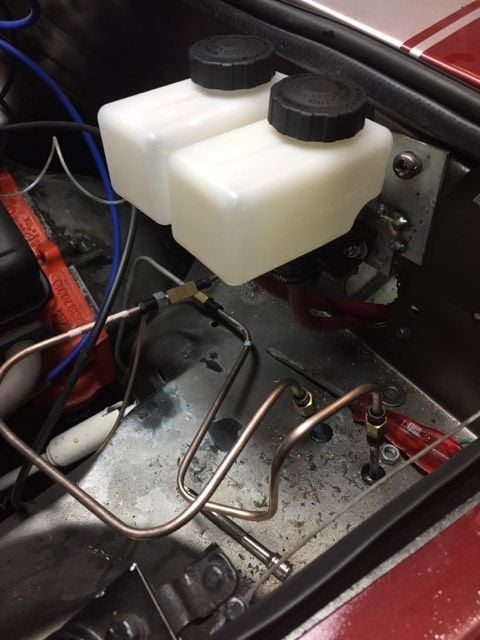
in other news i have ordered the wilwood dual master brake pedal and master cylinders. theyll be here in a couple weeks and then its time to finally drive the car under its own power
in other news i have ordered the wilwood dual master brake pedal and master cylinders. theyll be here in a couple weeks and then its time to finally drive the car under its own power

#172
Join Date: Jul 2012
Location: Walnut Creek, California
Posts: 6,796
Received 2,399 Likes
on
1,880 Posts
Whew !!!
No offense as to your fabrication skills. but welding on critical forgings !!!!
Dodged a really big bullet, perhaps.
My son has been cutting out suspension parts for the modernization of his advanced for the time Ford 460 powered T bucket. In alloy with his modernized CNC mills. Beautiful design and execution.
Way back when, I bought the underpinnings of a 30 Ford as the foundation of my Hot rod of the 40's project. Some parts had really been messed with. A PO added hydraulic brakes. Not unusual. But, this one chose to cut the arms off the A spindles and weld them to the later Ford spindles. Rugged looking seams.
Not for me. I got parts that bolted together to match the A colum to the V8 spindles. All available after market. I tossed the cobbled ones for the safety of the hobby.
Carl
#174
#176
#177
#178
I wish I could say I like this but in order to deter imitators I have to put it out there and suggest this is not a great idea. That's said, it's yours though and I guess that matters too.
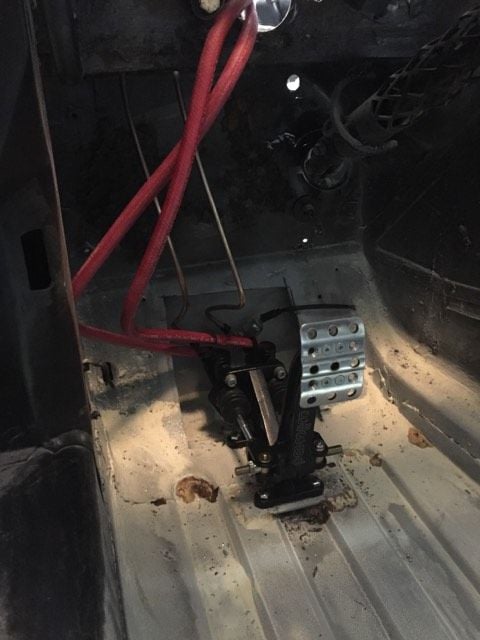
What you've done is cut a big gaping hole in the torque box. This triangulated area is somewhat important to the structure of the car as it transfers load between the A pillar onto the center frame rail ribs.
Since you're already cut up your firewall... Another idea is to use an XJ8 pedal box. Its a gas pedal and brake pedal assembly that offers great compound action on the accelerator pedal and a modern precision feel from brake the booster/master cylinder.
The following users liked this post:
sunchip (03-04-2018)
#179
i will definitely reinforce this section. it wont be left a big gaping hole. This was cost effective as jag parts arent cheap in canada, and dont pop up that often in junkyards. there was loads of hidden rot behind the piece i cut out that wasnt visible from underneath, and a few holes in that were filled with flakey rust. So im not upset that i cut it out, had i known it was structural i may have held off but hey whats done is done.
Ill reinforce it as best i can and clean it up to look nice. But as always i appreciate the insight from the jag master
Ill reinforce it as best i can and clean it up to look nice. But as always i appreciate the insight from the jag master
#180
i will definitely reinforce this section. it wont be left a big gaping hole. This was cost effective as jag parts arent cheap in canada, and dont pop up that often in junkyards. there was loads of hidden rot behind the piece i cut out that wasnt visible from underneath, and a few holes in that were filled with flakey rust. So im not upset that i cut it out, had i known it was structural i may have held off but hey whats done is done.
Ill reinforce it as best i can and clean it up to look nice. But as always i appreciate the insight from the jag master
Ill reinforce it as best i can and clean it up to look nice. But as always i appreciate the insight from the jag master
Perhaps an X brace from corner to corner would allow for clearance and make the area stronger.

