When you click on links to various merchants on this site and make a purchase, this can result in this site earning a commission. Affiliate programs and affiliations include, but are not limited to, the eBay Partner Network.
Started putting the rear lights and antenna back into the car. Found out I had two LH tail light lenses and no RH. Mine are all red and I am have inquiries out for the correct RH Lucas L801 lens used in the USA and others. I like the single colors with the BRG paint.
Want the lights back on so it is street legal for driving purposes. Cleaning all the connections and the bulbs are all new now. So far all work properly. Put in the newly chromed from center grill as I wanted the windshield washer to be able to work. Looks really good with new chrome instead of the silver paint. Windshield wiper arms will be last to be put on as it will not rain here for months.
Dennis Burcham is selling me the antenna bezel I really want and if needed I will get it rechromed to look special. Found I had failed to order new lens gaskets but they are now on the way from the UK... Jaguar did not ever sell just the gaskets?? But they are available now as aftermarket things.
It takes a lot of time to clean and polish the assemblies and make sure the screws and washers are all in excellent shape... still working on forming the "new" front window trim to properly fit... working with stainless is a PITA and it really takes four hands to get things back together. There is no hurry and I want it all to be as "perfect" as possible this time.
Last edited by Roger Mabry; 09-10-2016 at 05:15 AM.
Roger, I am SUBSCRIBED to this very informative thread. I do have a couple questions and hate to jack the thread, but can't help myself. The V8 emblem you described, what and where can I get one? I was wanting to buy new style Jaguar nameplate and leaper for the trunk. Would love to have XJ V8 back there too. Also your cold air set up, would love to see a pic. I was planning on using my 82's air filter can but cutting out the back for a K&N style filter to fit inside. Was going to have the decals reproduced at a vinyl shop. I also plan on removing the front "straw" and weld on a bigger piece of muffler pipe for more air into the filter can. I ordered the Spectre 98499 "hat" and was planning on some 4" flex hose to connect them. I would love to know of any other mods or custom things you've done. The car looks fantastic If you would like a set of the decals, I'm going to have made, let me know. I'll send them to you for free. Don't know if your XJ has the same ones though.
I think this is where I got that emblem... looks like it.. according to their web site it comes in package of two... I hope I can find the other one to put on the newly painted car. It has 3M double sided tape and I had to really peel it off before going to the body shop and would like to put a new one back on myself... might order another set as they are about $3.00. I had the body shop fill the holes from "6" in XJ6 in the trunk lid before painting.. it will look much better now.
If the link does not work exactly, just go there and use their search bar at the top and search for "V8 emblem".
I have done so many things to this car that are not obvious.. I have a document that lists most of them and I am constantly updating it. See the attachment.
I used the Spectre solid chromed air intake tube #9723 and had to cut it off to fit the length and then go to a muffler shop to have them "swedge" it smaller to 3 3/4" fit the special bellows hole.. I wanted the bling of the chrome.
The cold air intake is a custom piece of carbon fiber with a K&N filter adapted to fit the Jaguar upper radiator support. It allows cold air to be "driven" into the system directly from behind the grill.. Bob Loftus of the Forum makes them and they are great... my second time with them. Last time it was used on the '72 XJ LT1/700R.
If you mean your "Do Not Slam sticker".. I have no idea if a Series 1 ever had one or not.. I do know not to slam it shut and have it properly adjusted with new hinges and rubber seal and all new latch stuff.
Last edited by Roger Mabry; 09-11-2016 at 11:06 AM.
i forgot where I got the chrome over plastic V8 badge that is on my car. I decided not to disturb the XJ6 badge. If I removed it, two small hoes would remain. My "solution" was to attach the former just atop the latter. Tells a story sorta!!!
I've a couple of genuine metal Cadillac badges. So far, no suitable inspiration has struck me as to where. One is on the engine intake, but, I'm not completely pleased with it!!! A tub full of compnents under my bench awaits???
No "Do not slam" decal in my 83??? The underside of the boot lid is pristine. If only the rest of the car were so!! Well, altthough not concourse, quite presntable. No thermoplastic checking!!!
The bonnett adjustment is close but not quite right. It takes an additional "push, not slam" to secure the corner on the passenger side. Pin adjustment needed. Makes a big difference when secured. A clunk goes away. Odd as it looks closed at that corner.
A tad more hinge adjsutment needed. Remnove the grill, loosen the hinge bolts. Close, push it around. Tighten the hinge bolts. Excercise.
If good, replace the grill.
Oh, the monkey motion bonnett open limit linkage departed years ago. More room totinker under the hood.
Fussing with a collection of out board 7" lamp stuff. Bucket, insert, seal beam, retaining ring to get in sync!! Why so much?? It dawned on me. System intended for bulbs, not sealed beams. The stuff forward of the buckets is adapter needs.
Back to just post WWII days. Our family 38 Dodge had bulbs. Light a match to see if they were lighted!!! Sealed beam kits came on to the market. It took Dad and the Post Engineer motor chief to figure out the install. A bit complex array of layering. So much better!!!
Forgot a comment. I'm multitasking. Three layers or more.
1. Trying to fix a list subscription problem on J-L. On another machine.
2. Compiling a bunch of notes on several scraps to one place, paper, albeit.
3. Here. Vent the engine bay via louvres in the wing walls. Wings not disturbed. As done in the old days. Simplist, not cut and stretched lovres, Merely circuar cuts via a hole saw. Suppose the road wheels in motion create a low pressure and as such draw out engine bay air, hot air!!!
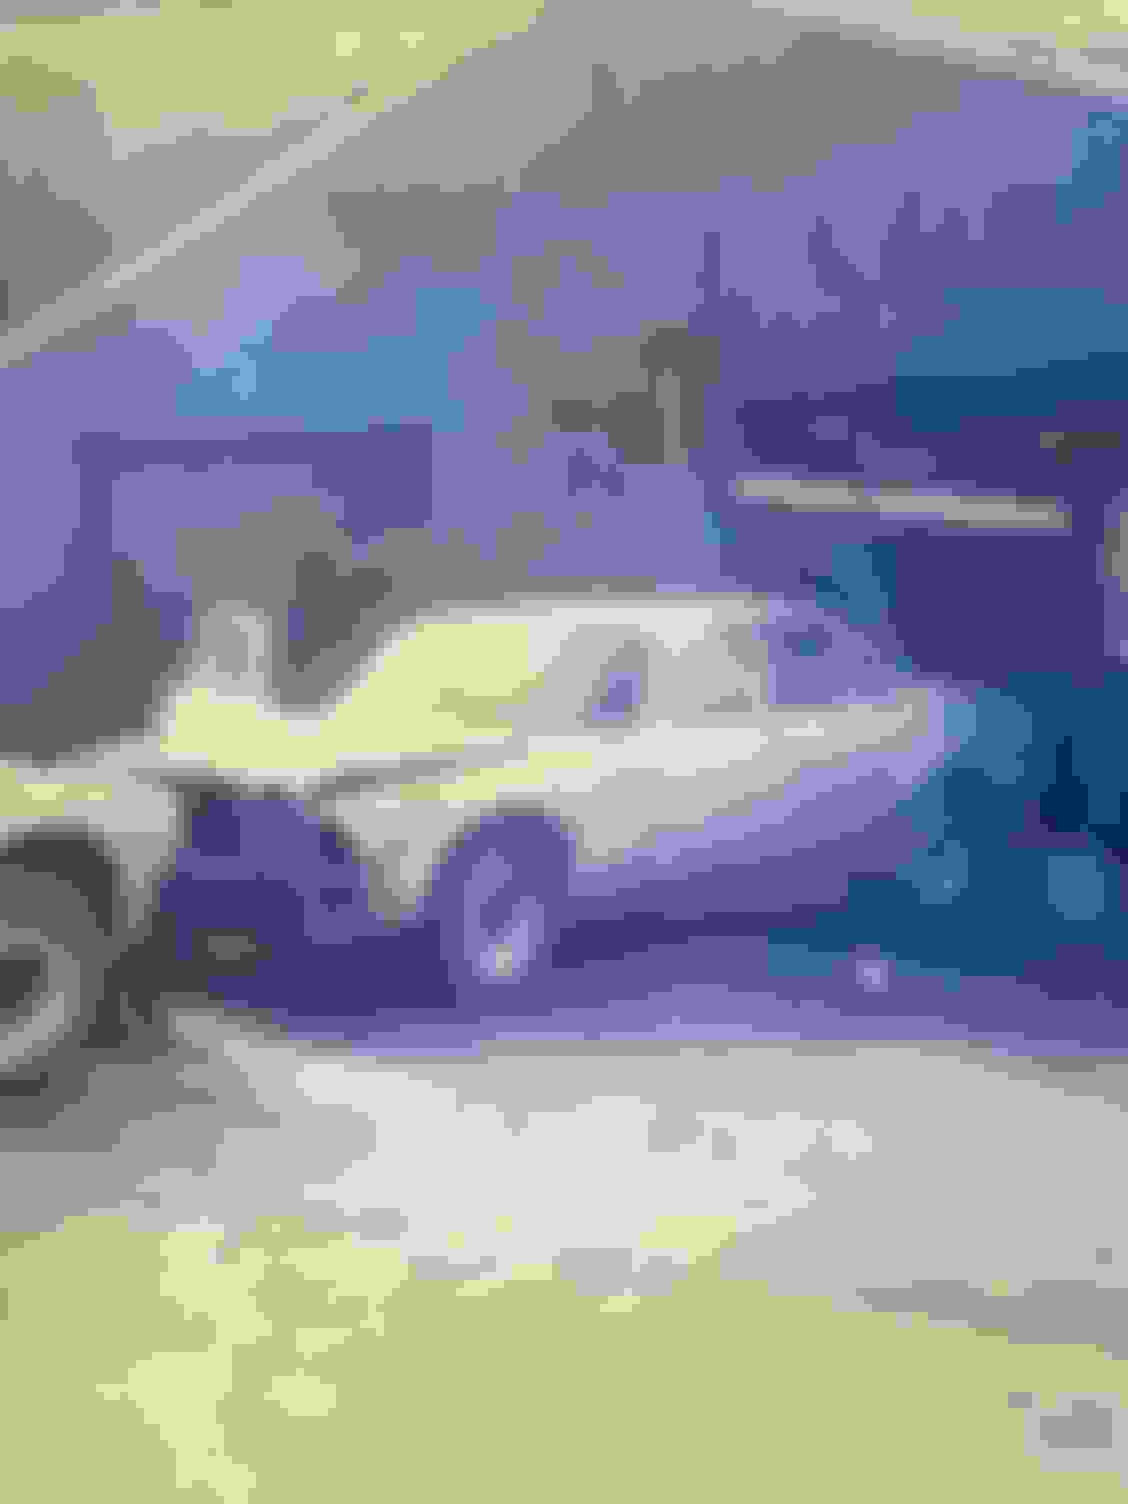
Near the end of the re-installing of everything after paint
Have all the exterior stuff put back on.. the rear bumper and guards were rechromed and I chromed the lower grill - that makes a big difference!
Am working steadily putting the interior back in properly. The PT Cruiser front seats need custom mounts and I am modifying them again to make them smaller so the rear passengers have more foot room.
I broke a part in the center console and a new one is on the way.. plus the dual USB charger port I purchased was defective and a new one is coming under warranty... it fits inside the lower right front of the console tray.. so the metal plate and window switches are just "hanging" around right now.
It is so nice to have converted the car to TBI modern fuel injection.. it starts and stops with just the turn of the key!
Roger, going back to your earlier comment about Imron. Recently purchased a 1971 Series 1 that was stripped to bare metal and rust fixed sometime in the Polaroid era. it was then painted with Imron. Overall its not too bad but has the thick fingernail chips you described and some minor bubbling. One of the reasons I walked away from this car originally was the interior condition, but after a beer decided I could change the exterior color and put in a new interior of my choice. I dread the thought of having to strip the Imron. Can it be painted over? Is it wise?
Since the repaint job in 2016, I have done lots more things to the XJ.
Just recently I added cruise control, the 7 inch headlights are now High and Low beams with the inner lights Cibie driving lights. There is a added
switch on the ski slope for the driving lights. Added remote door locking to just the drivers door so far, will do the passenger side and trunk soon.
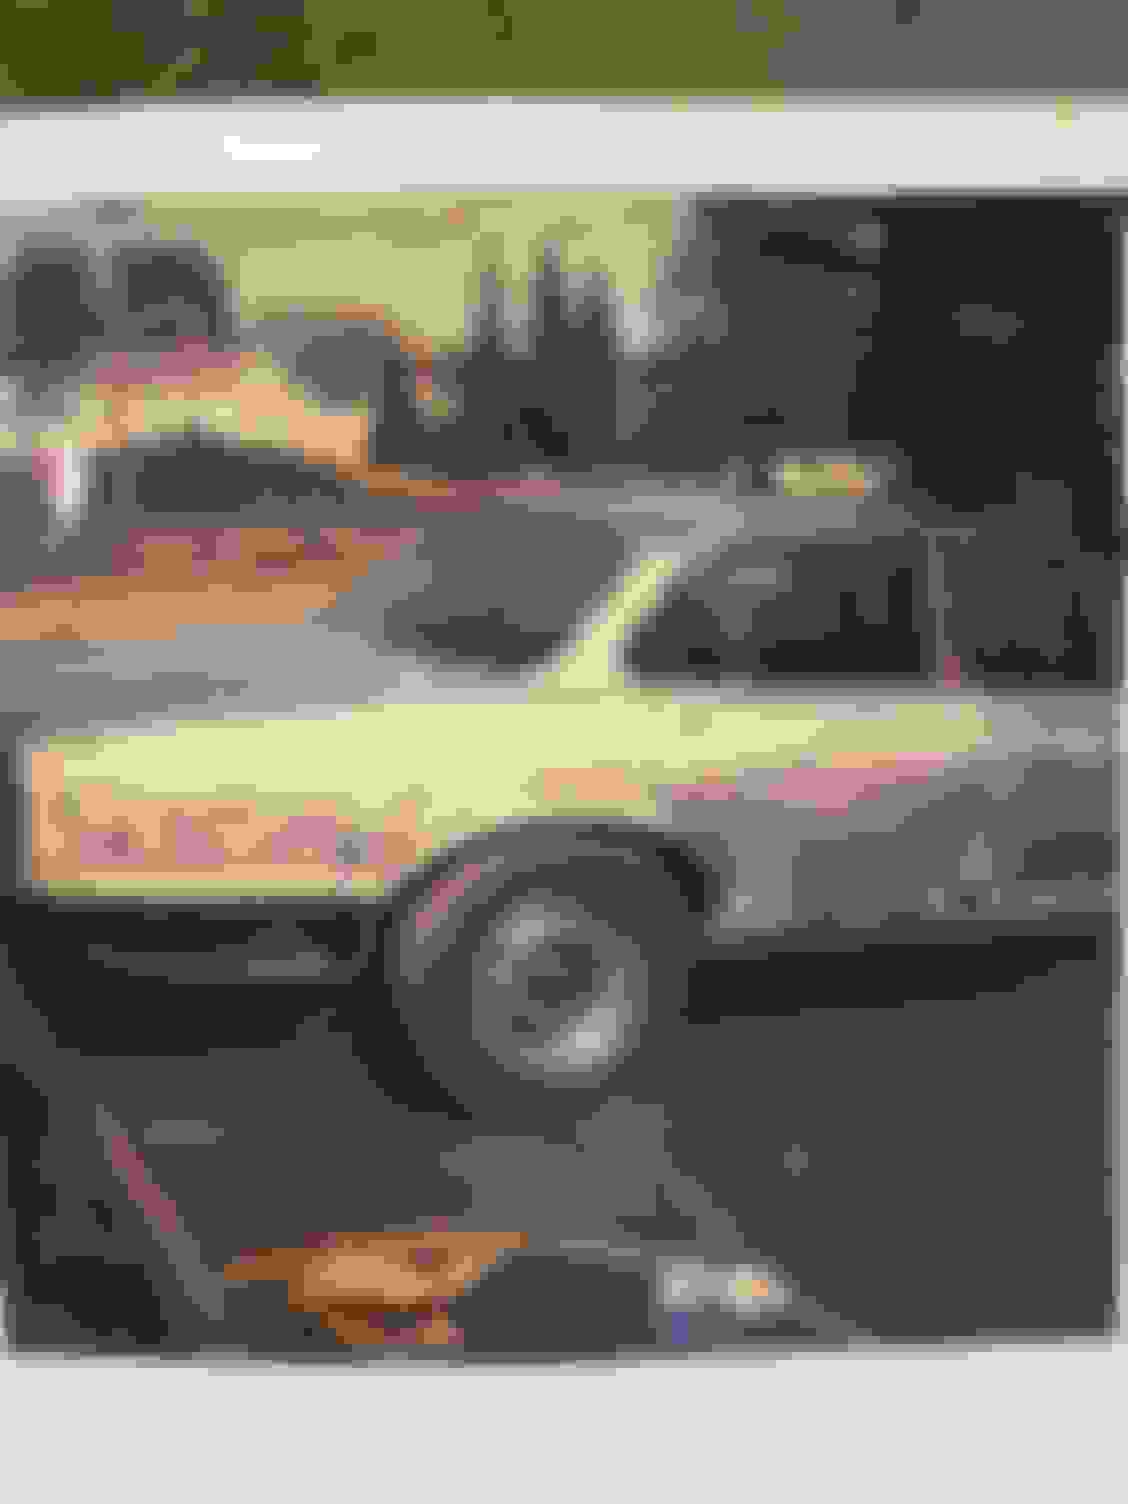
Put a cup holder in the center console top and that has worked out well, except for losing some interior storage space. The speedometer is now a Speedhut GPS speedo with several other options to give Elevation, 1/4 mile times etc. I have added XJS remote electric outside mirrors but this photo is from my old 1972 XJ since I have not taken any new photos of my 71 XJ, it is just the the old red one.
I replaced the Grant steering wheel with another one that I like better since it is dished and gives me more room. Since this is my daily driver car, have a late model truck too... I do not want to do anything too extensive.

 09-10-2016, 05:12 AM