
The Rebuild/Restoration finally begins
#21
 10-06-2014, 04:38 PM

#22
10-06-2014, 08:22 PM

#23
10-16-2014, 09:20 AM
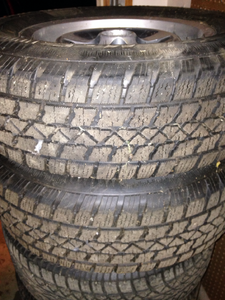
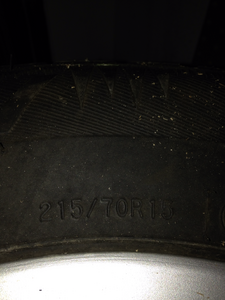
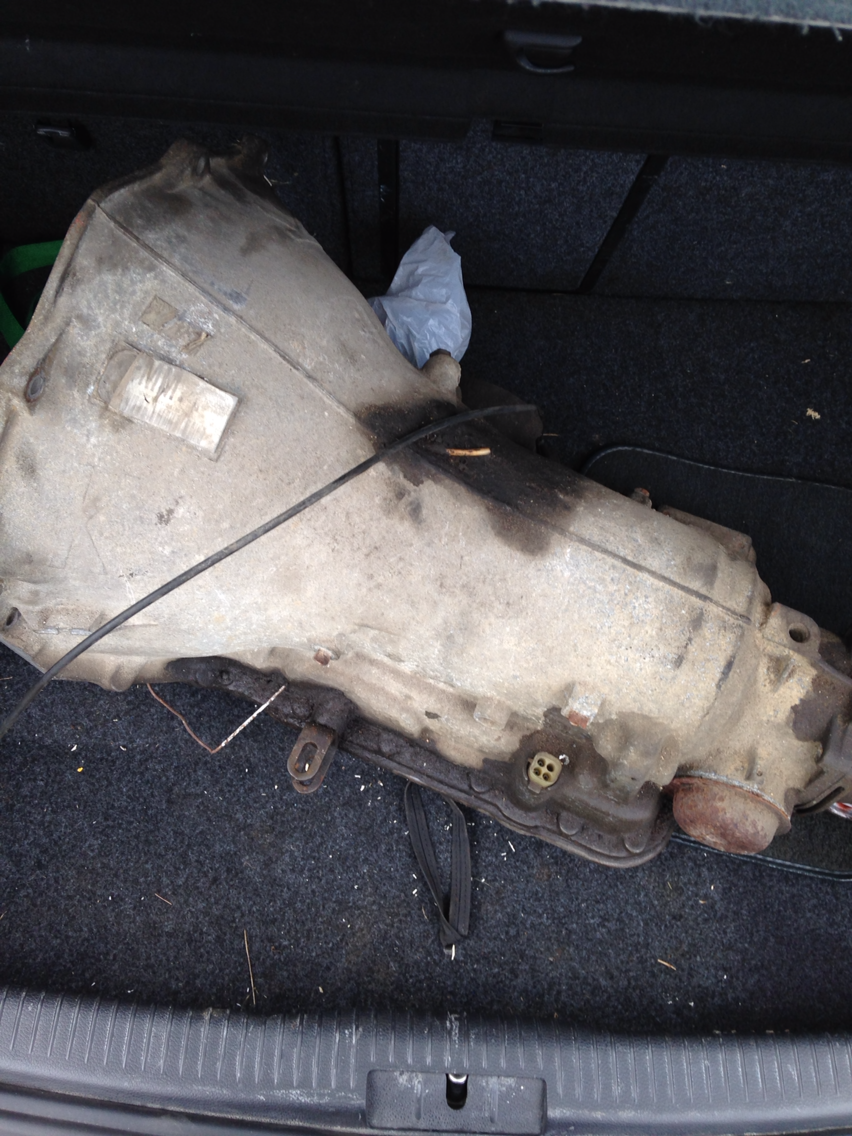
so i picked up a stock 700r4 for cheap. 250 CAD. it seems to be in order so im going to give it a good clean one of these days and hopefully not have to rebuild it. Also i have 2 winter tires forsale if any of you guys are interested, 215/70/15 Cooper Articclaw tires, used for less than 2000kms. willing to ship
heres the trans


heres the trans
#24
10-17-2014, 02:50 PM
Good choice on the trans, make sure you run a cooler and I wish I had got a higher stall converter, stock is about 1600, 23 to 2600,to cut down on the creep when at idle. I had it in my car and drove about 20 miles and burnt up the 3 and 4 the clutches, typical for these trams if run low on fluid. I bought a kit, Kevlar band, shift kit and a book and rebuilt it. If you can do a motor conversion a 700r4 is in your skill set! 250 miles later it still works awesome, smoke tires in 1 and 2 gear.
#25
10-18-2014, 10:05 AM
#26
10-19-2014, 08:42 PM
Good choice on the trans, make sure you run a cooler and I wish I had got a higher stall converter, stock is about 1600, 23 to 2600,to cut down on the creep when at idle. I had it in my car and drove about 20 miles and burnt up the 3 and 4 the clutches, typical for these trams if run low on fluid. I bought a kit, Kevlar band, shift kit and a book and rebuilt it. If you can do a motor conversion a 700r4 is in your skill set! 250 miles later it still works awesome, smoke tires in 1 and 2 gear.
#27
10-20-2014, 11:20 AM
in addition to those other parts listed, i also got a corvette servo, which is better for shift response and greatly increasing the life of the trans as the clutches will engage faster, less slipping and less wear.
The shift kit I got was a SK 700-G shift kit by transGo. it involves drilling out the pump housing for more oil flow lots of new springs, drilling holes in the plate and a redesigned TV that is suppose to prevent the common problems caused by it.
The following users liked this post:
LnrB (11-21-2014)
#28
11-03-2014, 10:34 AM
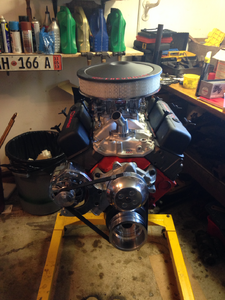
so the engine is done. New oil pickup, new camshaft and a few other little bits and pieces but shes done. Just need to set valve lash and were good to go. No power steering, figured im young enough still to be able to survive with out it. (im 20 by the way) but everything else went together well.

The following users liked this post:
LnrB (11-03-2014)
#29
11-11-2014, 01:53 PM
#30
11-11-2014, 02:01 PM
#32
11-20-2014, 06:04 PM
#33
12-12-2014, 12:33 PM
#34
12-12-2014, 02:16 PM


Veteran Member
Join Date: Mar 2014
Location: Tehama County, California, USA
Posts: 25,185
Received 8,950 Likes
on
5,295 Posts
#36
01-07-2015, 09:54 AM
Senior Member
Just read through your past postings, I have been where you are going re: the refurbishing your car.... as well I am from Montreal initially and understand the salt on roads issue (and the resulting rust).
If I were you I would invest in some steel brushes, as drill attachments for removing all the surface rust ANYWHERE and applying a liberal coat of POR 15 over the cleaned surfaces.. You will not regret this bit of extra work. I refer to this step in the refurb process as "foundation work".
More importantly (from the photos) pull the windscreens and do the windscreen channel repairs, not that hard to do, and again very well worth it (foundation work) These cars leak like a sieve from windscreen corners that have rusted through from water settling behind the "finishers".
Otherwise all the work you do on the floors will be for only a short while as water will continue to leak from these locations and you will be back to square 1 - battling surface rust and more.
Another matter most folks do not take into consideration is, the water that does enter into the cabin and come to rest on the front floors / under the rear seat area, will set up a damp atmosphere in the cabin and promote surface rust on wiring contacts behind the dash. Funny things happen then.
Paint the floors with POR 15 after floor cleaning - never worry again.
Ask me how I know...
My car is now bone dry - no molding or terrible smells of rotting carpet.
I did not use the windscreen finishers upon replacing the windscreen
I filled the channels to the brim with windscreen sealant and wiped off the excess.
The following users liked this post:
Mark Scotton (09-24-2015)
#37
01-28-2015, 05:52 PM

#38
02-04-2015, 03:22 PM


#40
02-04-2015, 07:53 PM