What did you do to or buy for your XJ-S/XJS today?
#721
 03-29-2017, 11:48 AM

Senior Member
My door mirrors had a bad habit of auto folding at speeds above 130 kph. Today I removed the glass, tightened the screw and mounted the glass again within max. 10 minutes. Happy days 
Disclaimer: My 1977 mirrors are old and primitive. It is probably not as easy on newer versions of the XJ-S.
Description and videos here: Door mirrors ? XJ-S
Disclaimer: My 1977 mirrors are old and primitive. It is probably not as easy on newer versions of the XJ-S.
Description and videos here: Door mirrors ? XJ-S
#722
03-29-2017, 06:27 PM
Veteran Member
Inspired by Jig Jags Footwell Lighting, I did a Similar Setup on my XJS which took about 30 Seconds!
See how I did it here: https://www.jaguarforums.com/forum/x...122634/page48/
See how I did it here: https://www.jaguarforums.com/forum/x...122634/page48/
#723
03-30-2017, 10:13 AM
Veteran Member

too nice!
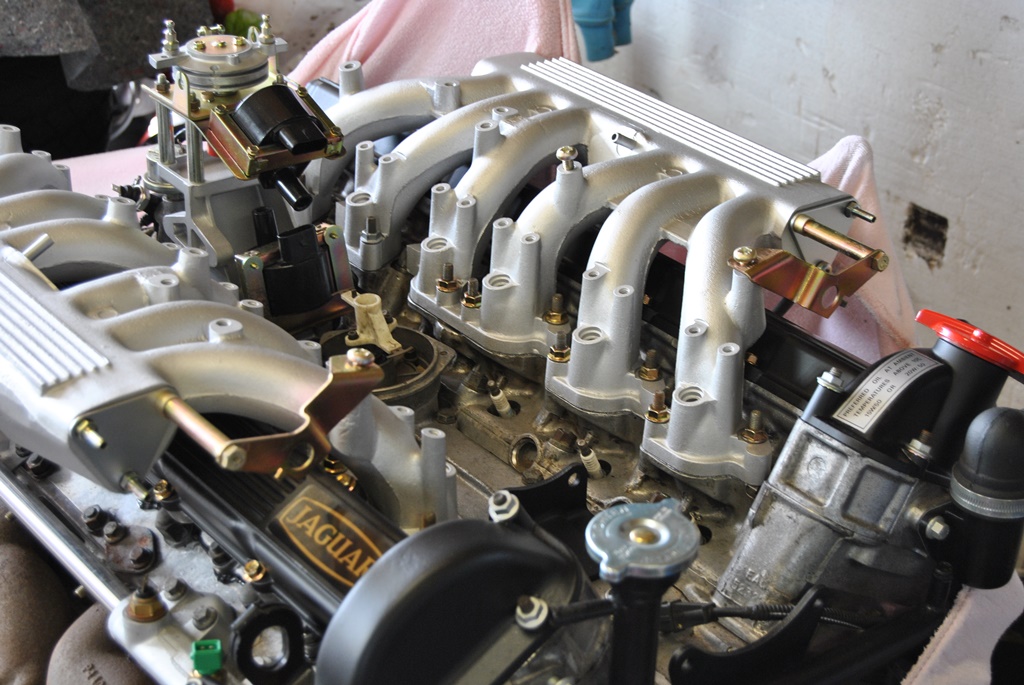
Yes and an upgraded ecu, only one fuel pressure reg. and no fuel cooler..., but not the big black plastic cover that covers the valley and I feel cheated because I did not get the dual cool air intakes that the 6.0s' get...
though I do know that if I want I can go to a breaker and get it and it will bolt right in as I have the correct Bonnet(hood here in the USA)
that will be
the radiator mount
the new air cleaners
the piping (that has a restriction and then warm air holes)
#724
03-30-2017, 10:20 AM
The following users liked this post:
Jonathan-W (03-30-2017)
#725
03-30-2017, 01:35 PM
Veteran Member
The following 2 users liked this post by JigJag:
Jonathan-W (03-31-2017),
Rivguy (04-17-2017)
#727
04-03-2017, 08:42 AM

Yesterday I did another attempt to reinstall rear window seal, this time I got OEM seal(as opposed to URO in my previous attempt).
Well, it did not fit perfectly either... this time corner would not stay in place no matter what I did. Eventually corner got a little tear, and I could not install the trim anyway.
So, I ordered another seal, hope third is the charm... next time I will not put 'messy' sealant between window and rubber (will put it between body and rubber though).
#728
04-03-2017, 05:08 PM
Veteran Member
Those seals are a nightmare to install. I too went through 3 seals before I got one to fit, although not perfect ( the trim will not fit the channel)
The corners are the problem. I found cutting the seal and glue it with superglue to get it to fit right.
Also when you seal it use polyurethane sealant, the stuff they use on bonded windscreens. I used this on my rear screen and side window they're still leak free after 7 years, unlike the front screen that used mastic.
The PU sealant is messy so mask the car with good quality tape, the window is not so important as a razor blade will get it off the window. Have LOADS of rags and turpentine or white spirit.
#729
04-03-2017, 09:32 PM
#730
04-04-2017, 02:07 PM

Not all today, but within the past couple weeks I've bought: New alternator and compressor belts (installed), new quad headlamp bulbs to do the conversion, a driver side wheel well bulb access panel, oil filter, a cream leather seat cushion so I can sit a little higher, blue canvas top color restoring dye, fabric water proofing spray, and a replacement rubber mount for my air filter housing! Slowing getting Thurston up to snuff for a couple years of care free enjoyment!
The following users liked this post:
Jonathan-W (04-05-2017)
#731
04-10-2017, 03:02 PM
Over the weekend I did few things...
...replaced hood support 'things' - now I only need to open it half way and it magically opens-up by itself. With old ones I had to use wooden stick to support open hood or risk getting hit on the head. ( Of course they did not fit out of the box, the holes were too small, so extra drilling saved the day).
... installed rear window! finally, third rubber seal is the charm!
... To make window installation easier and to check bottom for rust I also removed seats. It took me half a day to put them back... talking about making things easier.
all-in-all very productive weekend!
The following 2 users liked this post by NJ2003XJ8:
Greg in France (04-11-2017),
Jonathan-W (04-11-2017)
#732
04-11-2017, 08:47 AM


#735
04-15-2017, 10:29 AM

#737
04-15-2017, 11:21 AM
I treated my leather seats to a day at the spa. I used a product called leatherique and it worked great! It is a two step process, first step is to apply the conditioner and let it sit in the sun (with top up and windows closed) for a day. Then remove the conditioner and apply a cleaner with a micro fiber towel. It really cleaned up the seats and they feel more soft and supple. Go to Home Page | Leatherique Restoration Products for more info on this product.
The following 3 users liked this post by XJSGirl:
#738
04-16-2017, 05:42 PM
Veteran Member
Well yesterday I pulled the fuel rail and replaced those vintage hoses. Yes. They were still the originals. 
Today, I pulled the rail again and replaced two that were not seating properly. Good news is I'm getting good at this! Running to rail on bench:25 minutes. 17 minutes on bench and back in and running at 1:15.
MVP today, same as everyday, Mr magnet-on-a-stick!
Today, I pulled the rail again and replaced two that were not seating properly. Good news is I'm getting good at this! Running to rail on bench:25 minutes. 17 minutes on bench and back in and running at 1:15.
MVP today, same as everyday, Mr magnet-on-a-stick!
#739
04-16-2017, 07:41 PM
Veteran Member
I treated my leather seats to a day at the spa. I used a product called leatherique and it worked great! It is a two step process, first step is to apply the conditioner and let it sit in the sun (with top up and windows closed) for a day. Then remove the conditioner and apply a cleaner with a micro fiber towel. It really cleaned up the seats and they feel more soft and supple. Go to Home Page | Leatherique Restoration Products for more info on this product.
#740
04-17-2017, 03:19 AM
Veteran Member
Having removed my Electric Fans, because they were too blinking Noisy and didn't do as good a job as I'd hoped.
Yesterday I put a New (Slightly Shop Soiled) White Fan on.
Whisper quiet (ish) and now Sounds much more like a Car than a Sewing Machine!
I've done a write up on it with a Video here: https://www.jaguarforums.com/forum/x...122634/page48/
Yesterday I put a New (Slightly Shop Soiled) White Fan on.
Whisper quiet (ish) and now Sounds much more like a Car than a Sewing Machine!
I've done a write up on it with a Video here: https://www.jaguarforums.com/forum/x...122634/page48/