When you click on links to various merchants on this site and make a purchase, this can result in this site earning a commission. Affiliate programs and affiliations include, but are not limited to, the eBay Partner Network.
Do you have a decent scanner to check all of the modules? I'm going with one or more are having bus issues. Probably something you disturbed doing the stereo install / relocate.
Use the old troubleshooting technique of last thing first to unravel where it went wrong.
A few things here to clear up some ideas on issues. This issue first happened before I even started this project. The week I put my car in storage it happened. Not the remote issue but the issue of the electronics not turning off inside the car. The remote issue happened recently though. When I put my car up on the lift for the winter I should have looked into the issue but for some reason I just put it off and thought I would do it last, didnt think it would be something tough to figure out. Now that I am done with the interior install and added sound system I wish I would have figured this out sooner.
I will keep looking into it this week and try to figure out whats going on.
In the meantime I started the wrap. My wife and I got the hood, roof, and rear hatch done. Then today we will finish the sides and bumpers. Here are some pics.
Well it shore is gonna be visible. I think what the most question will be is " what kind of car is it". With the interior I'd probably have vertigo driving it. Nice wrap job.
Well it shore is gonna be visible. I think what the most question will be is " what kind of car is it". With the interior I'd probably have vertigo driving it. Nice wrap job.
Probably will think "Jag has new prototype for a GT coupe?" as it looks a bit like a disguised factory car.
hahaha!! When I FIRST designed this that is exactly my thought! Im glad someone else noticed that! Im a engineer geek and wanted something 8bit pixalated and busy, then I started seeing images on google that are prototype cars hiding the curves and said YES THATS WHAT I WANT! Something to make people wonder.
In the past 24 hours a few people have been telling me that some people will think its the Toyota Supra concept.. lol. makes me laugh.. I can see it a little I guess. Similar wing, lowered stance and so on.. my design is busier though.
The wife and I got one entire side done last night. Took about 2 hours and wasnt as bad as I thought it would be. Tonight the other side and then bumpers and side skirts shortly after that.
Car wraps are pretty thin so you can for sure see imperfections. Plus any little dust or dirt you have laying around will suck right up into it from the static. I for sure have some imperfections since my garage isnt very clean but overall it looks great. At 5 ft away it looks perfect. Whats really nice is the wrap is making it look like a brand new car, in person its so dam shiny and smooth. I have a ceramic liquid coating on the way that will last for 2 years when applied. That will protect the wrap really well and make washing the car a breeze.
Originally Posted by Ranchero50
Has kind of a neat vib. How does the wrap deal with imperfections in the paint, stone chips etc?
When I first saw your mock up model I thought that's going to look hideous! But on seeing it in the flesh I am impressed how good it looks Thanks for making me convert -perhaps I still have a few years before I turn into a boring old fart
When I first saw your mock up model I thought that's going to look hideous! But on seeing it in the flesh I am impressed how good it looks Thanks for making me convert -perhaps I still have a few years before I turn into a boring old fart
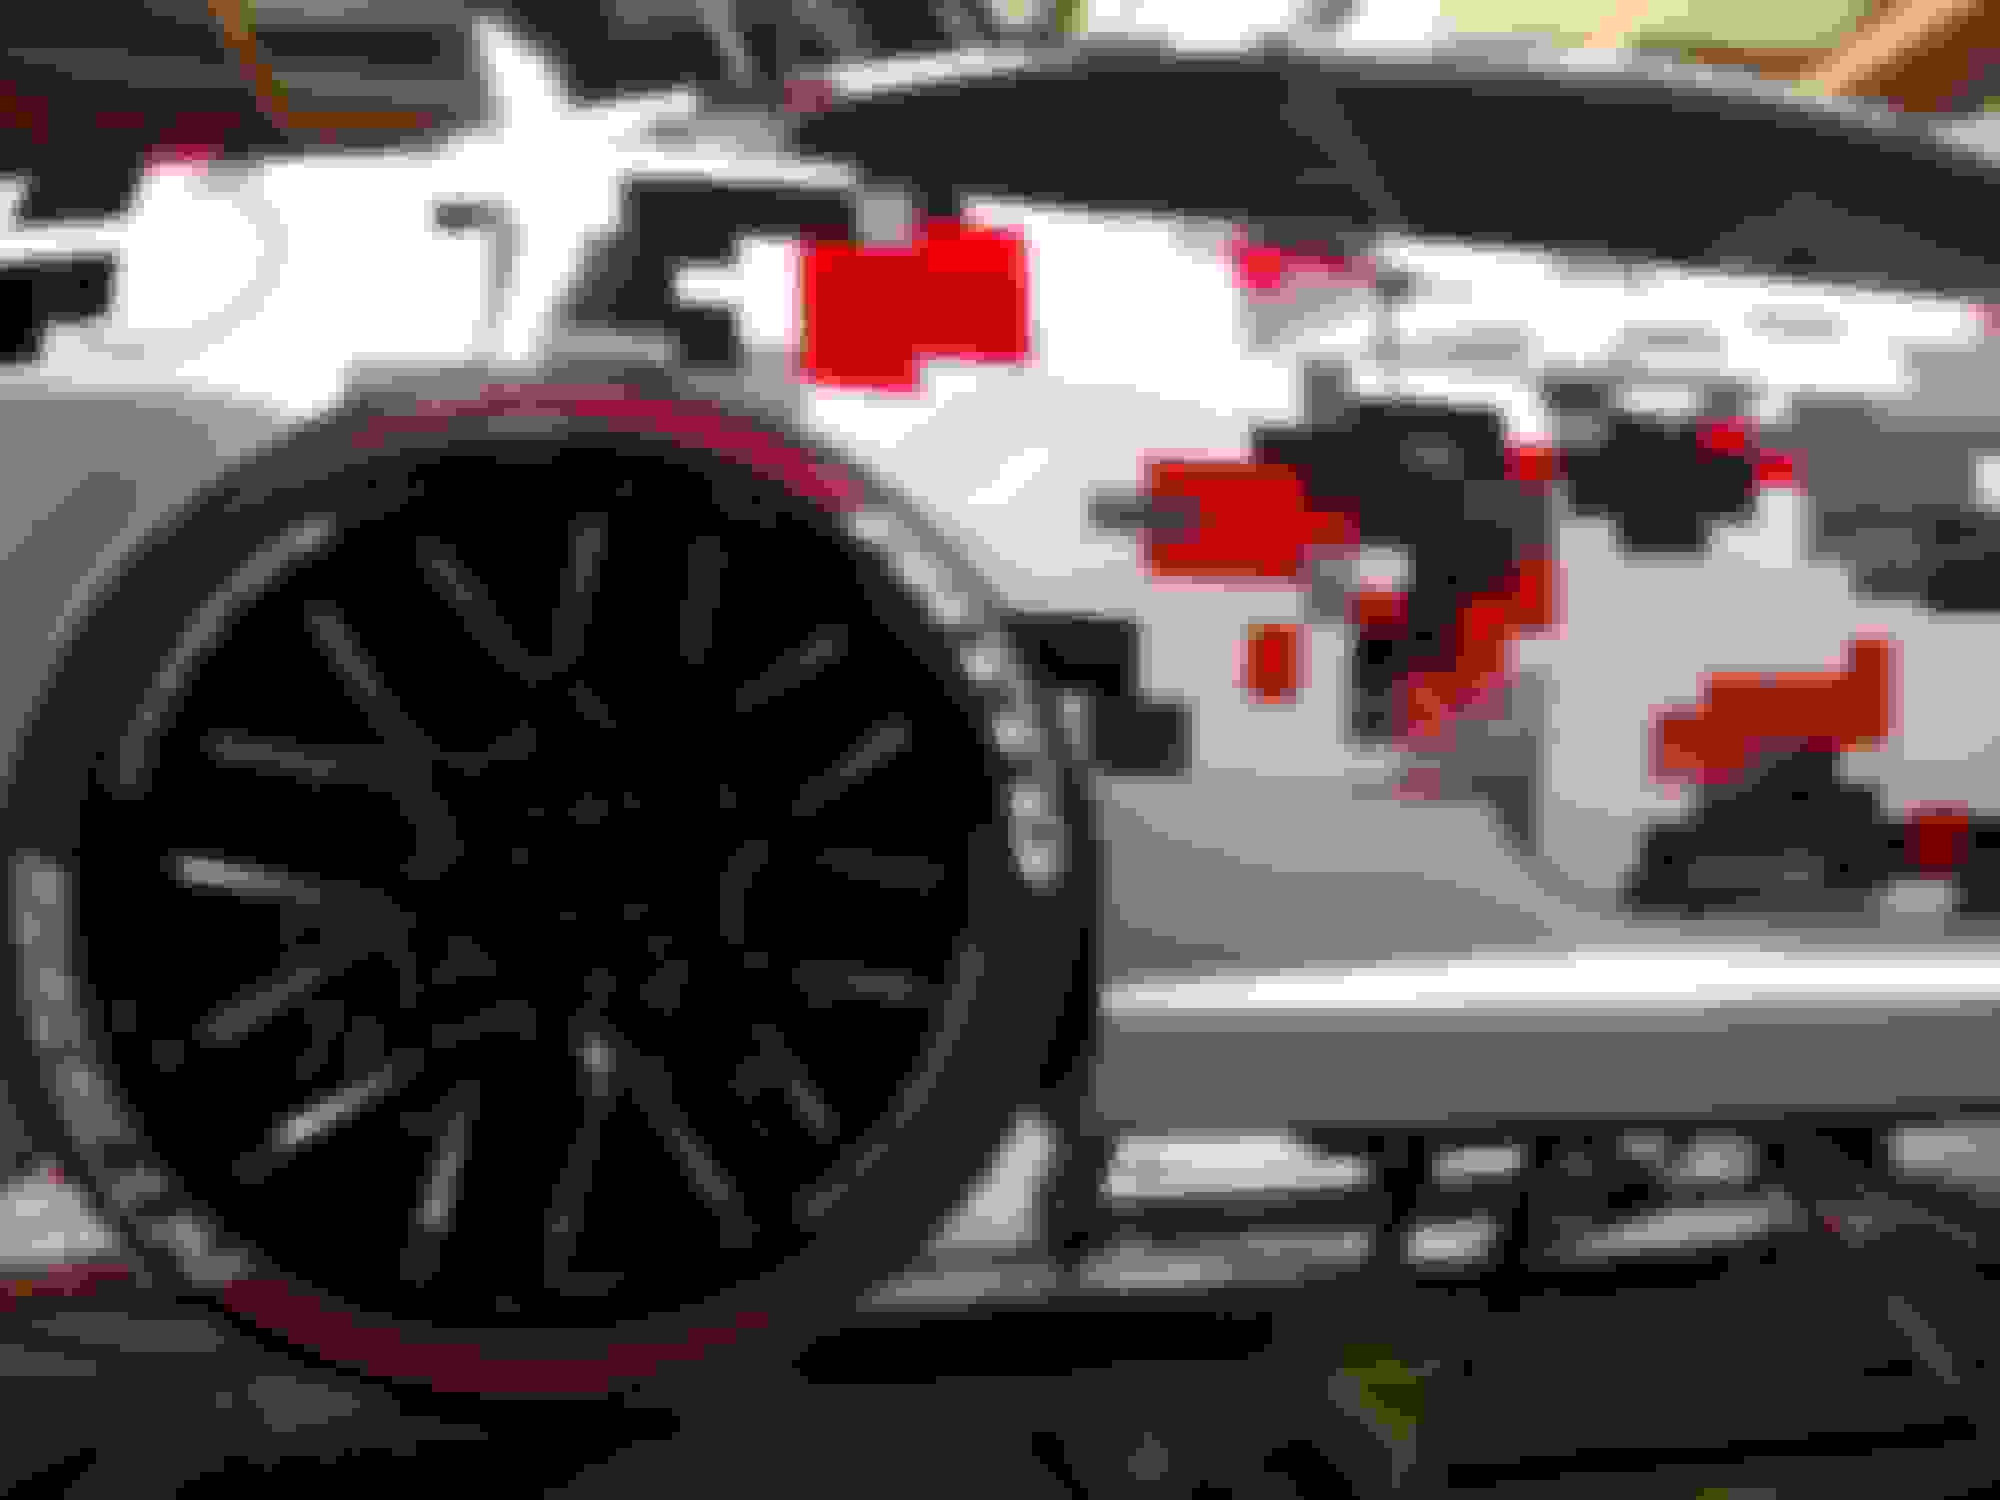
Got my tire stickers installed and also the other half of the wrap. All that's left now is the front and rear bumper wraps, side skirts and finishing up the hatch area with the sound system and air ride components. The fender flares are almost here (coming from Russia). I have the vinyl ready to wrap those as well. We got a foot of snow arriving tonight so I guess the car will sit a few more weeks which gives me more time to work on it.
My wheels look HUGE at this angle..lol.. they are only 20s..
Because I have no idea for sure how high up the new fenders will be mounted so its best to just wrap it all. And you cannot wrap the new fender flares with the body, they have to be wrapped separate.
Originally Posted by kj07xk
Curious why you wrapped the sides if you're going to cut the fenders?
Looking at some of the videos on how the XK was built I notice that the area in front of the rear wheel arch is part of the structural integrity of the chassis. Seeing that you'll have to remove metal to open up the wheel well how are you going to reconstruct and stiffen the chassis in that area. Also will you have a similar issue with the front wheel well . Just curious on how you plan on handling it. Are you considering welding or spot weld or rivets along with adhesives. Good show so far.
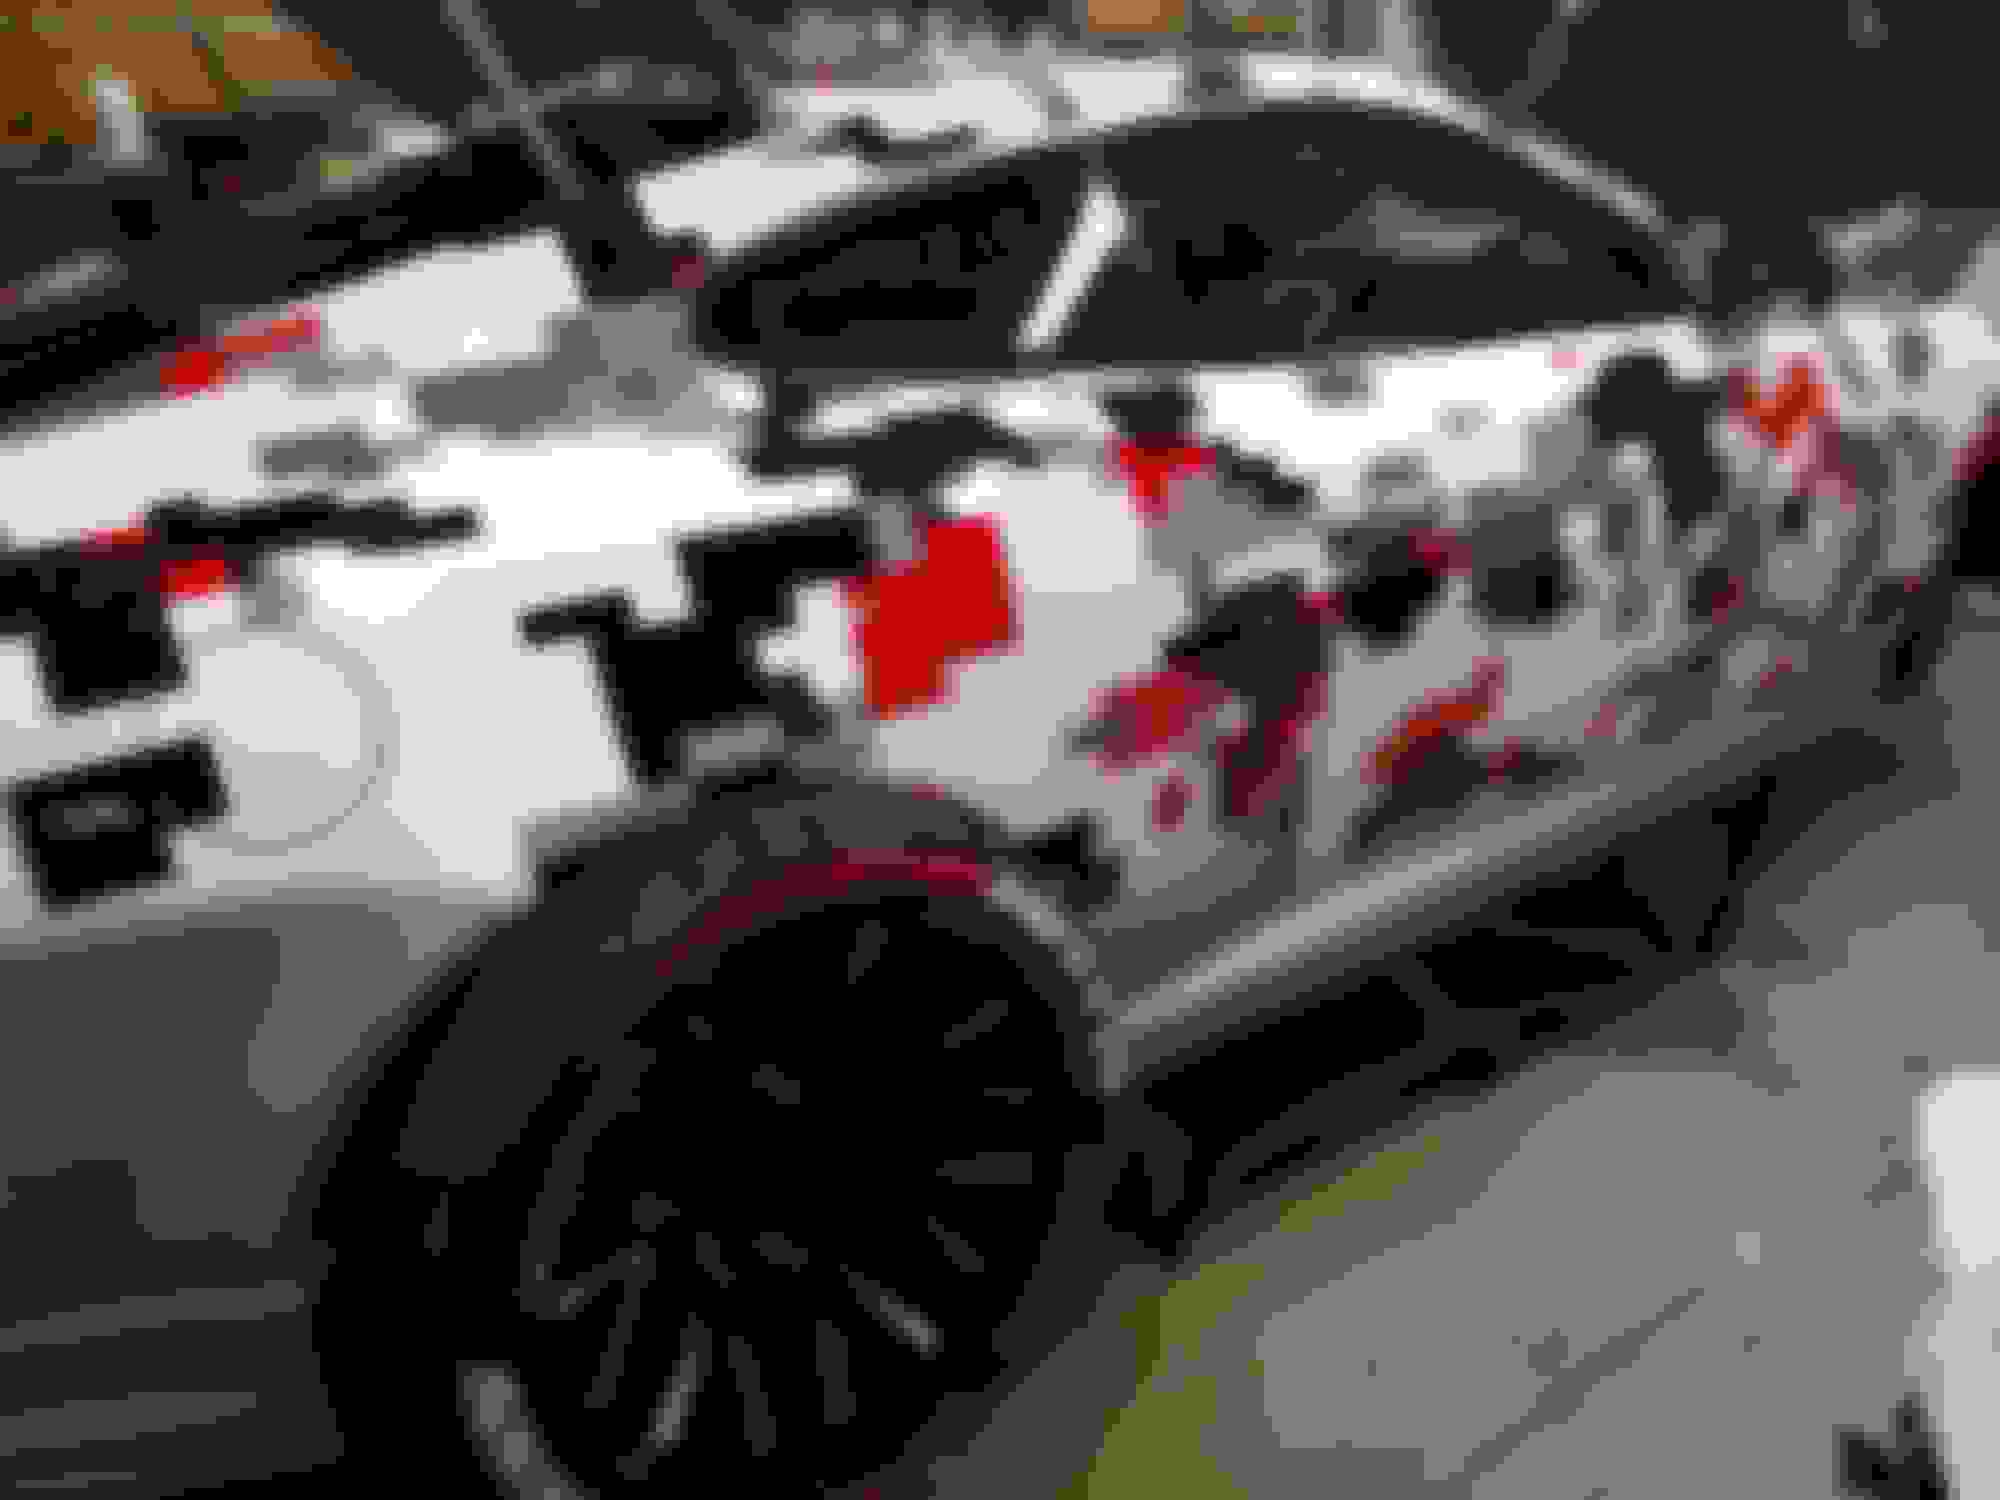
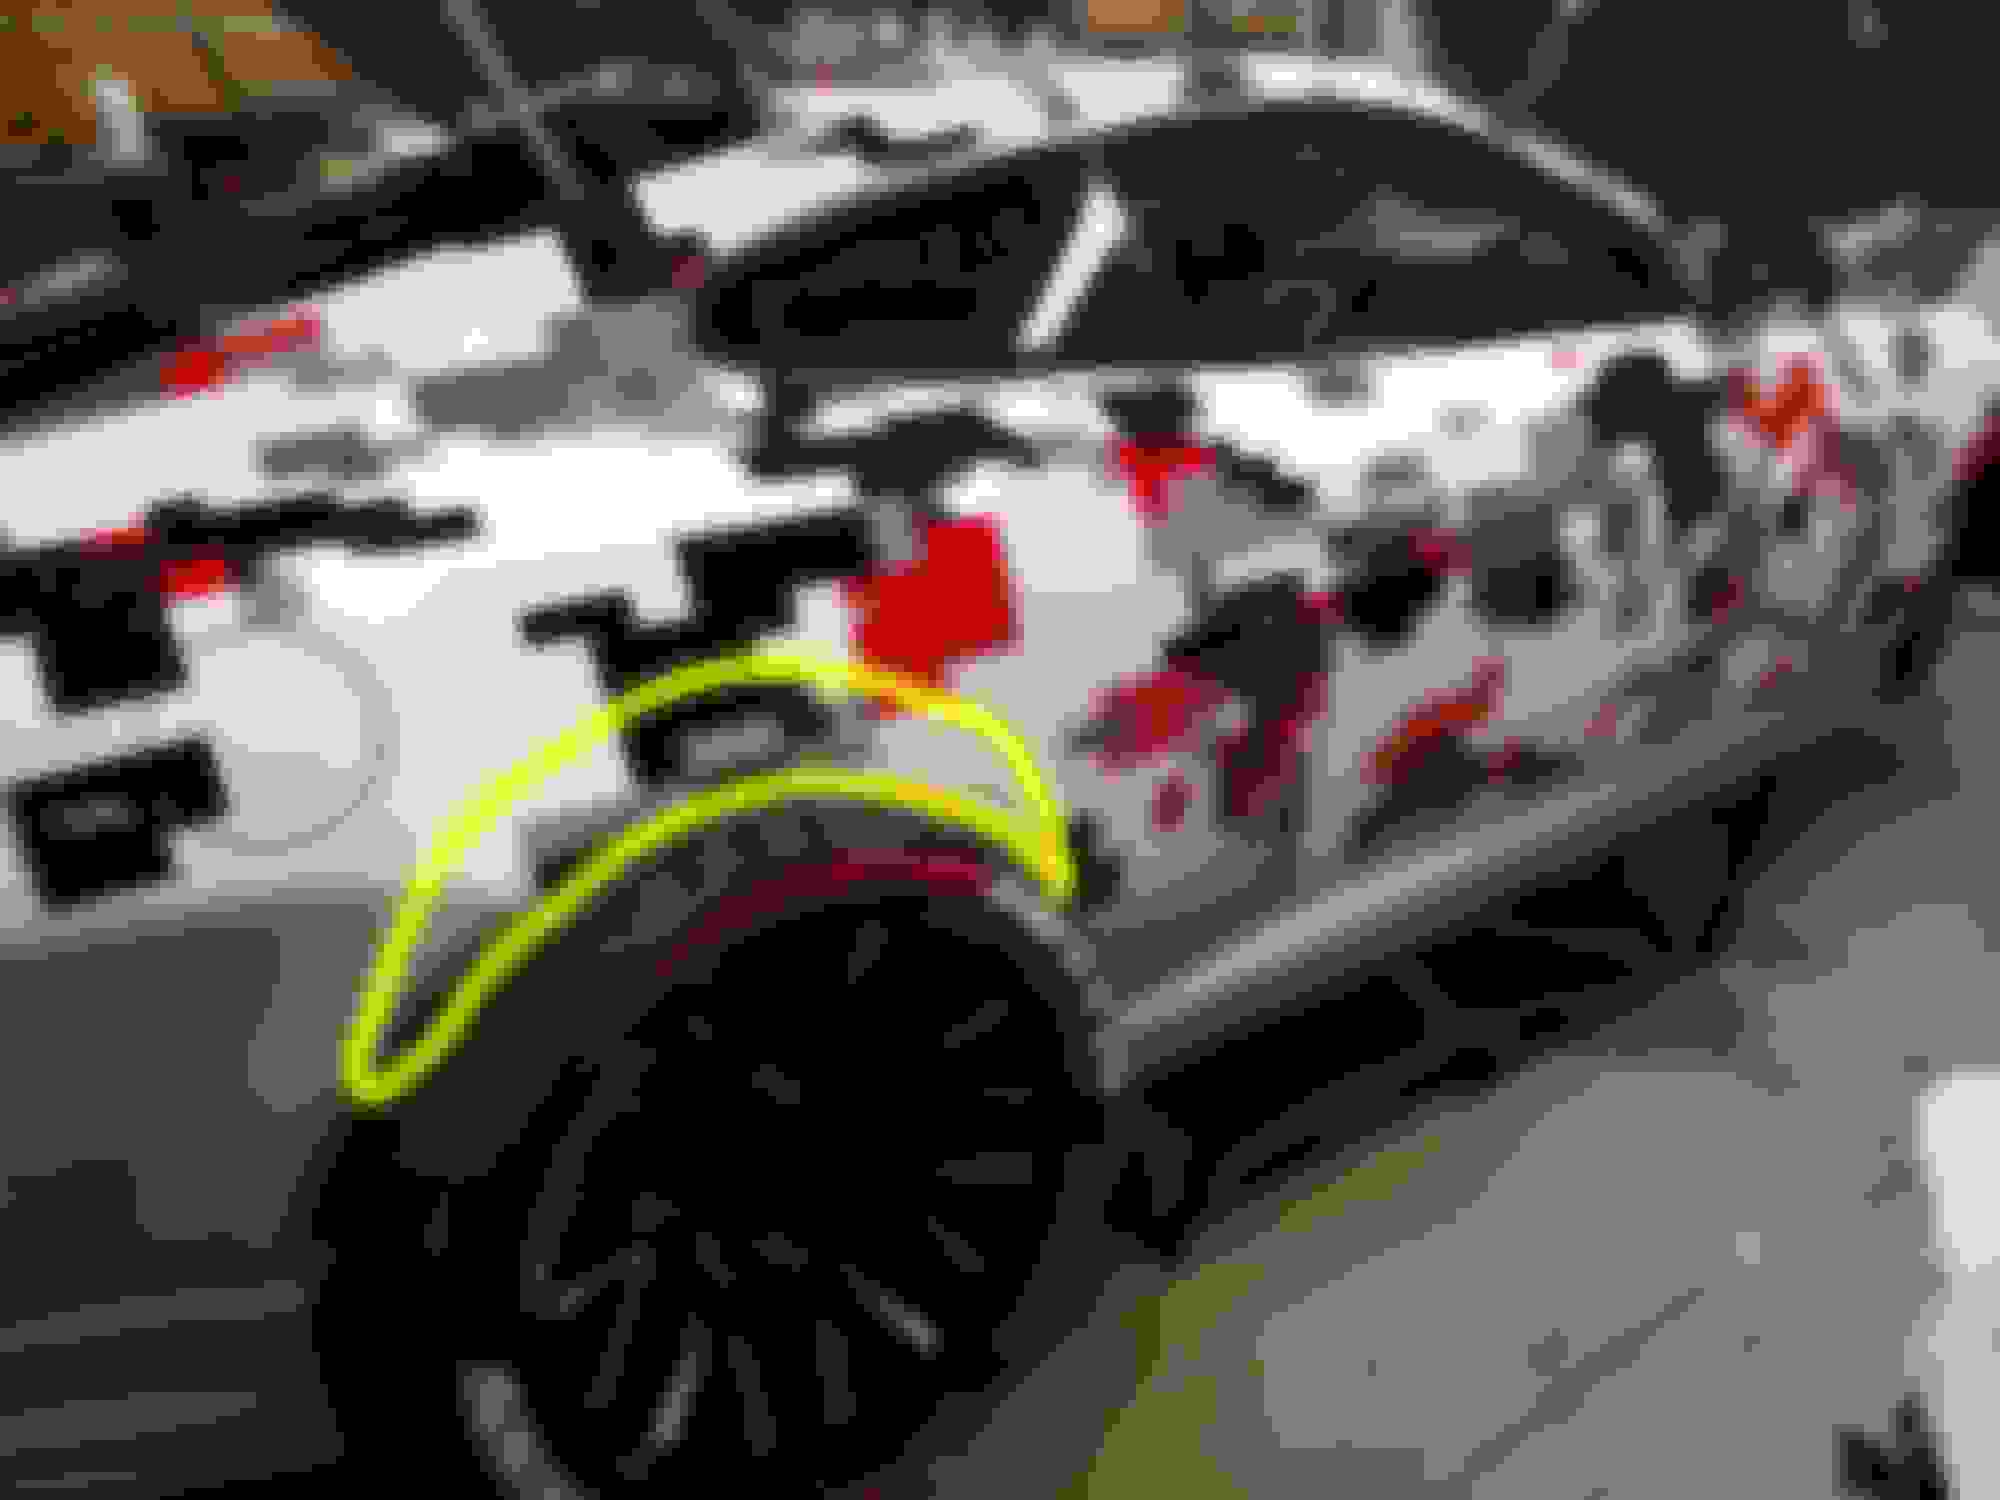
The actual part of the fenders that get cut are the upper half of the entire fender arc. I am clearing anything structural as far as I know. The area circles in the pic is what actually gets trimmed out. The same goes for the front, just the upper part. When the rear fender gets cut there will be two layers and the bottom layer will have to be spot welded to the top and sealed. The front fenders you just cut and install chassis saver goo to seal up the edges.
The new fenders get put on with fender flare hardware. I got the black low profile hardware. This will allow me to remove the fenders whenever I need to in minutes to clean or replace them.
Originally Posted by jagtoes
Looking at some of the videos on how the XK was built I notice that the area in front of the rear wheel arch is part of the structural integrity of the chassis. Seeing that you'll have to remove metal to open up the wheel well how are you going to reconstruct and stiffen the chassis in that area. Also will you have a similar issue with the front wheel well . Just curious on how you plan on handling it. Are you considering welding or spot weld or rivets along with adhesives. Good show so far.

 03-18-2018, 12:48 PM


 Im a engineer geek and wanted something 8bit pixalated and busy, then I started seeing images on google that are prototype cars hiding the curves and said YES THATS WHAT I WANT! Something to make people wonder.