When you click on links to various merchants on this site and make a purchase, this can result in this site earning a commission. Affiliate programs and affiliations include, but are not limited to, the eBay Partner Network.
This is the big week!! Well I hope anyways. If the weather is ok I should be able to finish the wrap, finish the air ride setup, and install the flares and wheels!! The big A$$ fender flares are here!! They are huge and line right up with where my rims stick out and if everything goes as planned the tires will tuck with the camber when I slam the car to the ground while parking. I have lots of little things to do like carbon wrap many trim pieces, mirrors, and others. I have the door panels to complete and also the front and side diffusers. BUSY BUSY WEEK!
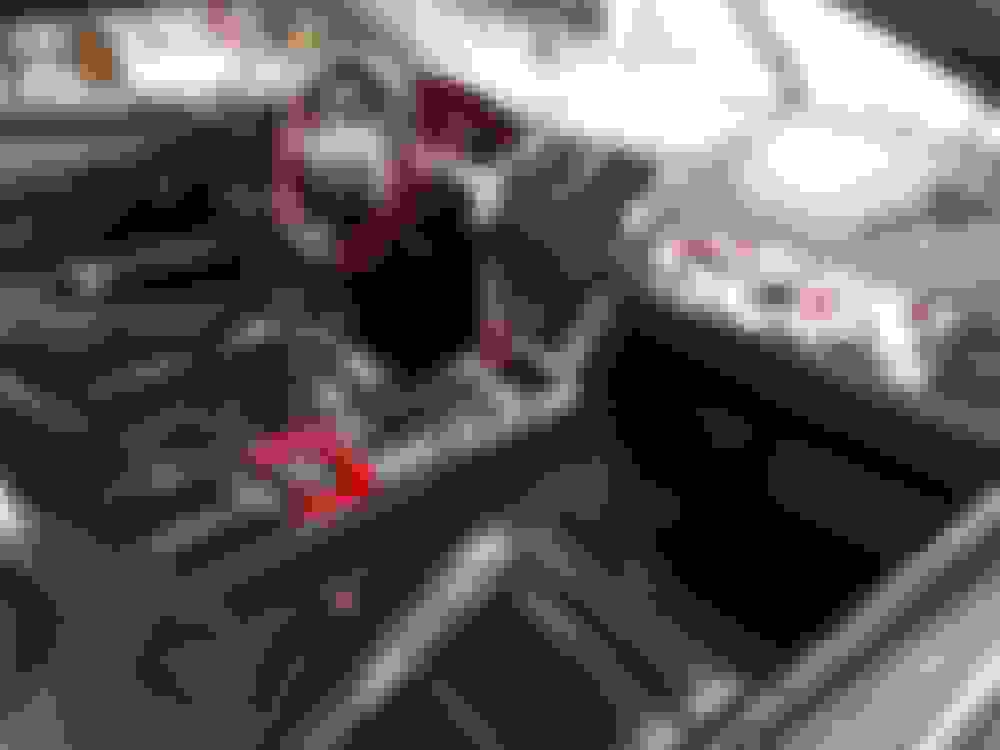
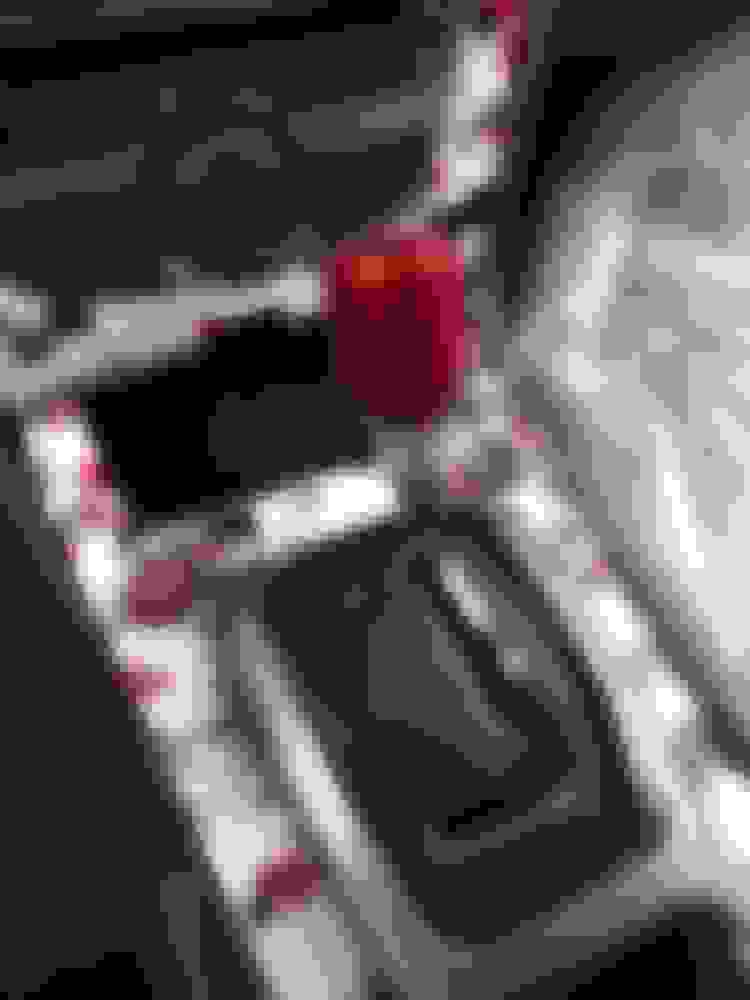
And I also put on a new shift knob to match the paddle shifters. I have a custom decal that goes on the top so the MOMO Italy isnt showing. lol
Its hard to grasp what it will really look like, but soon enough you will see it all fits together.
This is how I have always wanted the front fender to look. The rear has always been amazing with its bubbly fenders but the front never looked right to me, always thought it was too skinny and should have been more like an Aston to look more aggressive.
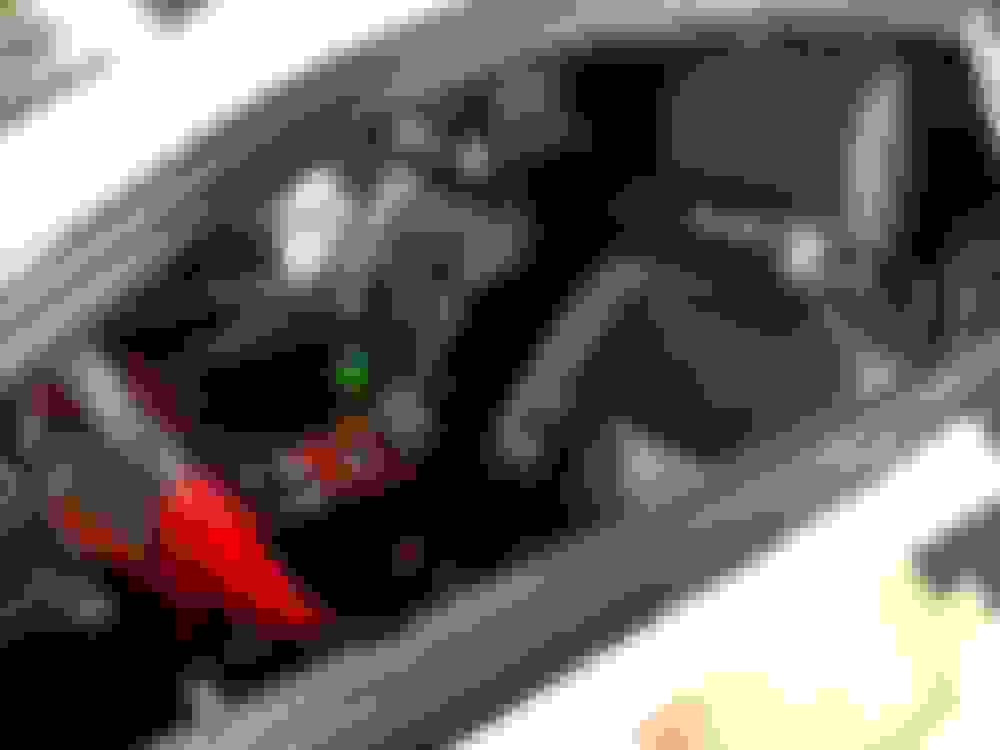
I wasnt going to get these ridiculously large and awkward headrest but I really wanted my daughter to have a TV in her face when we roll around, she only has a few more years and she wont fit in the back anymore. But these 9" monitors in them are great quality and she can watch her own stuff while I have my own screen in the front for navigation or whatever. The jaguar headrest pads really help distract from the obnoxious headrest.
As you can see I still have to finish the door panels and wrap my air ride controller box. I am extremely impressed with the weathertech floor mats.. they fit perfect. I cant remember if I posted this or not but last summer I nearly died when my floor mat got stuck under the pedal. I was traveling 90mph in a 35 through stop lights until I realized why my accelerator is stuck.
And the shift knob.. just a cheap MOMO.. nothing special there.
Yesterday was a reminder on why I absolutely hate wrapping front bumpers. Took 4 hours and it was near perfect except for the over stretch near the headlight. Good enough for me. Tomorrow the middle section gets wrapped with 5D carbon fiber.
The bumper is literally just sitting on the car with 2 bolts. Have to have the grills off to wrap it. But I am not putting back on the stock ugly thin wire grills. I have a new plastic honeycomb grills that you cut to fit. It will match those little grill inserts on the left and right and make it look much newer.
Originally Posted by jahummer
How are you removing and re-fitting the grilles without the bumper off of the car or is just on the car temporarily to align the wrap pattern?
When you get time would you post up a material list and wrapping strategy for the exterior? What size pieces go where in what order. Seam locations etc. Left overs fit where etc?
I've watched this about three times and am still dumbstruck with how cool it looks.
Something tells me, that if it looked good in the daylight, it would have been in the video...
I thought those were outlawed in some States. If I recall, there was a paint (Chrysler maybe) that changed appearance given the light of day, which made it damn near impossible for police to describe the color. It wasn't a wrap but similar concept.
Really? Then they better outlaw women from dying their hair and wearing wigs, cause a guy could get into a lot of trouble thinking he was dealing with two different women.
Due to spending a lot of time underneath vehicles at work (as strange as this is going to sound) I would love to see a set of red splash trays on this car
Due to spending a lot of time underneath vehicles at work (as strange as this is going to sound) I would love to see a set of red splash trays on this car
With Pink "Hello Kitty" Logos maybe?
BTW, to the OP, this is not a dig at your project, I am impressed with your dedication to your current project, and I assume it is going to be a rolling billboard for your graphics business? I get it completely!
1. ALWAYS use a new blade, even after every few cuts. Most blades you can break a little piece off and its new again. I went through 4 entire blades with the entire project.
2. ALL the wax must be removed from the car and every single little edge in gaps, under hood, behind door and everything wiped down with isopropyl alcohol, including the entire car itself.
3. Make sure your not in direct sunlight and its around room temp at 18-22C (64-72F). And most importantly make sure its a dust free environment.
My wrap is far from perfect, there is dust and dirt under the wrap all over the place and I over stretched in 1 spot on the front bumper. This happaned because my shop is really dirty and I was wrapping my car in 45 degree F with a little space heater. If I was in a clean garage with the right temps I would of had a perfect wrap probably.
After you wrap the car you for sure want to put on a ceramic liquid coating to protect the wrap from scratches and everything else it goes through outside. Vivvid sells an amazing ceramic coating at a much better price than most other places and its made for vinyl.
You can wrap the entire side of the car in one piece like I did or you can wrap it in separate pieces. Wrapping in separate pieces takes much more vinyl because you always need a 6-12 inches of extra vinyl to stretch and apply. And it makes it much harder to line up the design from piece to piece.
My wrap was two large side pieces, front bumper piece, rear bumper piece, hood piece, roof piece, and hatch piece. Then smaller pieces for my mirrors, trim, and so on. An entire roll of 100' x 64" should wrap an entire Jaguar if there isnt much for messups.
CAST vinyl is made for curves (like car wrap) and calandered vinyl is made for flat surfaces, make sure you always use CAST if your wrapping something curvy. Also CAST will not shrink near as much as Calandered.
Both vinyl are air release and have little fish scale looking texture to them to let you release bubbles by just pressing down on them. DO NOT use water or liquid to apply car wrap or any air release vinyl.
Most car wrap vinyl like the ARLON SLX that I used is heat or time activated meaning after you wrap the entire car you have to go over it with a heat gun to make its memory erase and form to its new permanent shape. The time sensitive means that after leaving the wrap on for a few hours it starts to bond to the paint to hold better. Not destroying the paint of course.
Only use a squeegee with felt on it and all the scratches come out with a heat gun or torch (be careful not to burn or melt the vinyl). When you first wrap a car you cant show it to a client right away until you have gone over the entire car with heat to "gloss it", removing all the fine scratches from the squeegee.
I hope this answer some of the questions you may have had... if you have any more feel free to ask anytime
Originally Posted by Ranchero50
When you get time would you post up a material list and wrapping strategy for the exterior? What size pieces go where in what order. Seam locations etc. Left overs fit where etc?
I've watched this about three times and am still dumbstruck with how cool it looks. https://youtu.be/gW6B3q1I9A0
Not much of an update again as its been SNOWING AGAIN! Im not sure we will get spring here, its going to go from Winter right to Summer apparently. UGH!
I got the carbon fiber wrap installed on the front. Using 3M knifeless tape is amazing, just apply the wrap and then remove the extra with the knifeless tape making it look professional.
I also installed the new grill that matches my little mini insert grills that came with this bumper. Its not perfect and the little bottom grill I had to use so nice looking hex bolts to hold it in place but it fits the look im going for. This grill combined with the new jaguar emblem really made my cars front end look like a newer model.
I am VERY VERY close to being able to drive my car out of the garage, just a few more nights of work on it and it should be ready.
I also installed the new grill that matches my little mini insert grills that came with this bumper. Its not perfect and the little bottom grill I had to use so nice looking hex bolts to hold it in place but it fits the look im going for. This grill combined with the new jaguar emblem really made my cars front end look like a newer model.
Do youhave a pic of the back and how you attached it to the tabs? That looks much better than the fake plastic wire mesh grills we were stuck with from the factory.
Oh yeah, per the wrap, I watched a bunch of CKwraps vids on youtube and he described the cast versus calendar but never went into the setting process. Also, how hot do you get the material? If I get the kiddie pool smell it is it too warm or just right? I appreciate you posting this up, it's been a fun project.
Originally Posted by kj07xk
A green eared growler?
Neon green circle on the phone keeps it from getting lost?
The entire universal grill is a large rectangle, I had to cut it into two pieces to make it fit both the bottom and top and still leave room for the actual bumper support to fit between them. Honestly I just went with the flow and did whatever idea came first which was using zipties and other various stuff. Ill get you pictures this weekend, its not pretty but those grills are not coming off easily.
CKwraps definately has some great videos. Yes you do NOT want the smell of burning plastic kiddie pool, lol. I have my heat gun set to 800 degrees and I keep it about 12 inches from the vinyl, quickly going over it for just a second or two until I see it go back to smooth glossy shape. Then you let it sit for about 5 seconds until you stretch or squeegue. If you get a wrinkle pull it back heat it up and try again. Use a wrap glove and use your fingers almost more than a squeegee if you have to, especially around big curves. The squeegee is mainly for the really flat surfaces.
After your wrap is done and you apply heat you may notice much of the vinyl starting to bubble up like it has air pockets in it. Thats exactly what it is, it just means you didnt squeegee it hard enough and all you do now is press it all back down with your fingers.
Originally Posted by Ranchero50
Do youhave a pic of the back and how you attached it to the tabs? That looks much better than the fake plastic wire mesh grills we were stuck with from the factory.
Oh yeah, per the wrap, I watched a bunch of CKwraps vids on youtube and he described the cast versus calendar but never went into the setting process. Also, how hot do you get the material? If I get the kiddie pool smell it is it too warm or just right? I appreciate you posting this up, it's been a fun project.
Neon green circle on the phone keeps it from getting lost?
Not a great weekend for me. Ran the car for about 5 minutes and then she started leaking coolant all over the ground. I did some research and it looks like its the valley hose. The worst part is my car isnt moving anywhere as the air ride isnt done yet and I have to find someone to come to my house to fix this. Otherwise worst case scenario I will be taking apart my engine myself and I have never in my life touched an engine.
I cant find much on the internet about the 4.2 non supercharged valley hose issue, everyone talks about how its 5-6 hours of painful work on the supercharged engine. Can anyone steer me in the right direction or have any tips? And also what all part numbers I need to order like hose, gaskets and so on? I figured might as well get everything updated while its apart.

 04-10-2018, 12:57 PM