When you click on links to various merchants on this site and make a purchase, this can result in this site earning a commission. Affiliate programs and affiliations include, but are not limited to, the eBay Partner Network.
Why would it be any different to fix than the bottom? Why not try to fix it yourself? What do you have to lose?
I'll post details and pix of my repair next week, after I receive my order from Amazon.
Because I'd have to find a clamp that can reach over a foot just to get to the seam!
I may try this when the window actually detaches, but at that point I probably have no choice but to get the top replaced as I have no garage and water would begin pouring into the car. That, or duct tape!
Because I'd have to find a clamp that can reach over a foot just to get to the seam!
I may try this when the window actually detaches, but at that point I probably have no choice but to get the top replaced as I have no garage and water would begin pouring into the car. That, or duct tape!
with the top positioned correctly as seen in the pic i provided you won't need a clamp for the top edge. The top edge will lay perfectly on the glass, you can use a prop on the underside, if needed. Cure time is quick so if you apply pressure by hand it will only be for a couple of minutes.
Dealer would not attempt repair on my top (separation too long) and wants $7,300 for a new top. Was unable to locate an applicator gun for the Jaguar recommended two-part adhesive. Went with 3M window weld urethane, part #08609. It's used to install windshields. My window was detached on both sides and most of the way across the bottom. Really could have used an extra pair of hands to hold the glass in position while I clamped it. As a result, I didn't get it lined up quite straight and now have a small wrinkle.
Jaguar recommends placing tape on the glass. In addition, I would recommend taping and covering the top fabric all around the repair. The adhesive is black and if you have a light top (my is tan) any extraneous adhesive will show.
One last note: Jaguar missed a step (at least in the 2008 owner's manual) on manually resetting the top. There is a wire loop next to the hydraulic reservoir in the trunk that must be pulled to unlatch the tonneau cover. It shows in the illustration, but isn't mentioned in the instructions.
4. Adhesive Cleaner (Already had)
5. Masking tape, 1" wide and 2" wide. (Already had)
6. Cotton swabs. (Already had)
7. Rubber gloves. (Already had) You'll probably need 2 or 3 pair.
8. Standard caulk gun (Already had) for the adhesive tube.
PHASE 2. PREPARATION
1. I inspected the top again to see where it separated from the glass. I noticed a gap of about 1/4" where the top appears to have shrunken downward from the glass. The top fabric wouldn't stretch, so I decided to apply masking tape over that visible section so I wouldn't get adhesive all over it.
2. I taped the glass to keep it free of excess primer and adhesive, which are black and very sticky.
Here's the glass completely taped.
3. Next, I taped the top, making sure that I overlapped about 1/4" of tape around the upper edge, in order to keep it free of adhesive. Here's the upper edge of the top being taped.
4. I put all the suction cup clamps on the glass and aligned them with the upper edge of the top, but left them loose. Because the adhesive dries very quickly, I wanted the clamps to already be in place so I could tighten them down as soon as I applied the adhesive.
5. Lastly, I added a wider band of tape just in case I got sloppy. I'm glad I did, because I did. Disregard the green plant food measuring cup. I was going to use it as a wedge to separate the top and glass in order to get the adhesive in, but doing so was cumbersome and I simply used my left hand to hold the top up while I applied the adhesive cleaner, primer, and sealant with cotton swabs. The arrow is the point where the top separated from the glass.
PHASE 3. THE DIRTY STUFF
1. Now's the time for the gloves. I wiped both surfaces with cotton swabs soaked in adhesive cleaner, and then used new swabs to dry them off.
2. I waited about 5 minutes and then used cotton swabs to carefully apply the 3M Single Step Primer to both surfaces. I let that dry for about 10 minutes. I left all the clamps loose. Here's the open bottle of primer.
3. I decided to not use the plastic spout that came with the 3M adhesive cartridge since that would make a mess. Instead, I used cotton swabs to apply that adhesive. I pulled the tab to open the bottom of that cartridge so I could put it in the caulk gun and squeeze a small amount of adhesive into a leftover yogurt cup. Here's the opened adhesive cartridge.
And the adhesive in the cup.
I kept the tip of that cartridge temporarily sealed with a cotton swab. I used the cotton swabs to apply a thin bead of adhesive to both surfaces as quickly as I could. When that swab ran out of adhesive, I tightened the clamps and got a new cotton swab and repeated the process. Here's the separated section completely glued. As you can see, it's messy and I'm glad I masked it to keep it free of adhesive.
PHASE 4. THE HOME STRETCH
1. Although the adhesive sets up fast, I didn't want to try to remove the masking tape too soon and risk smearing adhesive on the glass, top, or paint. I waited about 30 minutes and then removed the masking tape.
DONE!
I decided to leave the clamps on overnight, just to make sure that the bond is as strong as possible.
A note about the Suck-N-Clamps. They are the greatest thing since sliced bread! I was skeptical when I saw them on Amazon, but they work much better and are far easier to use in this repair application than a standard "C" clamp. As you can see from my repair, it wasn't necessary to raise the top to insert a "C" clamp above and below the separation, or use a board to distribute the clamping force (although you could, if you wanted to do so).
I'm not a mechanic, but I'm somewhat mechanically inclined since I assemble my grandkids toys. On a scale of 1 to 10, I'd give this job a 2 - really easy. All it takes it patience and taking your time. If I can do it, so can you.
It didn't take much primer or adhesive to do this repair. There's at least 90% of the primer and adhesive left, so if you're interested in doing this repair yourself, send me a PM and I'll sell the leftover primer, adhesive, and clamps for half of what I paid plus shipping at cost.
Great post--can you send us some close up photos of the edge where you said the top fabric pulled back? because in my case, the top fabric is pulling back on the top edge and I bet if I folded the top and used adhesive on it, the first time I closed the top again it would pull it off again.
Also, this looks really tough to do without a garage. Also, I found it curious you did the entire repair without lowering the top, even partially as others had.
Last edited by amcdonal86; 08-04-2017 at 08:33 PM.
I didn't include the following photos in my previous post because I thought they wouldn't be understandable. I'll try to clarify them.
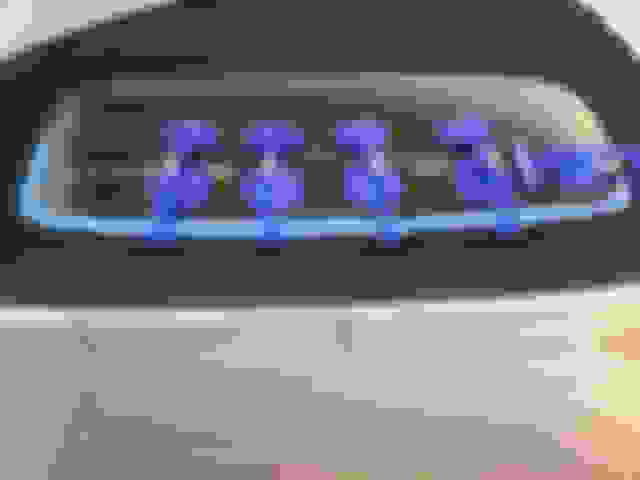
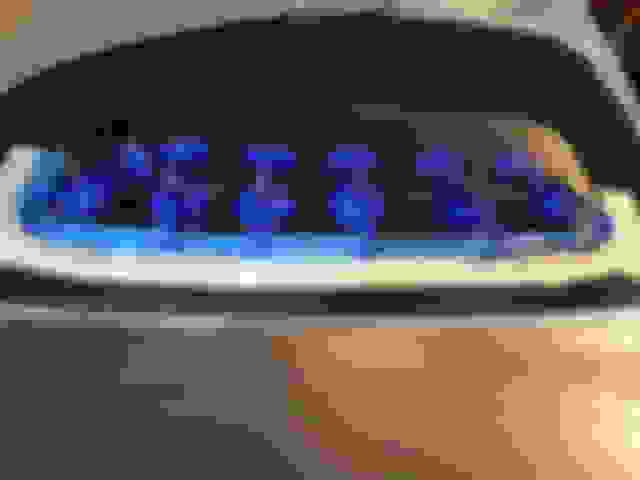
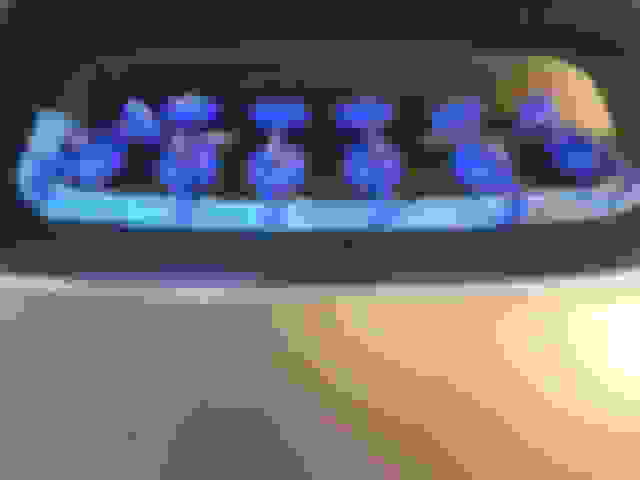
All of the following photos are of the bottom edge of the top. I took them at various points of separation while I was putting the masking tape on the glass.The blue strip is masking tape that is attached to the glass and overlaps about 1/4" onto the brown strip that the factory used for the adhesive. The gray twill fabric is actually black; it's the black convertible top. The beige strip with dots is inside the glass. You can clearly see the big gap in the first picture. All of these views are from the perspective of looking down from above the rear glass.
The Big Gap
Below are more photos of the separation at various points along the bottom edge.
I didn't lower the top because I was concerned that, if I did, the tension during closing might cause the repair to pull apart. By doing the repair with the top fully closed, there is no tension to pull the repair apart.
I saw all the other posts with the top partially open that used "C" clamps and wood blocks, which is the method Jaguar describes in their service bulletin. Nevertheless, I thought that using the Suck-N-Clamp device might be a better and easier way for me. I saw no reason to open the top, except perhaps to stretch that 1/4 inch of fabric that apparently shrunk. I thought it wasn't worth the effort, particularly since that fabric didn't budge when I pulled on it. I also thought that, as I explained above, closing the top might pull the repair apart. As it turns out, I was right and the repair was a piece of cake.
I was surprised that this happened because my XKR has always been garaged and never driven in inclement weather. Except for some minor chafing, the top still looks brand new. So why did the top separate from the glass?
1. Putting the top up and down too frequently. I doubt that's the cause, since I drive my XKR only on nice days. But I always put the top down, and put it back up when I get back home. So, maybe, but probably not.
2. The temperature in Hotlanta. Nope. The top isn't exposed to the sun that much, since I usually drive with it down.
3. Defective adhesive. Yep. I think that's it. The factory must have used the same crap on the leather dashboards.
I hope window separation never happens to mine. However, these are great instructions and probably should be a sticky under 'How to' since this seems to be a common issue.
The weather's been nice, so I've been driving with the top down. I guess I've put the top up and down around 10 times since I repaired the rear glass separation and today I noticed a small gap in the center of the bottom of the top. I put the top down anyway, and when I got home and put the top back up that gap was around a foot long. So I taped it up to keep it from getting worse. I'm really disappointed that the 3M adhesive and primer didn't last very long.
After I finished the repair, I left my XKR in the garage with the top up and clamps attached for 3 days so the adhesive would fully cure. A lot of good that did.
So it's back to Square 1. I think I'll try Loctite Vinyl, Fabric & Plastic Adhesive since it dries clear and is flexible. Hopefully, it'll have enough "give" so as to not pull apart when the top is going up and down. Anyone have any other recommendations for the adhesive?
UGH, Stuart! You put a lot of effort into it, too. Yeah, back to SQ 1.........
Actually, the first time wasn't difficult at all. Just took a little time. I'm inspired by Old Blue Eyes, who said "it's lovelier the second time around!"
So, I just finished researching various adhesives including (1) Locktite Vinyl, Fabric & Plastic Adhesive; (2) Locktite Stick 'N Seal Extreme Conditions; (3) 3M VHB tape; and (4) Rhino Glue. Based on Amazon user reviews, I decided to order the Rhino Glue Pro Kit.
The weather's been nice, so I've been driving with the top down. I guess I've put the top up and down around 10 times since I repaired the rear glass separation and today I noticed a small gap in the center of the bottom of the top. I put the top down anyway, and when I got home and put the top back up that gap was around a foot long. So I taped it up to keep it from getting worse. I'm really disappointed that the 3M adhesive and primer didn't last very long.
After I finished the repair, I left my XKR in the garage with the top up and clamps attached for 3 days so the adhesive would fully cure. A lot of good that did.
So it's back to Square 1. I think I'll try Loctite Vinyl, Fabric & Plastic Adhesive since it dries clear and is flexible. Hopefully, it'll have enough "give" so as to not pull apart when the top is going up and down. Anyone have any other recommendations for the adhesive?
Stay tuned ...
I have done the same repair as you, with same materials and mine has been holding fine over a year now.
The two differences I see:
-I used a much thicker bead of adhesive.
-I released the tension on the top while applying and while the adhesive was drying.
I have done the same repair as you, with same materials and mine has been holding fine over a year now.
The two differences I see:
-I used a much thicker bead of adhesive.
-I released the tension on the top while applying and while the adhesive was drying.
Thanks, Steve. I used as much adhesive as I could without having it ooze out when I tightened the clamps. I learned how much was too much the hard way, after some got on the masking tape. I thought about doing everything with the top part way open and concluded that the tension while closing might cause the adhesive to pull away. In retrospect, I still think I did it the right way. What was wrong with my method?
Maybe the adhesive or primer or both were defective. I'll try again with the Rhino Glue and see if it works better. I'm not sure if I should do it with the top closed or partly open.
Stuart
Mine oozed out, and I trimmed it with a razor when dry. Candidly, a bit of black adhesive is still visible at the seam, so it is not visually 'perfect', but it holds and is acceptable to me on a black top.
I had to do the entire window on mine, and the only way that was possible was to relieve the tension. I think the pressure is working against you unless you relieve the tension.
Come to think of it, the other thing I did differently was I used wooden strips under the clamp to provide consistent pressure across.
I also think the urethane is meant to be used as a filler for mounting windshields, so I think you need to have some reasonable thickness of material present for it to work effectively.
Mine oozed out, and I trimmed it with a razor when dry. Candidly, a bit of black adhesive is still visible at the seam, so it is not visually 'perfect', but it holds and is acceptable to me on a black top.
Come to think of it, the other thing I did differently was I used wooden strips under the clamp to provide consistent pressure across.
Yeah to that! I did likewise, the wooden strips help to reduce the 'pull' on the canvas around the window.
Stuart, my glass was reattached to the canvas by a local guy recommended by my Jag Tech. I noticed the first thing he did was use a razor blade to scratch (not scrape) off the old glue. Then he glued the fold under back to the top and finally the glass to the top. He used the same adhesive and primer you did except he relieved the pull pressure from the top. His work didn't hold the first time but rework has been holding now for a couple of months in the Houston heat and humidity.
Stuart, my glass was reattached to the canvas by a local guy recommended by my Jag Tech. I noticed the first thing he did was use a razor blade to scratch (not scrape) off the old glue. Then he glued the fold under back to the top and finally the glass to the top. He used the same adhesive and primer you did except he relieved the pull pressure from the top. His work didn't hold the first time but rework has been holding now for a couple of months in the Houston heat and humidity.
Who is the local guy you used in Houston and what did he charge? I just noticed that the window is separating along he top on my 2011 XKR? Thanks!
 07-28-2017, 08:59 PM