
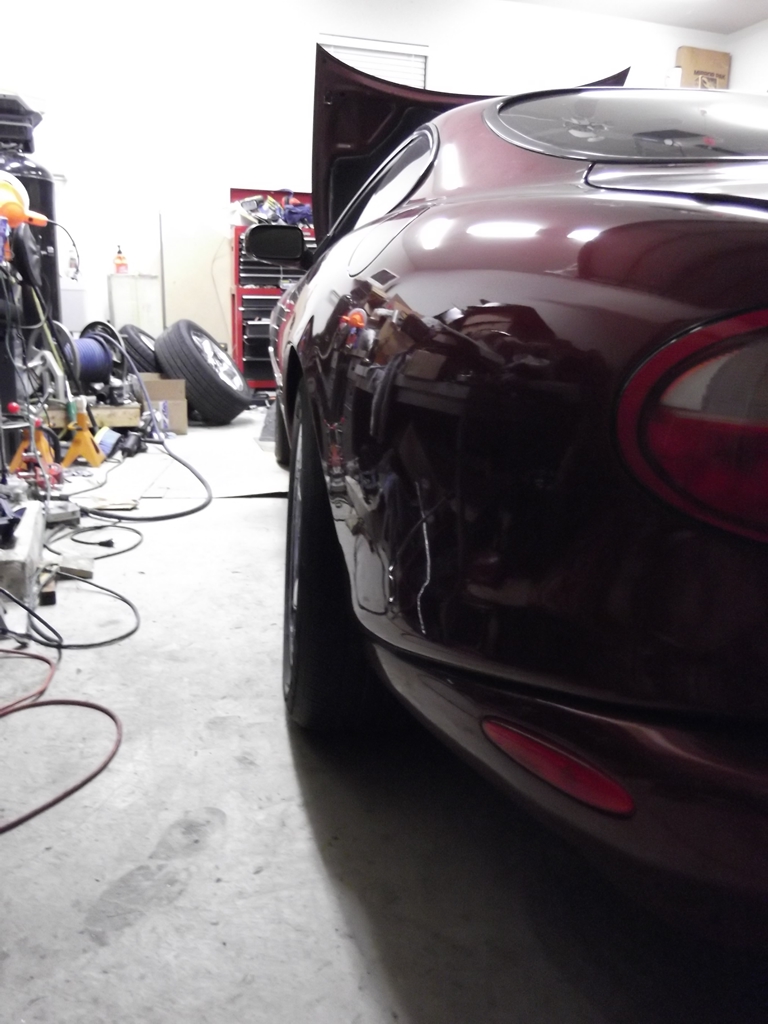
Bought my new XK8 Tuesday, tore it apart today.

#22
 02-17-2016, 02:58 PM


Did you replace the rack? My play is only on the driver side, so I'm going to replace the inner tie rods first. If its still bad I guess my new inner tie rods will work on a newer rack. They are only $25 each.
#24
02-19-2016, 10:43 PM
Got my parts to finish the rear today: Rear Rotors and Spring isolators to go with my Bilsteins and Brake pads I received yesterday.
I've removed the 4 magic bolts in the under axle brace to allow for more Lower control arm movement, but I decided to put just a little spring compression in the springs via McPherson Strut compressors to make seating the springs in the perches easier.
First, I test fit the spring compressor on the spring (with the lower pigtail in its pocket) to see where the best locations are... and I mark those locations with masking tape.

Then I take the spring out and put the compressor on those tape locations:

And compress it an inch or so... not too much:

Then Get out the New Isolator:

And new shock:

Bilstein Rears come with the boot, washers and all of the upper mounts (other than the spring isolator).
Bolt on the top nut (hold the shaft with a 1/4" open end wrench, tighten the nut with an 17mm box end wrench):

Now Zip tie the upper shock mount to the spring, using the two unused holes:

Then Compress the Shock and hold it in place with a bolt or 3/8" extension.

Now everything is ready to go in:

Loosely install the 4 upper shock mount nuts (13mm deep well socket) but don't tighten until you cut/remove the 2 zipties:

Make sure the Lower pigtail is firmly in the Pigtail pocket.
Put a jack under the lower control arm, and jack up until the spring compressors are loose, then remove them.

Position the LCA height to install the Lower shock bolt and the shock/spring is installed.
Re install the axle/hub assy (be careful with the shim rings on the lower pivot bearings), set the eccentric bolt to its pre marked location and reinstall the brake caliper and ABS sensor wire/zip tie.
Drop appear to be an 3/4" with the H&R springs. I'll measure it tomorrow.
I've removed the 4 magic bolts in the under axle brace to allow for more Lower control arm movement, but I decided to put just a little spring compression in the springs via McPherson Strut compressors to make seating the springs in the perches easier.
First, I test fit the spring compressor on the spring (with the lower pigtail in its pocket) to see where the best locations are... and I mark those locations with masking tape.
Then I take the spring out and put the compressor on those tape locations:
And compress it an inch or so... not too much:
Then Get out the New Isolator:
And new shock:
Bilstein Rears come with the boot, washers and all of the upper mounts (other than the spring isolator).
Bolt on the top nut (hold the shaft with a 1/4" open end wrench, tighten the nut with an 17mm box end wrench):
Now Zip tie the upper shock mount to the spring, using the two unused holes:
Then Compress the Shock and hold it in place with a bolt or 3/8" extension.
Now everything is ready to go in:
Loosely install the 4 upper shock mount nuts (13mm deep well socket) but don't tighten until you cut/remove the 2 zipties:
Make sure the Lower pigtail is firmly in the Pigtail pocket.
Put a jack under the lower control arm, and jack up until the spring compressors are loose, then remove them.
Position the LCA height to install the Lower shock bolt and the shock/spring is installed.
Re install the axle/hub assy (be careful with the shim rings on the lower pivot bearings), set the eccentric bolt to its pre marked location and reinstall the brake caliper and ABS sensor wire/zip tie.
Drop appear to be an 3/4" with the H&R springs. I'll measure it tomorrow.
Last edited by Ungn; 02-20-2016 at 10:02 PM.
#25
02-20-2016, 12:04 AM

#26
02-20-2016, 10:14 PM
I actually tried the using a chisel and hammer on the lower ball joints and they just laughed at me.
Final Drop on the Rear with H&R springs is 15" which is about 1/2" lower than it was stock. Visually, it looks like a lot more that 1/2". I suspect it will settle at about 3/4" drop. when everything compresses.
When I did the right side today, I had confirmation the Upper Shock washer was hitting the top of the shock mount (the paint was missing and the there was washer shaped shiny metal), so that clunk is gone for good.
#27
02-21-2016, 08:48 PM
Replaced the Driver side inner/outer tie rods today as they had visible slop. The passenger side was still tight, but I'll do it after I drive it a while and see if the toe/dynamic steering wheel angle are good.
This was much easier than expected and takes less than an hour, even with setbacks.
First watch generic inner tie rod replacement videos on Youtube.
Then with the car flat and steering wheel straight, I sight down the tires on both sides at hubcap level to see where they line up with the back tires. On my car, about 1/4" of back tire rubber could be seen when the forward and aft sides of the front tire are lined up. At this point I don't know what this is for toe, but the car tracks straight on the road, so this is what I want to return the car to after the swap.
Put the cars on jack stands, the higher the better, keep the jack under the radiator support for safety, take off the wheel of the side you are removing.
Break the nut on the outer tierod (and the jam nut on the shaft - very important as we will see later). Flip the nut and tap with a hammer our use a tie rod remover. If you are scrapping the outer, use a pickle fork.
Use pliers to pull off the outer boot clamp and a small flat screw driver to pop off the inner band clamp.
Slide the boot outward to reveal inner tie rod nut. Loan the inner rod socket from Autozone or Use a pipe wrench to break loose. It should unscrew easily (don't untwist the outer yet, just the inner).
Before unscrewing anything else, poke a hole in a piece of cardboard and mark the length:


Now you can disassemble the inner and outer to get the boot. I would have bought new boots as they were only $6, but had $37 shipping from the UK... and mine are still tight/dry and hole free.
If you didn't break the jam nut or your inner is rusted to the outer, like mine, do like I did and break out the 4" cut off wheel (is stuffed a rag in the boot to keep out metal dust). Less than 1 minute later...

Its just not worth busting knuckles or wrenched on things that are destined for the recycle bin.
Reassemble with the old boot in the new rod ends and set with the template:

Locktite the inner tie rod threads and its ready to back on the car. I used some nice stainless straps for the inner clamp, but a zip tie will work.
Sighting down the tire, the cardboard template got me to within 1 turn of the original setting. I'll drive it a little to check for steering wheel alignment, and if the steering wheel is straight and the car goes straight down the road then check/set the toe with parallel strings.
The slop is now complete gone. I could feel the slop in the old inner tie rod, like it had a divot worn into it from having the same alignment forever.
This was much easier than expected and takes less than an hour, even with setbacks.
First watch generic inner tie rod replacement videos on Youtube.
Then with the car flat and steering wheel straight, I sight down the tires on both sides at hubcap level to see where they line up with the back tires. On my car, about 1/4" of back tire rubber could be seen when the forward and aft sides of the front tire are lined up. At this point I don't know what this is for toe, but the car tracks straight on the road, so this is what I want to return the car to after the swap.
Put the cars on jack stands, the higher the better, keep the jack under the radiator support for safety, take off the wheel of the side you are removing.
Break the nut on the outer tierod (and the jam nut on the shaft - very important as we will see later). Flip the nut and tap with a hammer our use a tie rod remover. If you are scrapping the outer, use a pickle fork.
Use pliers to pull off the outer boot clamp and a small flat screw driver to pop off the inner band clamp.
Slide the boot outward to reveal inner tie rod nut. Loan the inner rod socket from Autozone or Use a pipe wrench to break loose. It should unscrew easily (don't untwist the outer yet, just the inner).
Before unscrewing anything else, poke a hole in a piece of cardboard and mark the length:
Now you can disassemble the inner and outer to get the boot. I would have bought new boots as they were only $6, but had $37 shipping from the UK... and mine are still tight/dry and hole free.
If you didn't break the jam nut or your inner is rusted to the outer, like mine, do like I did and break out the 4" cut off wheel (is stuffed a rag in the boot to keep out metal dust). Less than 1 minute later...
Its just not worth busting knuckles or wrenched on things that are destined for the recycle bin.
Reassemble with the old boot in the new rod ends and set with the template:
Locktite the inner tie rod threads and its ready to back on the car. I used some nice stainless straps for the inner clamp, but a zip tie will work.
Sighting down the tire, the cardboard template got me to within 1 turn of the original setting. I'll drive it a little to check for steering wheel alignment, and if the steering wheel is straight and the car goes straight down the road then check/set the toe with parallel strings.
The slop is now complete gone. I could feel the slop in the old inner tie rod, like it had a divot worn into it from having the same alignment forever.
Last edited by Ungn; 02-21-2016 at 08:51 PM.
#28
02-28-2016, 10:01 PM
Cleaned/polished my Chrome Revolvers and now they look like new. They didn't look too bad but had some corrosion in the corners. A Dremel tool, cone polishing bit and some Wenol polish made short work of the light chrome pitting/corrosion.
Light Chrome Pitting in the corner. Typical Texas corrosion:


Wenol Polish:

Applied Wenol to corroded areas:

Dremel Cone polishing Bit.

After literally just a few seconds of polishing:


Light Chrome Pitting in the corner. Typical Texas corrosion:
Wenol Polish:
Applied Wenol to corroded areas:
Dremel Cone polishing Bit.
After literally just a few seconds of polishing:
#29
02-29-2016, 06:21 PM
My Hub nut socket arrived from England Yesterday and I'm back on the road. It's great having a silent front end... No howls, no clunks, no rattles, no creaks.
I looks like the driver side inner tie rod may be bad (lots of play), but the car still tracks and drives straight, even without an alignment. Must be the caster.
New brakes work silently. The ABS light went out. no pulling to the left or right, I think I had success. Put my tools away and swept the garage to celebrate.
Here are some pictures.
Finally out of the garage and into the light, next to the Donor Camaro vZ28.

Fender Height is 14.5" before any major settling/foam compression. Its actually a little taller than the stock springs/mounts:

Was finally able to take some pictures:


I looks like the driver side inner tie rod may be bad (lots of play), but the car still tracks and drives straight, even without an alignment. Must be the caster.
New brakes work silently. The ABS light went out. no pulling to the left or right, I think I had success. Put my tools away and swept the garage to celebrate.
Here are some pictures.
Finally out of the garage and into the light, next to the Donor Camaro vZ28.
Fender Height is 14.5" before any major settling/foam compression. Its actually a little taller than the stock springs/mounts:
Was finally able to take some pictures:
#30
03-02-2016, 09:53 PM


#31
05-15-2016, 11:32 PM

Senior Member
#32
05-17-2016, 11:24 AM

Veteran Member
#33
05-17-2016, 12:24 PM
I had a dodge Ram Diesel I got from my dad up north with chrome steel wheels. They had tarnish and rust on them and I thought they needed to be rechromed.
A couple hours polishing them and they looked new and the shine lasted for years.
#34
05-23-2016, 05:23 PM
Senior Member
amazing post
very helpful, thanks
may I ask where you got the lower ball joints?
being in Canada suppliers are limited and info even less (surfing the net everyday)
here is what I have so far:
upper wishbone bushings FRONT/REAR MJA1462AB
upper BALL JOINT JLM021380
lower control arm bushing FRONT Meyle 18146100002
lower control arm bushing REAR Lemforder 2213520127
lower BALL JOINT ????? still looking
Thanks in advance
#35
05-23-2016, 06:55 PM
amazing post
very helpful, thanks
may I ask where you got the lower ball joints?
being in Canada suppliers are limited and info even less (surfing the net everyday)
here is what I have so far:
upper wishbone bushings FRONT/REAR MJA1462AB
upper BALL JOINT JLM021380
lower control arm bushing FRONT Meyle 18146100002
lower control arm bushing REAR Lemforder 2213520127
lower BALL JOINT ????? still looking
Thanks in advance
very helpful, thanks
may I ask where you got the lower ball joints?
being in Canada suppliers are limited and info even less (surfing the net everyday)
here is what I have so far:
upper wishbone bushings FRONT/REAR MJA1462AB
upper BALL JOINT JLM021380
lower control arm bushing FRONT Meyle 18146100002
lower control arm bushing REAR Lemforder 2213520127
lower BALL JOINT ????? still looking
Thanks in advance
The Lower Balljoints were available from Rockauto.com back in February, but they only list the Uppers, now. They came From the UK and were about $14 each, but shipping was at least $10 each.
Typical, I should have Checked Ebay First. Welsh Entertprises (Jagsjagsjags username) has them for $34/pair with free US shipping, which is even cheaper than Welsh's catalog price.
Rockauto usually stops carrying stuff when they can't match a price, so the lesson is when something disappears from Rockauto, check Ebay.
The following users liked this post:
cjd777 (05-23-2016)
#36
05-23-2016, 10:10 PM
Senior Member
Nice work so far, neighbor! It looks great. A good set of hubcentric spacers really help to keep these cars looking fresh. I'm not an extreme 'stance guy' but the stock offset is too much and easily/cheaply corrected. Wider is better, in moderation.
I'm not entirely active lately, checking in once every week or so, but one of these days we need to try another DFW meet- a couple new locals it appears.
I'm not entirely active lately, checking in once every week or so, but one of these days we need to try another DFW meet- a couple new locals it appears.

Thread
Thread Starter
Forum
Replies
Last Post
Currently Active Users Viewing This Thread: 1 (0 members and 1 guests)