Hi Carl,
I was a furniture maker for a number of years and have had to learn how to fiddle with adjustments. If your bandsaw is "tossing blades", I would first look at the rubber belts on the circumference of each wheel. Much use will flatten these belts and make centering the blade mostly wishful thinking. If these still have a slight crown on them, I would find the tilt adjustment on the top wheel (not familiar with yours, but most have a finger-wheel or small crank or set screw/locknut) and adjust it one way or the other while turning--BY HAND!--the wheels connected with a lightly tensioned blade. You should be able to center the blade on the rubber belts unless the wheels are grossly misaligned or something is bent. Once the blade stays centered, bring the back rub-block to just touch the back of the blade and then the side blocks up to just touch the sides of the blade. You can almost always get a better and closer fit of the blocks by stoning/honing the weld on the sides and the back. Use a good quality blade lube, I use Lennox brand. Ceramic blocks are the "cats meow", last forever and don't heat up.
Dave
Thanks for all the advice. I�ll focus on the alternator wiring first. I remain optimistic that it�s a warning light issue rather than an alternator issue but on the other hand I know next to nothing!
Look closely for any sign that the wire is touching ground in any way......such as insulation broken off (common) and the bare wire touching part of the engine or body.
The warning light has 12V "+" on one side whenever the key is 'on'. The bulb won't glow, of course, unless a ground (12V "-") is provided.
The ground comes from the alternator itself. When the charging actually begins, it is replaced by 12V "+". At that point the bulb has 12V "+" on both sides and extinguishes.
Way off topic. but a bunch of thanks. My "Chinese" Delta is probably far more primitive than the unts you used as a professional.
On this device, the back rub block is a bearing ! The side to the back of the blade. Very counter intuitive, till another lister told me that is the way it is. had it working fine, for a while!
The side blocks are wood!!! I was told that was OK. probably for DIY, but not so much for a pro.
Aye, I discovered the top wheel tilt adjustment. fixed the first effort,
Tires on he wheels? gotta look again. Well, the first effort found them present and smooth. No, I will check for a crown. I suspect that they are flat
Blade lube!! News !! Although, the thought came to me. I tried a semis soft hand soap. It seemed to work and I got some cuts made.
If the rubber on the wheels is gone, the machine is as well.
I'll try some more using your experience as a guide...
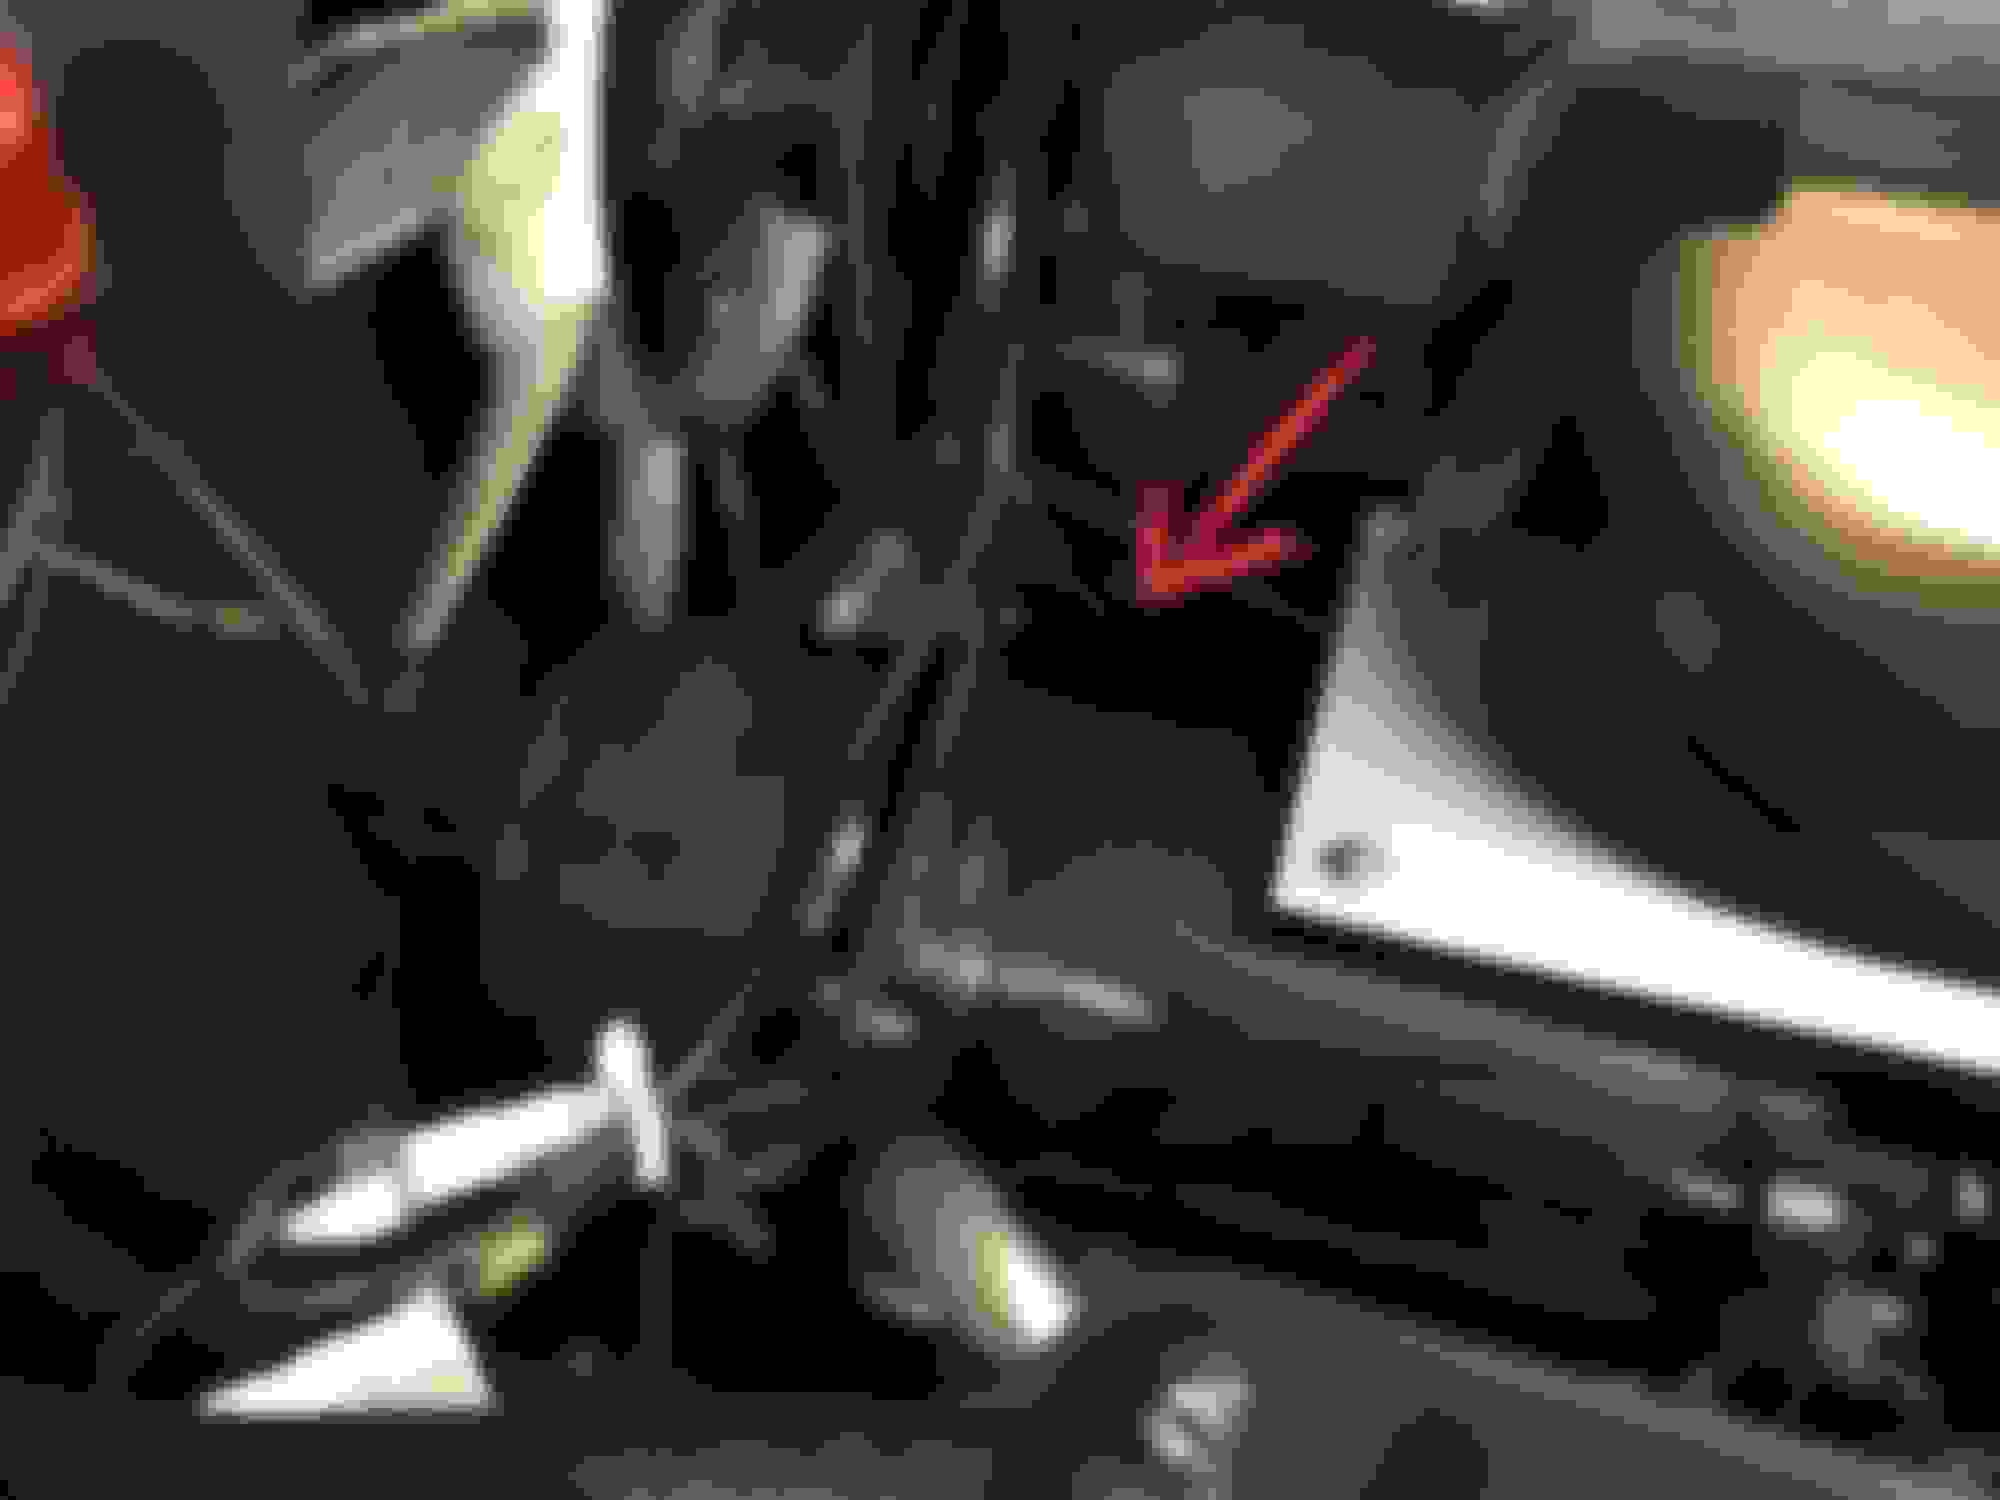
So I disconnected the warning light wire, cleaned the contact and reattached it. Still, getting the light. But I noticed that when I started and ran the car with the warning light wire disconnected the ignition light still remained on. If I understand Doug�s explanation correctly that should not happen since the warning light should not be grounded if the wire is disconnected. However if the wire is grounded elsewhere then the light will still light even with the wire disconnected. Correct? So I�m assuming that somewhere between the alternator and the warning light there�s a short. I can only trace the wire to the front of the block at which point it is joined by a wire off the a/c and then gets lost in a bundle running along the cam shaft cover on the passenger side (right) of the car. See picture. Alternator warning light wire (coming in from the right) joining up with a/c wire.
The wires get very brittle and beat up as they cross the front of the engine. That's probably where the fault is. Keep digging...and be prepared to repair others as you go or at least tape them up. The insulation will probably crack off just from handling the wires
Or......
Run a new wire from the alternator to a known-good section of wire elsewhere, abandoning the existing wire as it crosses the front of the engine. The wire (as well as compressor wires) goes across the front of the engine then drops down behind the p/steering pump (roughly speaking) and then crosses over to a square-ish multi-connector on the RH fender well, down low. The loom picks up the oil pressure wires along the way. The wiring is probably sound at the multi-connector (as it doesn't get quite so hot there) so it would be a good place to splice-in your new alternator wire
Thanks Again Doug. I’m always worried that in trying to fix one thing I’m going to screw up something else! I think it’s worth trying a temporary bypass to see if it solves the problem before tearing into the original wiring harness. Can you tell me what gauge wire I should use and where I might buy some? And should the warning light wire still be brown with a black tracer at the multiconnector? I’m assuming yes.
Thanks Again Doug. I’m always worried that in trying to fix one thing I’m going to screw up something else!
Don't worry too much about that. We all try to avoid it but, hey, it happens.
Quote: Can you tell me what gauge wire I should use and where I might buy some?
I think the original is rather thin, probably 18 gauge. Buy 16 gauge, it'll work fine and be more useful elsewhere in the future....considering that you'll probably have to buy 15 or 20 feet of in a bubble pack. About $7-8 at any auto parts store
Quote: And should the warning light wire still be brown with a black tracer at the multiconnector? I’m assuming yes.
Yes
But multi-color wire is not commonly stocked at local outlets. You'll have to choose solid color.
A couple of decades ago, I got a selection of colored wire on spools and a rack to store them. Harbor Freight. Might not be top grade insulation. but, I've used them a lot and so far no issues.
My lump and I went on errands. Tanked up with fresh fuel. Brake light bulb replaced. Purred....
Hi. So I took Doug’s advice and bypassed the wire with some new 16-19 gauge wire from the back of the alternator to the multi connector. Still no joy. I’d like to go back to first principles and verify that there is in fact power coming out of the spade connector at the back of the alternator. I have a multimeter but I don’t know how to use it to check that. Am I checking volts or amps? Am I using a positive and negative probe and if so where would it get grounded? I’m a bit out of my depth here.
Owning a vintage jaguar you will be well rewarded by learning how to use your multimeter. You want to set your meter to read DC volts in the 10 to 20 volts range. Depending on the meter you have several choices but you want the VDC setting. The black wire plugs into the "com" or "-" plug and the red wire in the other. Go to the battery and put the red probe point on the battery + terminal and the black probe on the negative terminal. Your meter now reads 12v more or less. Next keep the red probe on the battery positive post and put the black on solid metal (not painted) on the engine. It should still read around 12v. You now know how to use the multimeter.
Start the car, push the black probe onto the engine and the red probe touch the alternator terminal in question. Don't remove the alternator wire, just reach around it and get the tip on the terminal. You should see between 12v and 18v on the meter.
I suggest you go to YouTube and search for "basic multimeter traing" or use. Lots of videos to get you going.
Thanks Jeff. I assumed I had to ground the negative to the engine. But I was nervous given the jaguars reputation for electronic sensitivity that I might fry something!
Measuring voltage on old cars is very safe. New computerized cars might have sensitive circuits but not our cars.
In 50 years of wrenching I can't remember ever reading amps. Just voltage or resistance (ohms). I suggest getting a 12v test light (looks like an I've pick with a wire). If you want to know if a point has voltage but don't really care precisely how much. Good luck.
Jose might be on to something...although the thingy is a resistor, not a diode.
I can't properly explain it but the circuit needs resistance to 'excite' the charging circuit so it'll begin charging at low RPM, as opposed to 2000+ RPM. Typically, the warning light bulb alone gives enough resistance. However, Jaguar added a resistor to the circuit. This is unusual, in my experience.
It might be that the circuit needs the extra resistance. Or it might be that Jaguar added the resistor so the circuit would still operate if the bulb failed. I dunno,
I've never seen a spec for the resistor but the colored stripes can be deciphered