When you click on links to various merchants on this site and make a purchase, this can result in this site earning a commission. Affiliate programs and affiliations include, but are not limited to, the eBay Partner Network.
Richy - I have had this happen to me before, and yes I too tried to fish for it with a coat hanger, but to no avail.
The best way to retrieve the connector is to remove the wheel, and inside plastic liner which is not difficult at all; you will then easily be able to find the repeater connector and reattach it.
While you have the liner out, you may notice an accumulation of dirt, mud, sand, etc collecting near the bottom of the fender (wing). I took the opportunity to clean all of this out as if left it will eventually lead to metal corrosion of that area of the fender.
Nearside repeater lamp fitting has come out of the amber holder and must have dropped to bottom of space inside the wing. Have tried fishing around with bent clothes hanger to no avail. Would anybody know if there is a simple method of getting to the inner space in order to retrieve it and replace in proper position? Any advice much appreciated.
A couple of weeks ago our cruise stopped at St. Peter Port, we didn't have time to get over to Jersey. Wonderful day, wonderful place and wonderful friendly people. It was a great start to a wonderful cruise around the British Isles. Next time I'll go and spend the whole time in the C.I.
Luck
Thank you both, SMTGUY and KINGFALA, for your replies. I have it booked in to my mechanic, an ex Jag guy, especially good at electrics, so may ask him to have a quick look for me. Getting on a bit now, and finding it more difficult to get down to these low level jobs!!
And King, you're so right. You will love it here. Larger and more developed than Guernsey, but still beautiful.
Oh wow !! Read your reply Smtguy, then suddenly had a bright idea. As it was 10.30pm or so at night, all was dark outside. Went down to car, removed amber cover and set turn signal to on. Of course the light started flashing, and looking into hole for fitting, I could see the bulb and the lead attached to it. Was able to hook it out with coat hanger in about 30 seconds or so !!All fixed now and working fine. Why didn't I think of that 2 days ago???? Eeejit that I am !!
Well...had some time over the weekend (I know it's not today, but bear with me...) so decided to finally take the front seats out and fully refinish the cracked, discolored, and generally dirty surfaces.
Used the Leatherique process...600 grit paper, crack filler, prep agent, rejuvenator oil, and leather dye.
Have the after photos...the befores are in a film camera that hasn't been processed yet.
Should be noted that the leather, while cracked, was not torn. So...
1. Using the prep agent as the lube, and the 600 grit as the cleaning surface, opened up the connolly dye by gently (so as not to raise the surface) buffing the old dye off.
2. Using the crack filler and my finger, applied the filler to the cracks, let it dry, and using more prep agent and 600 grit, feathered the filler into the surrounding surface.
3. Vacuumed and then prep agent again to clean the surface of the seats.
4. Liberally applied the rejuvenator oil to the surface by bare hand to rub in. Yeah, my hands are smooth and soft now.... But, took the seats outdoors and put them in the sun to really open up the pores in the leather and soak the oil in. Did a second coat of rejuvenator, and left them out for 2 hours. Buffed the seats down with an old t-shirt to remove the excess (not much, I can tell you...) and dry the surface.
5. Brought the seats into the garage, and using another old t-shirt, smeared on the leatherique dye, thin coats at a time, until the color came back up. Thin coats work best to maintain the grain. I also found that circular motion, working the dye into the surface as it starts to go off (but stopping as it begins to finally flash dry) works best to get an even coat.
Took about 4 thin coats to completely cover the surface.
6. Left seats in the sun again for a couple hours (it was in the mid 90s on Saturday...so, it worked well), and then, with yet more old t-shirt, buffed the surface.
Put the seats back in. And admired the finished job. Back seats next.
Just to start...take a look at the driver seat, taken last September the week after I purchased the car:
Look at the driver base bolsters....
Front left (driver) seat completed
Front bolsters and knee padding were cracked and wrinkled. Still some wrinkles, but the cracks are filled and leveled. You really have to look closely to find where they were.
Right front (passenger) seat. Was not as bad as the driver side (to be expected), but wanted it to match the driver side. Yes, that's a 220MHz ham radio in between the seat and the console...
There were two big cracks along the knee padding that ran front to back that are not really visible anymore, and the color is even between the seat and the back on both the left and right, bottom and top.
So...the interior is beginning to go together nicely. If anyone has any questions about the Leatherique process (no financial interest, just satisfied with the results...), pm me.
Last edited by bdboyle; 08-11-2015 at 09:29 AM.
Reason: added before photo
Got to work to find out my exhaust on the left had baffle material hanging out... So I pulled it all out what was hanging there. Quite disgusting! But oddly the exhaust note is a tad better now
I tried unsuccessfully, pathetically so to remove my front springs and replace them with my new job mina units. Apparently the job requires a special Jag tool, or making one myself. I can't even count how many springs I have removed/replaced in cars. None of them are like these.
Checked the car today for worn bushes and endlinks and co...
ALL absolutely fine... Not one part loose or so... Instead though my exhaust is blowing more and more baffle material and the differential has now got wear on both sides...
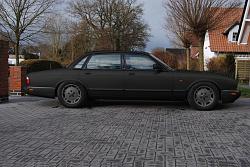
Well, after going through the car wash to find out that my rear right wheel arch has a nice large water bubble in it, I popped and found a nice amount of rust behind, I decided today, that time has come for Rusty's alter ego!
Started to rub off the rust around the front of the car. Carefully sanding it down to remove all grit and then getting finer once hitting the metal. Most of it around the bonnet edge has gone. Wheel arch is due tomorrow. Then a quick coat of zinc to stop it rusting until I've done all the derusting. Then paint buying time...
I've got a nice style in my head for what I want Rusty to look like...:
A total transformation from a long distance cruiser to a ratty Rusty Rat-Kitty Just kidding, just getting all prepared and then the paint job. After that some new springs to drop him by around 2"/5cm. That will be fun! Finally a Jagto my desire
Removed a fair bit of rust from the rear right wheel arch (seems the wheel arches have been done before but not with bondo... Real metal!!!! Yay!) and found a few little spots, where rust had spread. Rust converter is working around the rear windscreen (the lower corners) to convert the surface rust into something less fragile...
The front rust spots have been sprayed over now, with rust protector to stop them rusting further until I respray the car.
Looks a little messy at the moment but that is only a "provisional" state... He'll be finished by latest mid-september.
Checked the car today for worn bushes and endlinks and co...
ALL absolutely fine... Not one part loose or so... Instead though my exhaust is blowing more and more baffle material and the differential has now got wear on both sides...
One of the best things I did for my XJR was to replace the front upper shock bushings, sway bar bushings and links.
Mine looked "fine" too, but they were worn, replacing them at 76K miles made my car ride and handle like new.
Cost was moderate and the job was easy, front sway bar is big and heavy on my R though. There is no rear bar on the XJ8 and VDP.
Never a problem, just need to change the HID for normal bulbs in the dipped fronts, as they are not allowed.
Fitted quick-connectors, makes it a 5 min job .
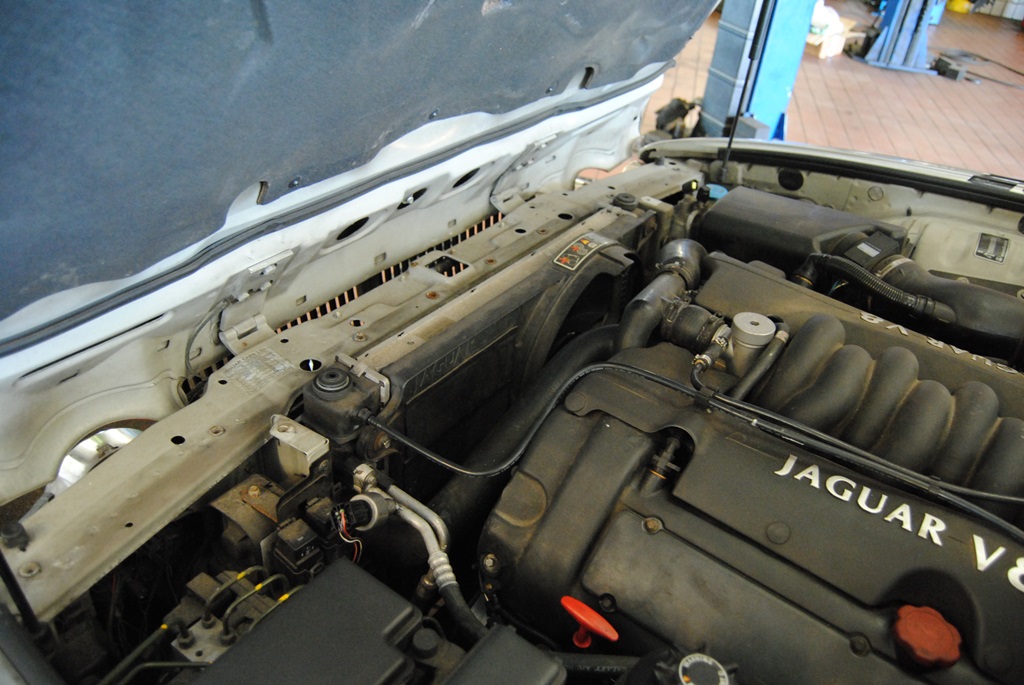
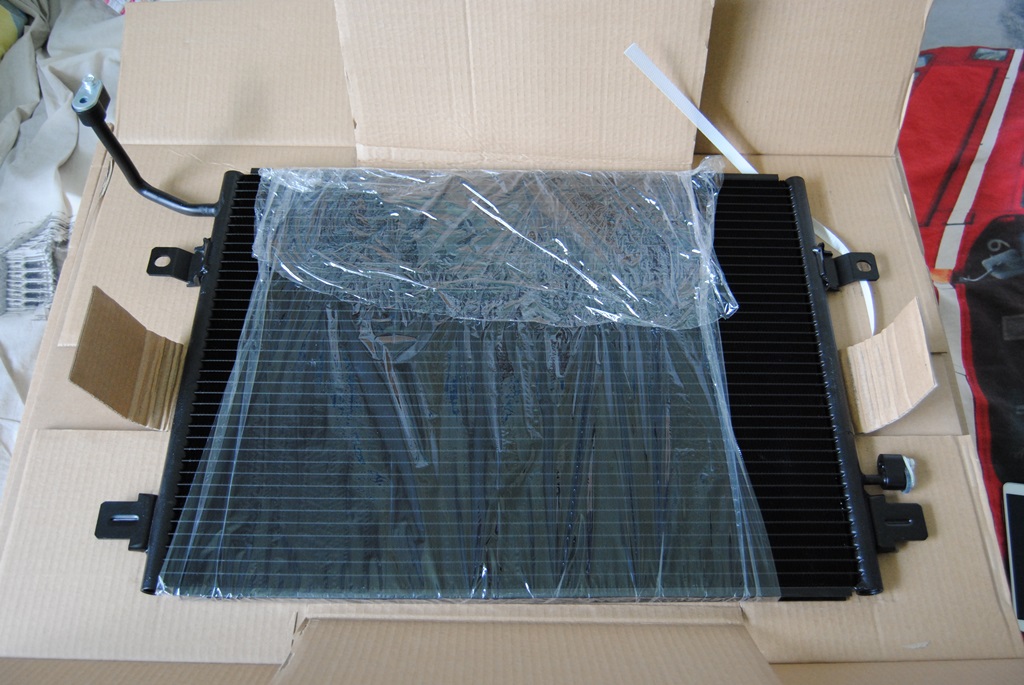
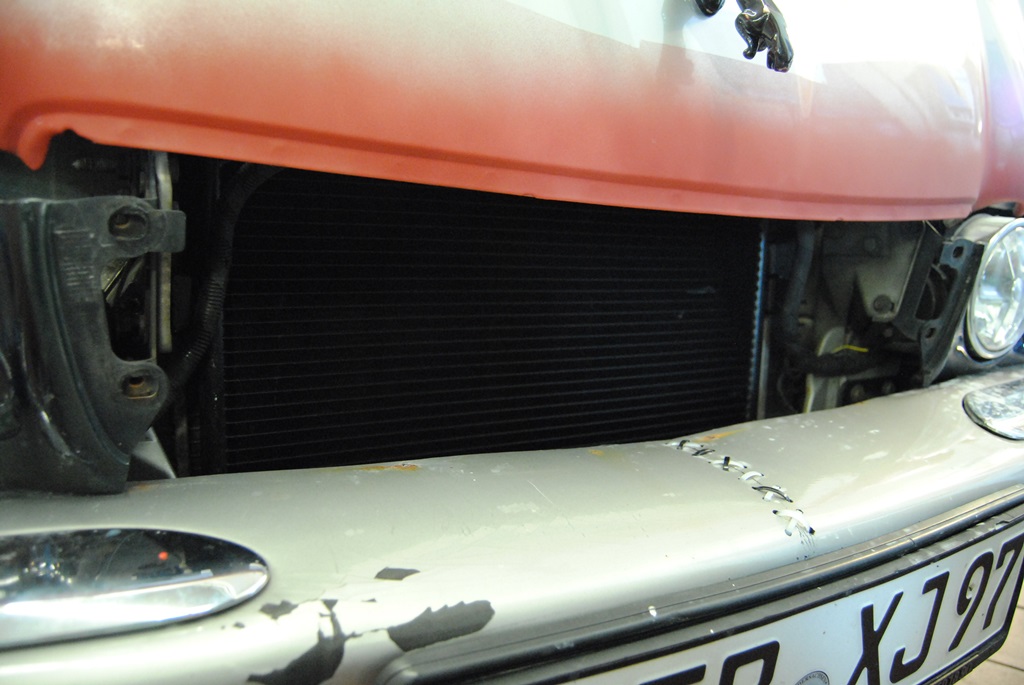
Made my AC work again... Needed a new condenser. Didn't remove the big radiator, as it worked without doing so.
All changed and then the AC didn't work. Why? Well, a cable had popped out of the solenoid plug on the compressor. Now all is nice a cold again... Like a British Summer
Fitted replacement inner door handle trim, and replaced powerfold door mirror, then re sited outer door rubbers at top of doors. These were removed for recent respray. Two were badly fitted, so corrected this. Just need to fit new condenser, as leak found on old one, losing a/c coolant. Awaiting replacement.
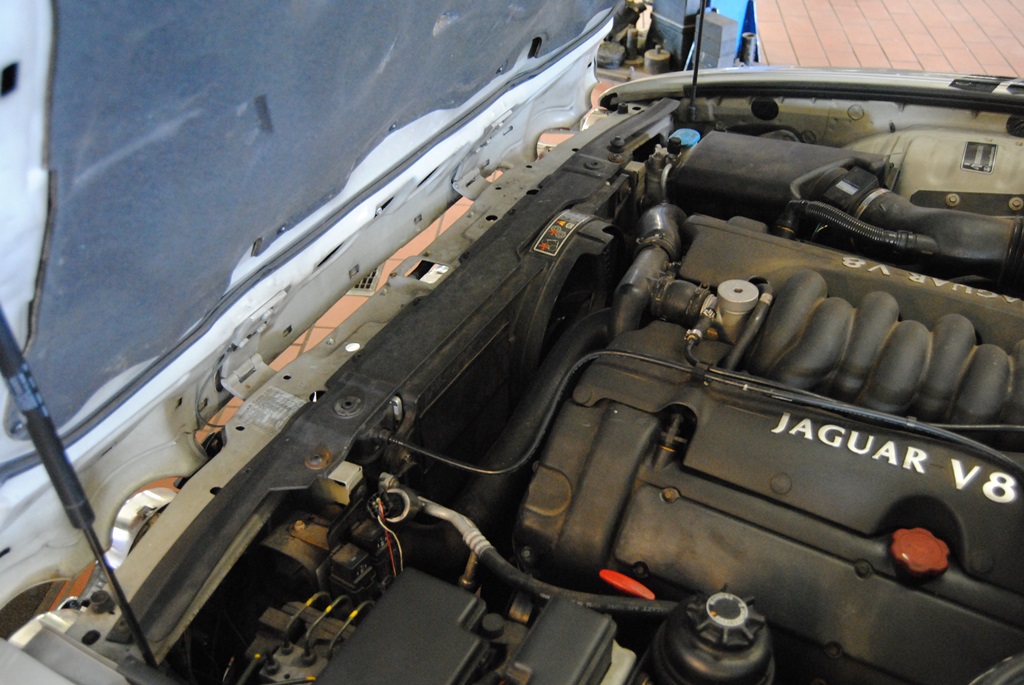
Decided to replace the air filter with a K&N Cone filter, and then fabbed up a first-draft of a heat shield. It's basically to see how it'd do, and then when I can pick up a full sheet (this was made from scraps), we'll take this out, slice the seams and patch a few parts, and then use that as a template for a single-sheet design with bends in appropriate places. I actually put the filter on last night, in the parking lot before coming home, but had no shield. Definitely a different sound altogether having the shield in place. I still have to pick up some stripping to line the top to seal against the hood but it's a decent start, I suppose.
Decided to replace the air filter with a K&N Cone filter, and then fabbed up a first-draft of a heat shield. It's basically to see how it'd do, and then when I can pick up a full sheet (this was made from scraps), we'll take this out, slice the seams and patch a few parts, and then use that as a template for a single-sheet design with bends in appropriate places. I actually put the filter on last night, in the parking lot before coming home, but had no shield. Definitely a different sound altogether having the shield in place. I still have to pick up some stripping to line the top to seal against the hood but it's a decent start, I suppose.
Are you planning any baffle in the fender well to channel air into the heat shield area?
Yep, right now it's just the opening that is there within the box, but I'm going to modify the original feed tube, or another, to feed down to collect cooler air into the box directly.
Bad week for the XJ8L. First the ac quits cooling; then the door check stop started making cracking sounds when opened.
AC code shows '23' -- search for leaks but can't find any; pulled the connector of the 4way pressure switch; connector and switch filled with green leak detector; ordered new part from Parts Geek; arrived over night, installed, AC works much better; tried to recharge with AC Pro -- blew out this switch as well. Second New one on order. I will try and get Parts Geek to refund the first (an OEM part in a Jaguar box).
Order the backing plate for the check stop because I could see the metal on the door post was torn; part arrives, take the check stop off; find one of the attachment legs to the check stop has broken off completely. New check stop en route from Gaudin in Las Vegas.
Both check stop and pressure switch scheduled to arrive early next week. Check stop will be an easy fix provided I don't drop any nuts; keeping fingers crossed that the new pressure switch fixes the problem (it is hot and muggy).
 08-09-2015, 08:44 AM

 ) so decided to finally take the front seats out and fully refinish the cracked, discolored, and generally dirty surfaces.
 . But, took the seats outdoors and put them in the sun to really open up the pores in the leather and soak the oil in. Did a second coat of rejuvenator, and left them out for 2 hours. Buffed the seats down with an old t-shirt to remove the excess (not much, I can tell you...) and dry the surface.