When you click on links to various merchants on this site and make a purchase, this can result in this site earning a commission. Affiliate programs and affiliations include, but are not limited to, the eBay Partner Network.
I would rate a crank pulley swap on our vehicles a 5 out of 10 on the mod difficulty scale, and only because of the complete lack of space to work in. That being said, I was able to avoid some of the extra steps you may want to take for better access due to performing this on a hoist. It took me about 5 hours, which included photographing everything, putting the car on the hoist and a trip to home depot for more Loctite. Doing this on jack stands could take considerably longer. Lets get started!
Tools needed:
- 8mm socket
- 10mm socket
- 16mm wrench or socket
- T30 Torx socket
- T50 Torx socket
- Stubby flathead screwdriver
- Short 3/8th inch extension
- Rachets and breaker bar extension
- Blue Loctite 242
- Torque Wrench
- Tap and Die set (optional)
1.) To get at the crank pulley, we need to remove the front undertray. There are like 40 screws holding things on. Remove the eleven 8mm screws holding the front underbody lip/splitter. Little tabs locate the 3 piece unit and you must pull backwards to remove.
I took it off as one piece.
2.) Next remove the side strakes from each side. These are held on with four 8mm screws and come right off. They are not clipped on.
3.) Remove the bolts from the front of the undertray. These had an square bolt head; but if you don't have the appropriate socket, you can just use a stubby screwdriver. They aren't in tight. I believe there are about 10 of these.
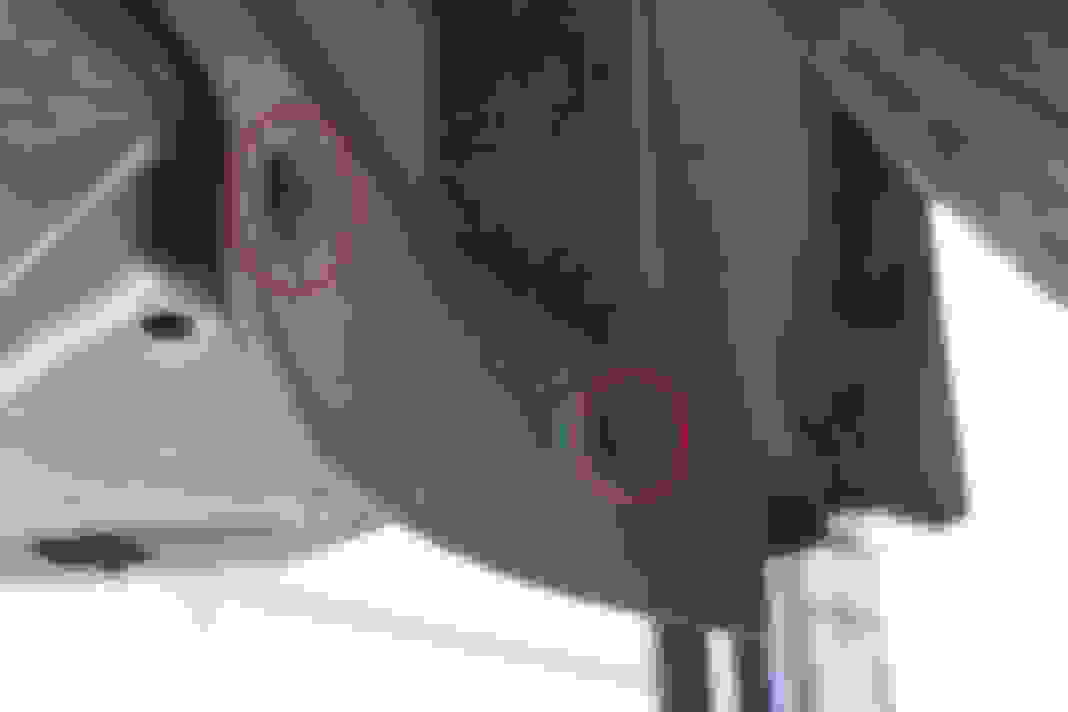
4.) Then remove these two bolts from the right and left fender liner. They are screwed into the undertray. These require a T-30 torx socket.
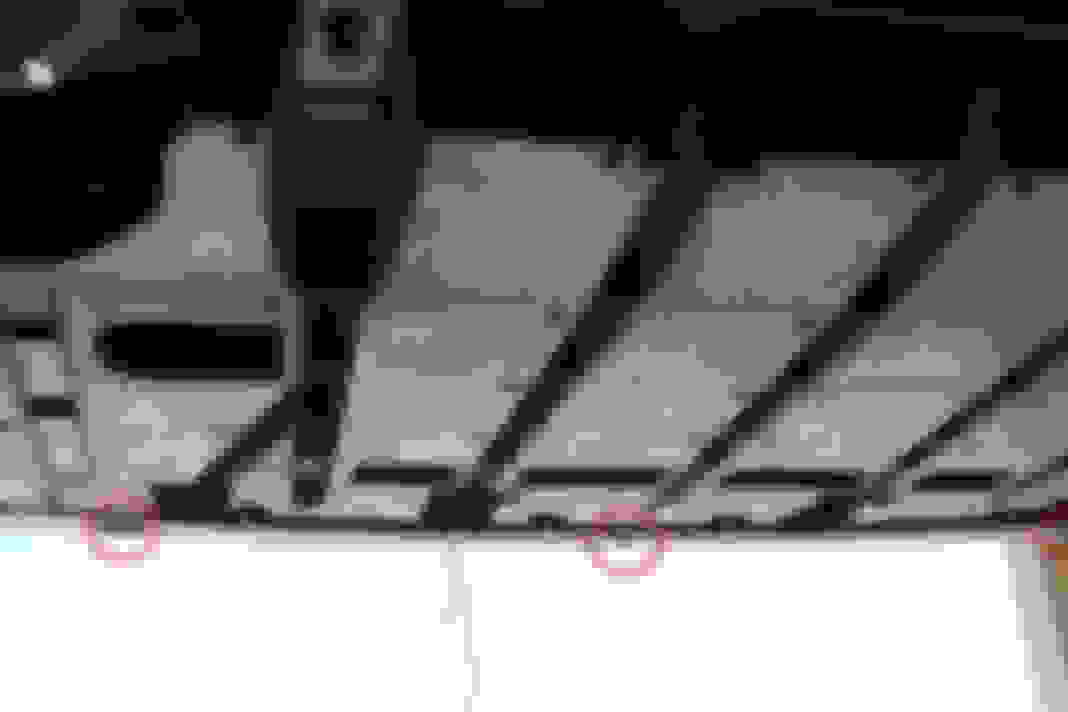
5.) To finally remove the undertray, remove the 4 hidden screws at the front of the tray as pictured. These are the same square head/flathead screwdriver bolts as before. Also remove the two black and two silver 10 mm bolts at the rear of the tray. Pull towards the rear of the vehicle and the tray should pop off.
Now you should have removed all of this:
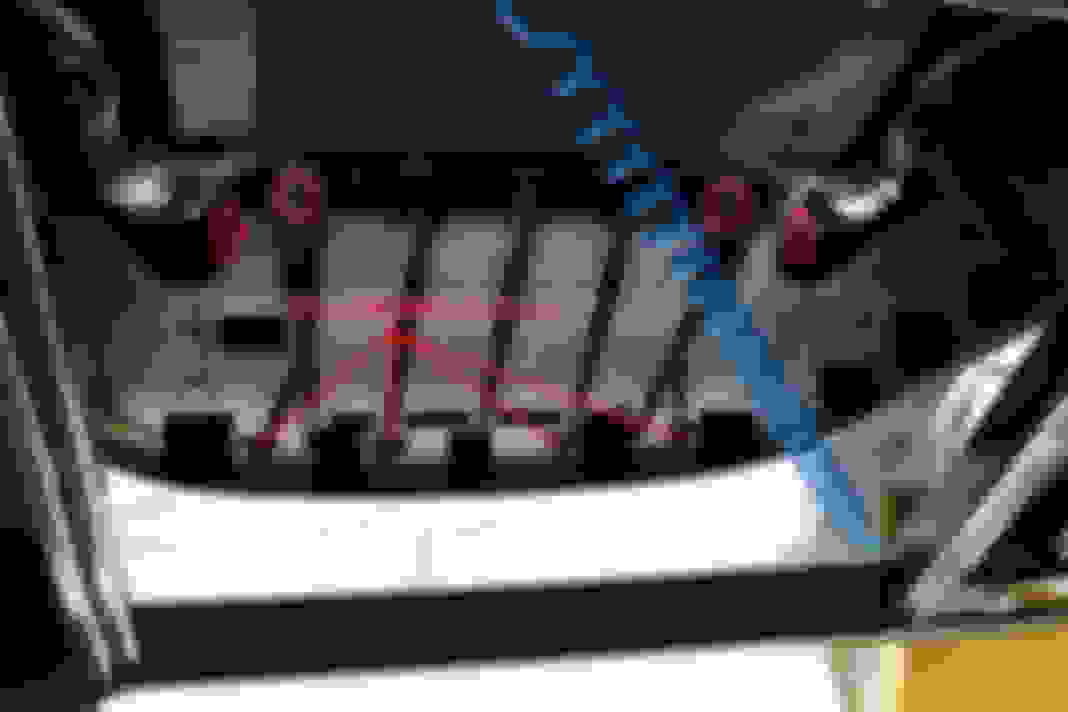
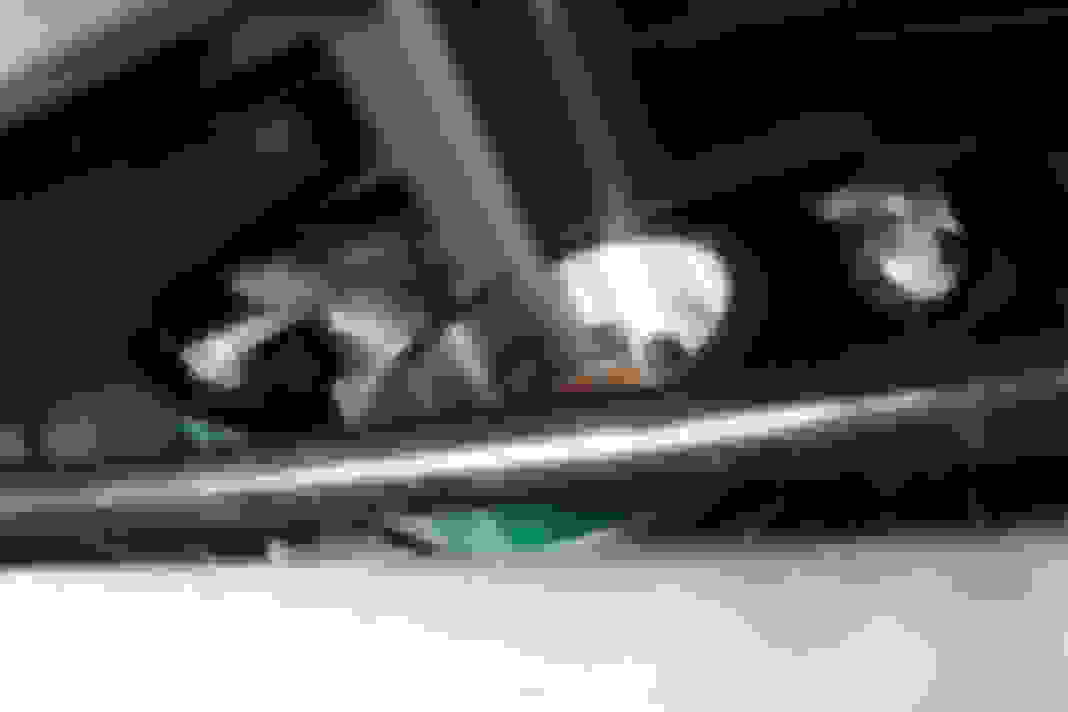
The crank pulley is visible between the sway bar and the radiator fans. Access is tight... Too tight for my camera.
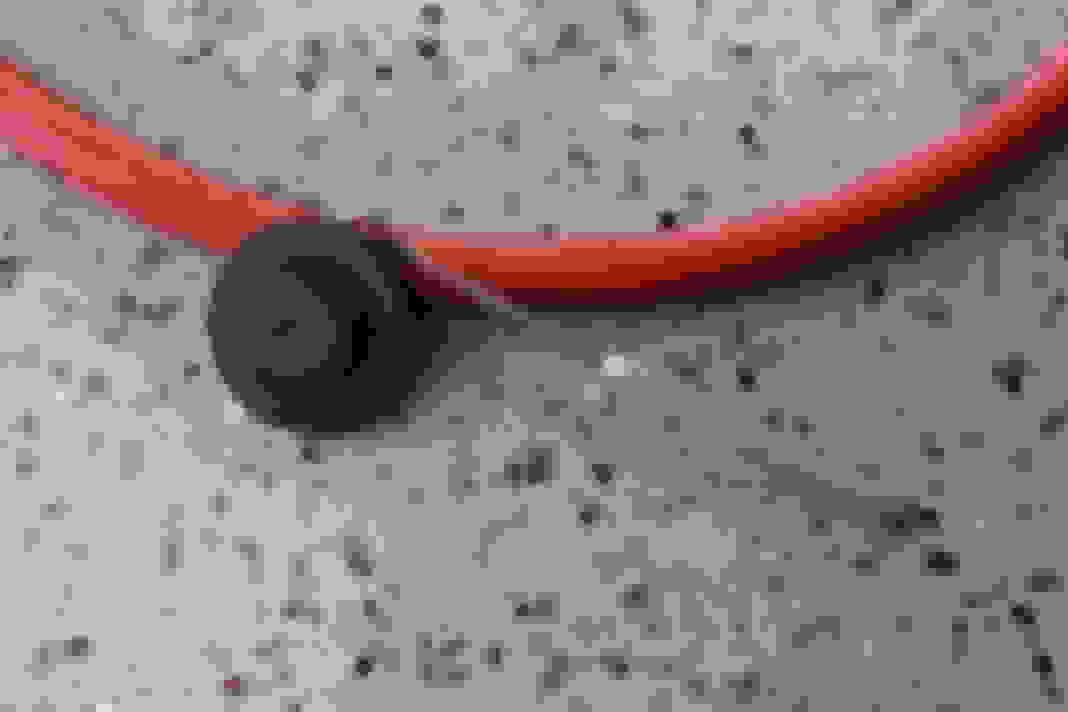
6.) You'll need to remove the belt next. There is a tensioner on the left that is visible from the bottom. It accepts a 3/8ths inch ratchet or extension and must be pulled towards the drivers side to release the tension on the belt. Pull the belt off of the crank pulley and begin to snake it out. I reached up from the bottom and pulled the belt over the upper pulleys, but if you're doing this on jack stands, you may want to remove the intake piping going into the supercharger and take it out the top.
You also may want to remove the tension from the serpentine belt. I did not assuming the serpentine crank pulley was keyed to the crankshaft... it wasn't. Luckily the pulley didn't come off with the supercharger pulley when I removed it.
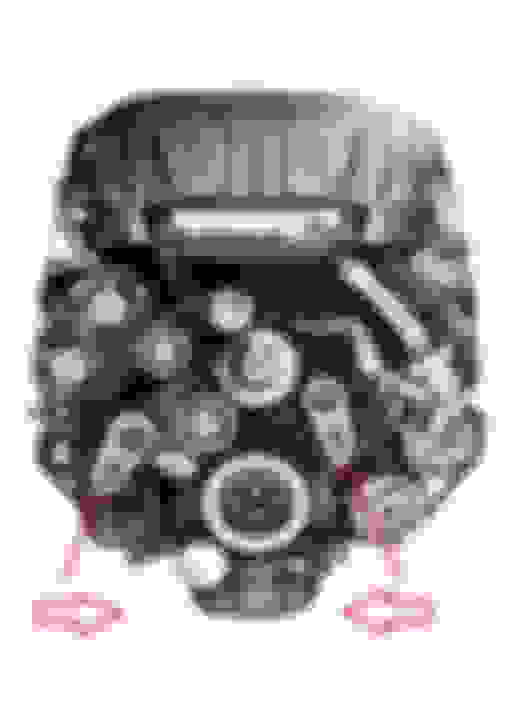
7.) Next it is time to remove the crank pulley. There are six T50 Torx bolts holding it on, which have thread locker on them. These will be a pain to remove... they take lots of force the entire way out.
I used a pipe on the end of a 1/2 inch ratchet to speed things along. The towel was just to protect from scratching the aluminum subframe. I found that even on the automatic I was able to break these bolts loose without turning the motor over. Throw it in gear on the manuals and you should be fine. The crank pulley will slide right off when you remove all 6 bolts.
8.) Its important to remove the existing thread locker from the bolts and threads of the crank. I sprayed everything with rubbing alcohol and used a tap/die kit to clean the threads. These are 10mm X 1.50 bolts:
If you don't have a tap/die kit, you can use a wire brush to clean the bolts and then run them through the crank threads a few times to get as much out as possible.
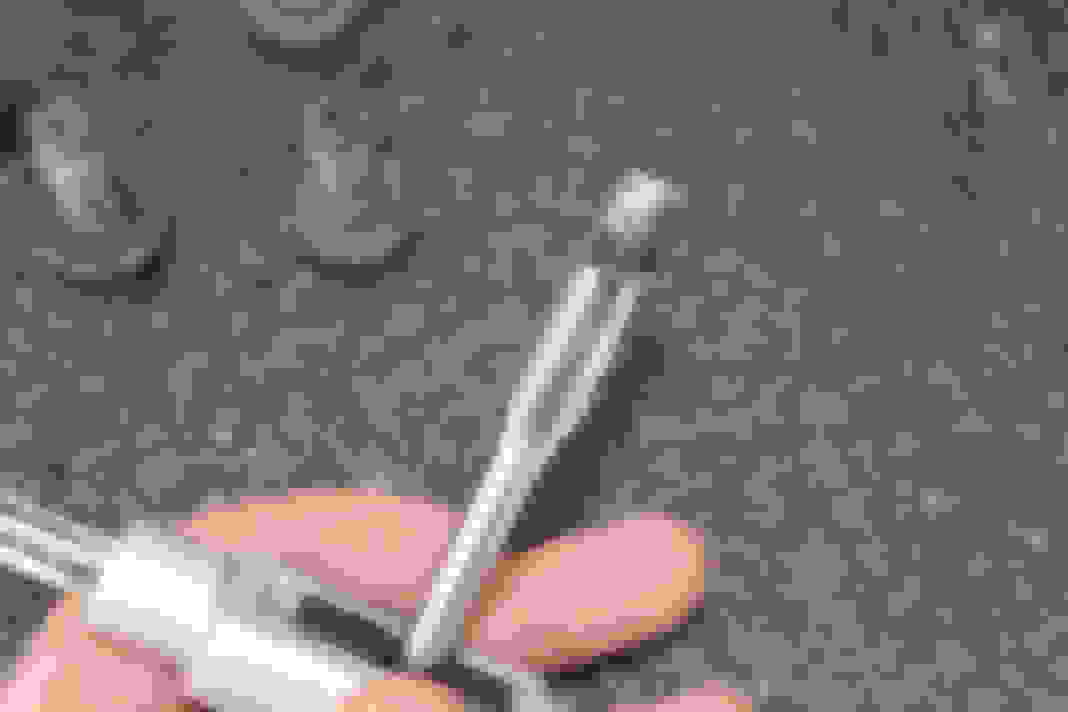
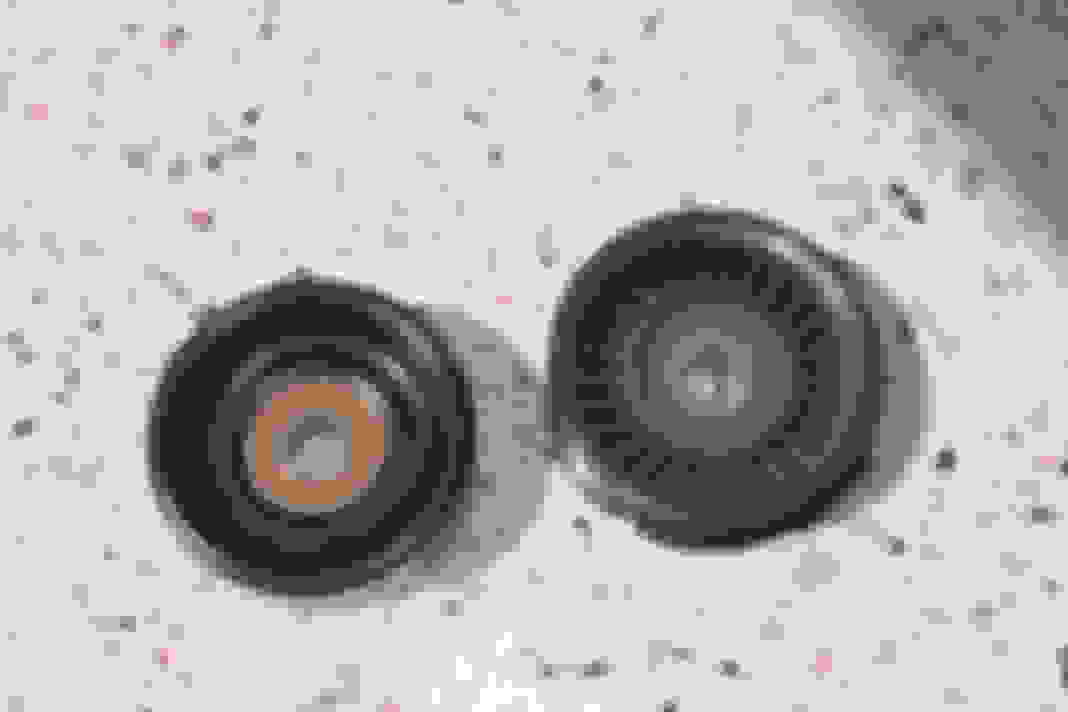
9.) Remove and replace the idler pulley with the new unit provided. This is held on with one 16mm bolt, which has a plastic cap over it. I used a pick to pry off the cover and a ratcheting wrench to remove the bolt.
The new pulley is smooth because the new belt is only ribbed on one side. Torque this pulley bolt to 40n/m (30 ft/lbs.)
10.) Install the new crank pulley. I used Loctite 242 blue thread locker on the bolts, which sets in 10 minutes. With the threads clean of old thread locker, the bolts thread in by hand almost all the way. Torque these bolts in a star pattern to 65n/m (48 ft/lbs.).
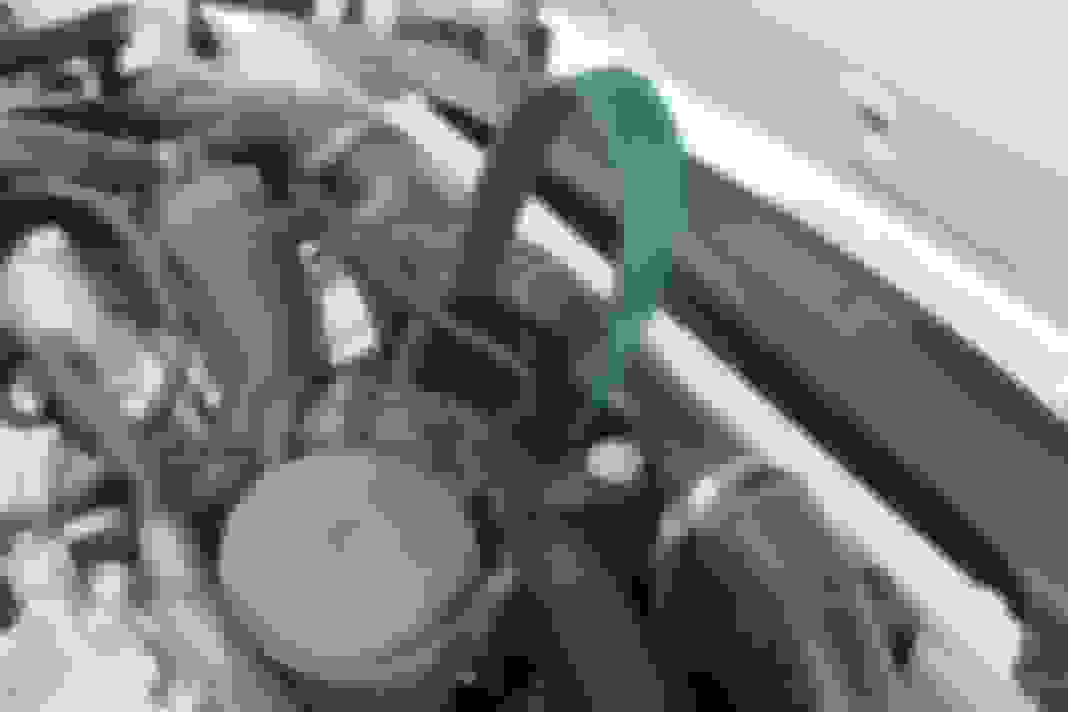
11.) Next properly route the new belt and install. I threaded it through the top. No magic steps to this, you've just gotta thread it through properly and slide it over the tensioner last as you pull on it with a ratchet.
New belt installed:
Tensioner pulley:
12.) At this point, with the belt properly routed, start the engine and make sure everything spins freely.
13.) Reinstall the undertray. There are two locating tabs you'll need to slide over the front bumper. The tray itself goes under the bumper.
Hand tight these bolts in the fender liner to hold the undertray up.
14.) Install the 10 bolts at the front of the tray, as well as the 4 hidden bolts from earlier, all using a screwdriver. Also put in the 2 black and 2 silver 10mm bolts at the rear of the tray. Don't forget to go back and tighten the T30 Torx bolts in the fender wells.
15.) Screw in both side strakes with the four 8mm screws provided. These align with two datums and don't require much adjustment.
16.) Finally install the front underbody lip. There are tabs that locate each piece and then several 8mm screws from before.
After this, make sure you install the proper tune prior to driving spiritedly. Enjoy!
Stohlen, I am humbled by your documentation. You have obliterated my write up. Awesome job. I did scrub the locktite off the bolts, never thought to clean out crank side threads, but those bolts are so tightly threaded it should hold together......
I did scrub the locktite off the bolts, never thought to clean out crank side threads, but those bolts are so tightly threaded it should hold together......
And it should be fine. But that explains why it was such a pain for you to reinstall.
Very excellent point! BTW, your garage is killer. Appears cleaner than out kitchen having spawned three kids, many dogs mine is more of a war zone. I fear you might faint if you experienced it. Again awesome job on your "how to!"
Very nice description and great pictures. Thanks. Perfect timing, I mostly completed the list of spring cleaning and house repairs assigned by my wife. Pending her review and sign-off, I am going to assume I can start working on mine tomorrow.
The weather has been unpleasant this past week or more so now I am forced to taking a few car days off of work to fit the pulley, do a brake system overhaul on one of the other cars. It's a holiday!
I'm impressed. I retired from the Nuclear Power industry - in the day (before bean counters) - that's how we planned and executed jobs. If only more had your style! Thanks for the insight.
Appreciate the guide, and the belt routing was pretty much the same on the V6. Just did my install this past weekend.
Couple of tips:
- Remove the belly pan under the engine as well, only a couple more bolts and it gives better sightlines and a bit more reach through area.
- I pulled the intake "Y" tube to clear up getting to the blower snout to remove and reinstall the belt. Required loosening 3 clamps, and taking out 3 10mm head bolts, was worth the trouble.
- On my V6S automatic the crank turned when I tried to loosen the pulley bolts. A 24mm (or 15/16") socket on a 1/2" breaker bar on the crank bolt held it still.
The blower pulley bolts are indeed a total PITA, one so tight I had to keep the crank bolt held still the entire length of removing it. Plan on spending a lot of time, but do take the time, you really don't want to strip out a torx head bolt.
Just finished my 2017 SVR lower pulley install. The instructions and tips above allowed it to happen ……
Last edited by mlebofsky; Sep 14, 2018 at 09:57 PM.
Anything special about those bolts? If an off-the-shelf hardware item, they are often not listed. Pull the numbers off the head and note the length, diameter and thread, and you can generally source at a dealer or auto fastener supplier.
Anything special about those bolts? If an off-the-shelf hardware item, they are often not listed. Pull the numbers off the head and note the length, diameter and thread, and you can generally source at a dealer or auto fastener supplier.
tensile strength would be the only concern sourcing aftermarket
and it's much easier swapping in oe parts during install than having to stop, take a bolt, then shop it around while your mechanic is on the clock