When you click on links to various merchants on this site and make a purchase, this can result in this site earning a commission. Affiliate programs and affiliations include, but are not limited to, the eBay Partner Network.
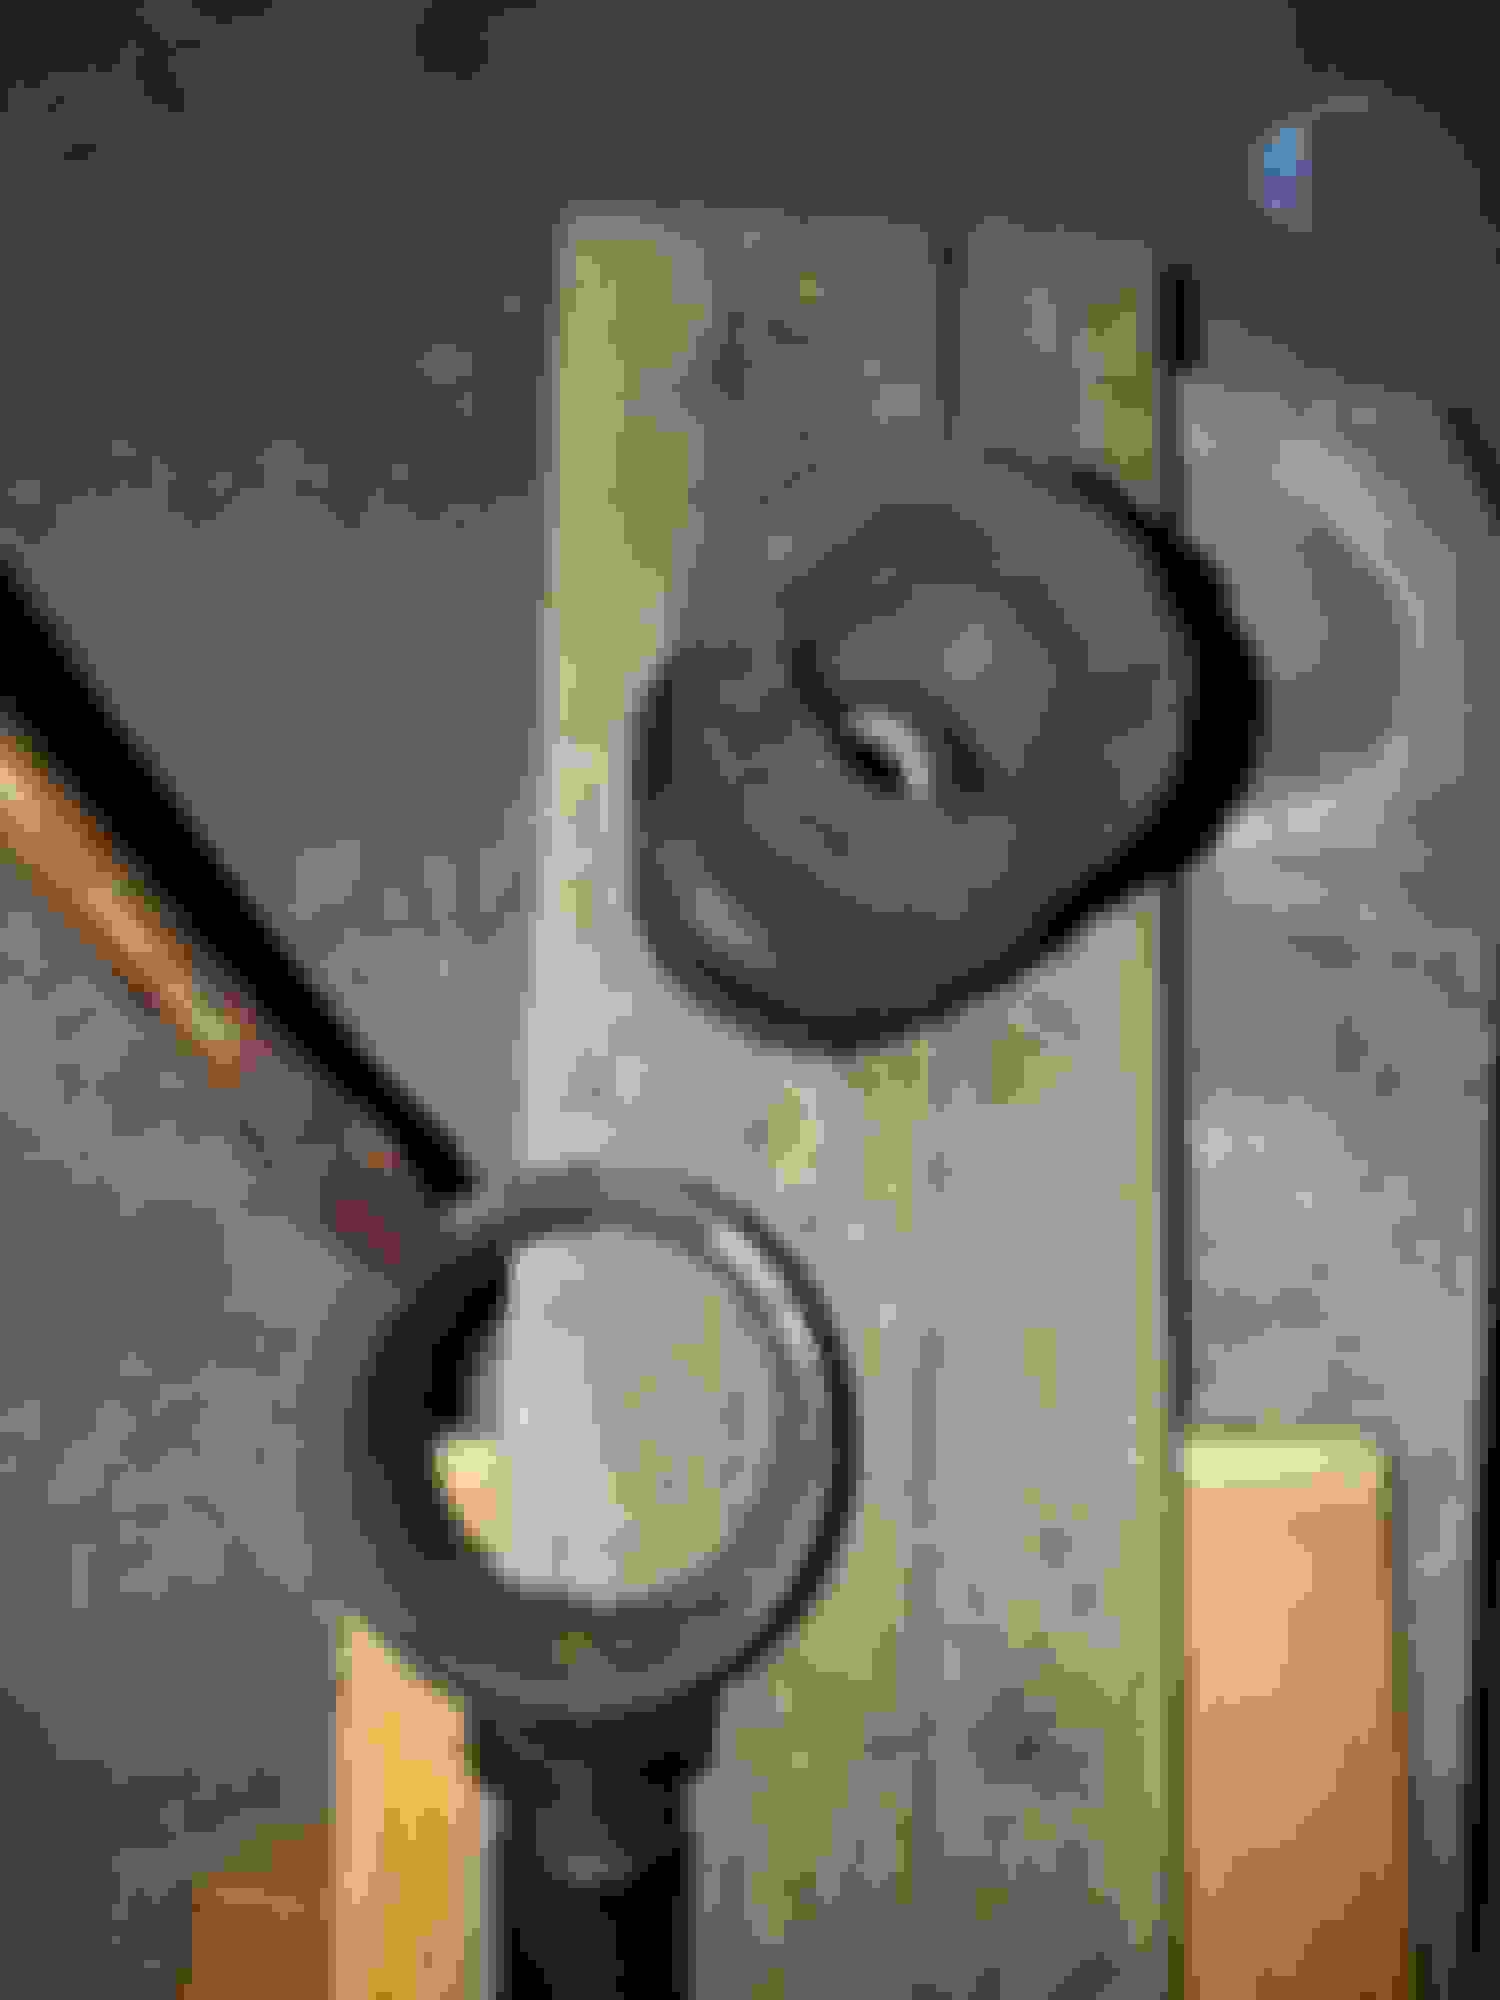
Had a family commitment today so was unable to get started until late. I got the torque arms out. I was all set to ask whether a metal sleeve I saw in each end needed to come out but then Google took me right to "Valvechatter". Yes, they need to come out. Thank you Lin!
Hey, you are welcome, Gene. Glad to help. That is why I post on my website. I admit it has been slow going lately. Slogging through. All of the custom air conditioning mods have taken way too much time.
Lin
Hey, you are welcome, Gene. Glad to help. That is why I post on my website. I admit it has been slow going lately. Slogging through. All of the custom air conditioning mods have taken way too much time.
Lin
Your car is driveable so you are (literally as well as figuratively) miles ahead of me. Hope you have a great day sir. I pull out the rear springs today
I recently did this job on my Mk2 - I recommend the Harvey Bailey Rear Sway bar. It bolts onto the torque arms and fights body roll in the rear. Made a huge difference in stability and handling.
Rear springs out, torque arms (with new bushings) back in. There is a lot of corrosion, and a couple of stripped bolts, to deal with so the springs will not be going back in this weekend. Still, taking a few more baby steps.
Thanks Chuck. I'm gonna see how far I can get with the fuel tank tonight. Got to clean it out and put a coat of POR-15 over it before I put it in so it will probably be tomorrow before I install it. Exhaust pipes route under the tank, put tires on, then it will be time to attach fuel lines (and a couple of other details).
If all goes well (haha) I may be able to test-fire the engine by the end of the weekend
Petrol tank is in. THAT was interesting - I felt like I was doing some sort of weird modern dance on the garage floor and doing what seemed like an endless crunch while holding the tank in place and fitting the nuts on the bolts.
Originally Posted by gene61jag
If all goes well...
Yeah, that didn't happen. One of my dogs had a health issue and we've had some wicked wind in Oregon so I'm lowering my expectations of the weekend. If I can get the Jag back on her tires tonight I'll call that success. I'll try and get as much fuel line routed as I can tonight too.
Last night I figured out the exhaust routing, tightened up the shock absorbers. Tires are on now so I set it back on the floor.
Priority this weekend will be to route fuel lines from the new fuel tank and replace fuel line in the engine compartment. I know I need to post some pics and I'll try and do that soon.
Tonight I took care of a few loose ends
- Connected fuel tank (through a filter) to the fuel pump
- Replaced part of the fuel line in the engine compartment with a longer piece
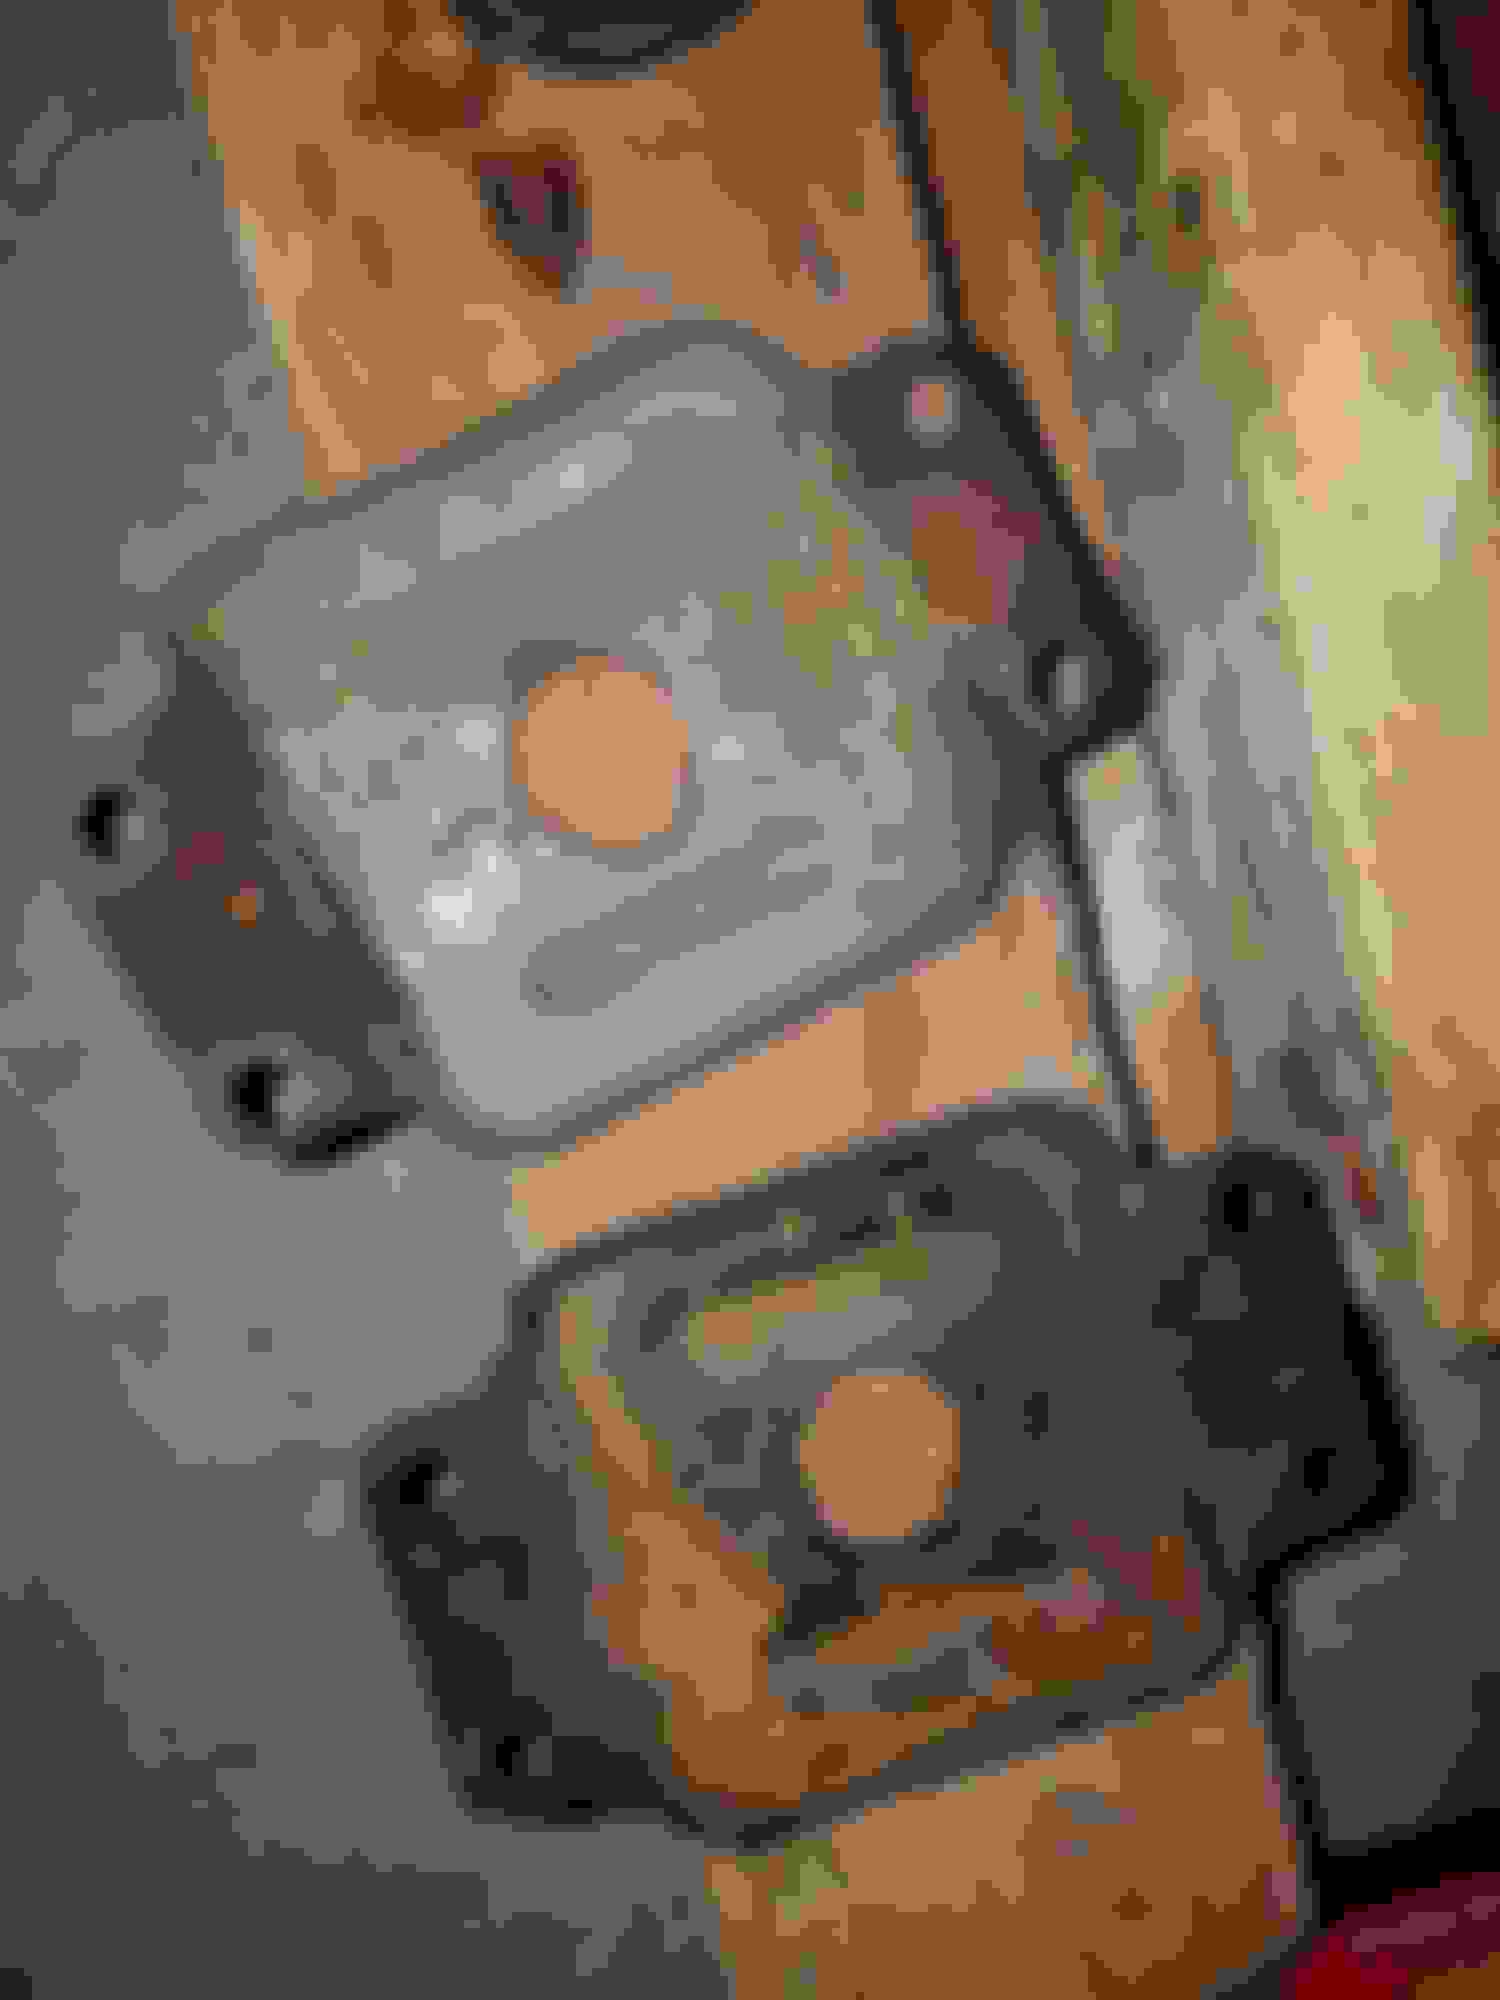
- Drilled breather holes in backing plates for air filters
- reattached the plates of the air cleaners to the intake manifold
Tomorrow I have to see if there are any leaks, and to clear the lines of any sludge. Then, God willing, she'll start up. Fingers crossed!
I believe the fuel line is dry. My after-market electric fuel pump makes noise but I don't see fuel at the filter I just installed. There does not appear to be a "Prime" switch on my pump.
I'm thinking I have to just let the pump run until the gas gets to the pump but I'm no mechanic. Thoughts?
If it's an after market pump it may have to be mounted in another direction other then the way it mounts now.
It's a type of safety feature if you have an accident, if the car is rolled the valves in the pump have no return springs in them, they only work right side up, not side ways or upside down.
Check your instructions or there may be some arrows on the pump.
Also, see if the in/outs are not mixed up.
The pump shouldn't need priming, if it's healthy it will even slow down if you put your finger over one of the holes _ the air pressure will slow it down.
Gas will come up pretty quick if it's working properly.
Hey Jeff, the pump came with the car (sorry for not stating that) so I know it worked before. It's oriented the same(ins/outs); I never pulled it out. And the previous owner "conveniently" forgot to give me the instructions. I left it on for a couple of minutes and I got nothing. I would say the pump is no more than 2 feet above the surface of the gasoline so I think I'm hearing you say that my fuel pump is bad. I'll search for a replacement.
I know the SU pumps have an internal filter (very fine screen), it may be plugged.
I don't know what kind of aftermarket pump it is, but why not take it apart, it may just need cleaning or at the very least you may discover what's wrong with it.
Maybe the valves are simply worn out _ I know the SU ones are replaceable.
If it's been sitting, then yes, priming it may "unstick" the valves, assuming that's the problem.
I agree that disassembling it can't hurt. Considering the foulage that the filter had, there is a fair chance that the pump is jammed with rust too. The pump, according to "Duh Interwebs", should be self-priming. But maybe, due to age or use, it can't handle a 2-foot static head anymore.