
My S-Types

That is awesome! I know some (most?) would disagree, but something like this is much more my style than an E-Type. I can't wait to see the finished product!
One idea. Have you considered stretching the hofmeister kink a bit so the curve flows a little nicer into the window line? Like this:

One idea. Have you considered stretching the hofmeister kink a bit so the curve flows a little nicer into the window line? Like this:
Last edited by K.Westra; Apr 17, 2012 at 04:09 PM.


Thread Starter
|
Senior Member


Joined: Oct 2010
Posts: 661
Likes: 108
From: Deland Florida
Now that the conversion is basically done back to the task of fixing a rusted, beaten body. I spent last week starting to sand blast and fix some more rust.
Note the previous "Repair" to the left wing with holes drilled for old fashioned screw and slide hammer. I welded the studs a modern take on the same concept...just no holes to have to patch later.
1320 & 1326 show adding a spacer at the sill to be flush with the door bottom leading edge. Another shows the patch I formed for the rear glass channel. The wings are pretty nice underneath after sand blasting.
My near term goal is to complete the body work up front, then consider sending the body out to finish stripping the paint (including doors, bonnet and trunk lid)...bead blast it off. There are over six layers of paint/primer and it is very thick and tuff to get off. I'm getting too old to sand blast that much..the front about did me in up in the wings and engine bay!!!
Last edited by Fla Steve; May 1, 2012 at 08:18 PM.
Thread Starter
|
Senior Member
Joined: Oct 2010
Posts: 661
Likes: 108
From: Deland Florida
The glass is flat (I mistakenly thought it was curved at one time). Flat glass is available for street rodders from a couple of sources. The challenge will be to make the elongated window frames for the doors, and custom rear vents for the back. I am just not even planning on when that might happen. Gonna get the body done and get it running first.
Thread Starter
|
Senior Member
Joined: Oct 2010
Posts: 661
Likes: 108
From: Deland Florida
Yeah..finally bare metal. Been working my butt off sandblasting the car. Took 2 weeks...dipping it would have been $1600, and bead blasting about $800. The bead blasting doesn't get rust off though. I used a 7" disc with 80 grit to get most of the paint off so I would reduce the sand blasting effort and keep the heat down to avoid warpage. Also showing one of the damaged areas I worked on. Used a harbor Freight stud welder and pulled it out. Then had to heat shrink some warpage. I'm not an expert but I do the best I can. Now I can begin working more of the dents and filling my welded up seams.
Last edited by Fla Steve; Apr 27, 2012 at 09:16 PM.
Thread Starter
|
Senior Member
Joined: Oct 2010
Posts: 661
Likes: 108
From: Deland Florida
Body work done from the cowl/door jams forward. I used "All Metal" exclusively. It is an epoxy resin (like used in fiber glassing) and aluminum powder mix. It dries very hard and sands like lead..so the can says. It will fix rot and is moisture proof. Short of re-leading, it is the best product to use for strength and will last a lifetime. It's just twice as hard to sand as lightweight polyester filler..aka Bondo or Rage. I did a lot of meticulous work in the door jams and around the bonnet opening. Very tuff on your fingers..they are raw. Large areas are almost impossible to sand by hand. I used an air file, jitter bug, and random orbital sanders plus a lot of hand work. You shape and cut it first with 36-40 grit. Then 80, then 120-150 and finally 180-220...lots and lots and lots of sanding!!!!
Tomorrow it gets epoxy primer..followed by high build sanding primer monday.
Tomorrow it gets epoxy primer..followed by high build sanding primer monday.
Last edited by Fla Steve; May 5, 2012 at 08:35 PM.
Veteran Member
Joined: Jul 2009
Posts: 12,704
Likes: 1,236
From: Brittany France
I've just caught up on this thread, pity.
Looks like a decent project.
Hopefully not too late, but for your chassis do not just rely on seam welds and a patch.
Ideally insert steel on the interior of the cut rails, drill through the exterior in many places then 'puddle weld' from the outside, together with your seam welds this will give much more strength.
I've used this method when fab'ing modified RR 100" chassis to take 86" Landrover Body work with all RR mechanicals. ie chop 14" out of the middle and join the two halves + out riggers and X member etc.
If you still have open 'U' shaped chassis sections rather than now closed box sections, it might be well worth going back and reinforcing them in this manner.
Keep the pics coming
Thread Starter
|
Senior Member
Joined: Oct 2010
Posts: 661
Likes: 108
From: Deland Florida
Richard, I cut the bottom of the frame rails so they would butt together, but left 2" of flap on the sides front and back. I welded the front flaps to the inside and the rear flaps to the outside. Then I put a plate on the bottom over the butt weld. I also welded 1" square tubing (had left from bracing) to the inner sill for a little more support.
Progress today..primed the front end with PPG epoxy primer (oxblood) and sanding primer (gray). This coming week I will fill the seam on the roof and get it ready for primer.
Progress today..primed the front end with PPG epoxy primer (oxblood) and sanding primer (gray). This coming week I will fill the seam on the roof and get it ready for primer.
Veteran Member
Joined: Jul 2009
Posts: 12,704
Likes: 1,236
From: Brittany France
Looking good. I kind of figured you know what you are doing from the vehicles in your signature. 
I don't know how you are planning on using this car but I doubt driving it off a cliff is part of the plan. LOL
NB. A decent roll cage correctly done will also give you even more strength, but I'm guessing that you won't want the aesthetics of one.
What are you welding with?
I don't know how you are planning on using this car but I doubt driving it off a cliff is part of the plan. LOL
NB. A decent roll cage correctly done will also give you even more strength, but I'm guessing that you won't want the aesthetics of one.
What are you welding with?
Thread Starter
|
Senior Member
Joined: Oct 2010
Posts: 661
Likes: 108
From: Deland Florida
I am welding with a MIG. I have thought about a roll bar and may add one as I want to slalom race it too. I plan to use a SBC and BW 5 speed. It will have rack and pinion steering. I scored 4 pot calipers and uprights from an XJS that will go on the front. I also got the entire rear assembly from the XJS. It is about 4" wider than the S rear, which is 1" narrower than the front, so if I use the axles and lower fulcrums it will be about a 3" wider track. This will allow deep offset wheels. When the time comes to arch the rear wheel wells I will decide if I am going to use it. This is going to be done in stages. The body work is coming along, then mocking up the suspension, steering and power train. Once it is drivable, then I will build the window frames. It's going to be a very long project time-wise. But, when done, it will be the only one of it's kind in the world I think. There are 2 door conversions out there, but I doubt anyone has ever shortened one.

Veteran Member


Joined: Jun 2011
Posts: 1,113
Likes: 315
From: California
I am welding with a MIG. I have thought about a roll bar and may add one as I want to slalom race it too. I plan to use a SBC and BW 5 speed. It will have rack and pinion steering. I scored 4 pot calipers and uprights from an XJS that will go on the front. I also got the entire rear assembly from the XJS. It is about 4" wider than the S rear, which is 1" narrower than the front, so if I use the axles and lower fulcrums it will be about a 3" wider track. This will allow deep offset wheels. When the time comes to arch the rear wheel wells I will decide if I am going to use it. This is going to be done in stages. The body work is coming along, then mocking up the suspension, steering and power train. Once it is drivable, then I will build the window frames. It's going to be a very long project time-wise. But, when done, it will be the only one of it's kind in the world I think. There are 2 door conversions out there, but I doubt anyone has ever shortened one.
If you want to go fancier on the rear basket set up there are a number of Cobra companies that sell billet aluminum baskets to use on the stock rear end and you can also change the rear arms to billet, etc. set ups. Since you are handy at welding only a few minor mods are needed to the basket to handle bigger HP, look at my other posting as to what I did to handle the LS1. These stock rear ends will work great for street and track use and look very cool too.

Thread Starter
|
Senior Member
Joined: Oct 2010
Posts: 661
Likes: 108
From: Deland Florida
Thank you for the picture...I want to arch the rear wheel wells like that. I would like a full side view if you have one.
I bought the front arch patch panels to use..(wish I hadn't now, but they aren't returnable) I'm afraid they may be a little big. Any dimensions of yours would be appreciated greatly.
The car I cut up was a rust bucket. It was no loss (historically) if I did not succeed. Anyway, I have a nice one to restore and was not brave enough, foolish enough to cut it. Anyone can restore a car, "it takes a real man to cut one up". But since I only paid $500 for it (Complete car with engine by the way) I went for it.
Last edited by Fla Steve; May 9, 2012 at 09:07 PM.
Veteran Member
Joined: Jun 2011
Posts: 1,113
Likes: 315
From: California
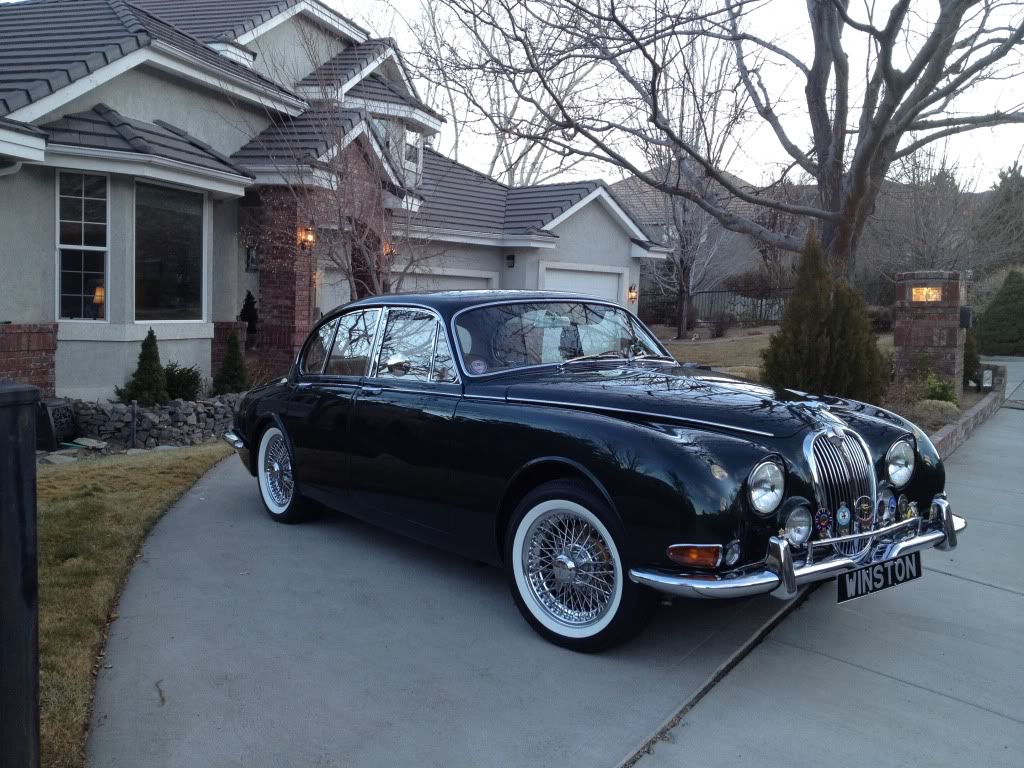
I personally like how the 3.8s rear fenders partially cover the rear wheels.
The couple of modified 3.8s I have seen online where they cut the rear fenders and created more of a standard car's wheel arches would enable larger tires compared to leaving the body stock but the two I have seen thus far only had 225 tires, nothing that impressive.
As I said if you use the right offsets you can stuff 245 and if you are careful 255 tires with the stock rear fenders.
Steve if you like that look I hope you use the maximum offsets as they should then be able to take a 275 tire or whom knows maybe more?
Thread Starter
|
Senior Member
Joined: Oct 2010
Posts: 661
Likes: 108
From: Deland Florida
Have made progress..nothing exciting, finished the roof and have been patching more rusted area. What started as a small hole in the rear window channel crated a big mess below. Rotted through the package tray and where the trunk lip connects to the wheel house, then on through he floor above the frame, and the wheel house as well. Just gonna take time to fix it.