


Time for another update on the ongoing saga of my restoration.
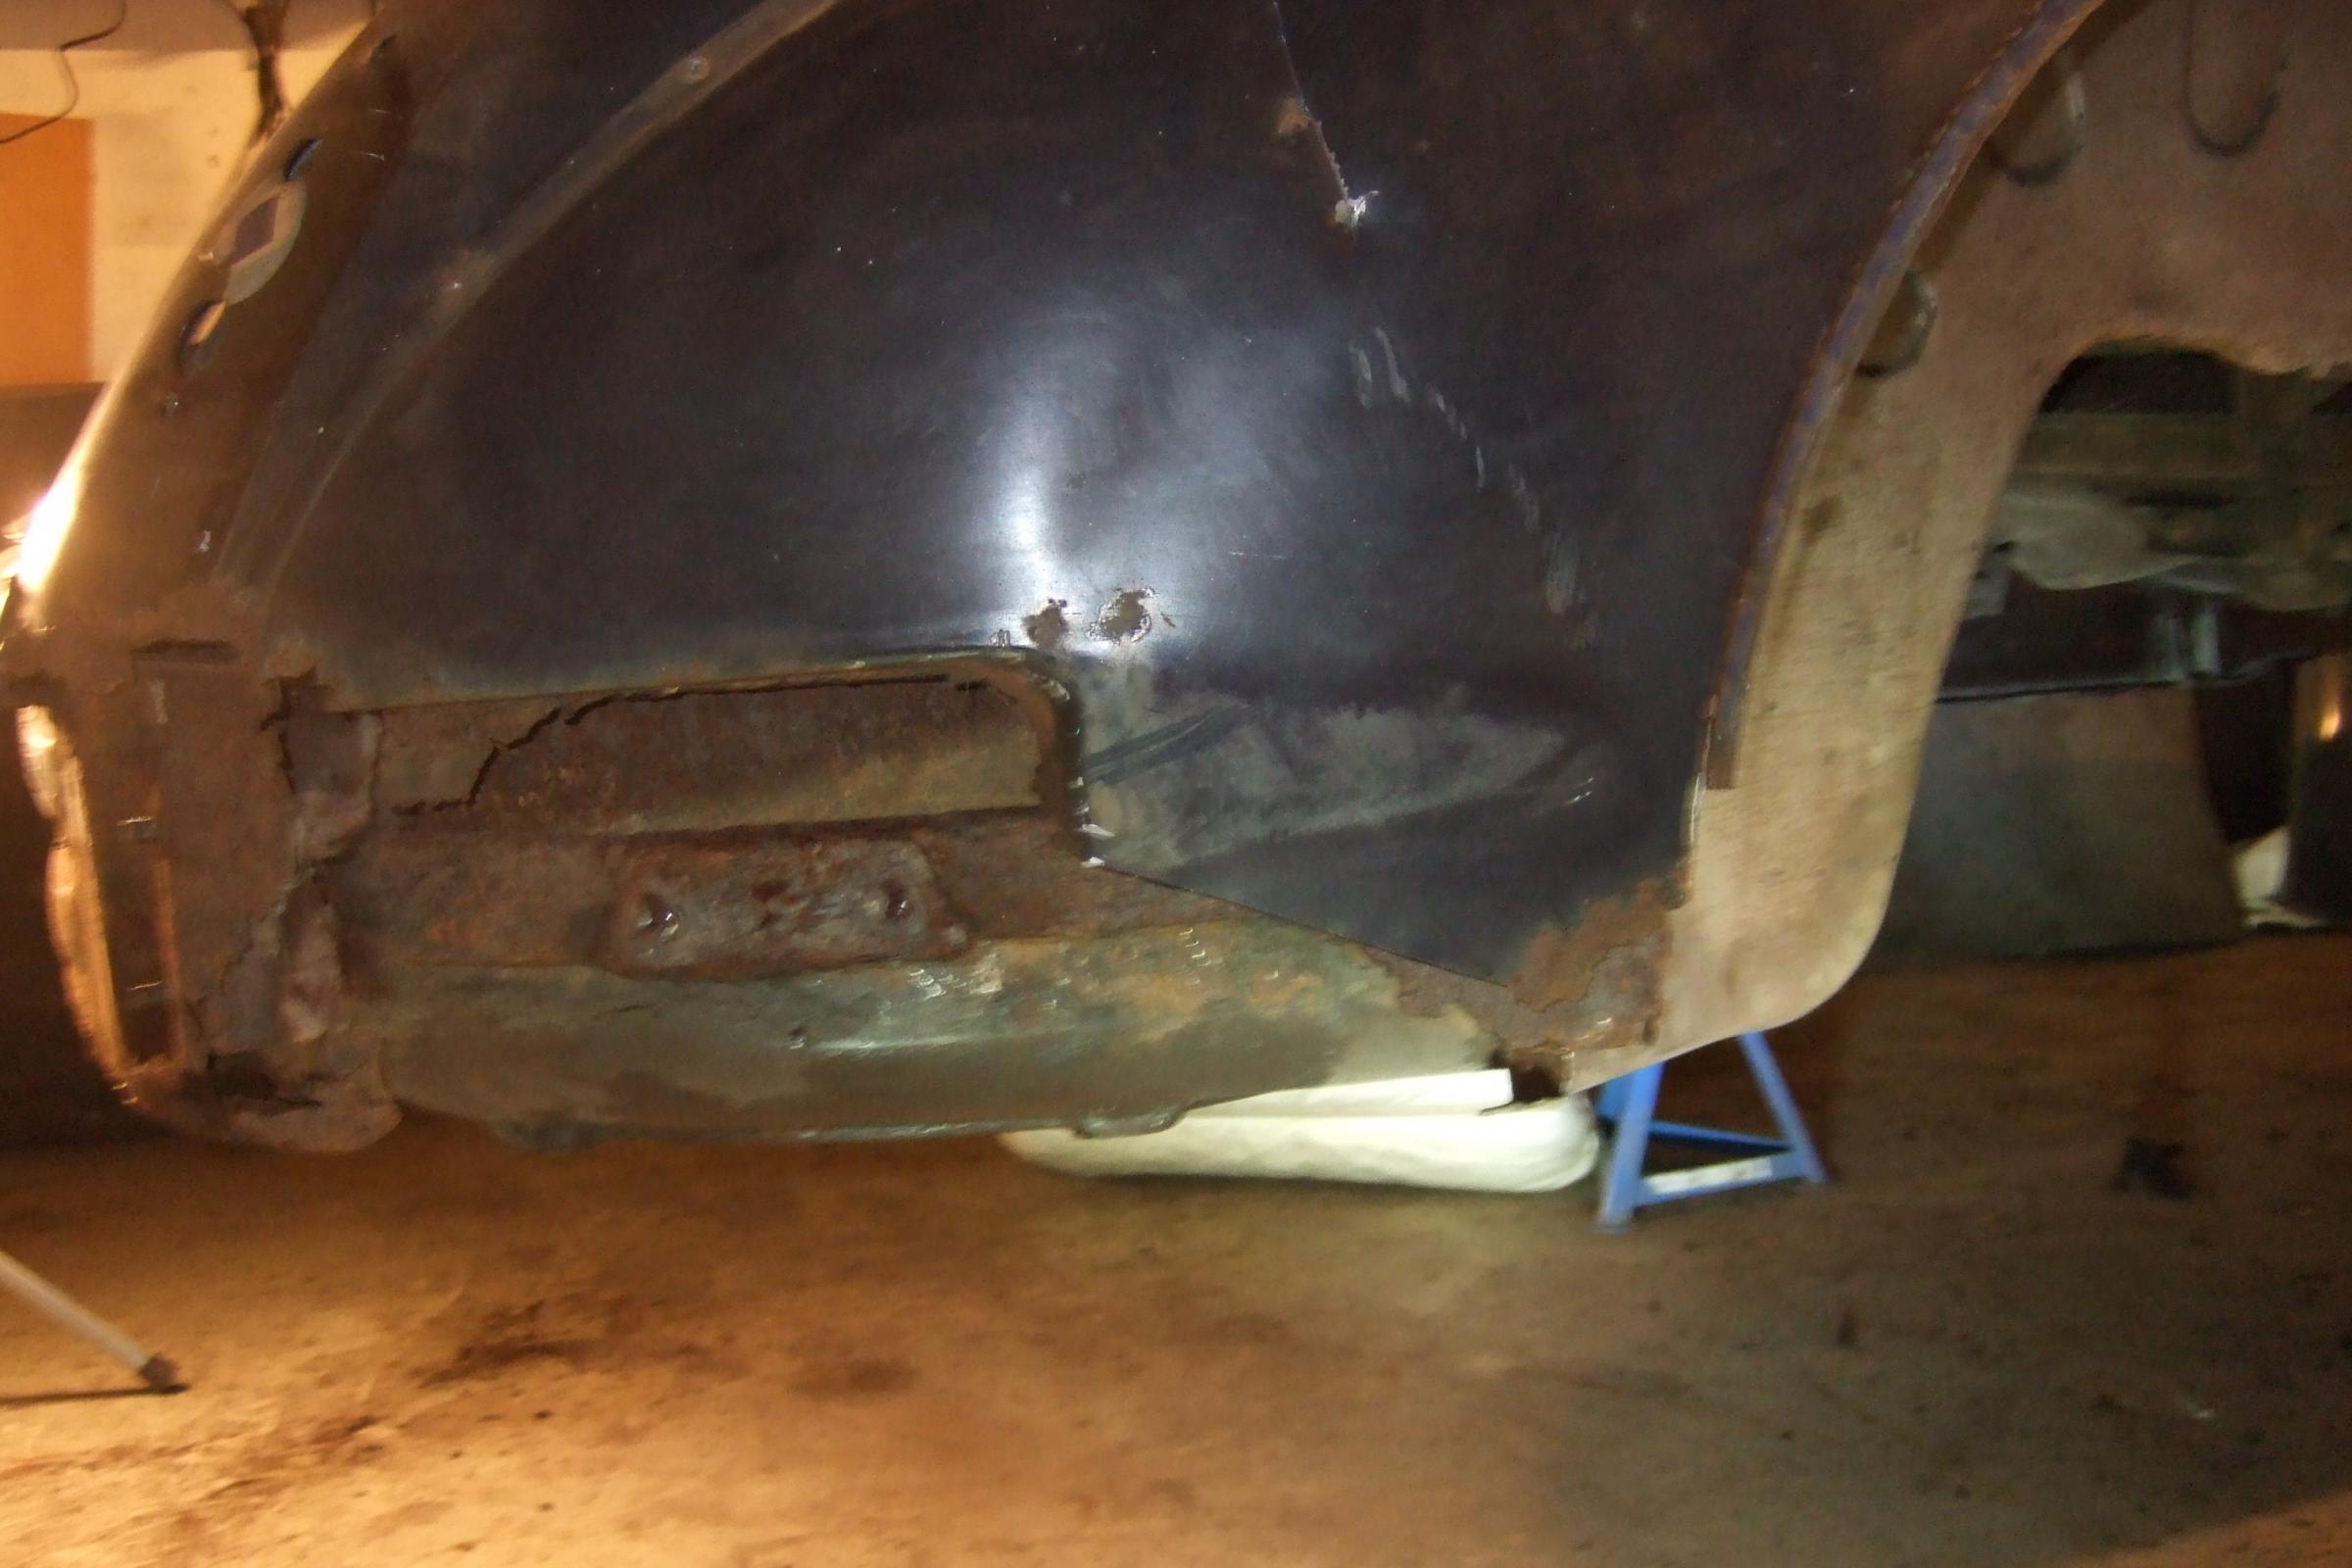
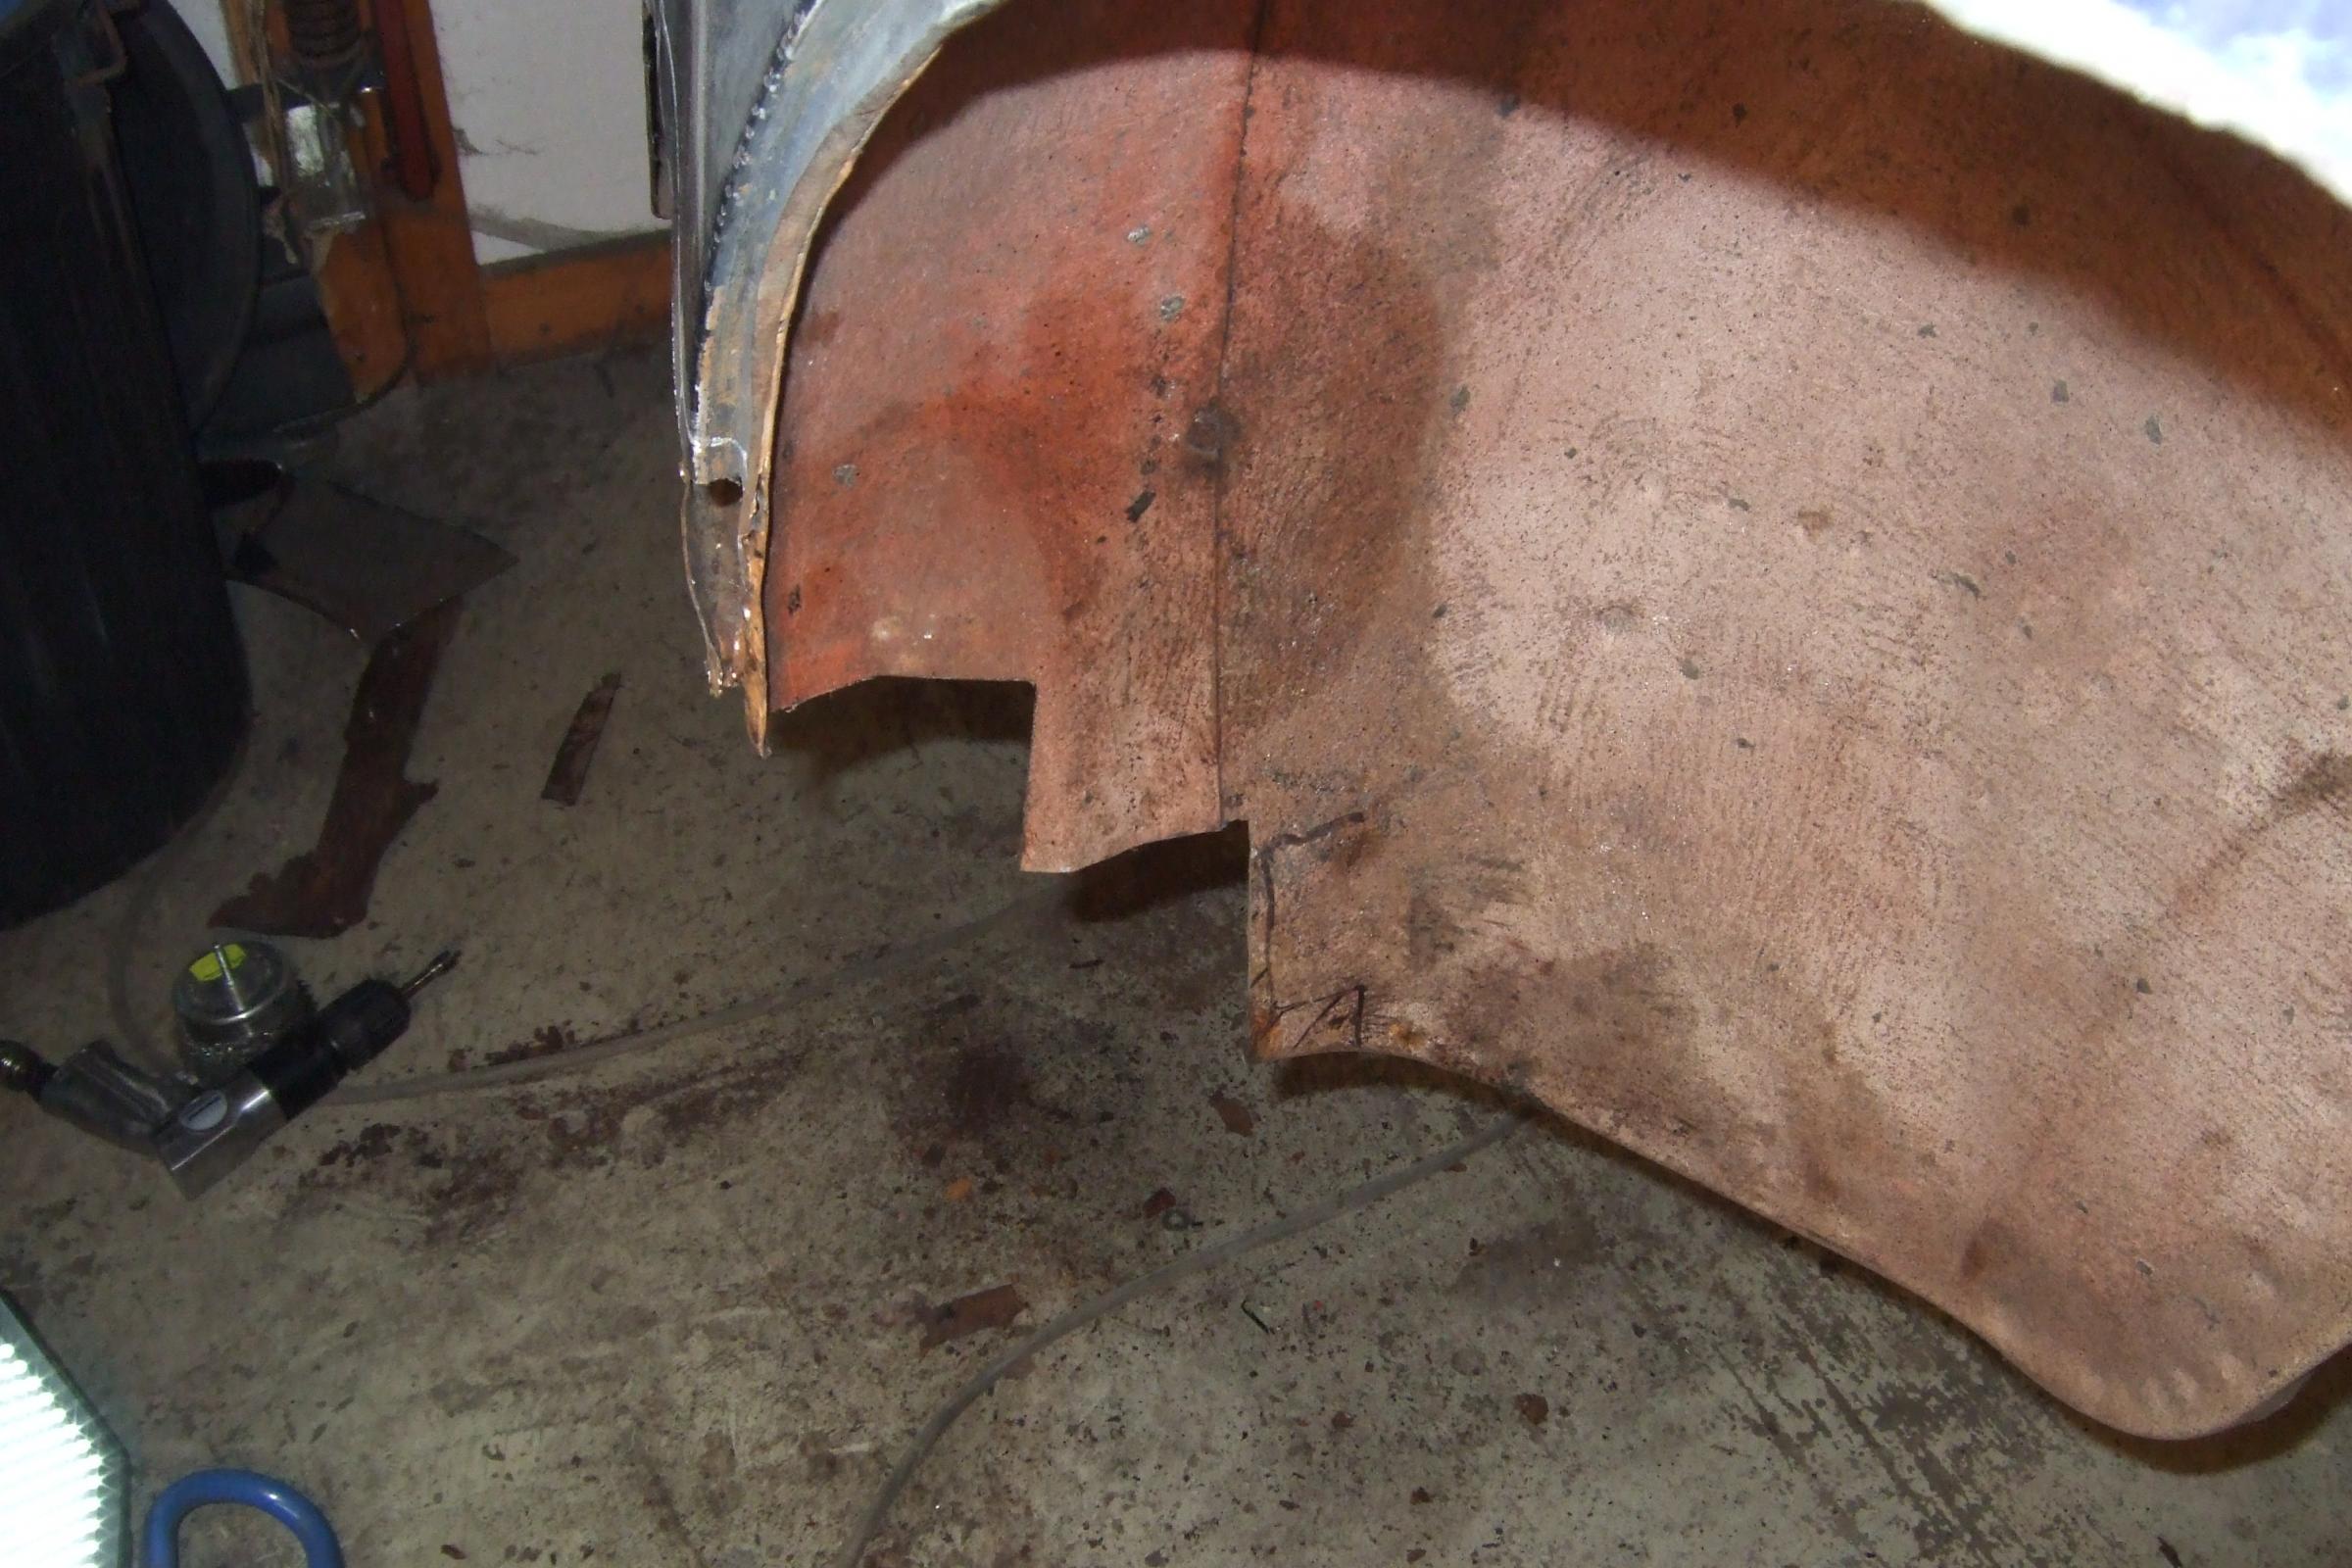
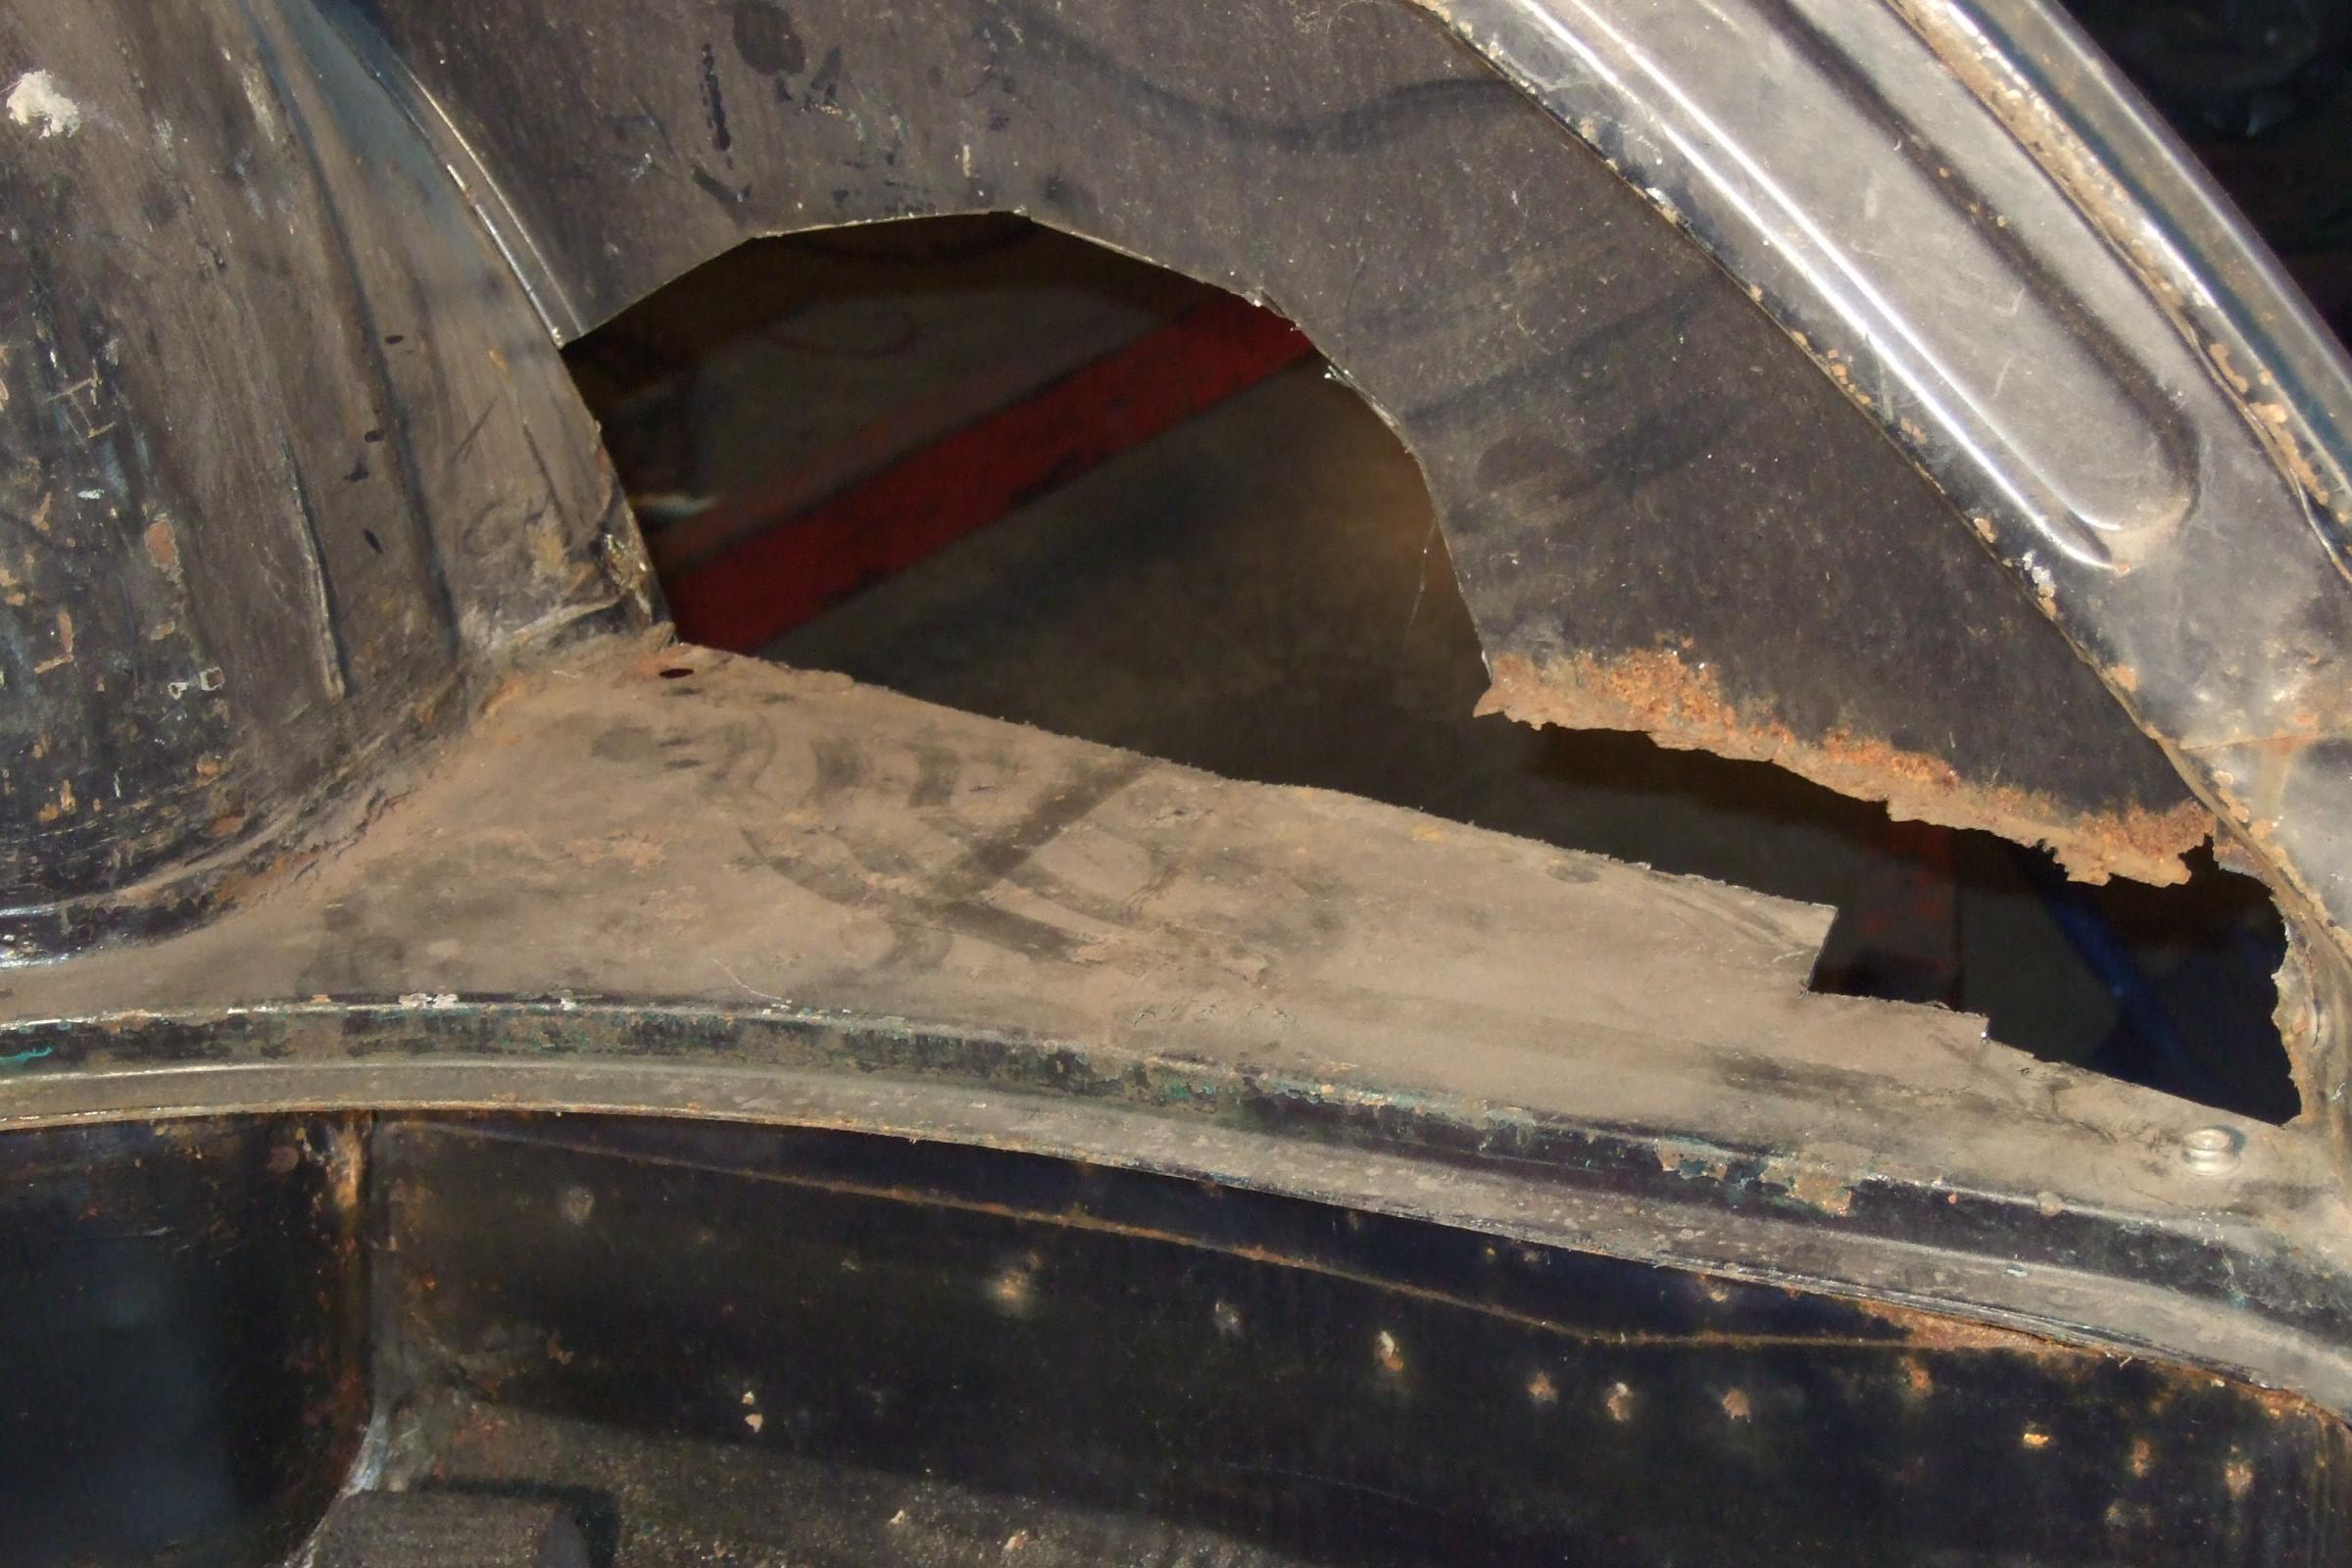
Well it feels like I am getting to the end of this part of the restoration. As you can see from the pictures I have repaired the other spring hanger as well as the other front wheel arch. I have also now moved on to the back end. This is the part that someone told me didn't matter but it is just as difficult as the front end. Anyway hopefully by the end of the month i will be complete with all the welding of the structure and then all I need to do is the modification of the floor to fit the XJ40 seats and start on the rest of the retoration.
Wish me luck


Veteran Member
Gippsland
Veteran Member
close
Jul 8, 2015
- Join DateApr 2012
- LocationBairnsdale,Victoria Australia
- Posts:1,495
-
Likes:311
-
Liked:220 Times in 182 Posts
Ray you need to change the thread to re-build. Lend some of your patience please! Thanks for the update.
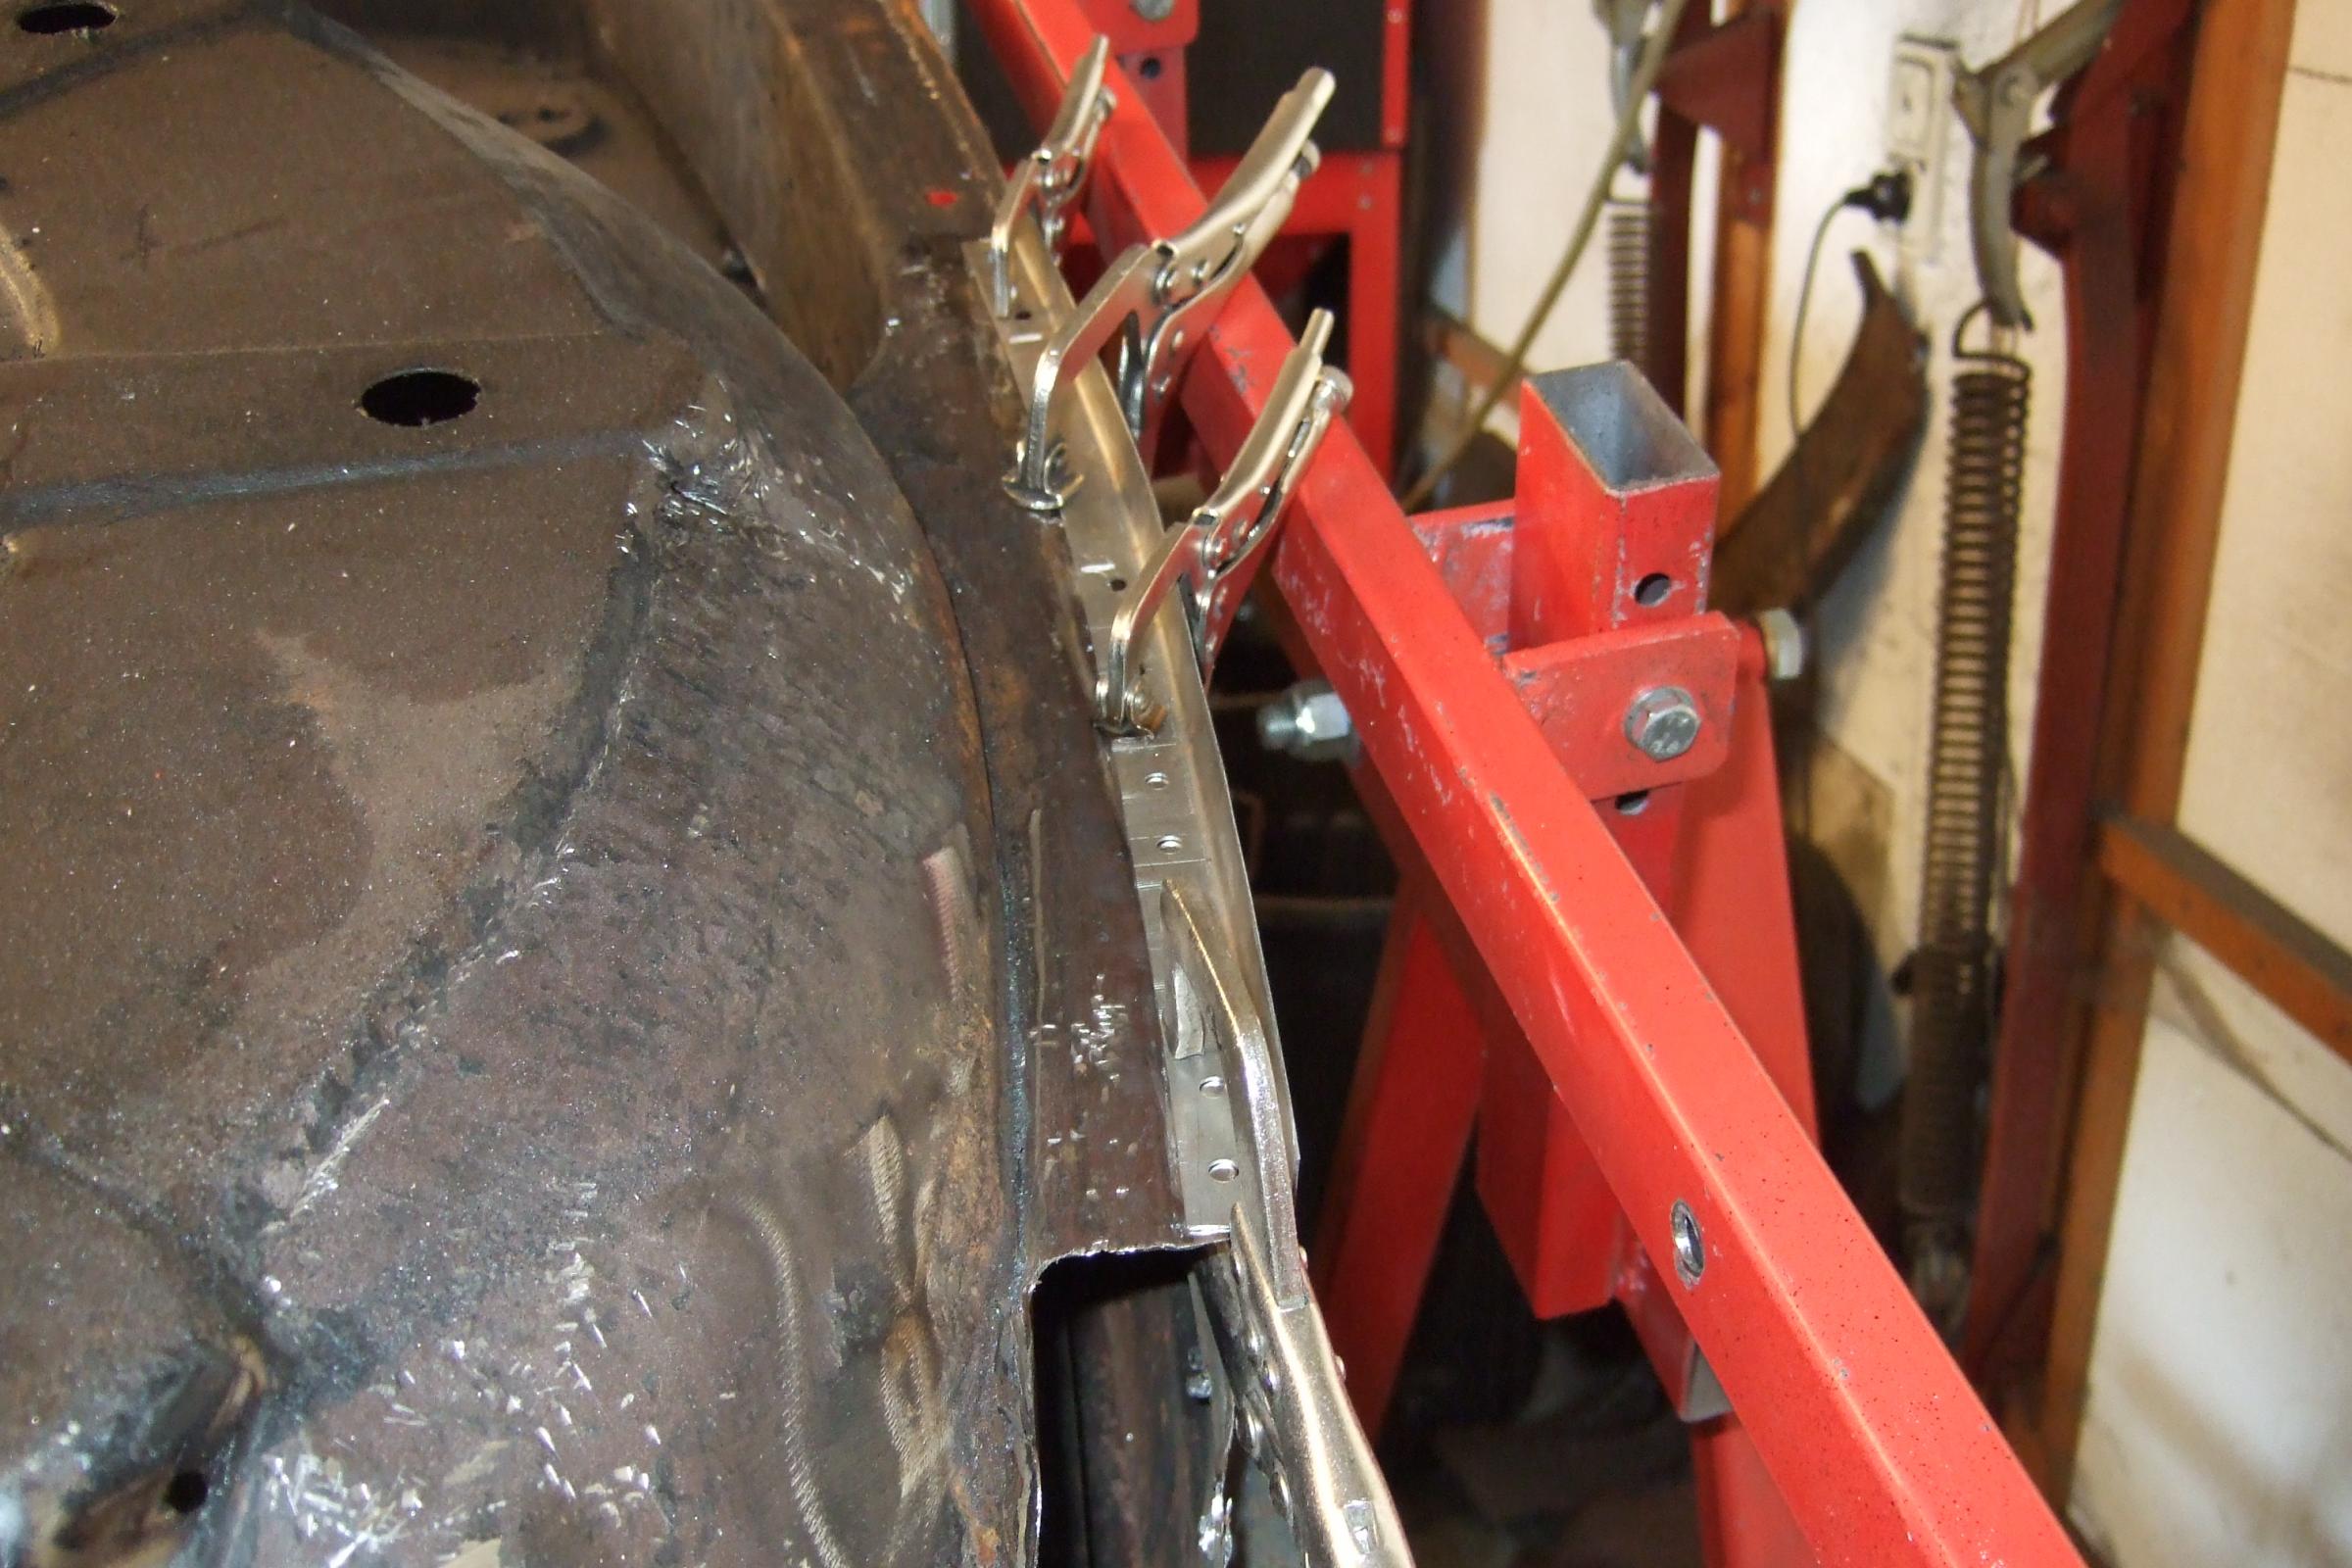
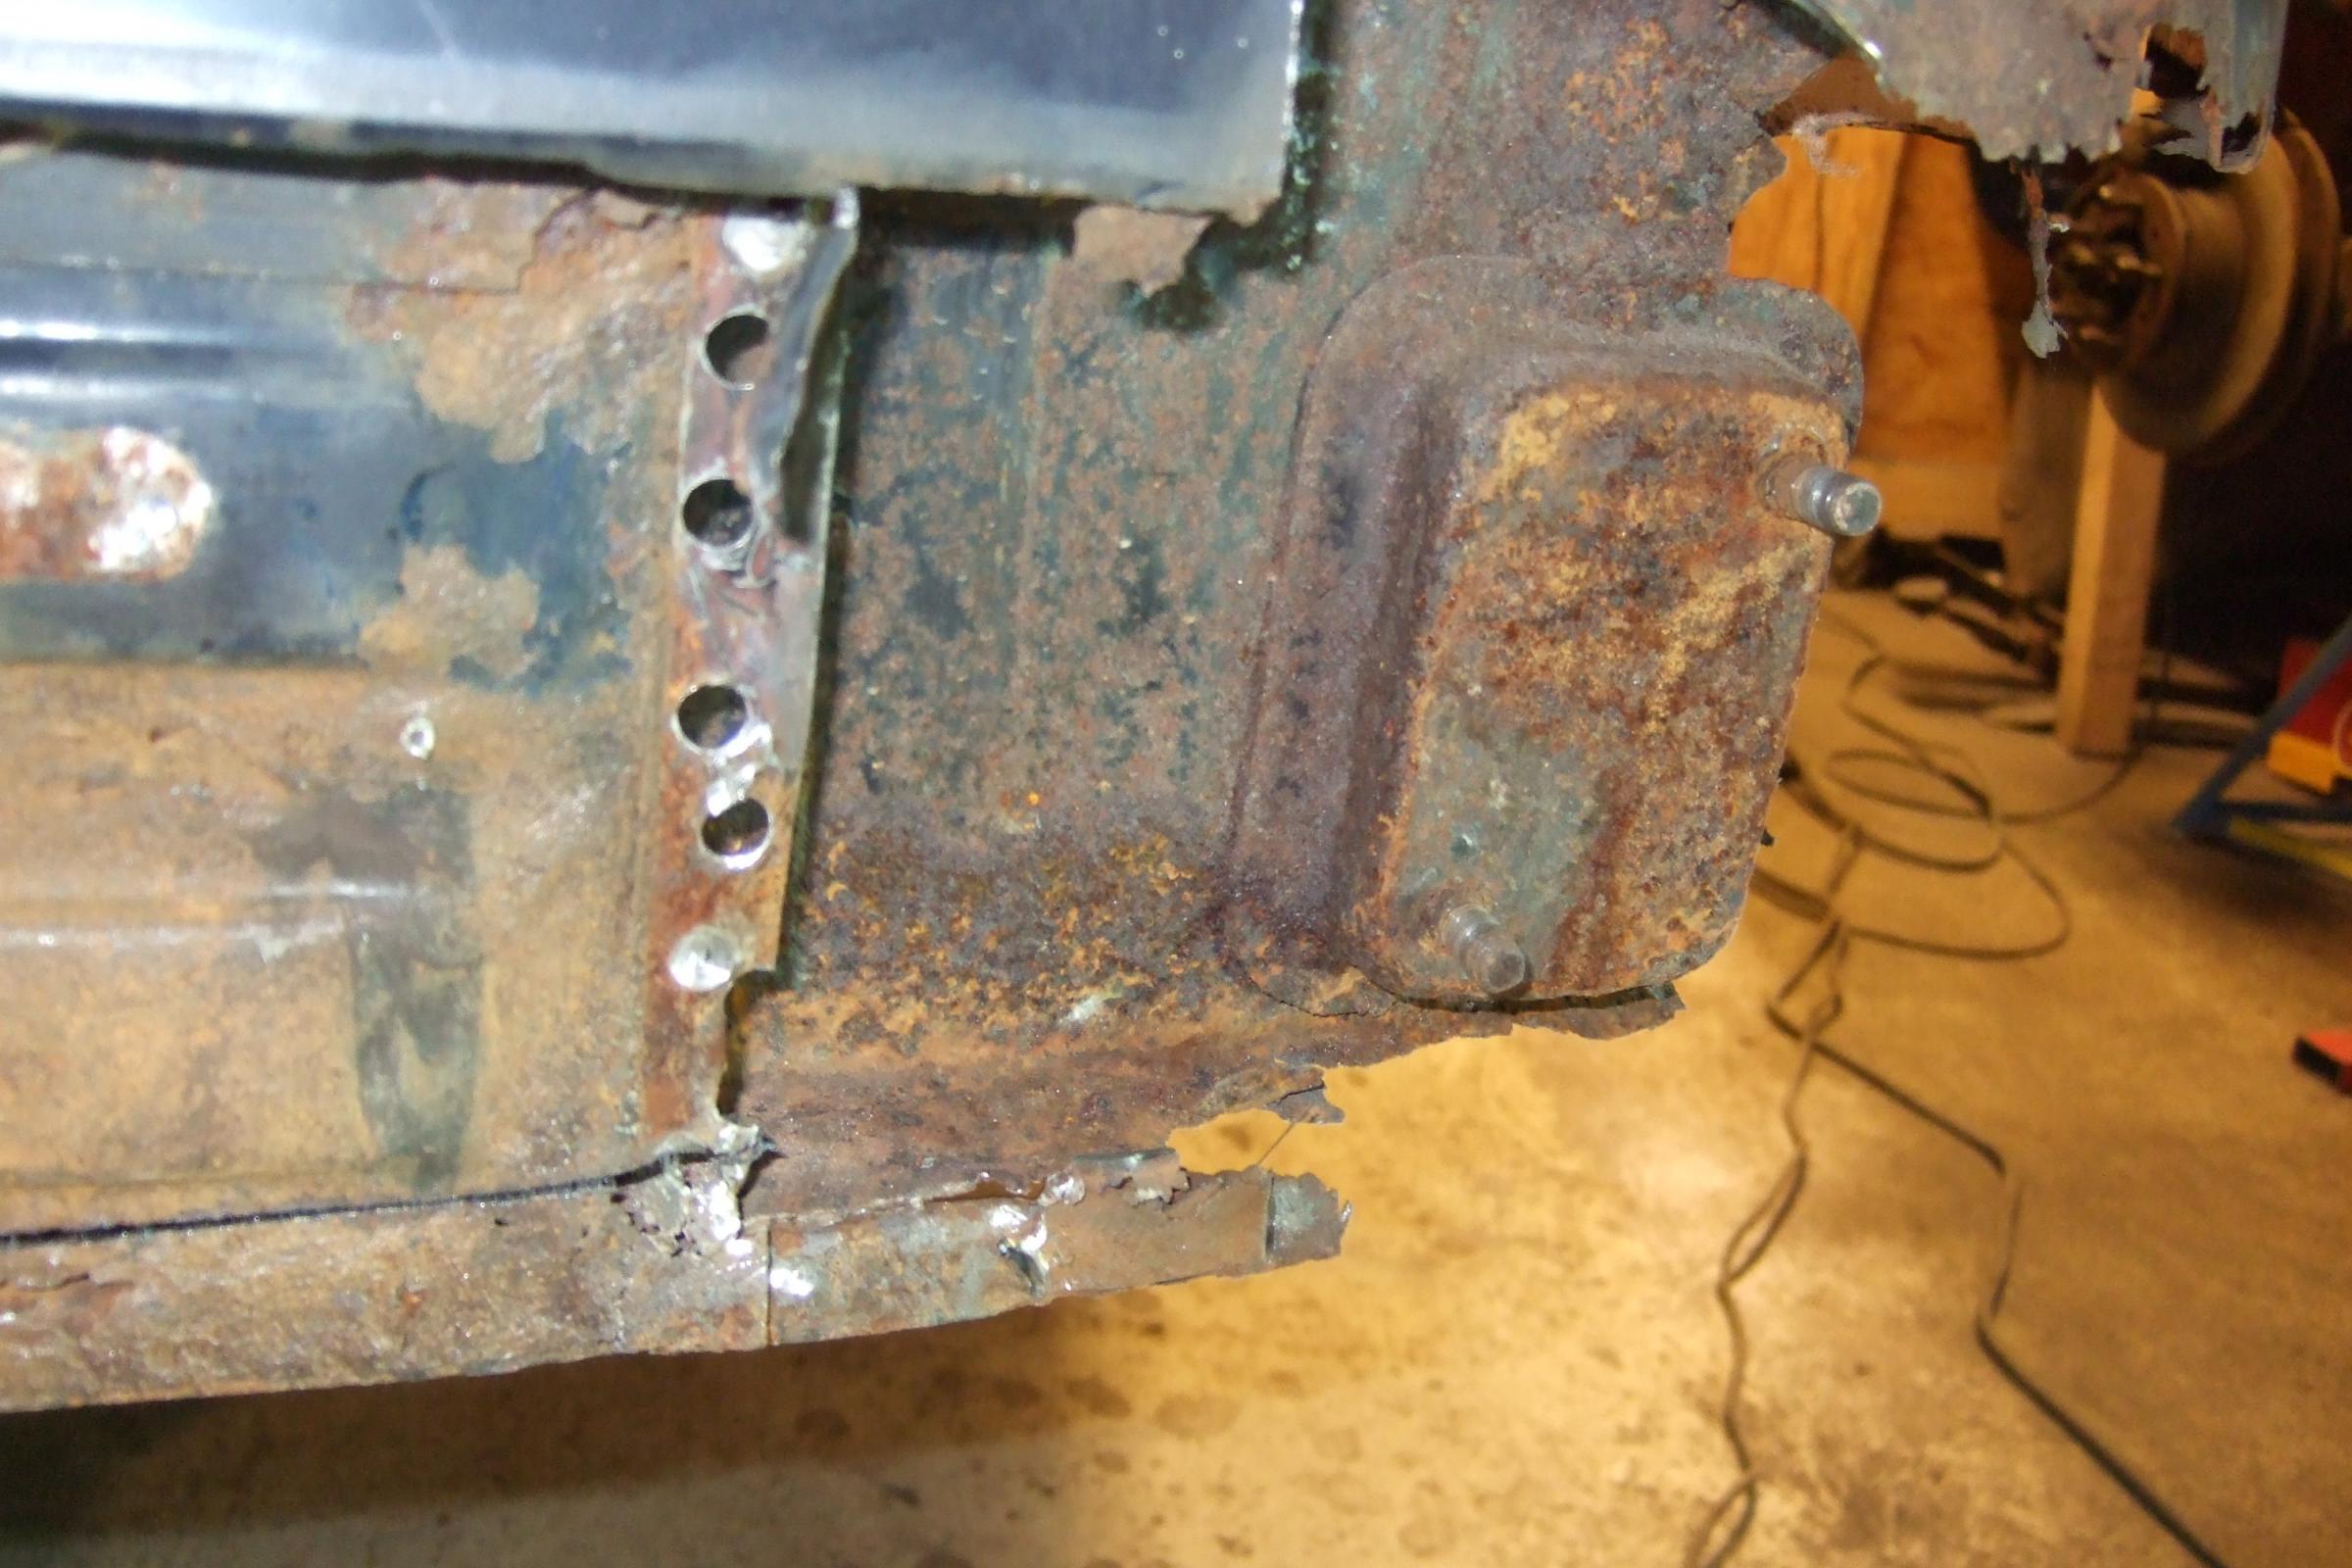
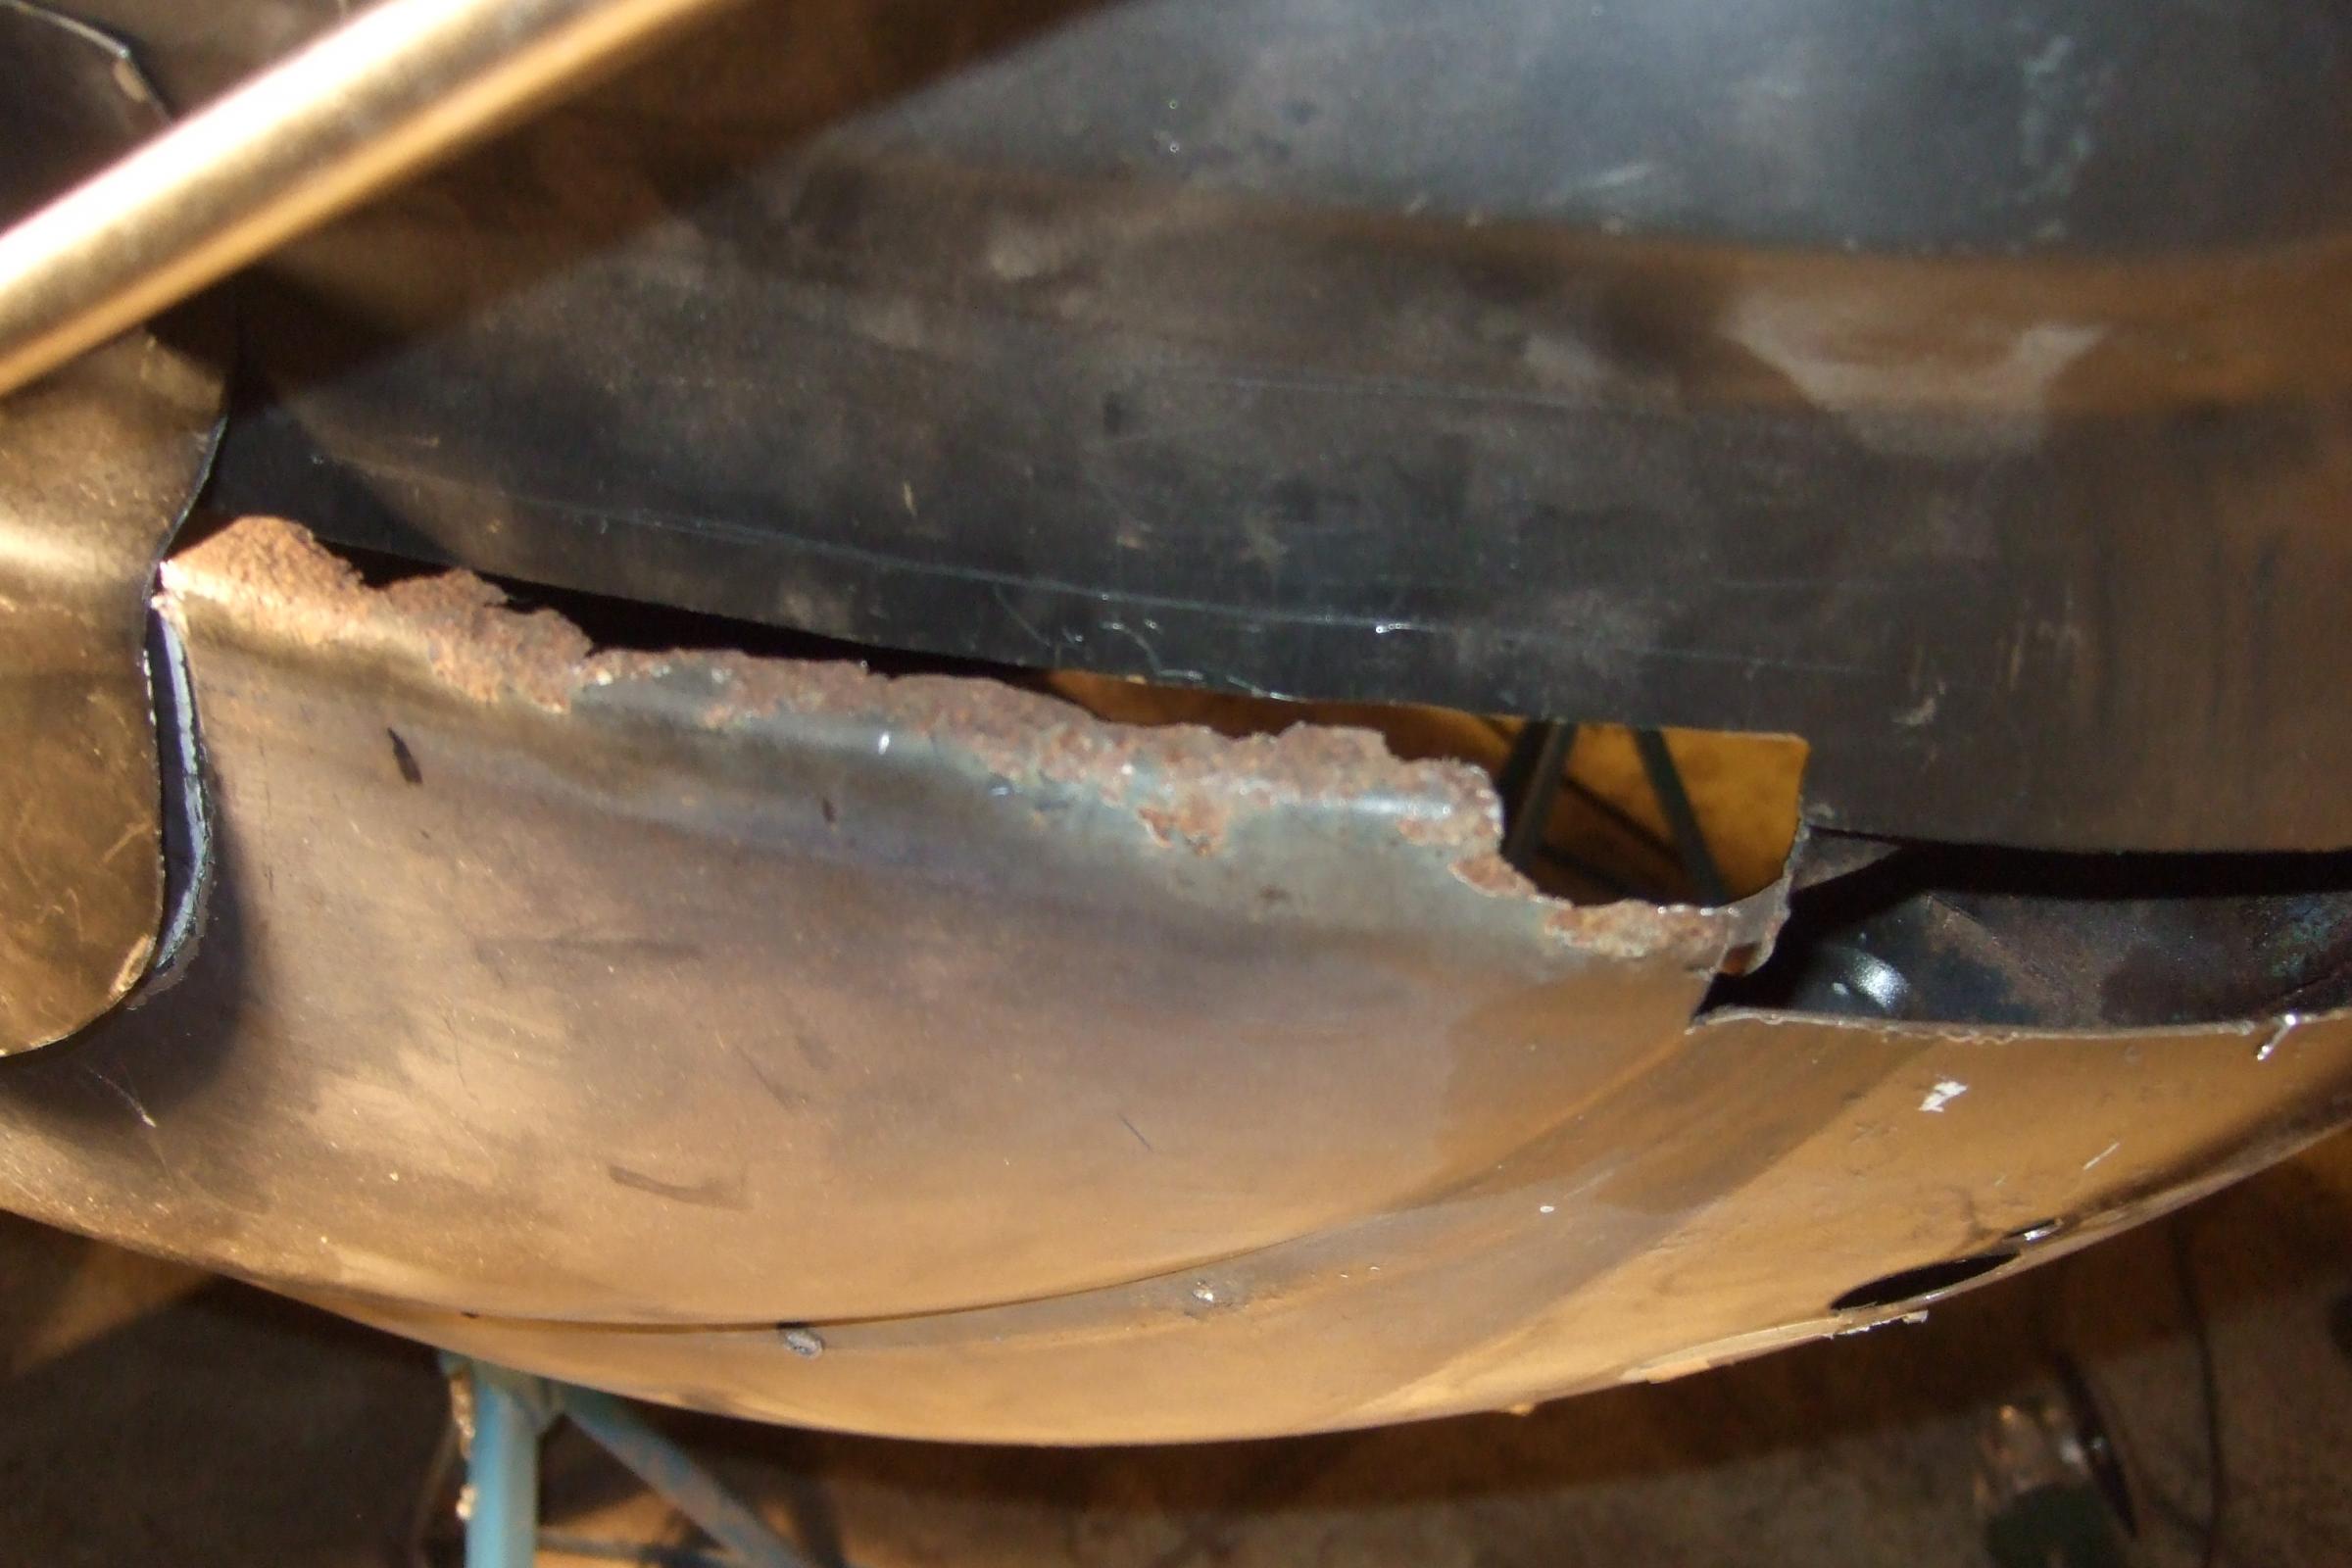
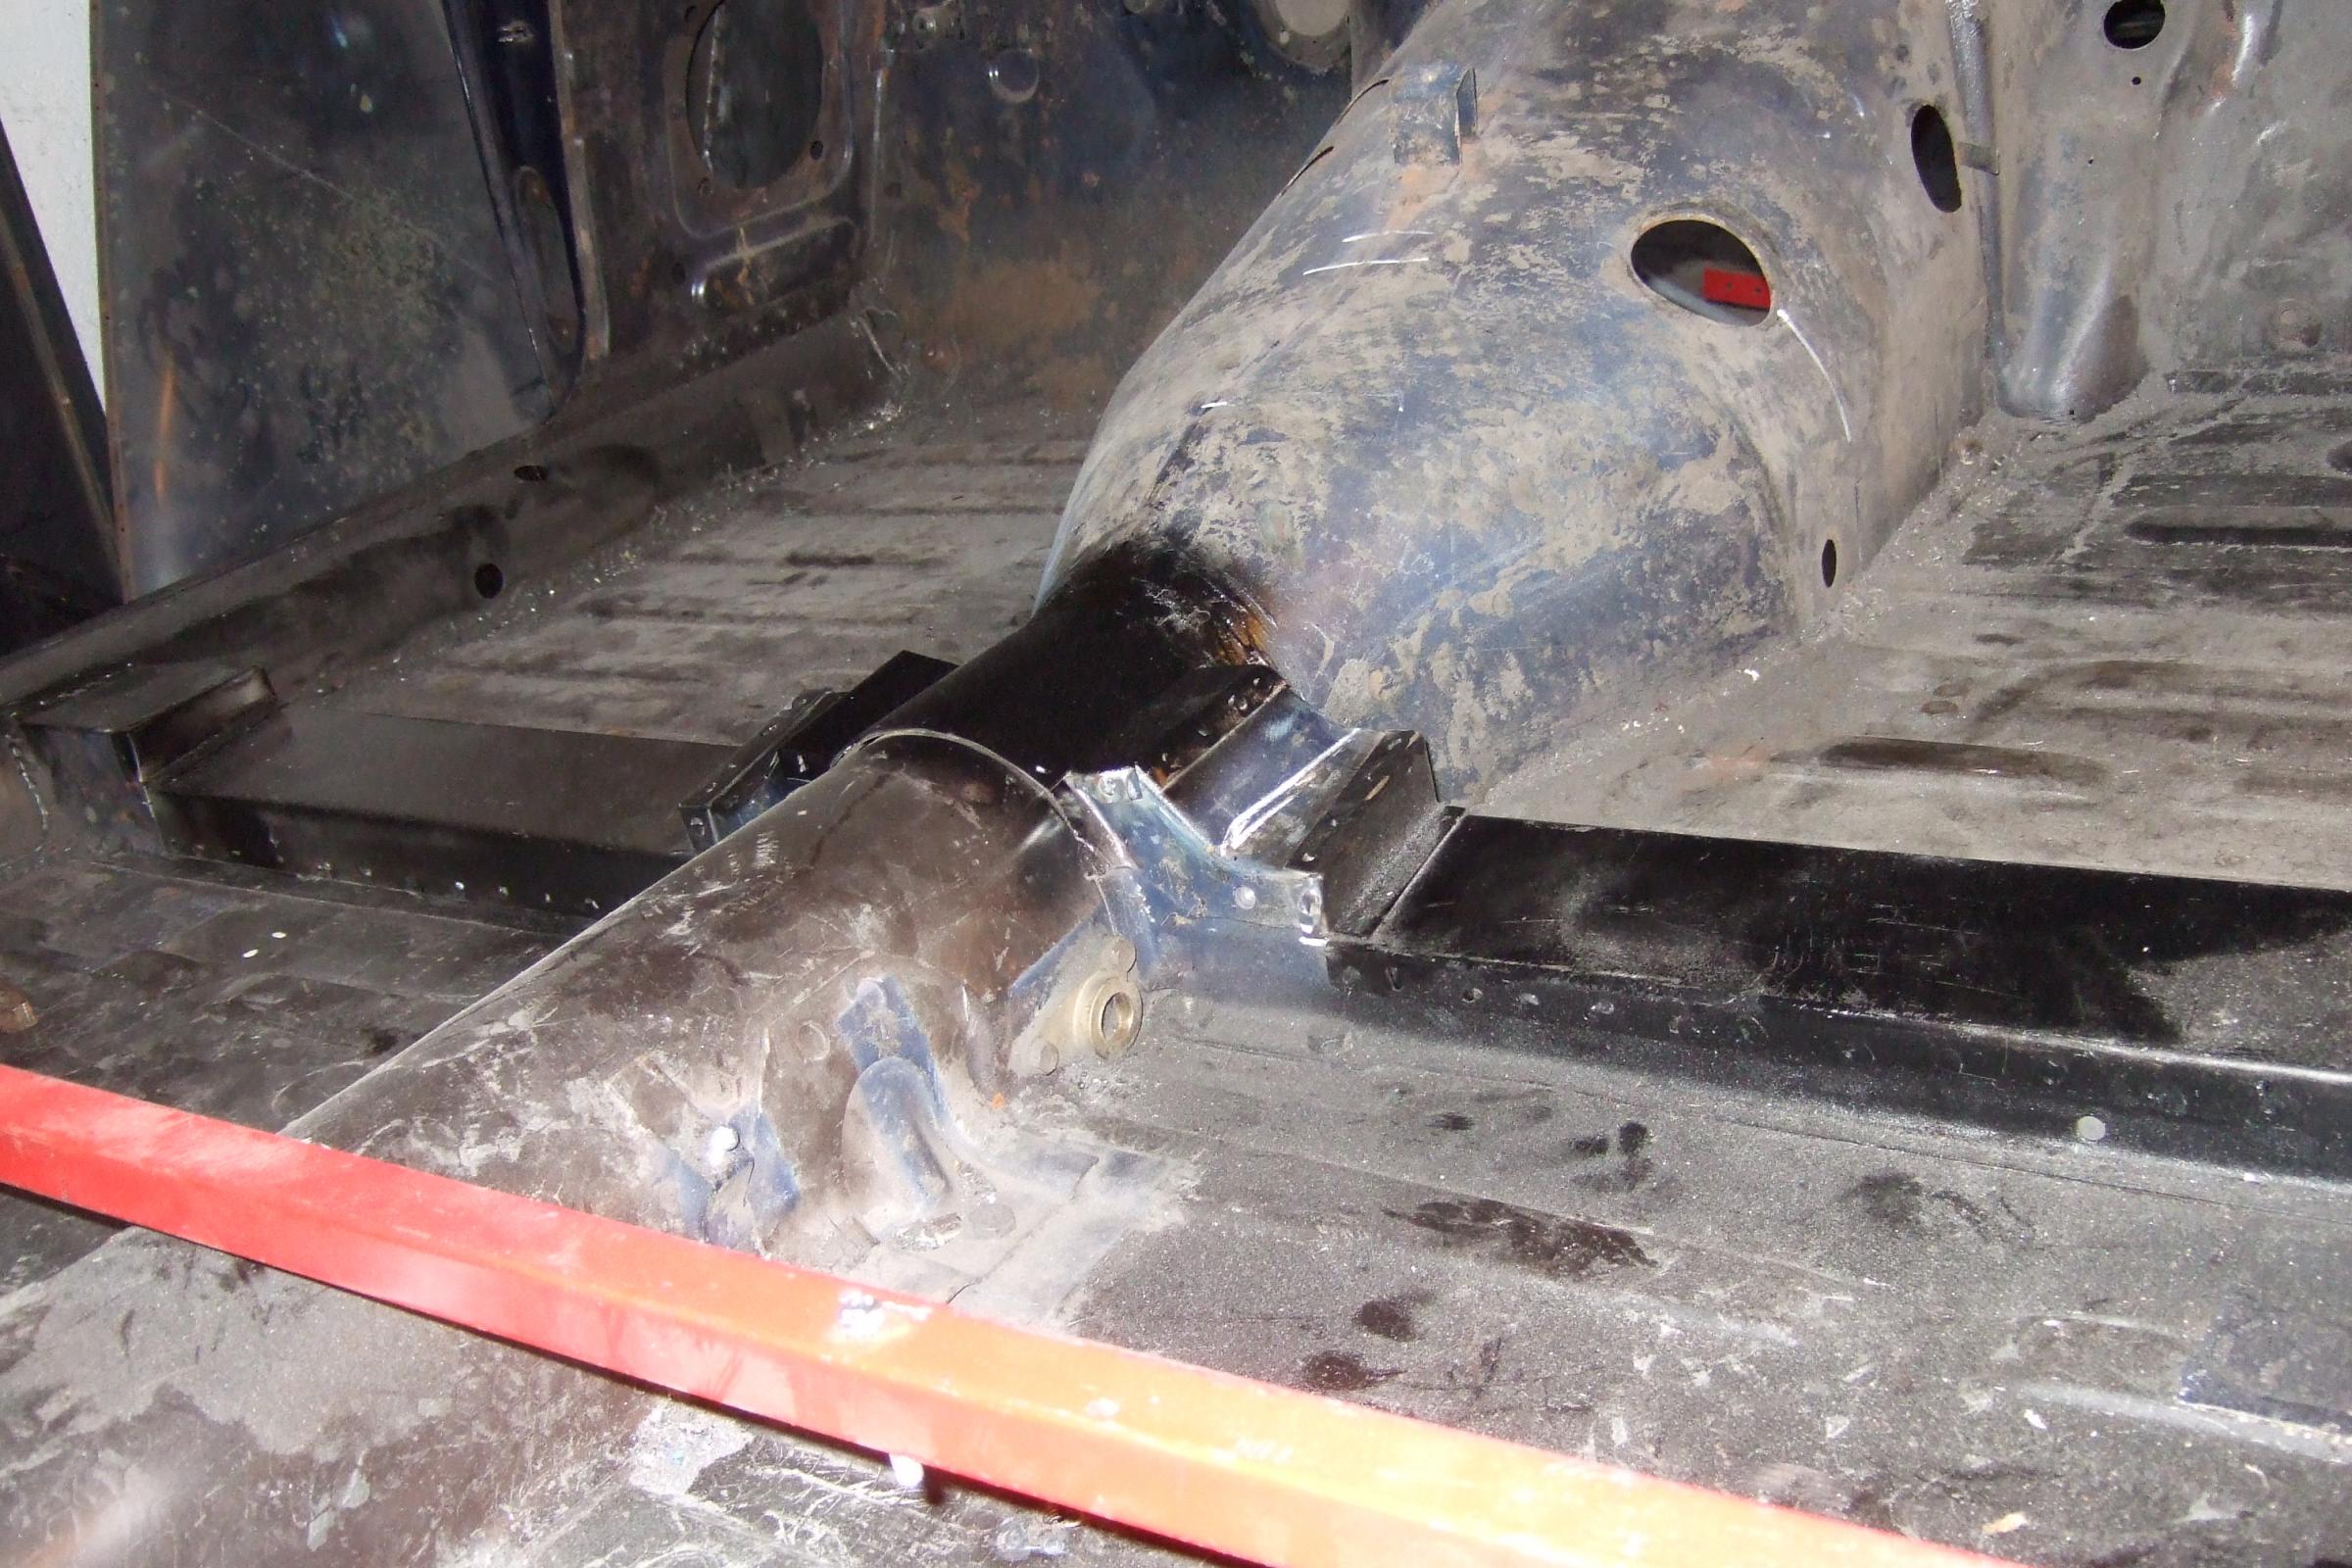
Well finally got round to the rear end of my restoration project. I once was advised that everything to the rear of the wheel arch was not structural but just there for show. this may be so but it is still difficult to get it all together. Once of my issues was the fact I had used the rear bumper mounts as the support for my rotissarie. I now needed to get the car off these and then replace and repair the back end, sounded easy but was still a big challenge.
I attach once again some photos of my progress and I can now finally say that I can see see the light at the end of the "welding" tunnel. The last structural part and metalwork I need to do is to cut out the internal cross member to allow fitment of the front XJ40 seats. I have also purchased very cheaply some electric motors for these seats so i am going to try to get these to work.
I attach once again some photos of my progress and I can now finally say that I can see see the light at the end of the "welding" tunnel. The last structural part and metalwork I need to do is to cut out the internal cross member to allow fitment of the front XJ40 seats. I have also purchased very cheaply some electric motors for these seats so i am going to try to get these to work.


Senior Member
Quote:
Next problem will be how to modifiy the floor to suit these new seats. I have seen that some people cut the Intermediate Cross Member but if anyone has any other ideas let me know. However it will be many a month before I need to make this decision.
Did you fit the xj40 seats???Originally Posted by raym
Engine was a fright and I knew that when I bought the car - quote was engine siezed -but you are right the seats are in great condition even though I have now bought XJ40 seats in leather with recline and headrests front and back to install when car complete. If anyone wants these old seats ( covered in Ambla) give me a message.Next problem will be how to modifiy the floor to suit these new seats. I have seen that some people cut the Intermediate Cross Member but if anyone has any other ideas let me know. However it will be many a month before I need to make this decision.
barry
Barry
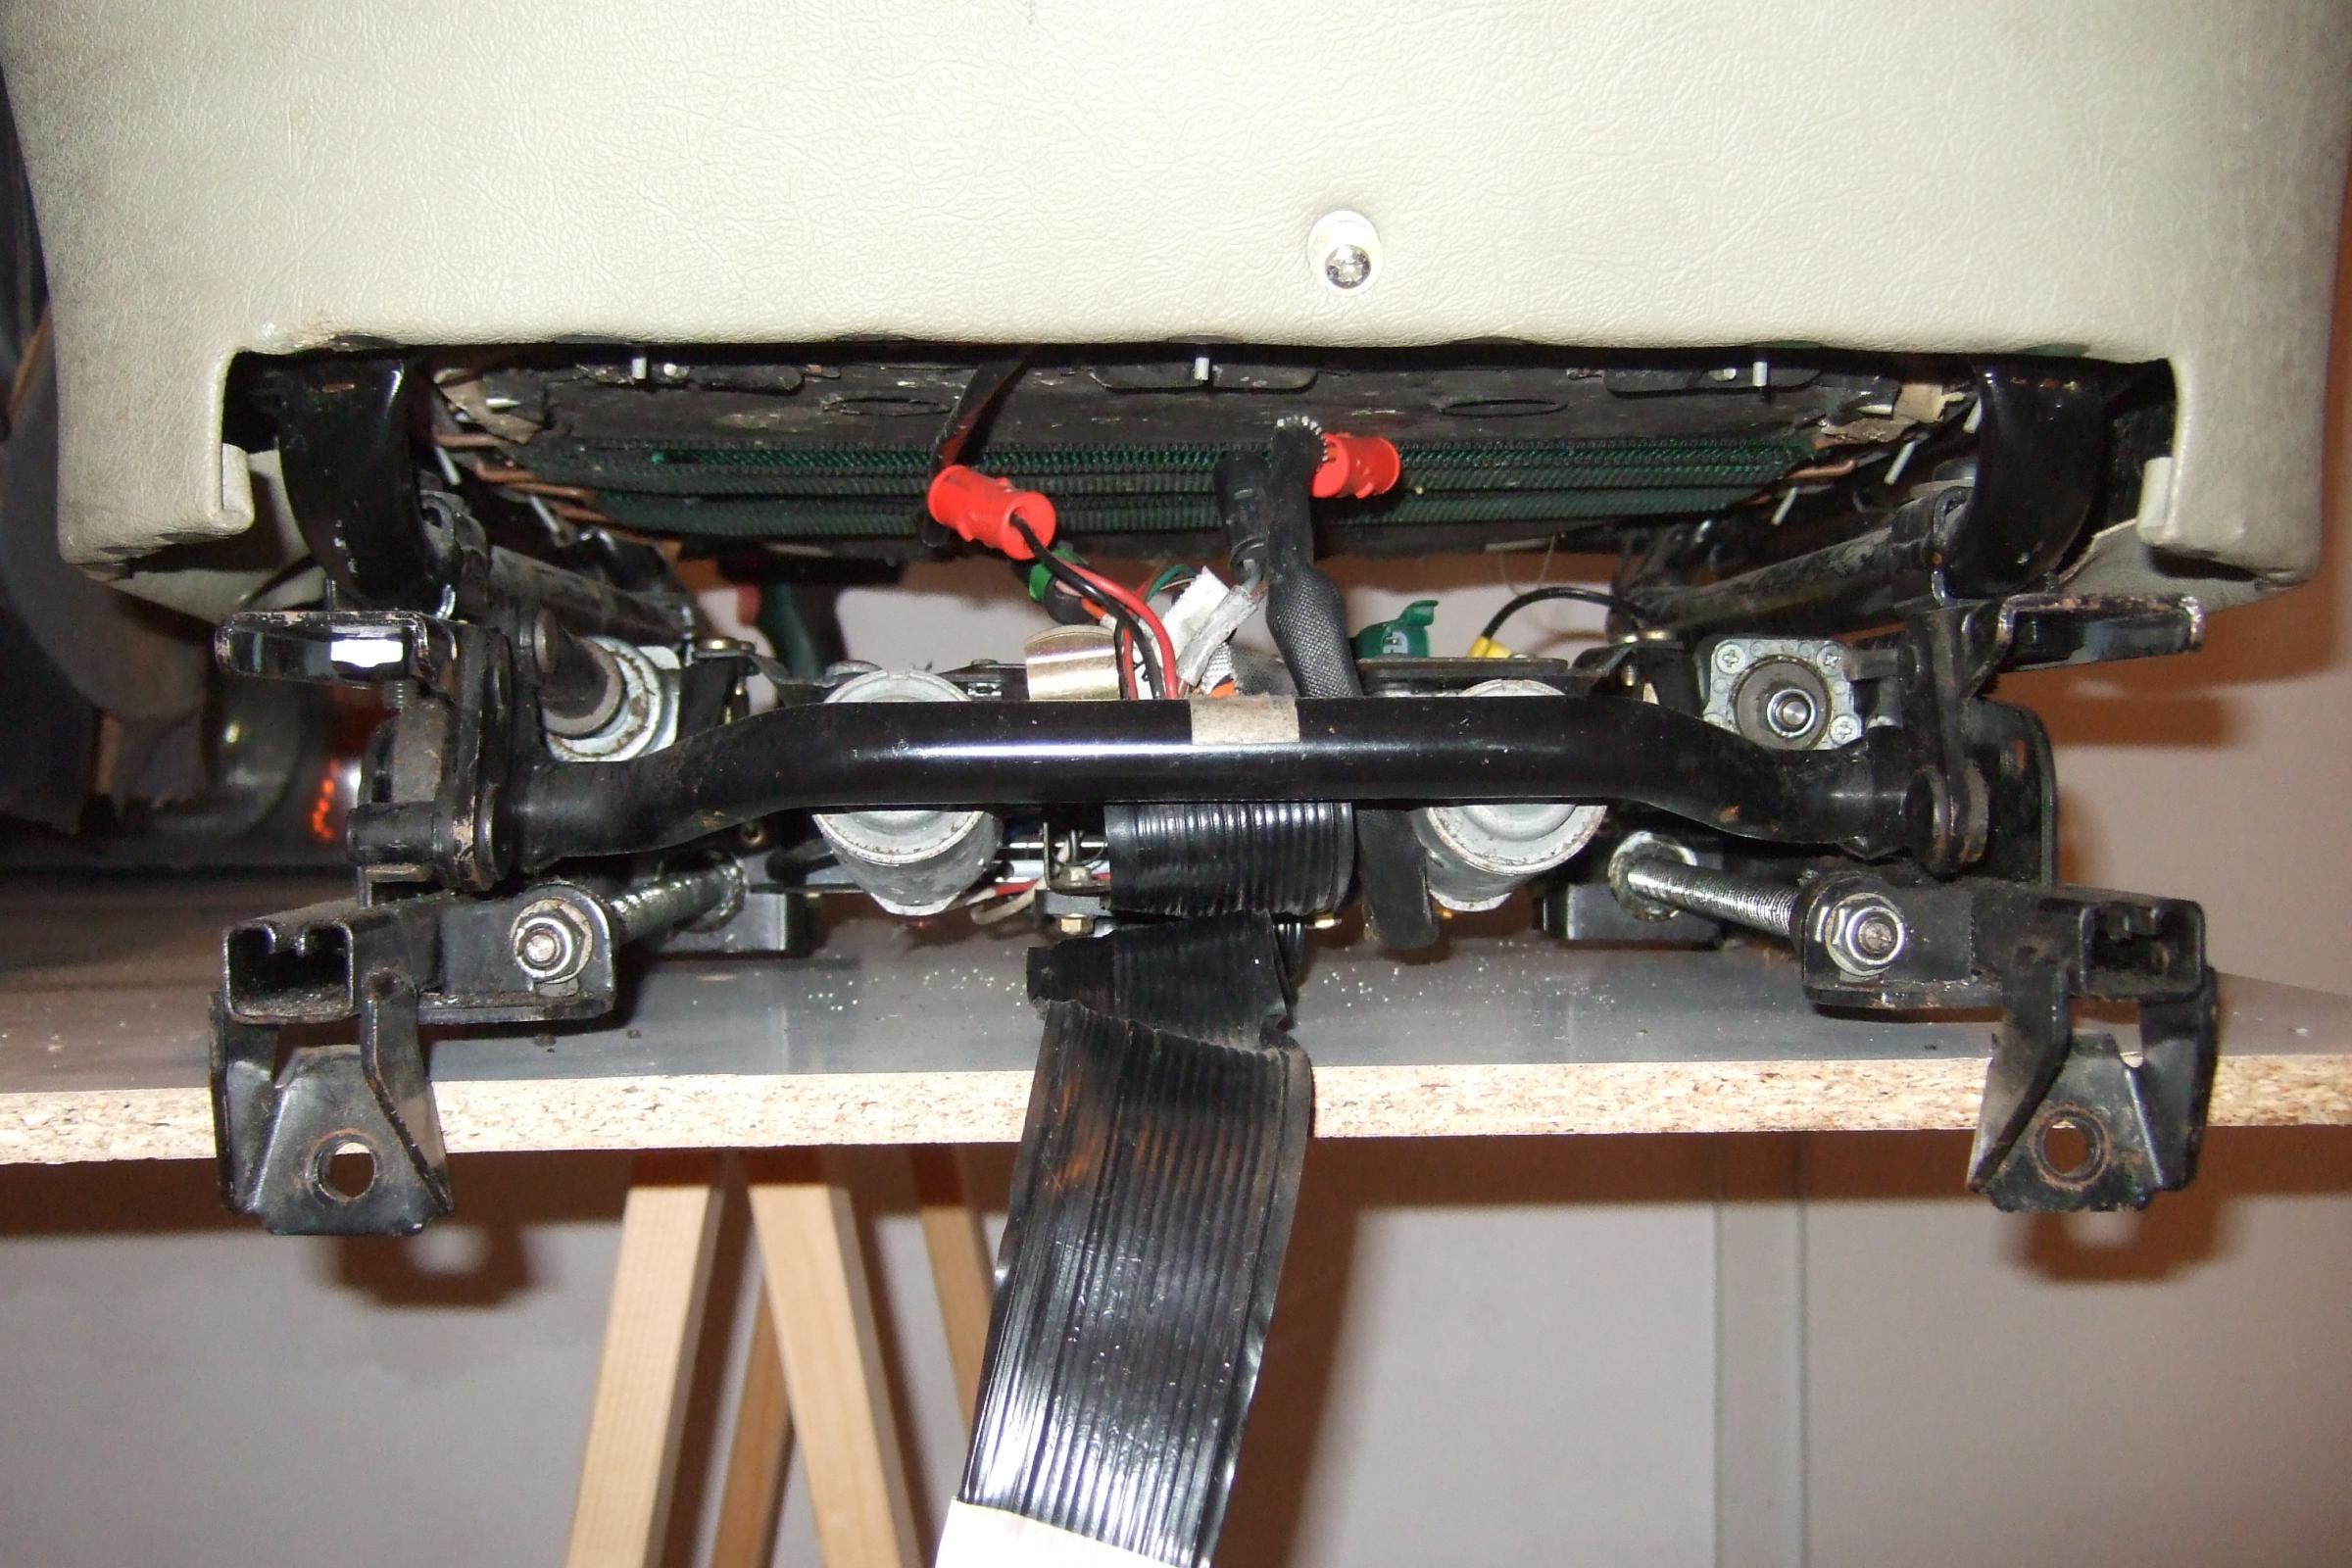
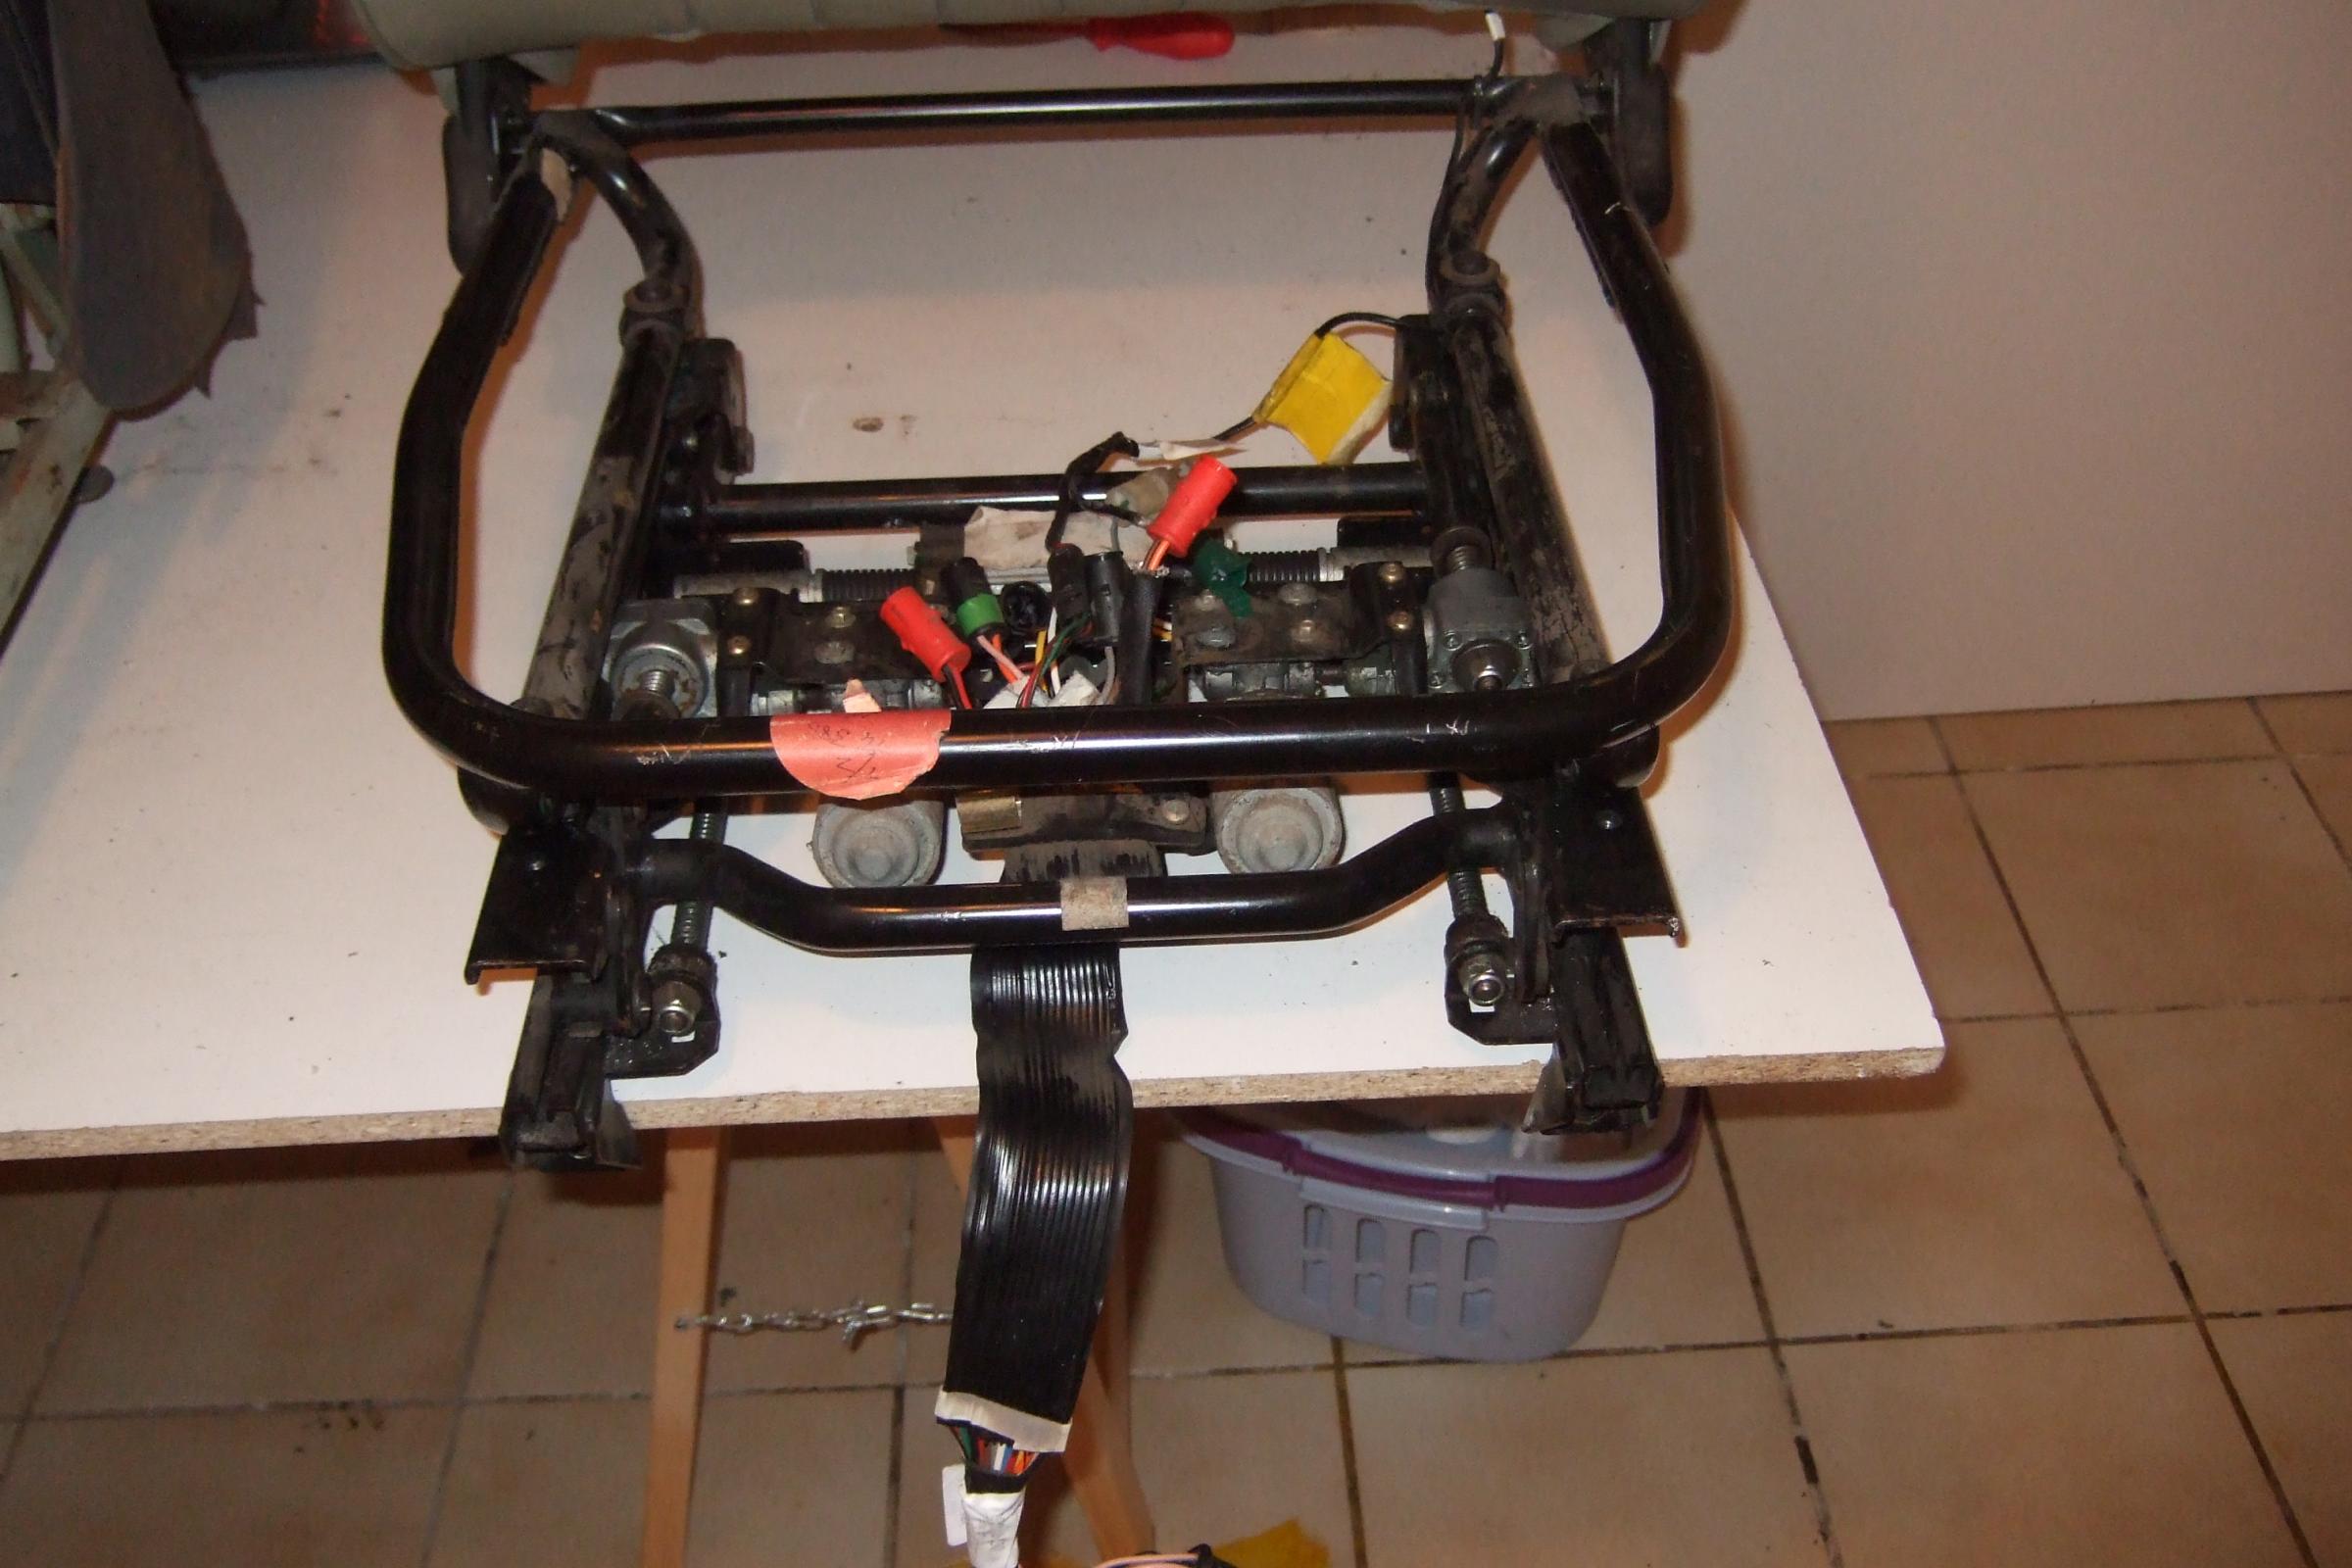
I have just started this task and as an added bonus I purchased some electric seat frames so needed to get my non electric seats to fit the electric seat frames. This ended up to be quite simple in the fact that all I needed to do was screw in the two rear bolts and then drilled a hole in the lower frame and welded a nut on for the forward mounts. I also bought an electric converter from 240v down to 12v and ensured that all the motors actually work before i put these into the car. Lastly I have decided to modify the gearbox changer from the steering wheel to the centre console ala XK6 so i am also trying to get the centre console to fit as well - nothing like a challenge for my first restoration.
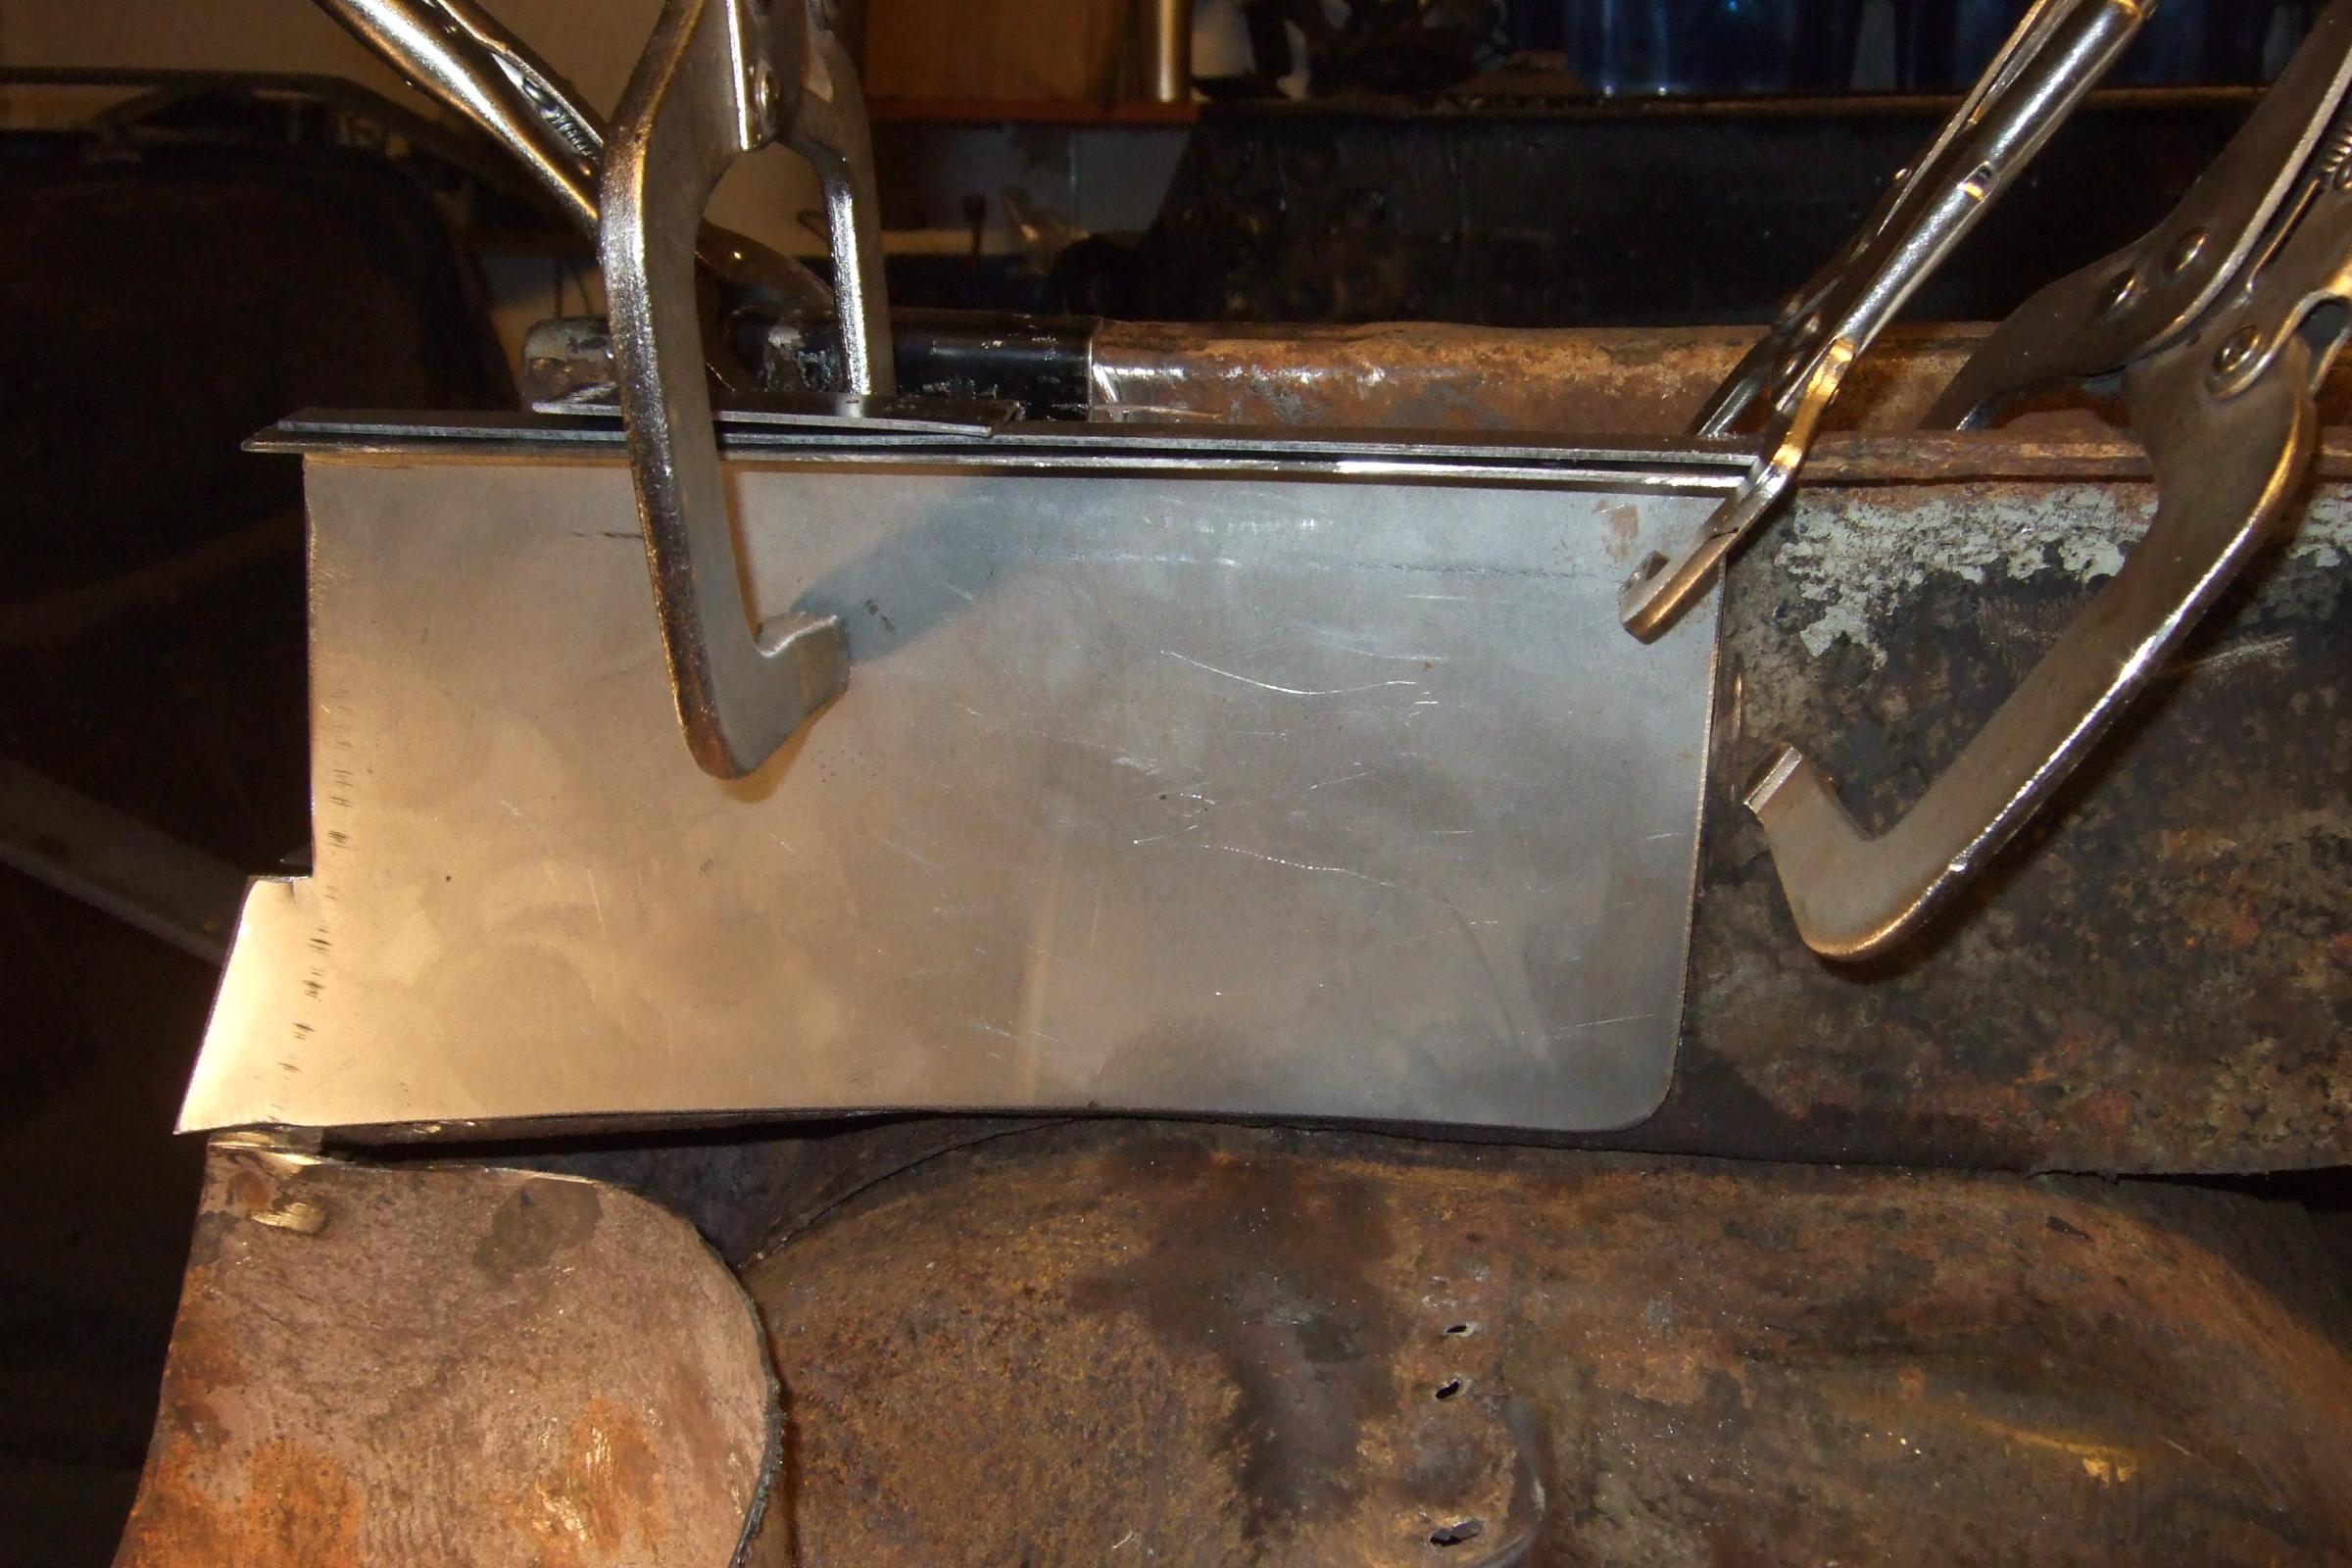
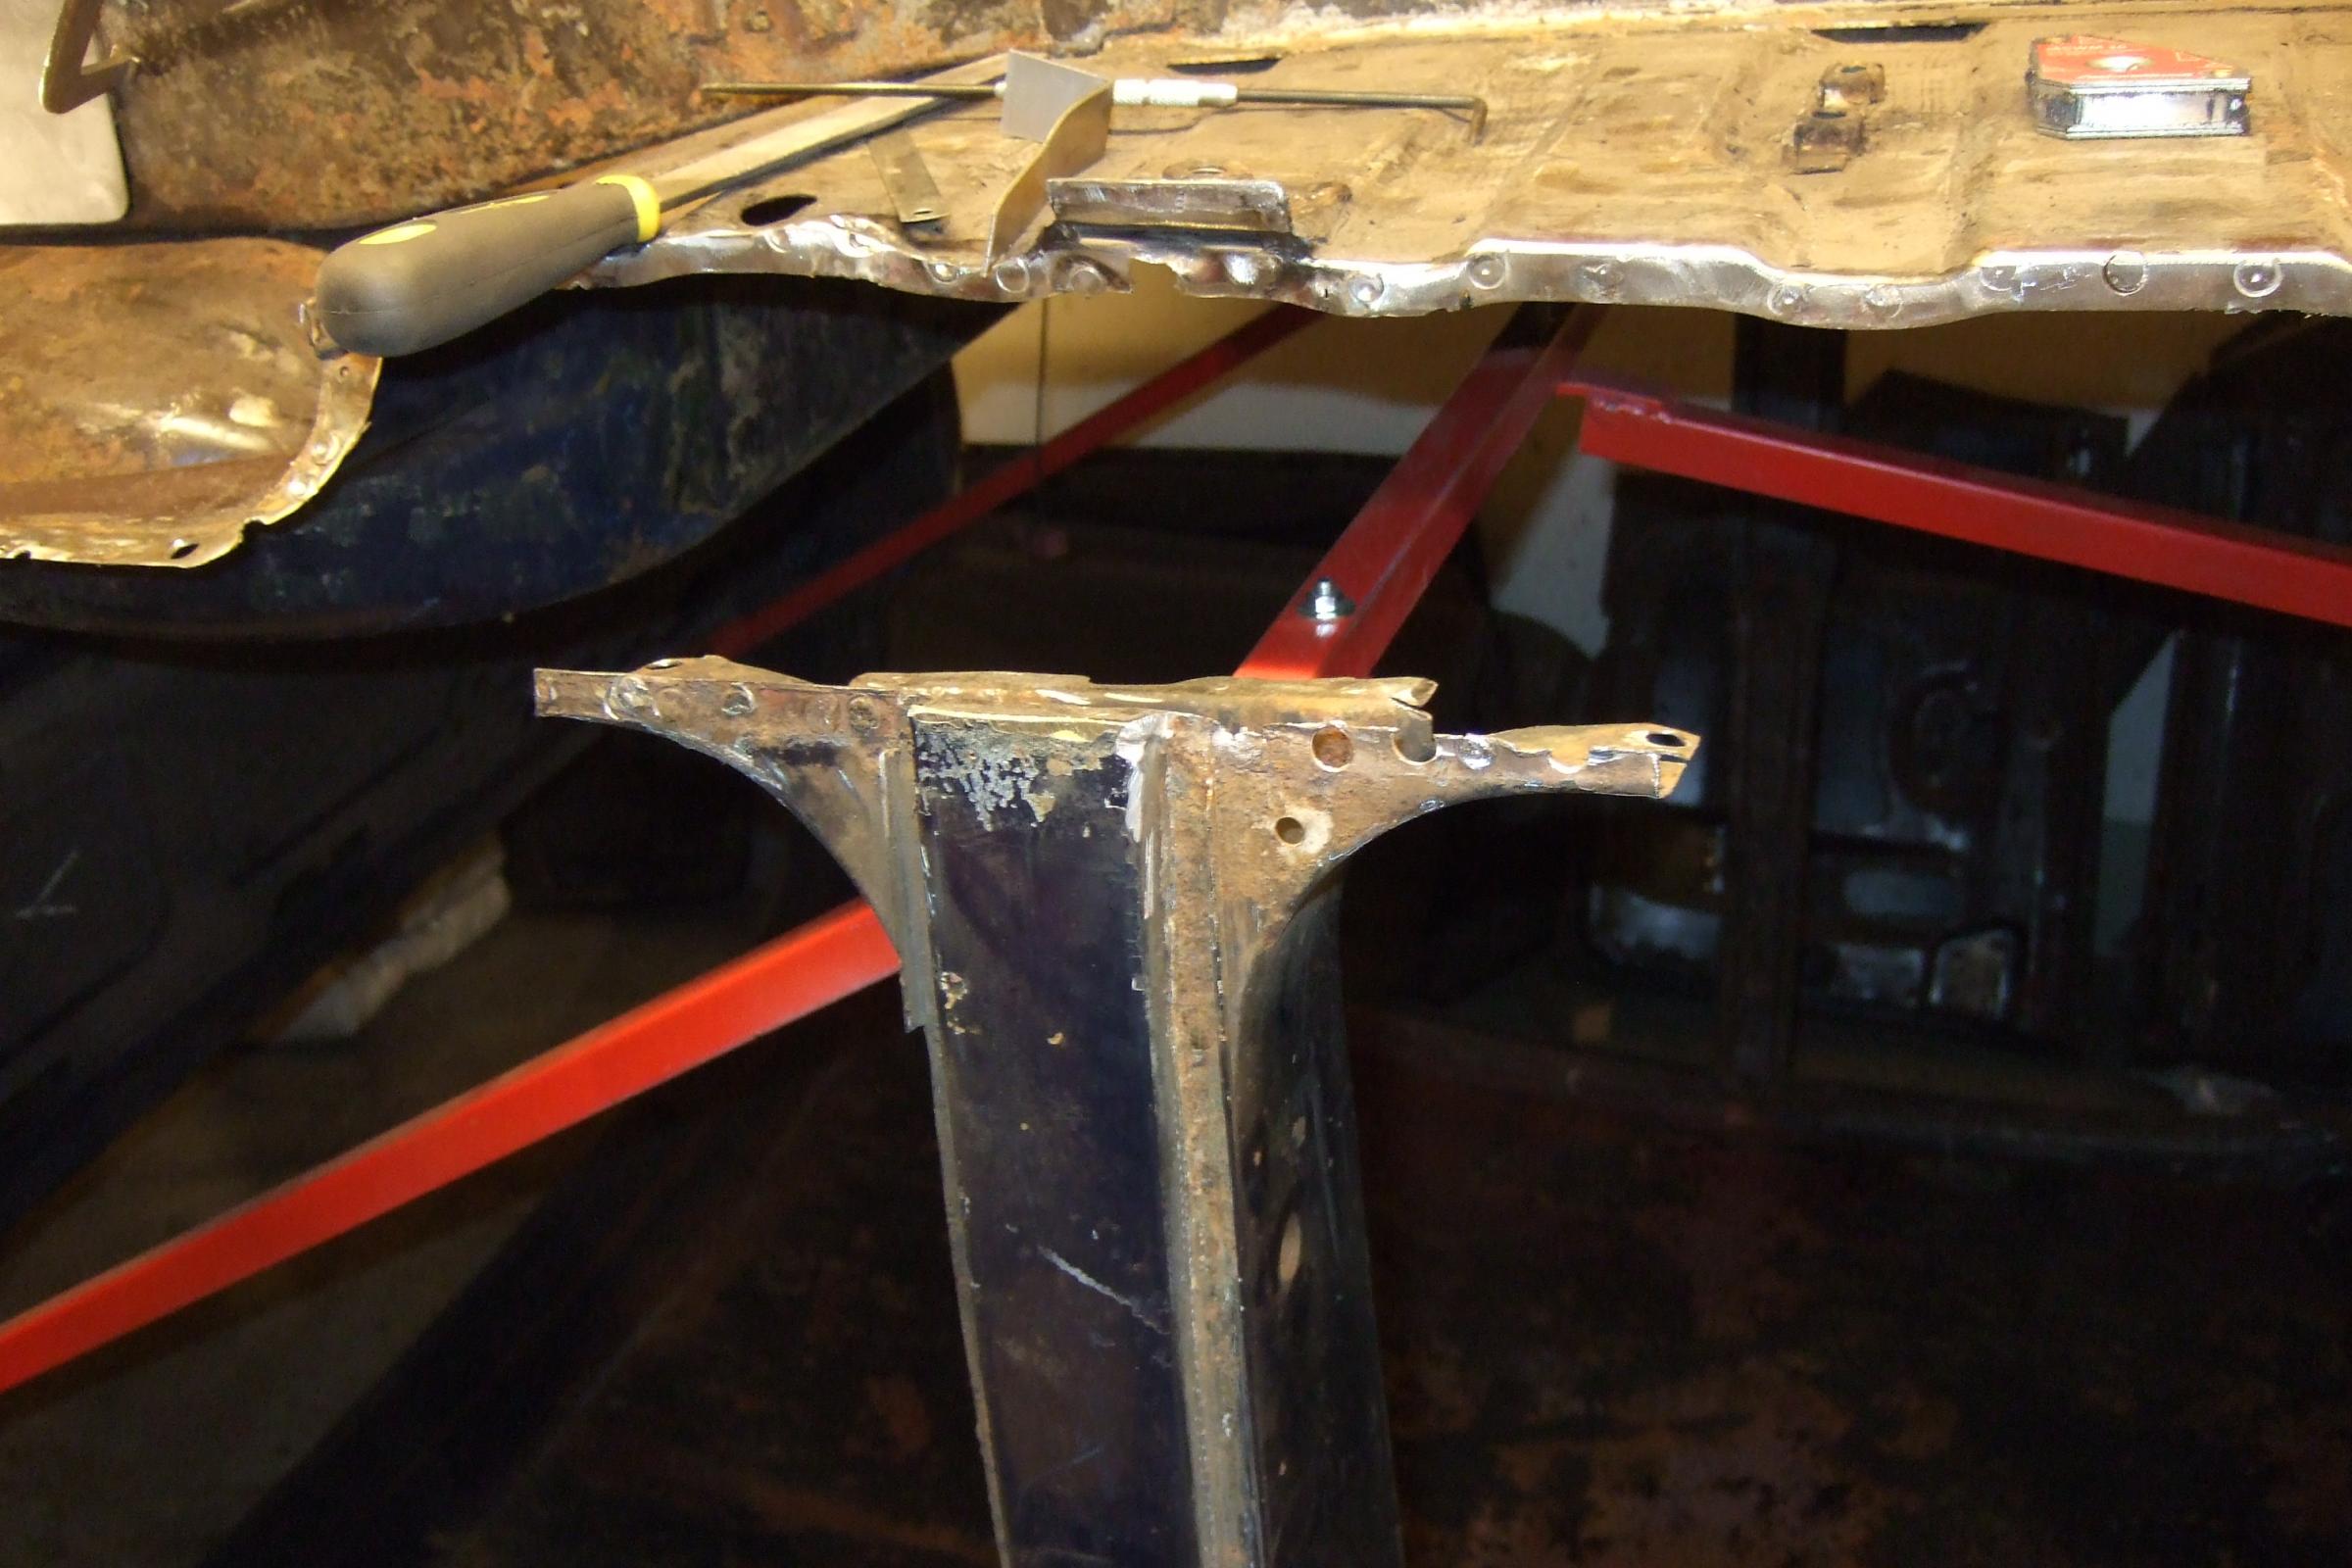
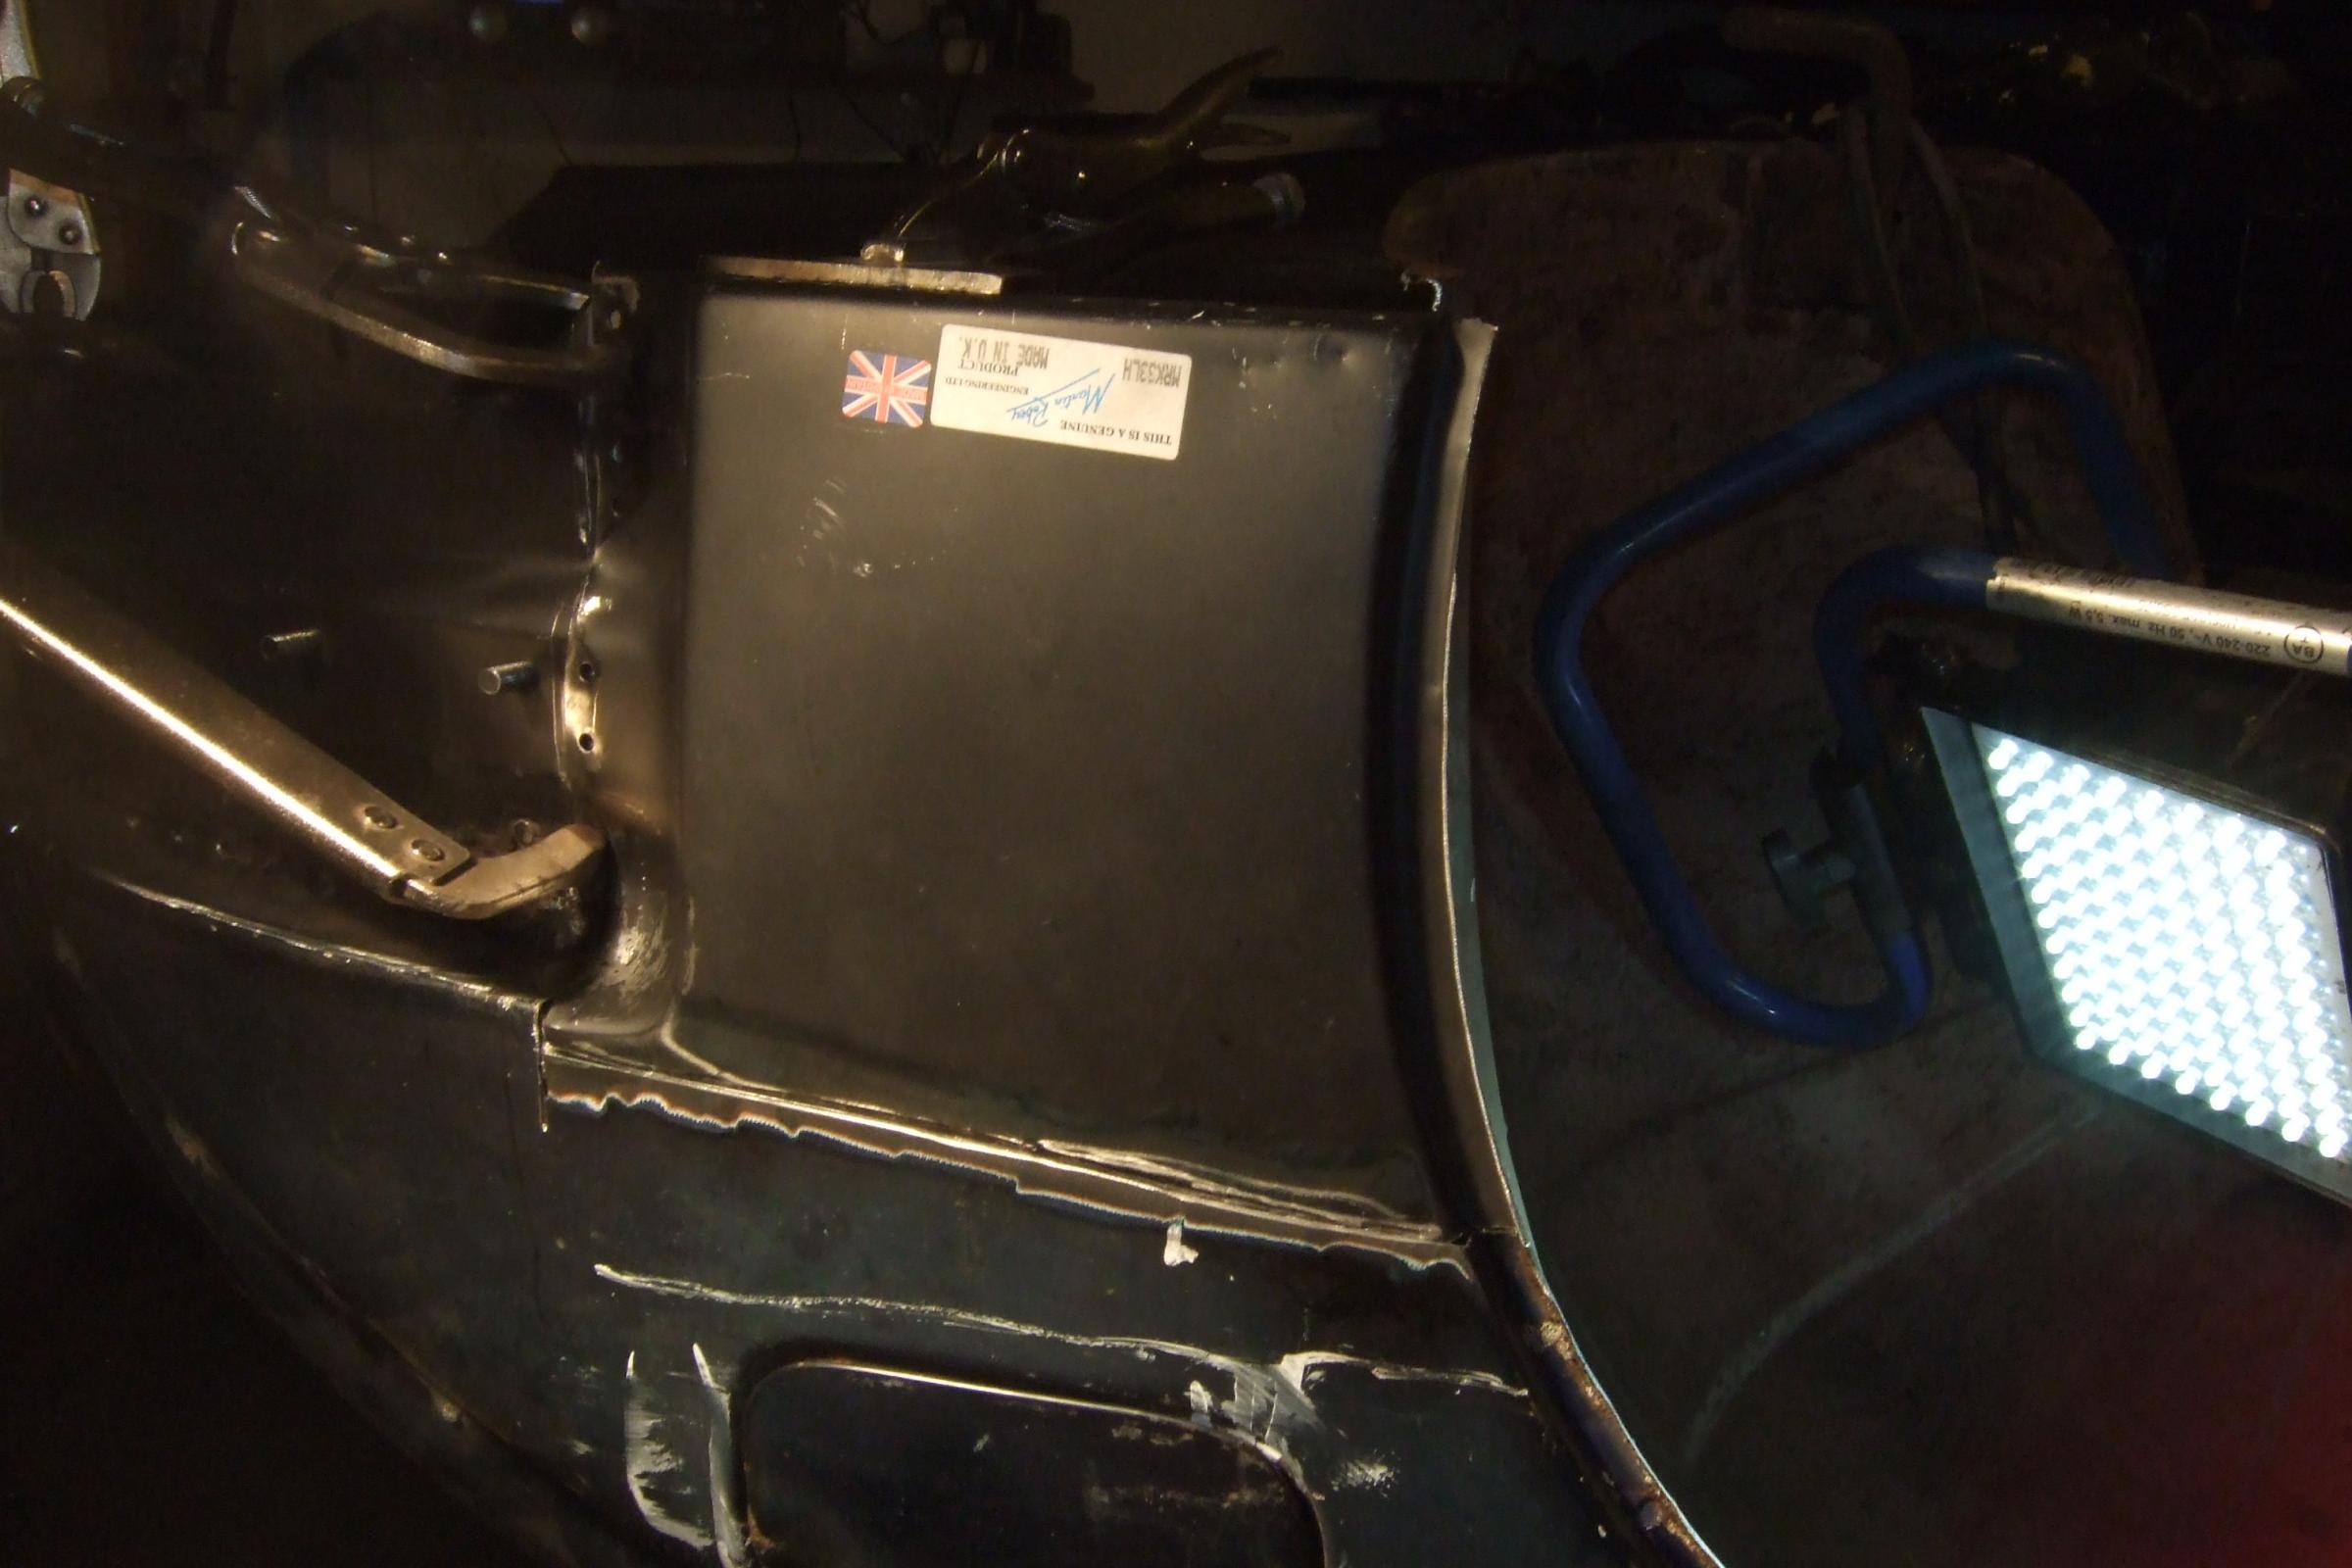
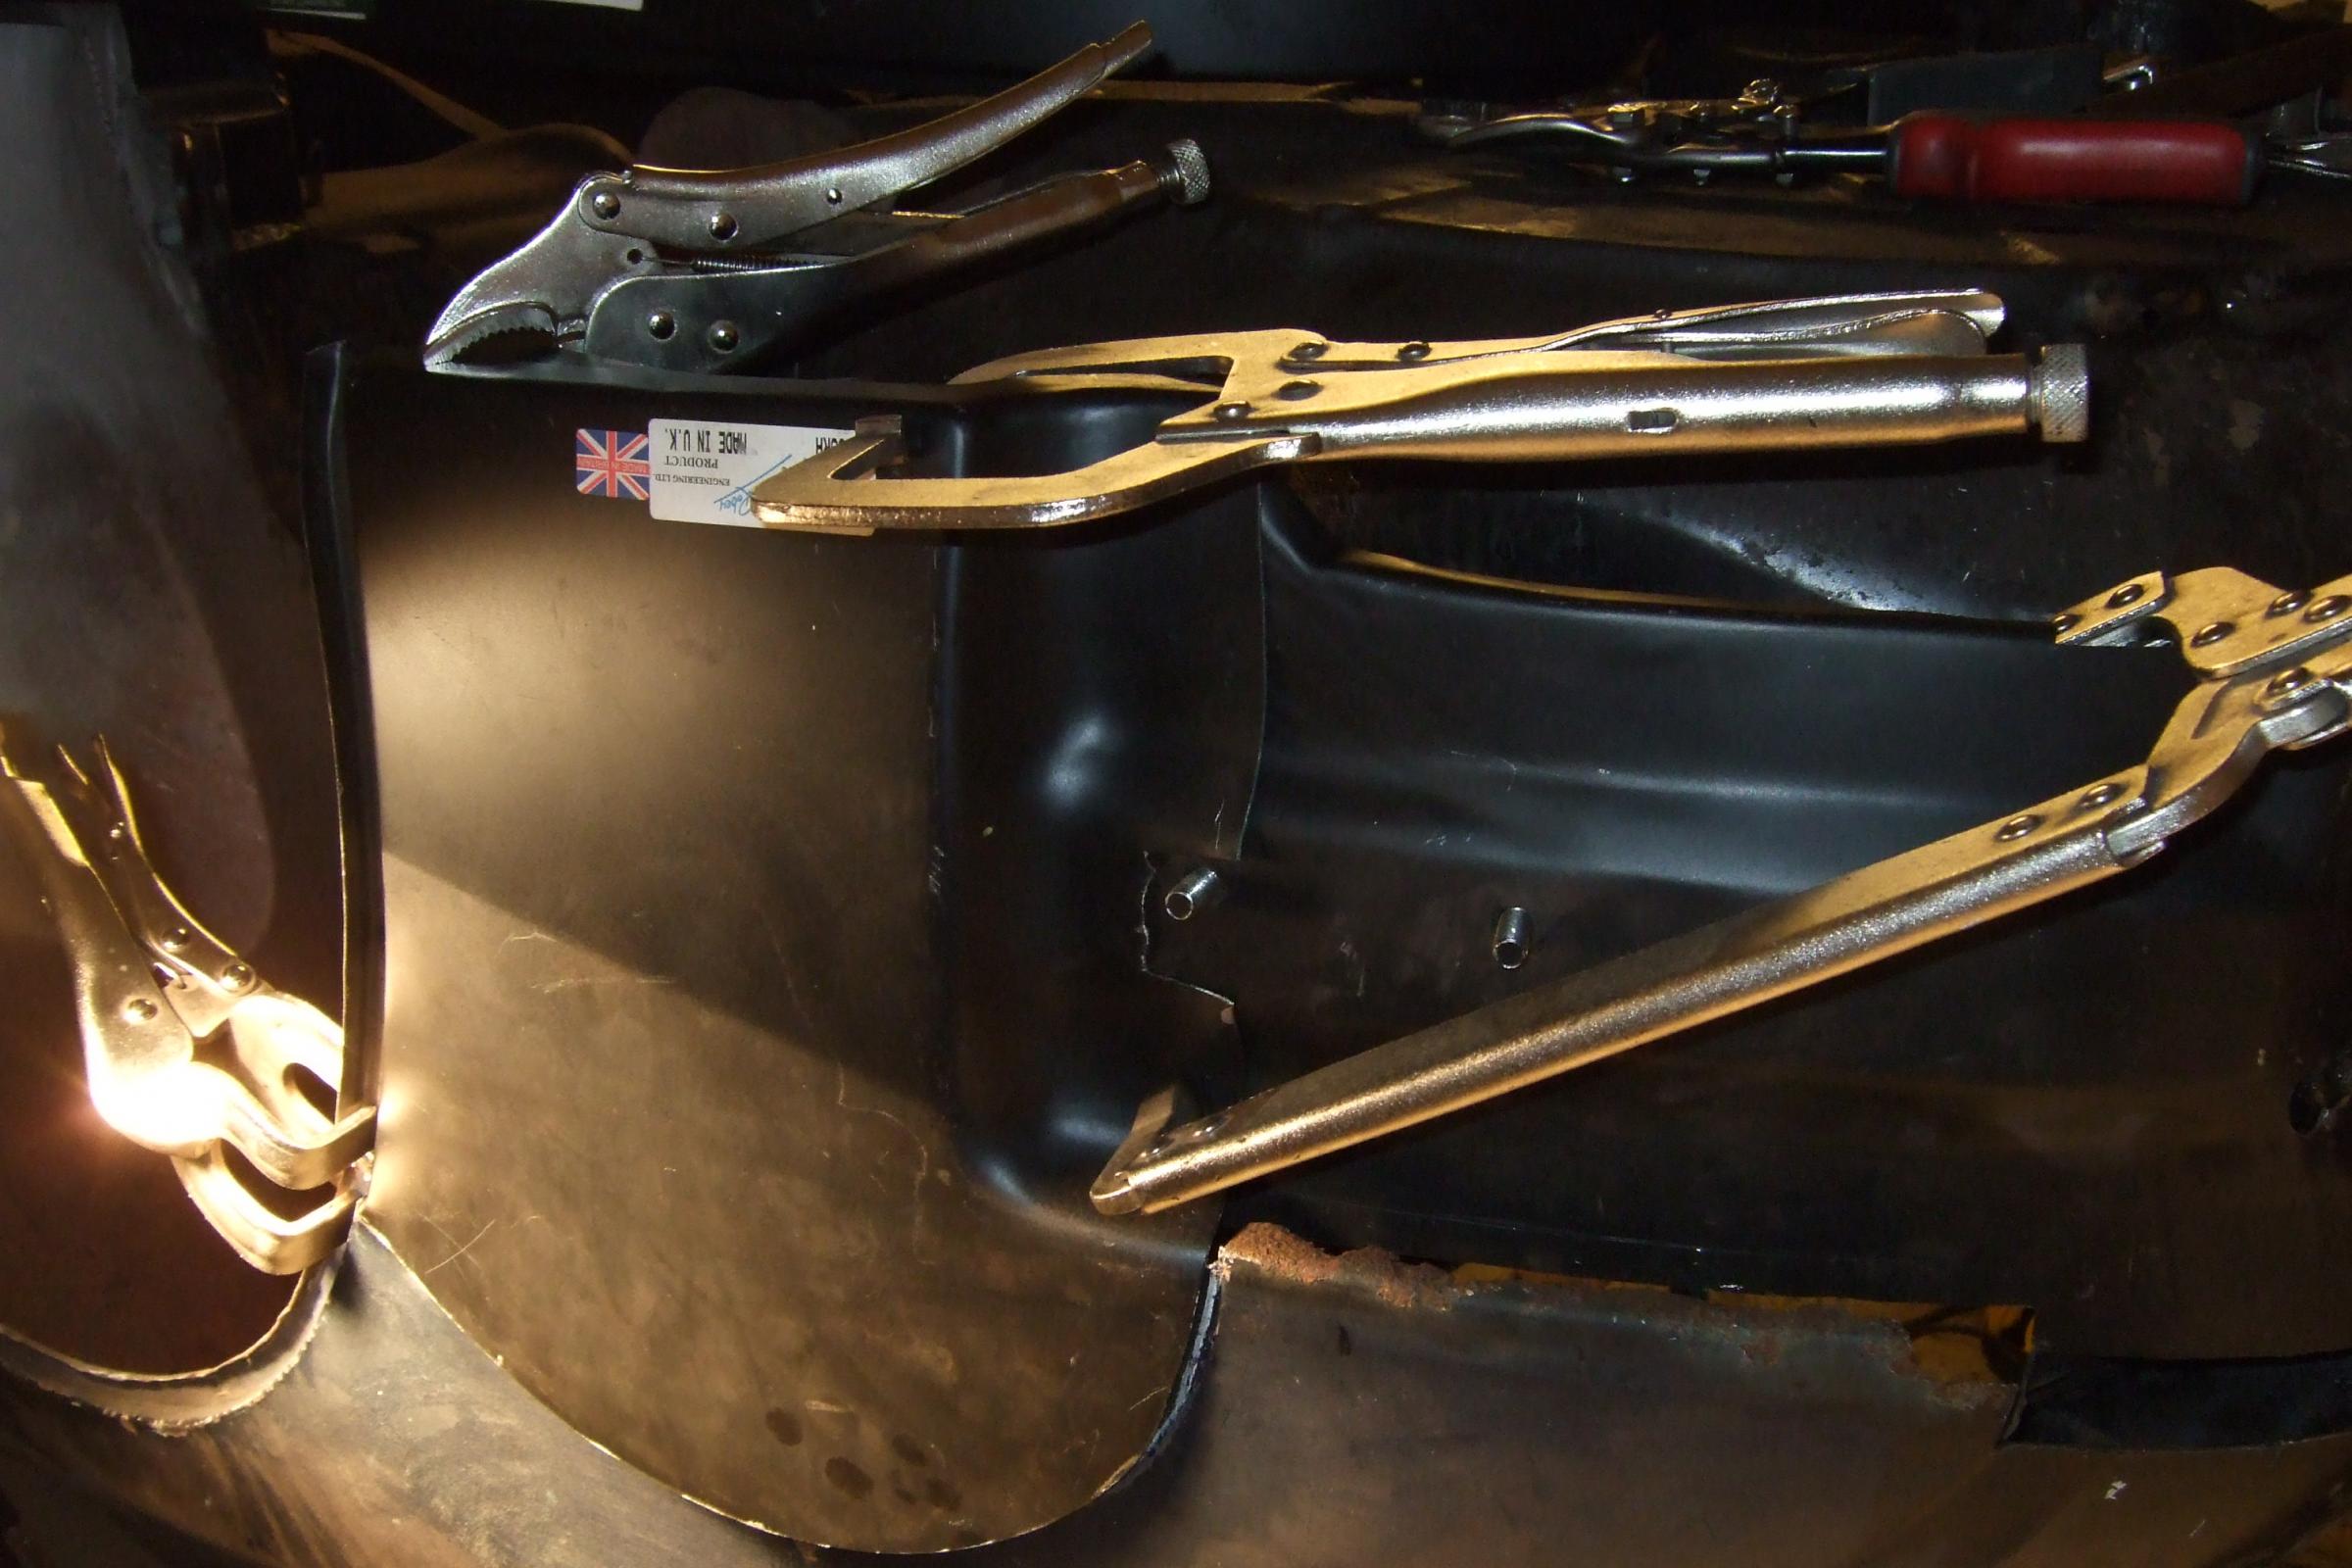
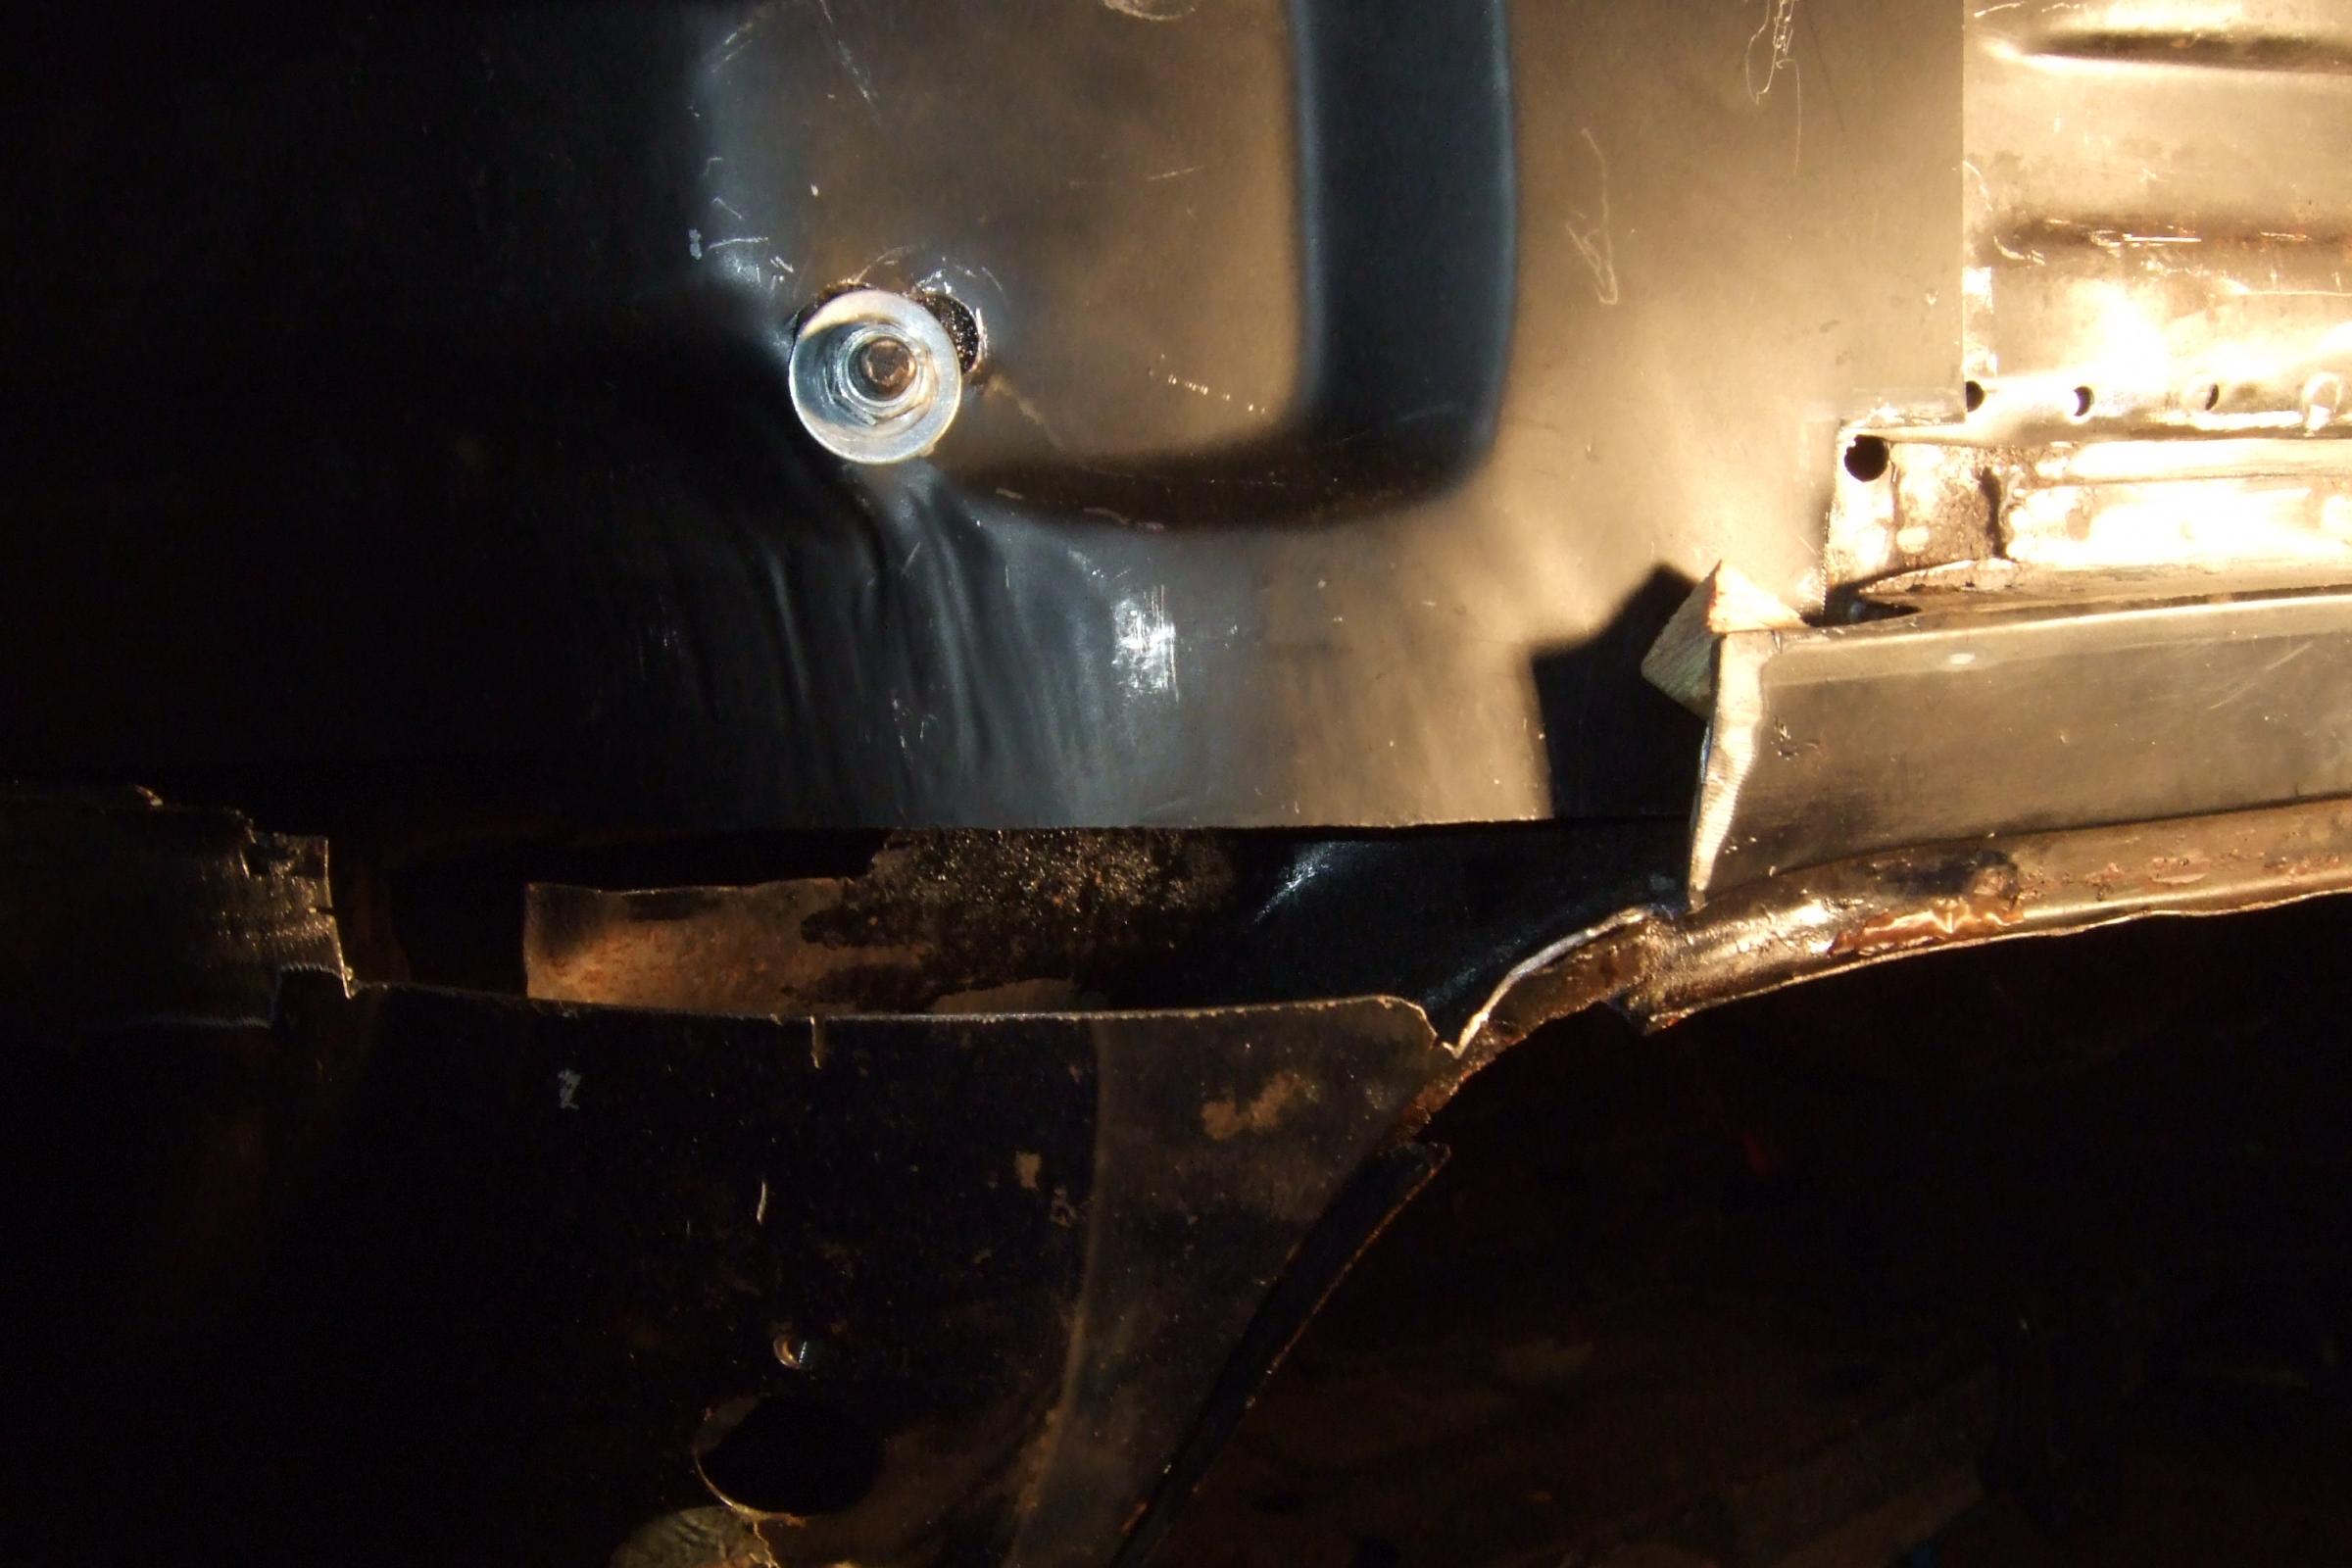
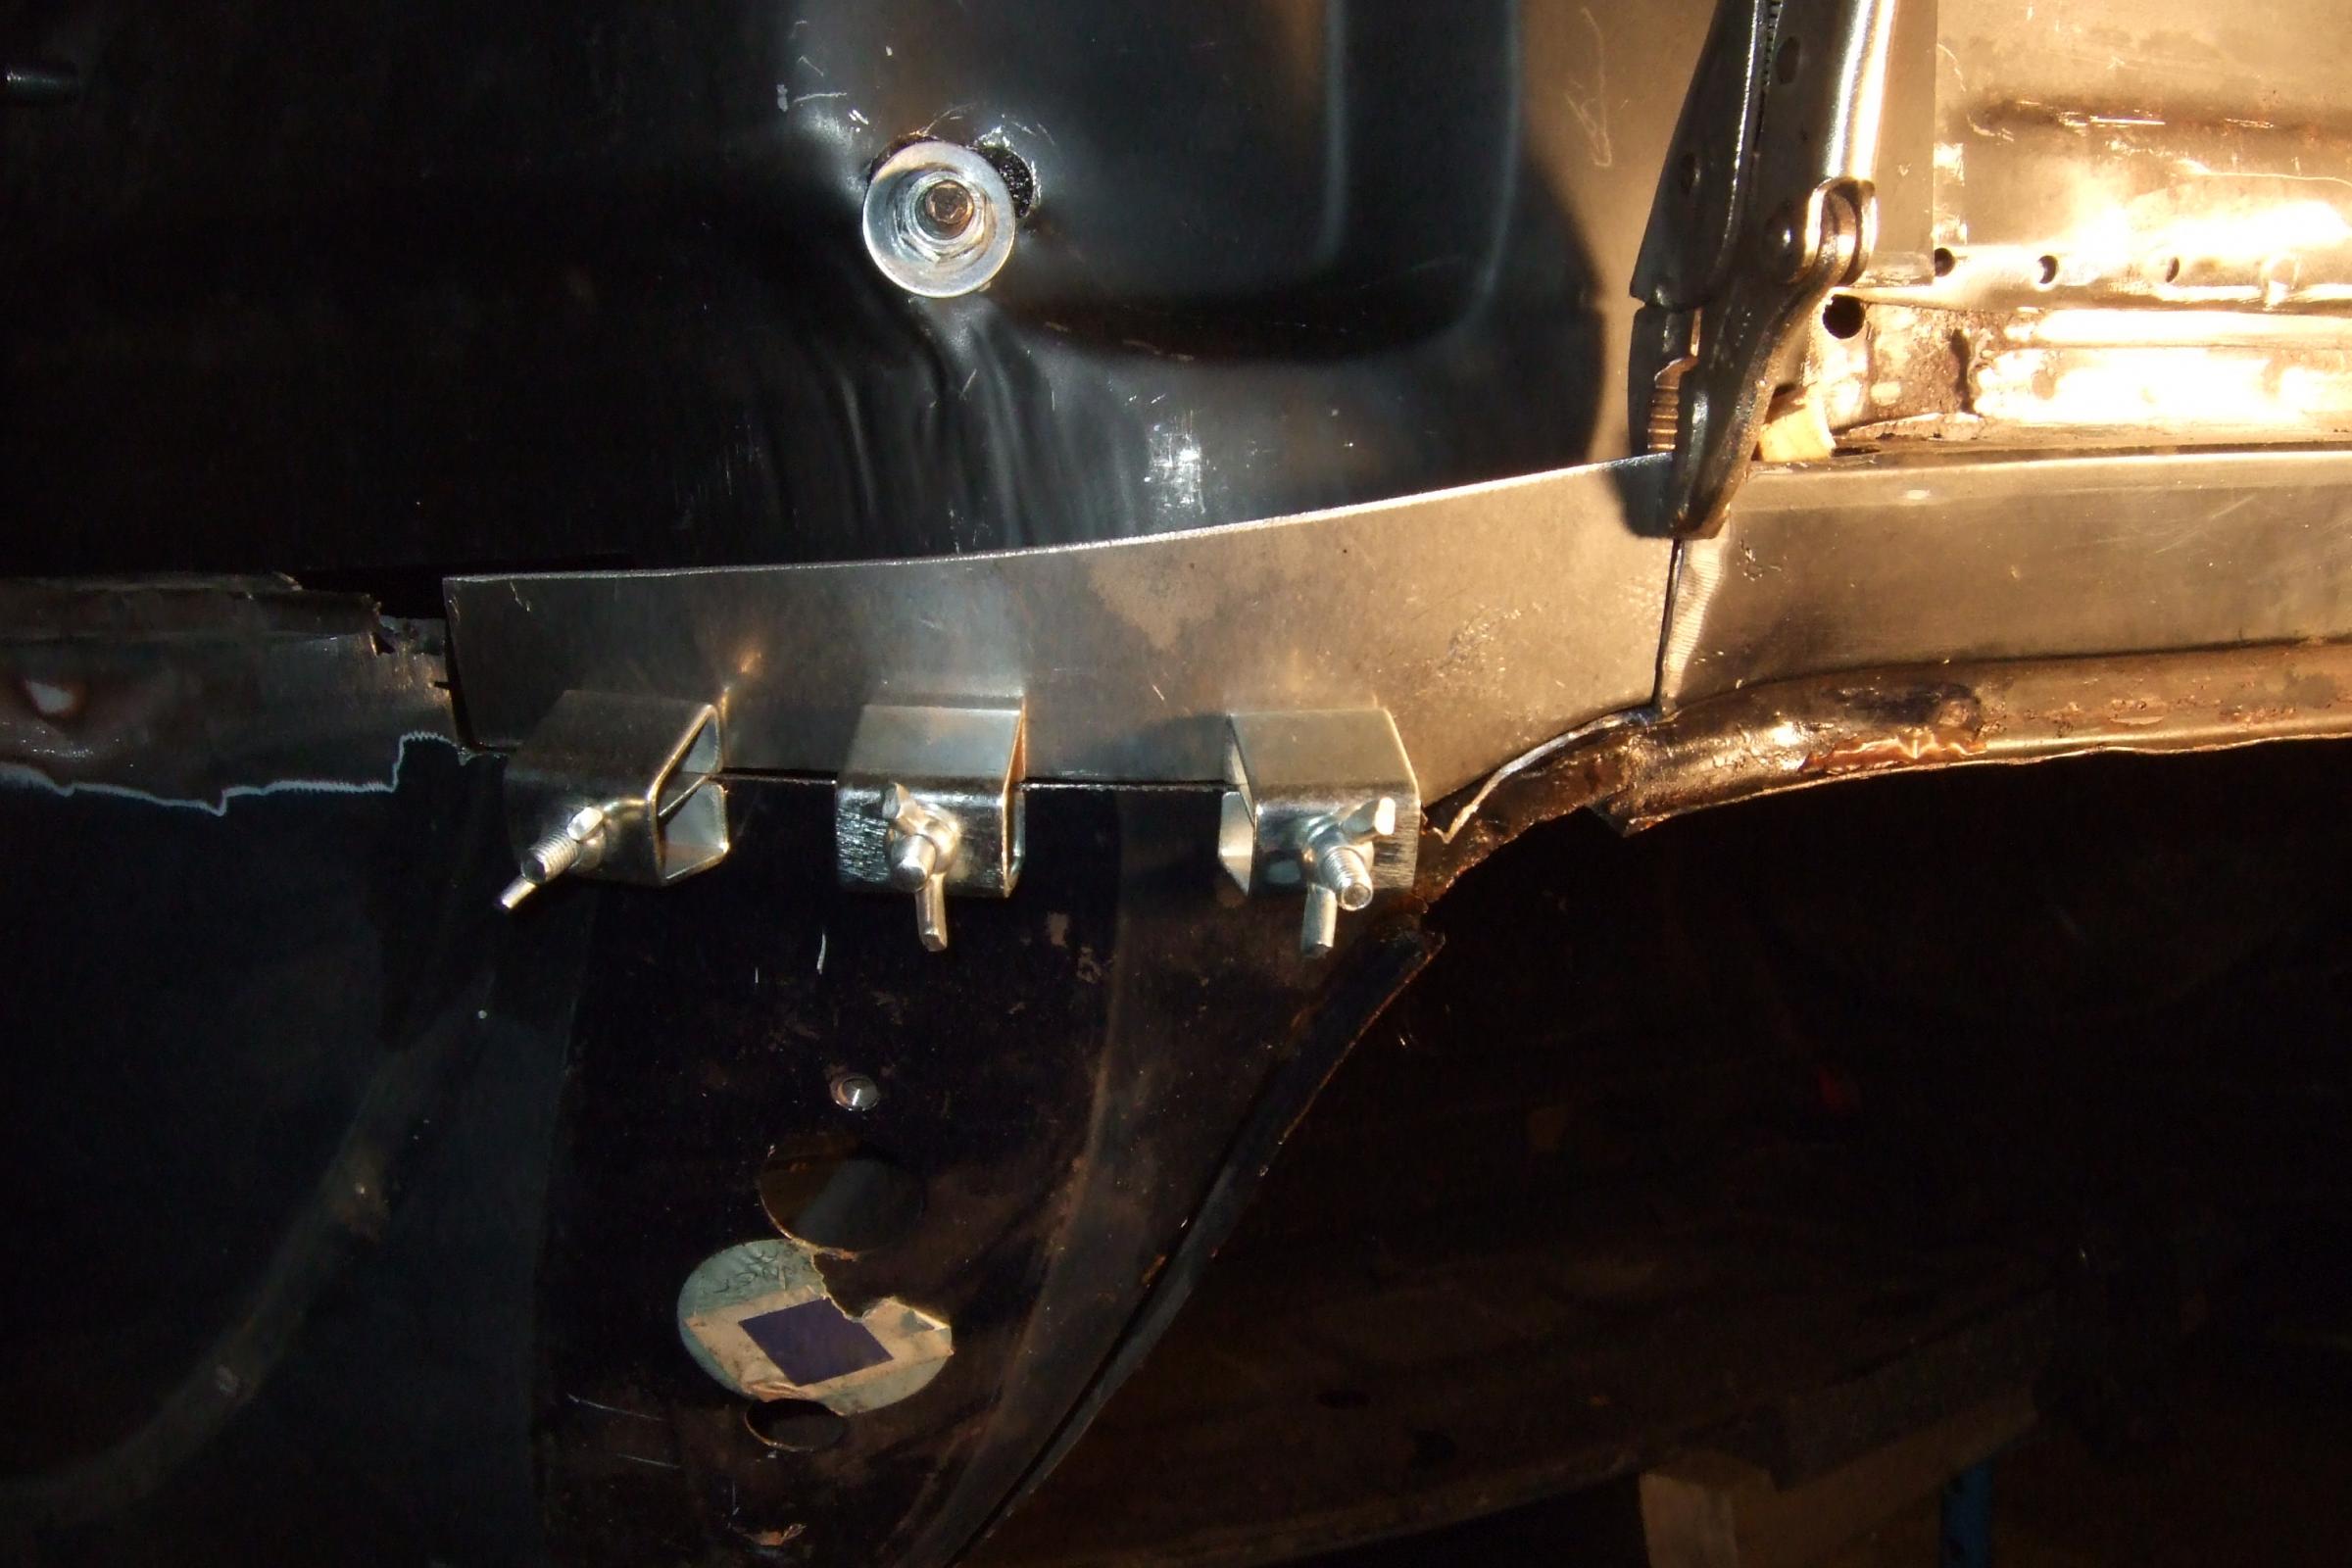
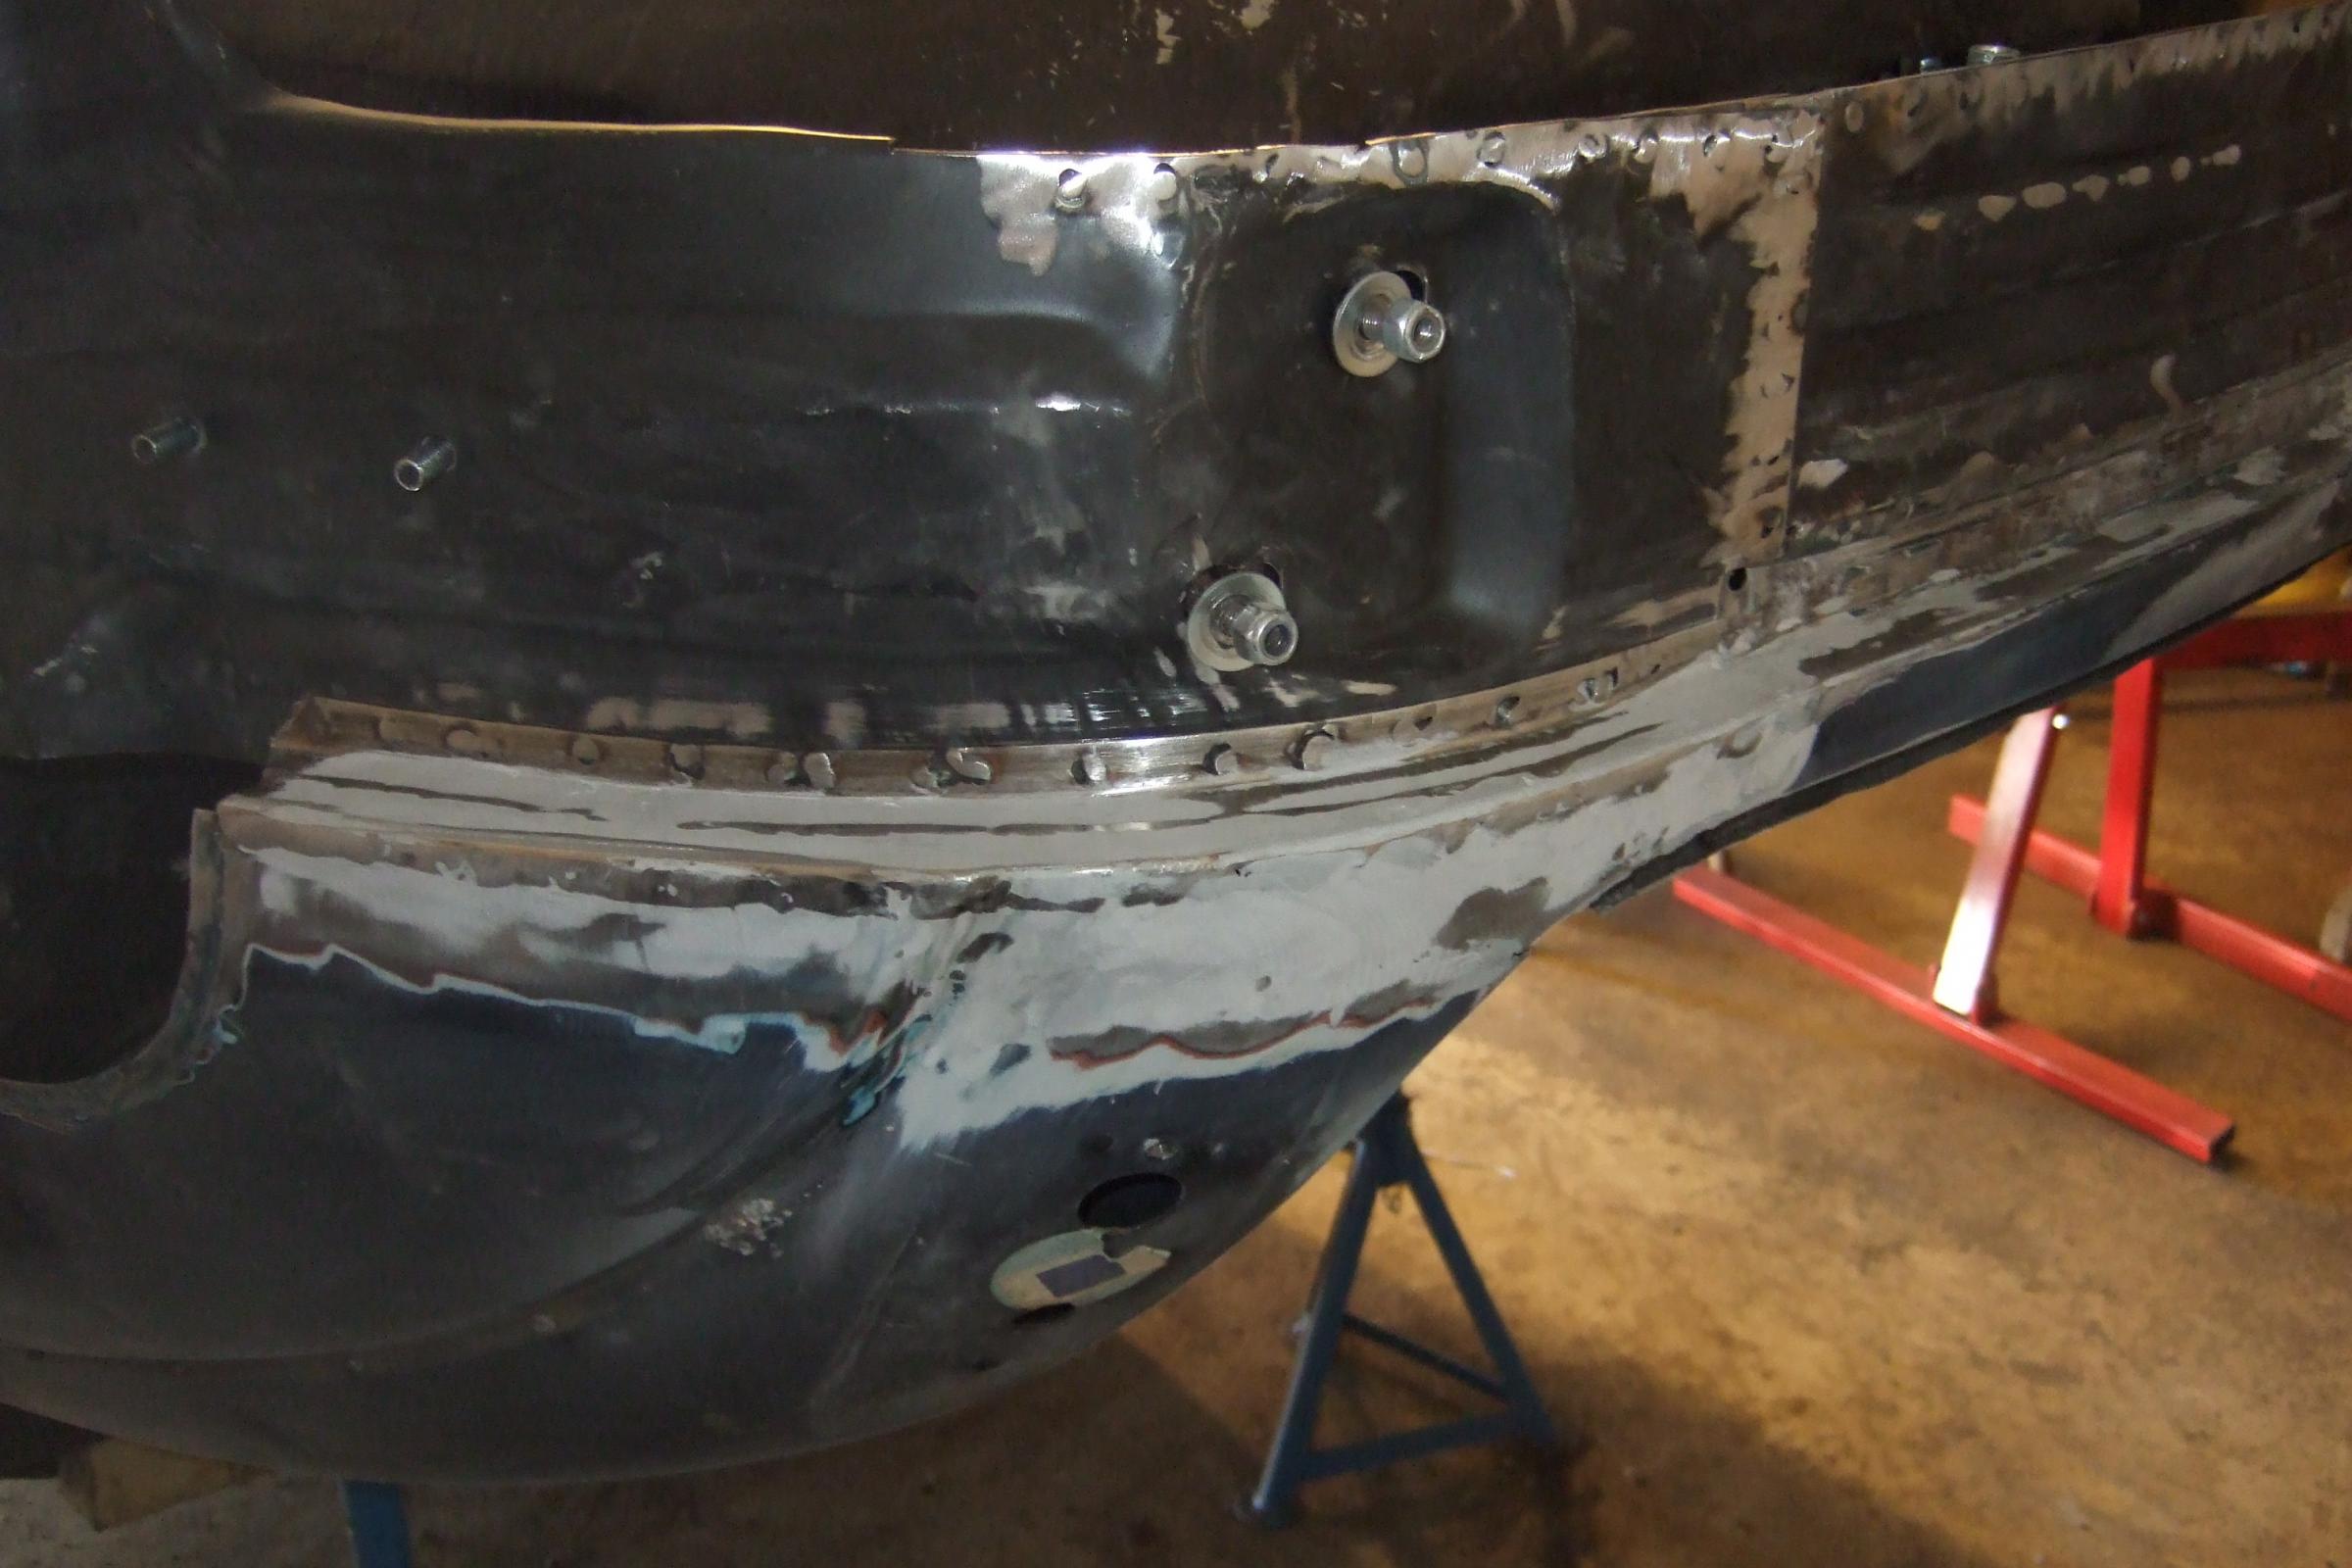
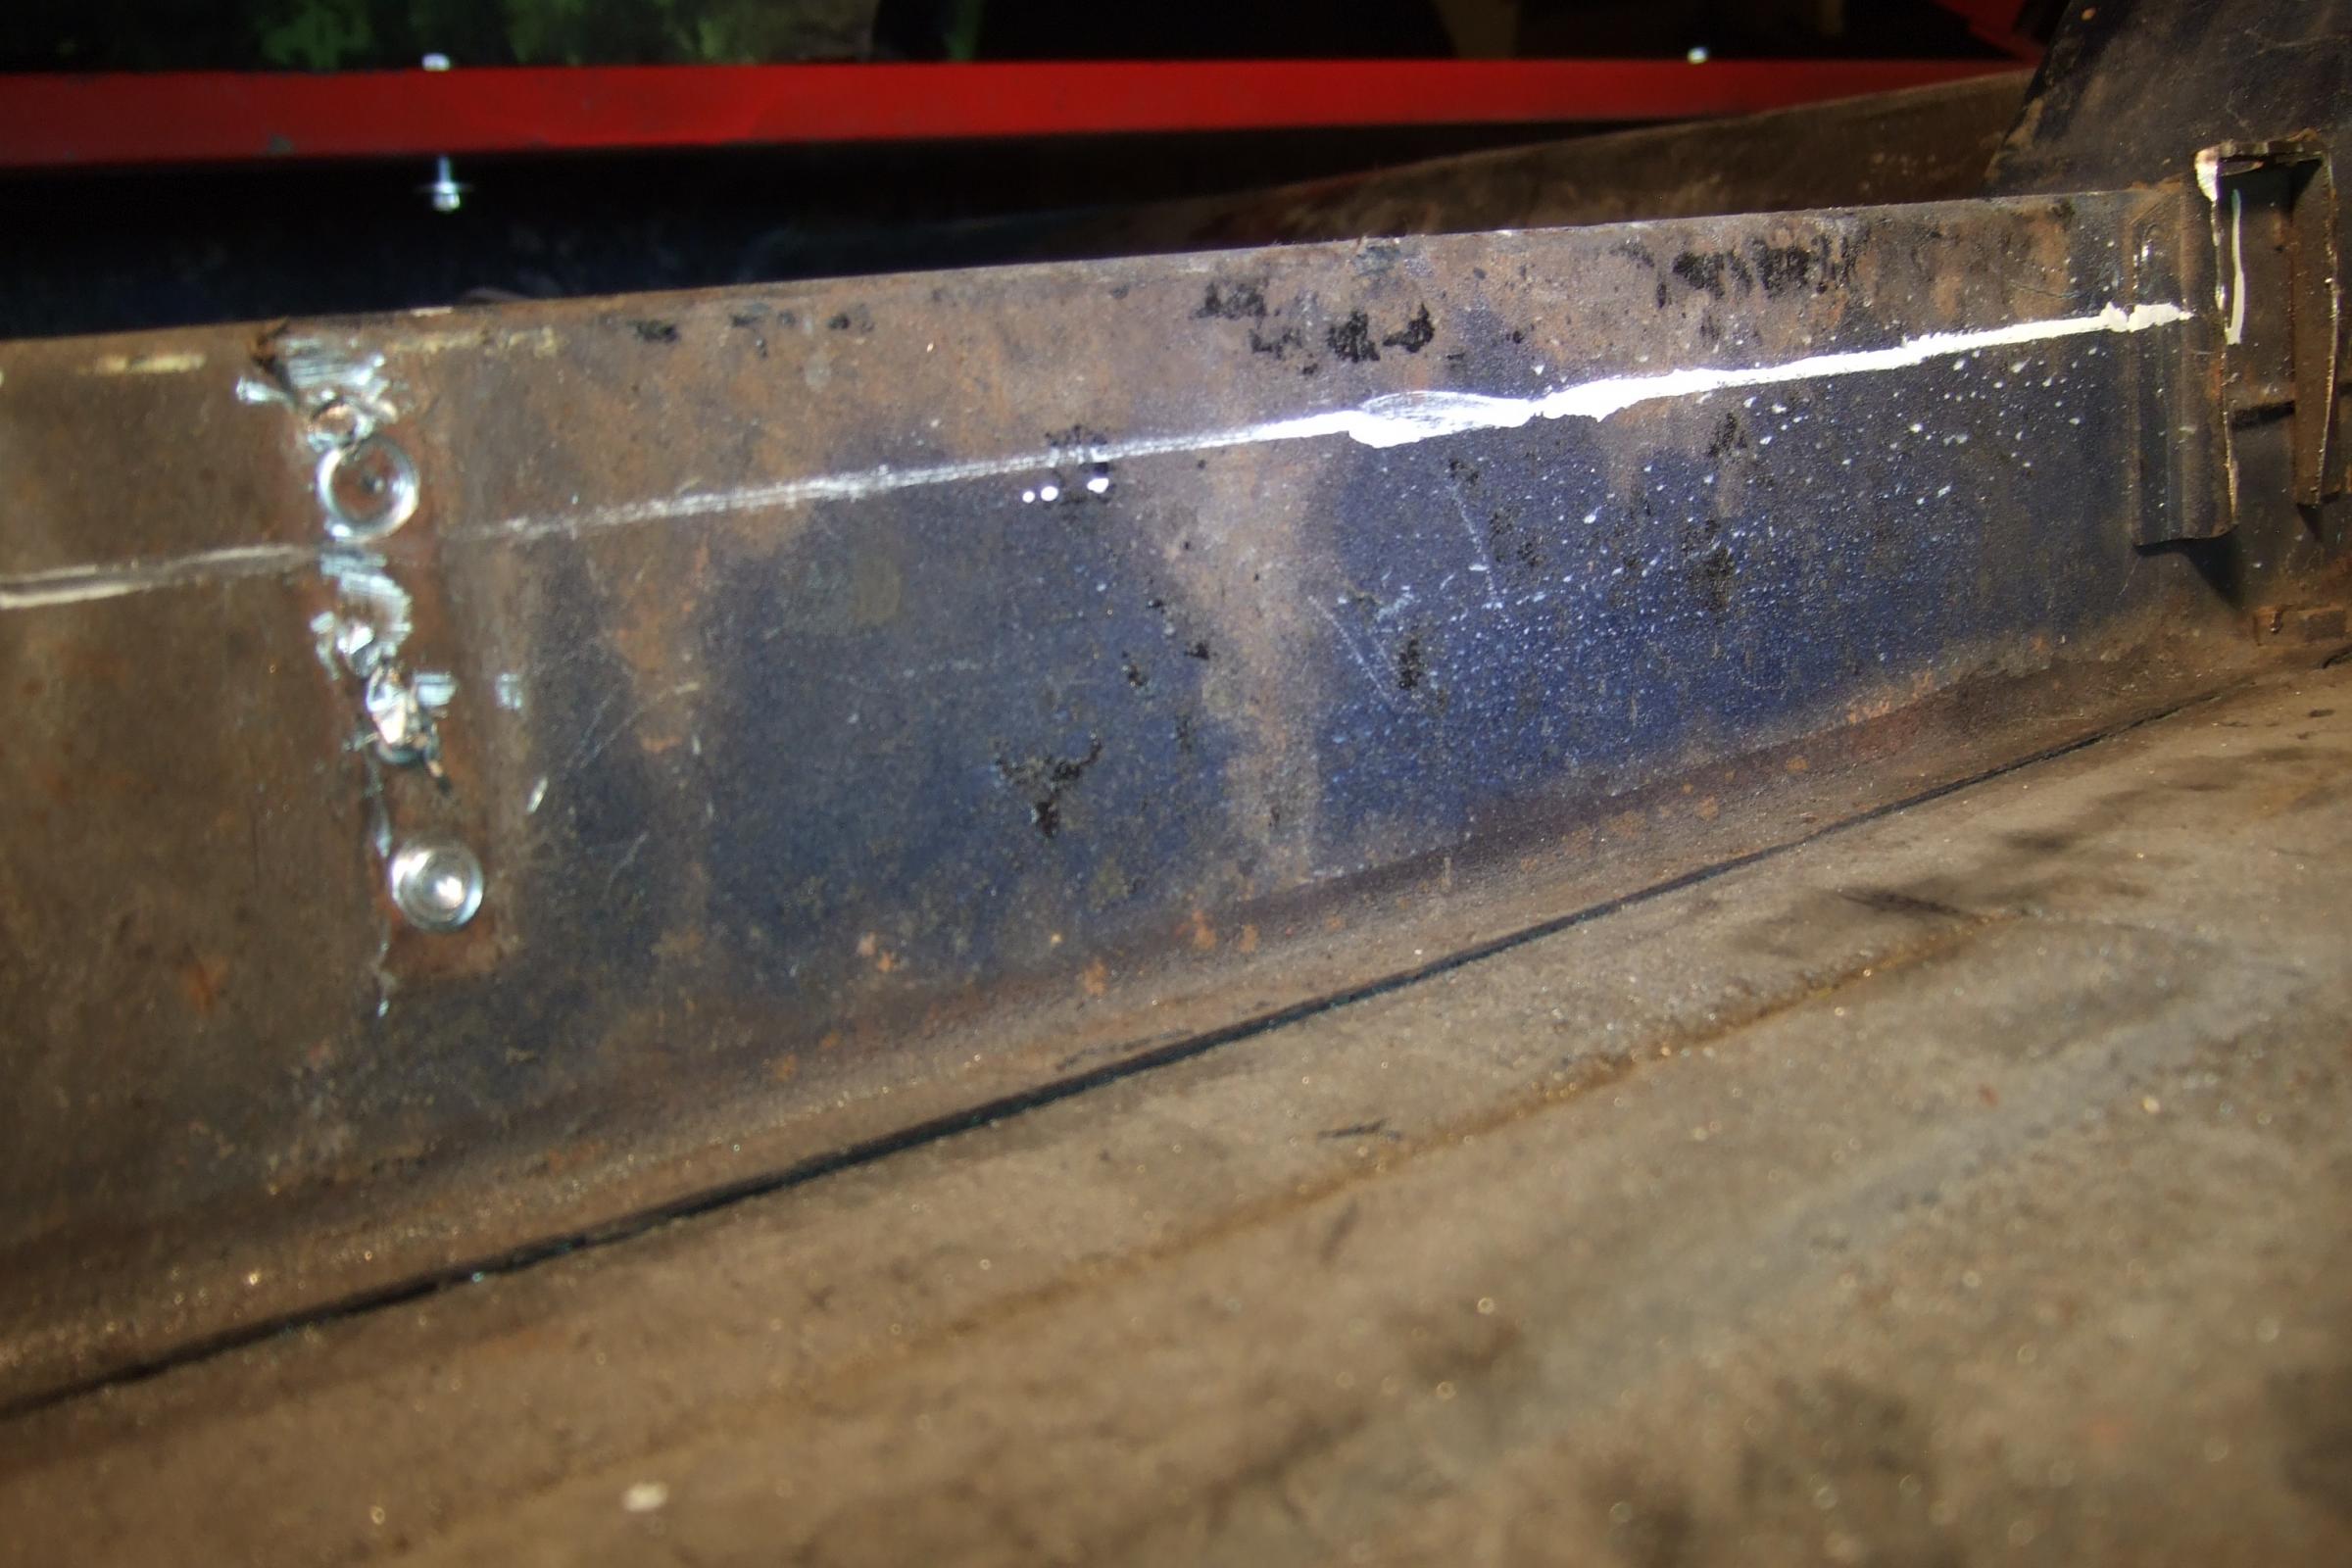
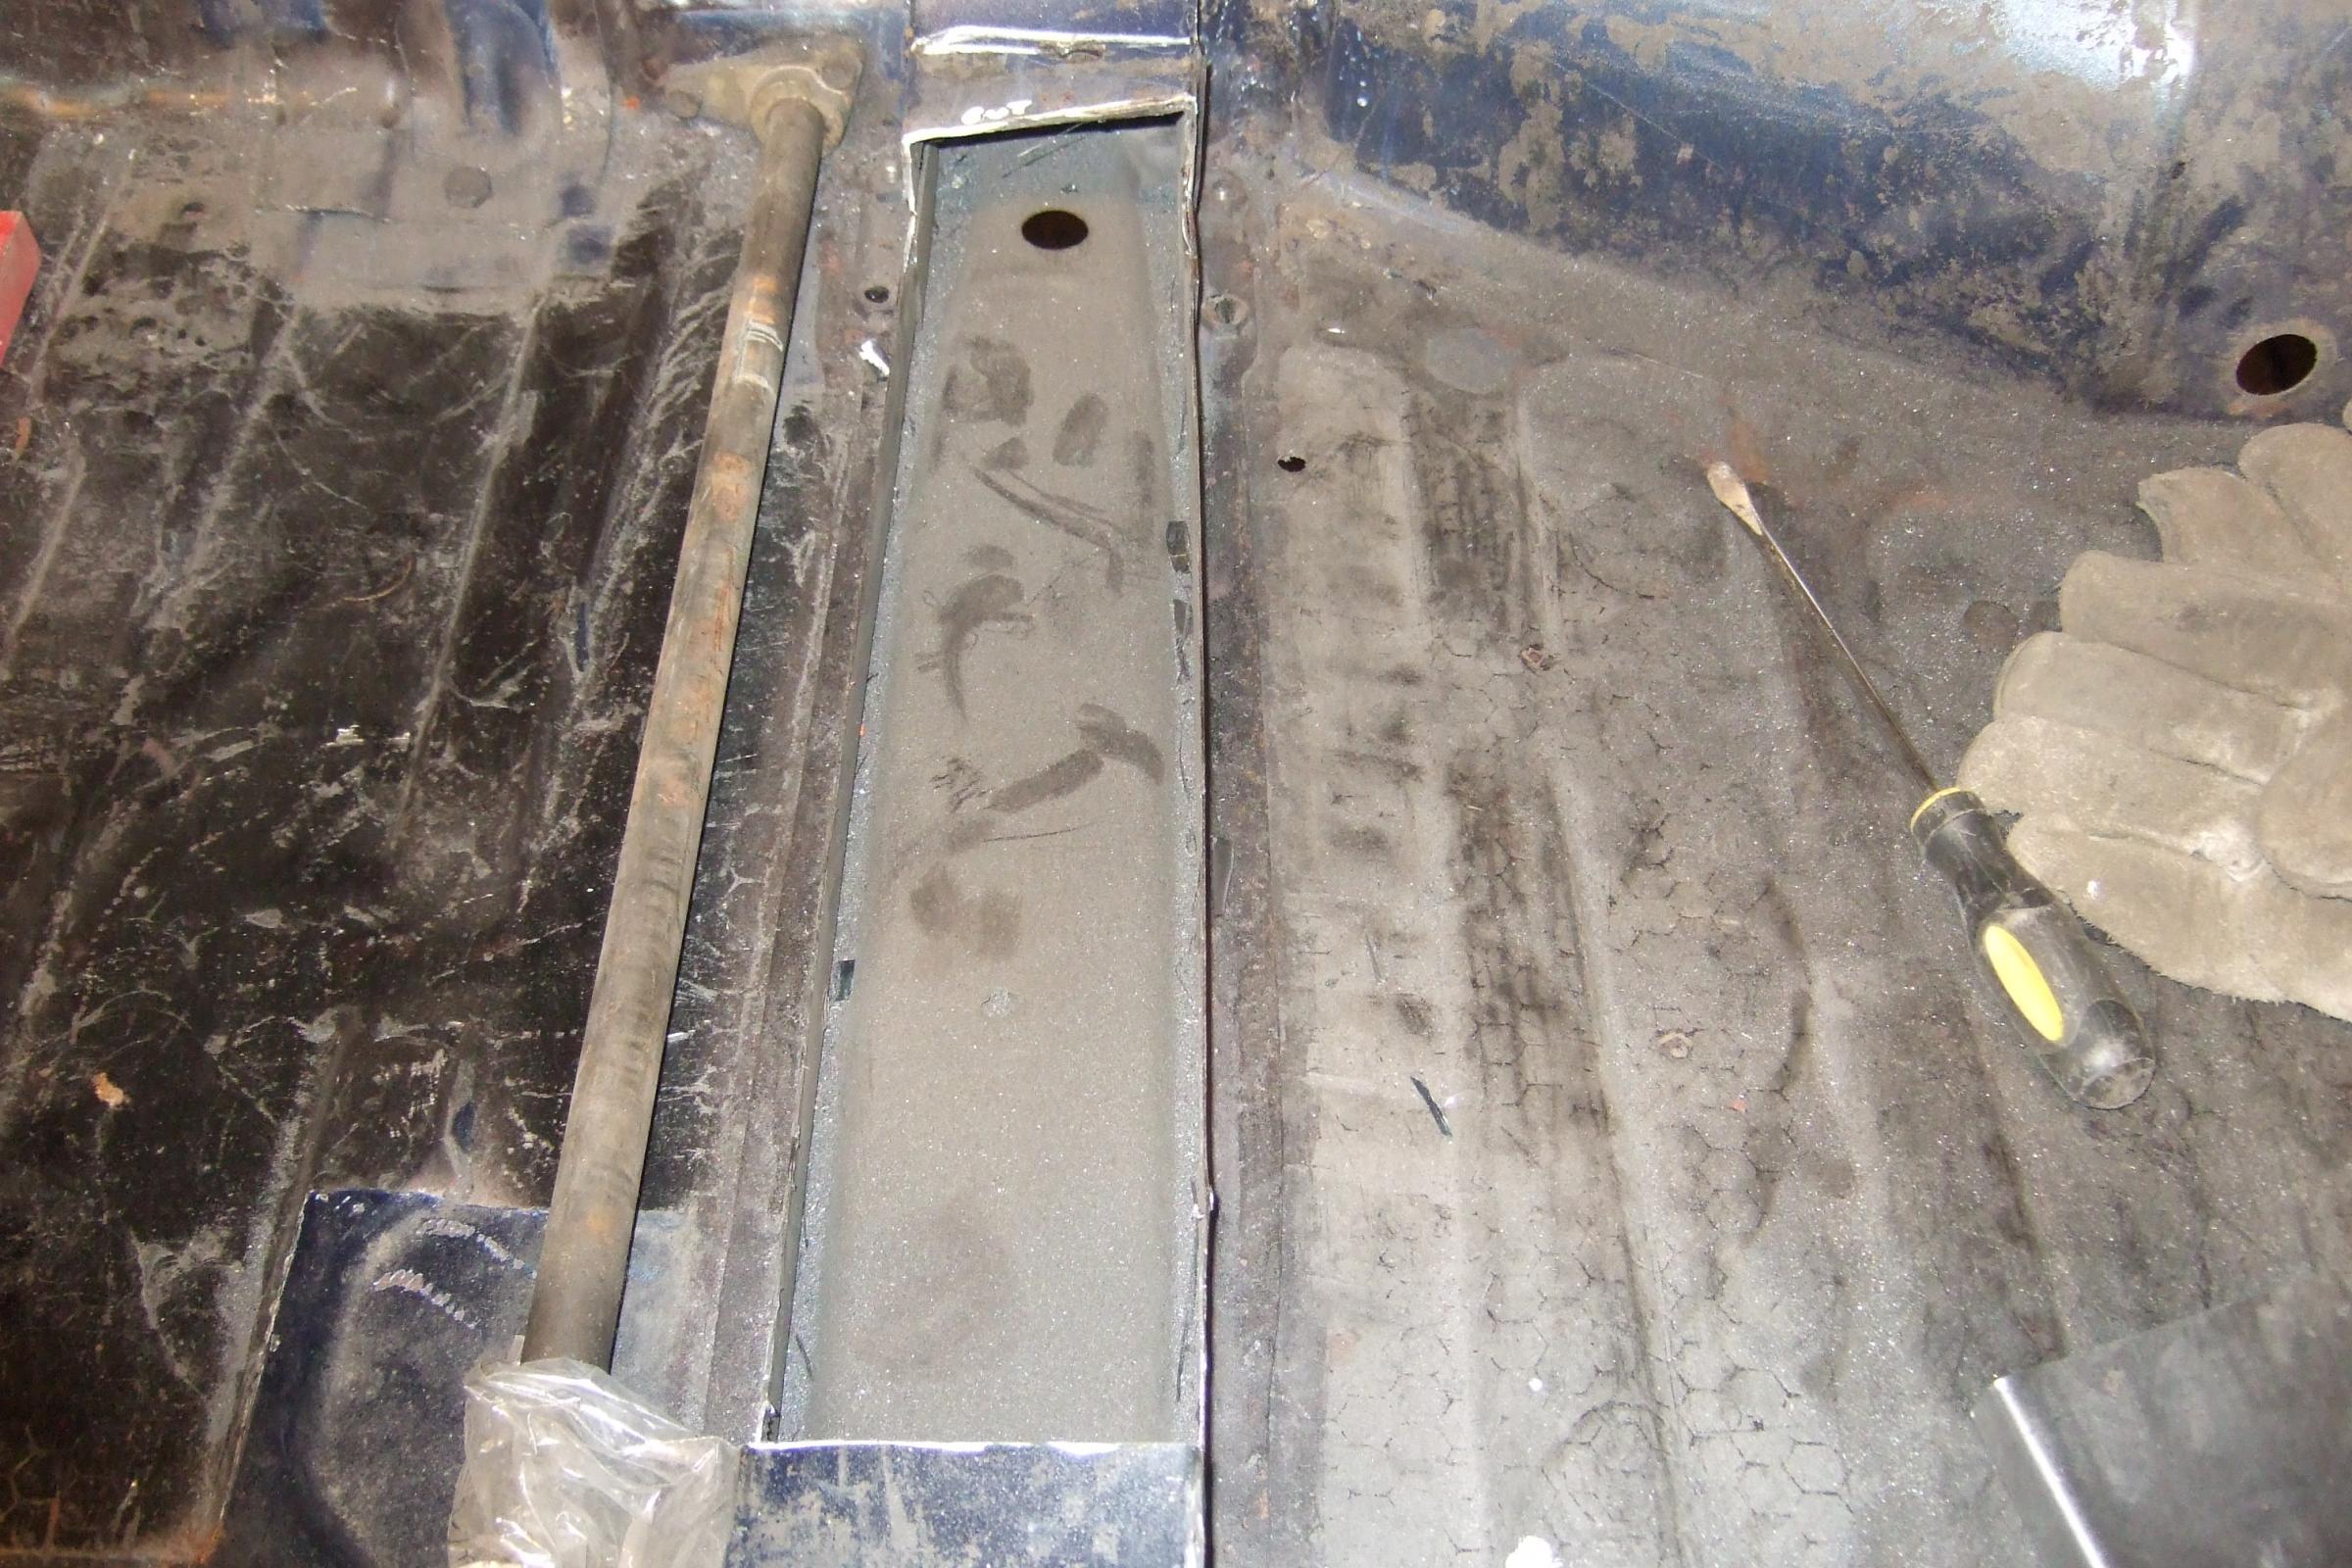
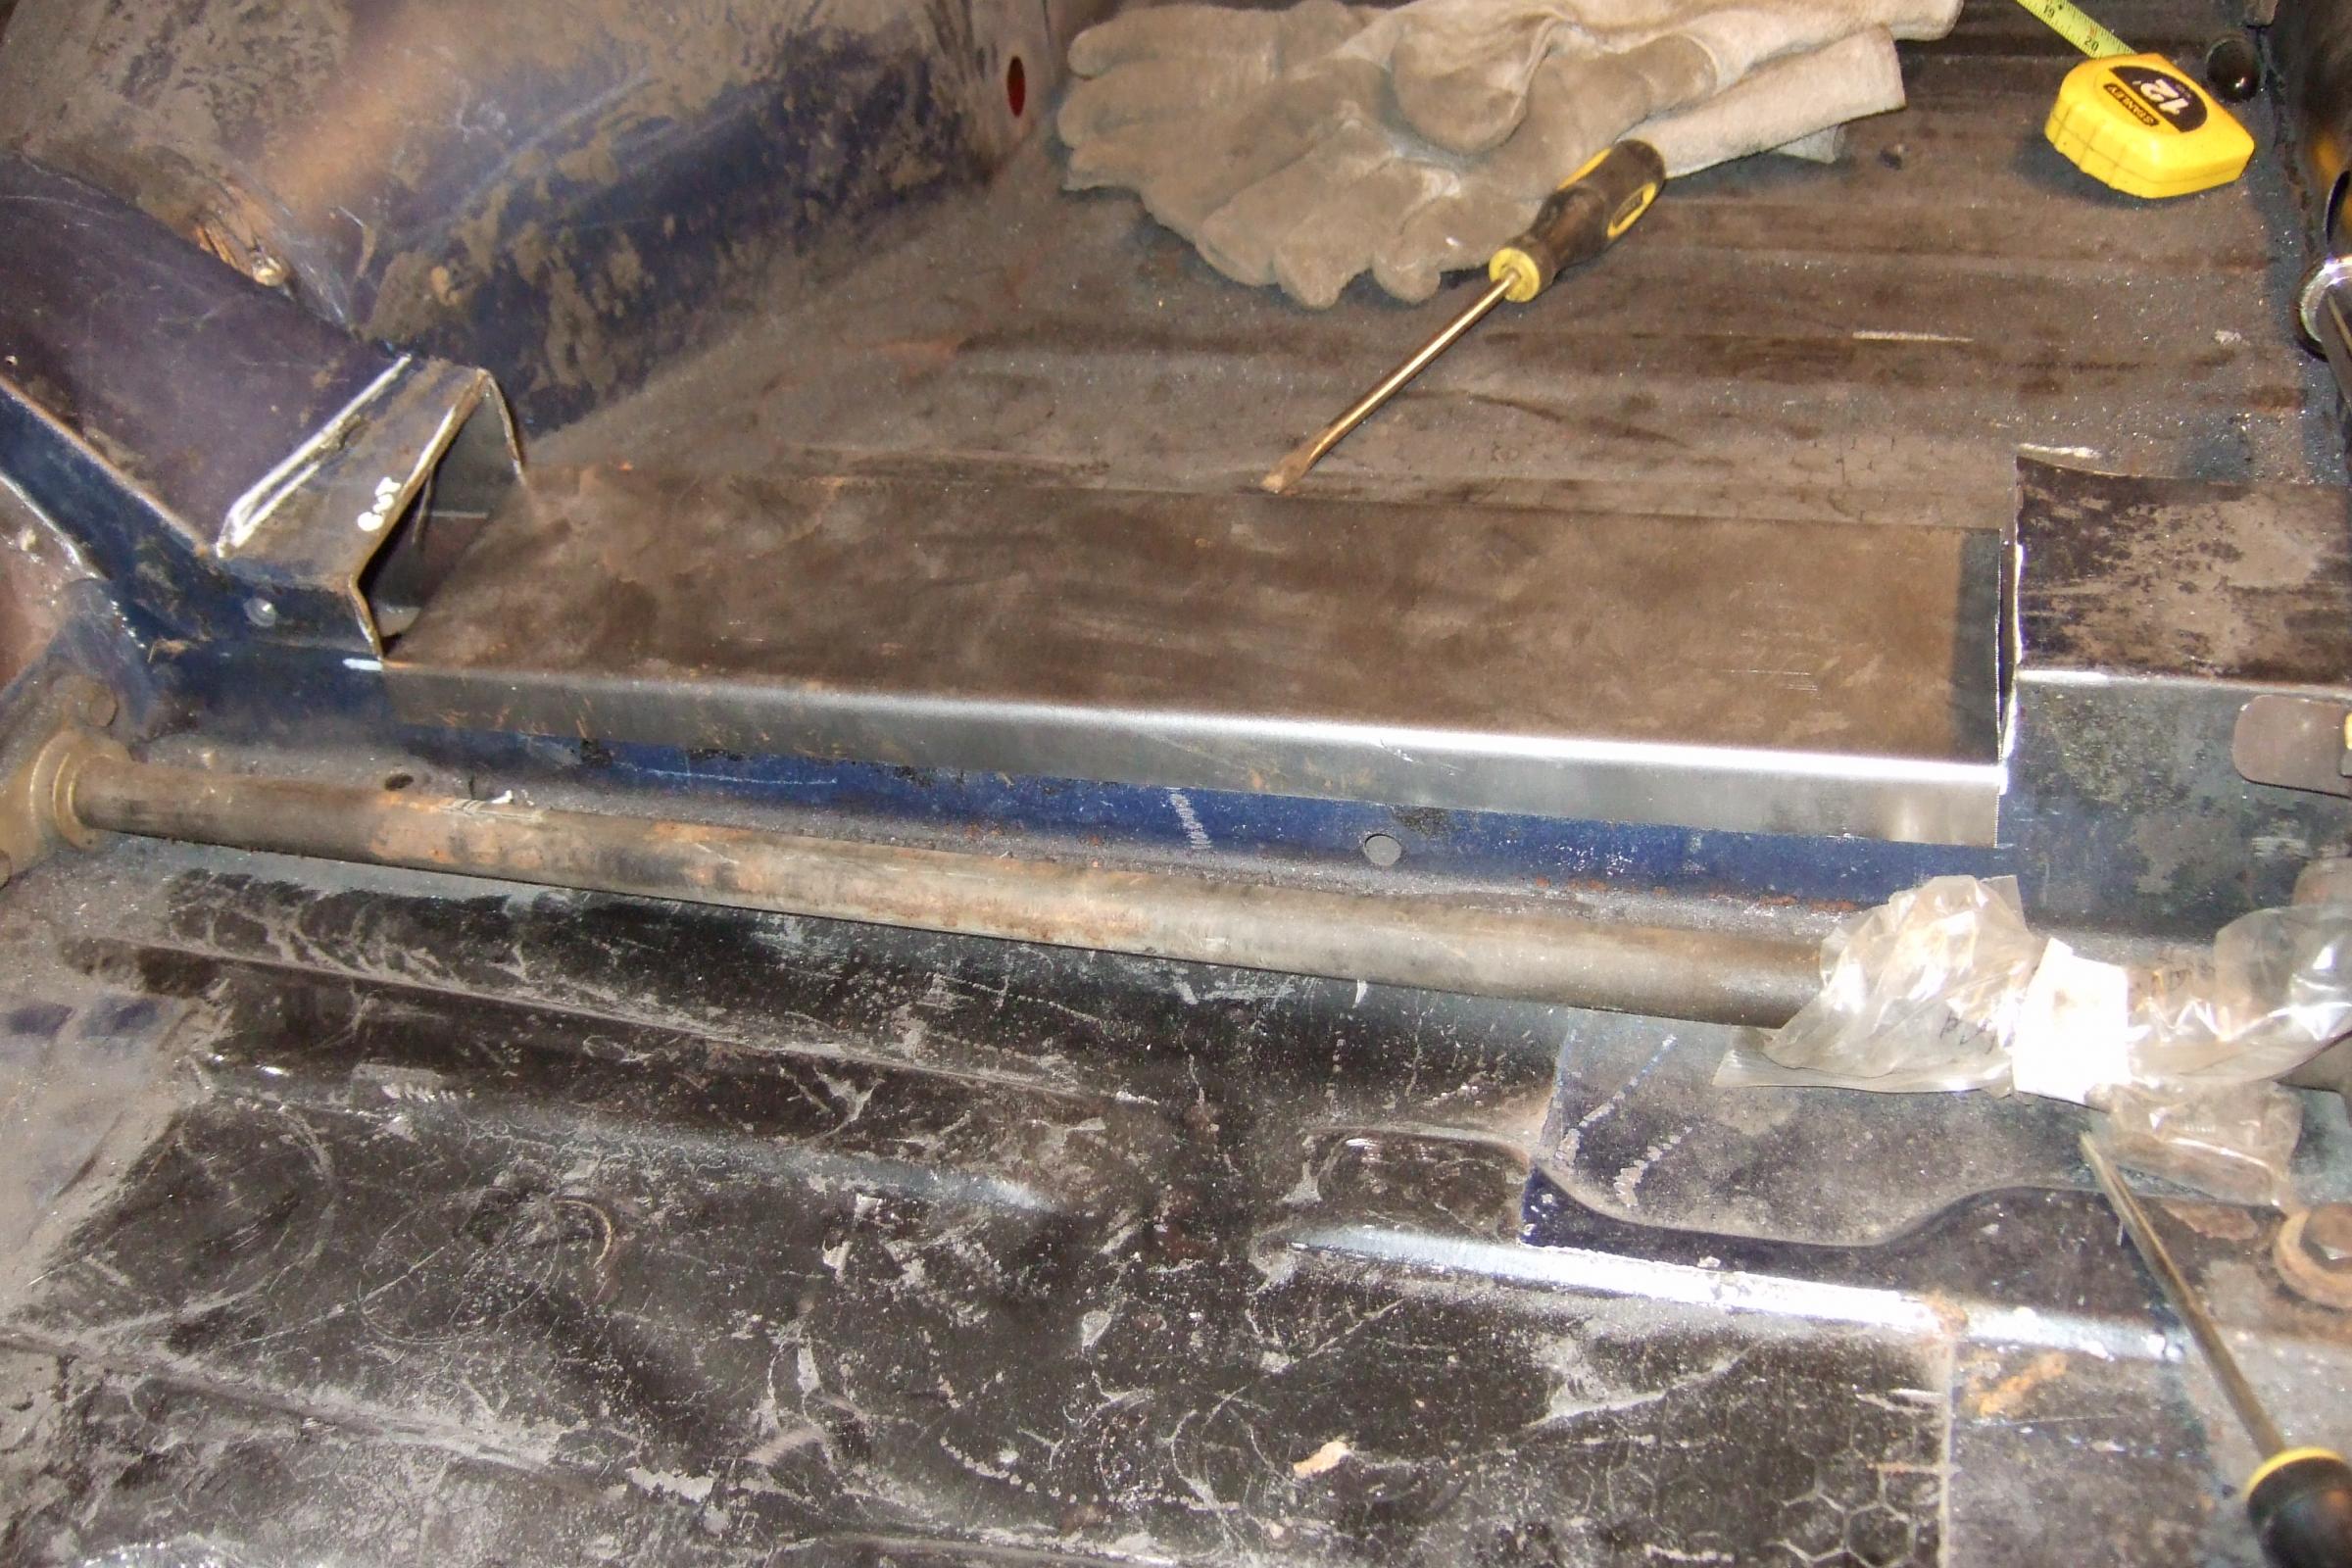
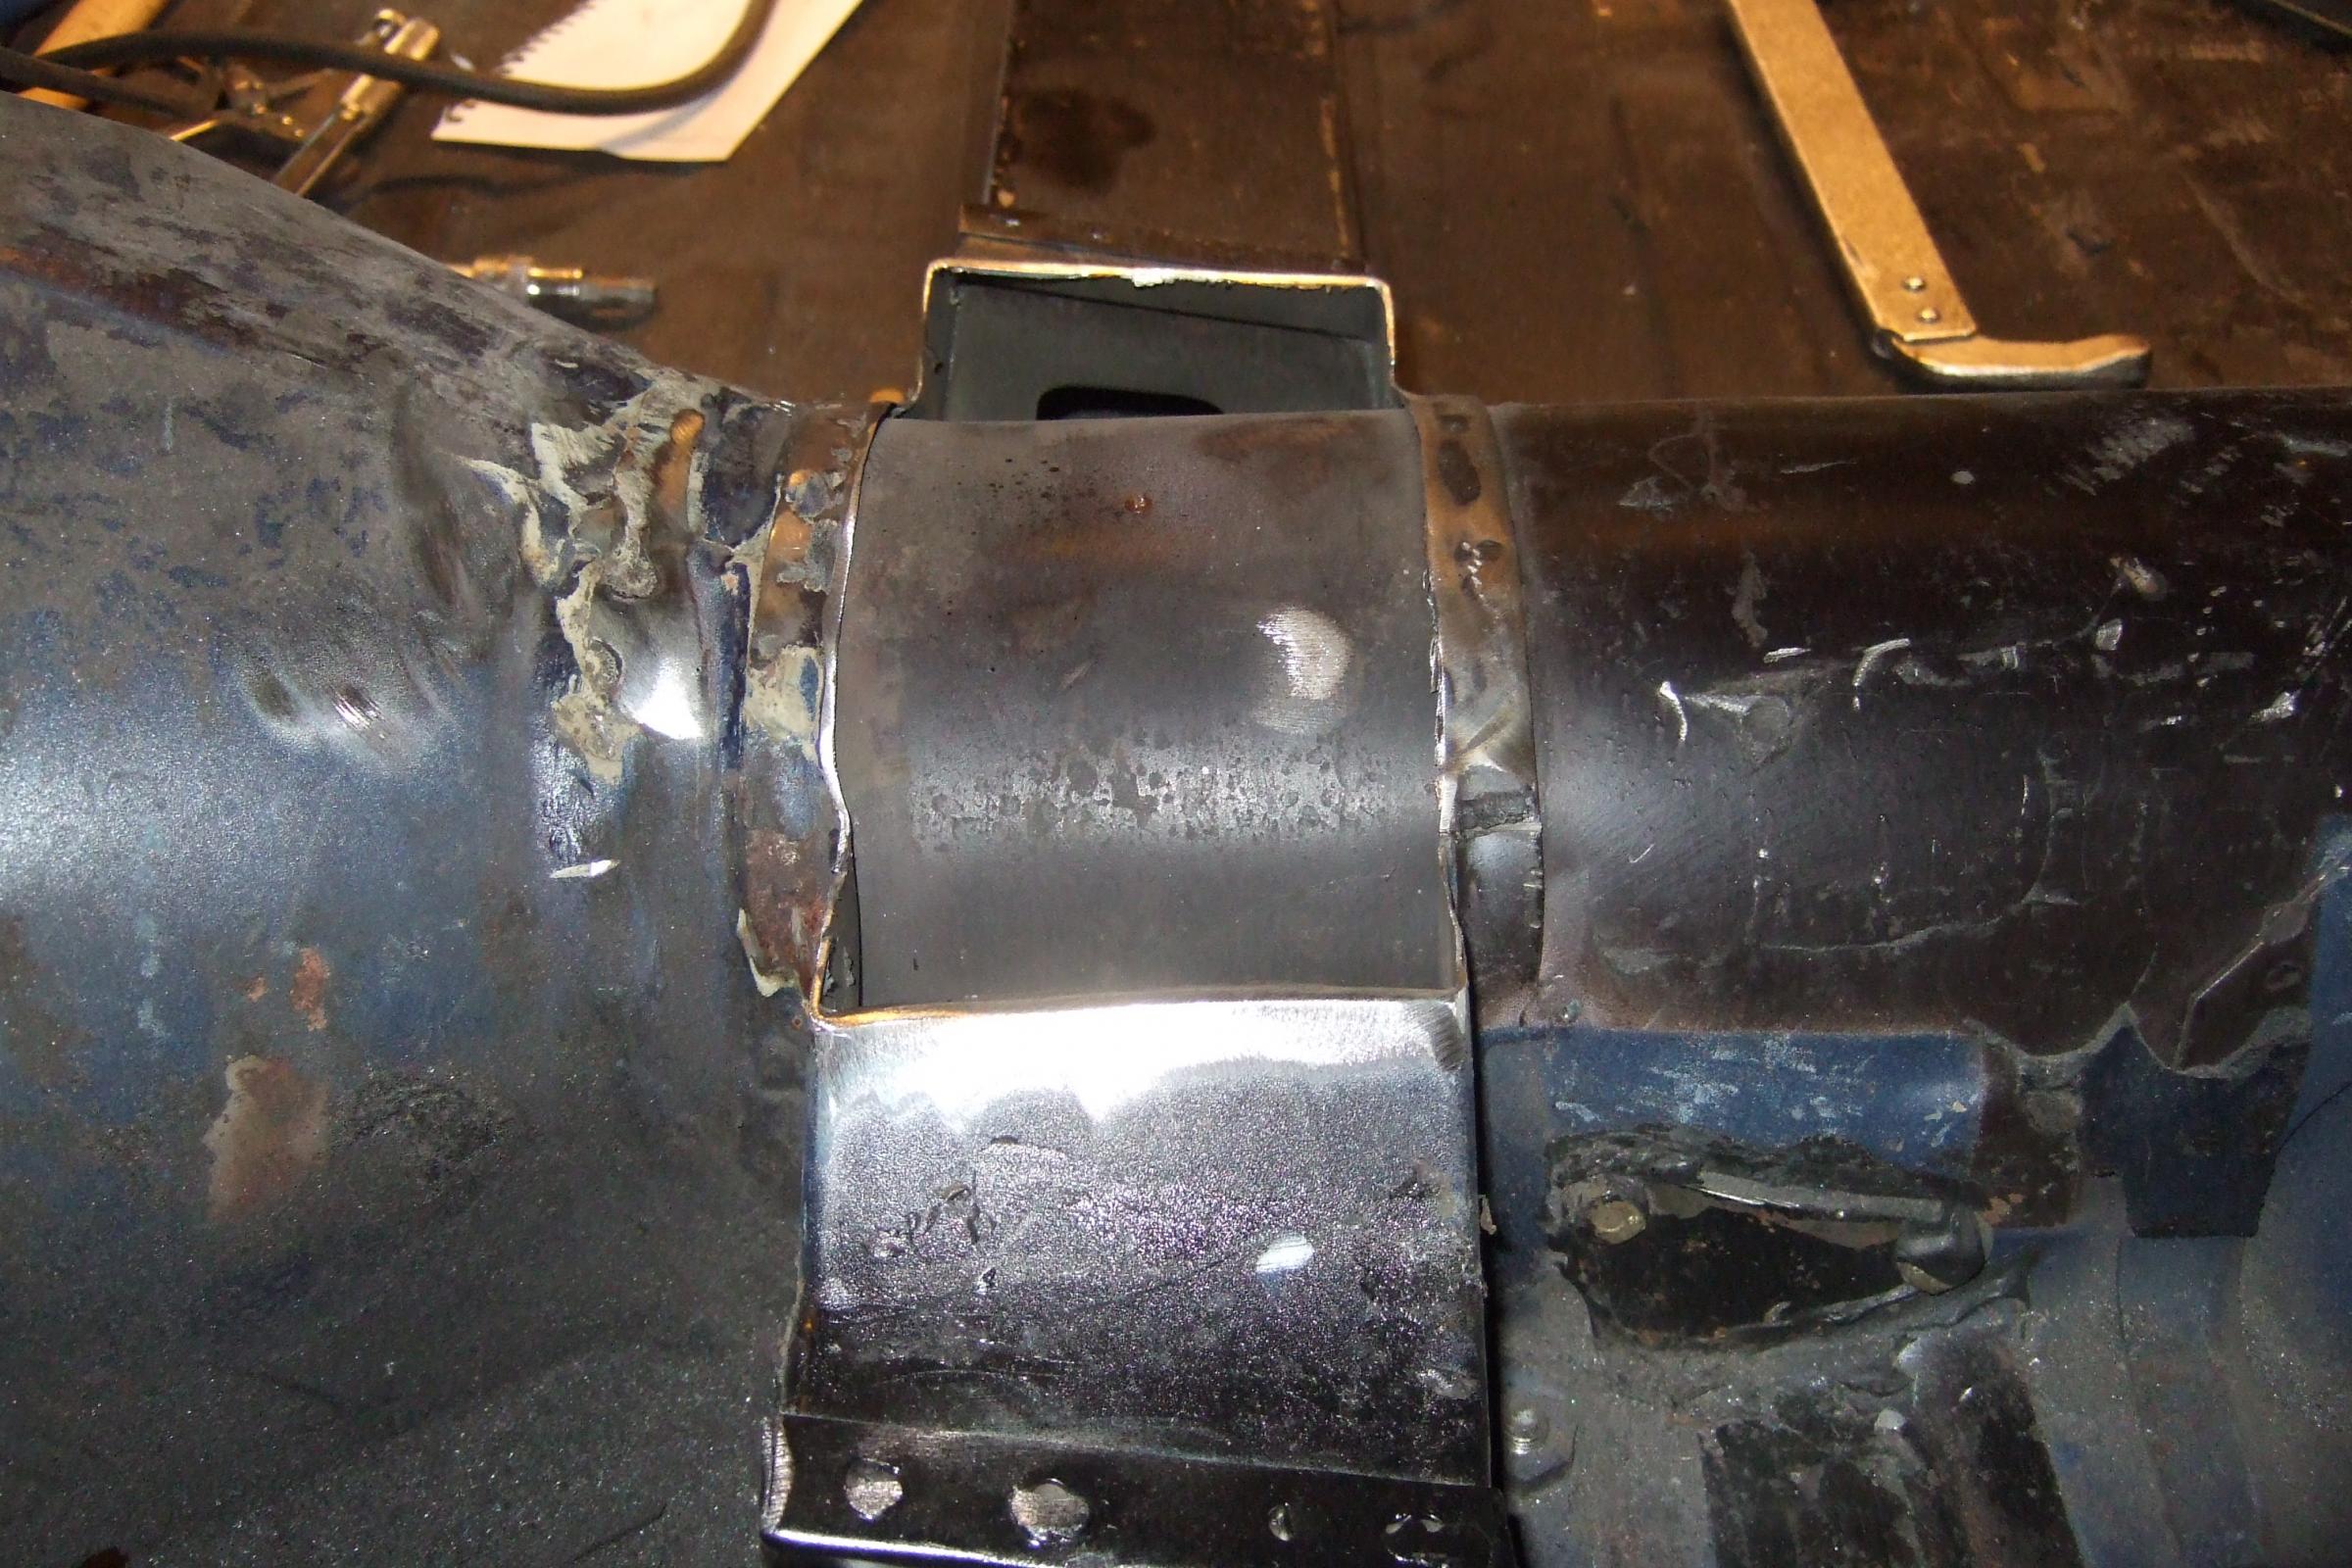
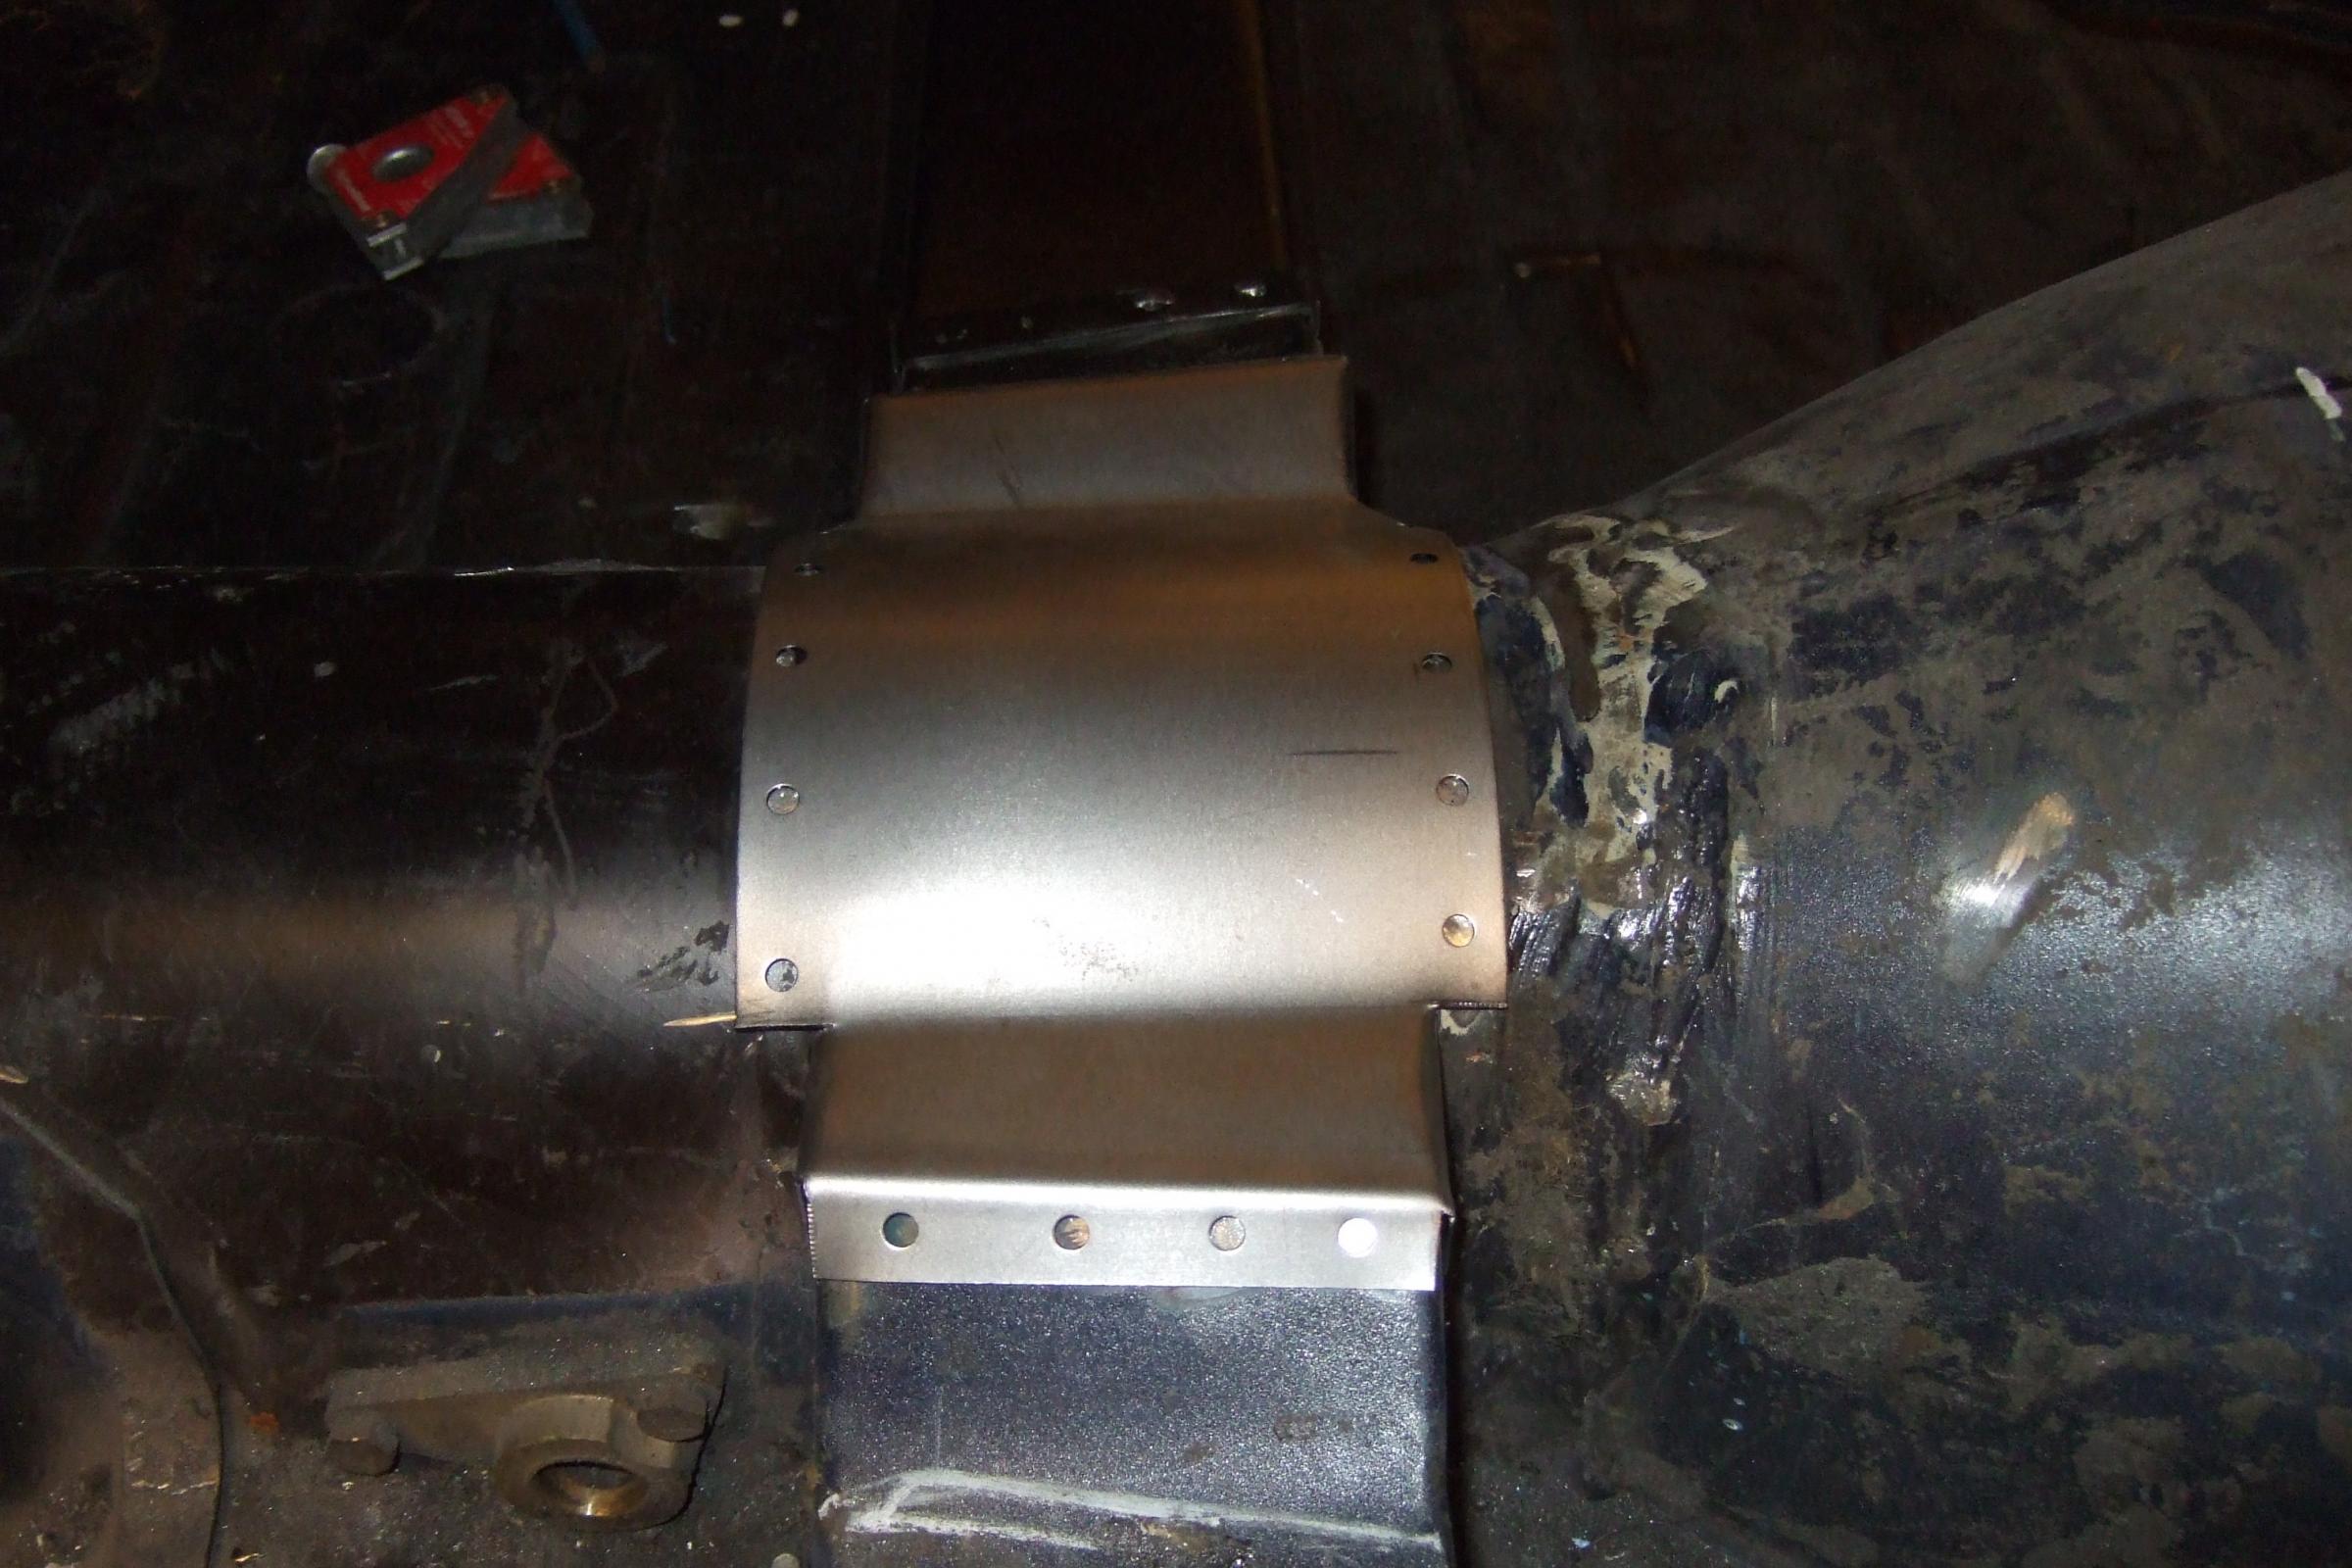
Moving on to the car installation I saw some photos that people had cut the cross member but you need to ensure that you still allow enough space for the handbrake rod that goes from the inner sill to the gearbox tunnel. Please see set of pictures for the drivers side modification and is anyone wants dimensions I can provide. I decided to make the new panel out of three pieces rather than trying to do this in one piece, I think it loooks ok and will be strong enough. The final photo shows the attachment bolts on the new frame waiting for the seat to be installed so I can drill the rear attachments under the floor, more about this later.
I have just started this task and as an added bonus I purchased some electric seat frames so needed to get my non electric seats to fit the electric seat frames. This ended up to be quite simple in the fact that all I needed to do was screw in the two rear bolts and then drilled a hole in the lower frame and welded a nut on for the forward mounts. I also bought an electric converter from 240v down to 12v and ensured that all the motors actually work before i put these into the car. Lastly I have decided to modify the gearbox changer from the steering wheel to the centre console ala XK6 so i am also trying to get the centre console to fit as well - nothing like a challenge for my first restoration.
Moving on to the car installation I saw some photos that people had cut the cross member but you need to ensure that you still allow enough space for the handbrake rod that goes from the inner sill to the gearbox tunnel. Please see set of pictures for the drivers side modification and is anyone wants dimensions I can provide. I decided to make the new panel out of three pieces rather than trying to do this in one piece, I think it loooks ok and will be strong enough. The final photo shows the attachment bolts on the new frame waiting for the seat to be installed so I can drill the rear attachments under the floor, more about this later.


Senior Member
Hi Ray, thanks for the long conversation yesterday. Just been looking at the pics.
just a few more queeries have arisen since yesterday.They are the hieght of the squab from the floor.?The position of the front of the new track in relation to the old mk2 type,as you have deleted the old front bracket, therefore the seat sit further back than original.
I forgot to mention that it may be beter to use the xj console as the mk2 seats nudge upto and slightly over lap the console, the xj sits clearly each side of the arm rest!!!.
I know I am a pain but could you take some measurements, of the new, for me?.like the width of the runners, hieght of frt squab from floor, rough depth of seat asy frt to back. total hieght of seat ie floor to top of headrest.
You say you have both manual and powered types. They appear to have got more complicated as they went on, memory was introduced requiring a further module although I am sure they could work without it( omitting the memory of course).
You said you had to remove the top of the xmbr to clear the electrics, could you explain.I could go on so I'll stop now while I am in front
regards barry
Barry
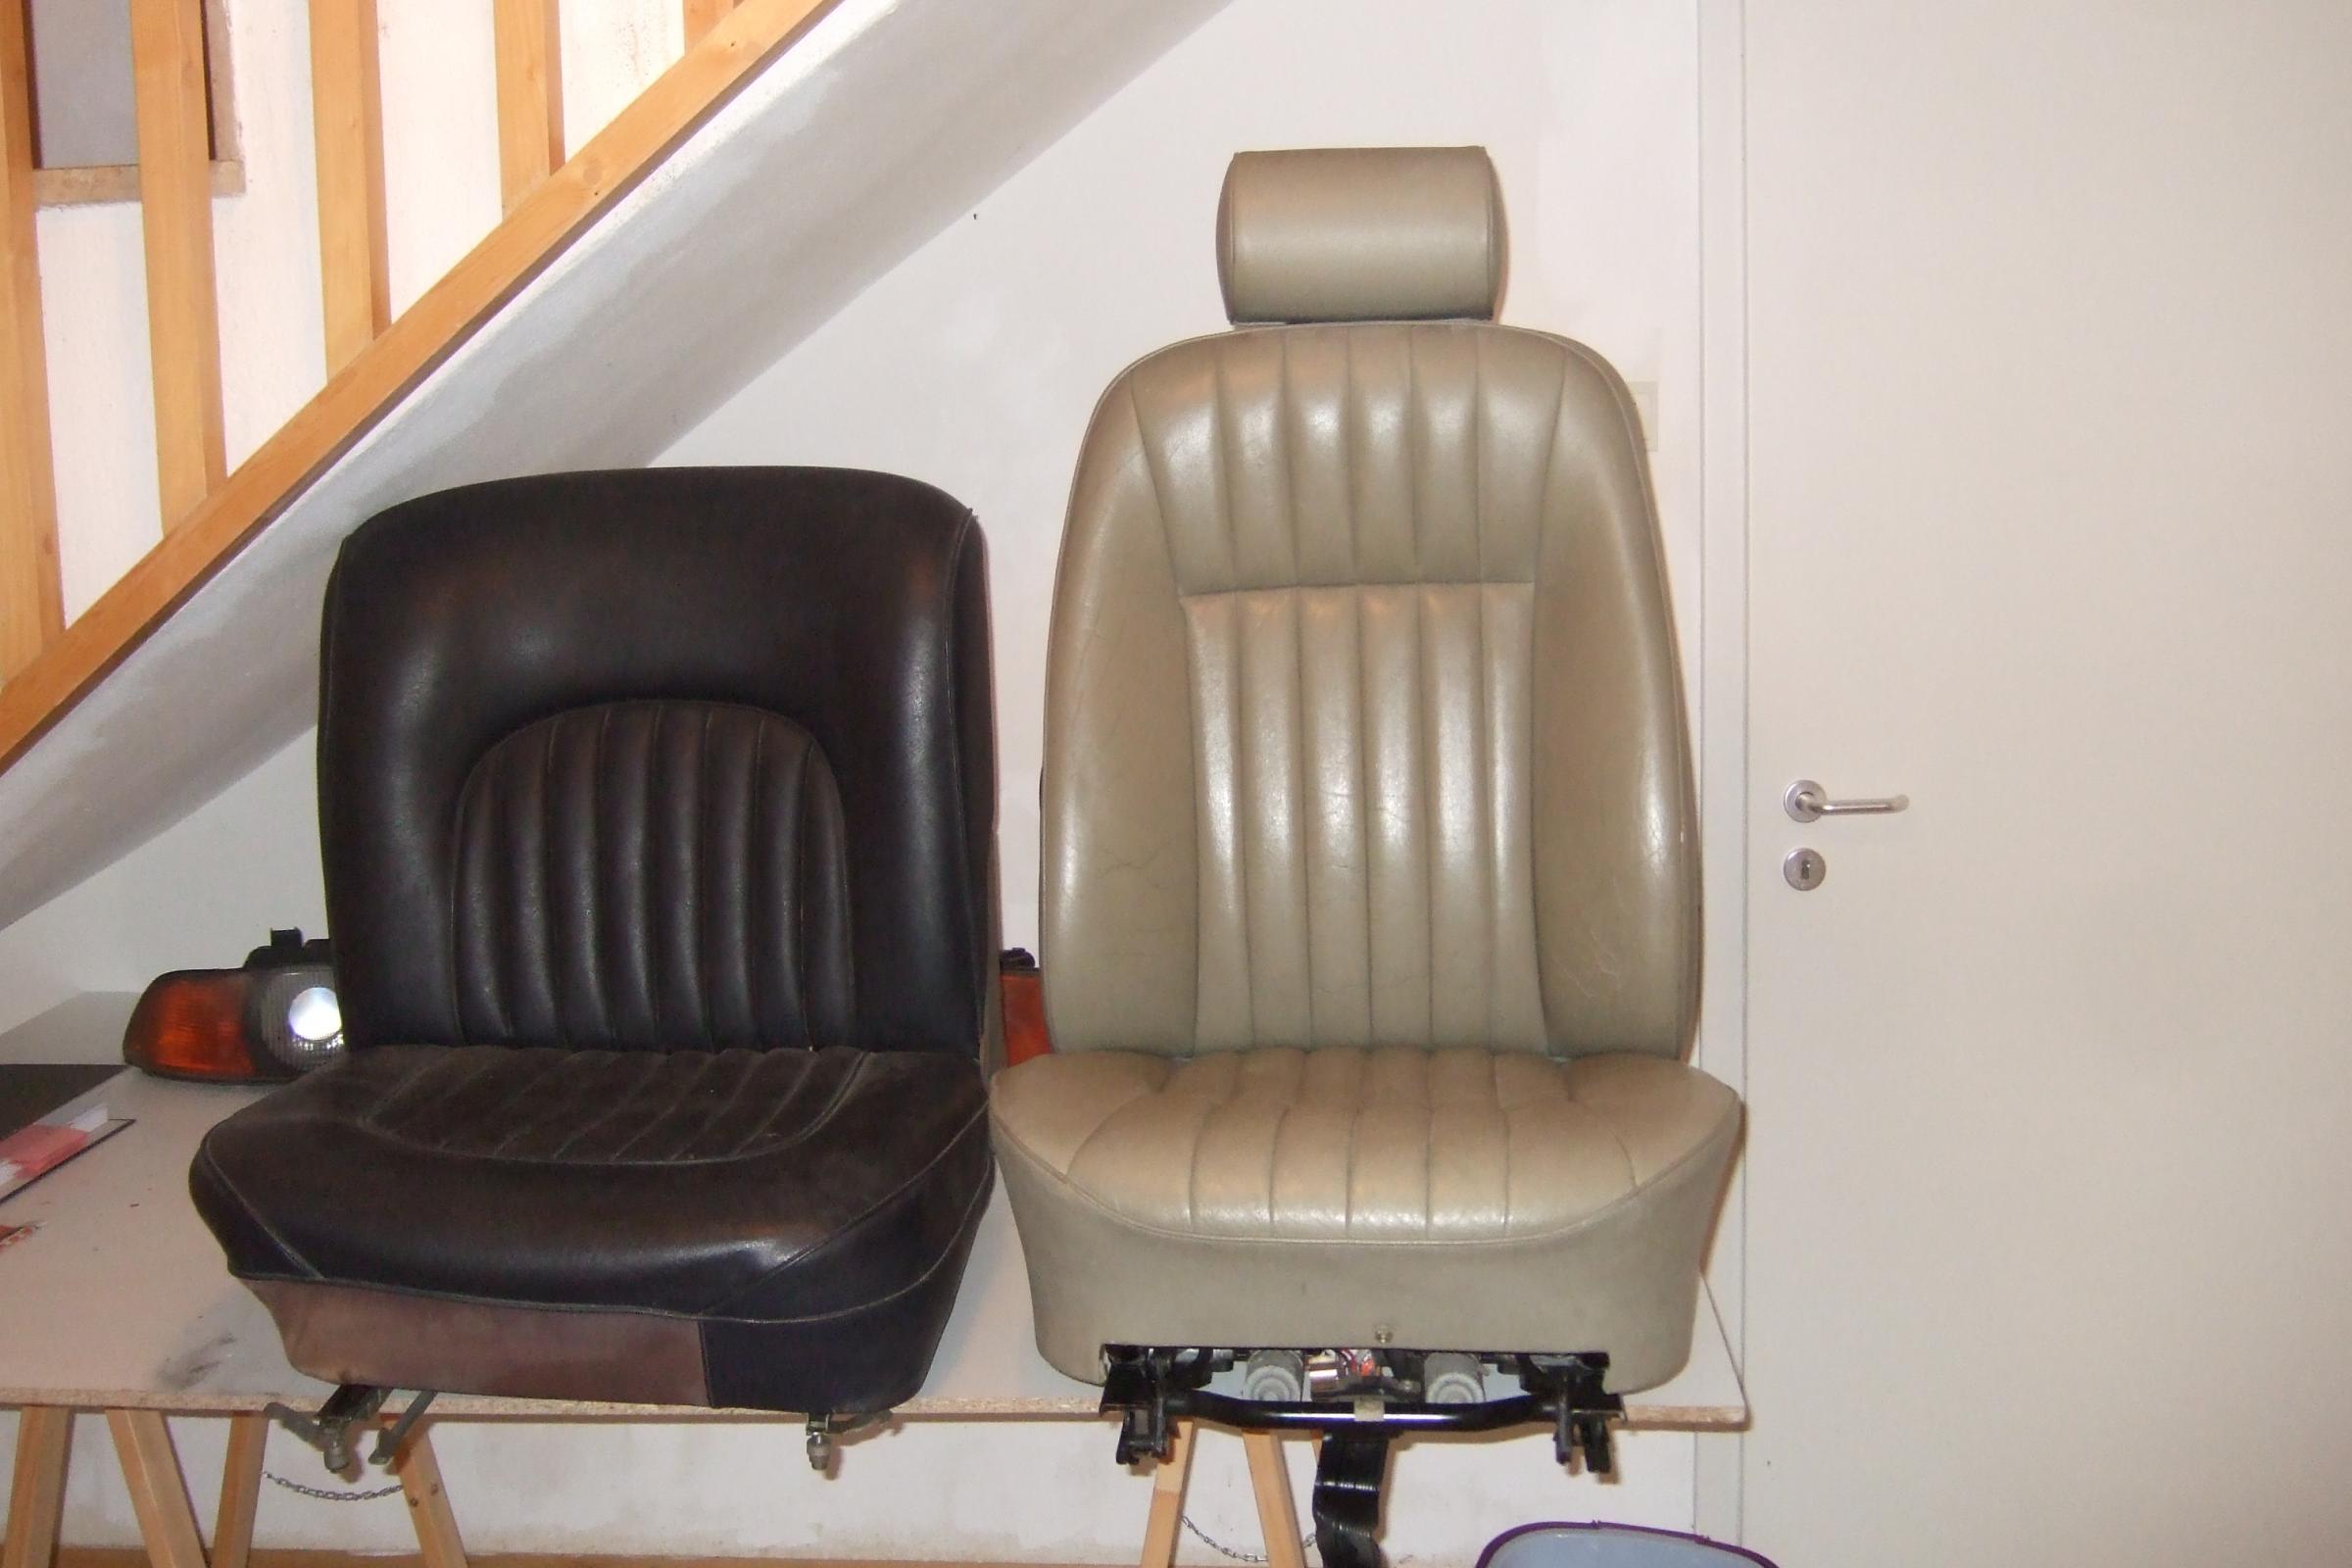
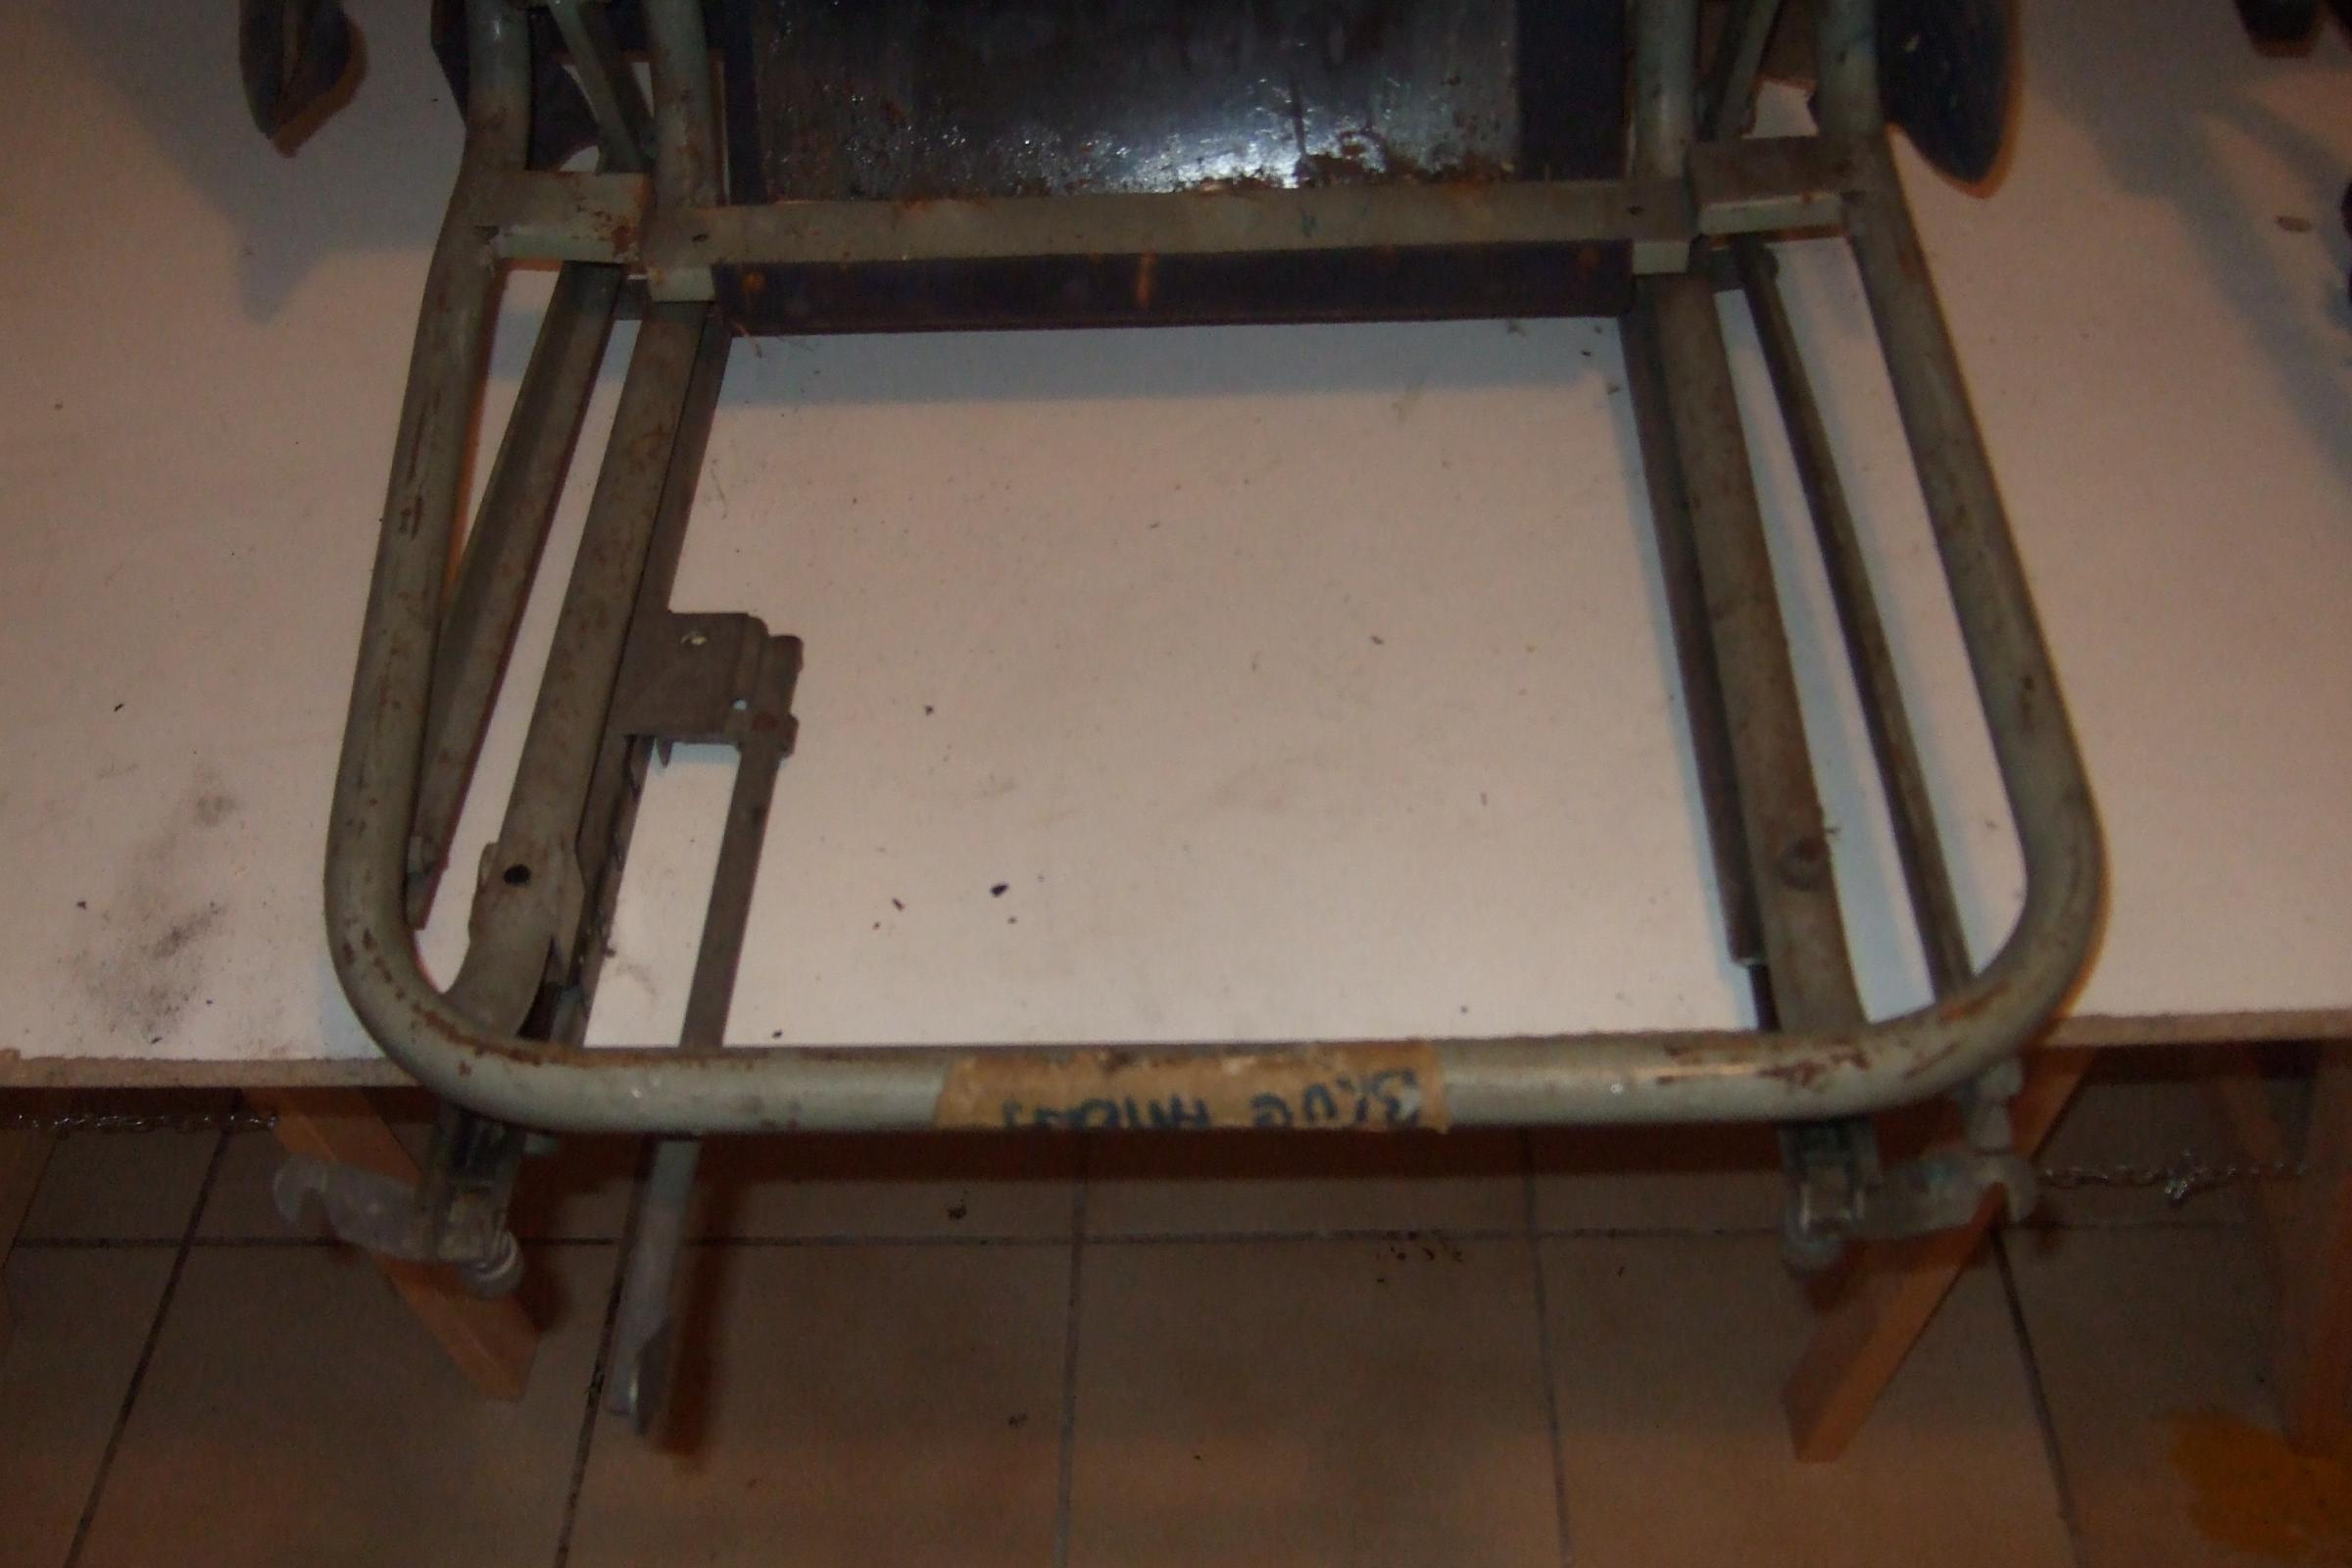
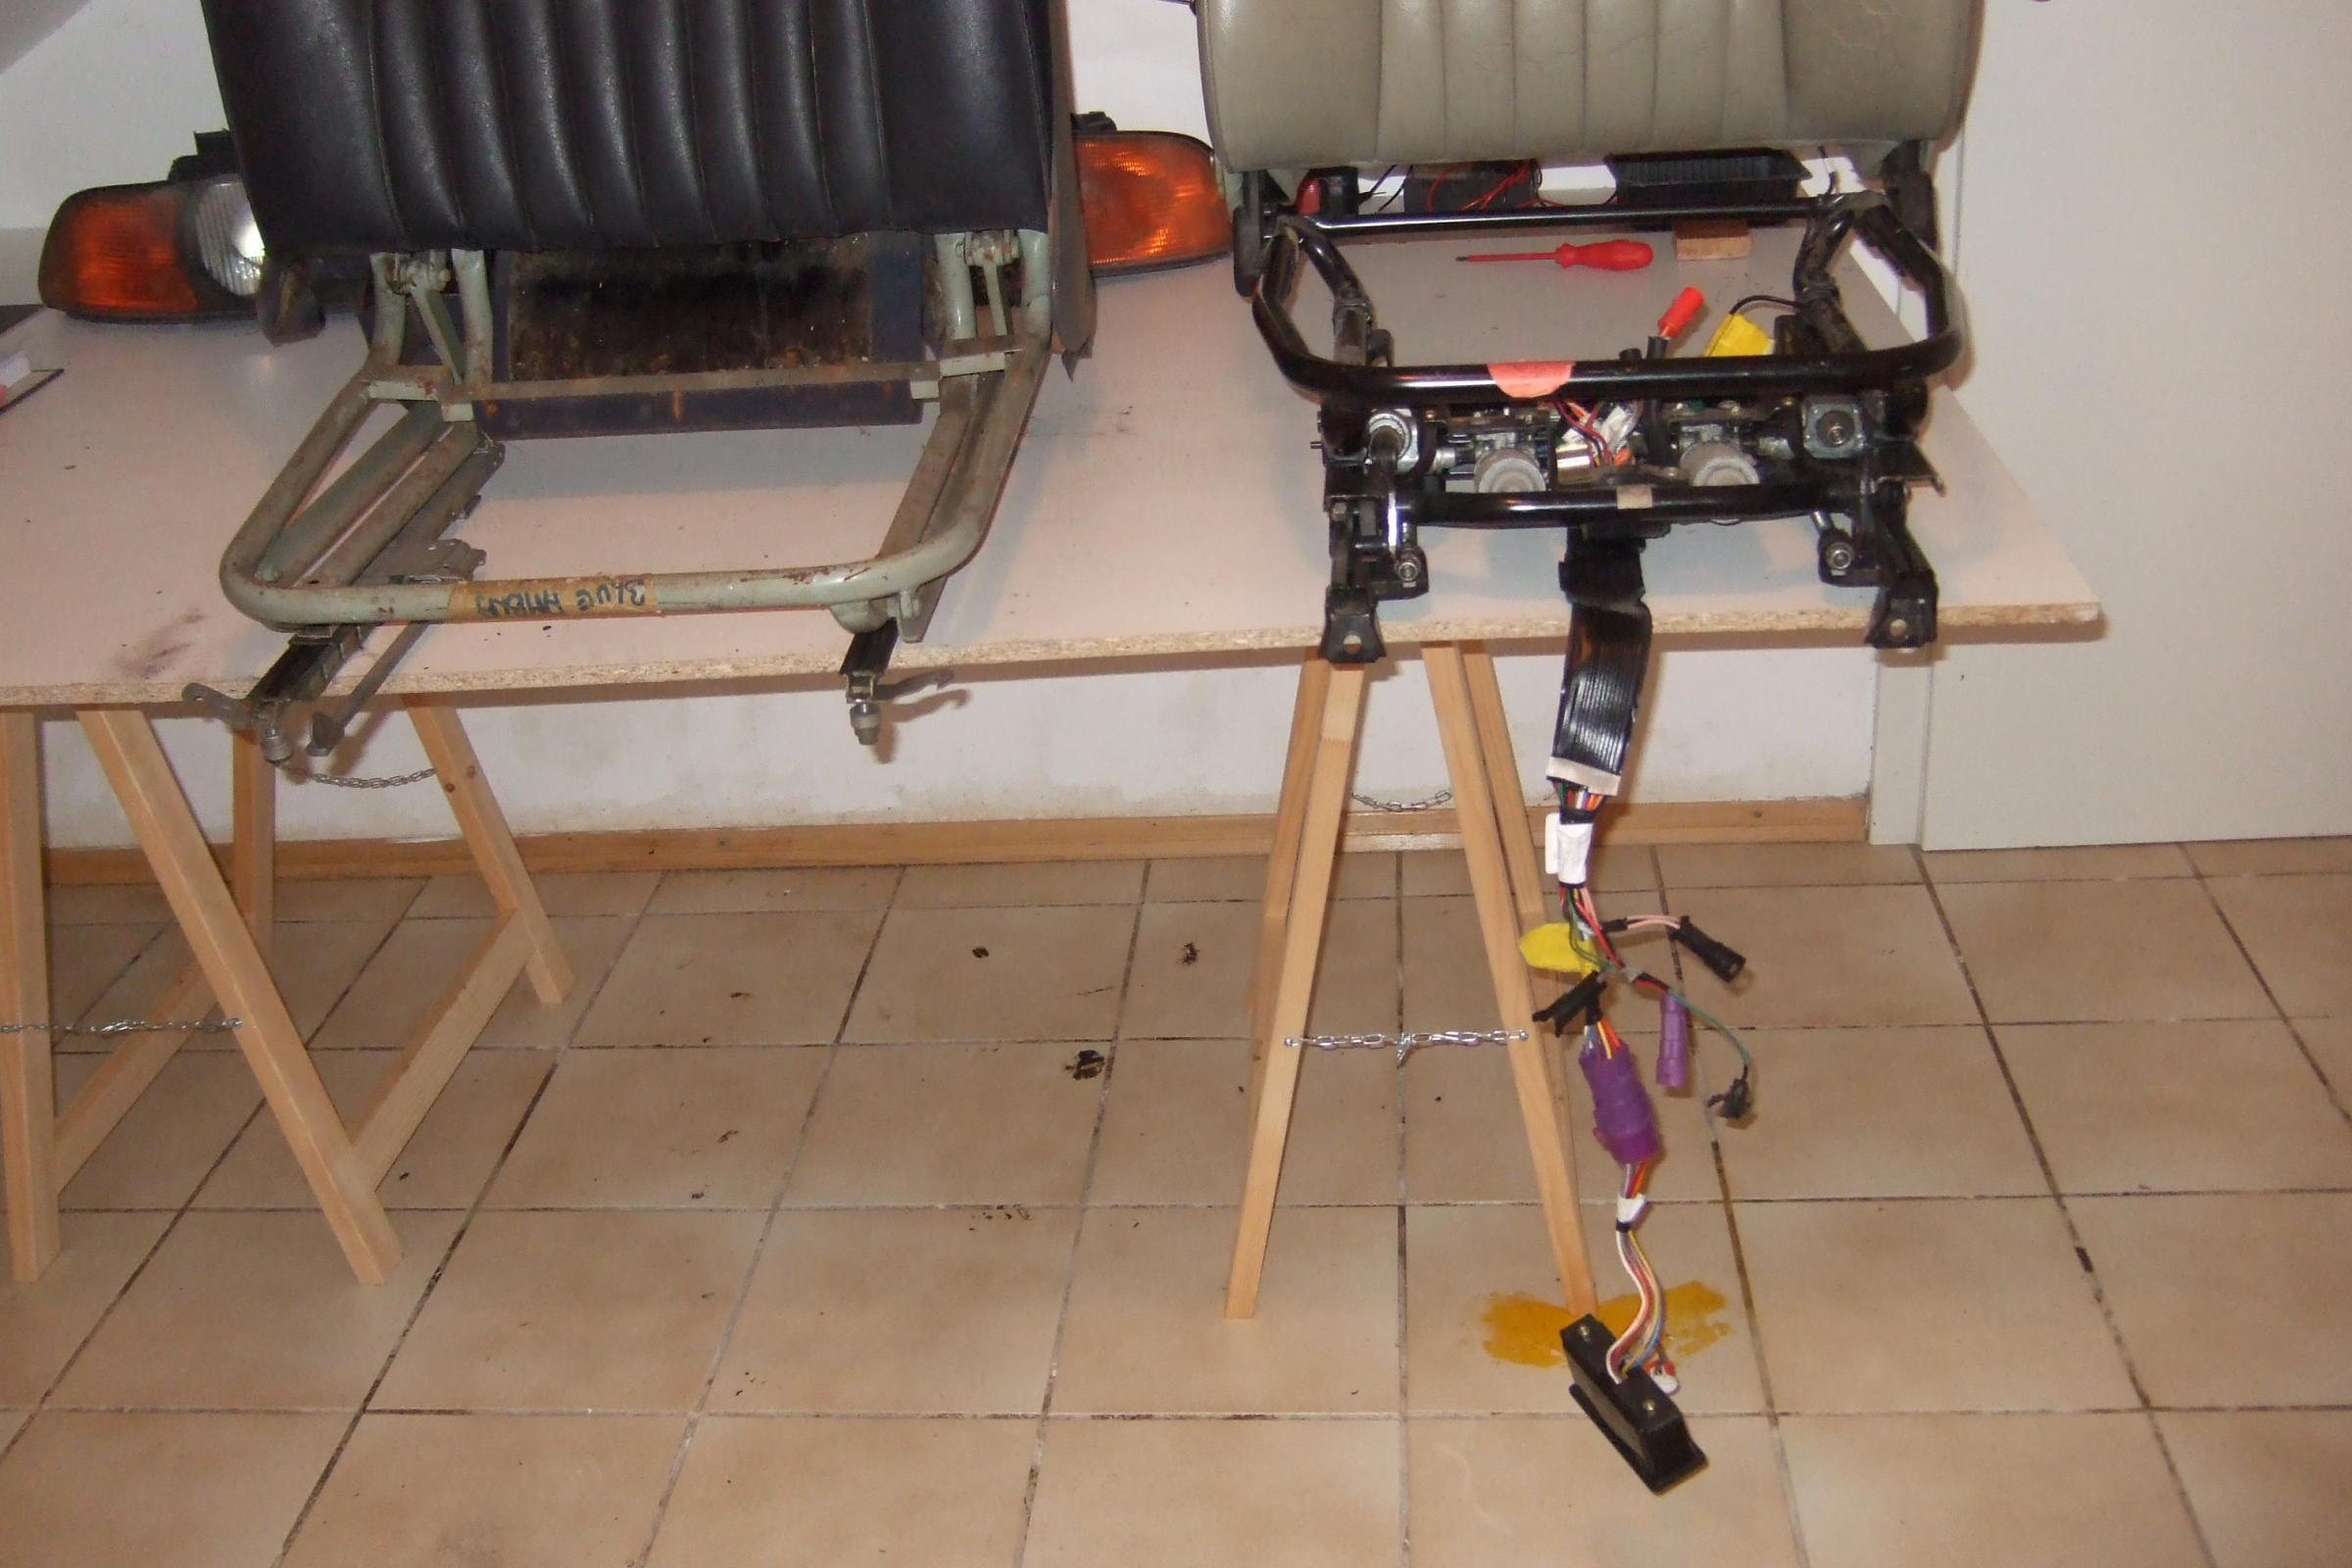
The distance between the runners of the old seats was 15 inches and on the new seats it is 13.25 inches. I have taken some photos of the two seats together in the fullt forward and aft positions including putting the old seats 2 inches forward which is the bracket I removed when modifying the cross member. I also made sure that the electric seats were in the fully lowered position to compare like for like.
I alspo attach some photos of the finished cross member and I am going to install the XJ40 centre console and not use the old MK2 version.
Anyways as always lots of photos.

Senior Member
Hi Ray, whats the latest news on the resto. I am trying to find some xj40 seats but have some problems finding daimler and light coloured seats. Where did you get yours, Germany I suppose
barry
barry
Quote:
barry
Barry Originally Posted by barrymk2
Hi Ray, whats the latest news on the resto. I am trying to find some xj40 seats but have some problems finding daimler and light coloured seats. Where did you get yours, Germany I supposebarry
Yes I got my seats in Germany a few months ago cost 80 euros for the complete set. bought through eBay and I have checked today and there are some full interiors of eBay UK costing around 125 pounds
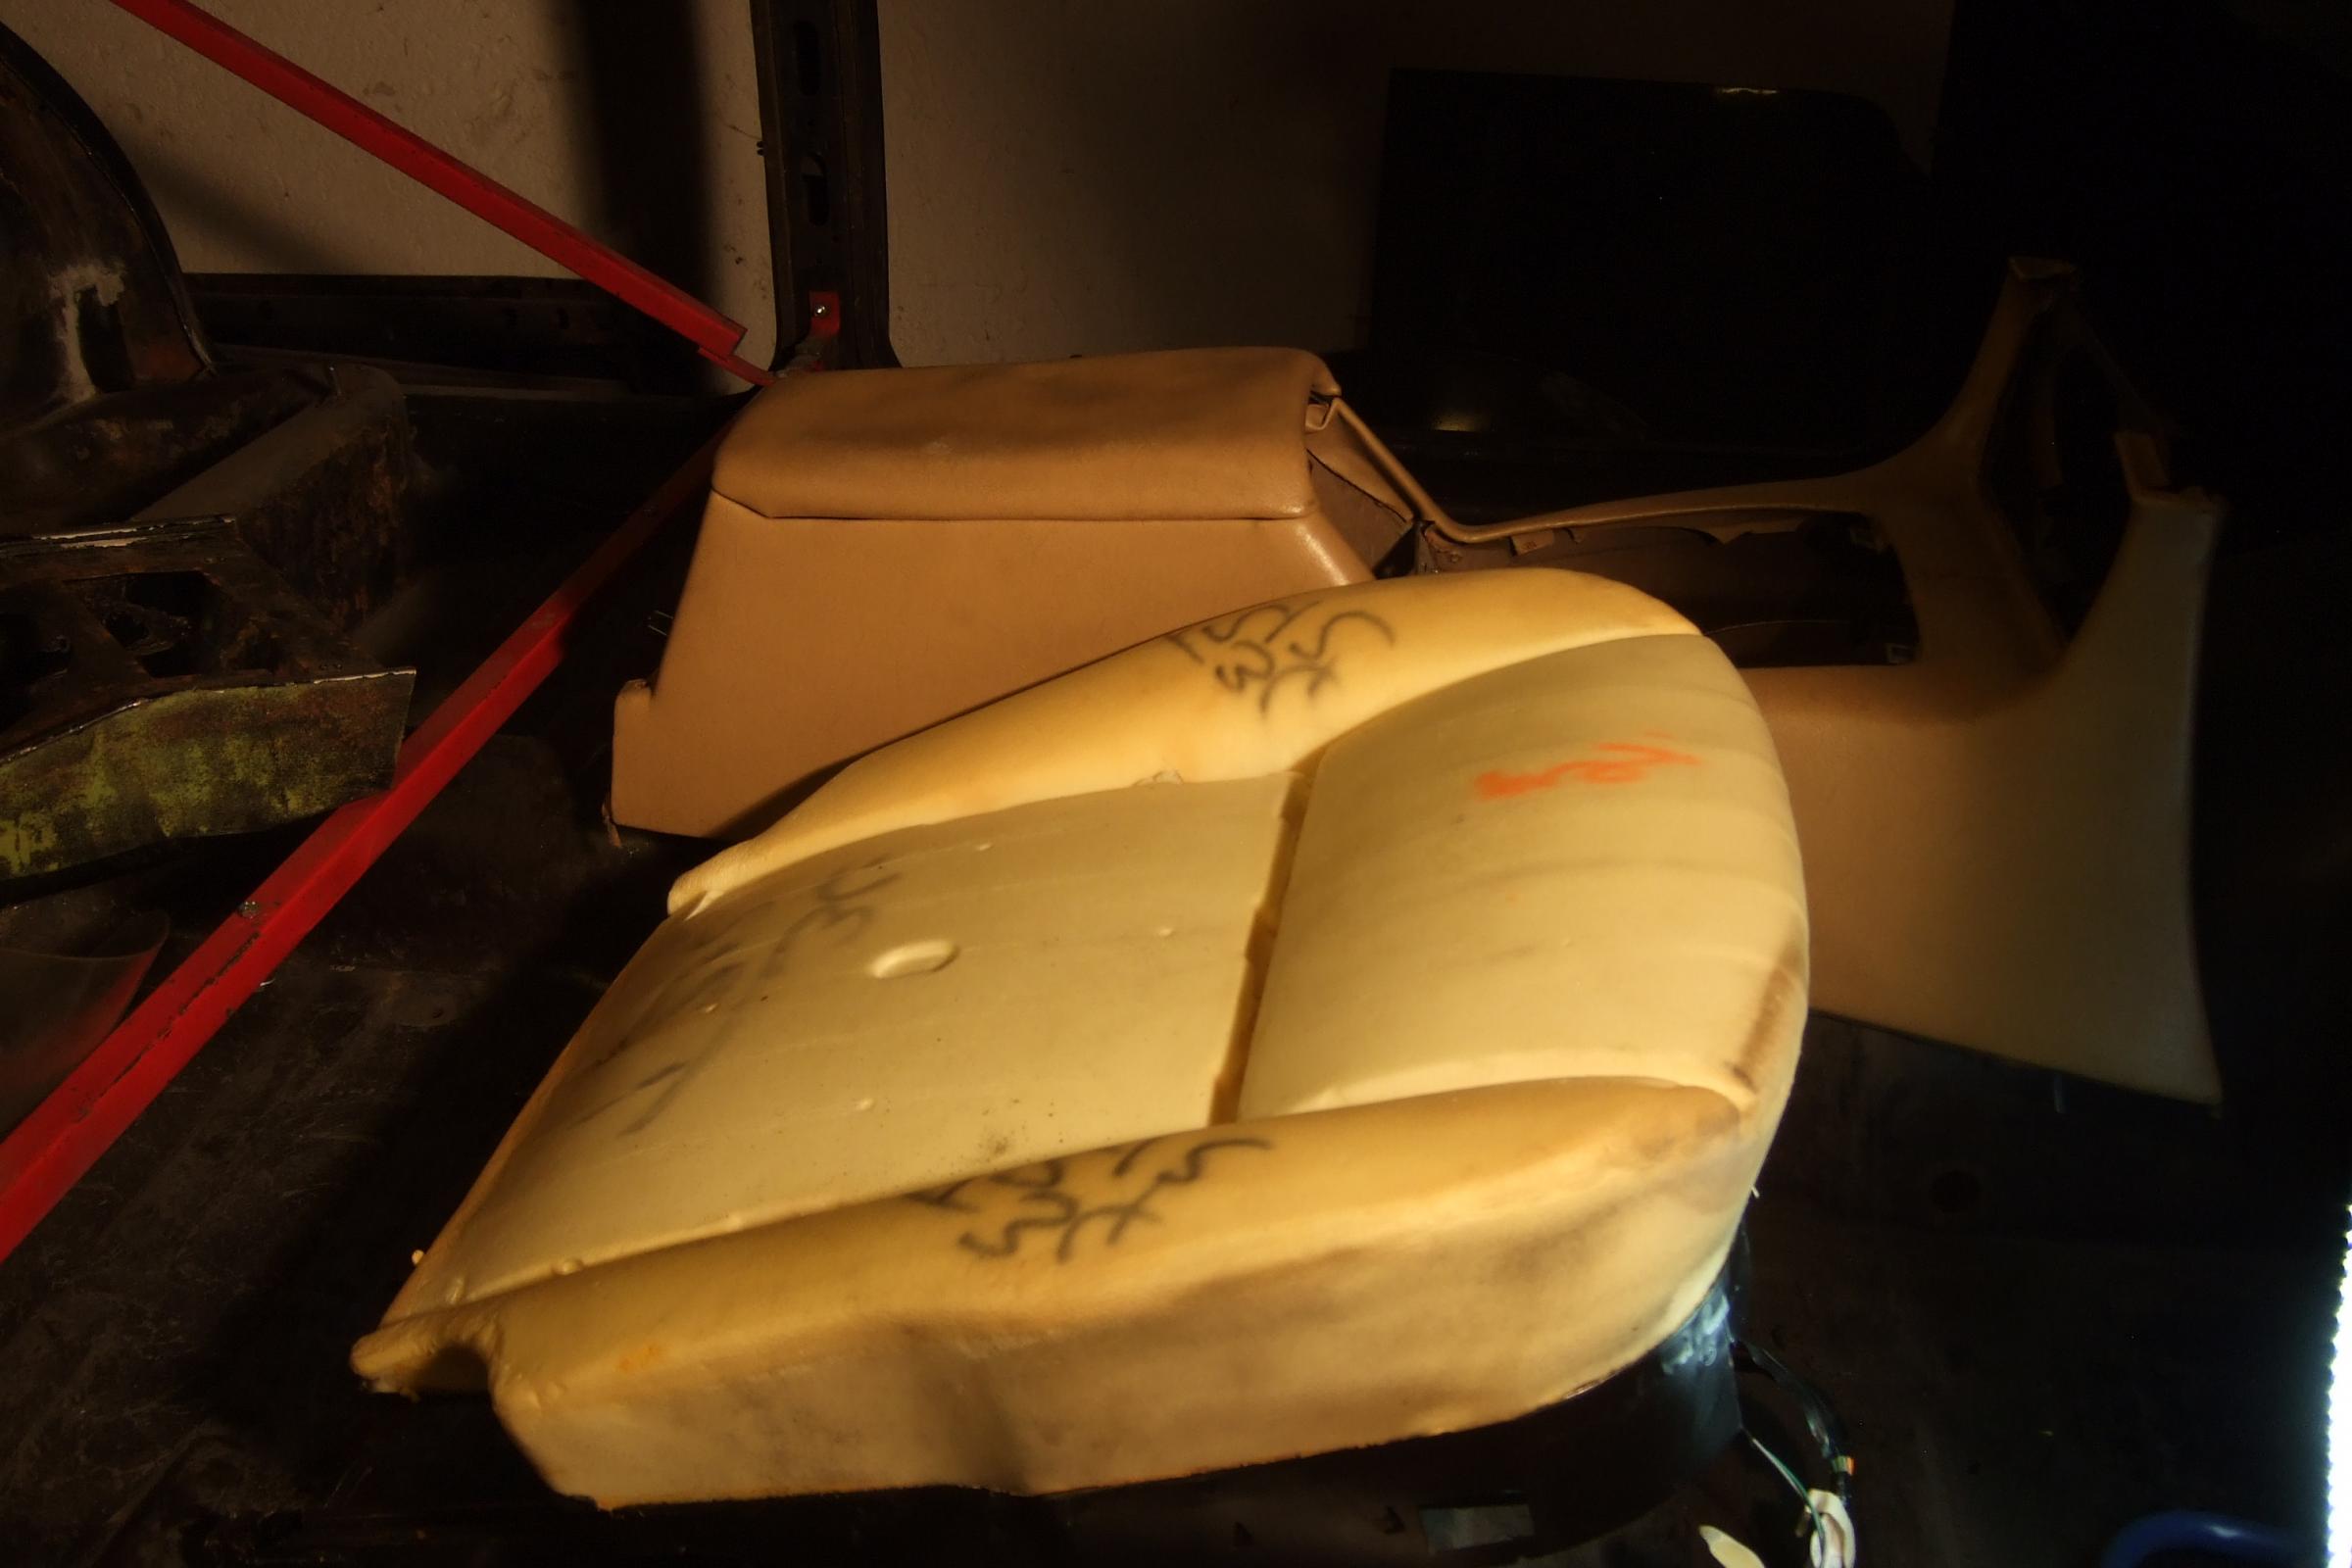
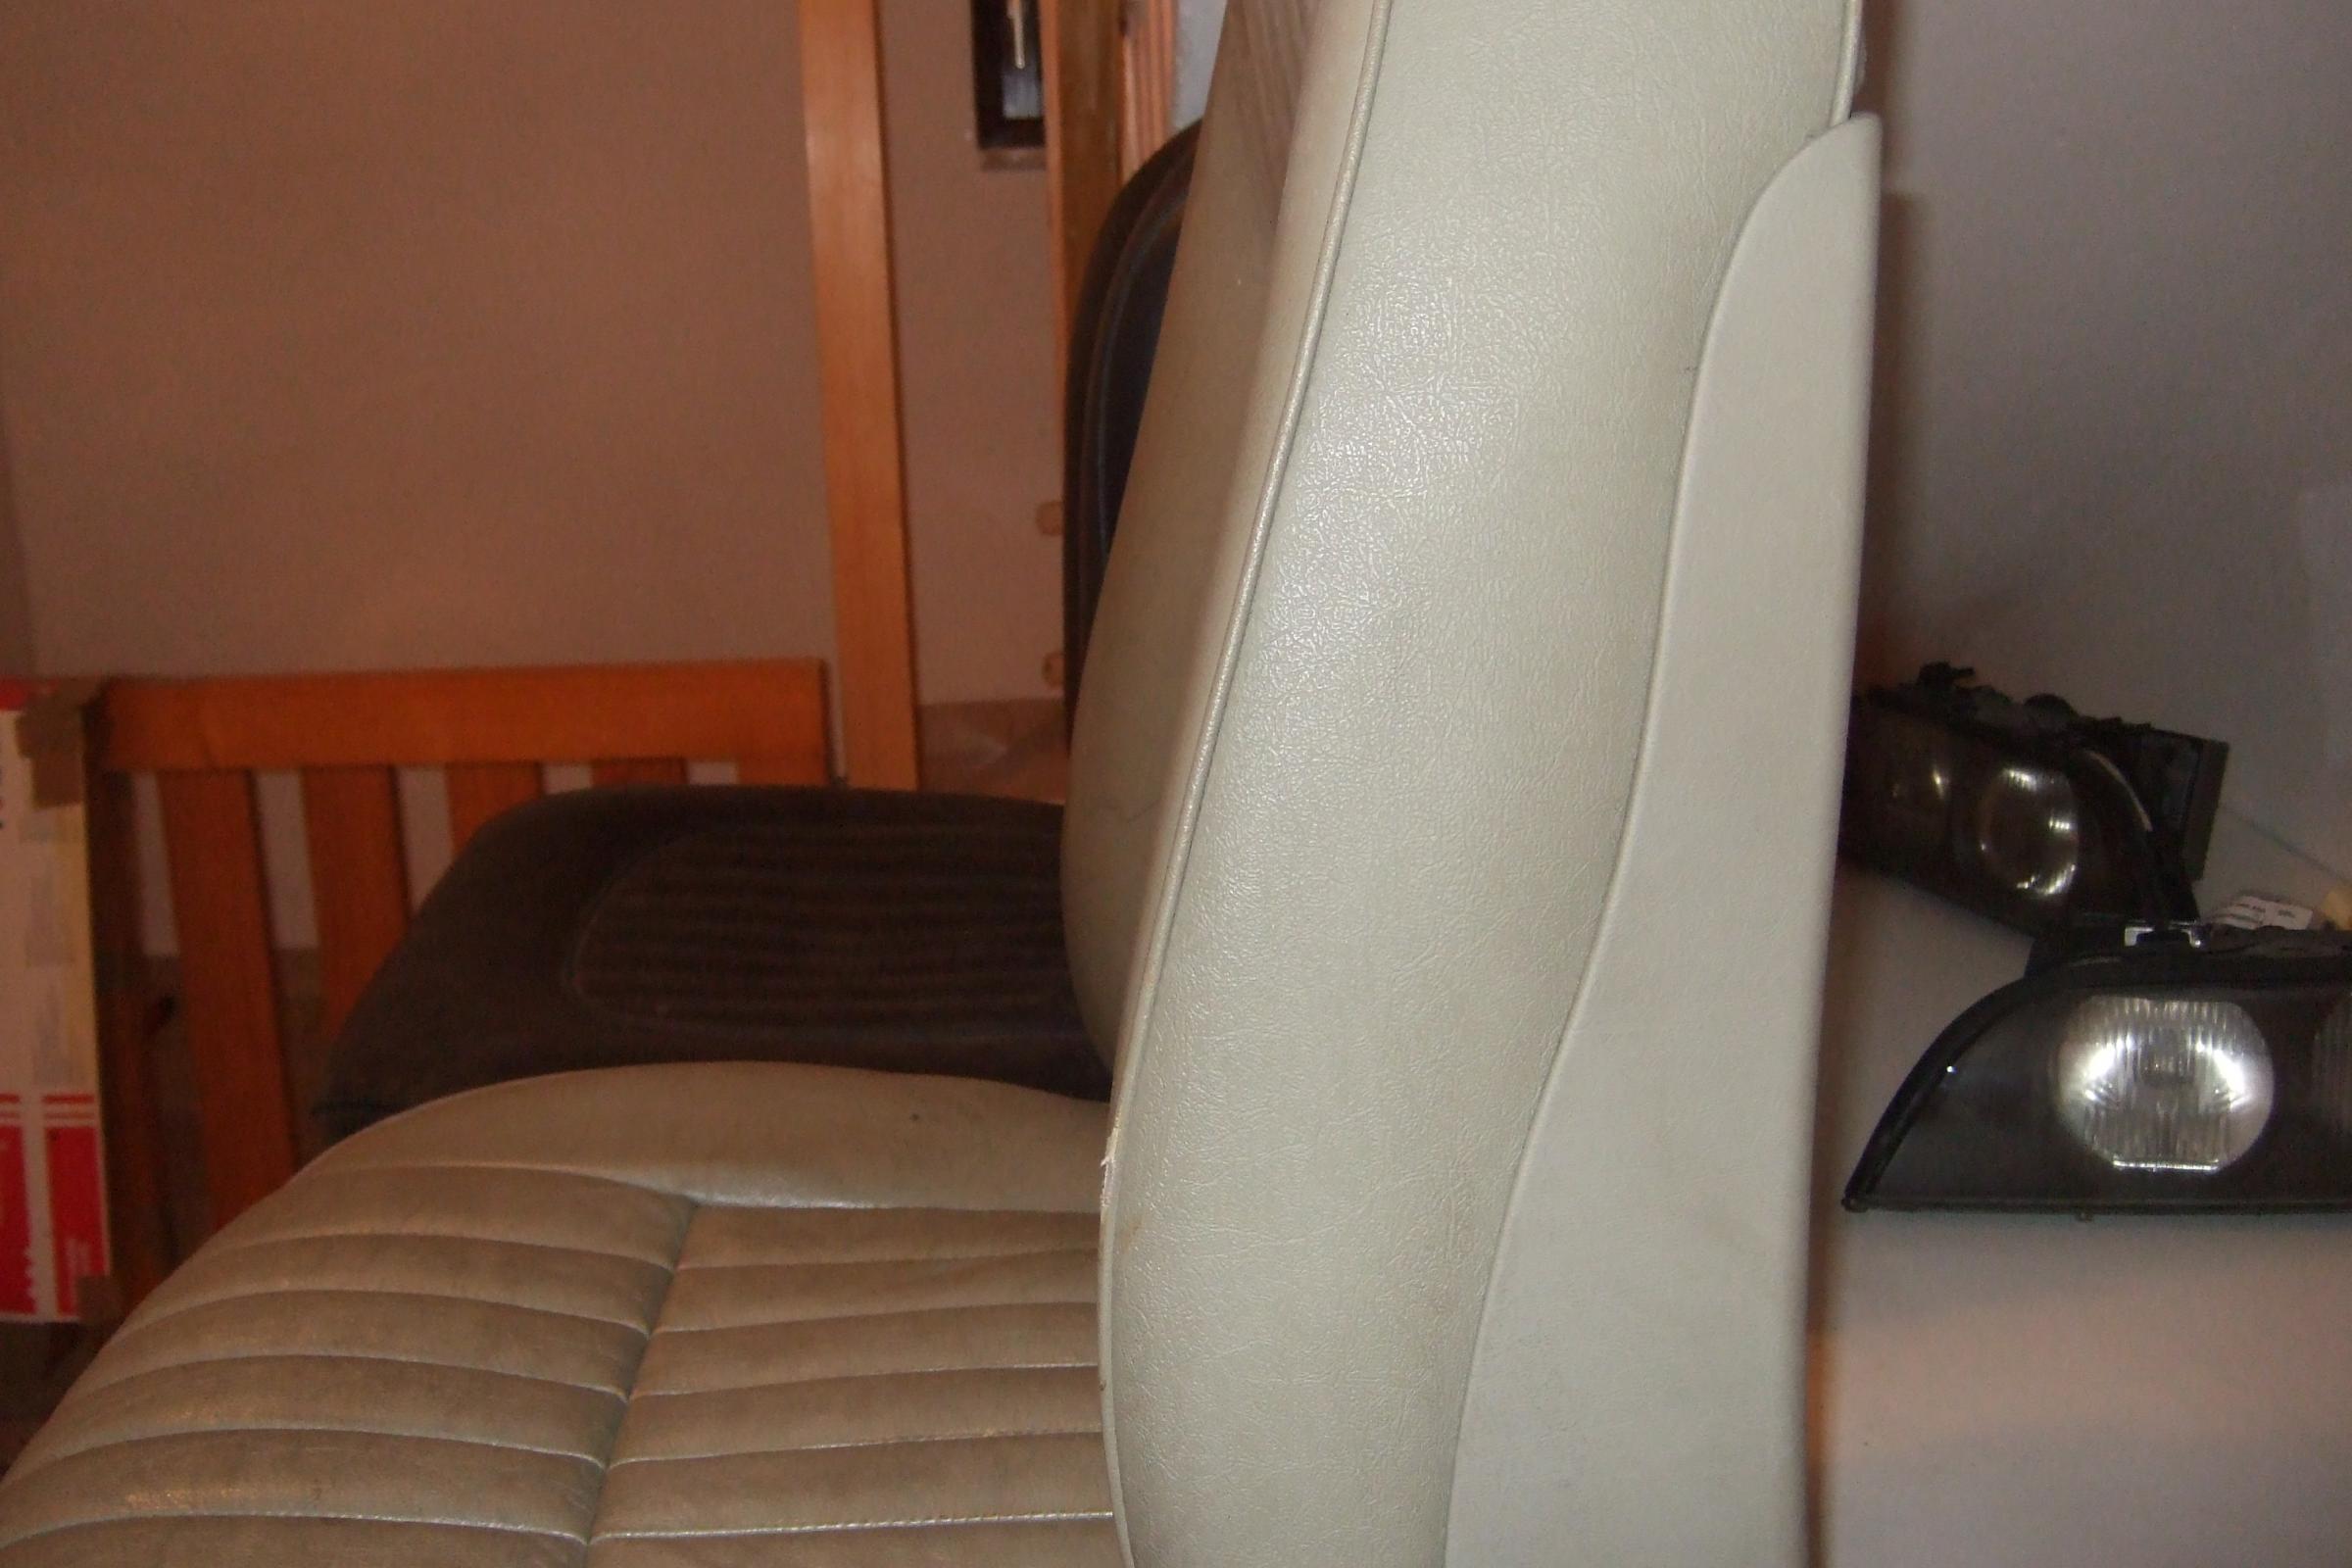
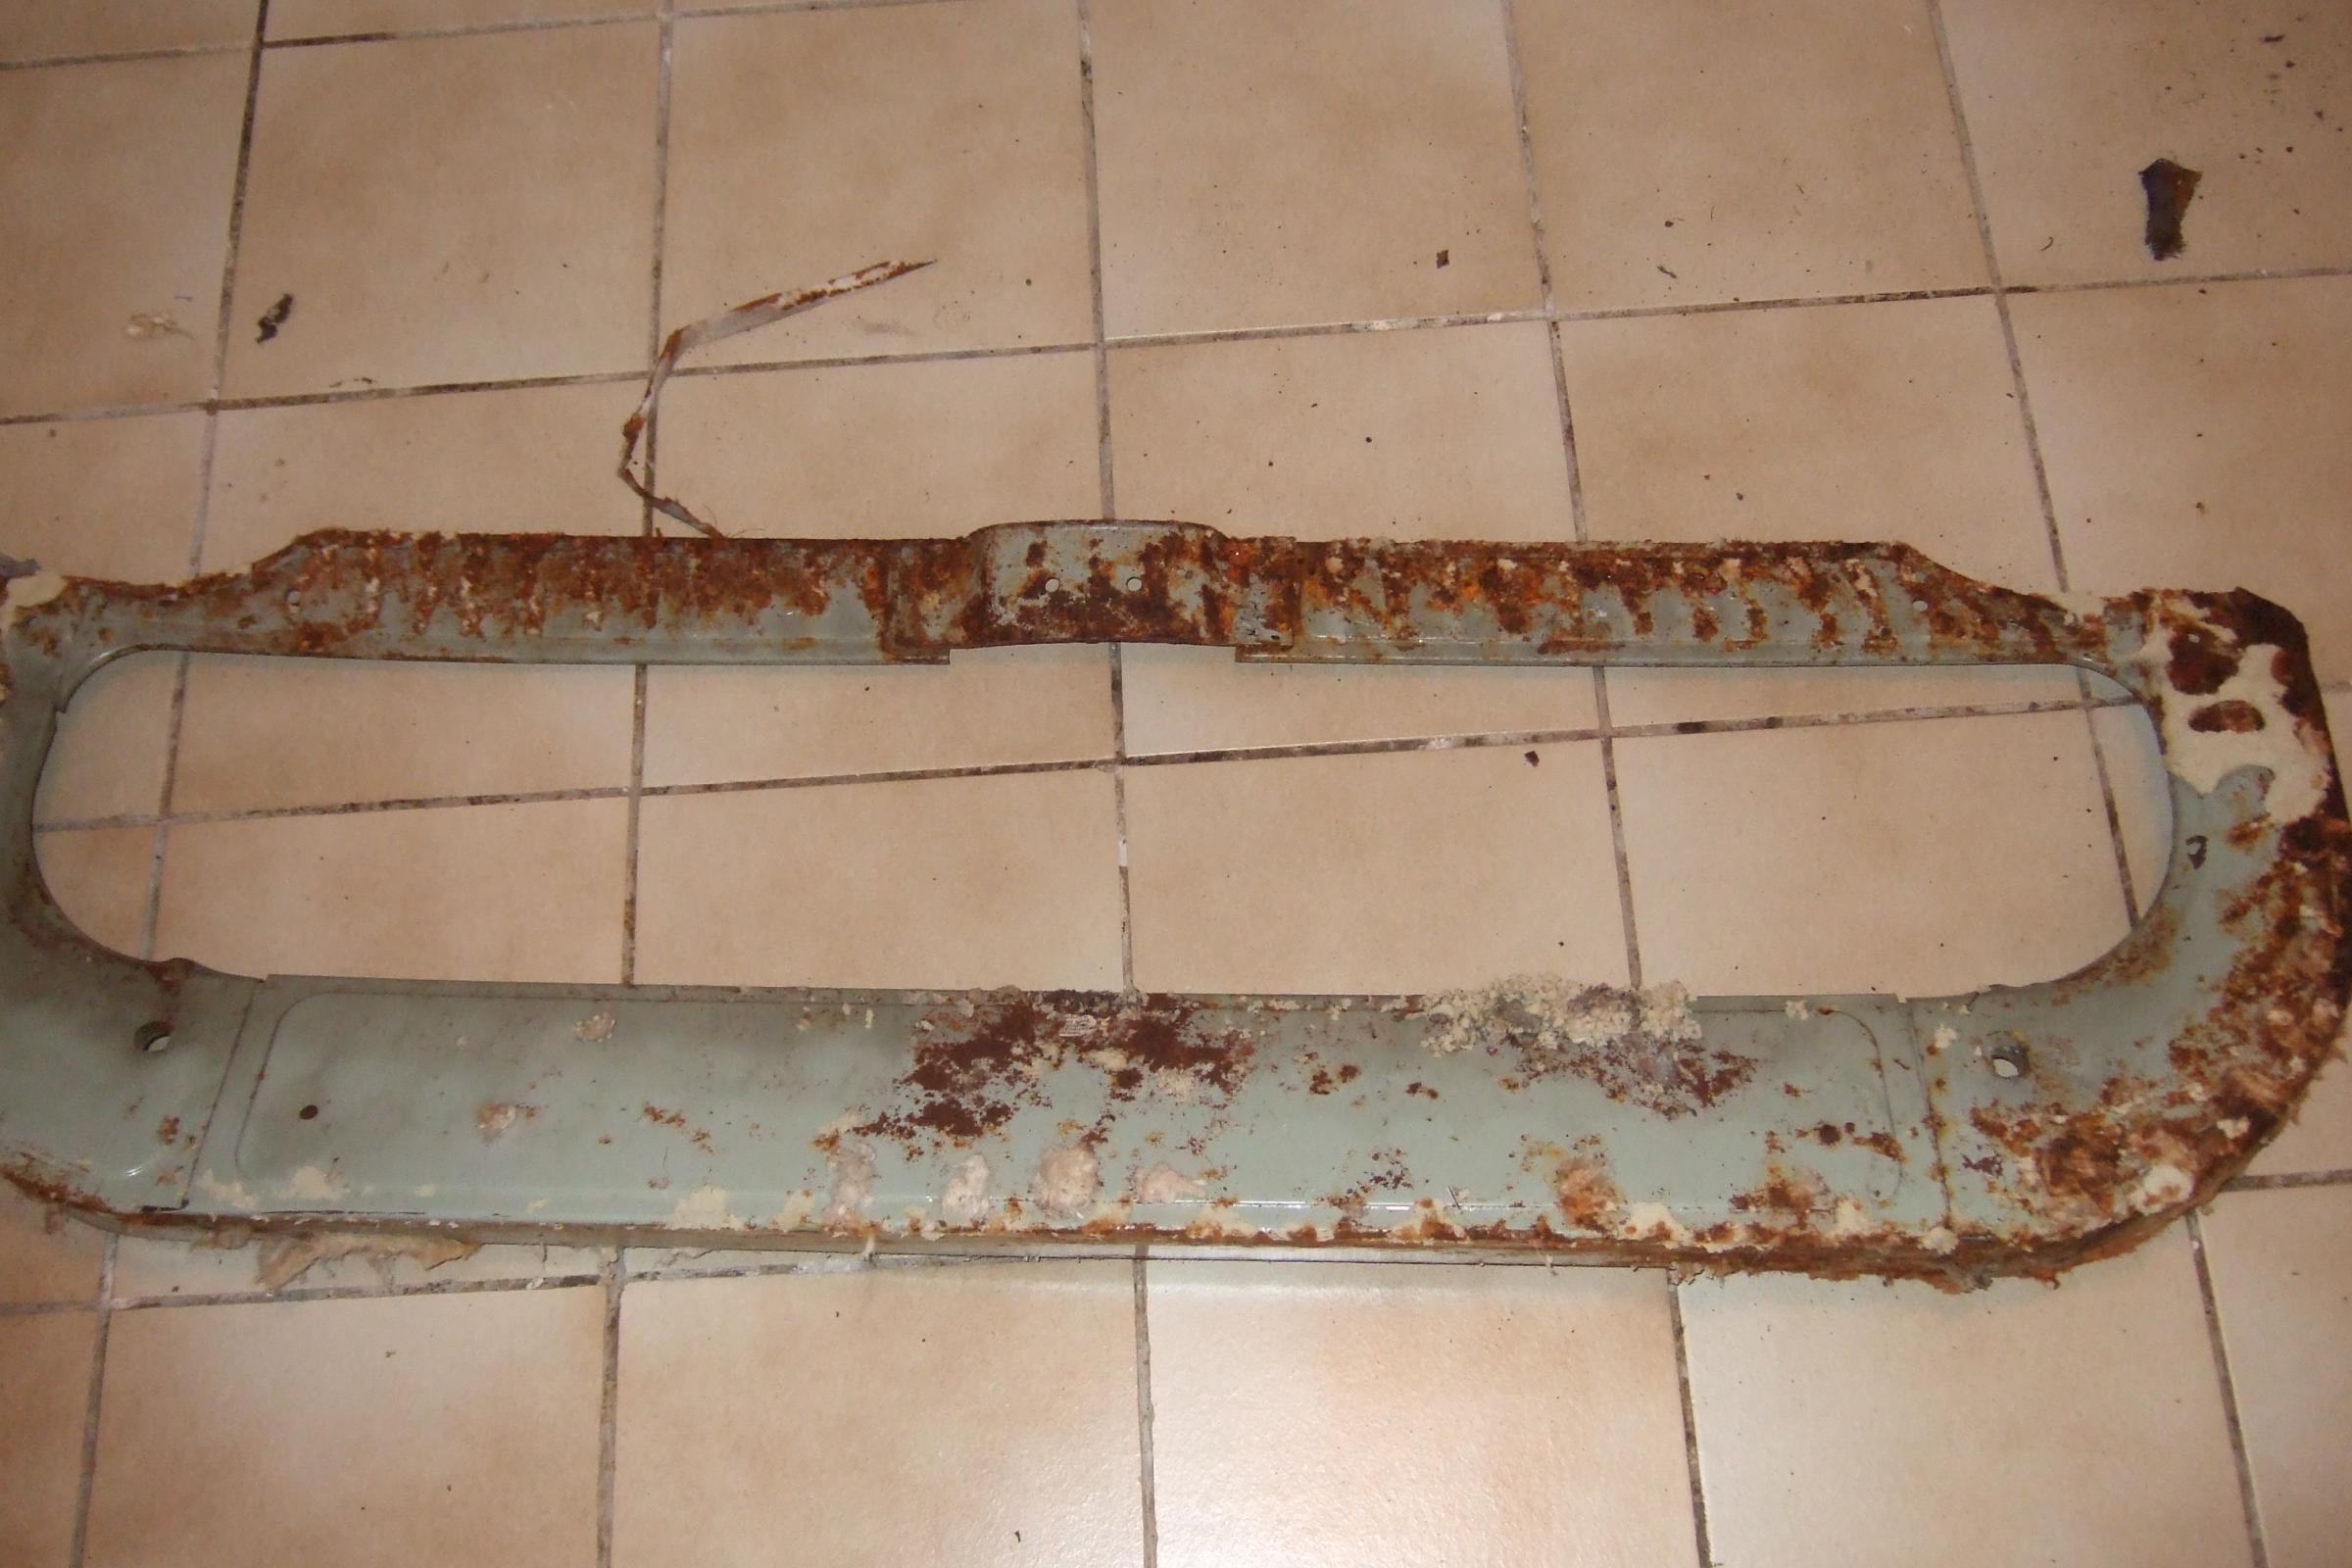
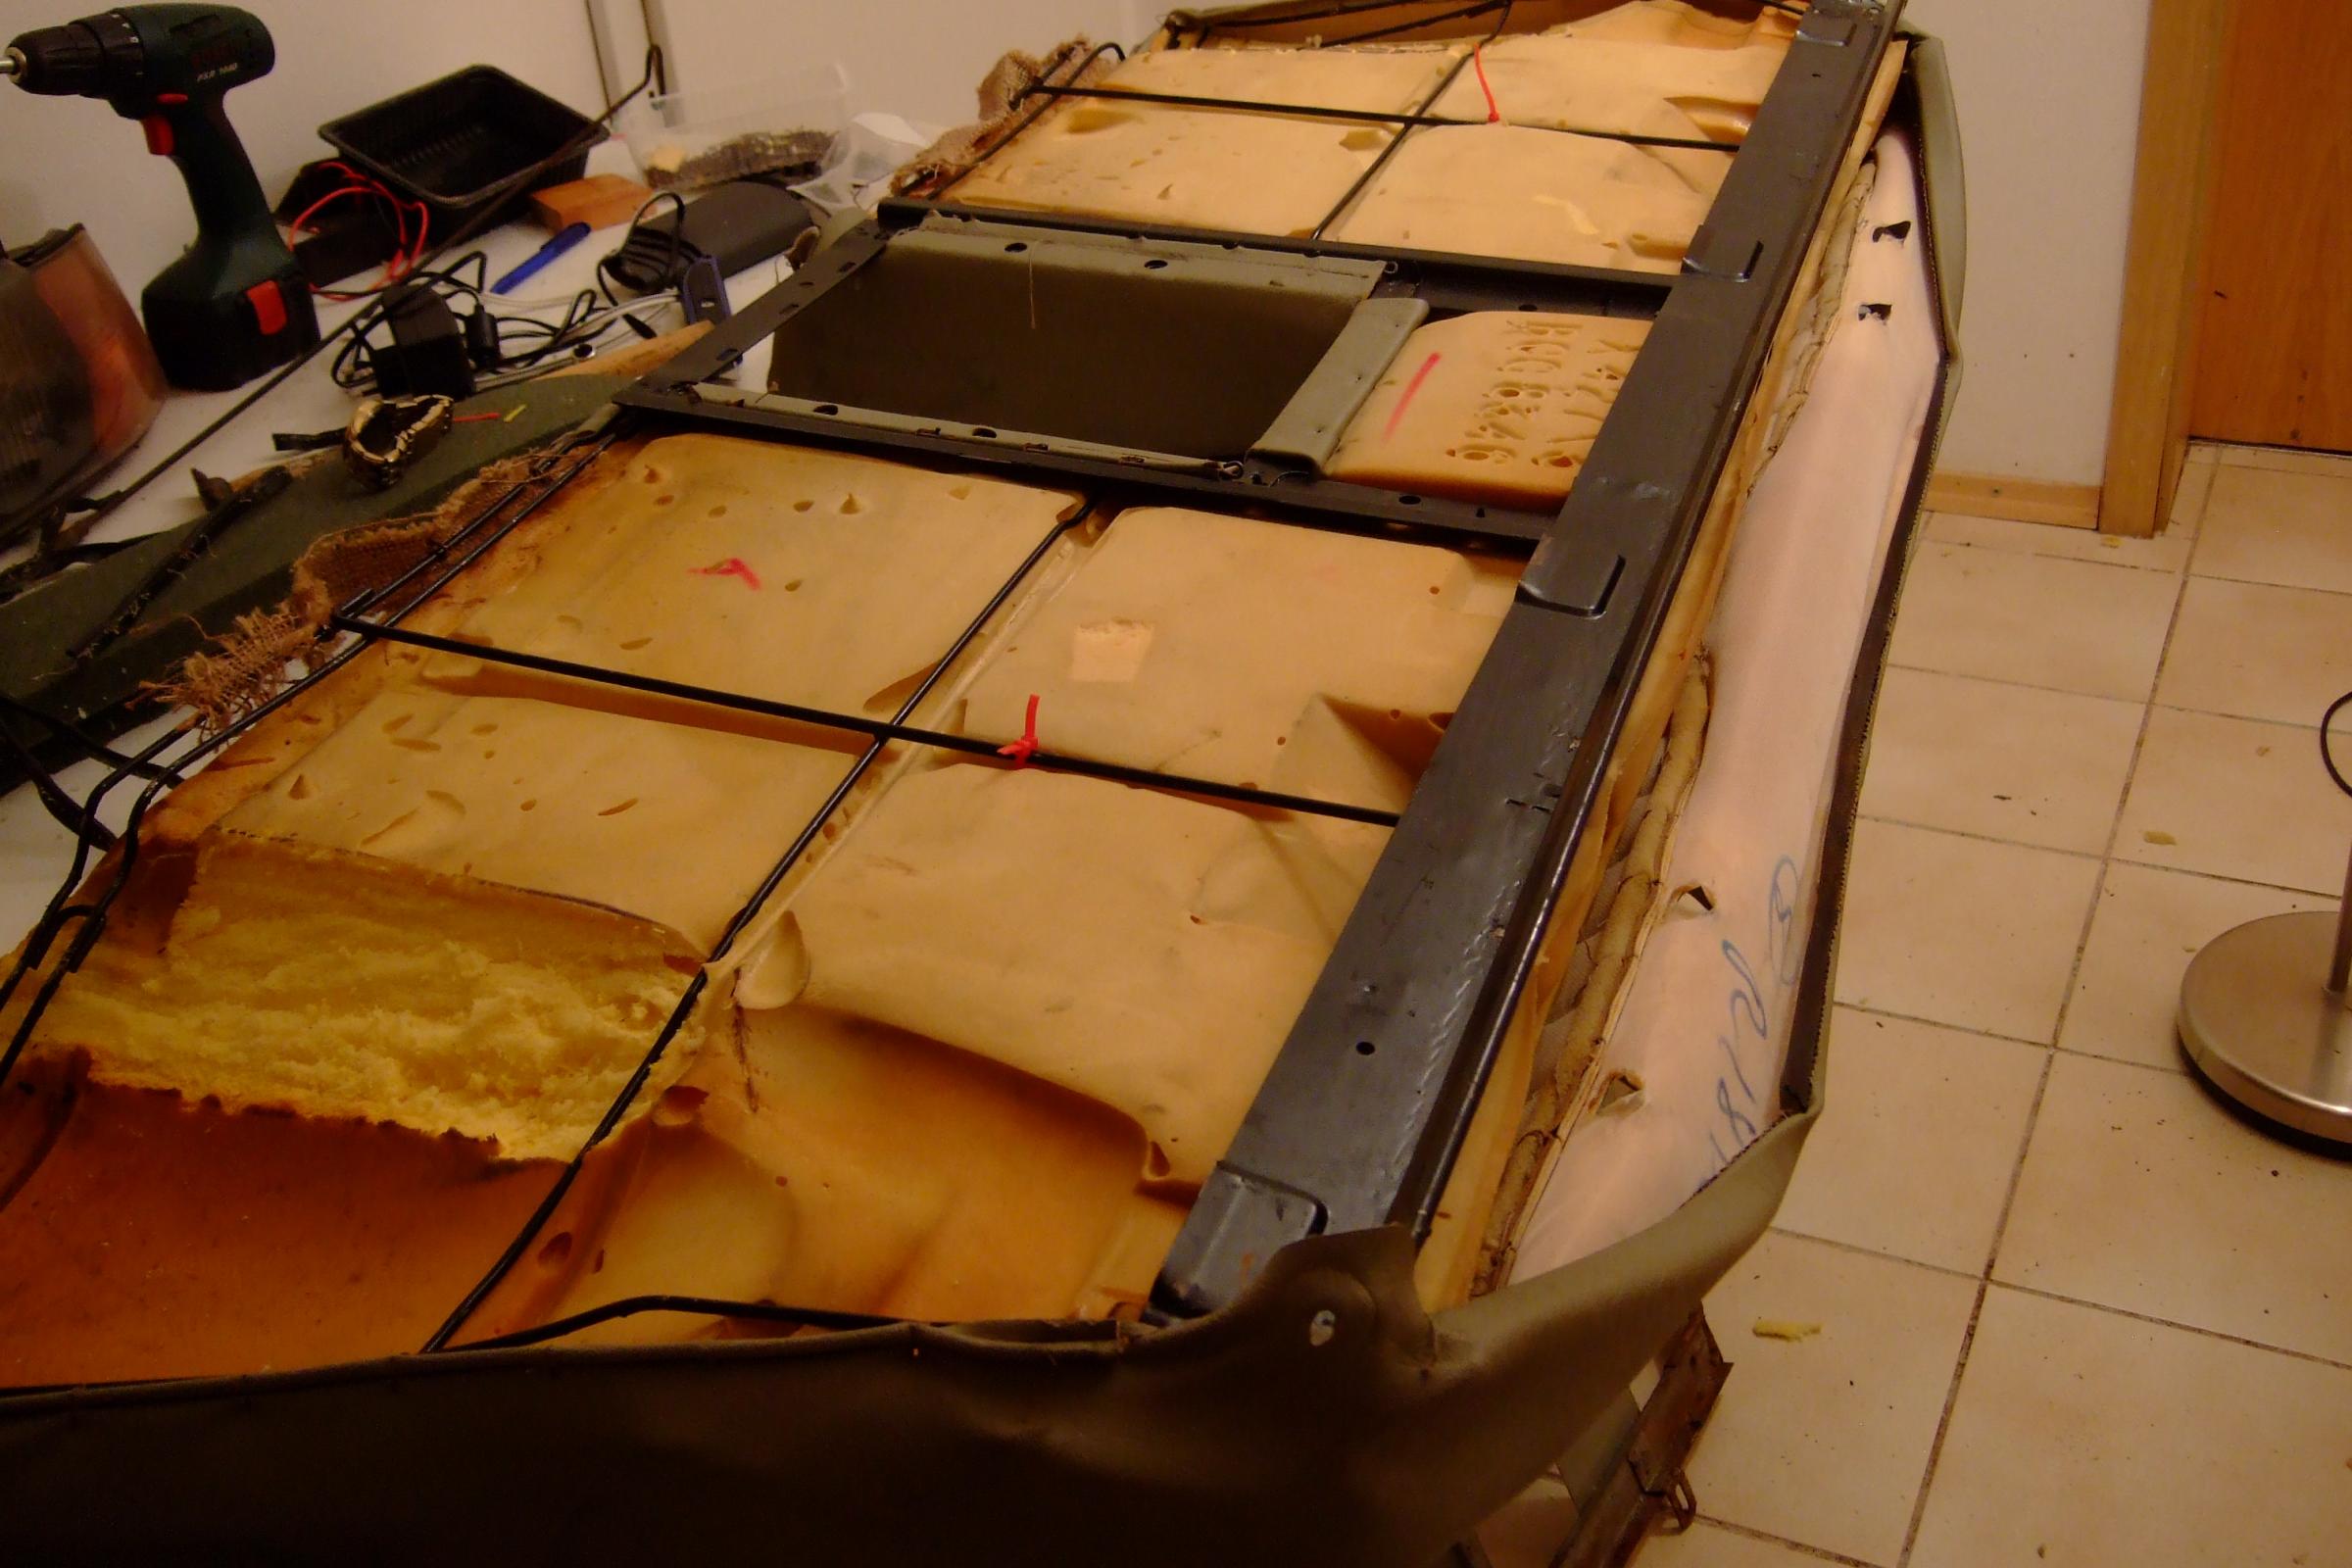
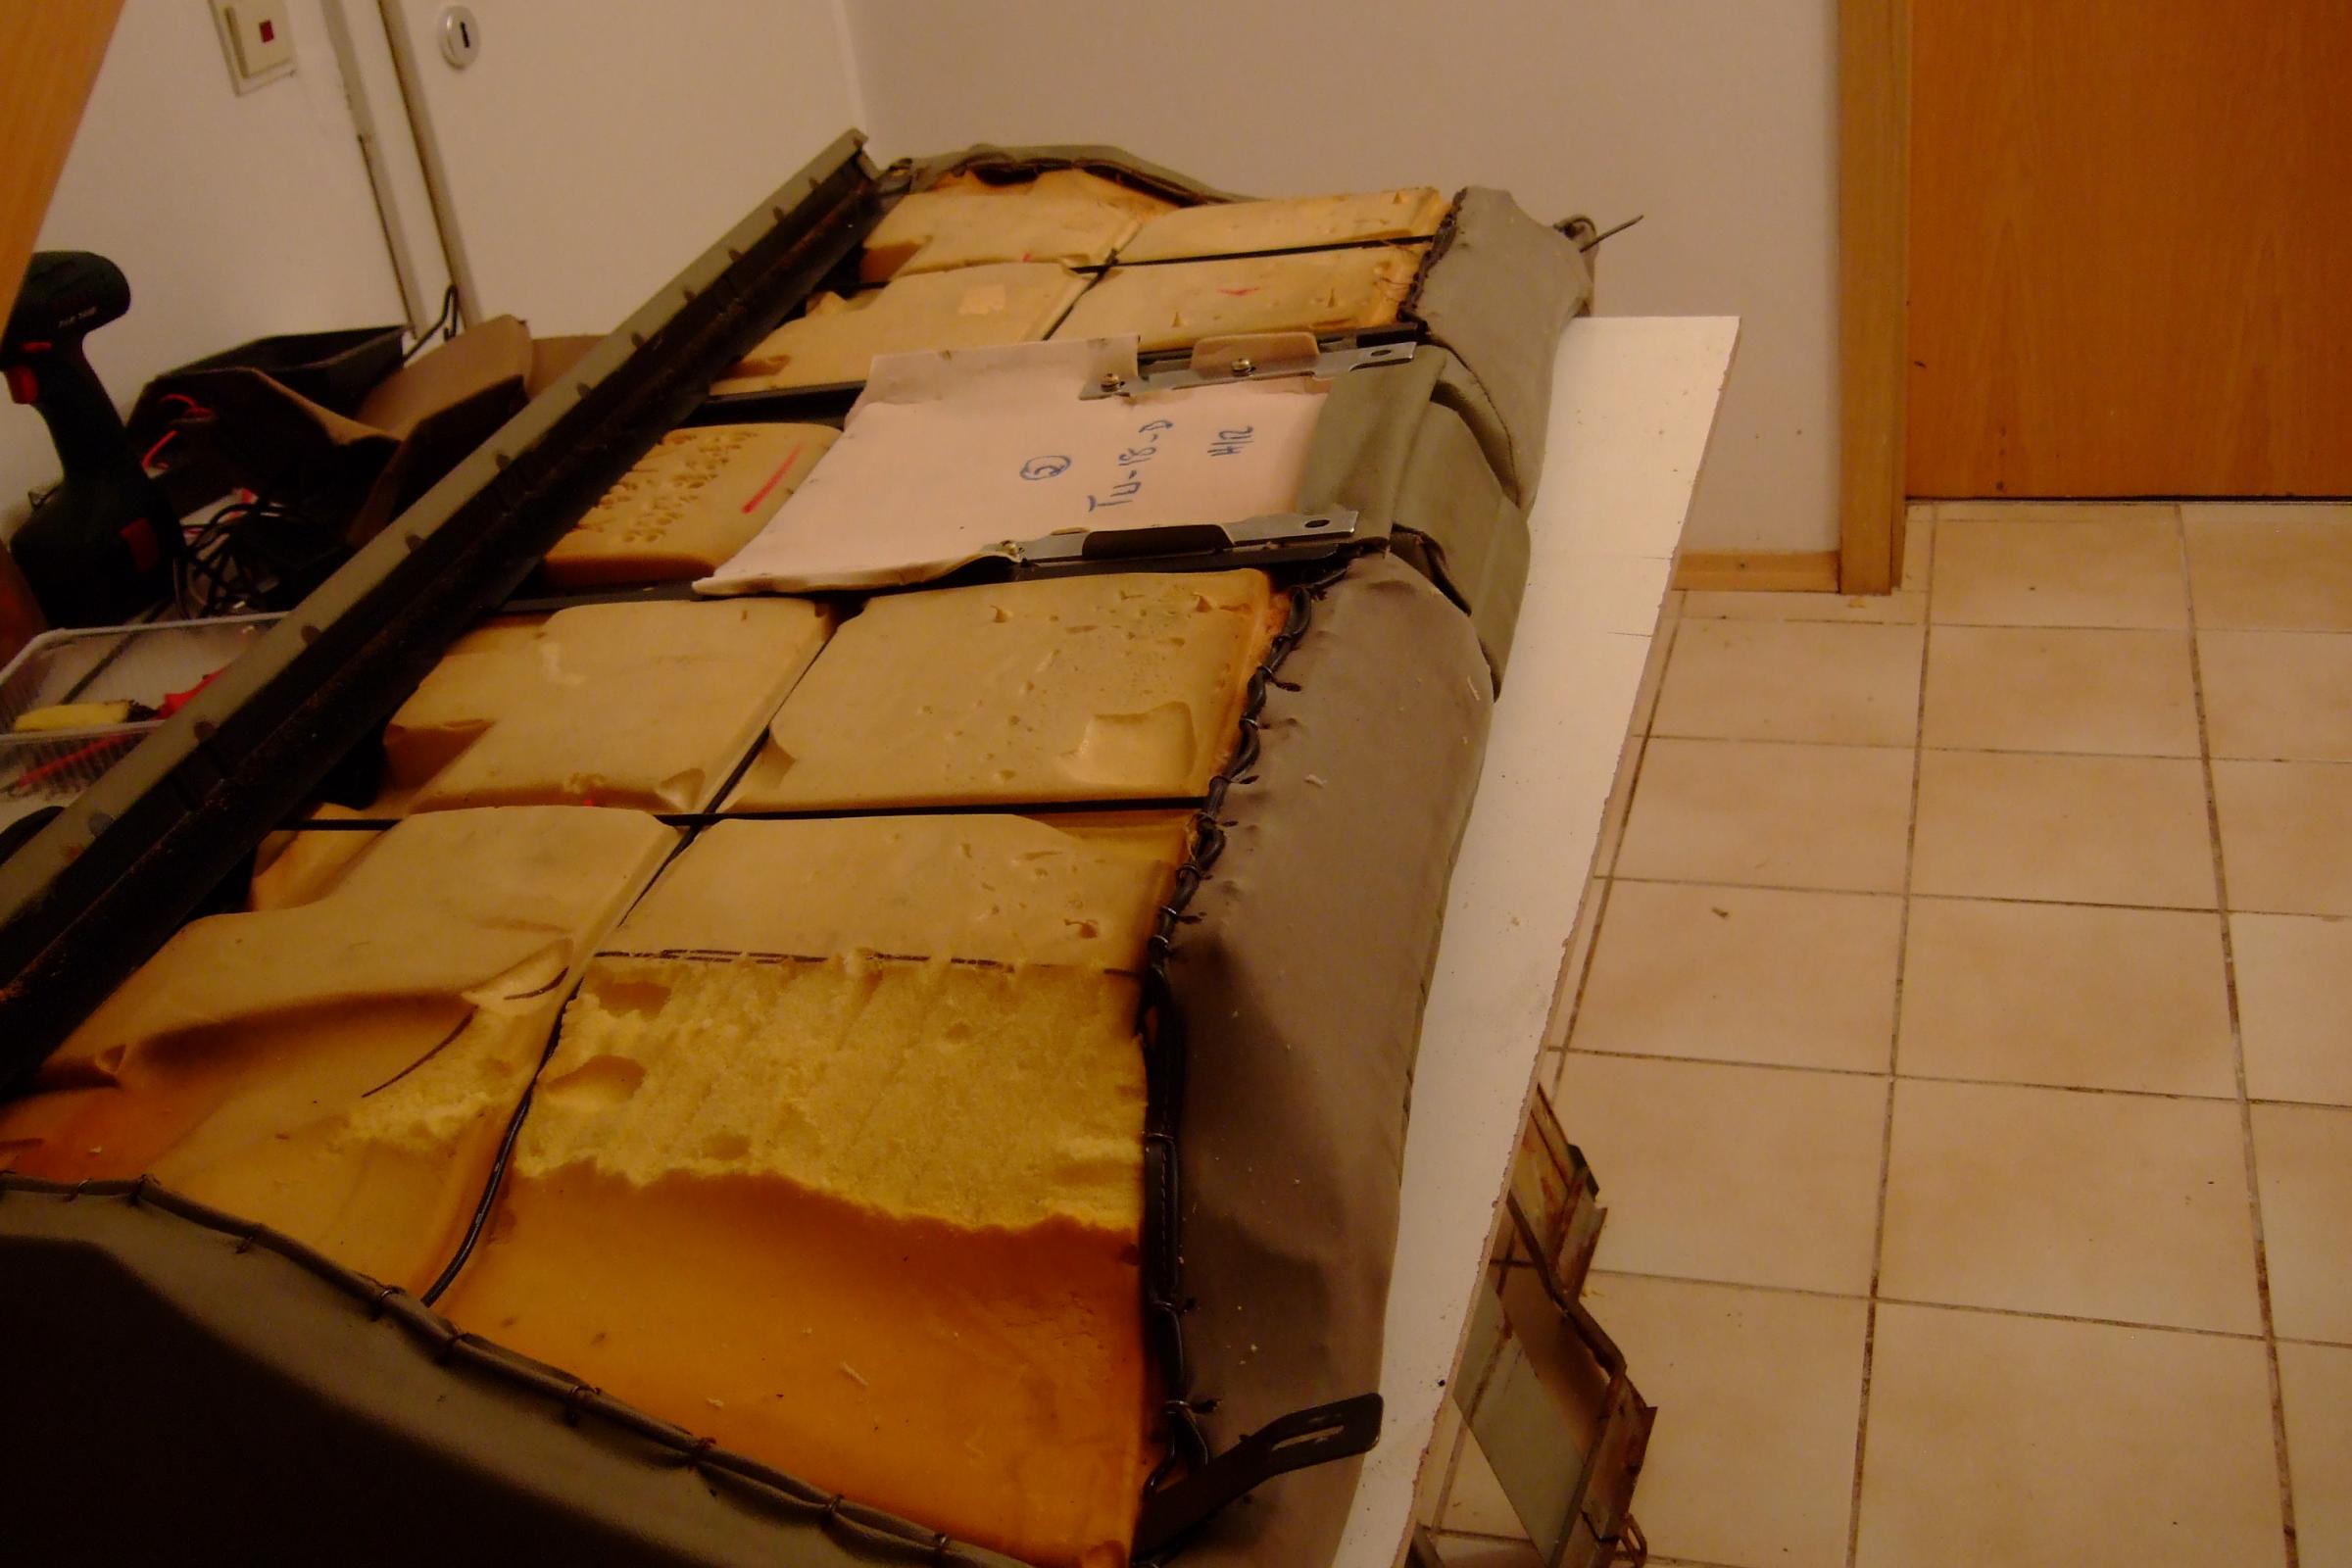
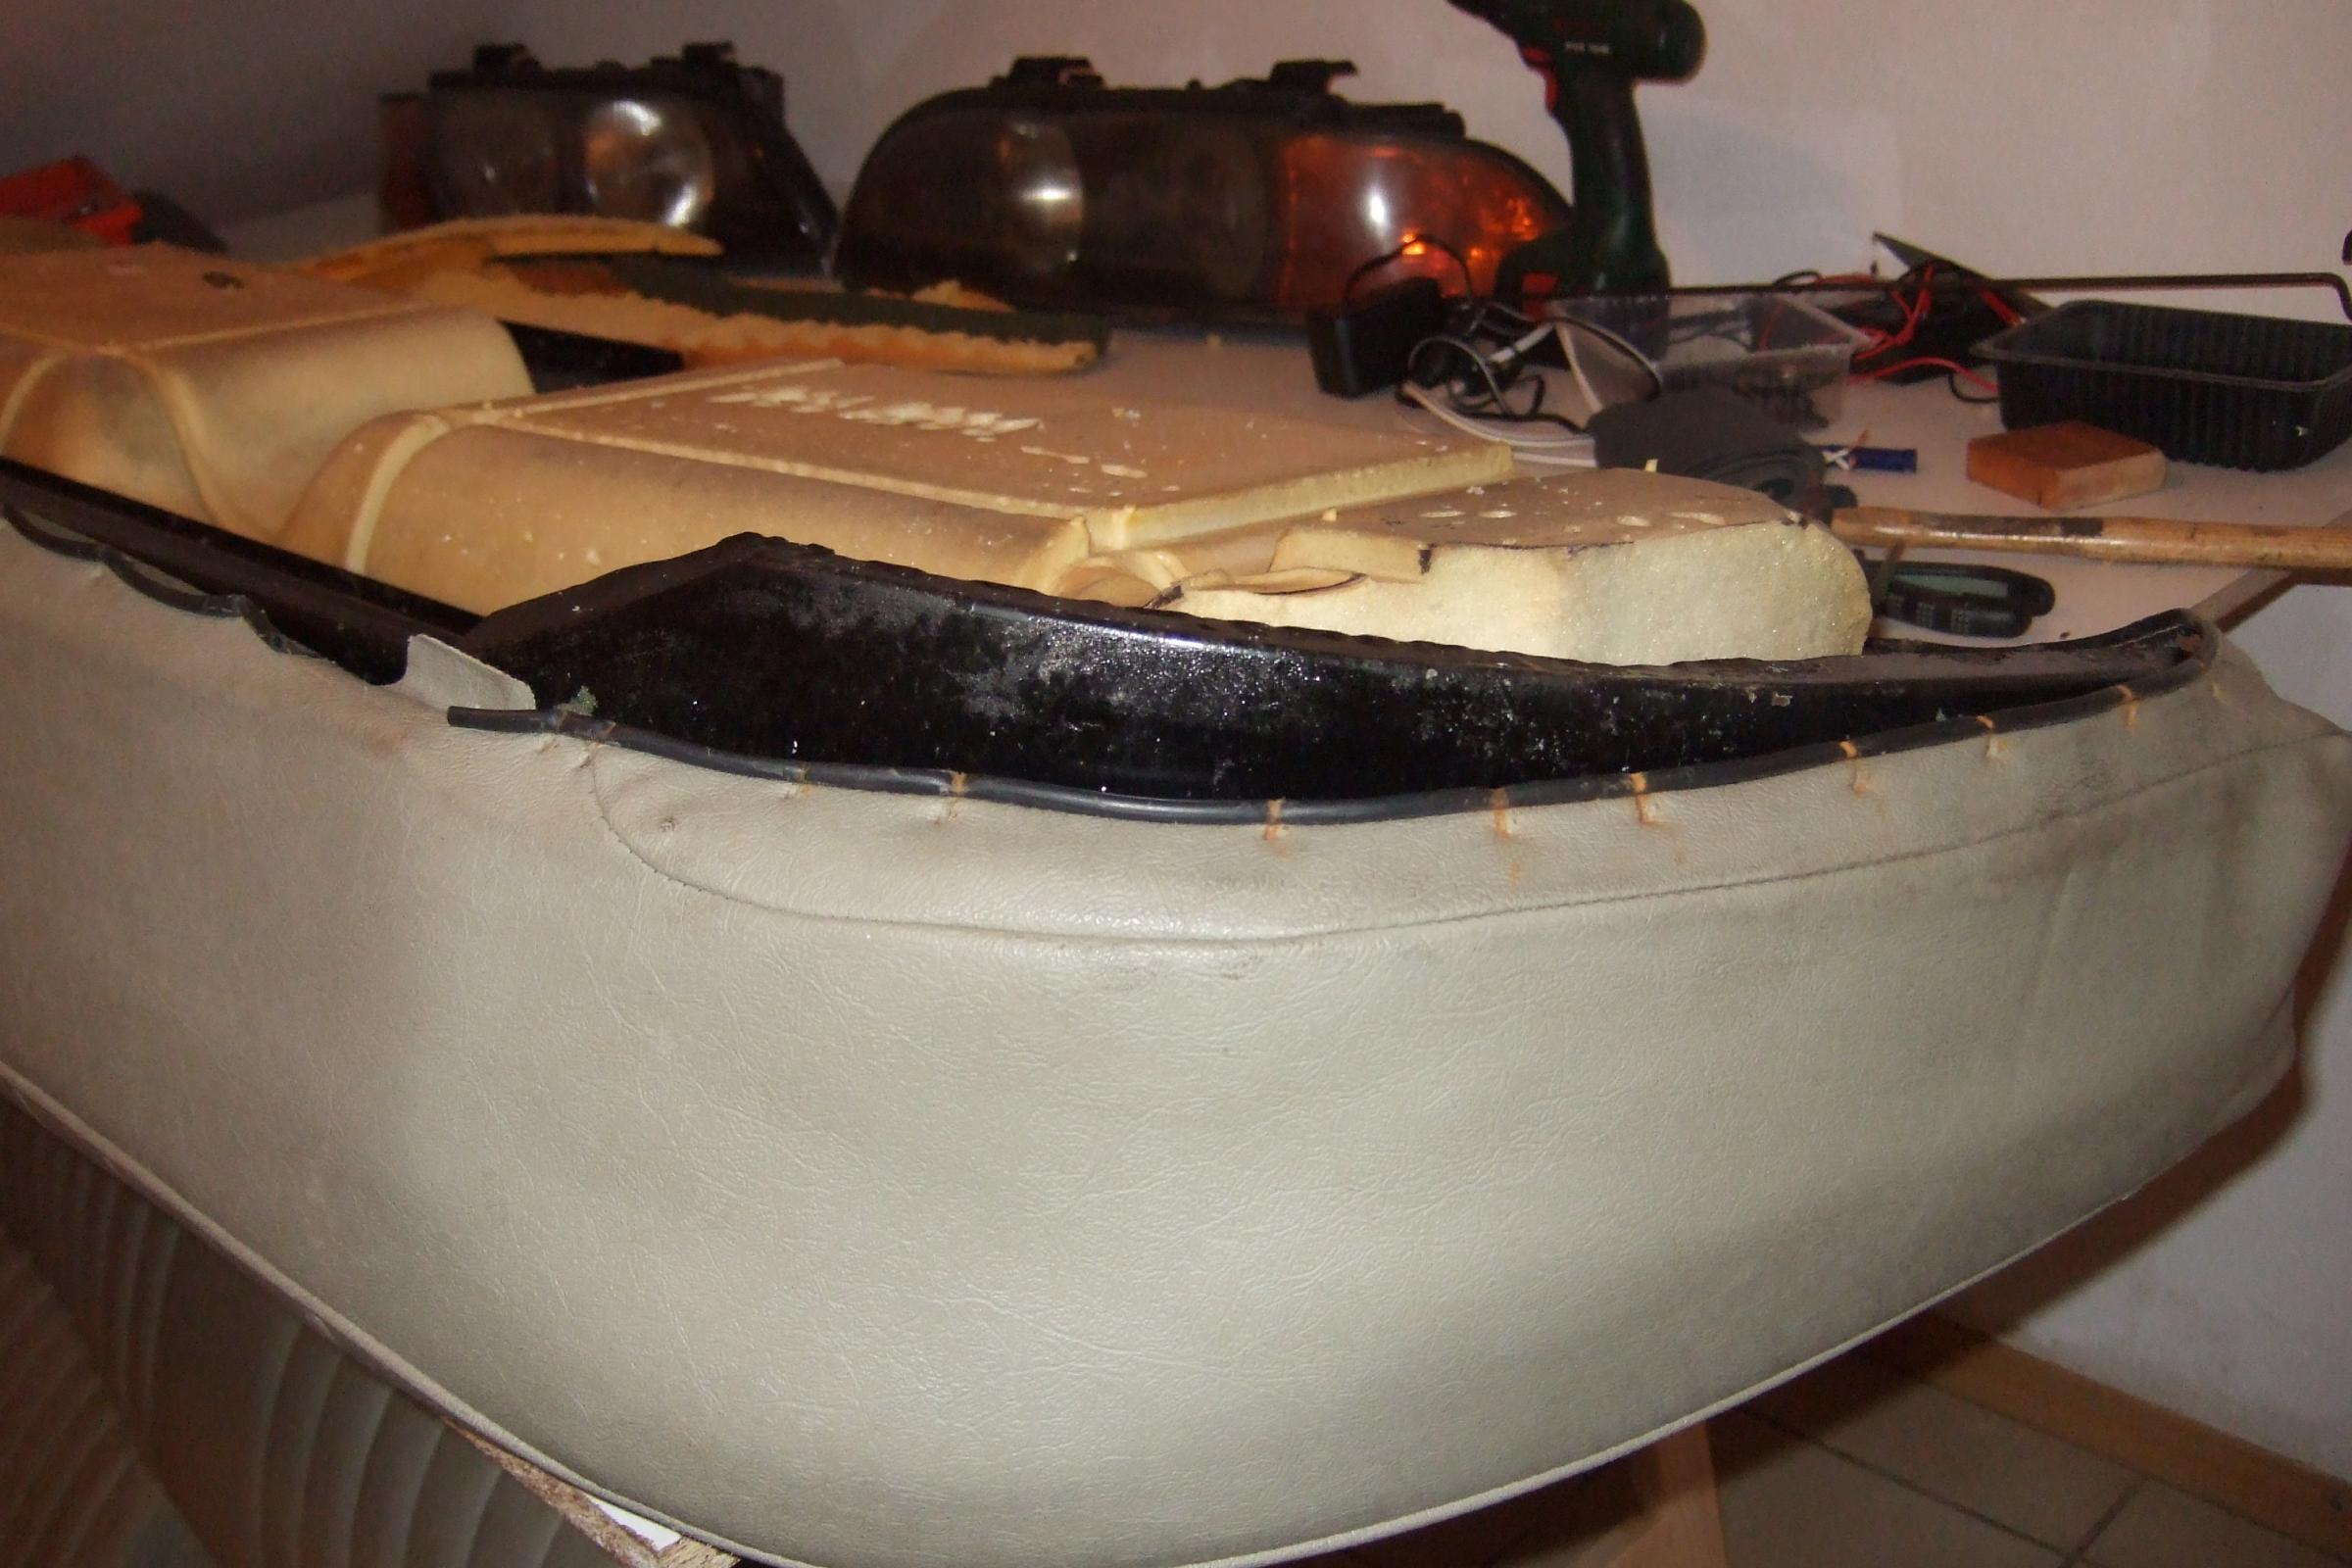
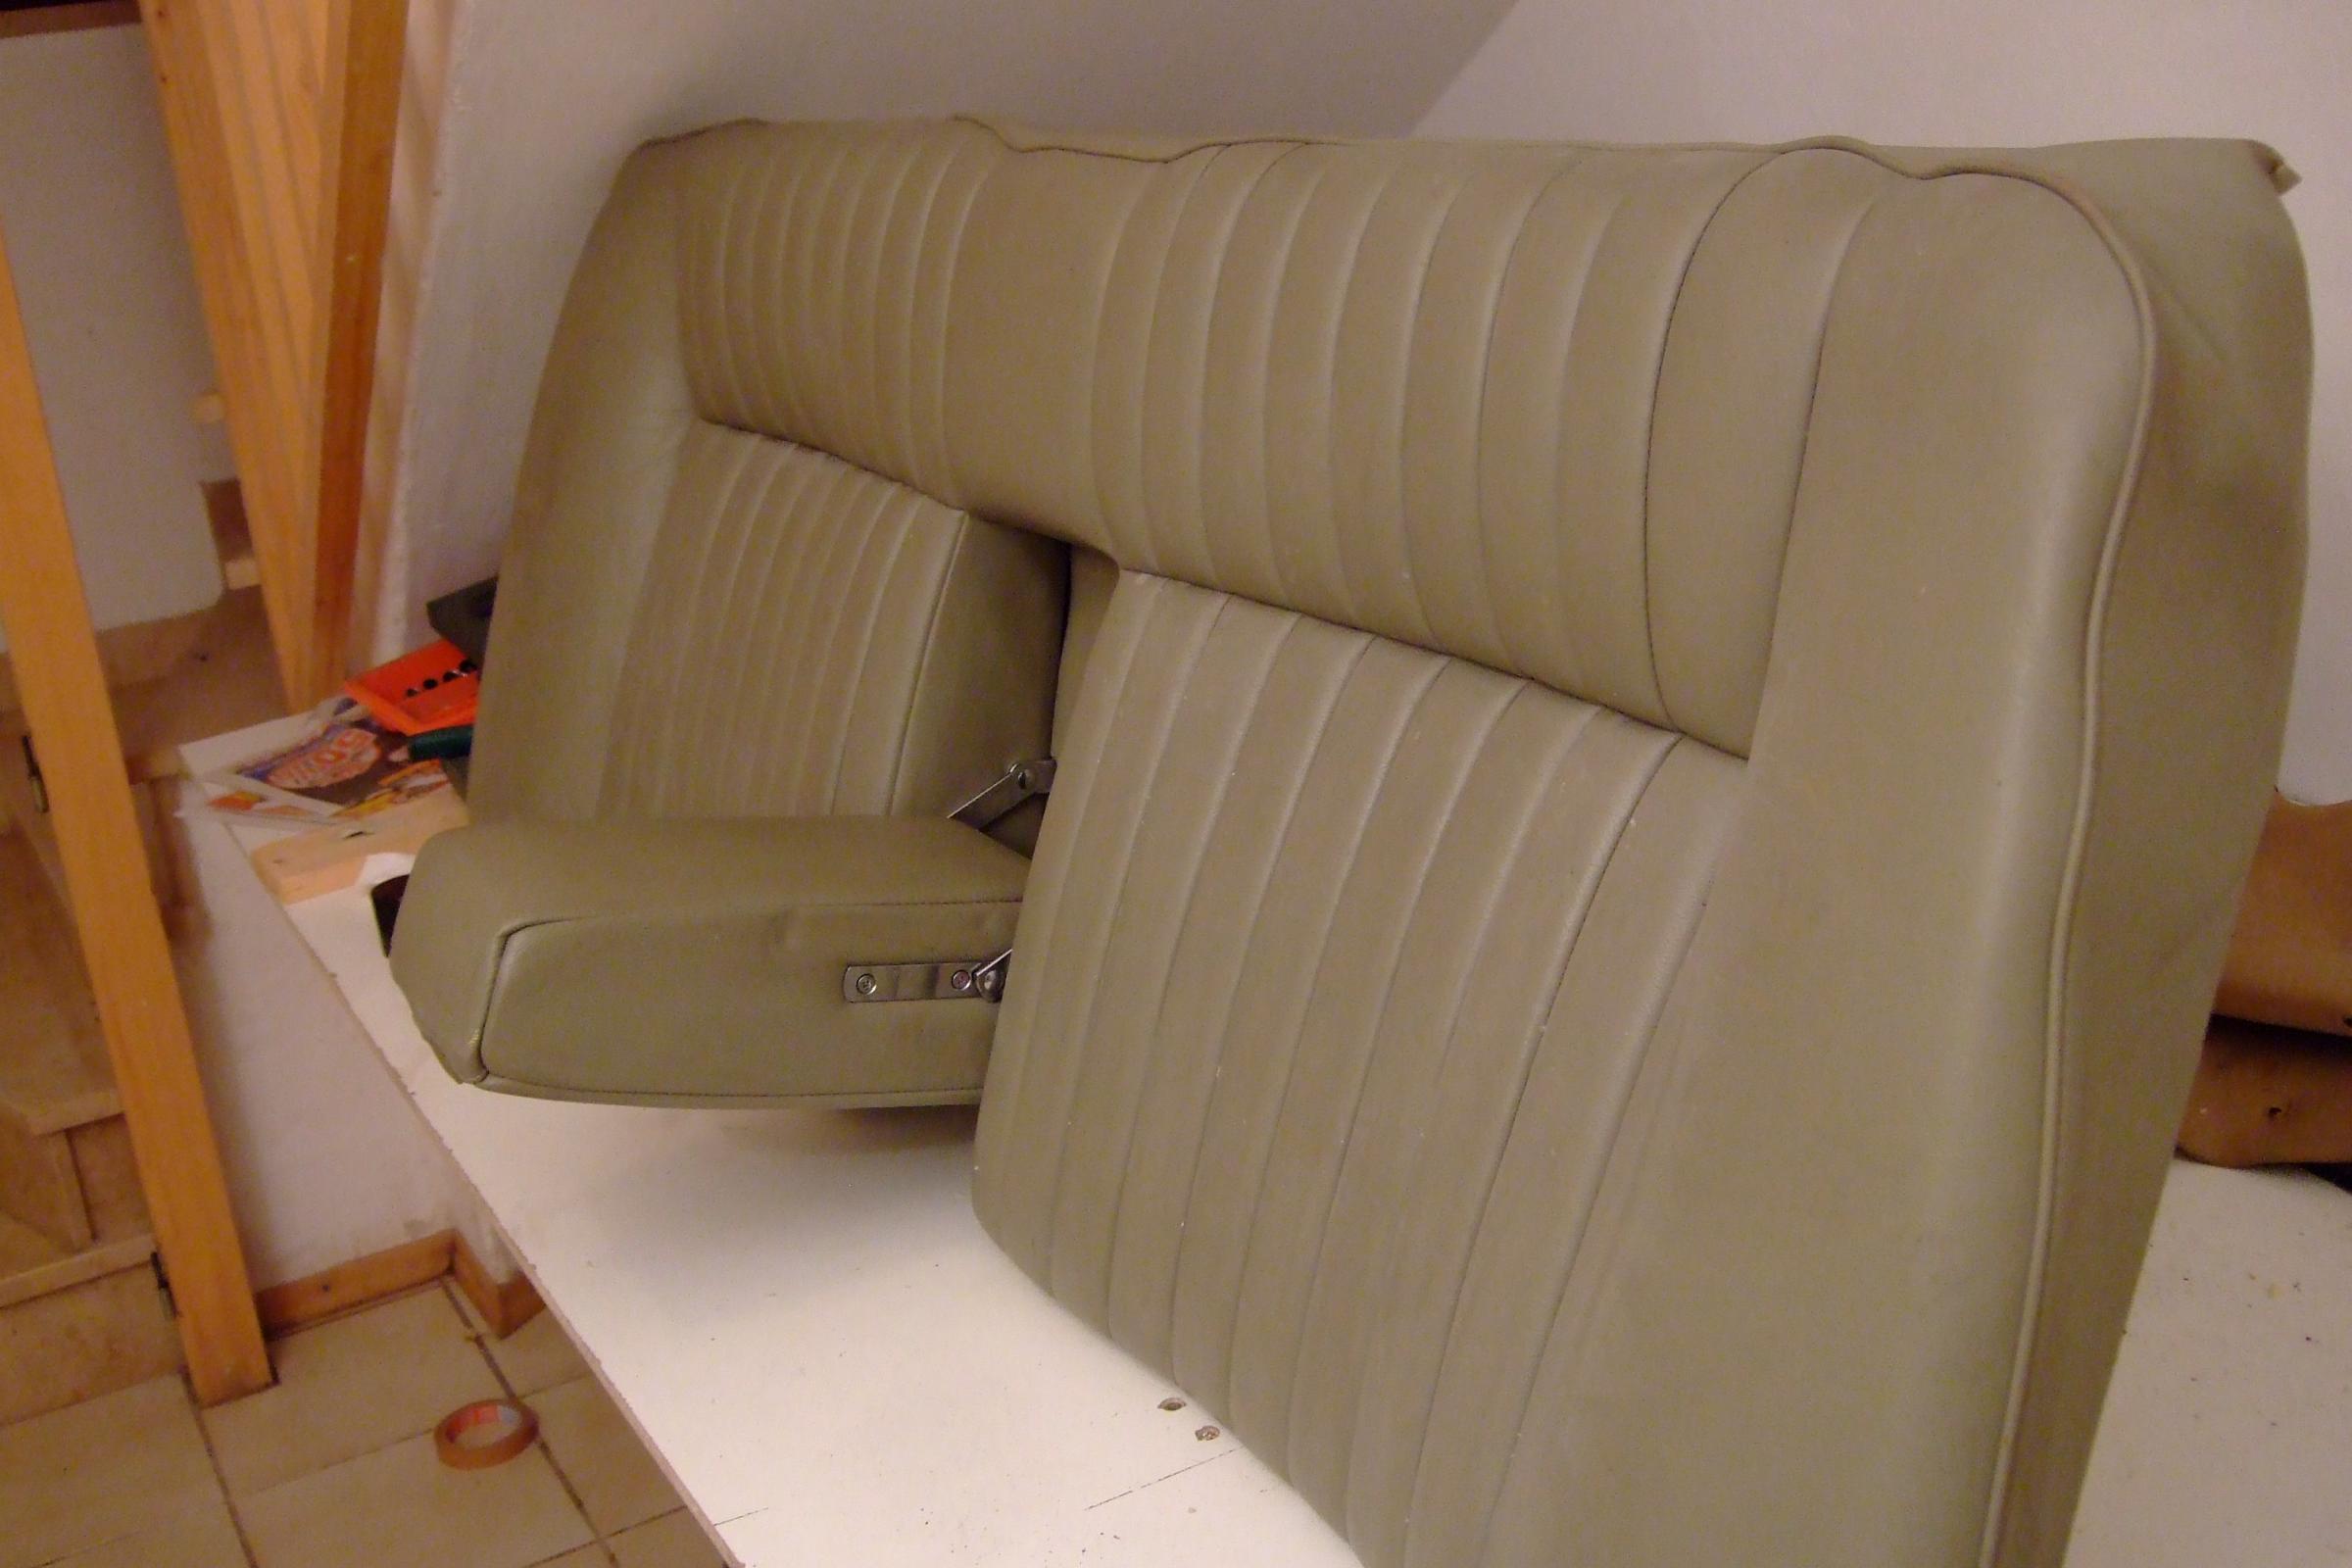
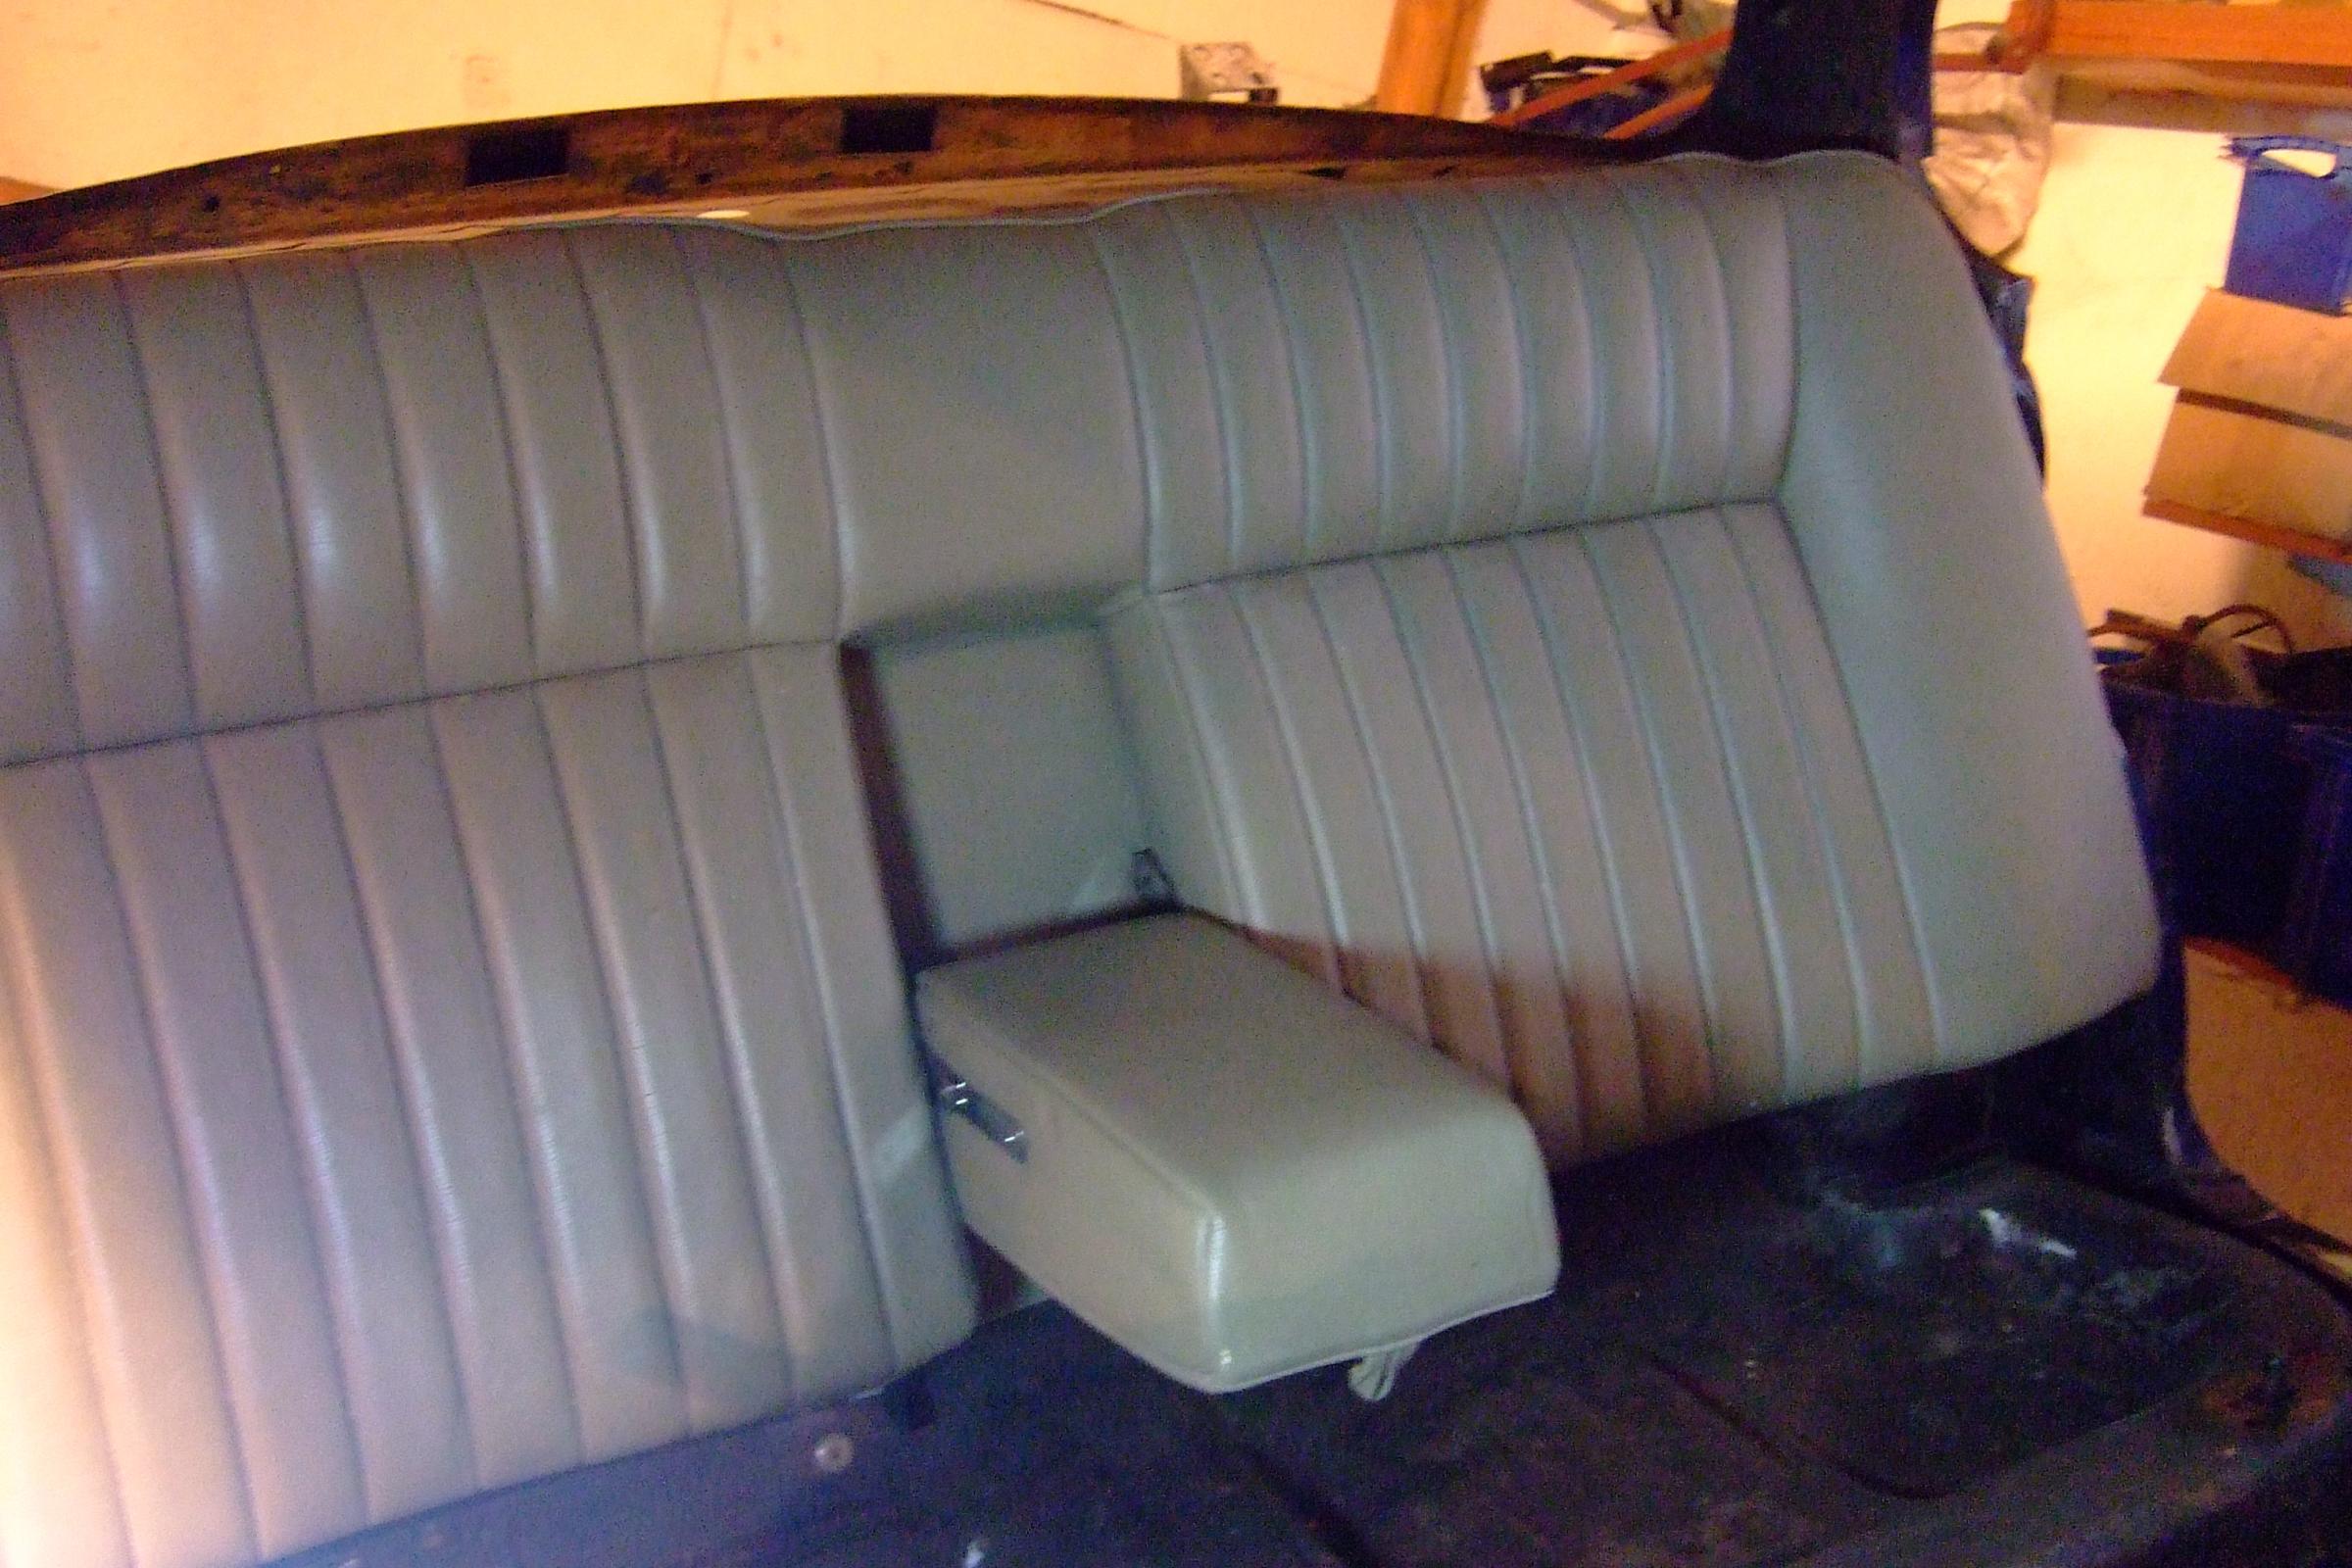
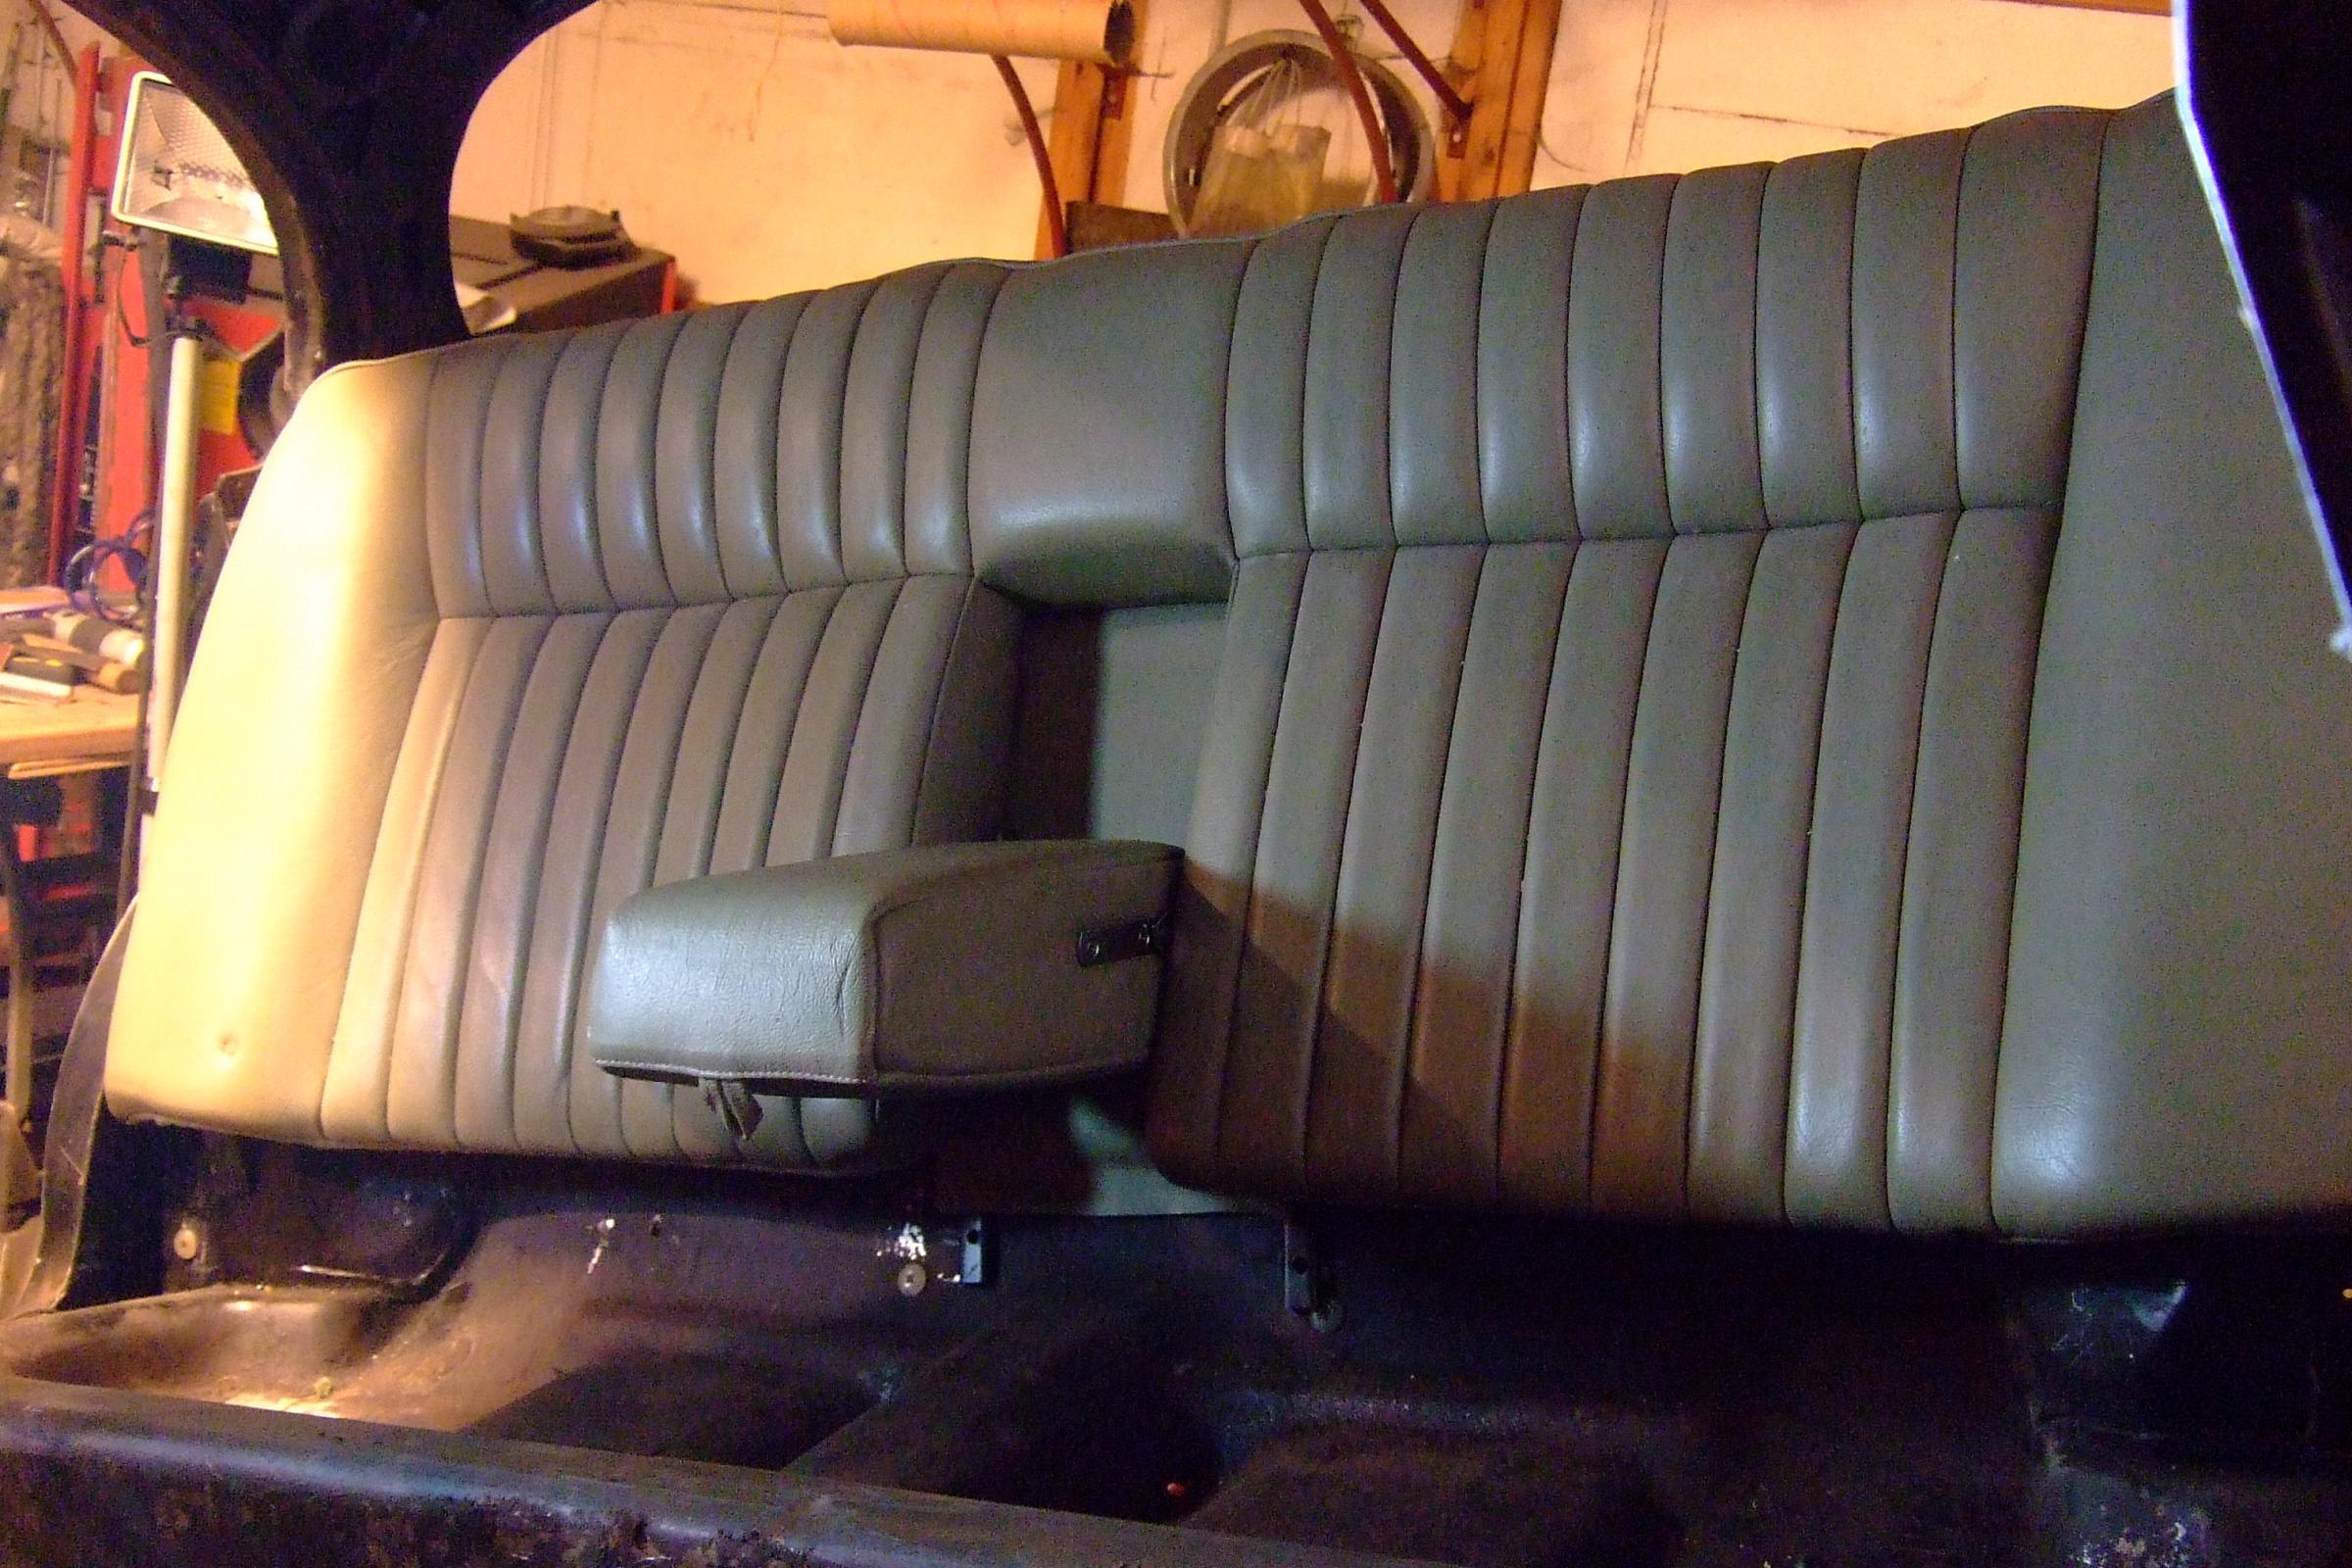
Well now that I got the front XJ40 seats to fit it was time to see how I could get the rear seats in. I knew that this would be more difficult as the XJ40 seats were wider than the MK2 so it was going to take some "adjustments". I wanted to use the leather seat covers and I the choice was whether to use the old foams or not. As you can see from the pictures these were in a pretty poor state so I decidied to see if I could make the XJ40 foams fit into the old frames of the MK2.
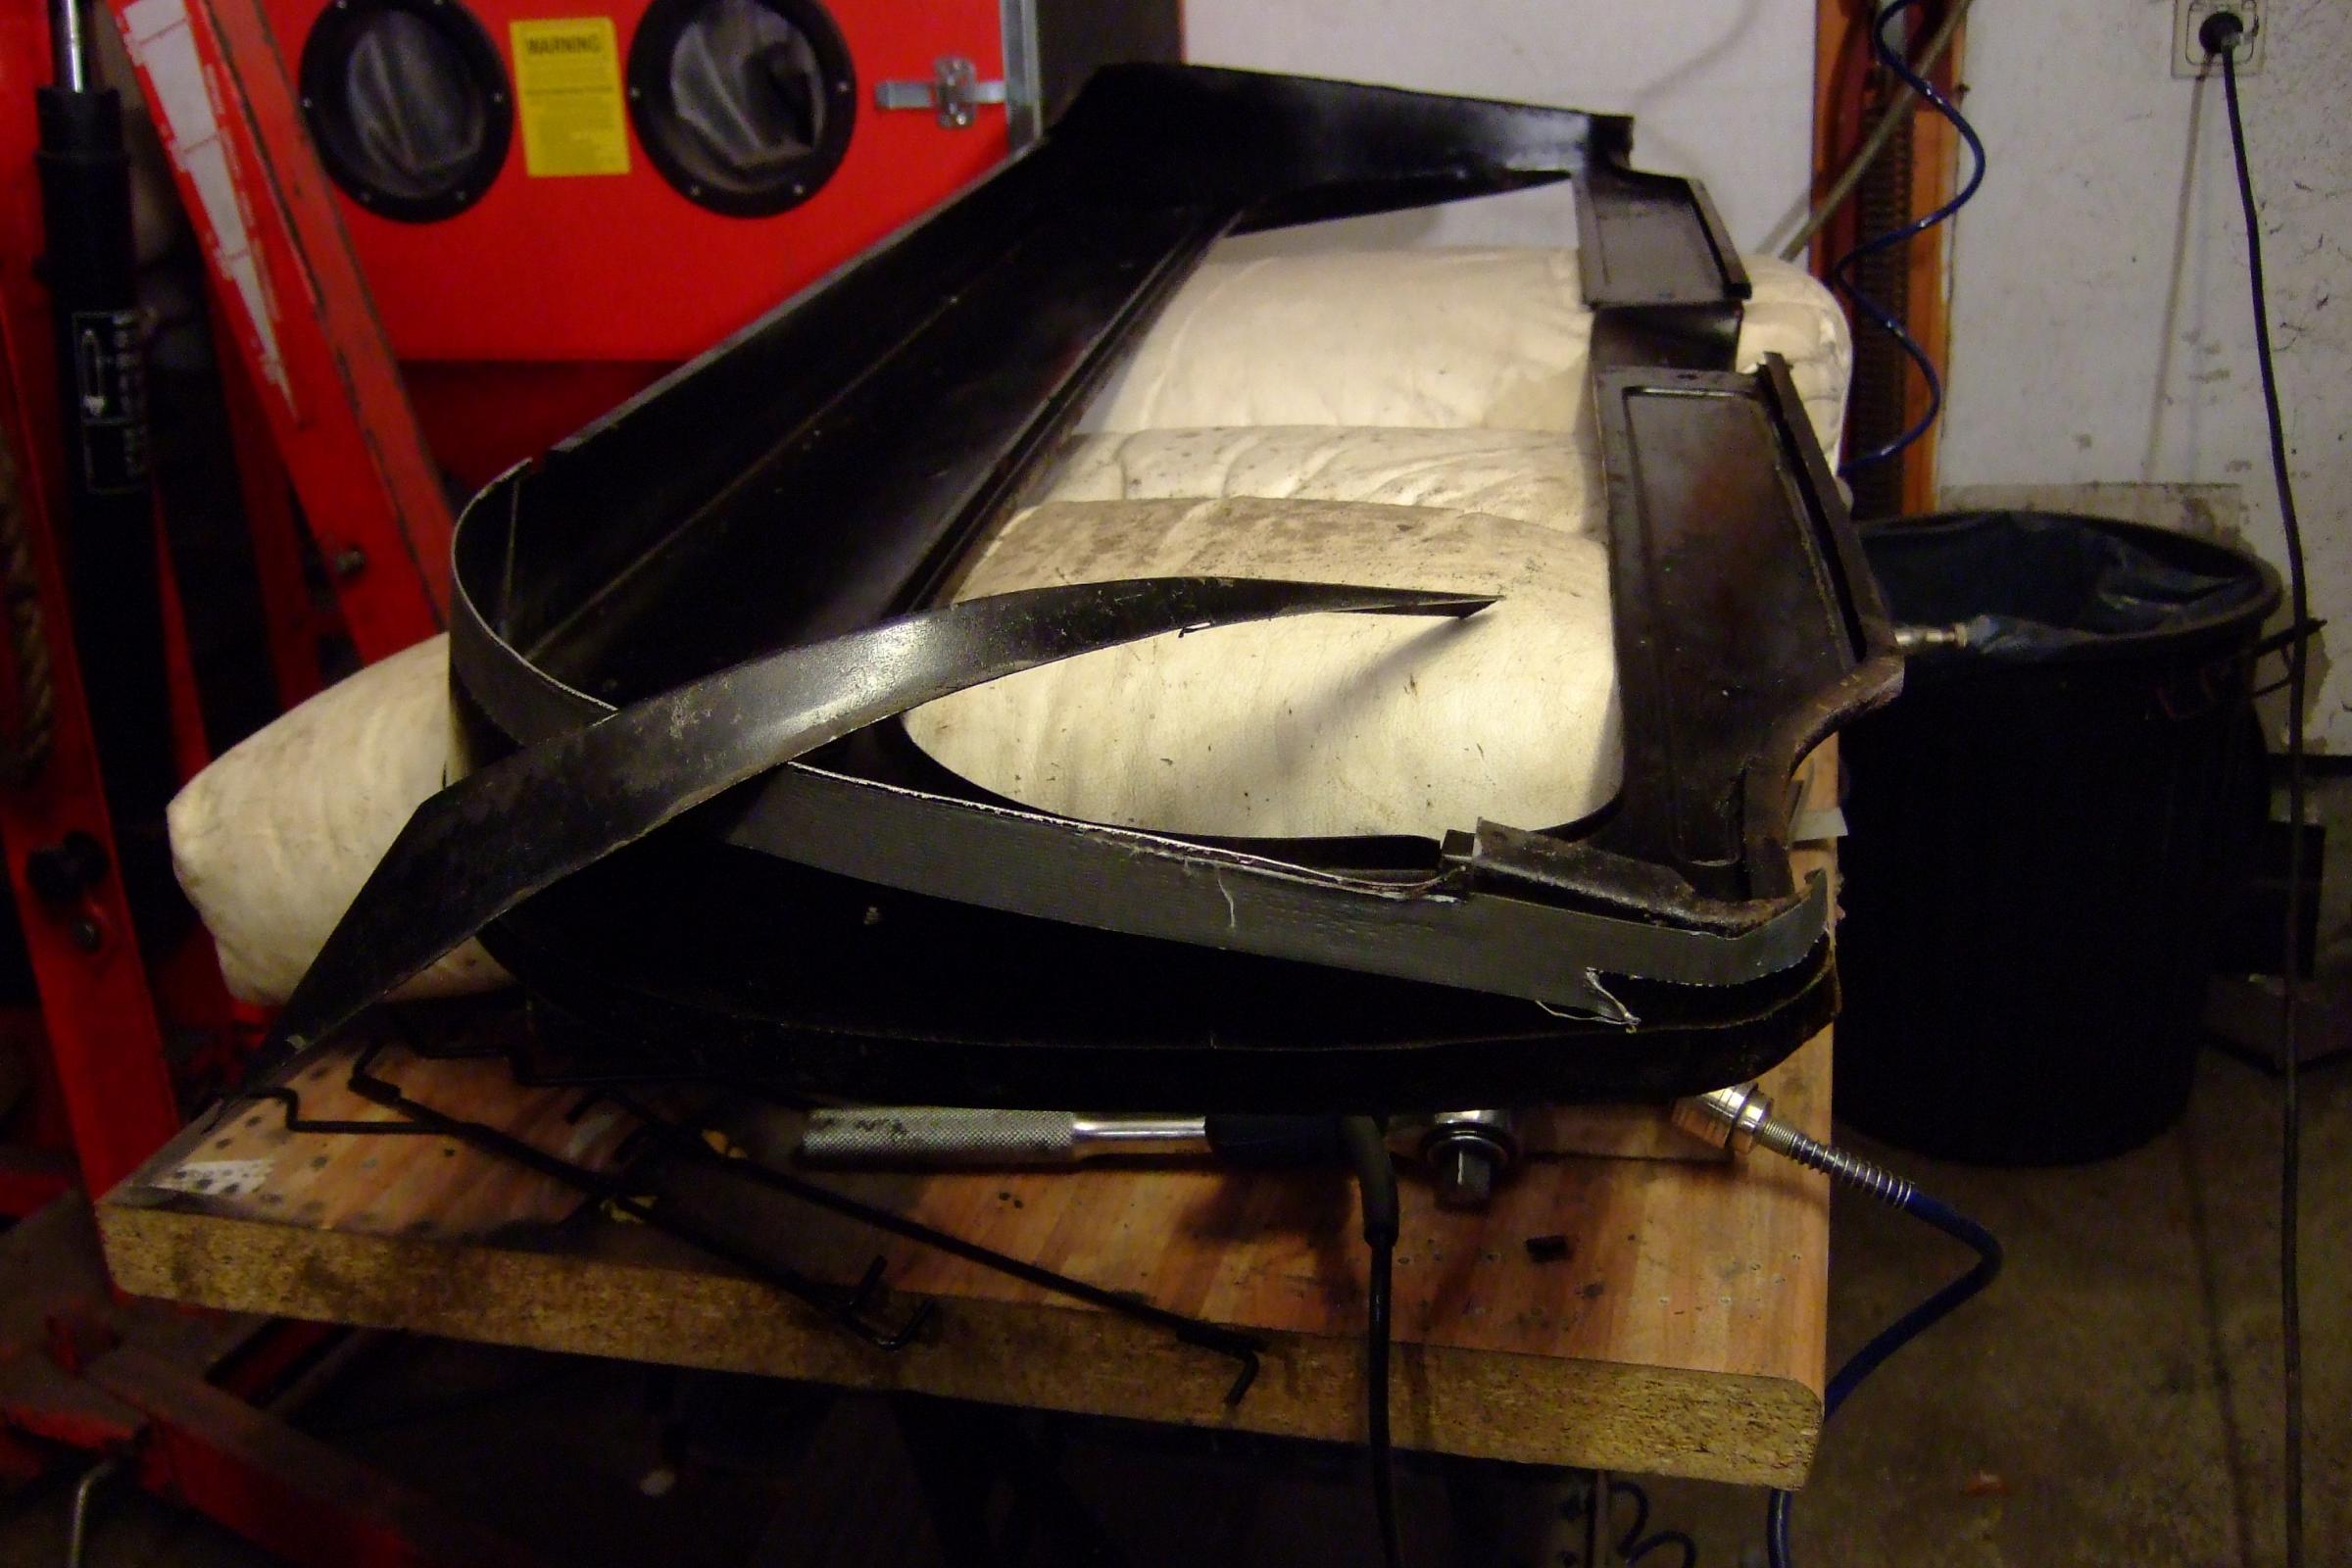
This plan worked for the base but not for the back and I ended up modifying the XJ40 frame to fit the back end of the MK2.I needed to cut about 2 inches off each edge and the re-weld the cut off pieces so that I could put back the hog rings. Anyway looks ok to me moving on next week to the new centre console.
As always lots of photos to show how I managed this.


Ray,
Can you share more pictures and details as to how you sectioned the rear seats to fit? That would be much appreciated!
thanks,
Can you share more pictures and details as to how you sectioned the rear seats to fit? That would be much appreciated!
thanks,
Primaz
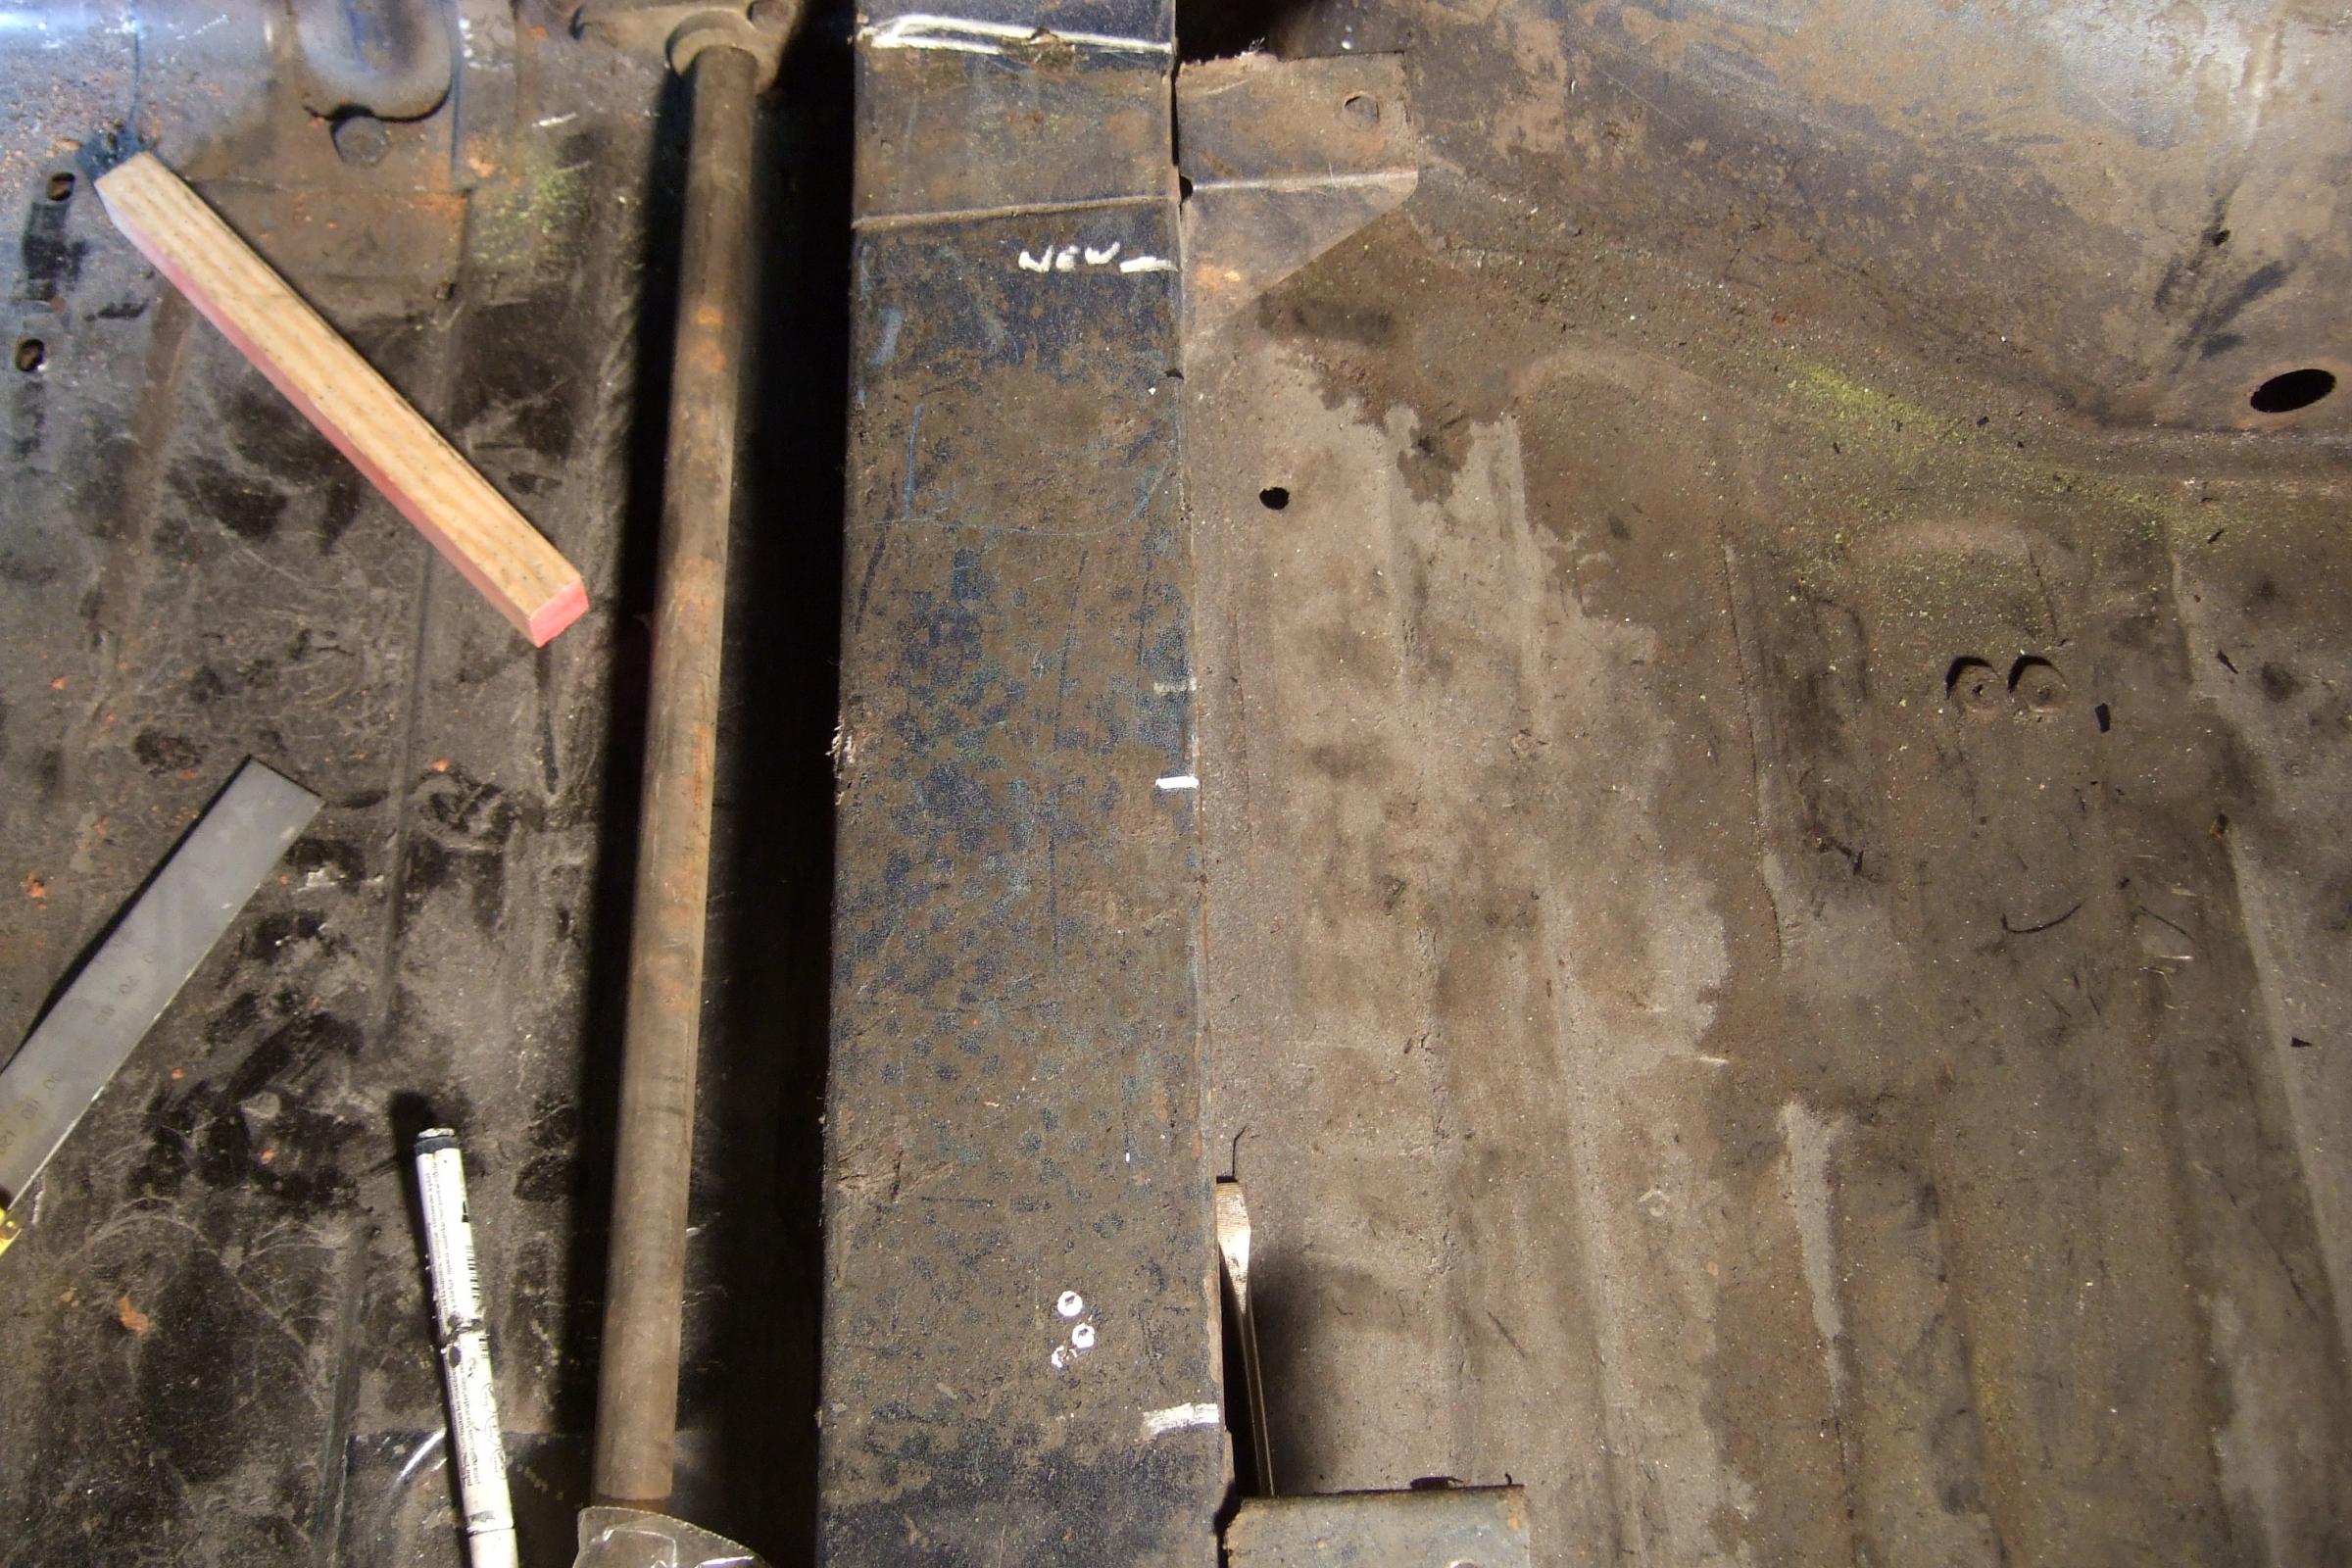
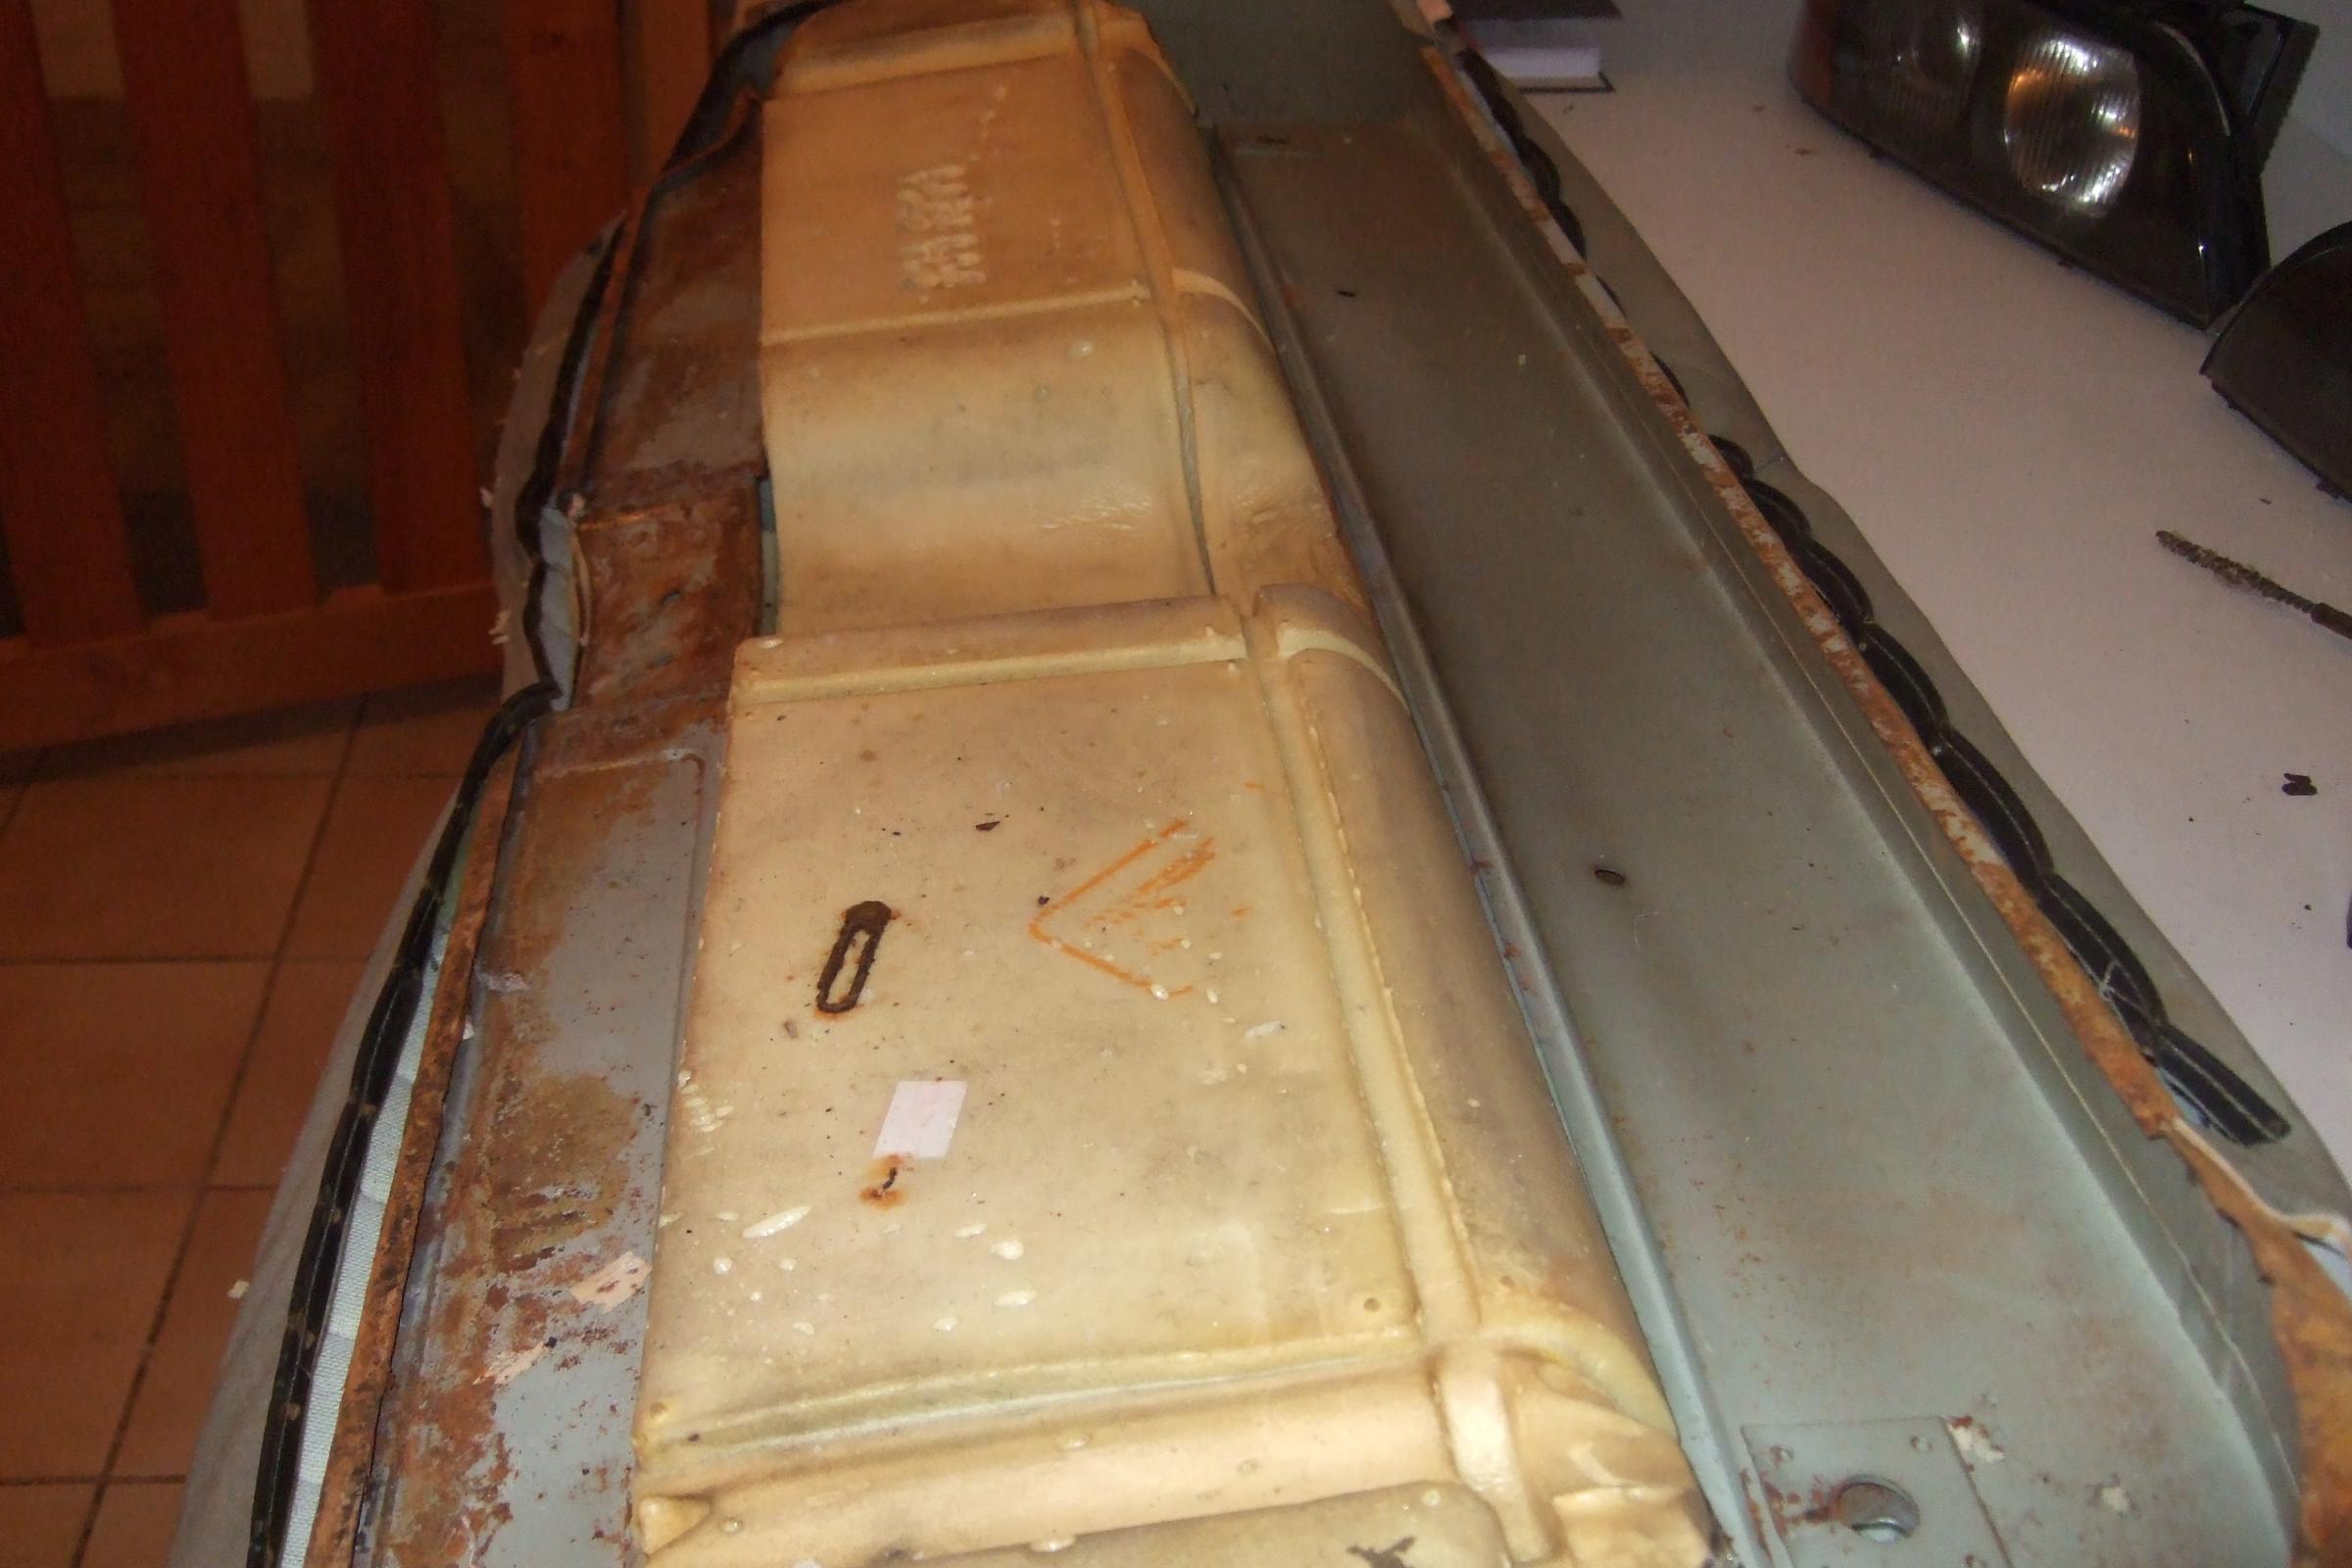
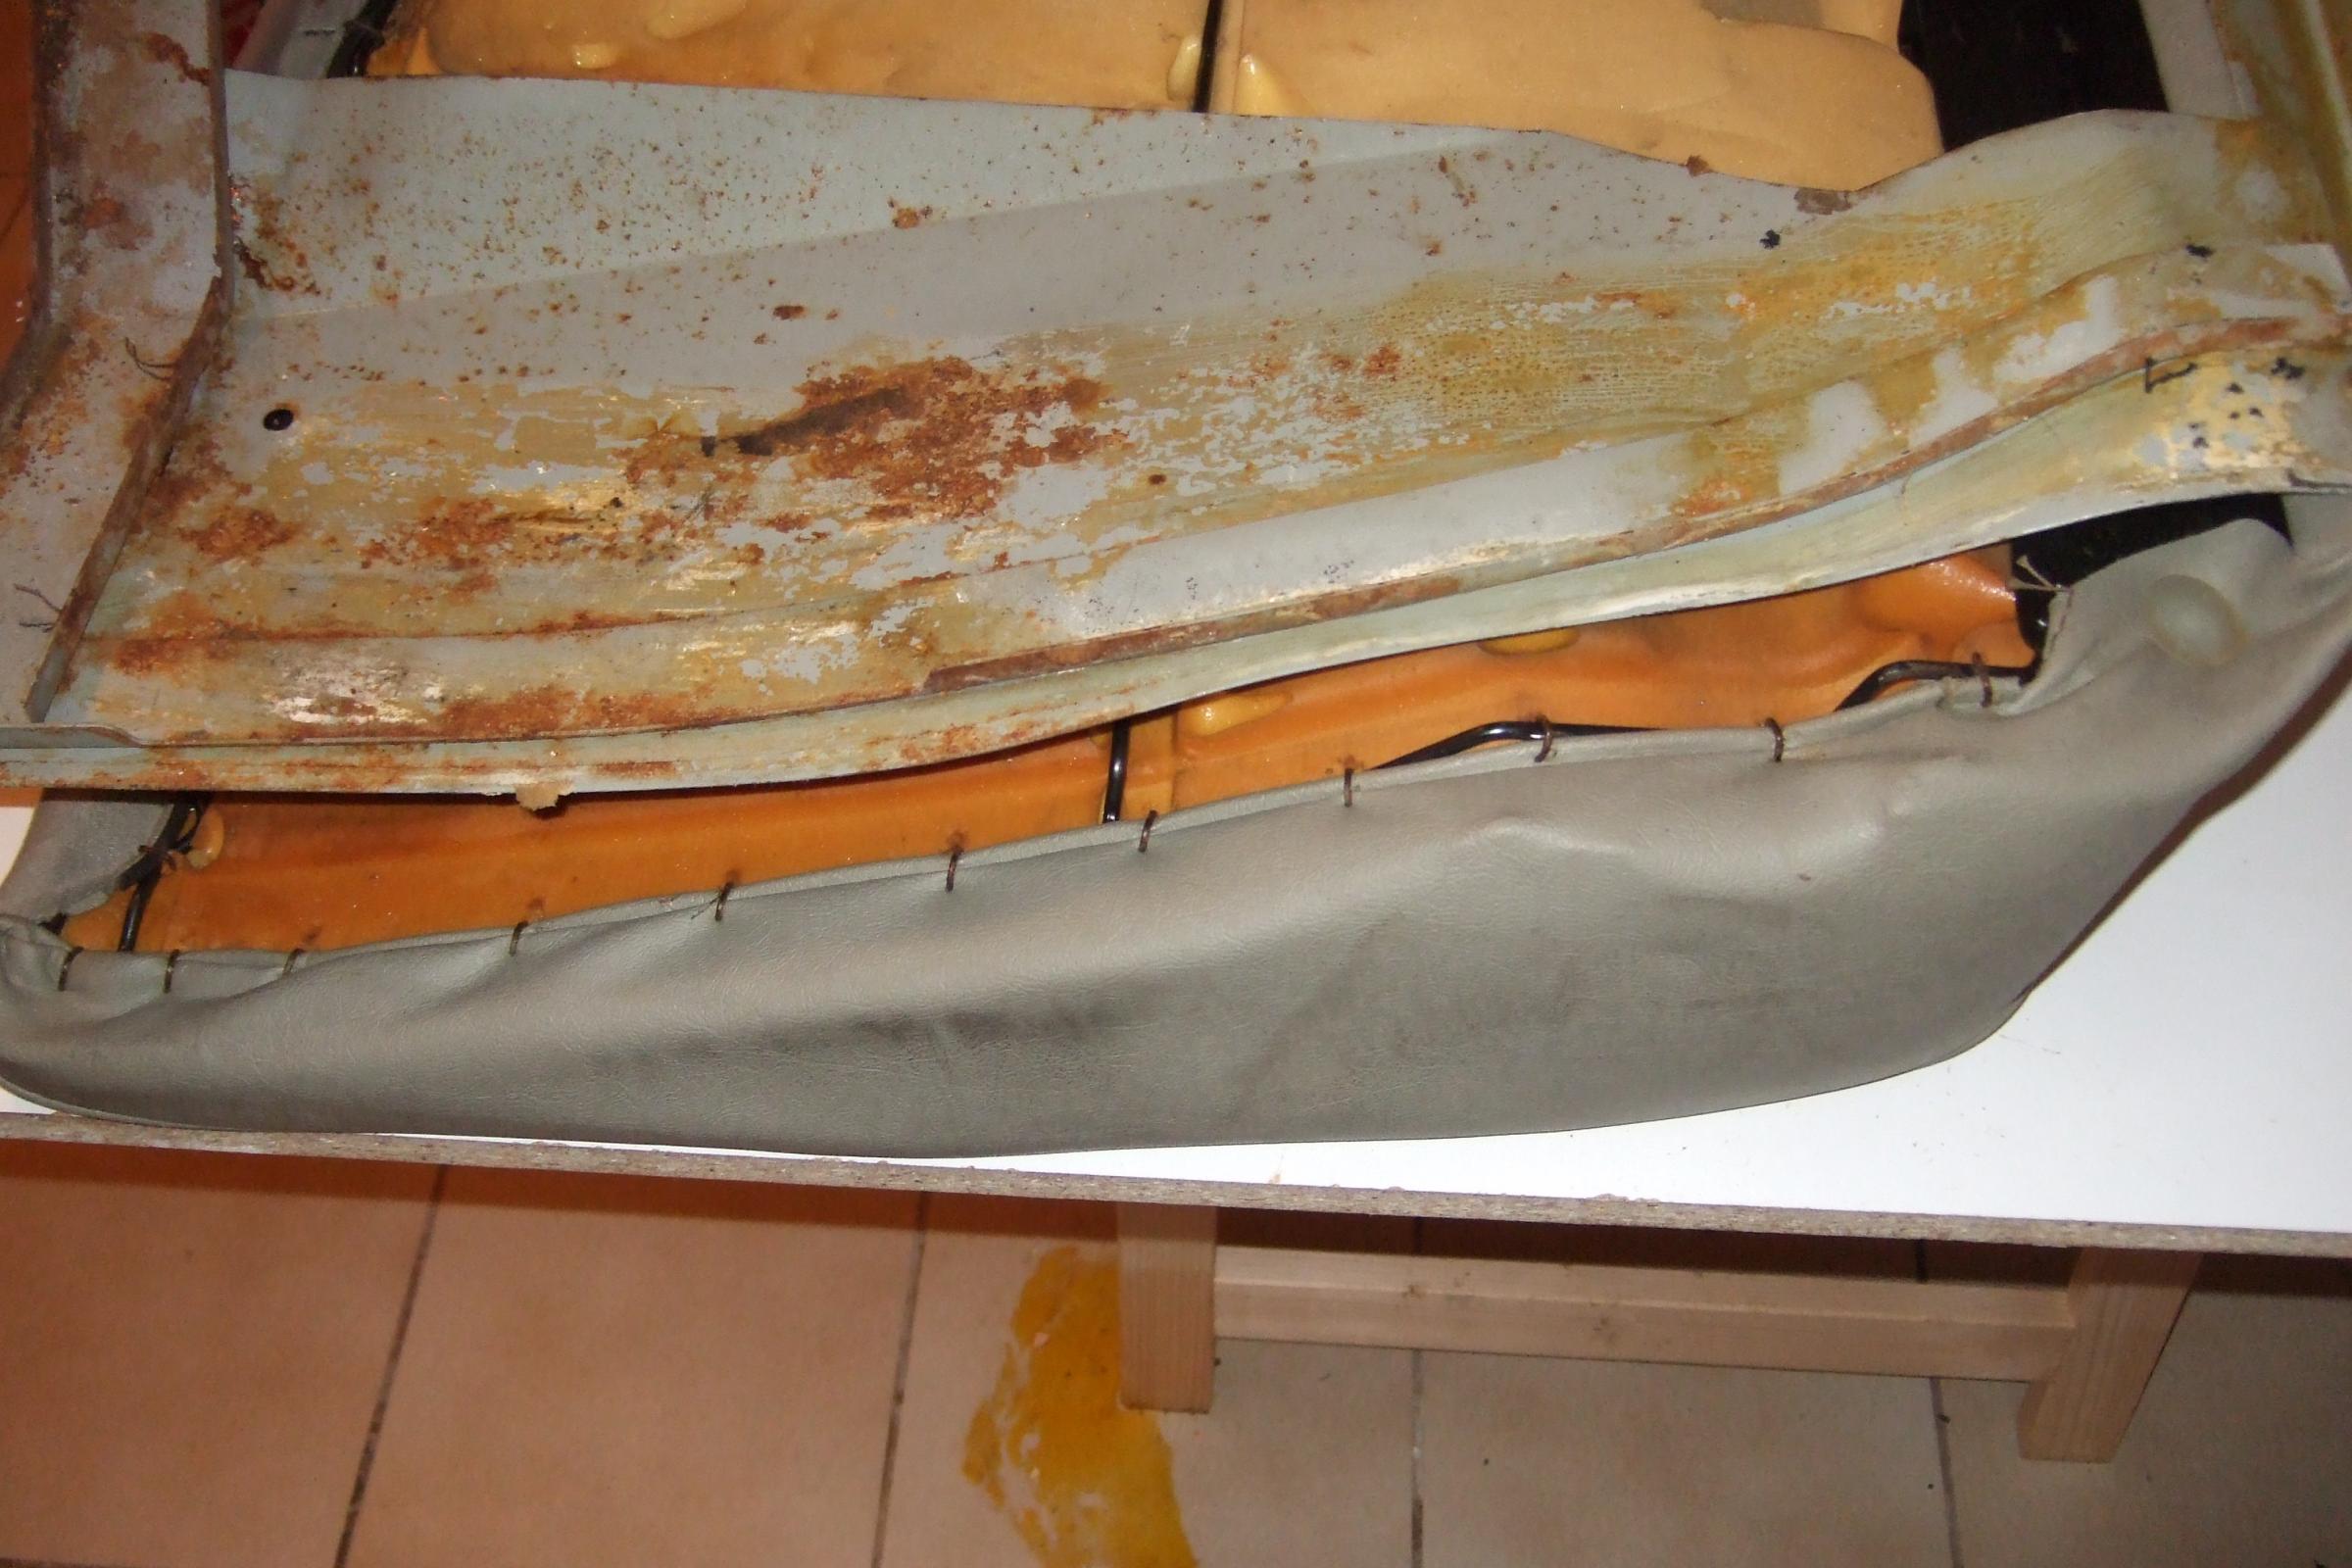
Basically I did what i explained in the previous post. The XJ40 seats are made with a wire frame of about 1/8th thick material and there are two parts to this frame. The first wire is what you stretch the materal over and the second is what the hog rings attach to. This is the same for the base and the back. As already mentioned i decided to use the base metal of the MK2 seats for the bottom cushion and then cut the foam to suit and the first three pictures show where I cut this. I also had to cut the metal frame a little as this was too long for the cushion the next three pictures show this operation. I had removed the rust and painted the frame before the cut and fastening the cover to it.
You can see the picture 20 from the comparison of the frames how much wider the back of the seat is than the MK2 which is on top
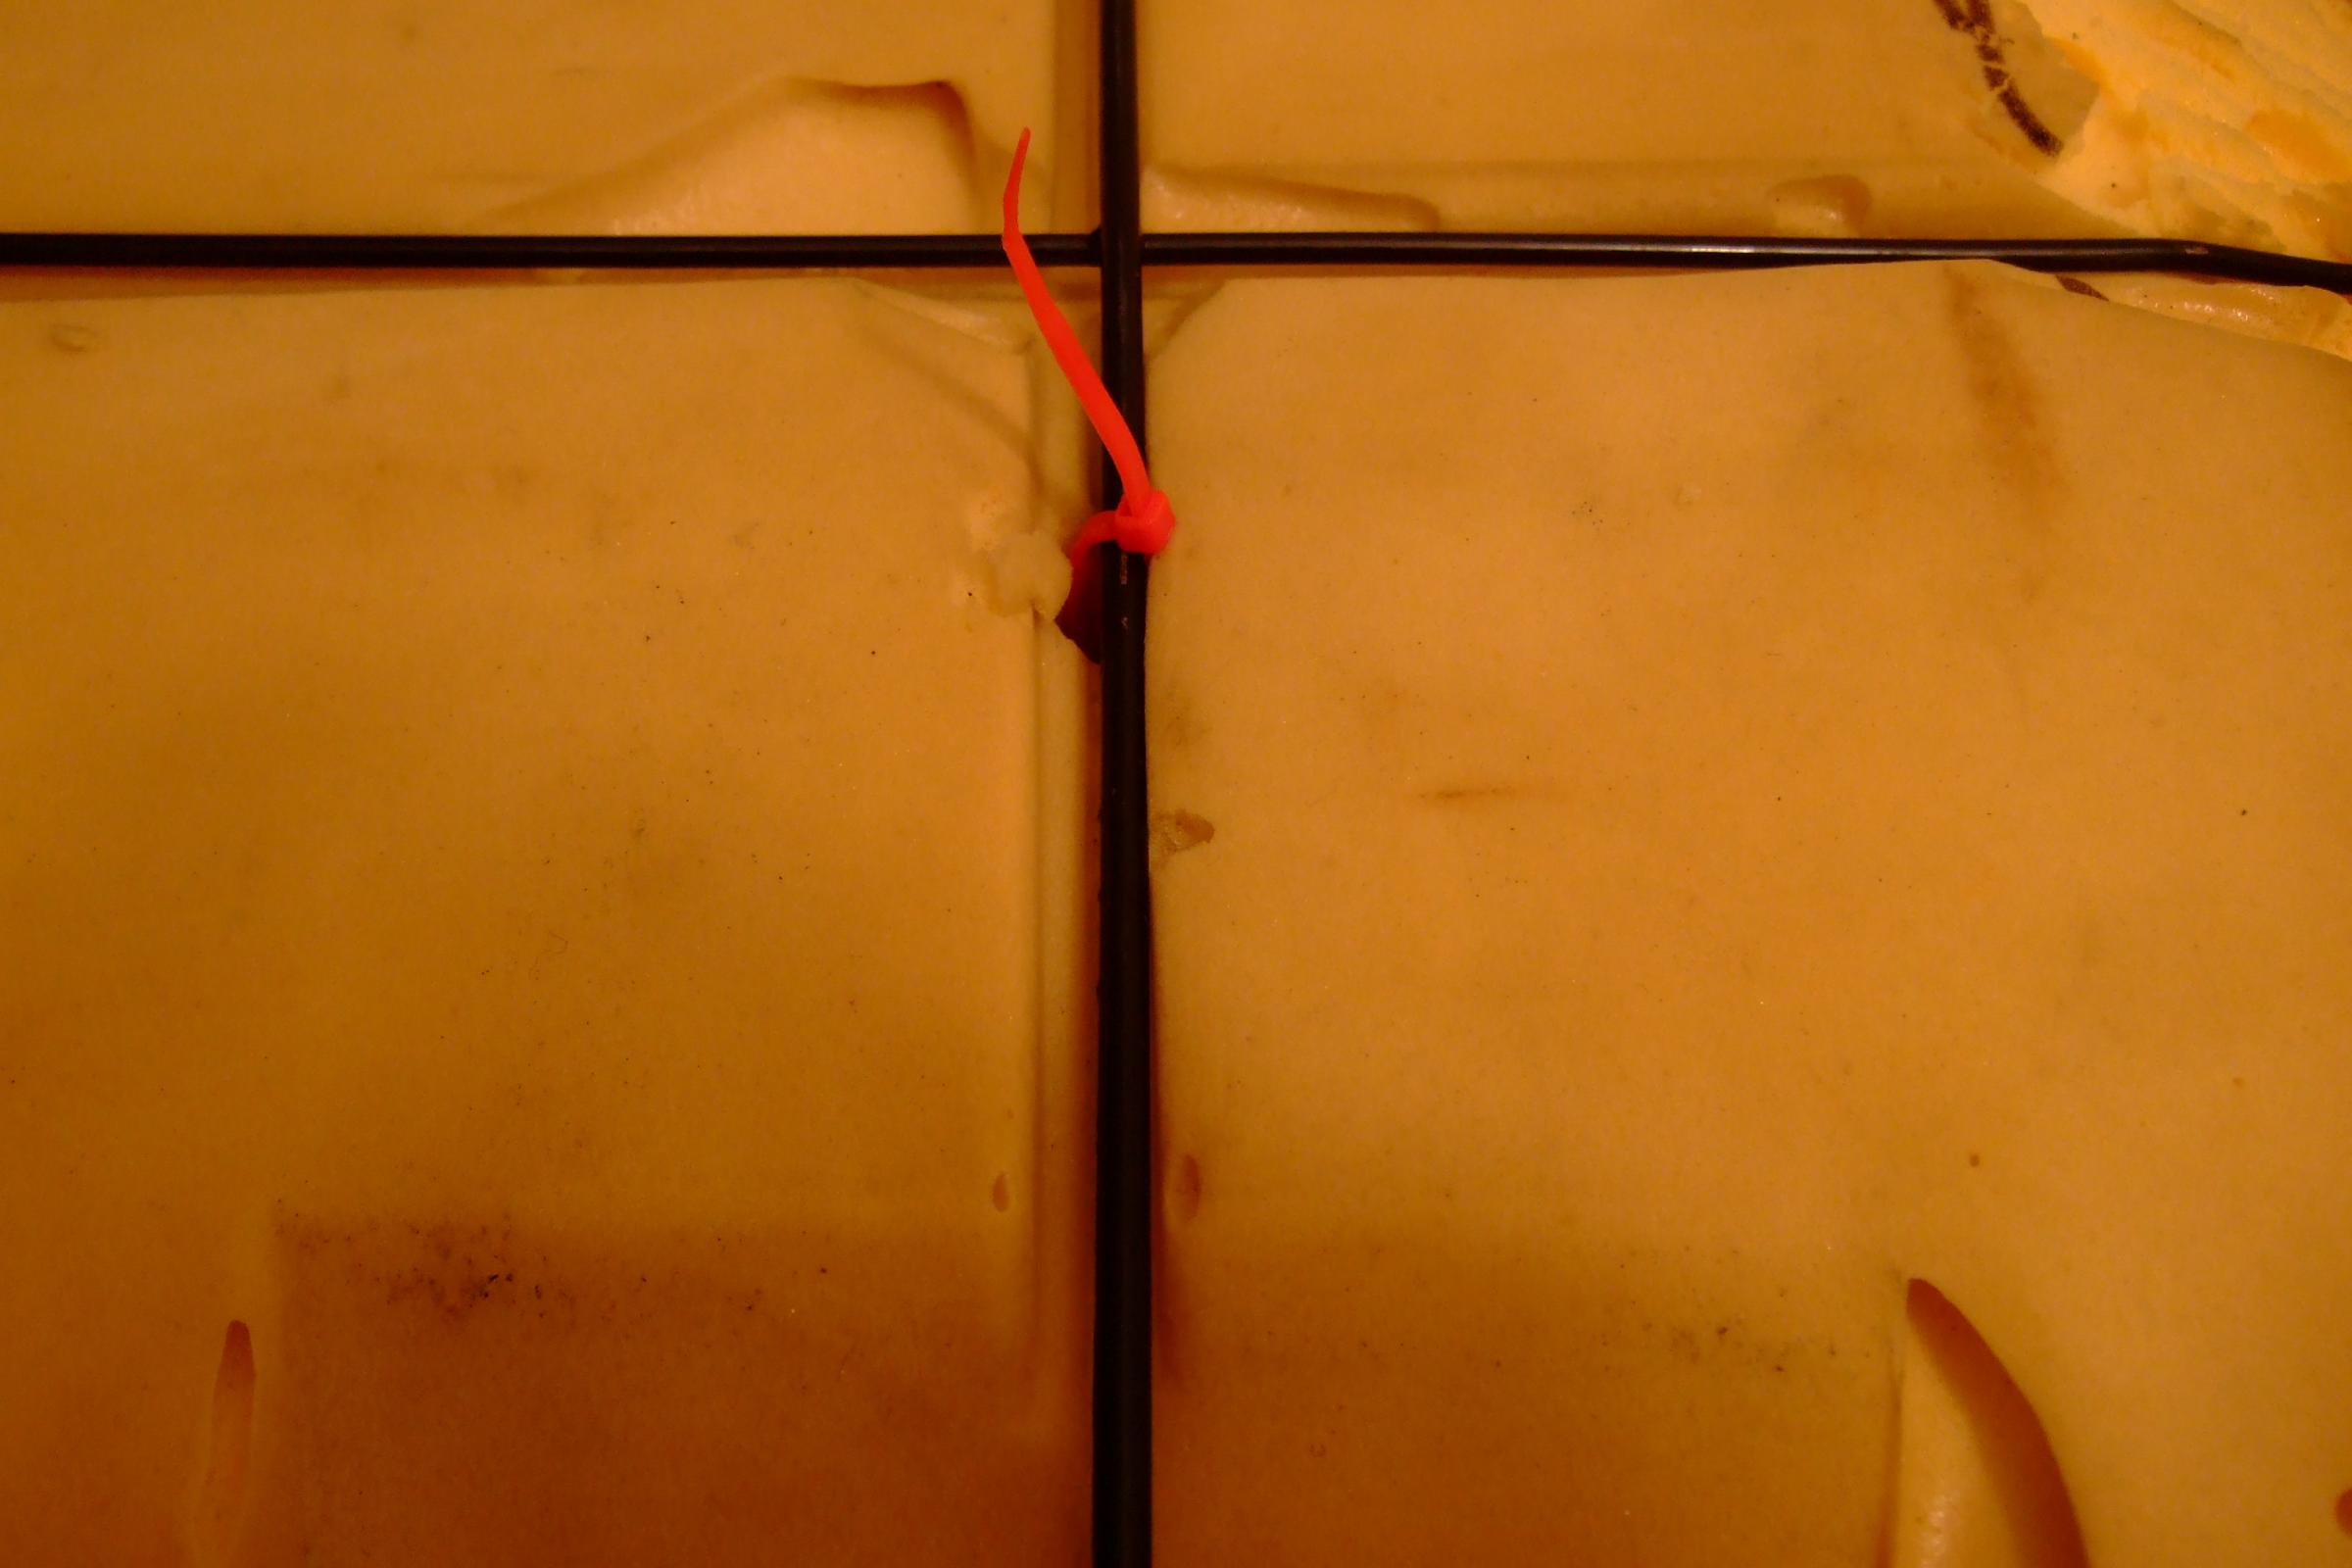
What I did with regard to the width was to cut the outer wire off and re position this inside the other one. See picture 33 for details of the frame and I think this was after I had re=welded. I also did some adjustments to the wire to suit the actually MK2 Chassis but these were minor. .I then cut the foam of the XJ40 on the side now to match the new wire frame and then re attahced the seat cover. Picture 40 show a little of where I cut the foam but more from the back than the side This is not the perfect solution as the sides fell a little empty where the foam has been removed from but at least the seats now goes in easily
Basically I did what i explained in the previous post. The XJ40 seats are made with a wire frame of about 1/8th thick material and there are two parts to this frame. The first wire is what you stretch the materal over and the second is what the hog rings attach to. This is the same for the base and the back. As already mentioned i decided to use the base metal of the MK2 seats for the bottom cushion and then cut the foam to suit and the first three pictures show where I cut this. I also had to cut the metal frame a little as this was too long for the cushion the next three pictures show this operation. I had removed the rust and painted the frame before the cut and fastening the cover to it.
You can see the picture 20 from the comparison of the frames how much wider the back of the seat is than the MK2 which is on top
What I did with regard to the width was to cut the outer wire off and re position this inside the other one. See picture 33 for details of the frame and I think this was after I had re=welded. I also did some adjustments to the wire to suit the actually MK2 Chassis but these were minor. .I then cut the foam of the XJ40 on the side now to match the new wire frame and then re attahced the seat cover. Picture 40 show a little of where I cut the foam but more from the back than the side This is not the perfect solution as the sides fell a little empty where the foam has been removed from but at least the seats now goes in easily
Cadillac
Veteran Member
close


Yesterday
- Join DateMar 2007
- LocationPlanetarium
- Posts:11,393
-
Likes:447
-
Liked:649 Times in 448 Posts
This is one of the greatest project, restoration, beautification topics I have ever read , doff at you and you have got my appreciation deeply and verily 
Quote:
Basically I did what i explained in the previous post. The XJ40 seats are made with a wire frame of about 1/8th thick material and there are two parts to this frame. The first wire is what you stretch the materal over and the second is what the hog rings attach to. This is the same for the base and the back. As already mentioned i decided to use the base metal of the MK2 seats for the bottom cushion and then cut the foam to suit and the first three pictures show where I cut this. I also had to cut the metal frame a little as this was too long for the cushion the next three pictures show this operation. I had removed the rust and painted the frame before the cut and fastening the cover to it. I also used the old piece that i cut away ands re-welded this to the frame at the right height for the clips.
You can see the picture 20 from the comparison of the frames how much wider the back of the seat is than the MK2 which is on top
What I did with regard to the width was to cut the outer wire off and re position this inside the other one. See picture 33 for details of the frame and I think this was after I had re=welded. I also did some adjustments to the wire to suit the actually MK2 Chassis but these were minor. .I then cut the foam of the XJ40 on the side now to match the new wire frame and then re attahced the seat cover. Picture 40 show a little of where I cut the foam but more from the back than the side This is not the perfect solution as the sides fell a little empty where the foam has been removed from but at least the seats now goes in easily
Pictures now attached as for some reason ( me) they did not attachOriginally Posted by raym
PrimazBasically I did what i explained in the previous post. The XJ40 seats are made with a wire frame of about 1/8th thick material and there are two parts to this frame. The first wire is what you stretch the materal over and the second is what the hog rings attach to. This is the same for the base and the back. As already mentioned i decided to use the base metal of the MK2 seats for the bottom cushion and then cut the foam to suit and the first three pictures show where I cut this. I also had to cut the metal frame a little as this was too long for the cushion the next three pictures show this operation. I had removed the rust and painted the frame before the cut and fastening the cover to it. I also used the old piece that i cut away ands re-welded this to the frame at the right height for the clips.
You can see the picture 20 from the comparison of the frames how much wider the back of the seat is than the MK2 which is on top
What I did with regard to the width was to cut the outer wire off and re position this inside the other one. See picture 33 for details of the frame and I think this was after I had re=welded. I also did some adjustments to the wire to suit the actually MK2 Chassis but these were minor. .I then cut the foam of the XJ40 on the side now to match the new wire frame and then re attahced the seat cover. Picture 40 show a little of where I cut the foam but more from the back than the side This is not the perfect solution as the sides fell a little empty where the foam has been removed from but at least the seats now goes in easily

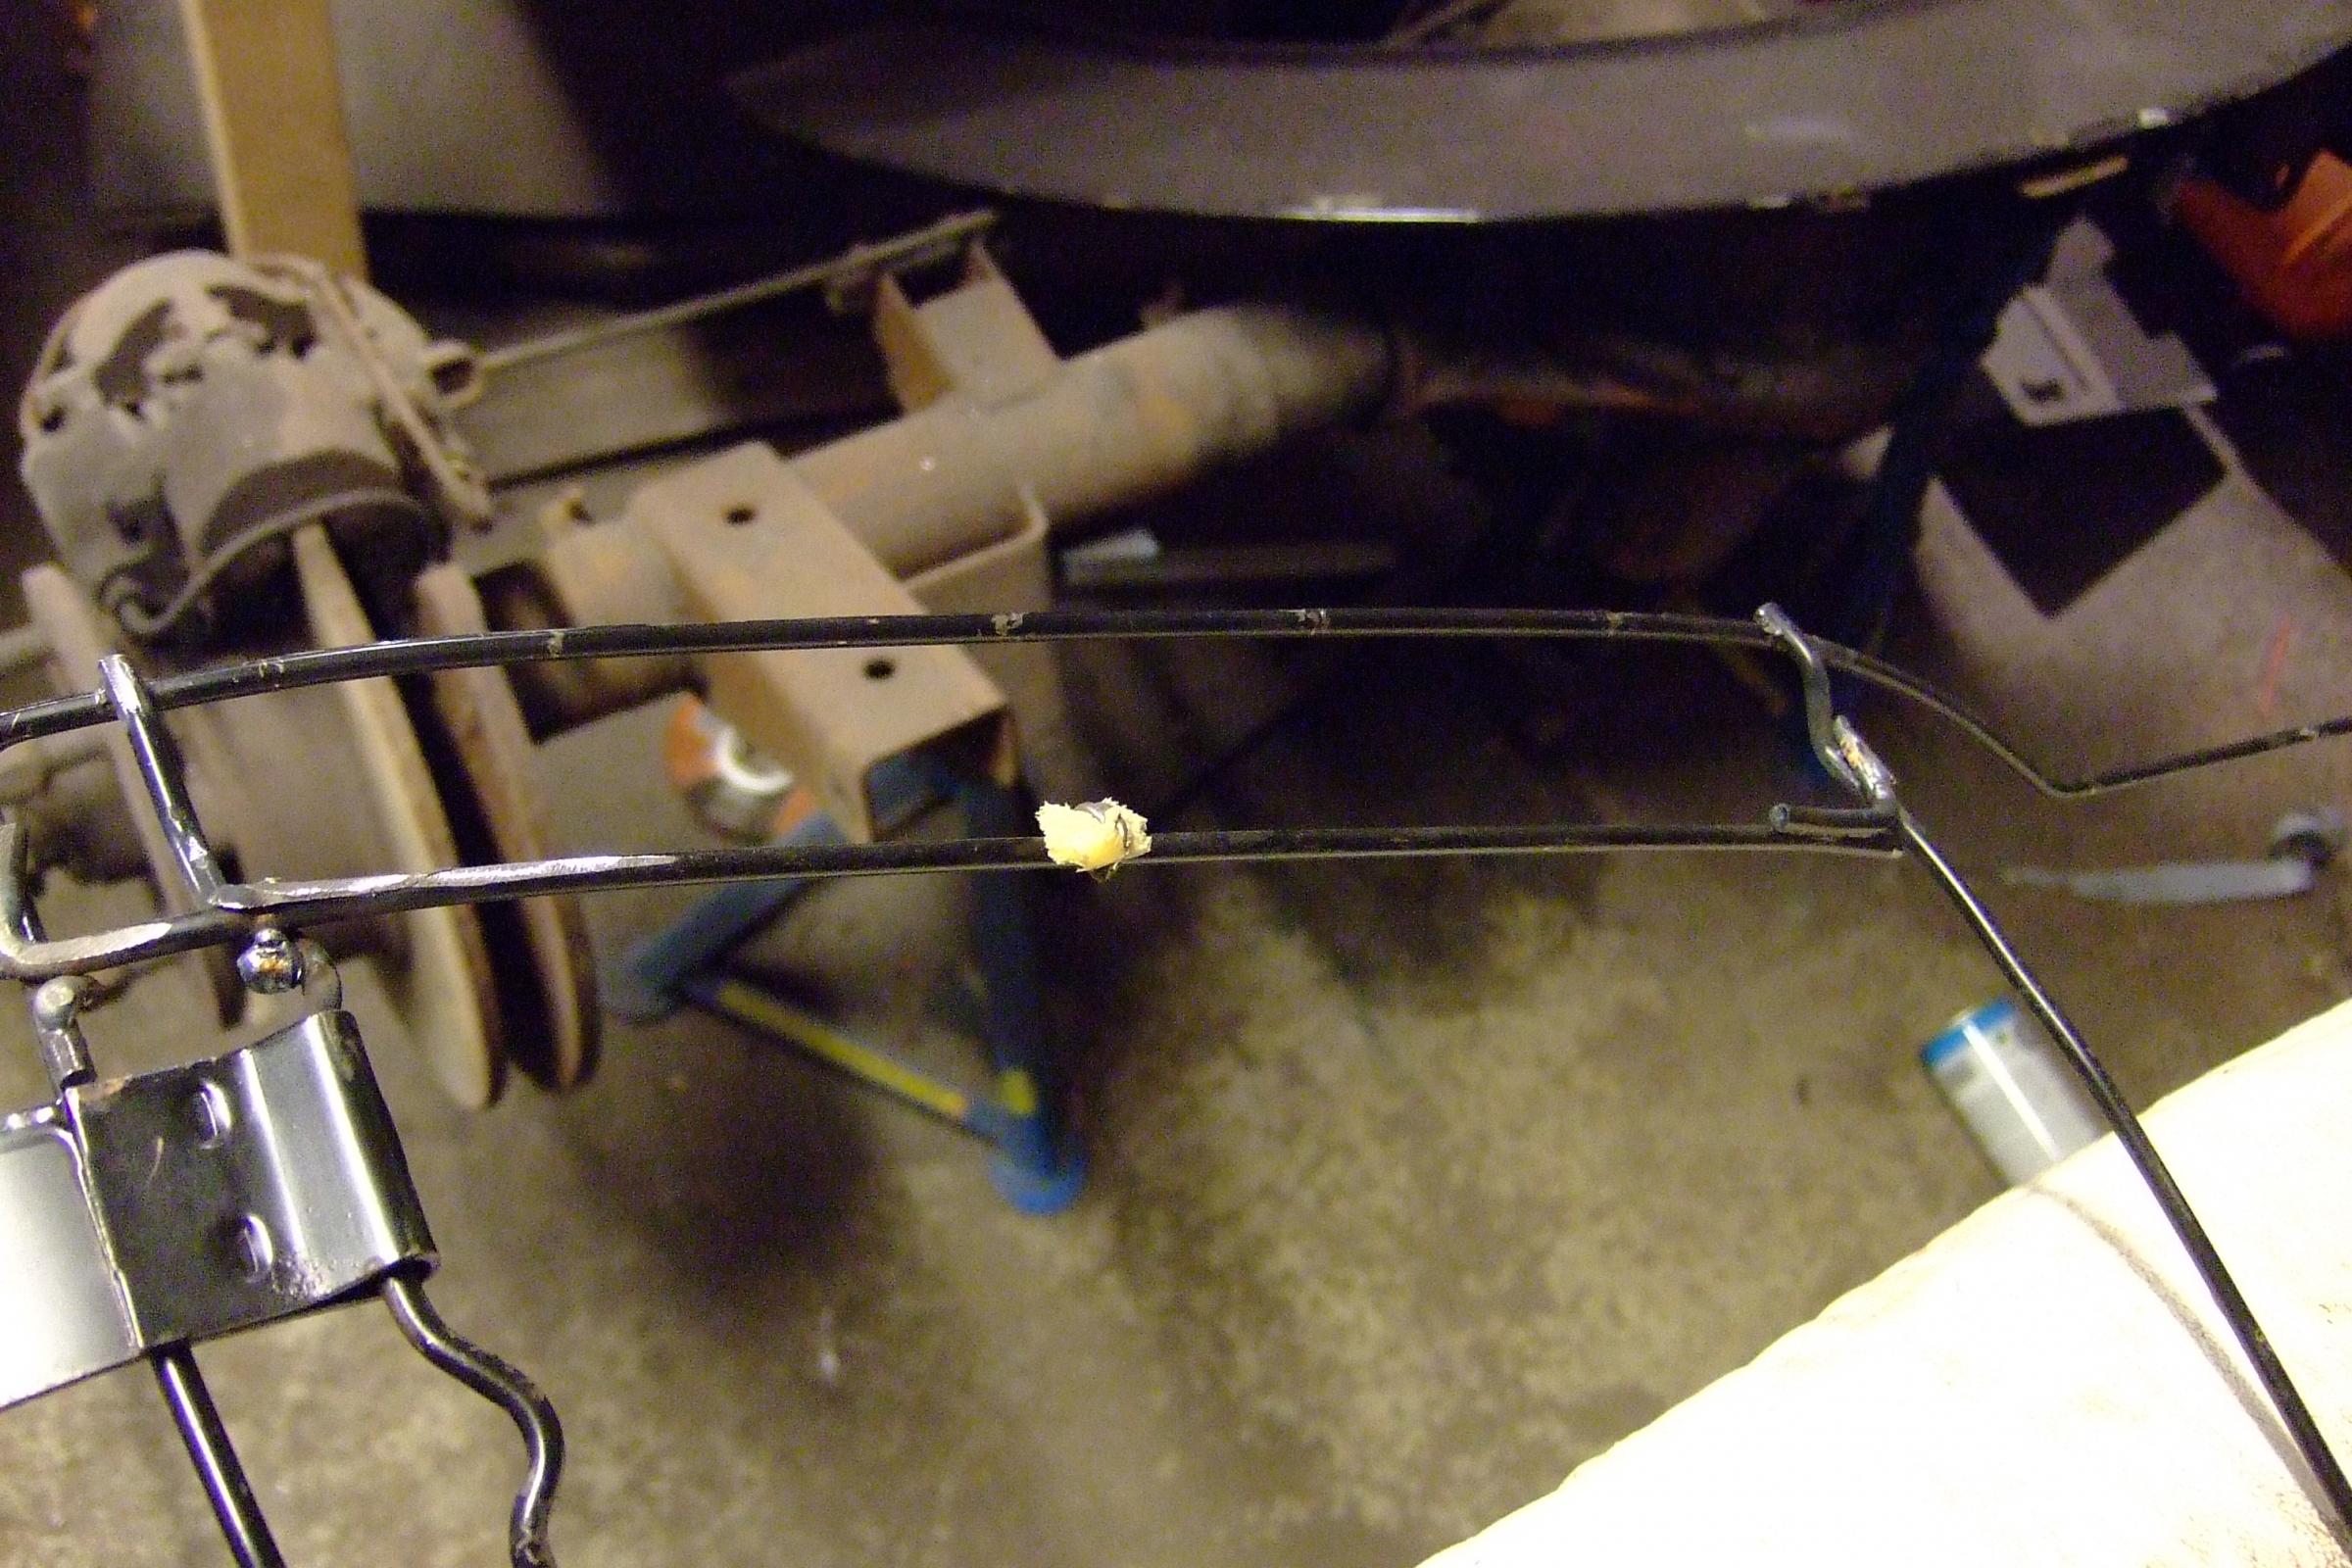


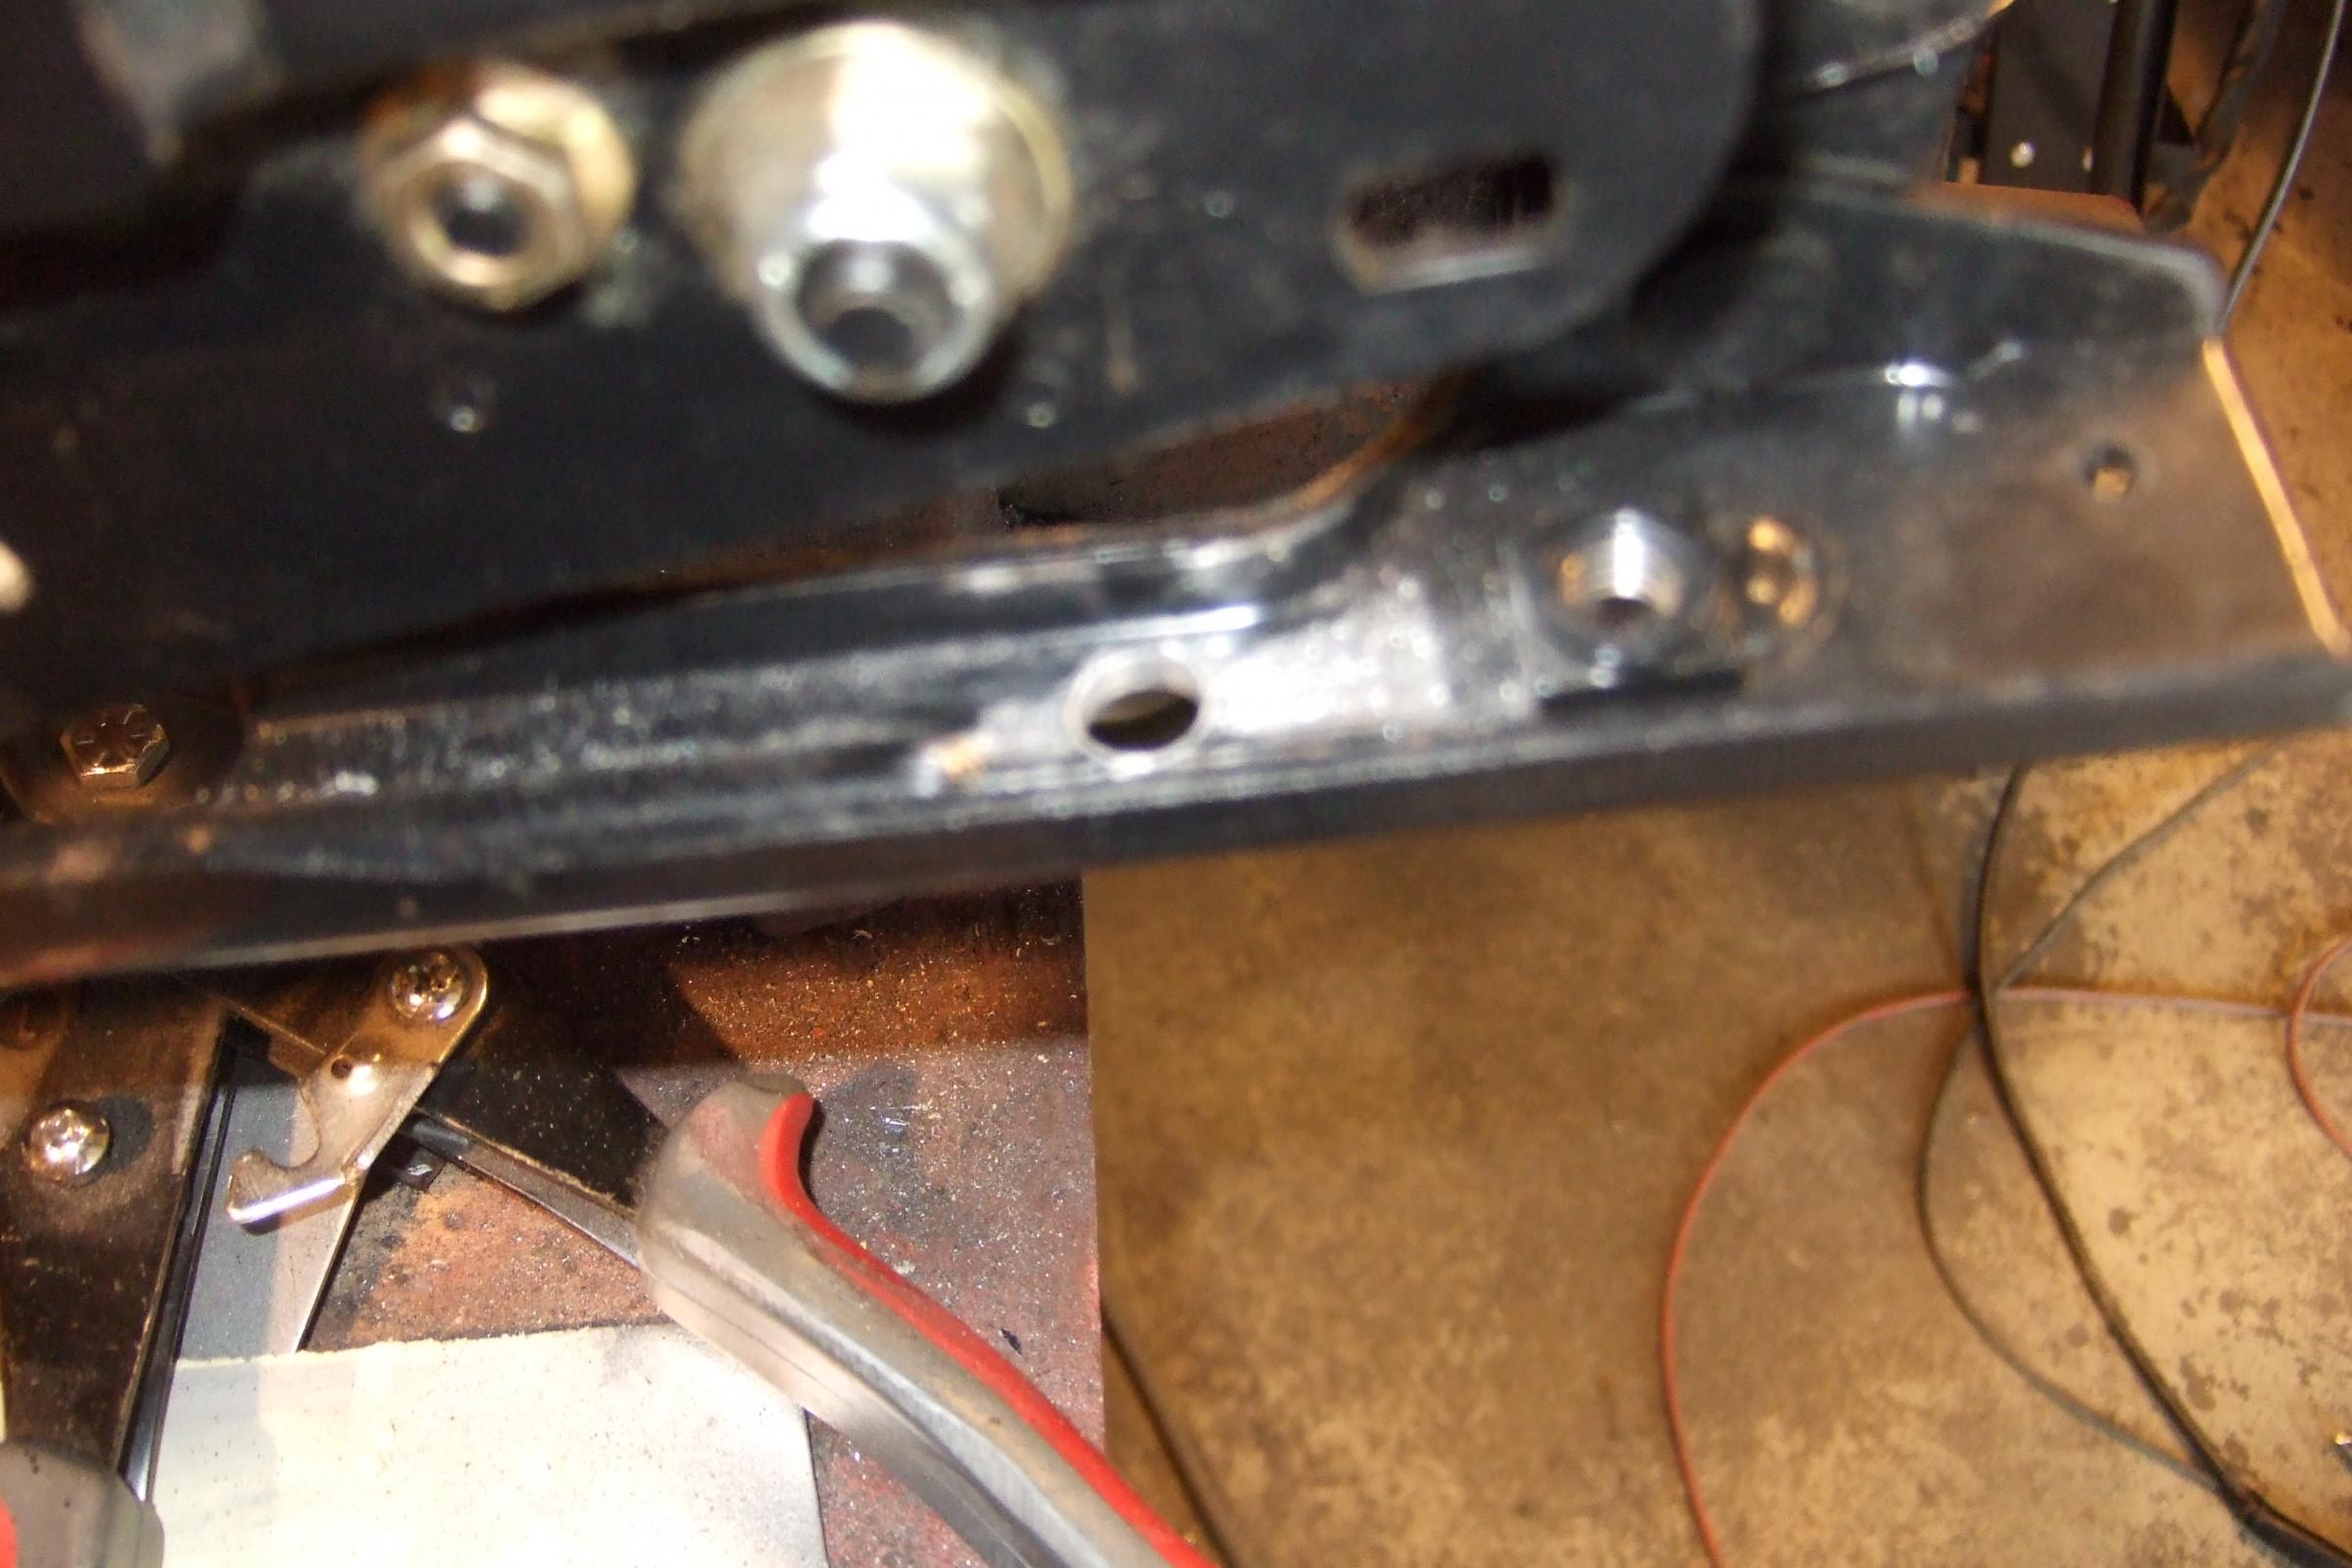
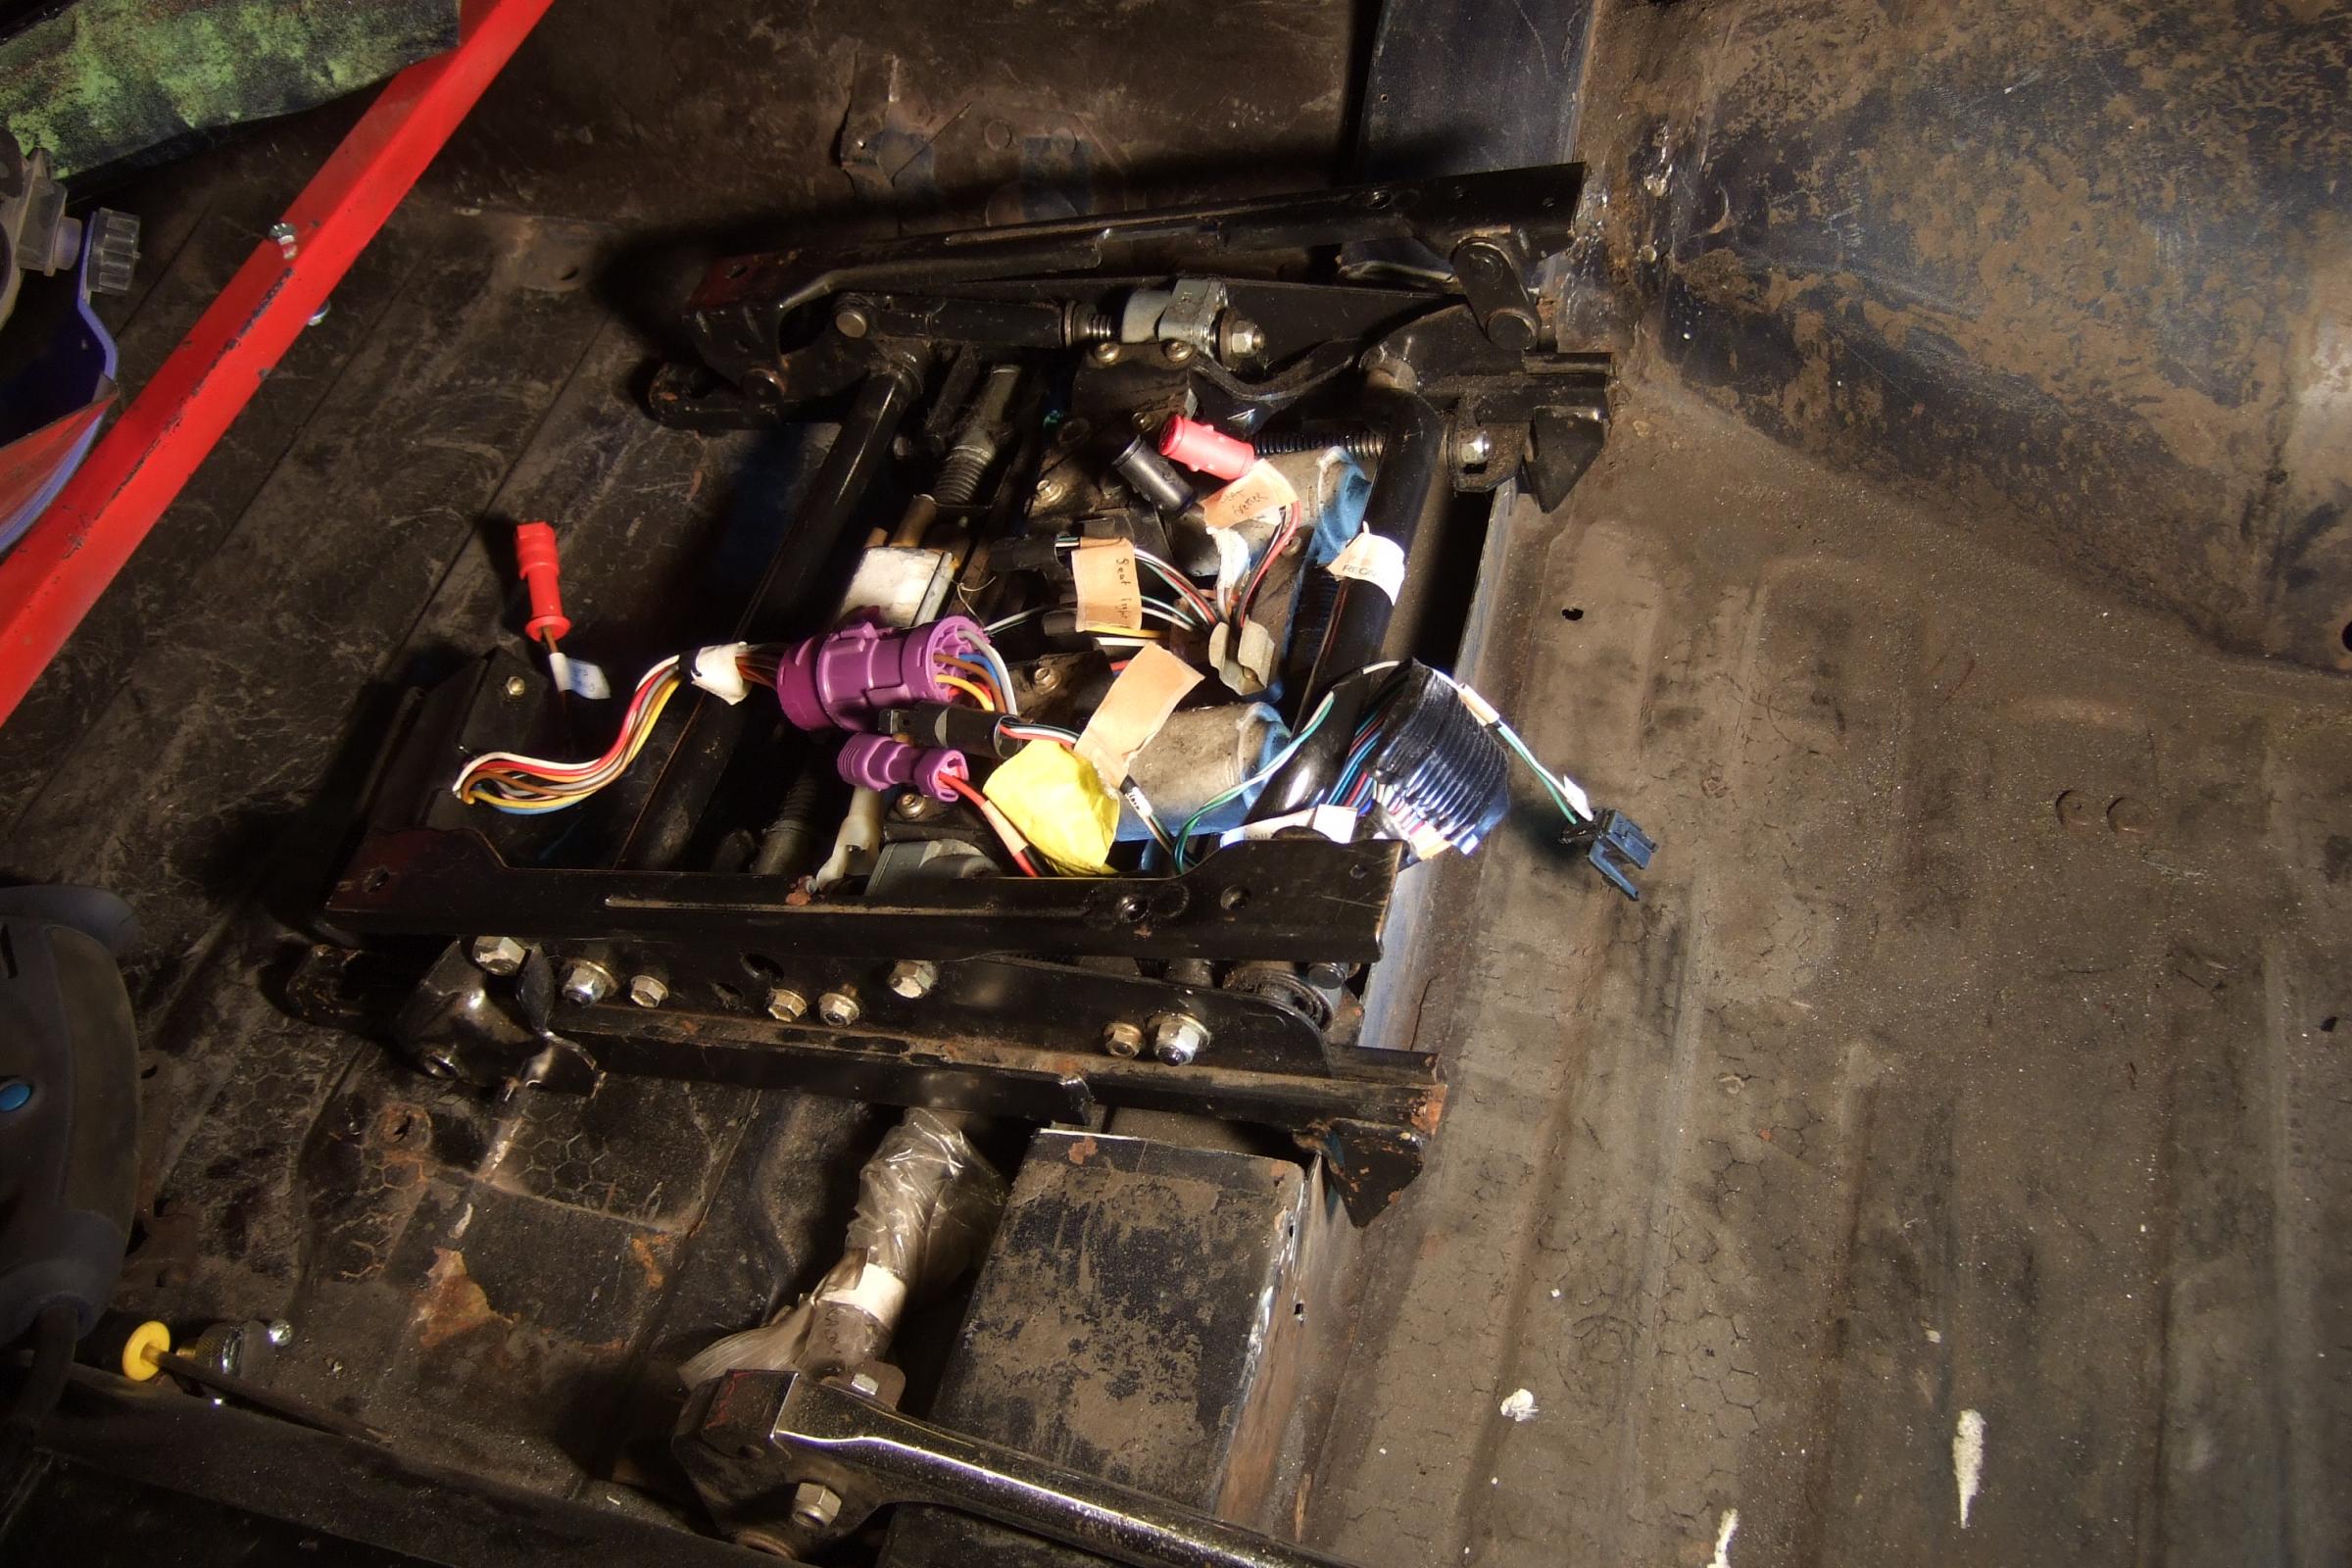
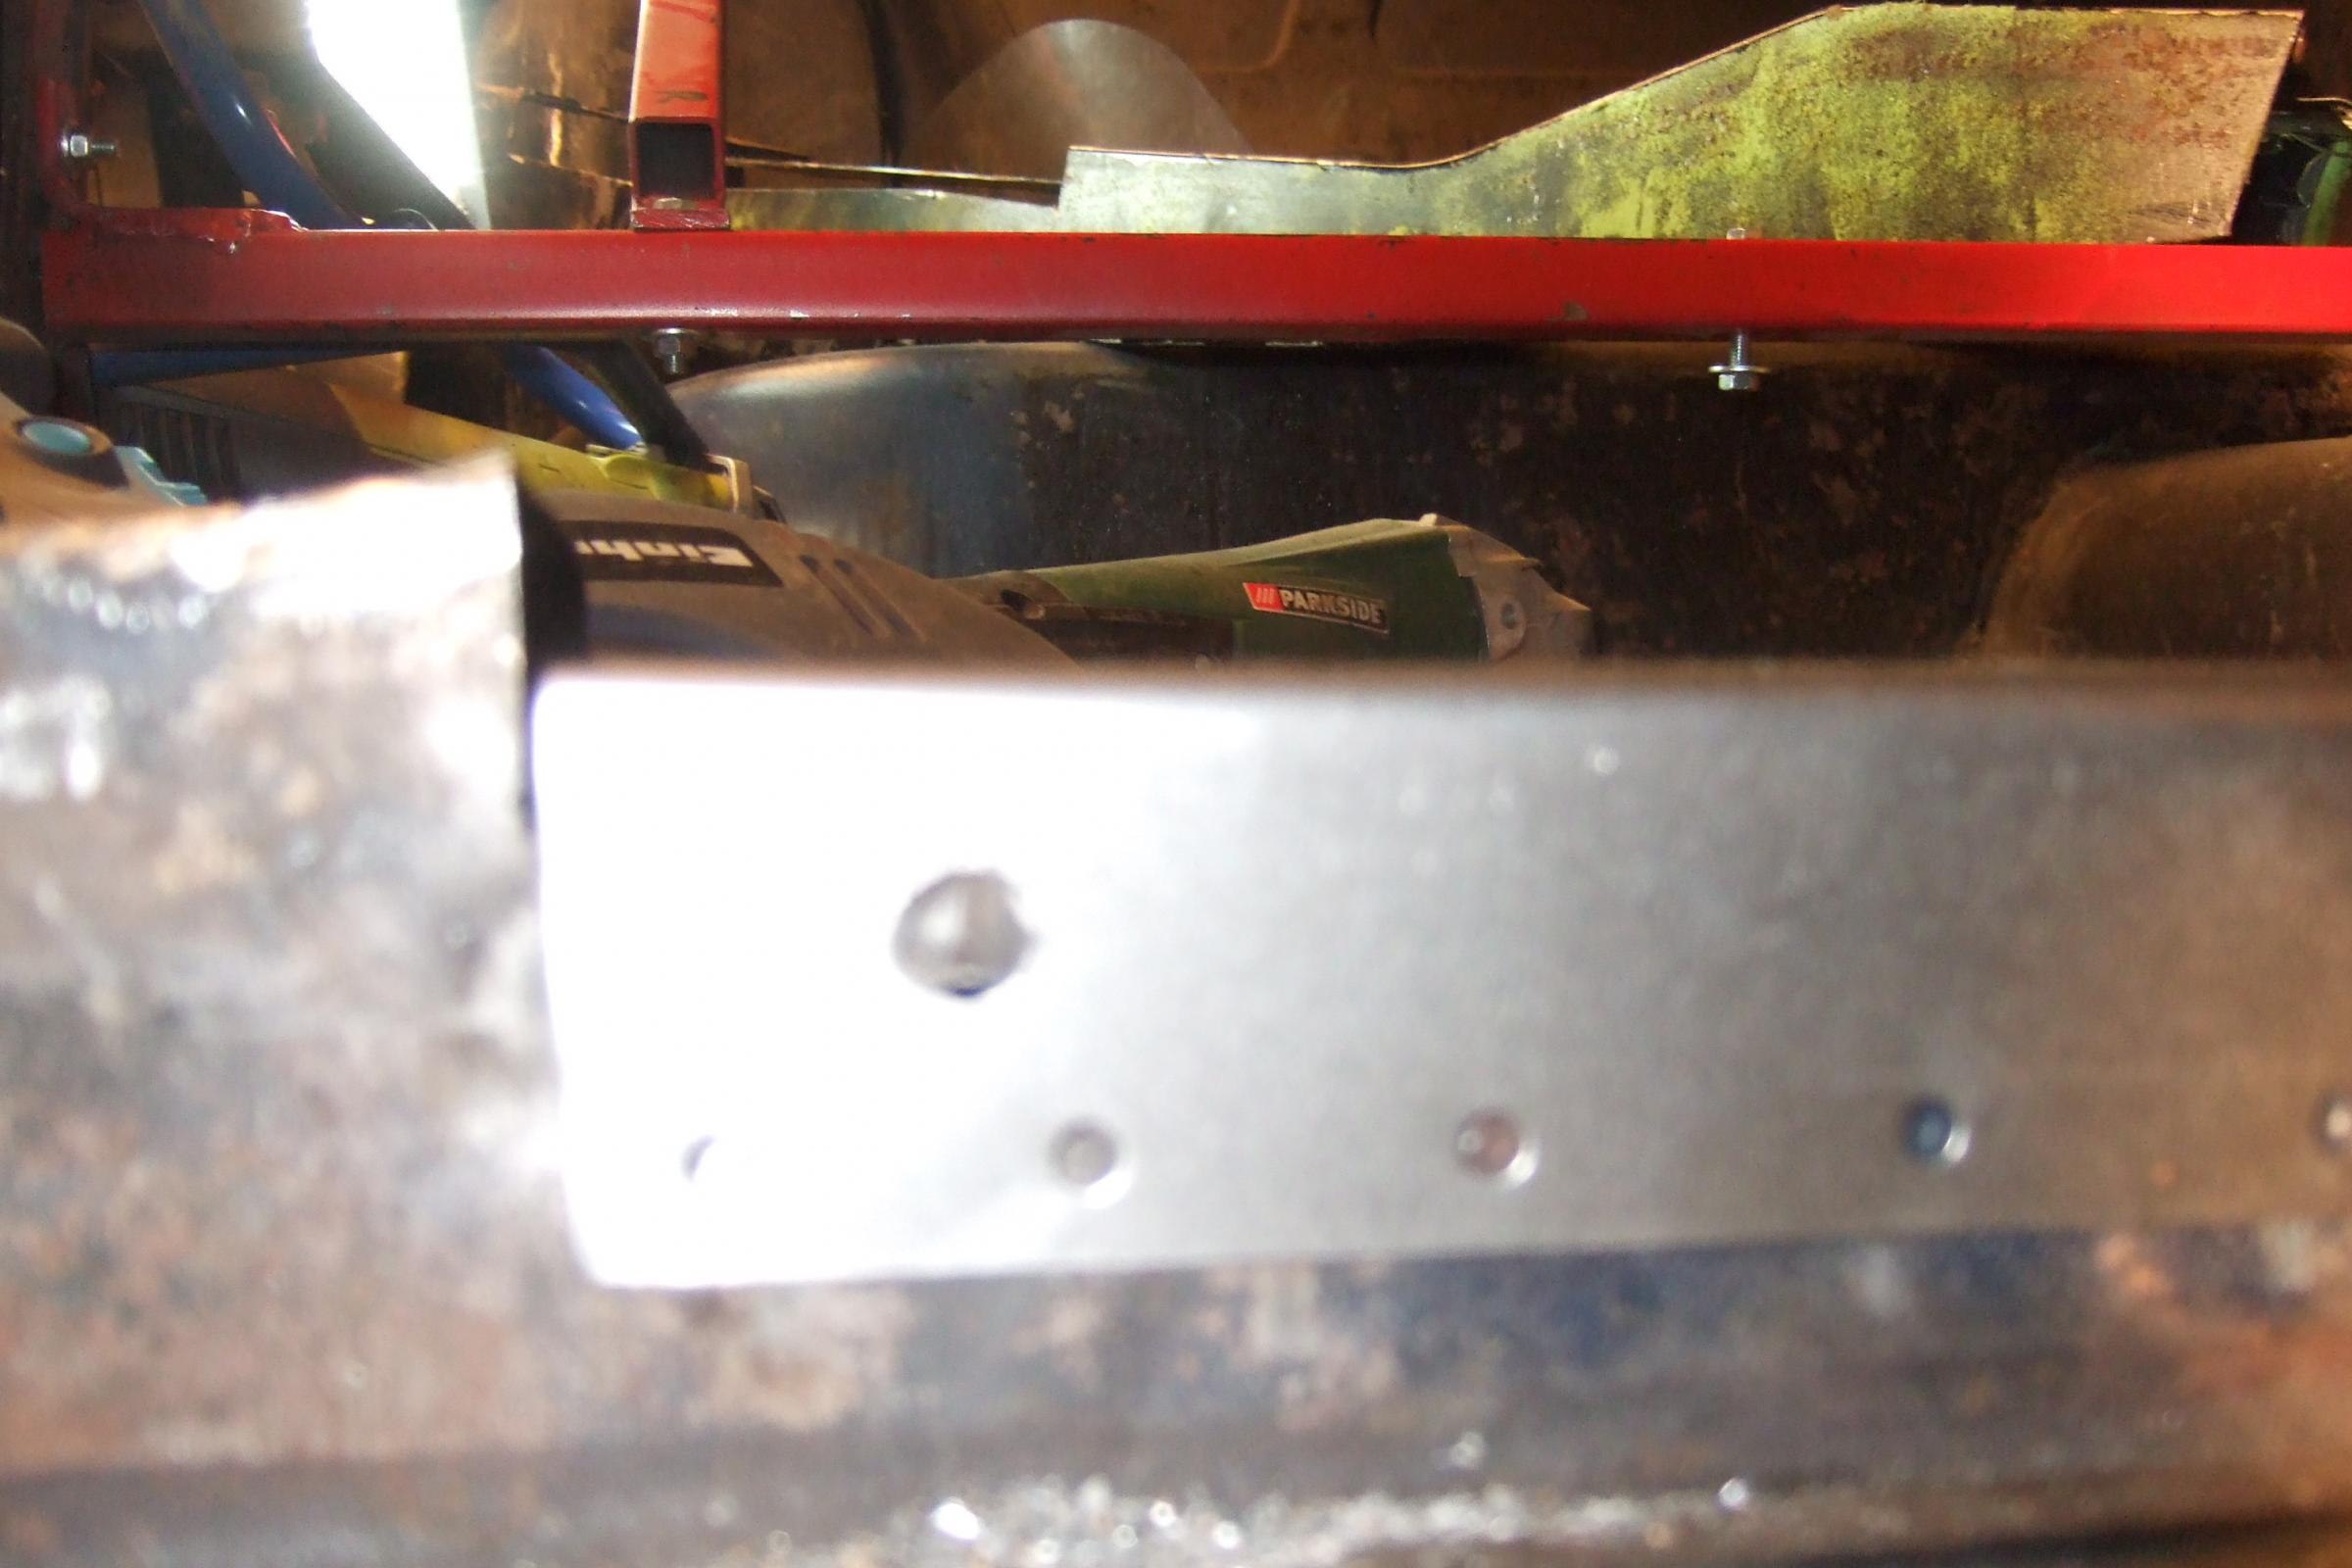
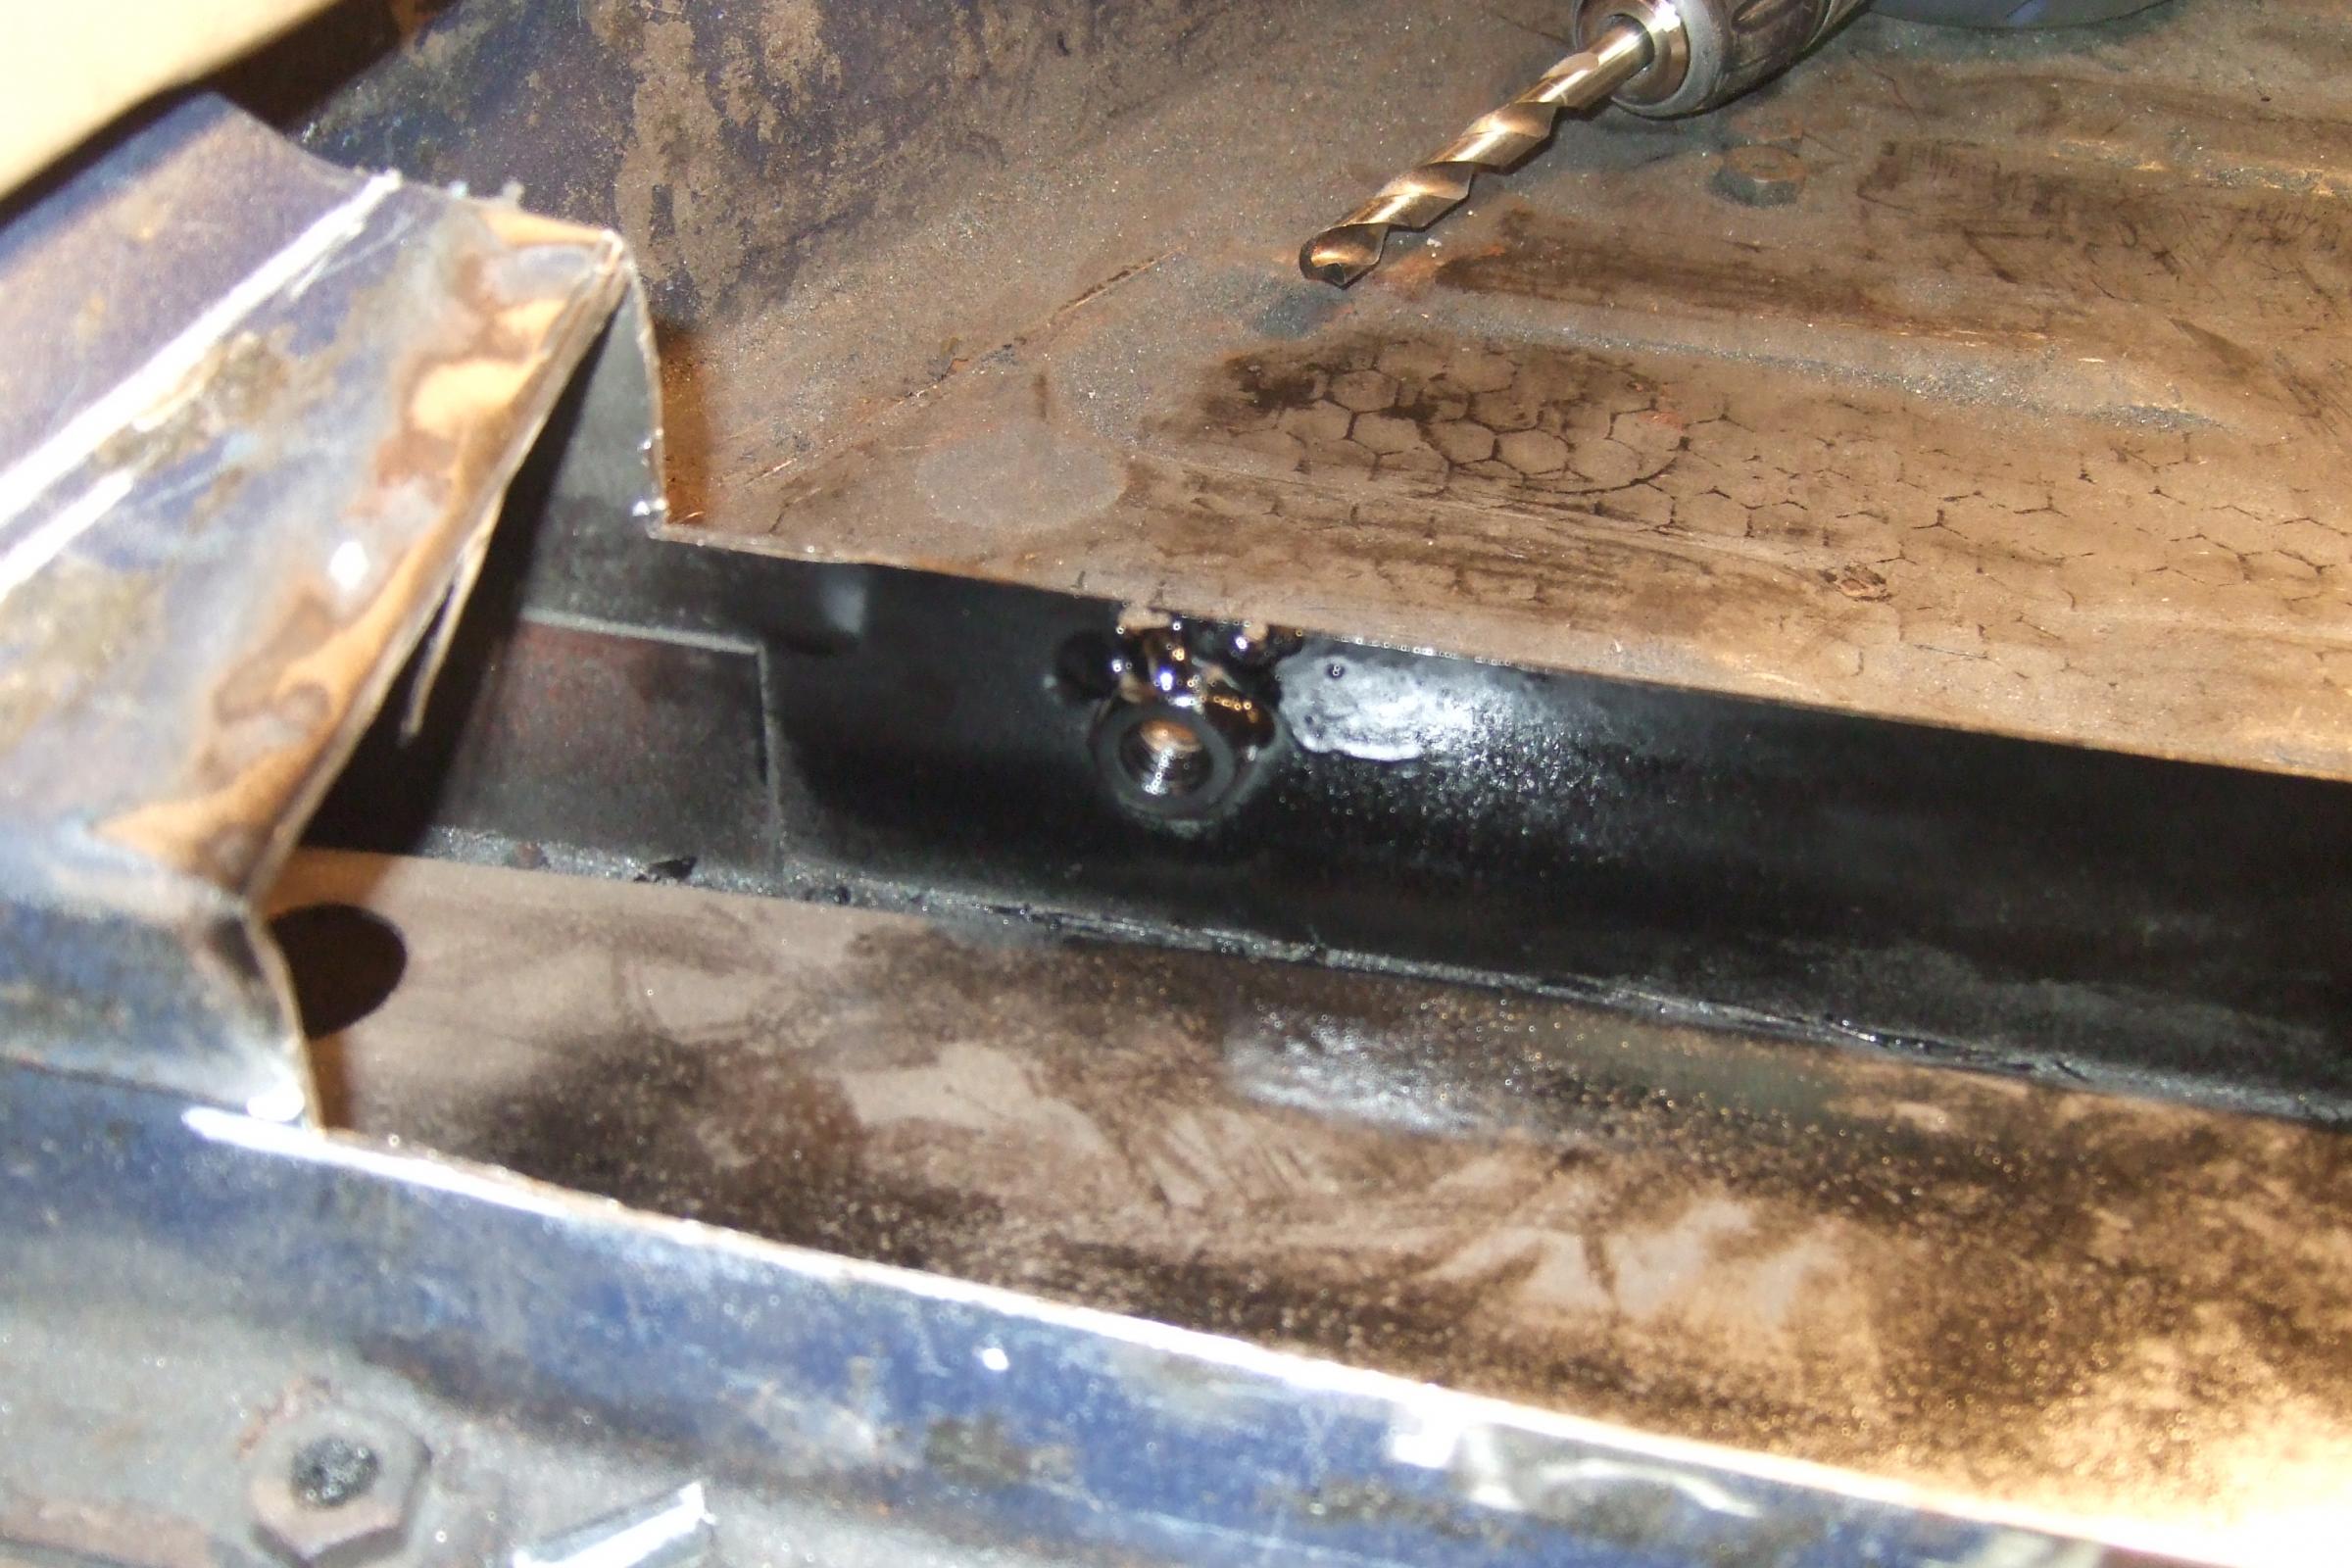
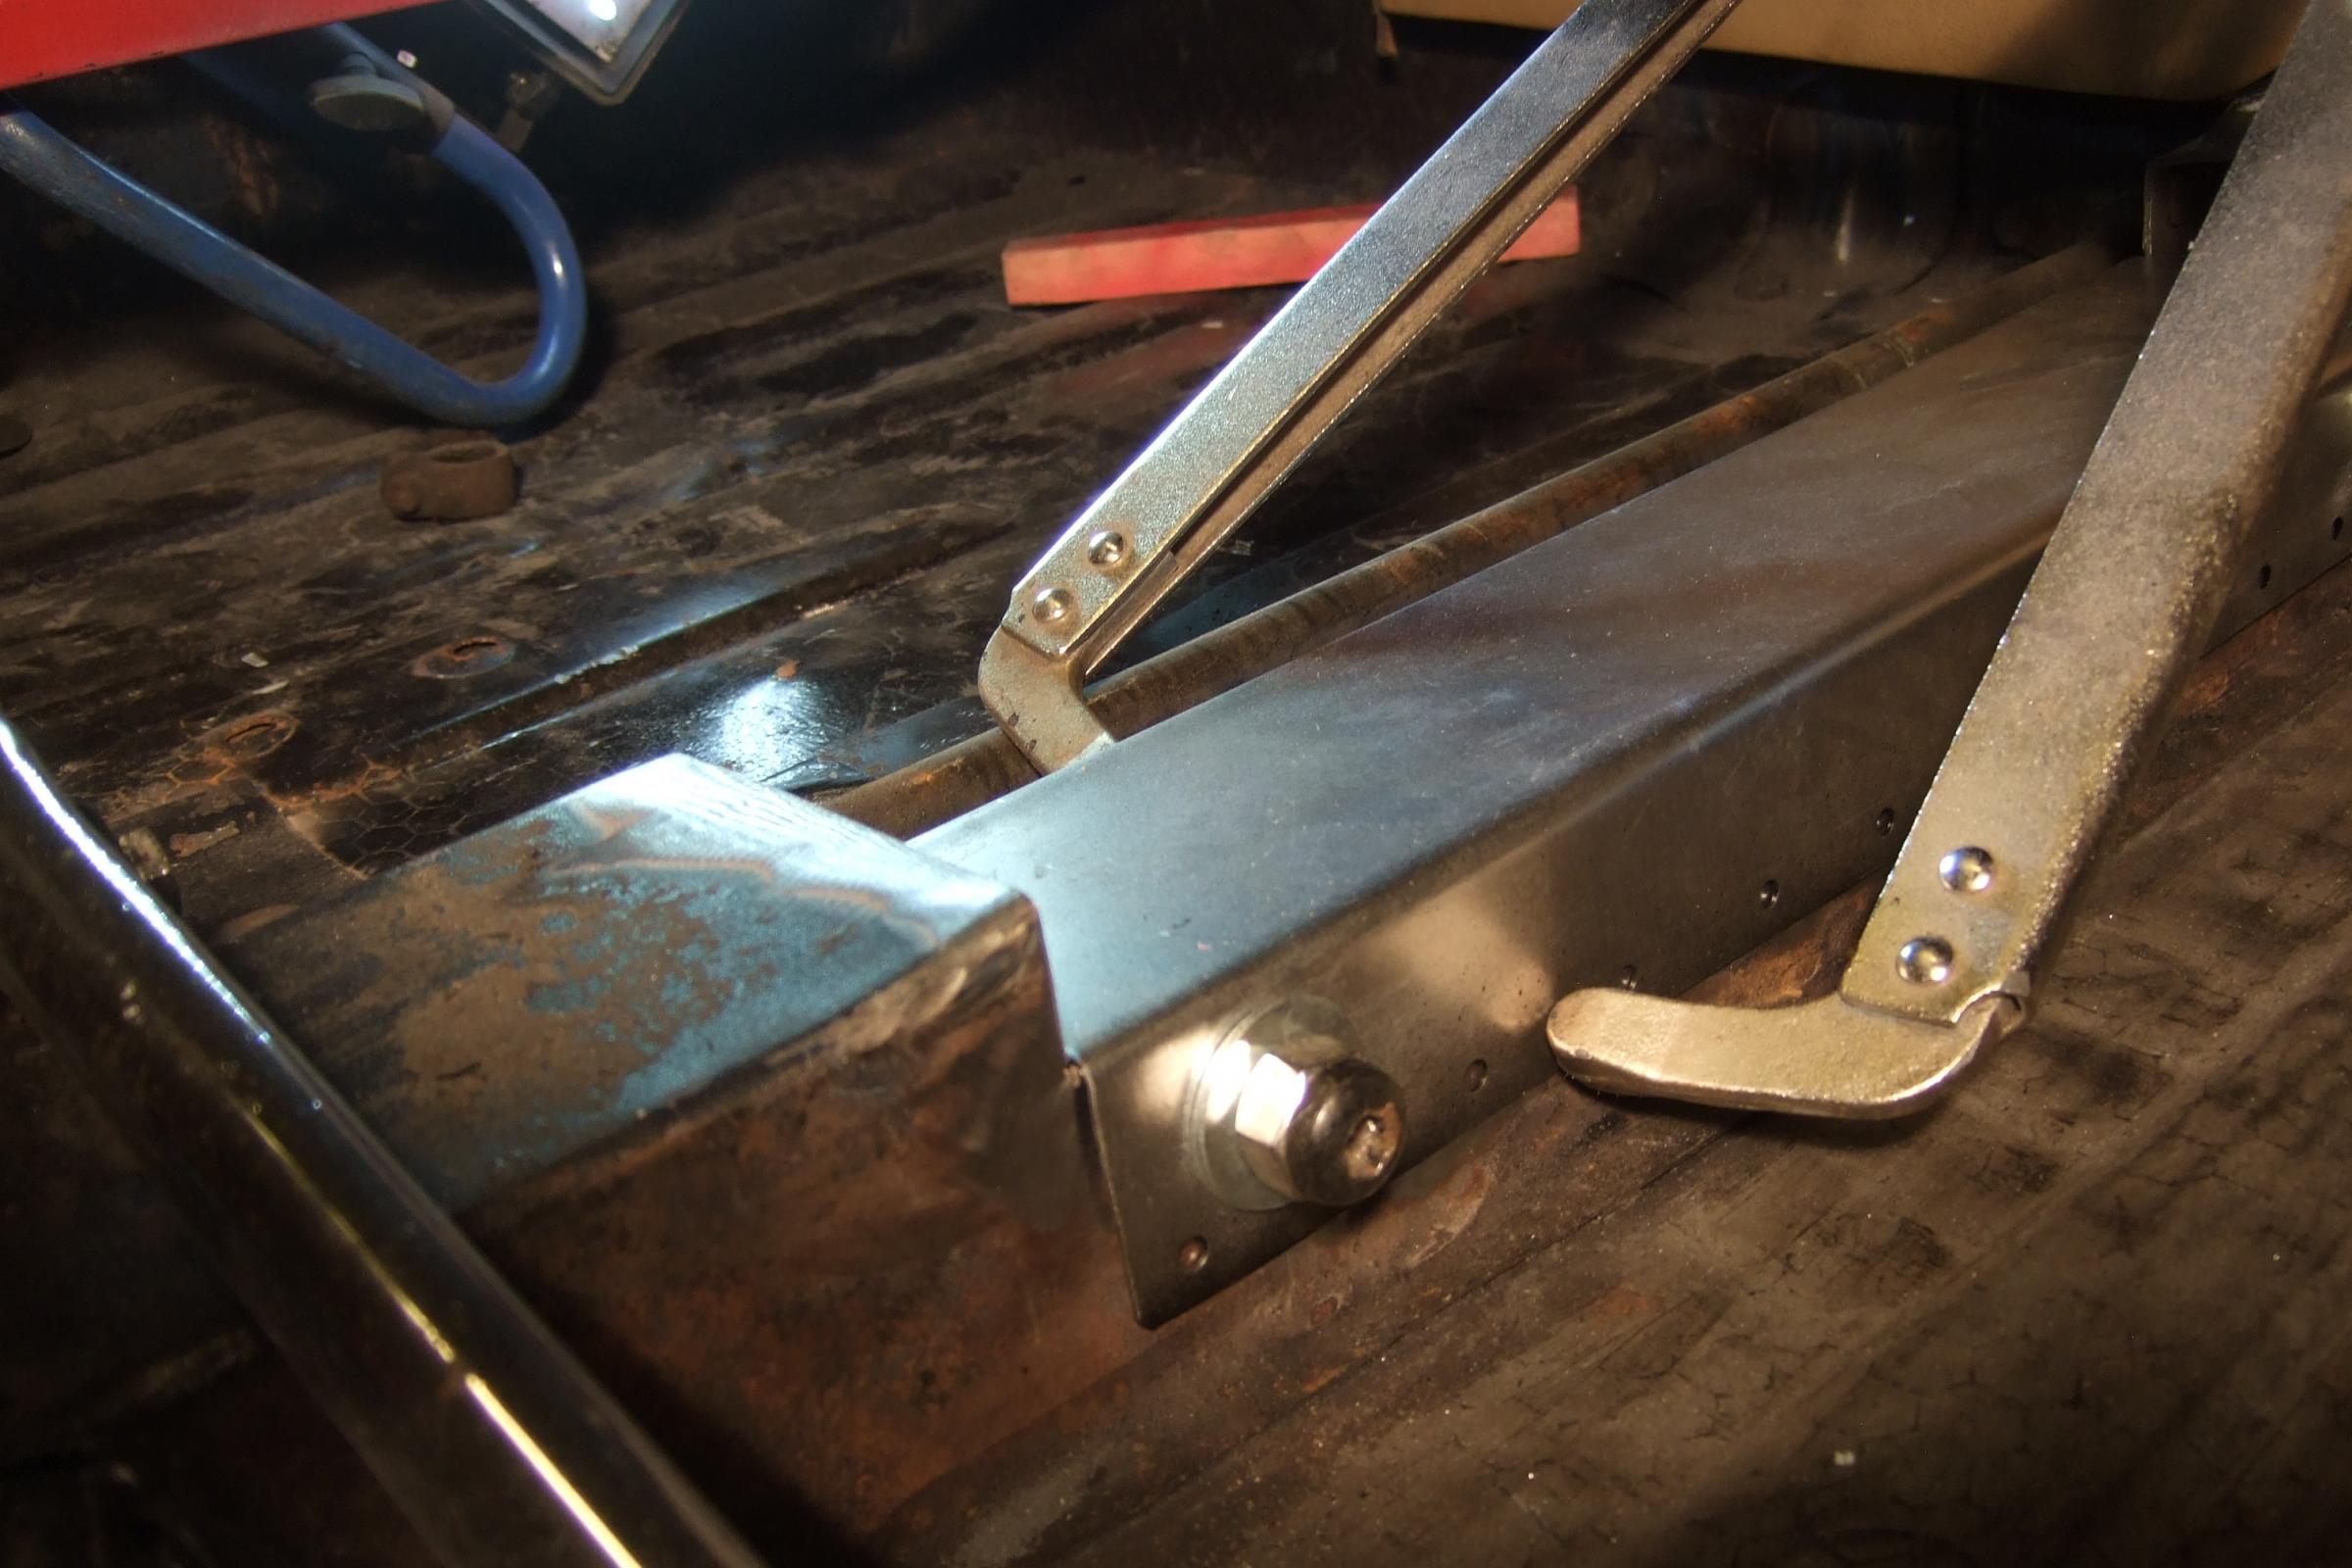
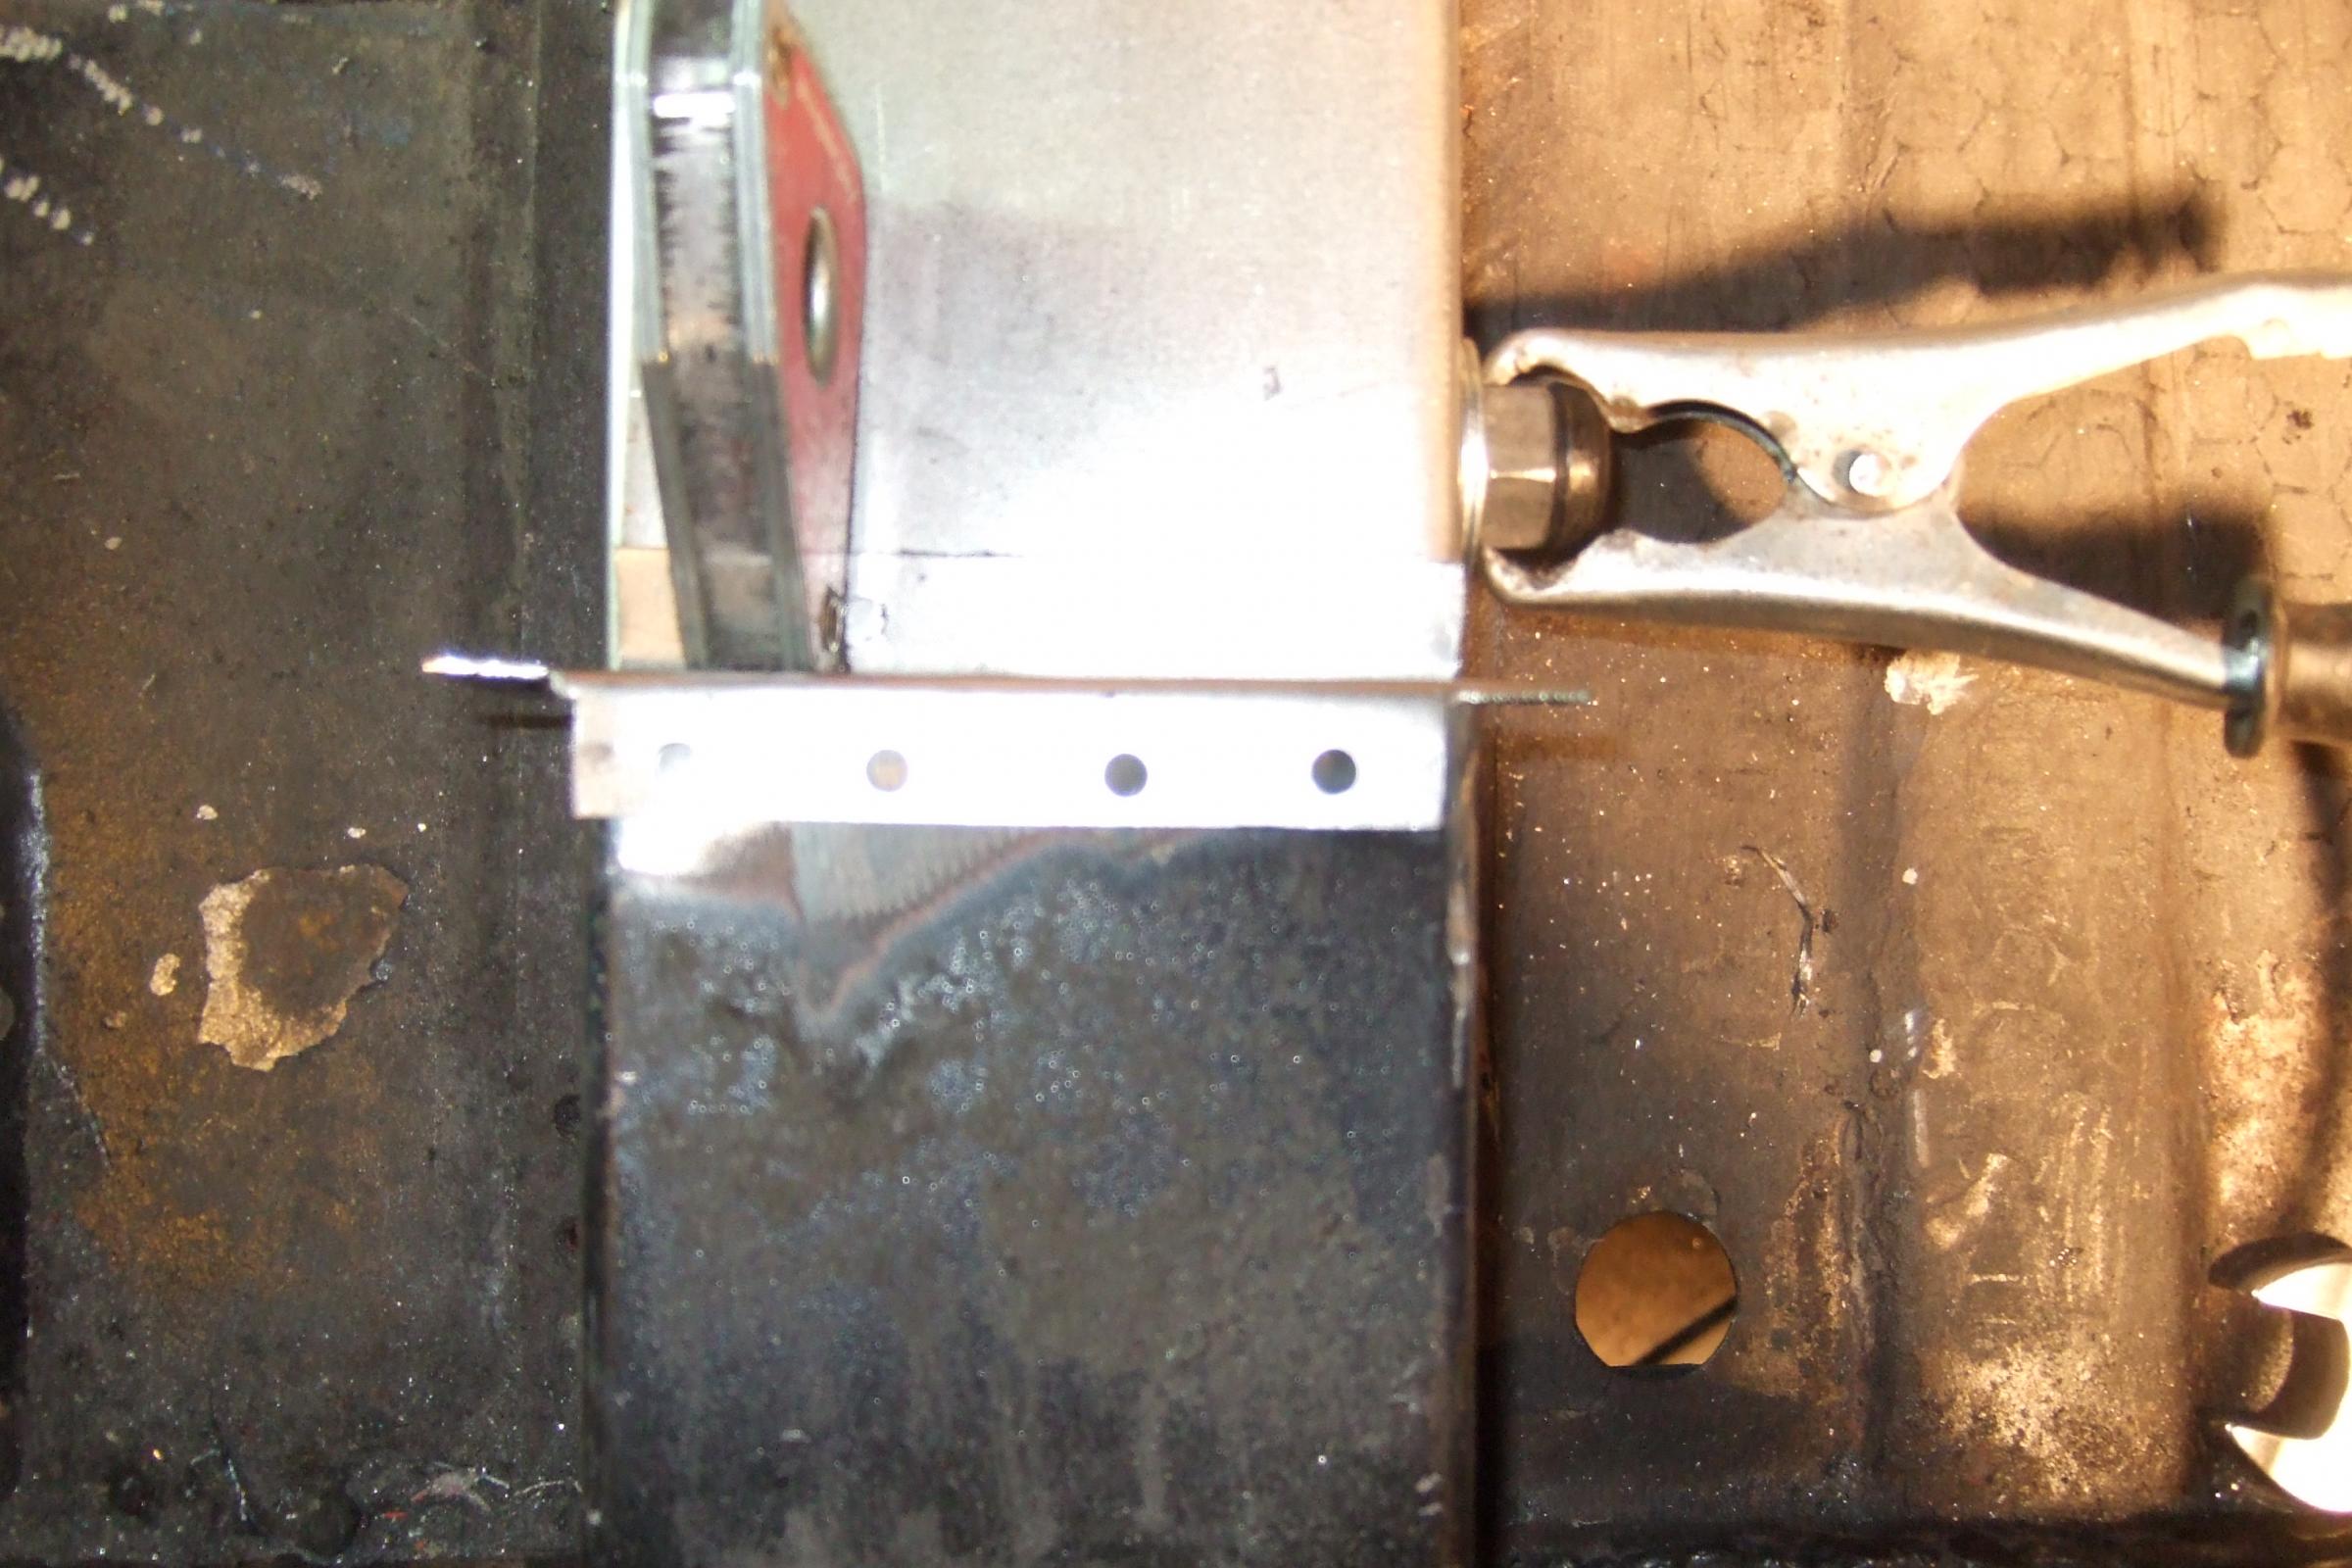
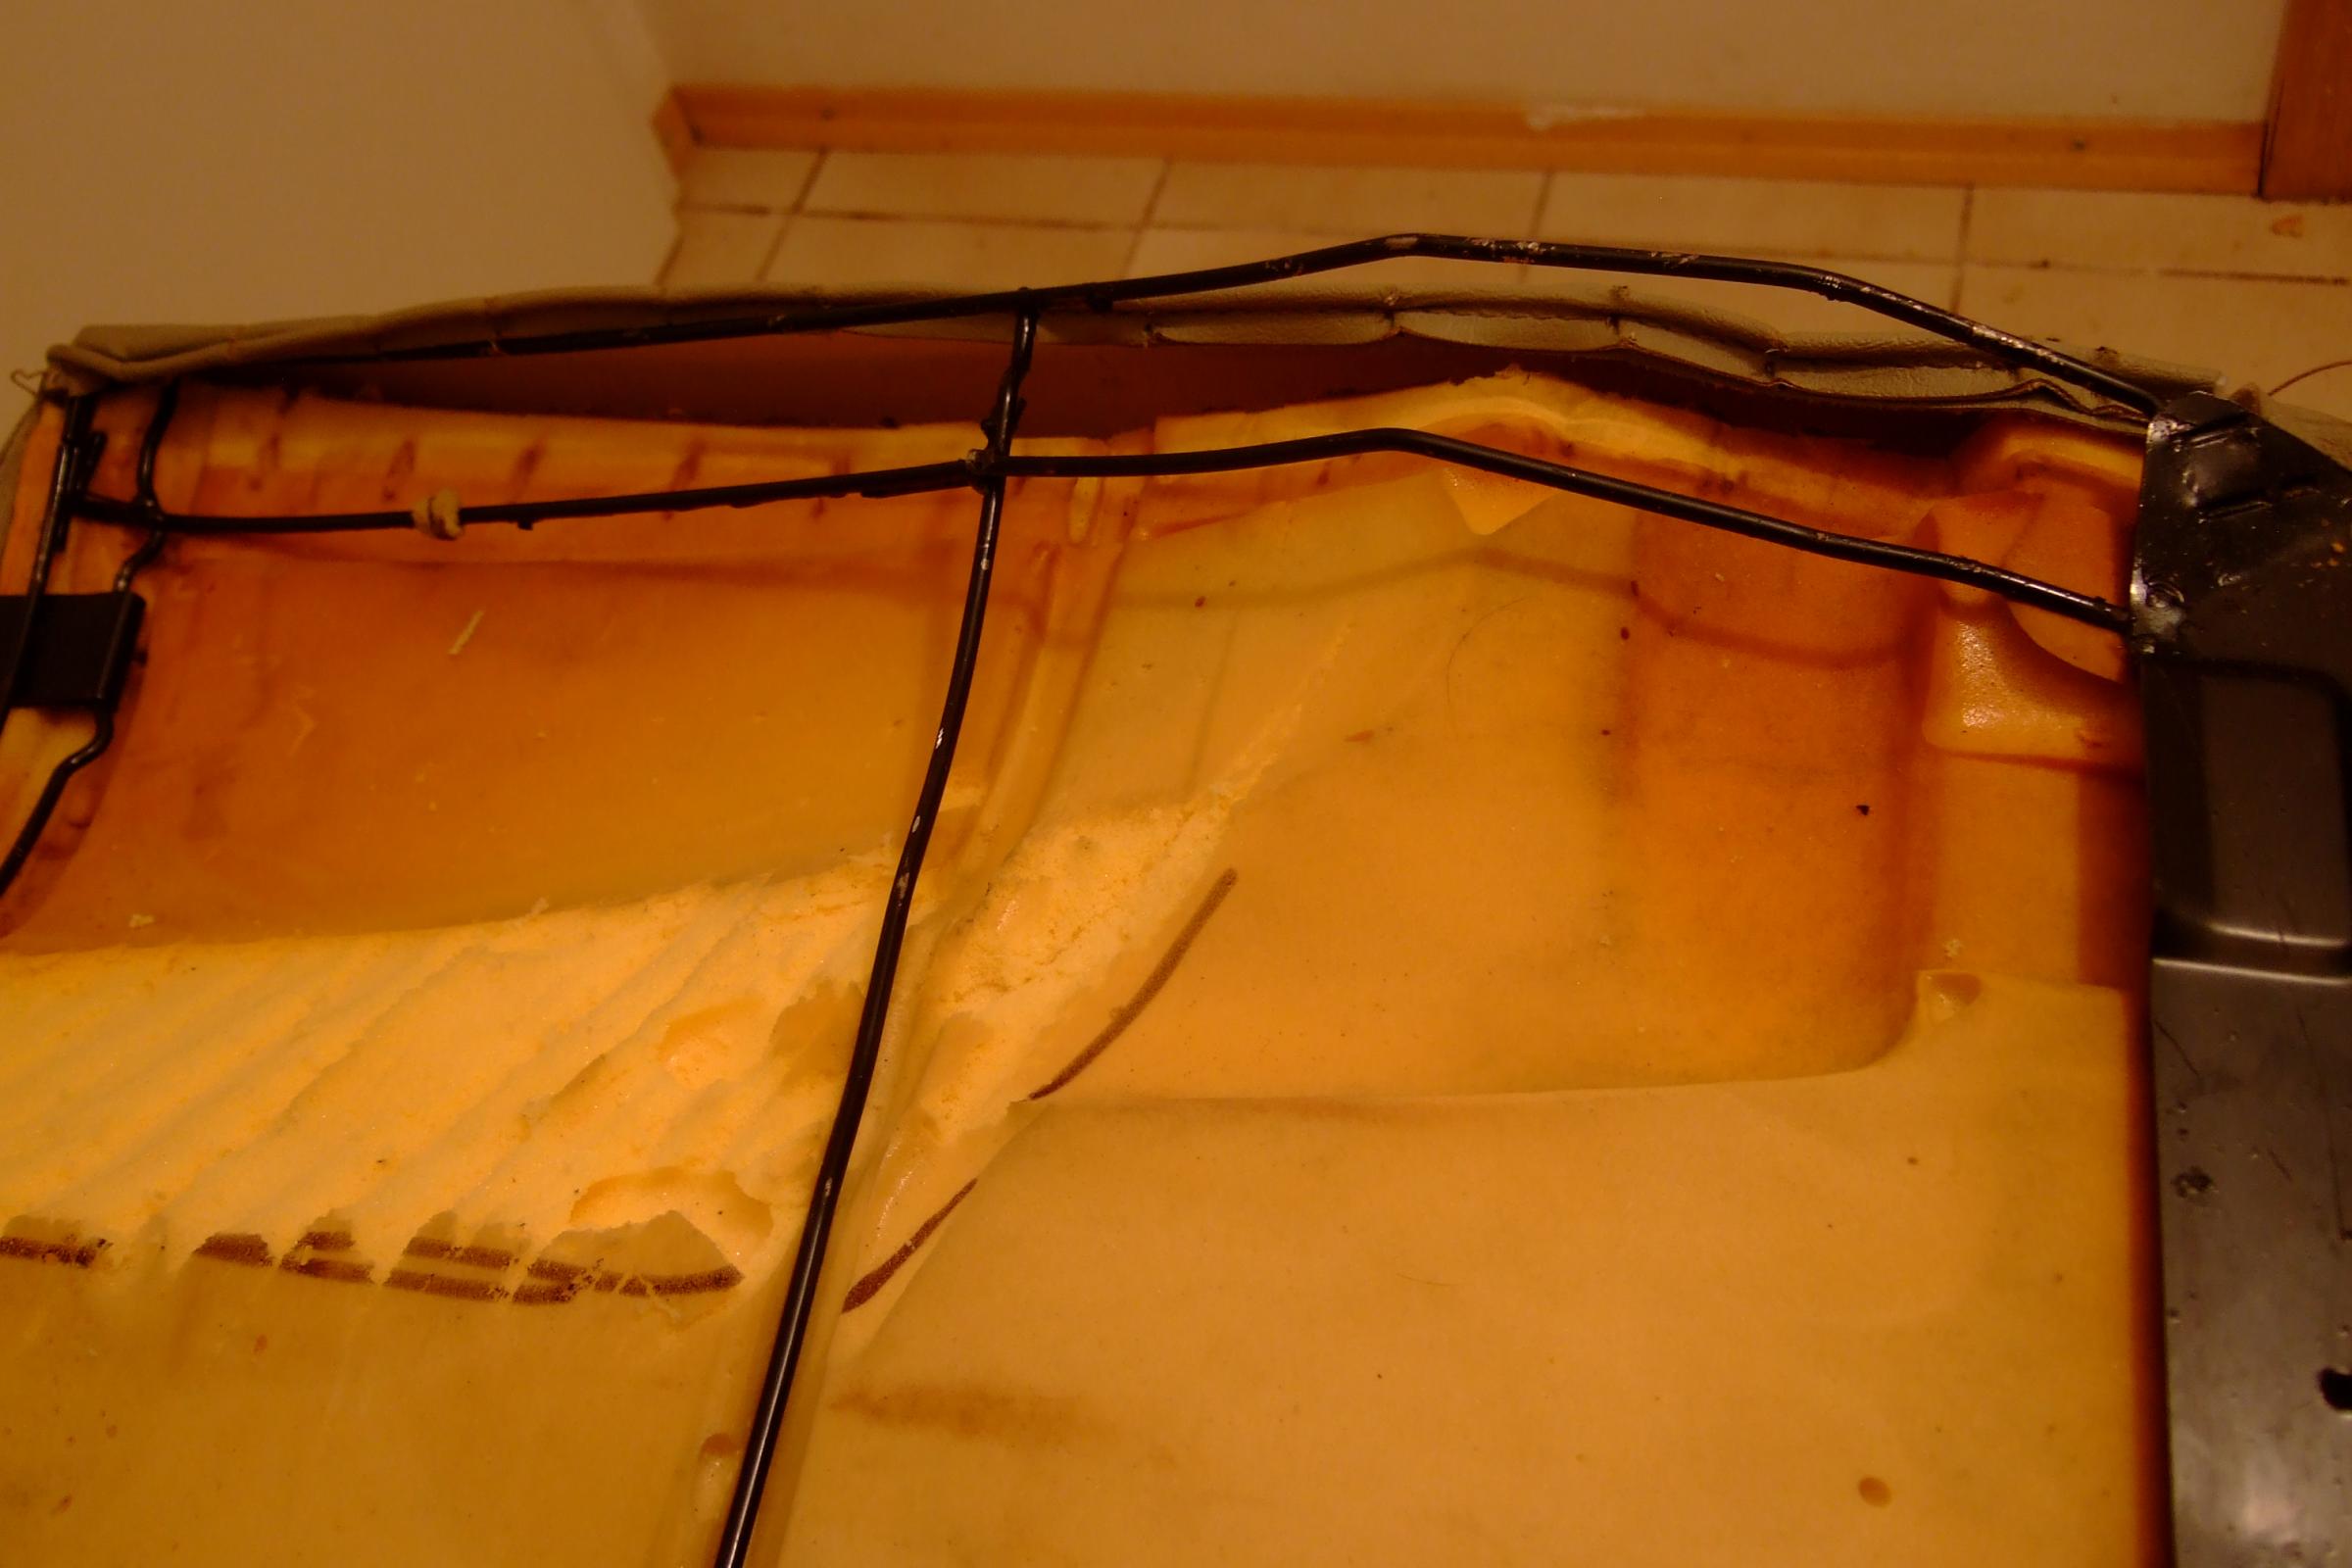
One thing I forgot to mention is that the old MK2 seats have two attachement bolt on the back part but the XJ40 has 4 and in differrent places. The two outer ones are easy as you drill a hole in the wheel arch and weld a nut to the reverse side, the centre ones are a little different. The XJ40 seat comes with a 2 inch mounting bracket but if you drill a hole from this is ends up in a closed box section above the rear axle, I know I did it!!!!!!!. These need to be extended to nearly 6 inches long and go by the seat belt attachemert hole if you have one.
I attach some pictures to explain. The very last one shows if you can zoom in how the centre bracket is located.
I attach some pictures to explain. The very last one shows if you can zoom in how the centre bracket is located.

Quote:
Thanks! I cannot seem to make out the first picture as it is so dark hard to see any details?
I will try to make some better photos soonOriginally Posted by primaz
Ray,Thanks! I cannot seem to make out the first picture as it is so dark hard to see any details?
Senior Member
pitifulpluto
Senior Member
close
Jun 7, 2015
- Join DateJul 2012
- LocationOrlando, Florida
- Posts:377
-
Likes:102
-
Liked:59 Times in 49 Posts
Excellent work with those seats! 