Coolant loss
#21
dell... to remove the lower half of the air box is very easy and takes 10 seconds.
look inside and you will see 2 phillips screws...remive them both.
then the lower half slides up, there are concealed rails that it rides up on, and it just pops out.
to install, line up the 2 rails and slide nack down (slides about 1/2-1")
replace 2 screws and job done
edit: just realied ur not talking about the housing....ignore this post.. lol
Last edited by iownme; 08-28-2018 at 03:13 PM.
#25
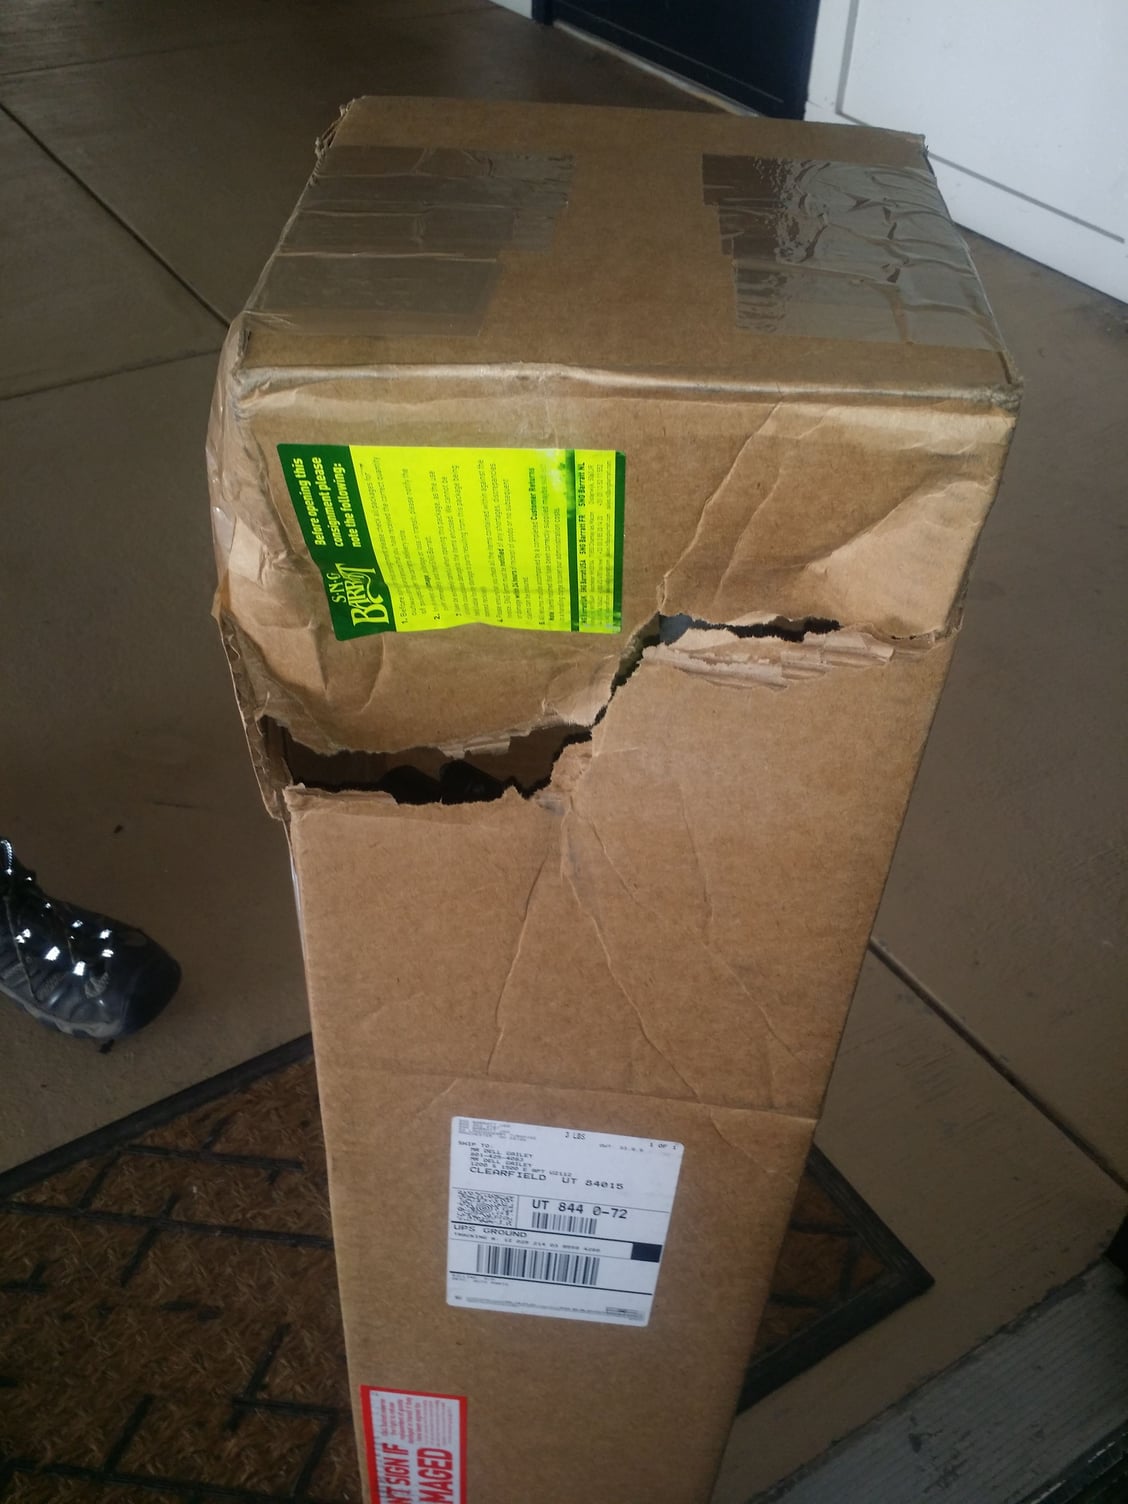
When I looked under the air box @ mine, it was so new (the crack) there wasn't even any evaporated residue. I only caught it by cleaning off the top, watching with a flashlight and a couple of damp bubbles about the size of a pen dot on paper formed. I know obviously that under pressure it leaked more as evidenced by the appropriate 1/2 cup of fluid on the ground when I noticed it as it failed on my grocery run. I bought from forum sponser SNG & they did have a limited (supply) deal on this morning. With our forum discount, just over $70 plus $38 to ship it to Utah.
#26
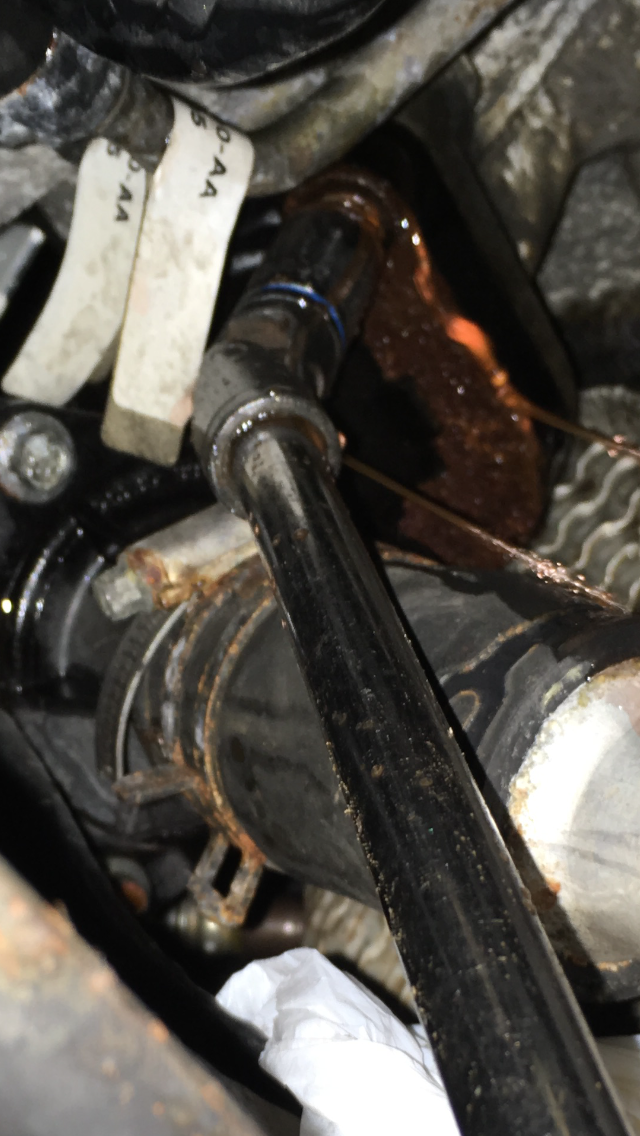
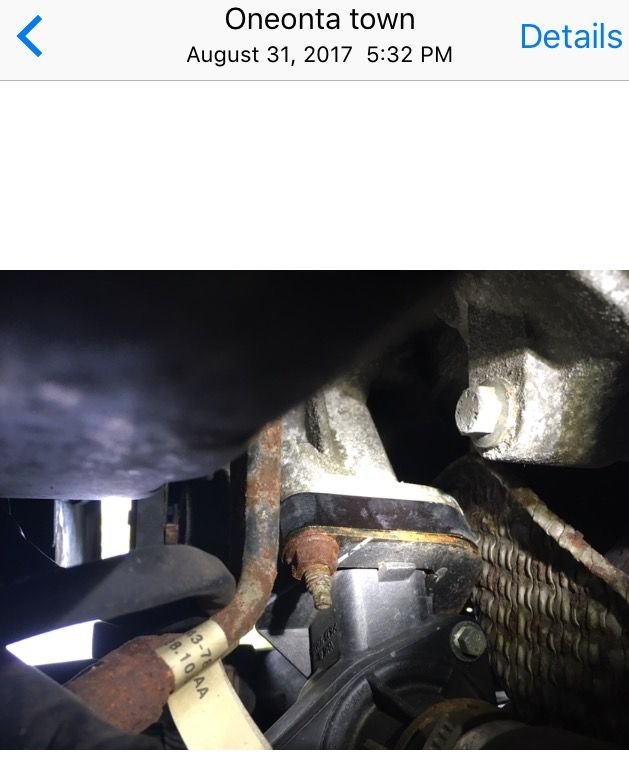
iownme / Dell: To remove the thermostat housing from the engine block, space between the engine and radiator is tight, and the studs are at an odd angle, so this $20 articulated 3/8" socket wrench from Harbor Freight proved very useful. If you drive the front tires onto ramps, you can reached up from below, between the engine and radiator: https://www.harborfreight.com/t-bar-...het-98484.html
#27
#28
Yup, idk how I missed it in search, found it today. Oh well not a wallet buster in difference. Although in researching the shipping charges from N.H. to Utah, they charged ($38) more than an individual (~$24) could ship it for. I kinda assume with their corporate account it would be even a little less *shrugs*. Got to speak to a real live human being anyway, lol.
#30
Strange that mine is precisely, precisely where that one is. It has to be a flaw in the manufacturing process (weakness in molding) to have the split in the exact same place on every one that breaks (same as Colorado mechanic video). It's not as if there was a commonality of it hitting or rubbing on something there. It's just sitting there.
#32

lower nut 13mm on 10\" extension with universal joint
so...both nuts were quite accessible, i used a 6 point 13mm socket, 3/8 universal joint, 10" and 15" 3/8 extensions, 3/8 rachet.
15" for upper nut and 10" for lower nut.
upper needed penetrating spray, lower didnt.
i suggest loosening both nuts about 4 turns and place ur collection pan underneath.
DO NOT loosten reservoir cap until its finished draining as it will gush out very fast and messy.
leaving it tight lets the coolant trickle out at a steady rate.
mine is currently draining and i'll continue in the morning
Last edited by iownme; 09-01-2018 at 06:42 PM.
#33
#34
hey dell, just pm'd you.
so i wish the job was as easy as it seemed.
i got it all apart and all back together in about 2 hrs with a long break.
tips:
first remove the rubber pipe where it attaches to the underside of the thermostat housing after you have drained the system. i finger tightened housing after draining to get better pulling power on the rubber pipe.
when you pull that pipe some more coolant wlll come out so have your container ready
next keep hose attached at the radiator (re-use it) and disconnect that hose at the right side of plastic T
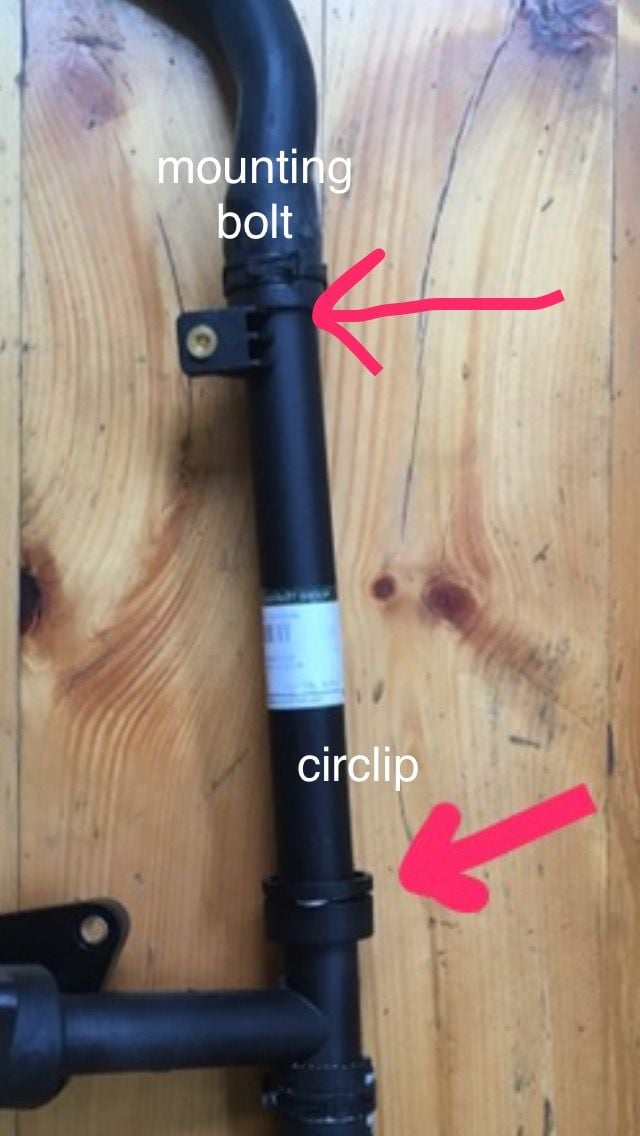
on the left side of plastic T remove the metal circlip holding the 2 plastic pieces together (remember to remove the 8mm bolt) and then seperate the 2 pieces
now remove the 2x13mm nuts.
thermo housing will now come off the studs....you will HAVE to push the fans back like in the video to get the housing off of the upper stud... somewhat difficult but do-able.
(do this from under the car)
getting the new housing back in was a little difficult
get it roughly in place from under the car, in this position under the car i was not able to both push the fans and wiggle housing up and onto upper stud, so i went above the engine and was able to pull the housing up and fans back enough to get upper stud in the hole.
the rest of it was pretty straight forward.
except.... depending on where the tangs are on your pipe clamps, you may need a small set of vice grips to be able to access them.
whoever last worked on mine left the tangs in a very hard to reach position, when reinstalling the clamps, bear that in mind for the "next time"
THERMO....can you point me in the direction of the coolant burping procedure you recently posted.
thanks
Last edited by iownme; 09-02-2018 at 02:30 PM.
#35

didnt need burping.
filled to full level.
started car
put heat on max
as car warmed up fluid level went down so i topped up as it went down.
switched heat to floor/panel/defrost
added a little more coolant as needed.
( a little over a gallon of coolant came out of the car and thats about how much went back in.)
heat is working, temp gauge where it should be, fans kicked on when necessary.
car was running up on ramps for about 20 mins. no leaks.
for anyone else with a broken T piece.
you cannot buy just that piece. that piece is called the thermostat upper housing.
you have to order what is called the upper radiator hose with thermostat.
it comes pre-assembled and includes the upper and lower thermostat housing and new thermostat pre installed.
Last edited by iownme; 09-02-2018 at 02:42 PM.
#36
#38


