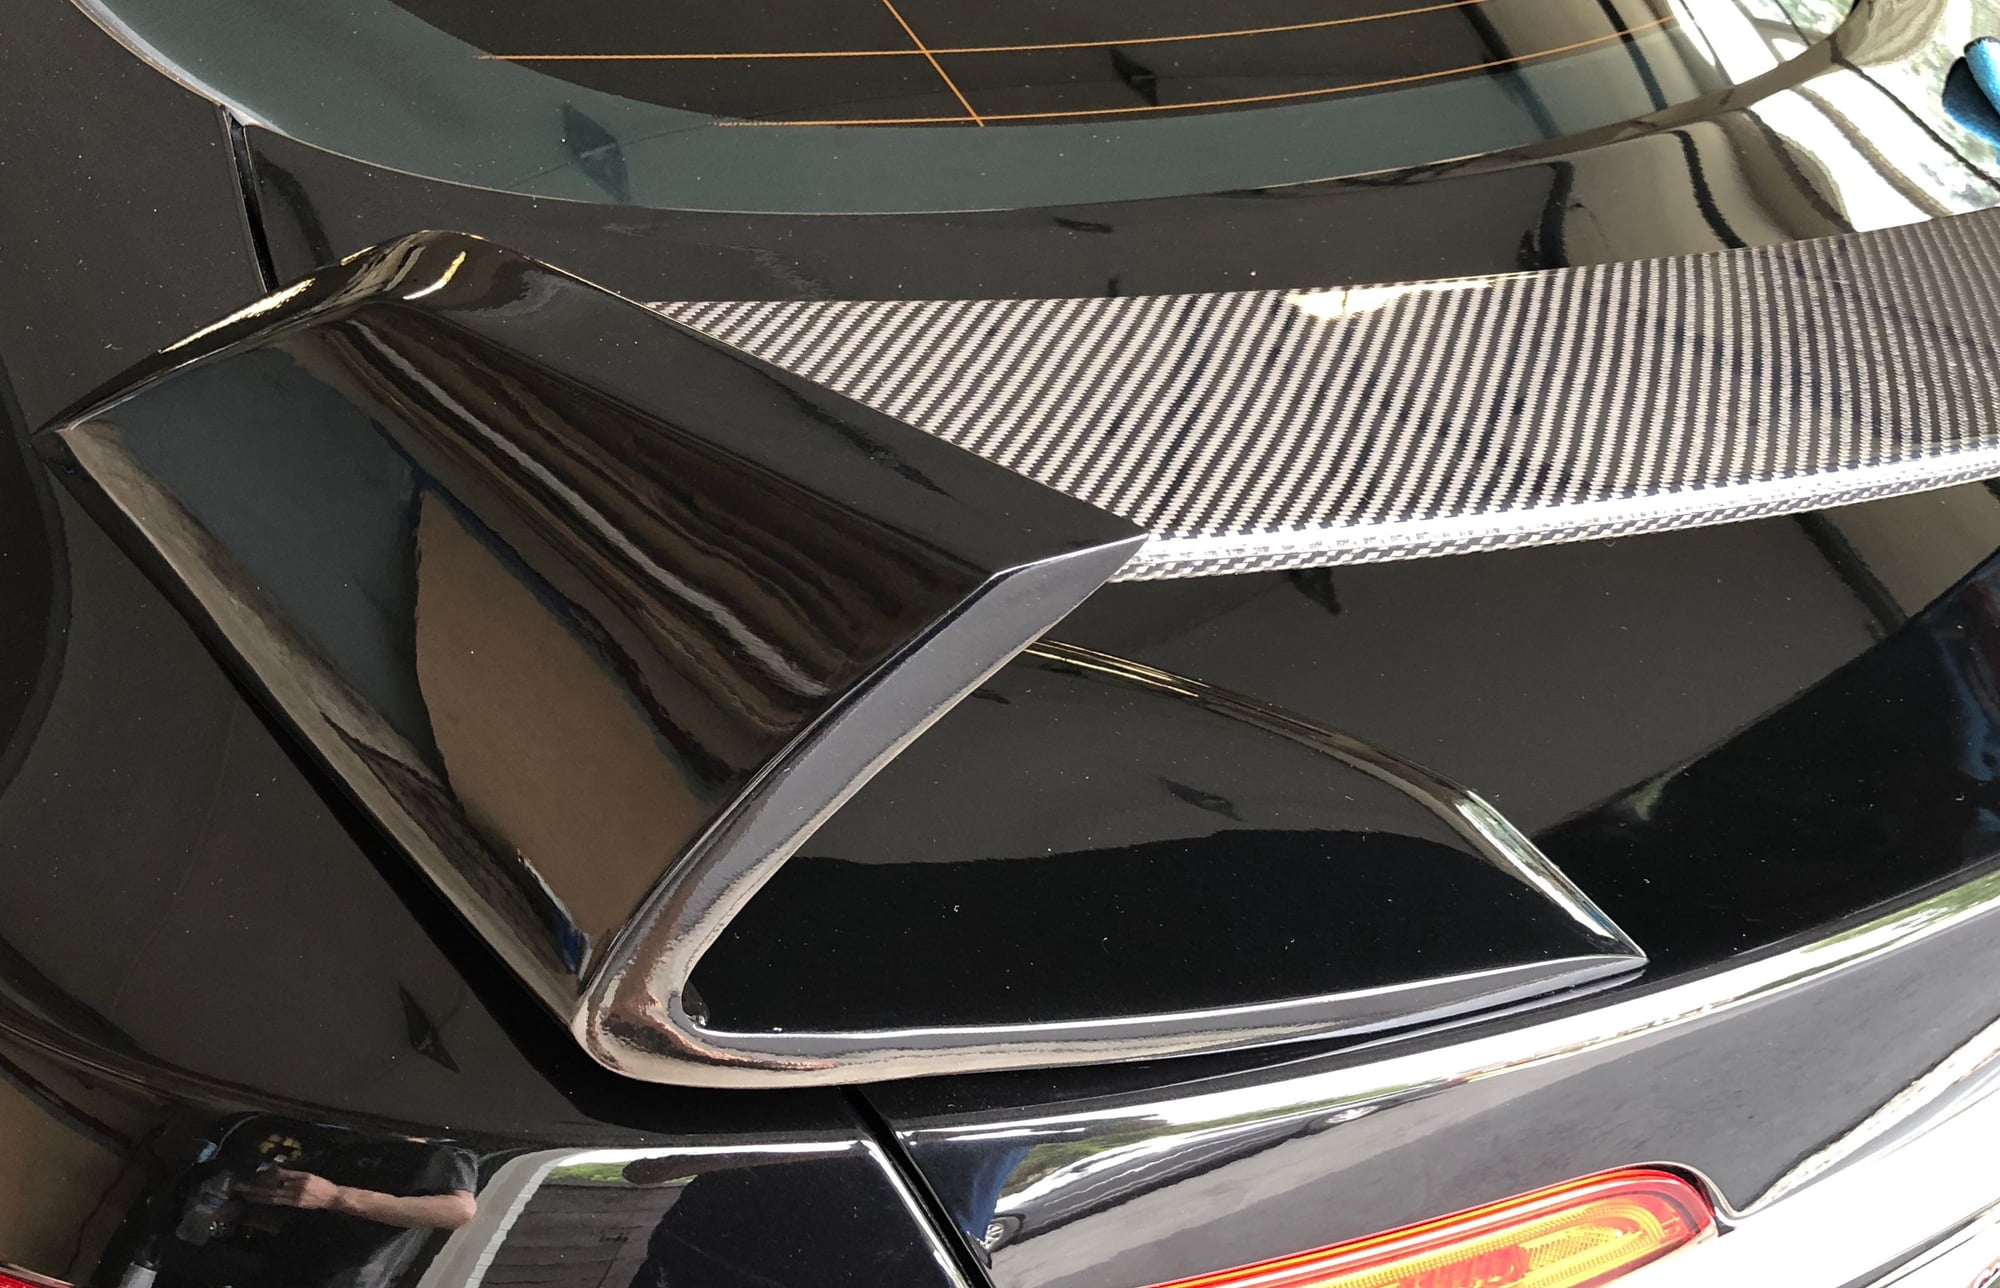
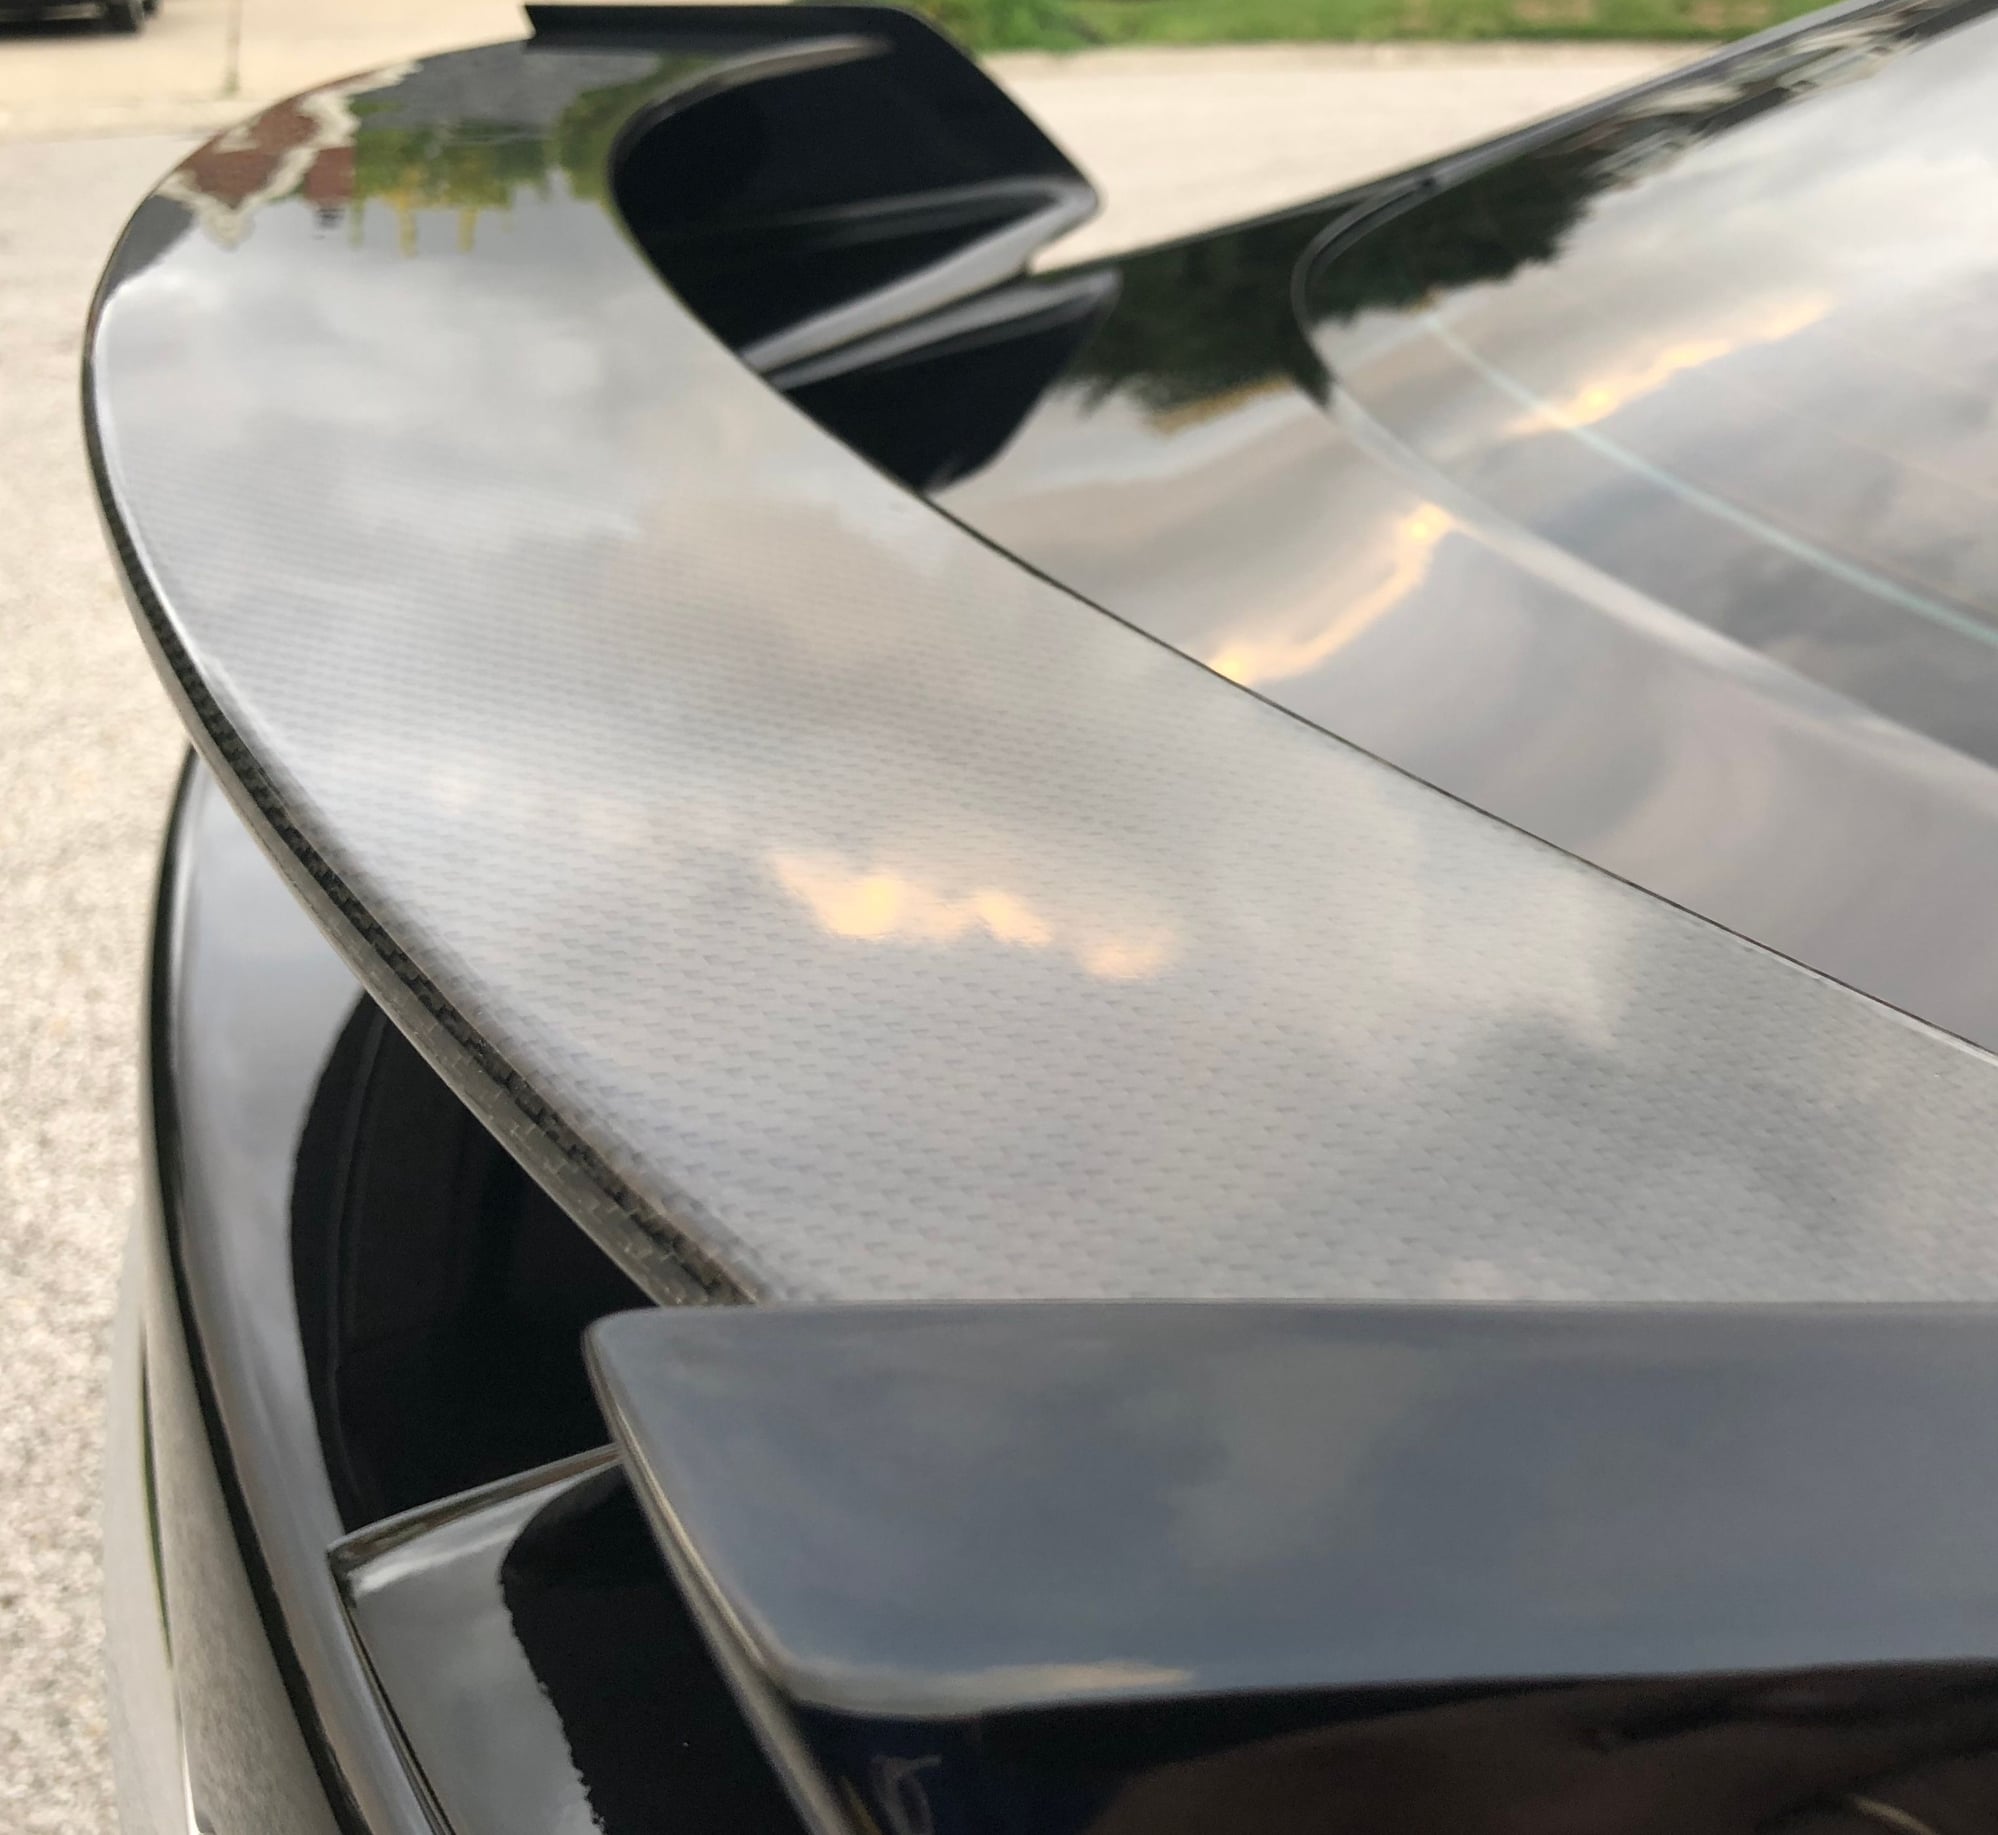
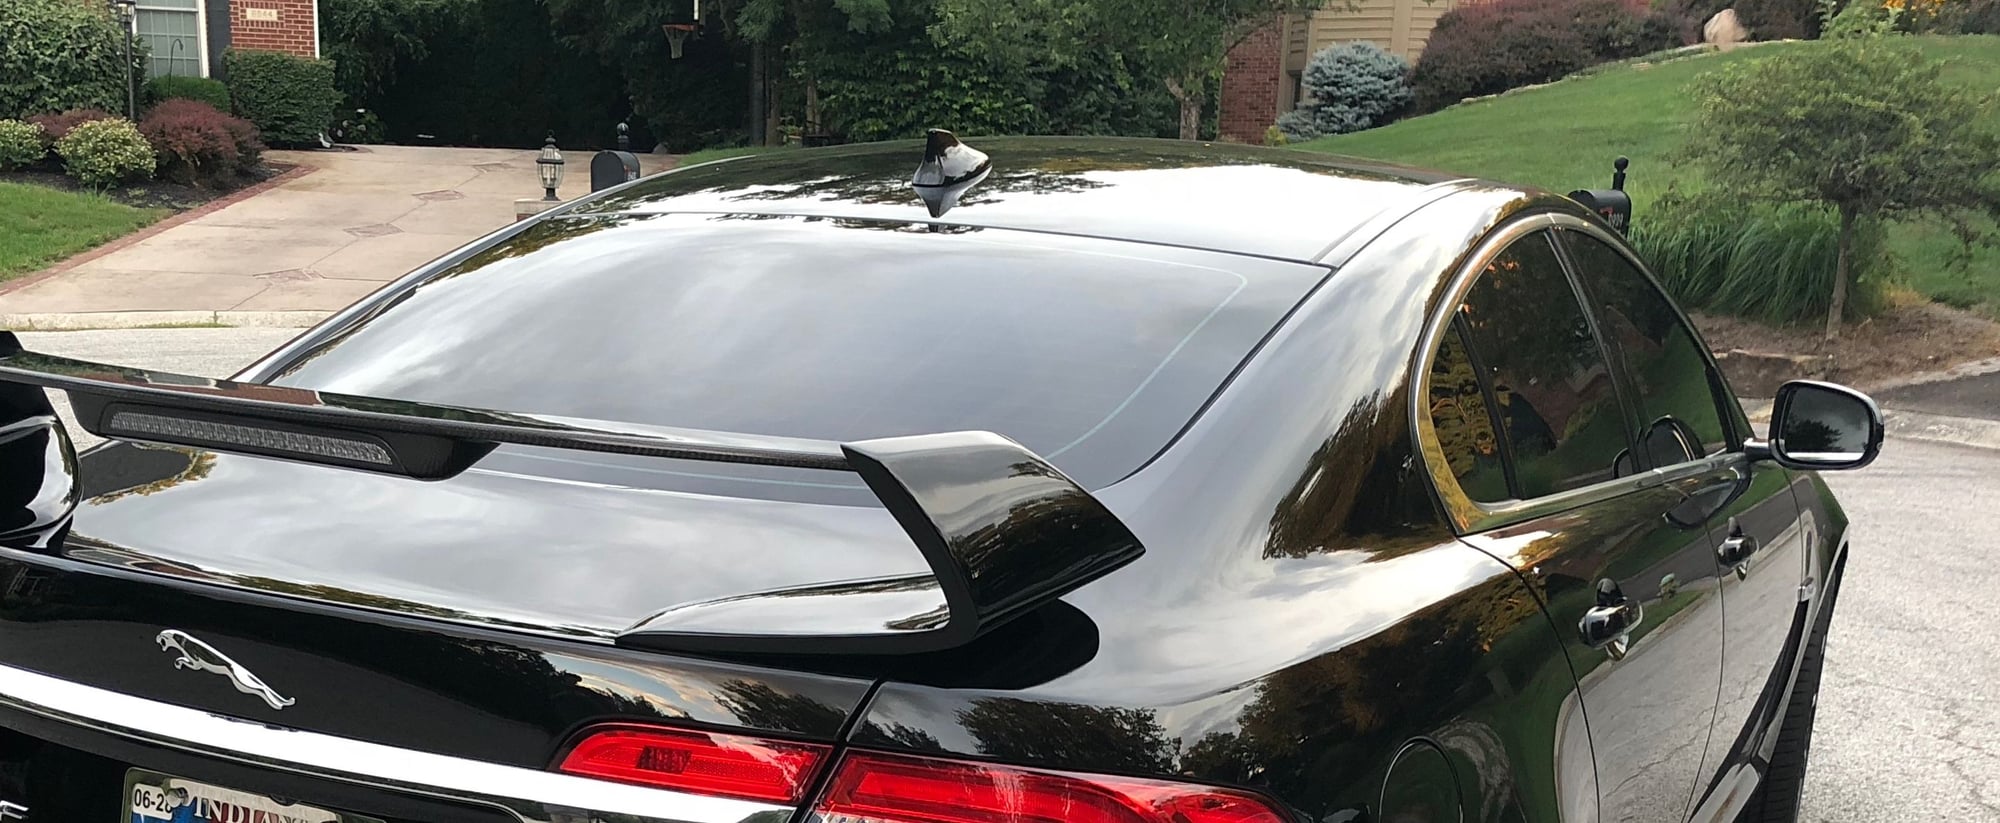
XFRS replica bumper fitted
#22
#23
 ...work in progress. Yeah the calipers came out great. Just like hp you can never have enough braking force.
#24
#25
It was a bit of a challenge to attach it and at one point there were four of us involved.
As far as steps involved in attaching the VehicleRevolution XFRS carbon replica FWIW: (Iíd rate this one on a difficulty level of 8/10 if youíve never done this before...just be methodical and patient)
1) create a template of the bottom of the supports. Attatch to base and punch holes through them where the M6x1Ē screws go. (This assumes youíve removed the inside panel on the boot lid...itís easy, things just pop off)
2) have some buddies to help test mount and align. Then once set in place tape the template onto the car. There are a number of youtube videos on attaching spoilers so I wonít elaborate.
3) get a set of step drill bits and use a punch to mark the holes. Then drill to size. This part is critical, allow for a little extra room to permit a bit of shifting but not much. This was disconcerting! You can pickup some nice ones here: Neiko 10193A Titanium Step Drill Bit... https://www.amazon.com/dp/B001OEPYWK?ref=yo_pop_ma_swf
4) Find the holes you drilled on the backside and drill out areas in the panel so you can reach the holes. I ended up magnetizing a long allen wrench to reach the outer ones...I felt like I was playing operation...canít let them drop or youíd have a heck of a time getting them out from between the panels. Start with the easiest to get first.
5) use 3m 2-part panel epoxy. This stuff is great because you have 90min to work with it and you can wipe it up easily with a paper towel. Place it on the bottom of the support that doesnít have the wiring. Be somewhat liberal and place around the screw holes to prevent water intrusion. Speaking of which, after drilling use some touchup paint to seal the exposed metal. 3M 08115 Panel Bonding Adhesive - 200 ml https://www.amazon.com/dp/B000PEW4MI?ref=yo_pop_ma_swf
6) push your first screw through (i also used a washer) and lower the support onto the screw. Careful not to rotate the mount...have a friend help on this one! Tighten it up and work on the next one. Once you get two on the third shoild be easier but difficult to reach. Once tightened down, you may have to use a clamp or two to help pull it close and leave little to no gap. Let sit for 24hrs
7) Now the fun part, glue up wing on wired side, then glue up opposite. Have some one hold the wired side in place. Glue the base and then have one person align the non-wired side, another the wired, and another to fish the brake wires through a hole you drilled. Do the same thing as the day before but when you get close, put a good blob of epoxy into the wire hole to help prevent wire chaffing.
8) align everything and screw down....voila!! Wait another 24hrs to cure.
9) to wire the center light get some extra wire and splicing leads. To fish the wire through I found that weed trimmer line is stiff yet flexible... attach and be patient. The third brake light wires are located behind the passenger side bolster (see my other post on this one) Test brake light by disconnecting center light and push wires into it..
10) replace everything and hide wires. Looks completely stock. Sit back with a glass of moscato and ogle.
If you have questions about install just pm me.


The following users liked this post:
RK354 (09-29-2018)
#27


