
A Jag for Me Mum, Fulfilling A Dream


Senior Member
Joined: Dec 2012
Posts: 896
Likes: 156
From: North Texas
This is so great! Lots of smiles. Congratulations and well done to all there. Great documentation. It looks stunning.
(am now going to check a few things on my XJ with all these handy part numbers- thanks!)
(am now going to check a few things on my XJ with all these handy part numbers- thanks!)
Thread Starter
|
Member
Joined: Aug 2021
Posts: 54
Likes: 19
From: Los Angeles
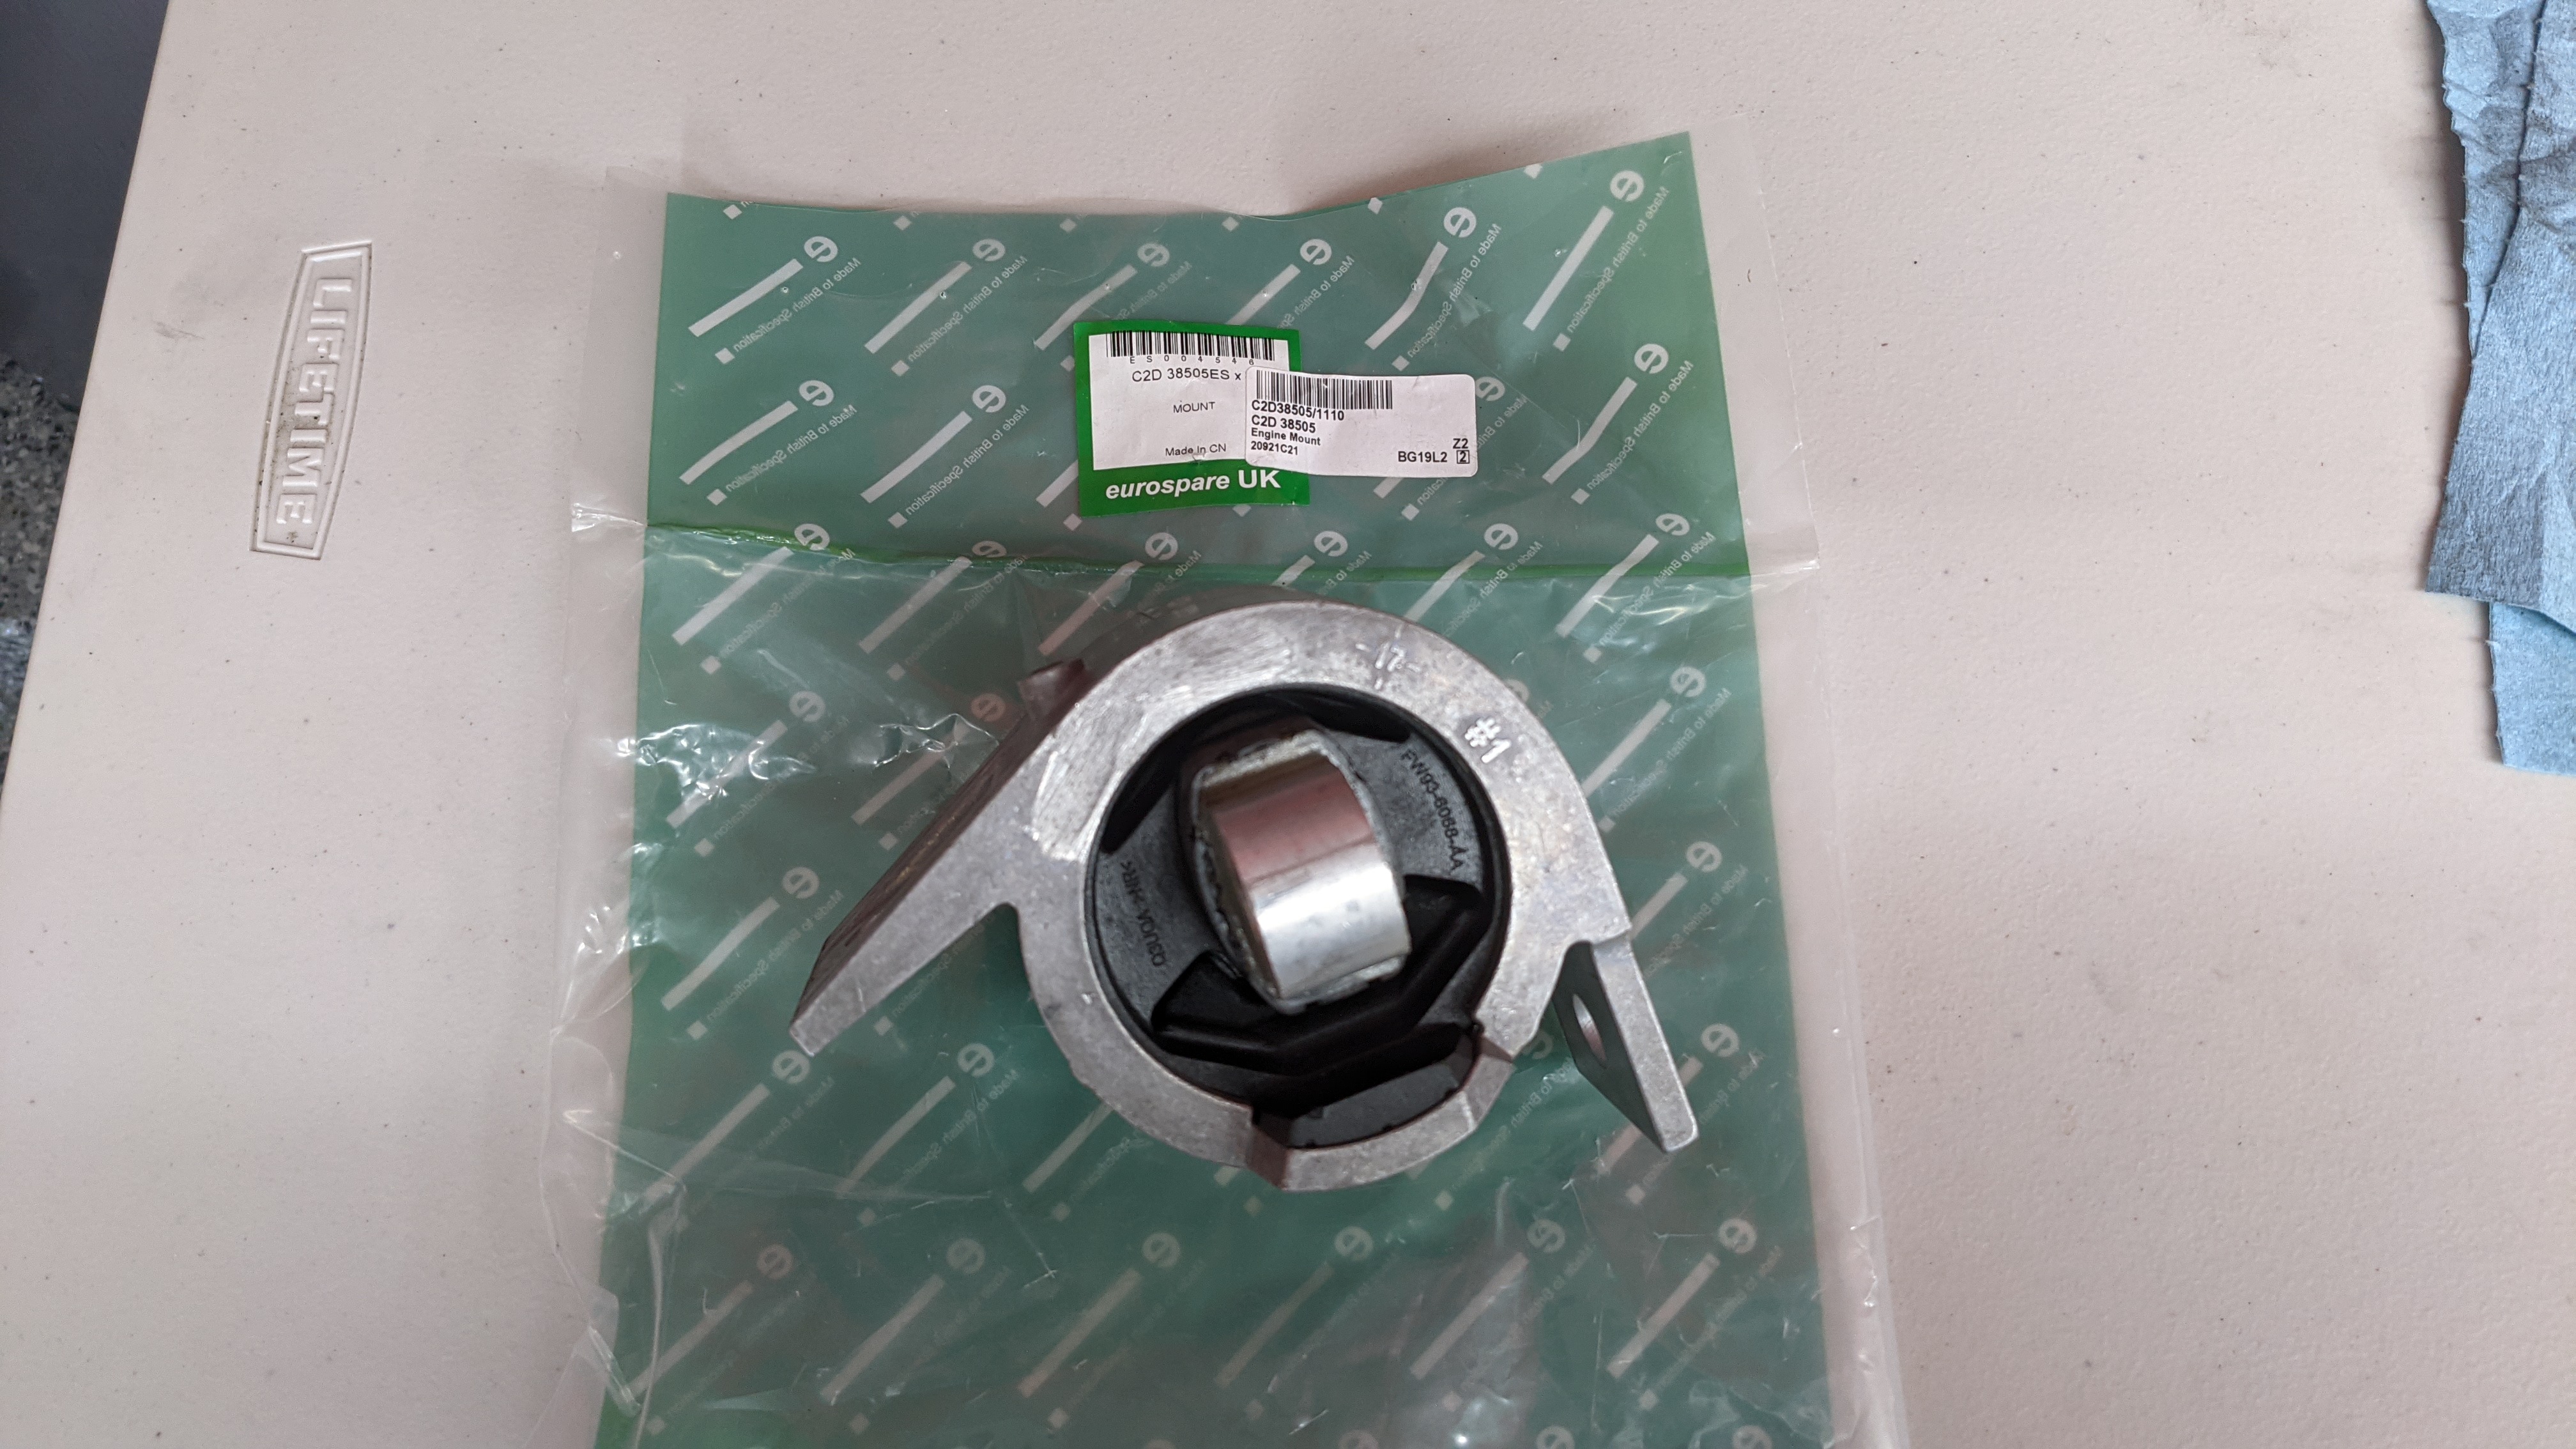
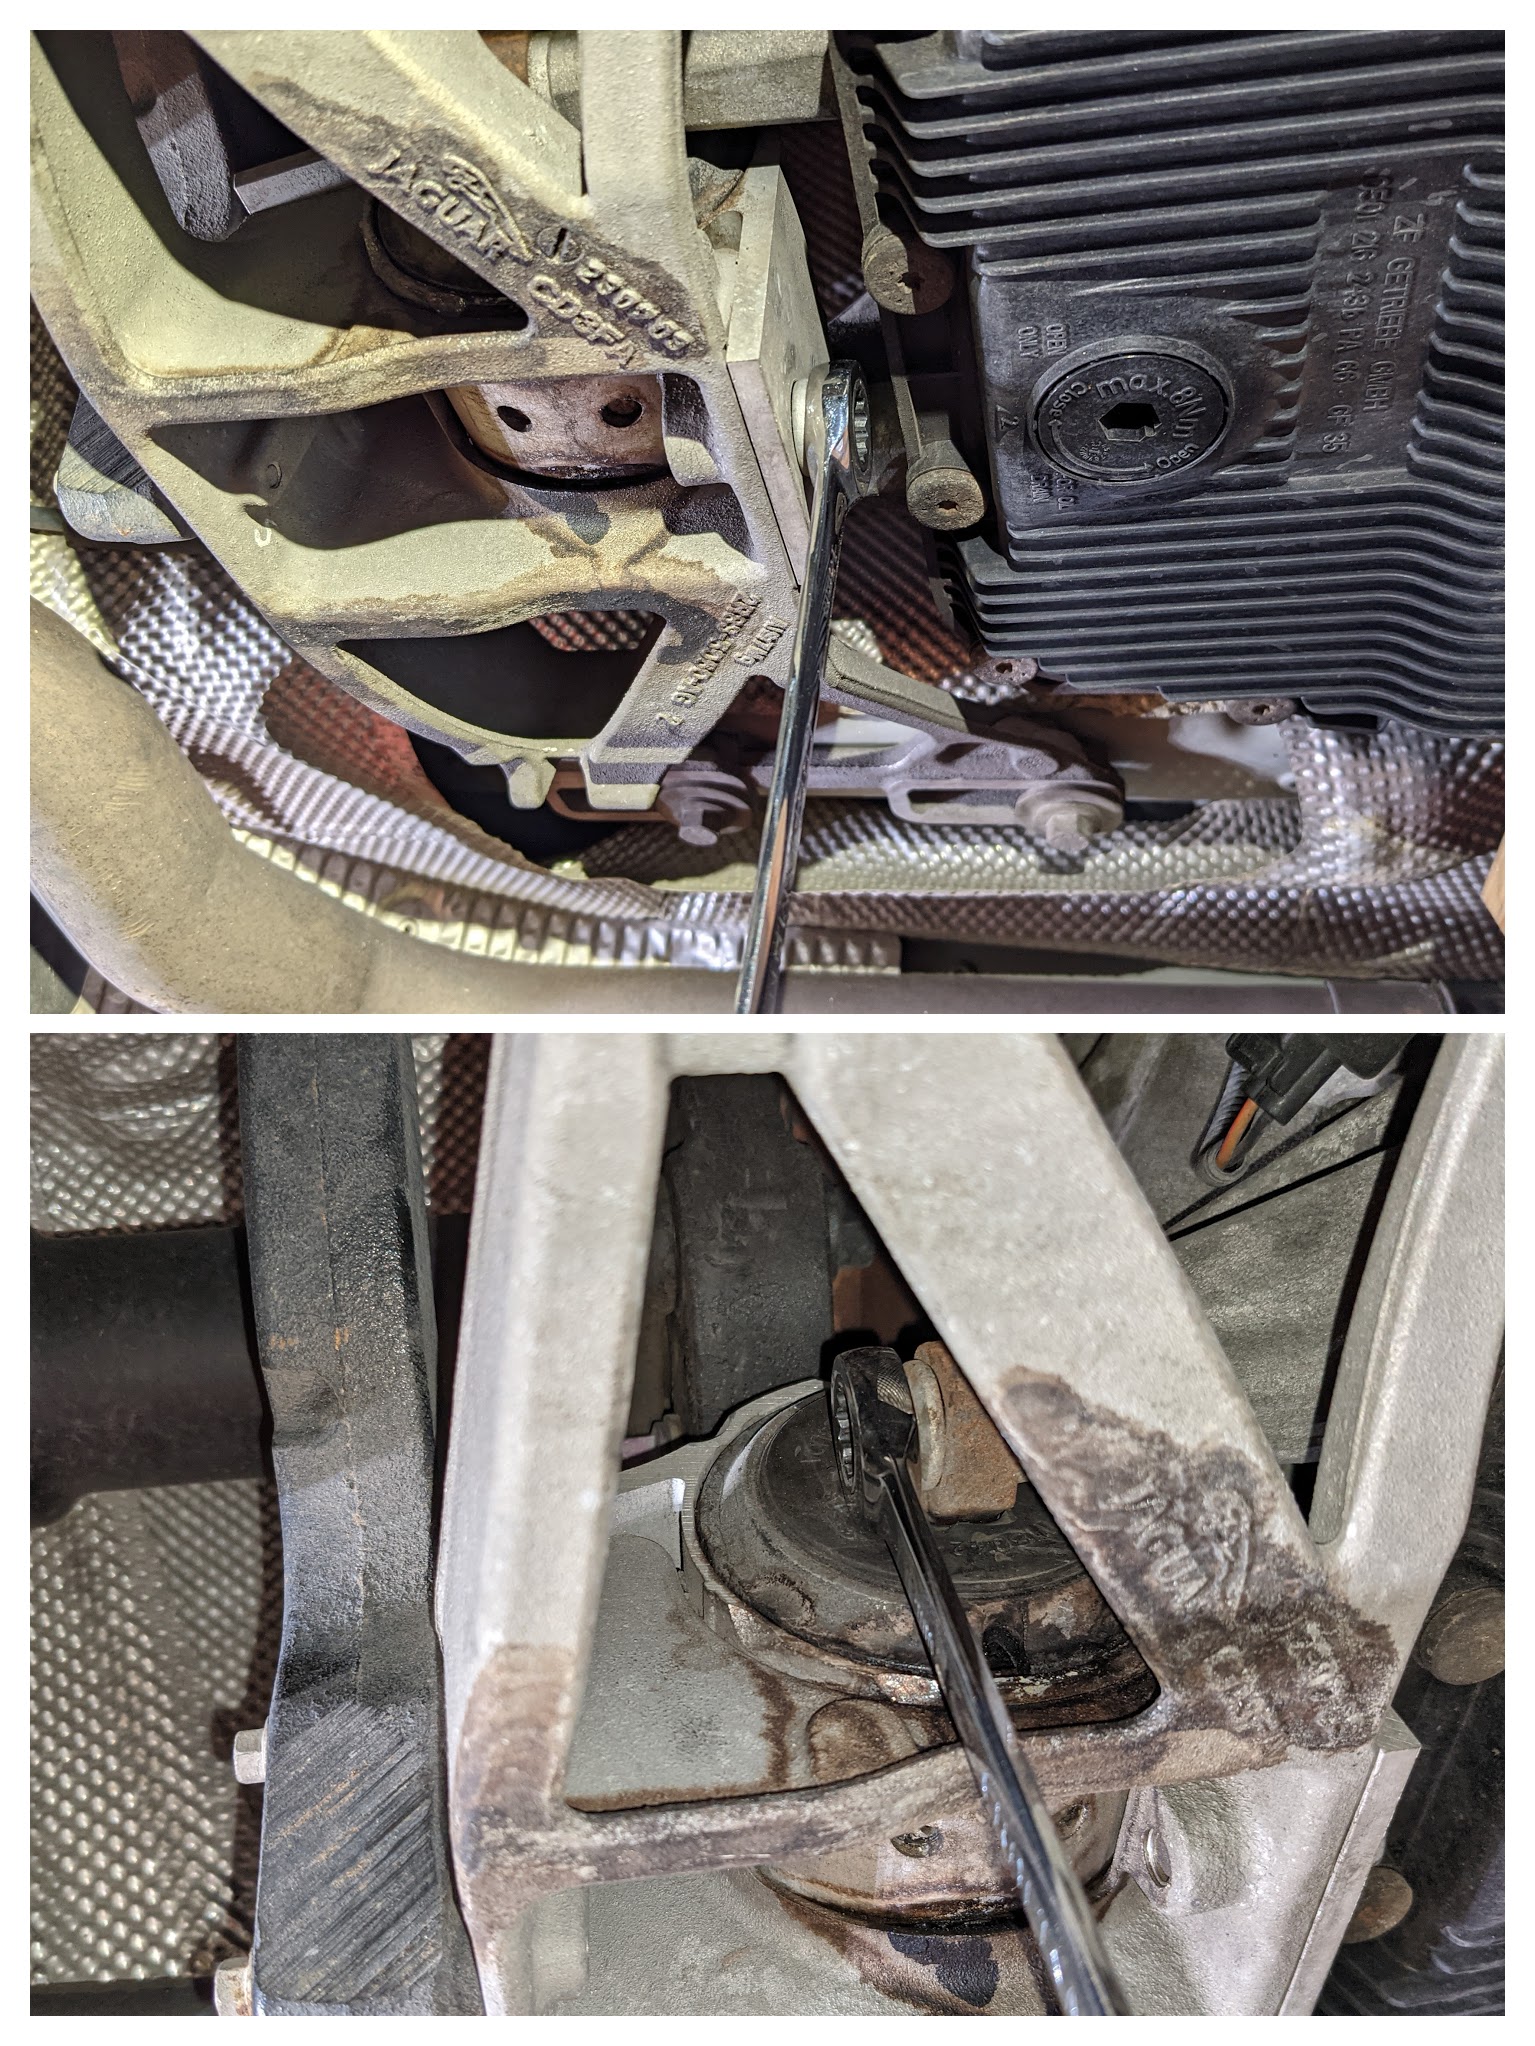
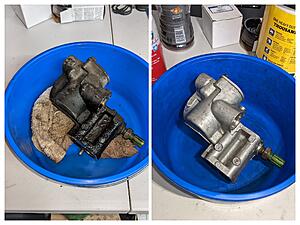
Went with an aftermarket replacement:
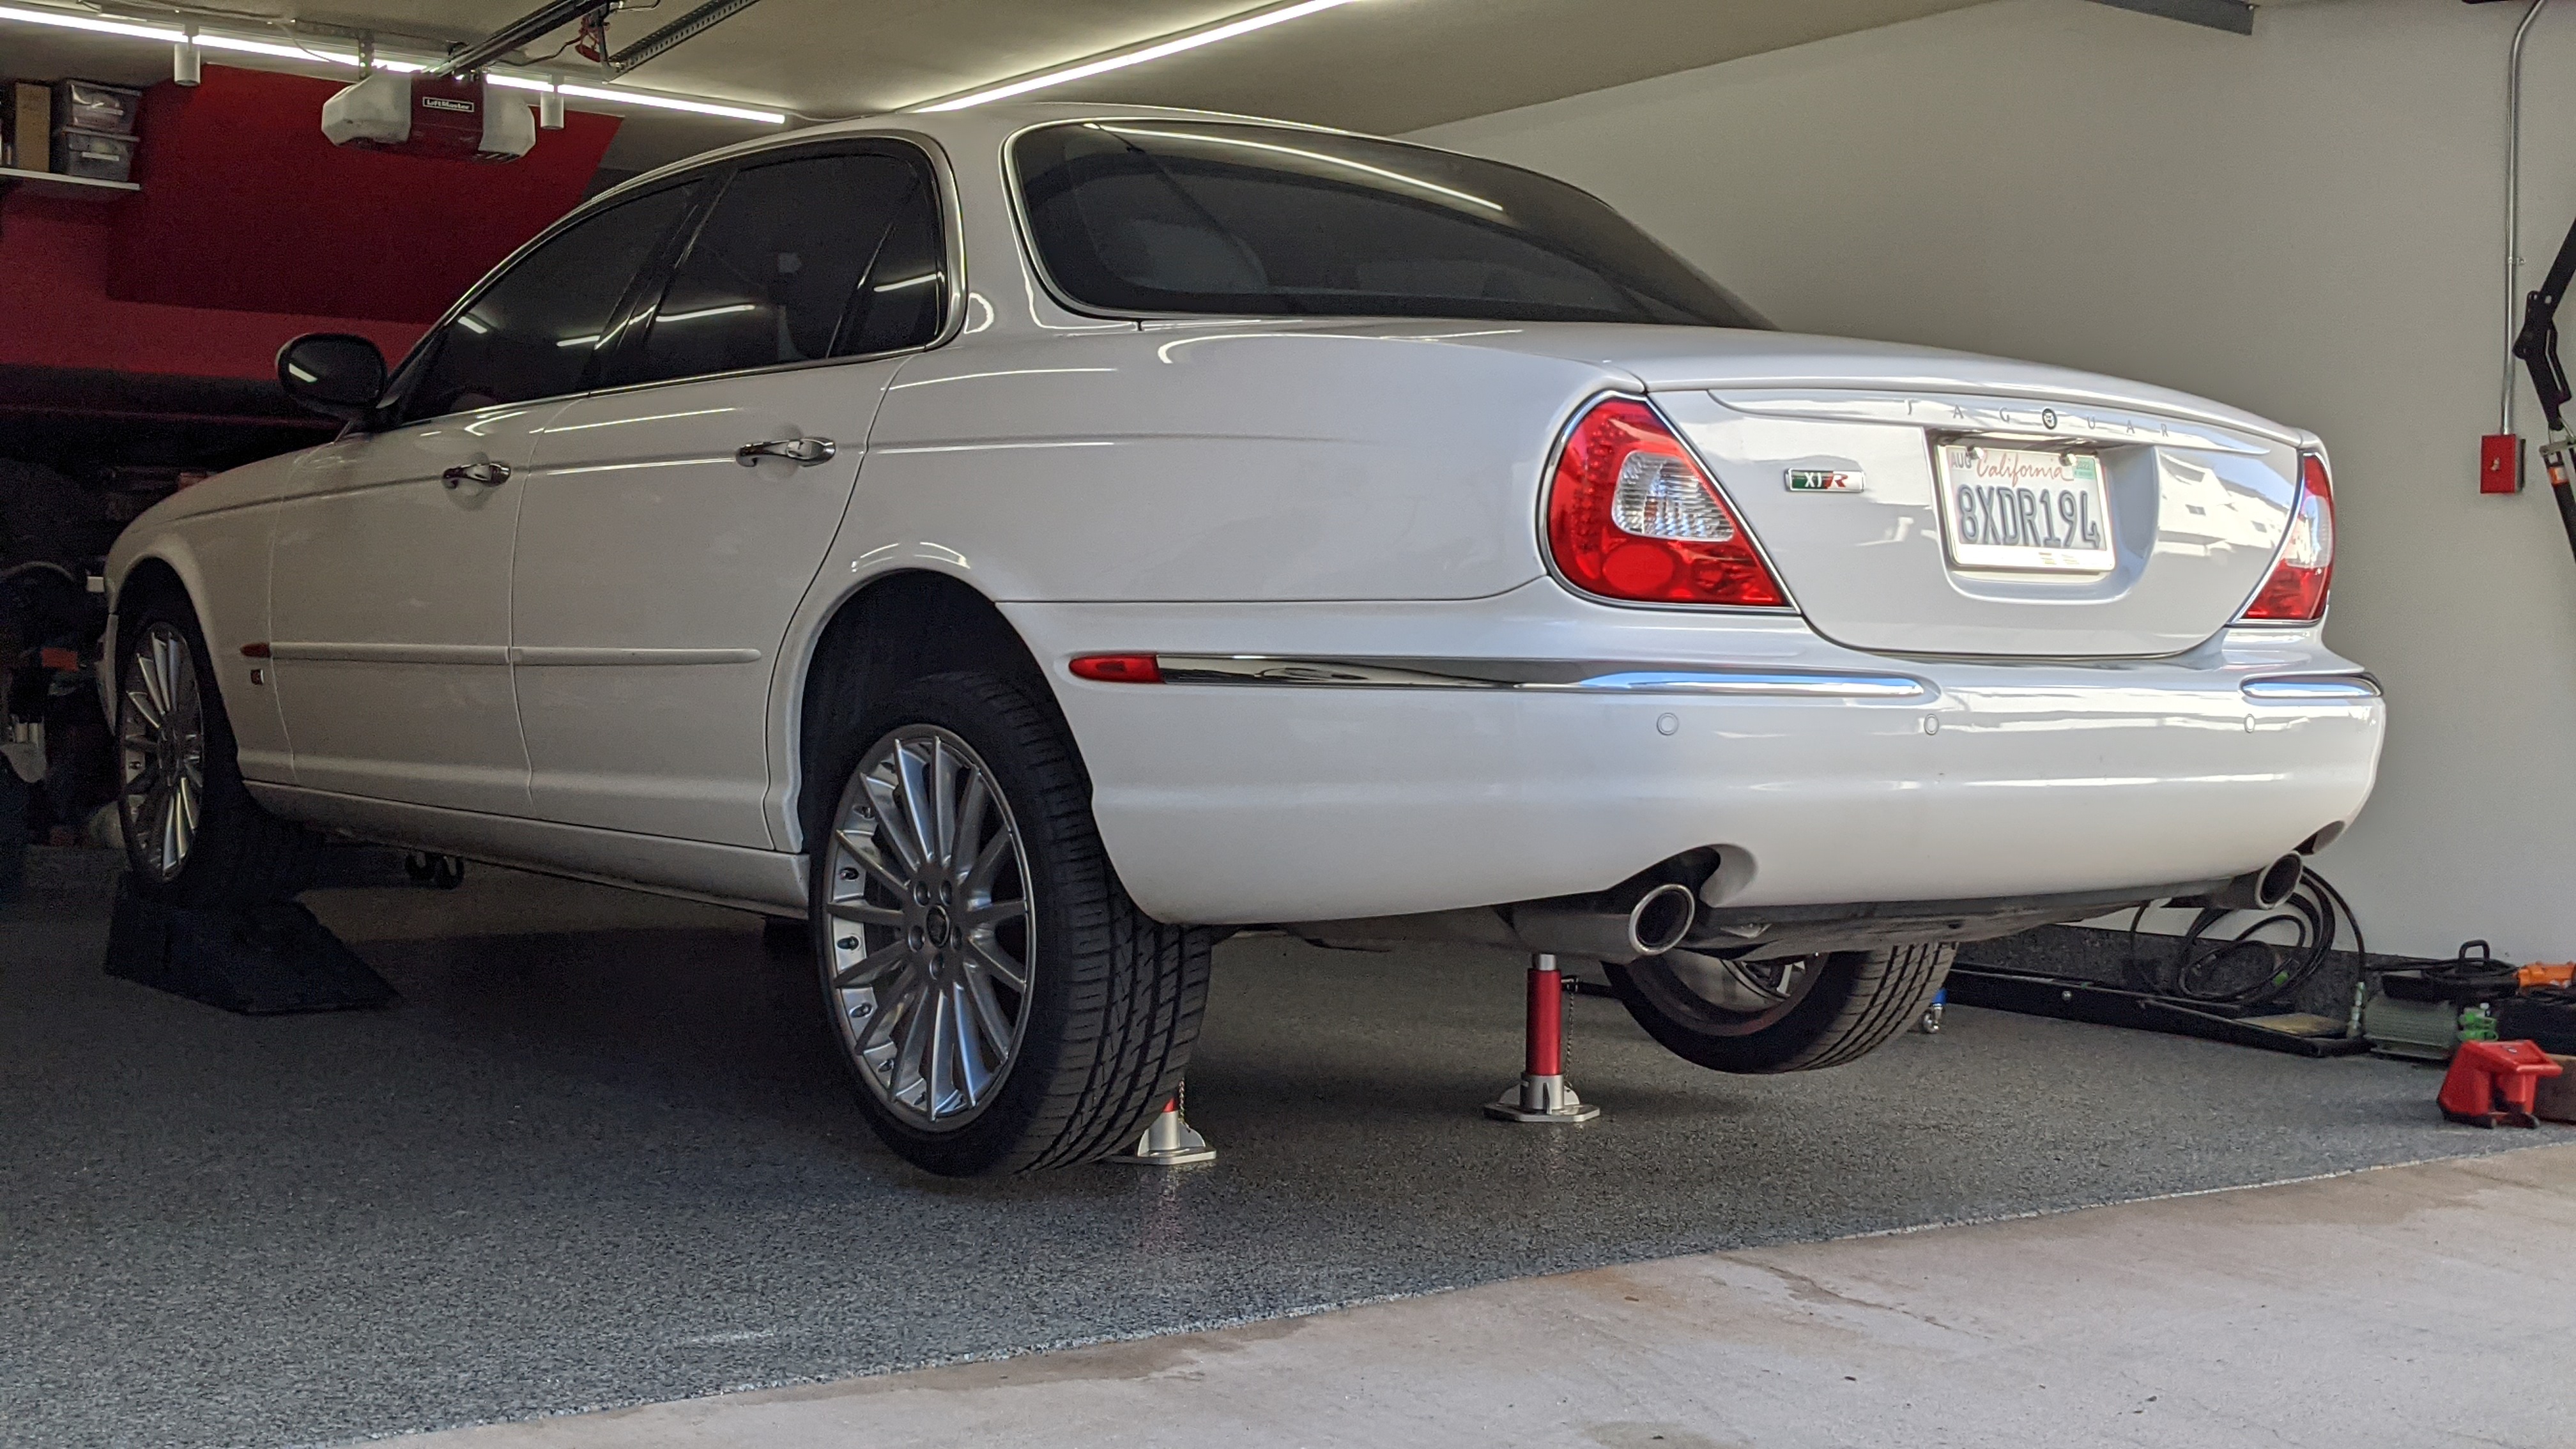
Jacked up the car:
And supported the transmission oil pan with my floor jack.
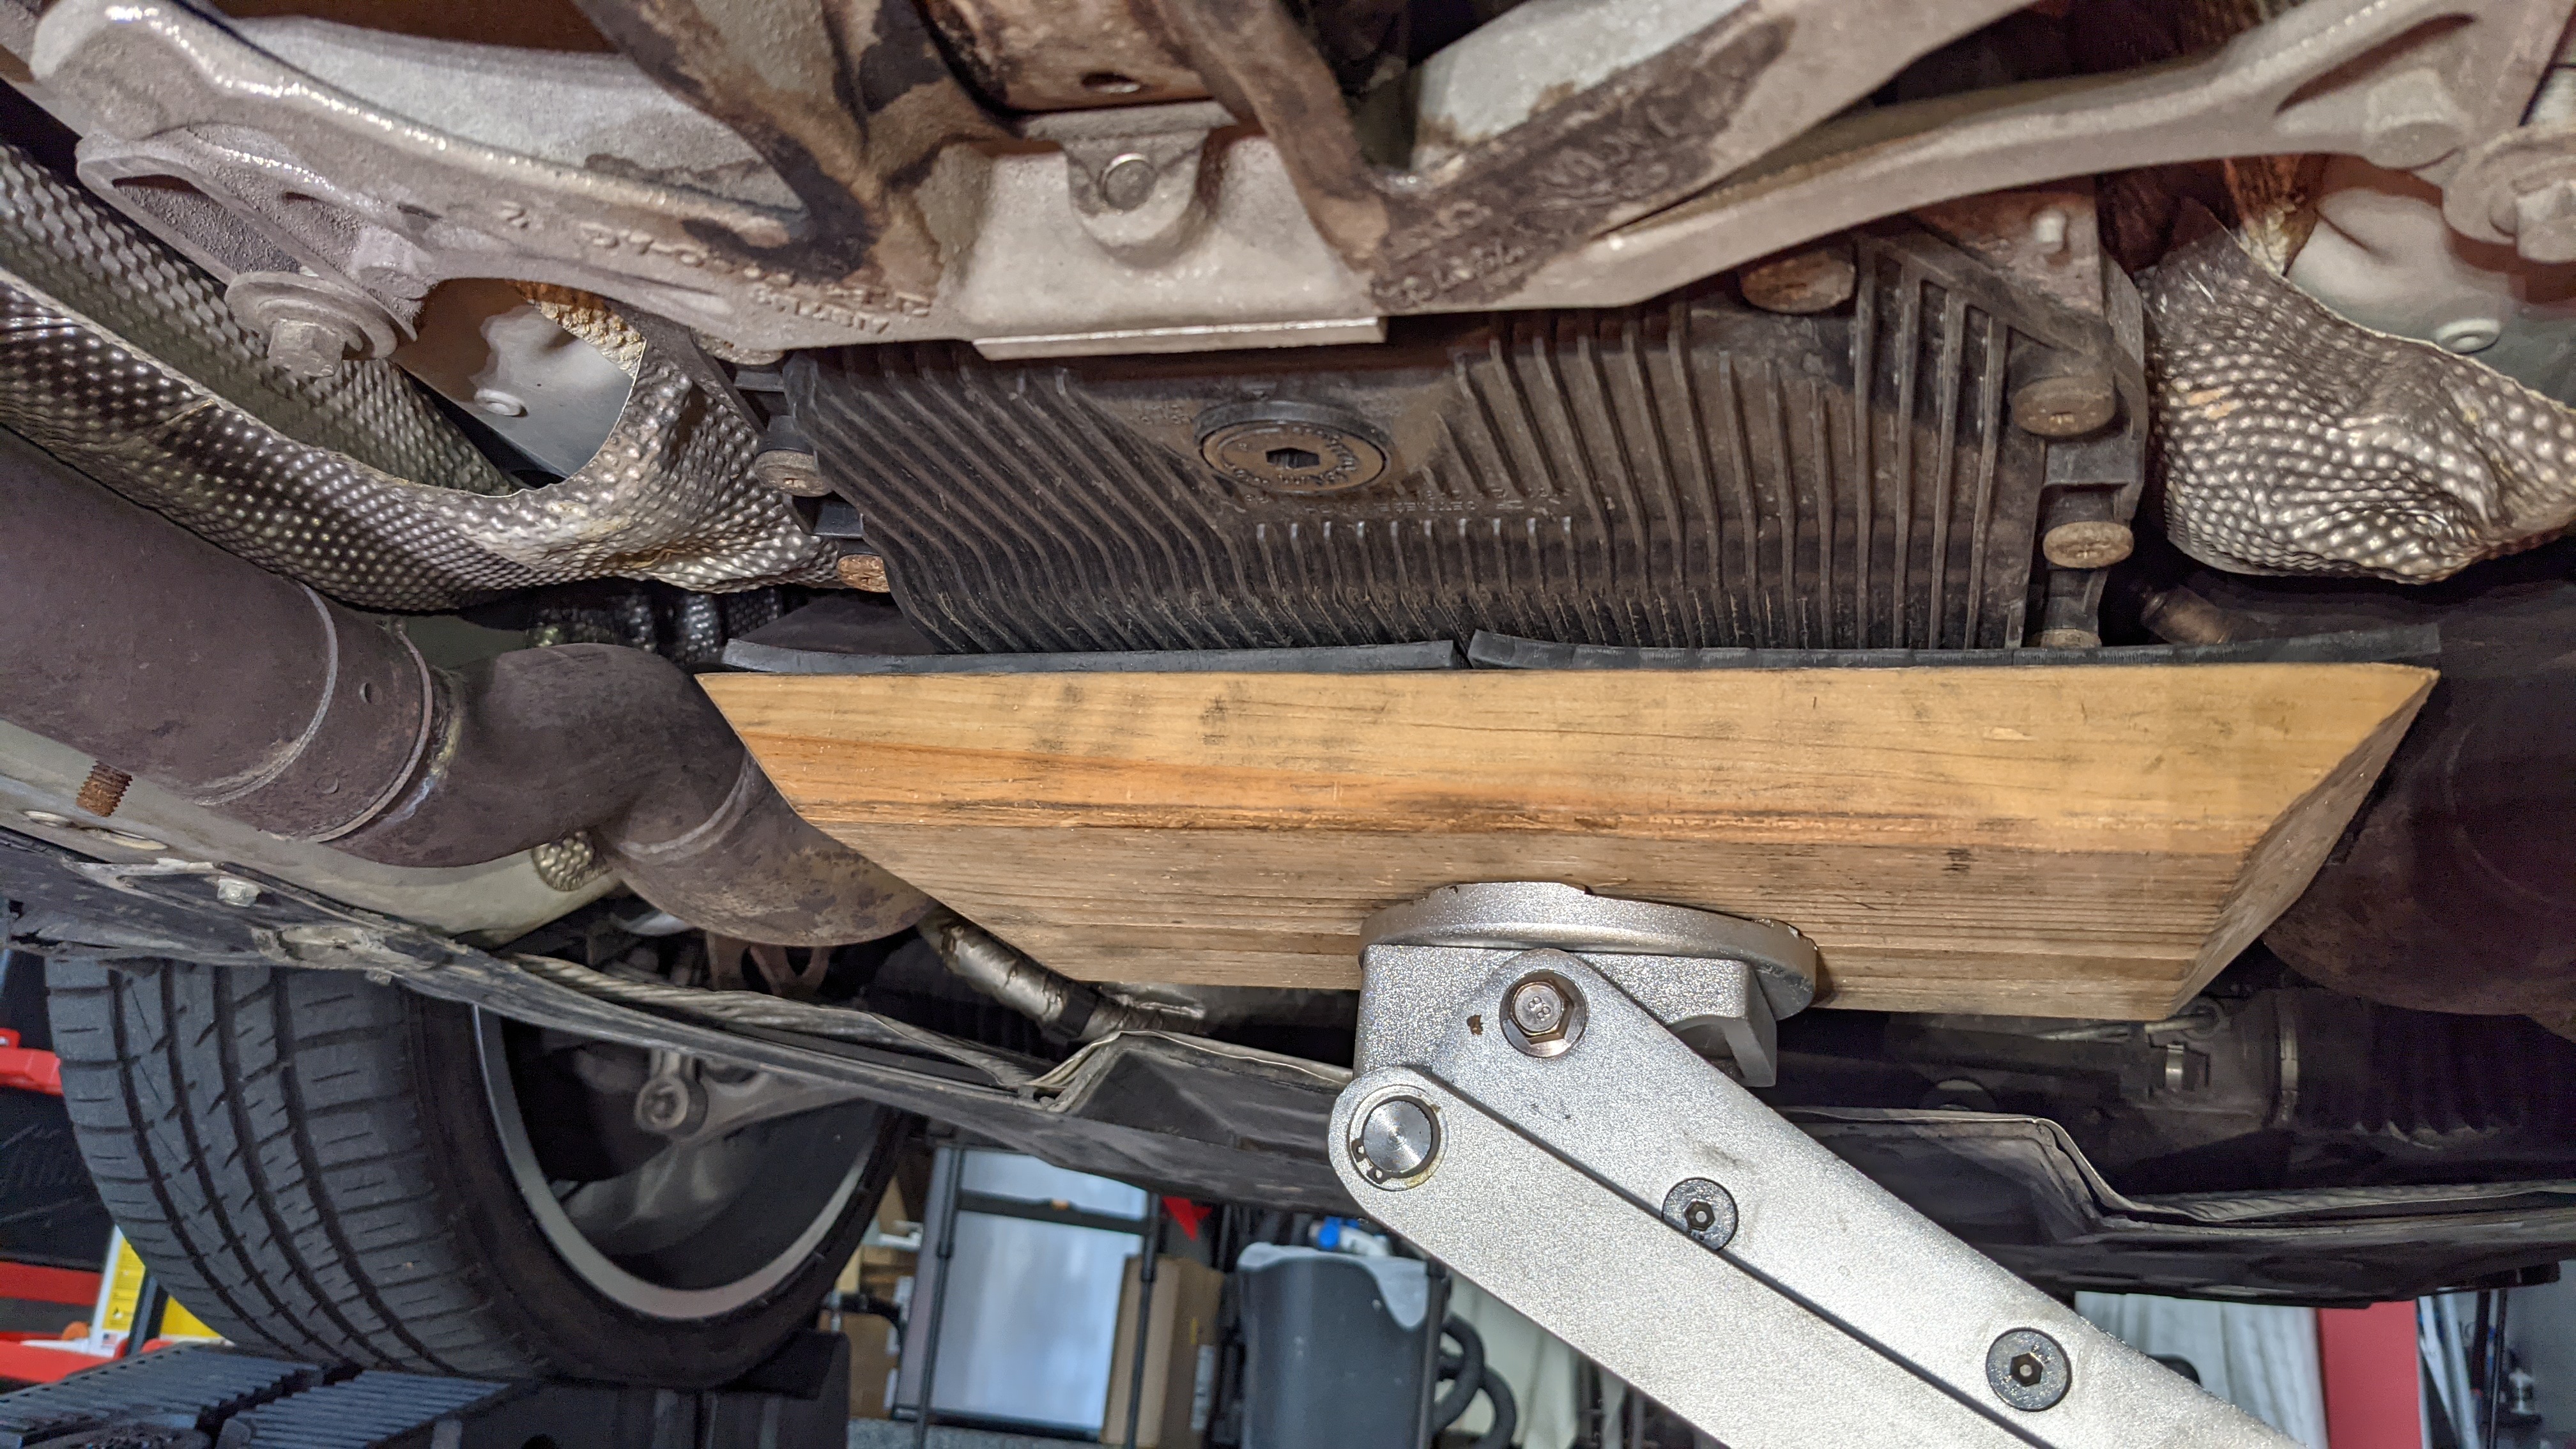
Removed the 13mm bolts and supported one side with another jack stand so it wouldn't come crashing down and messing up the floor.

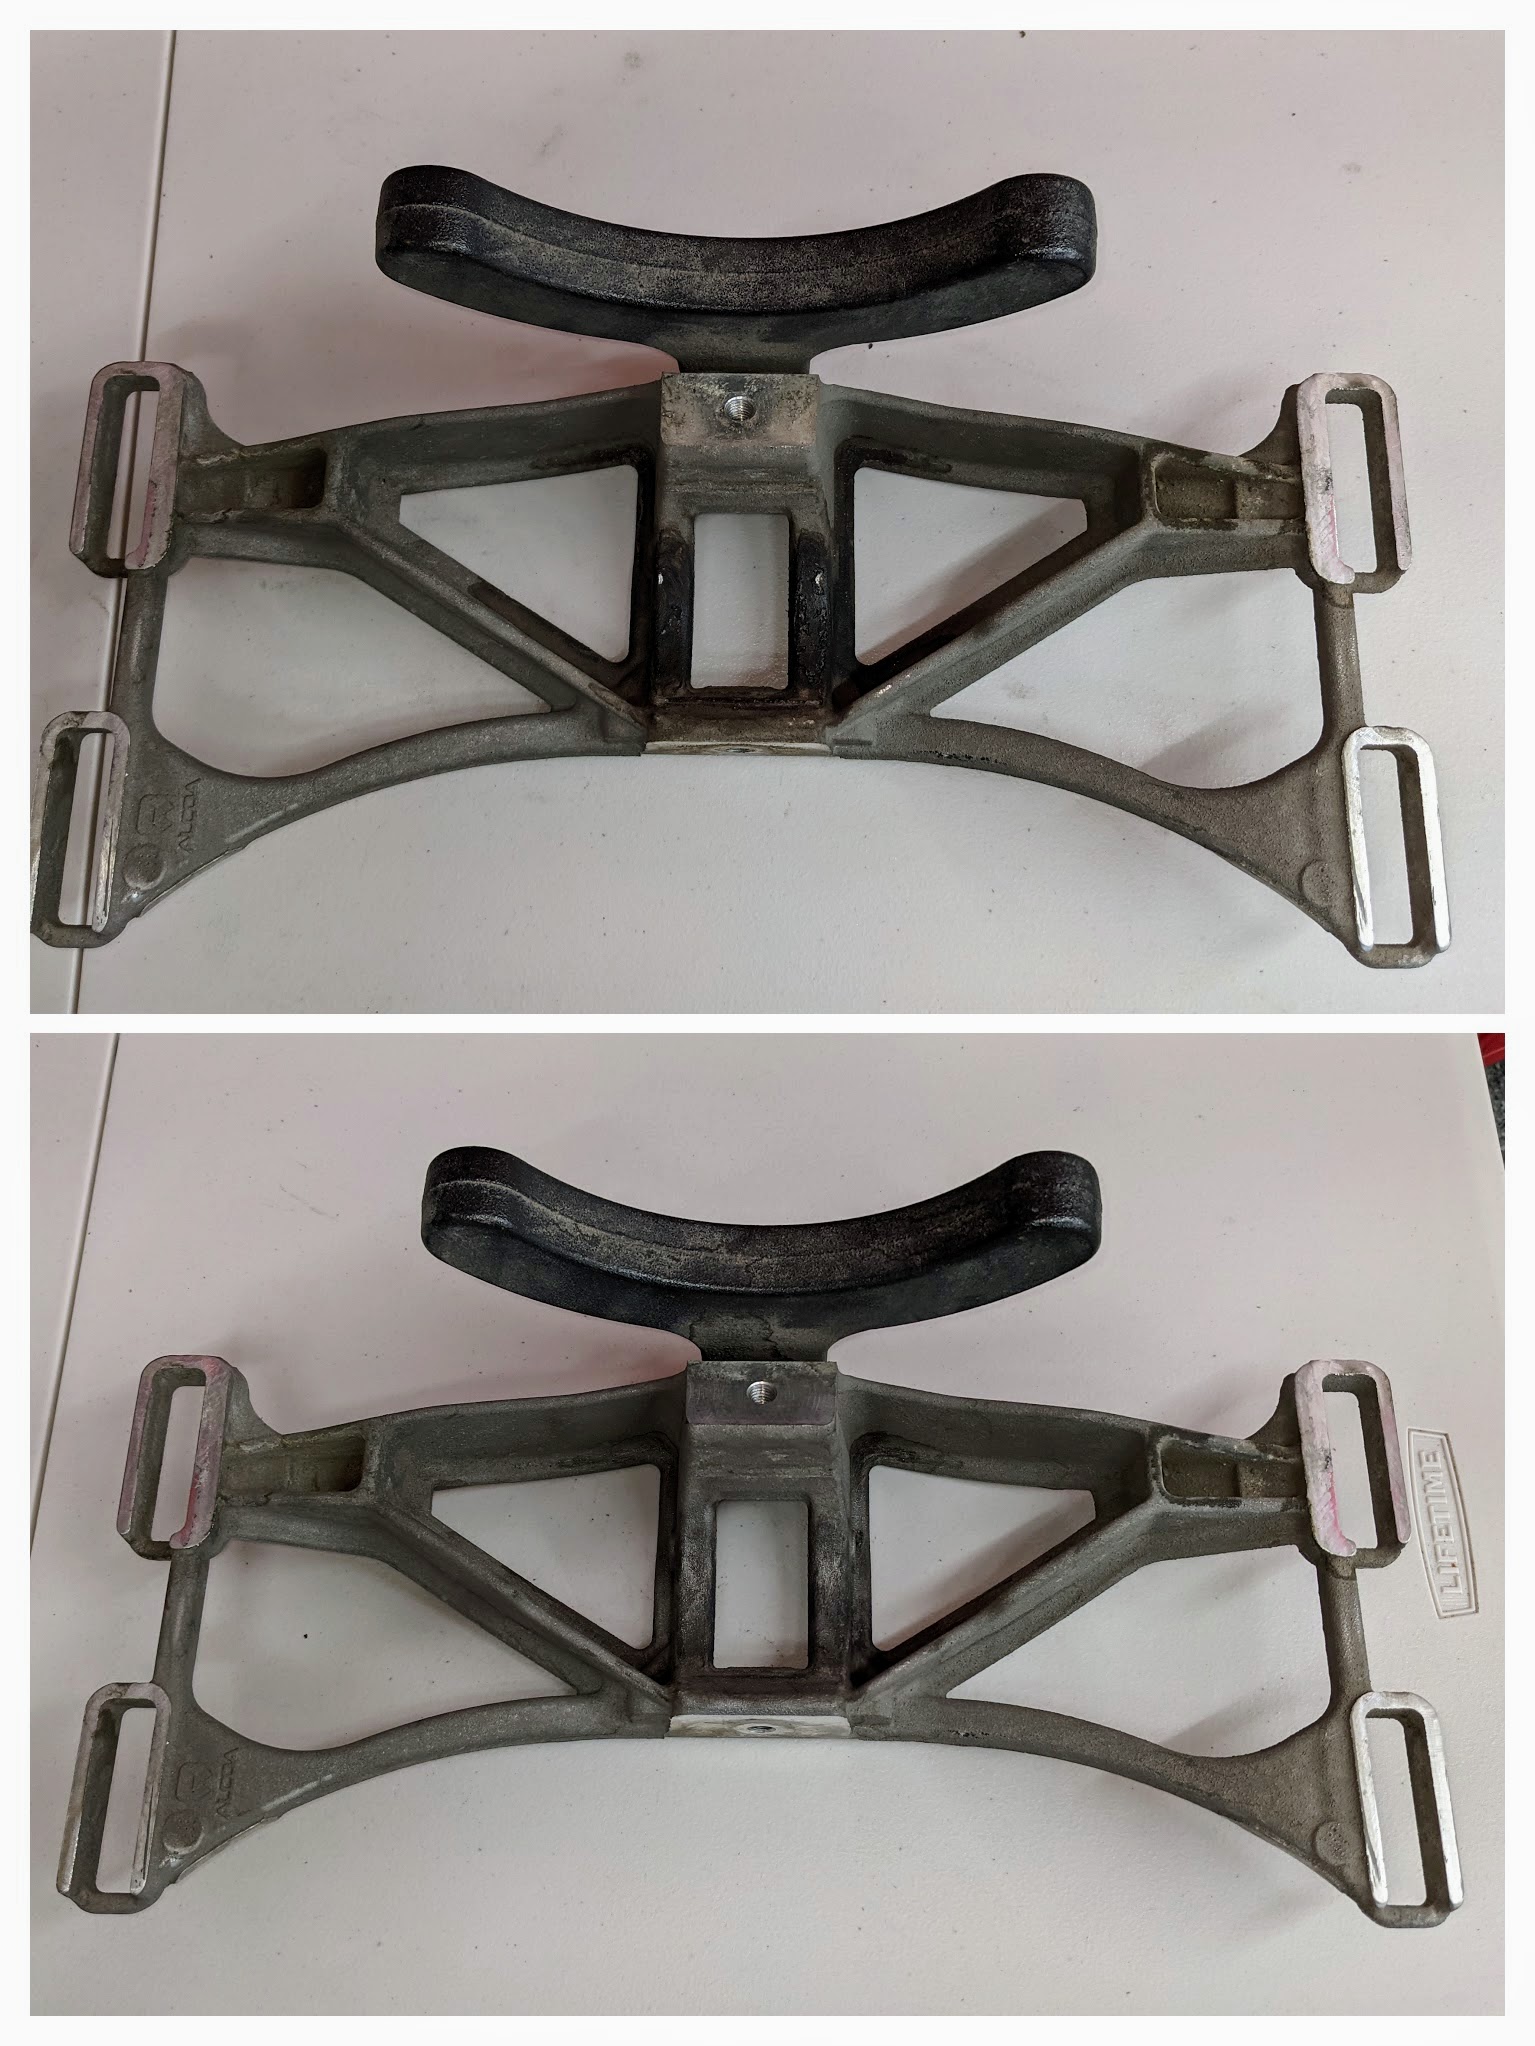
Part comparison:

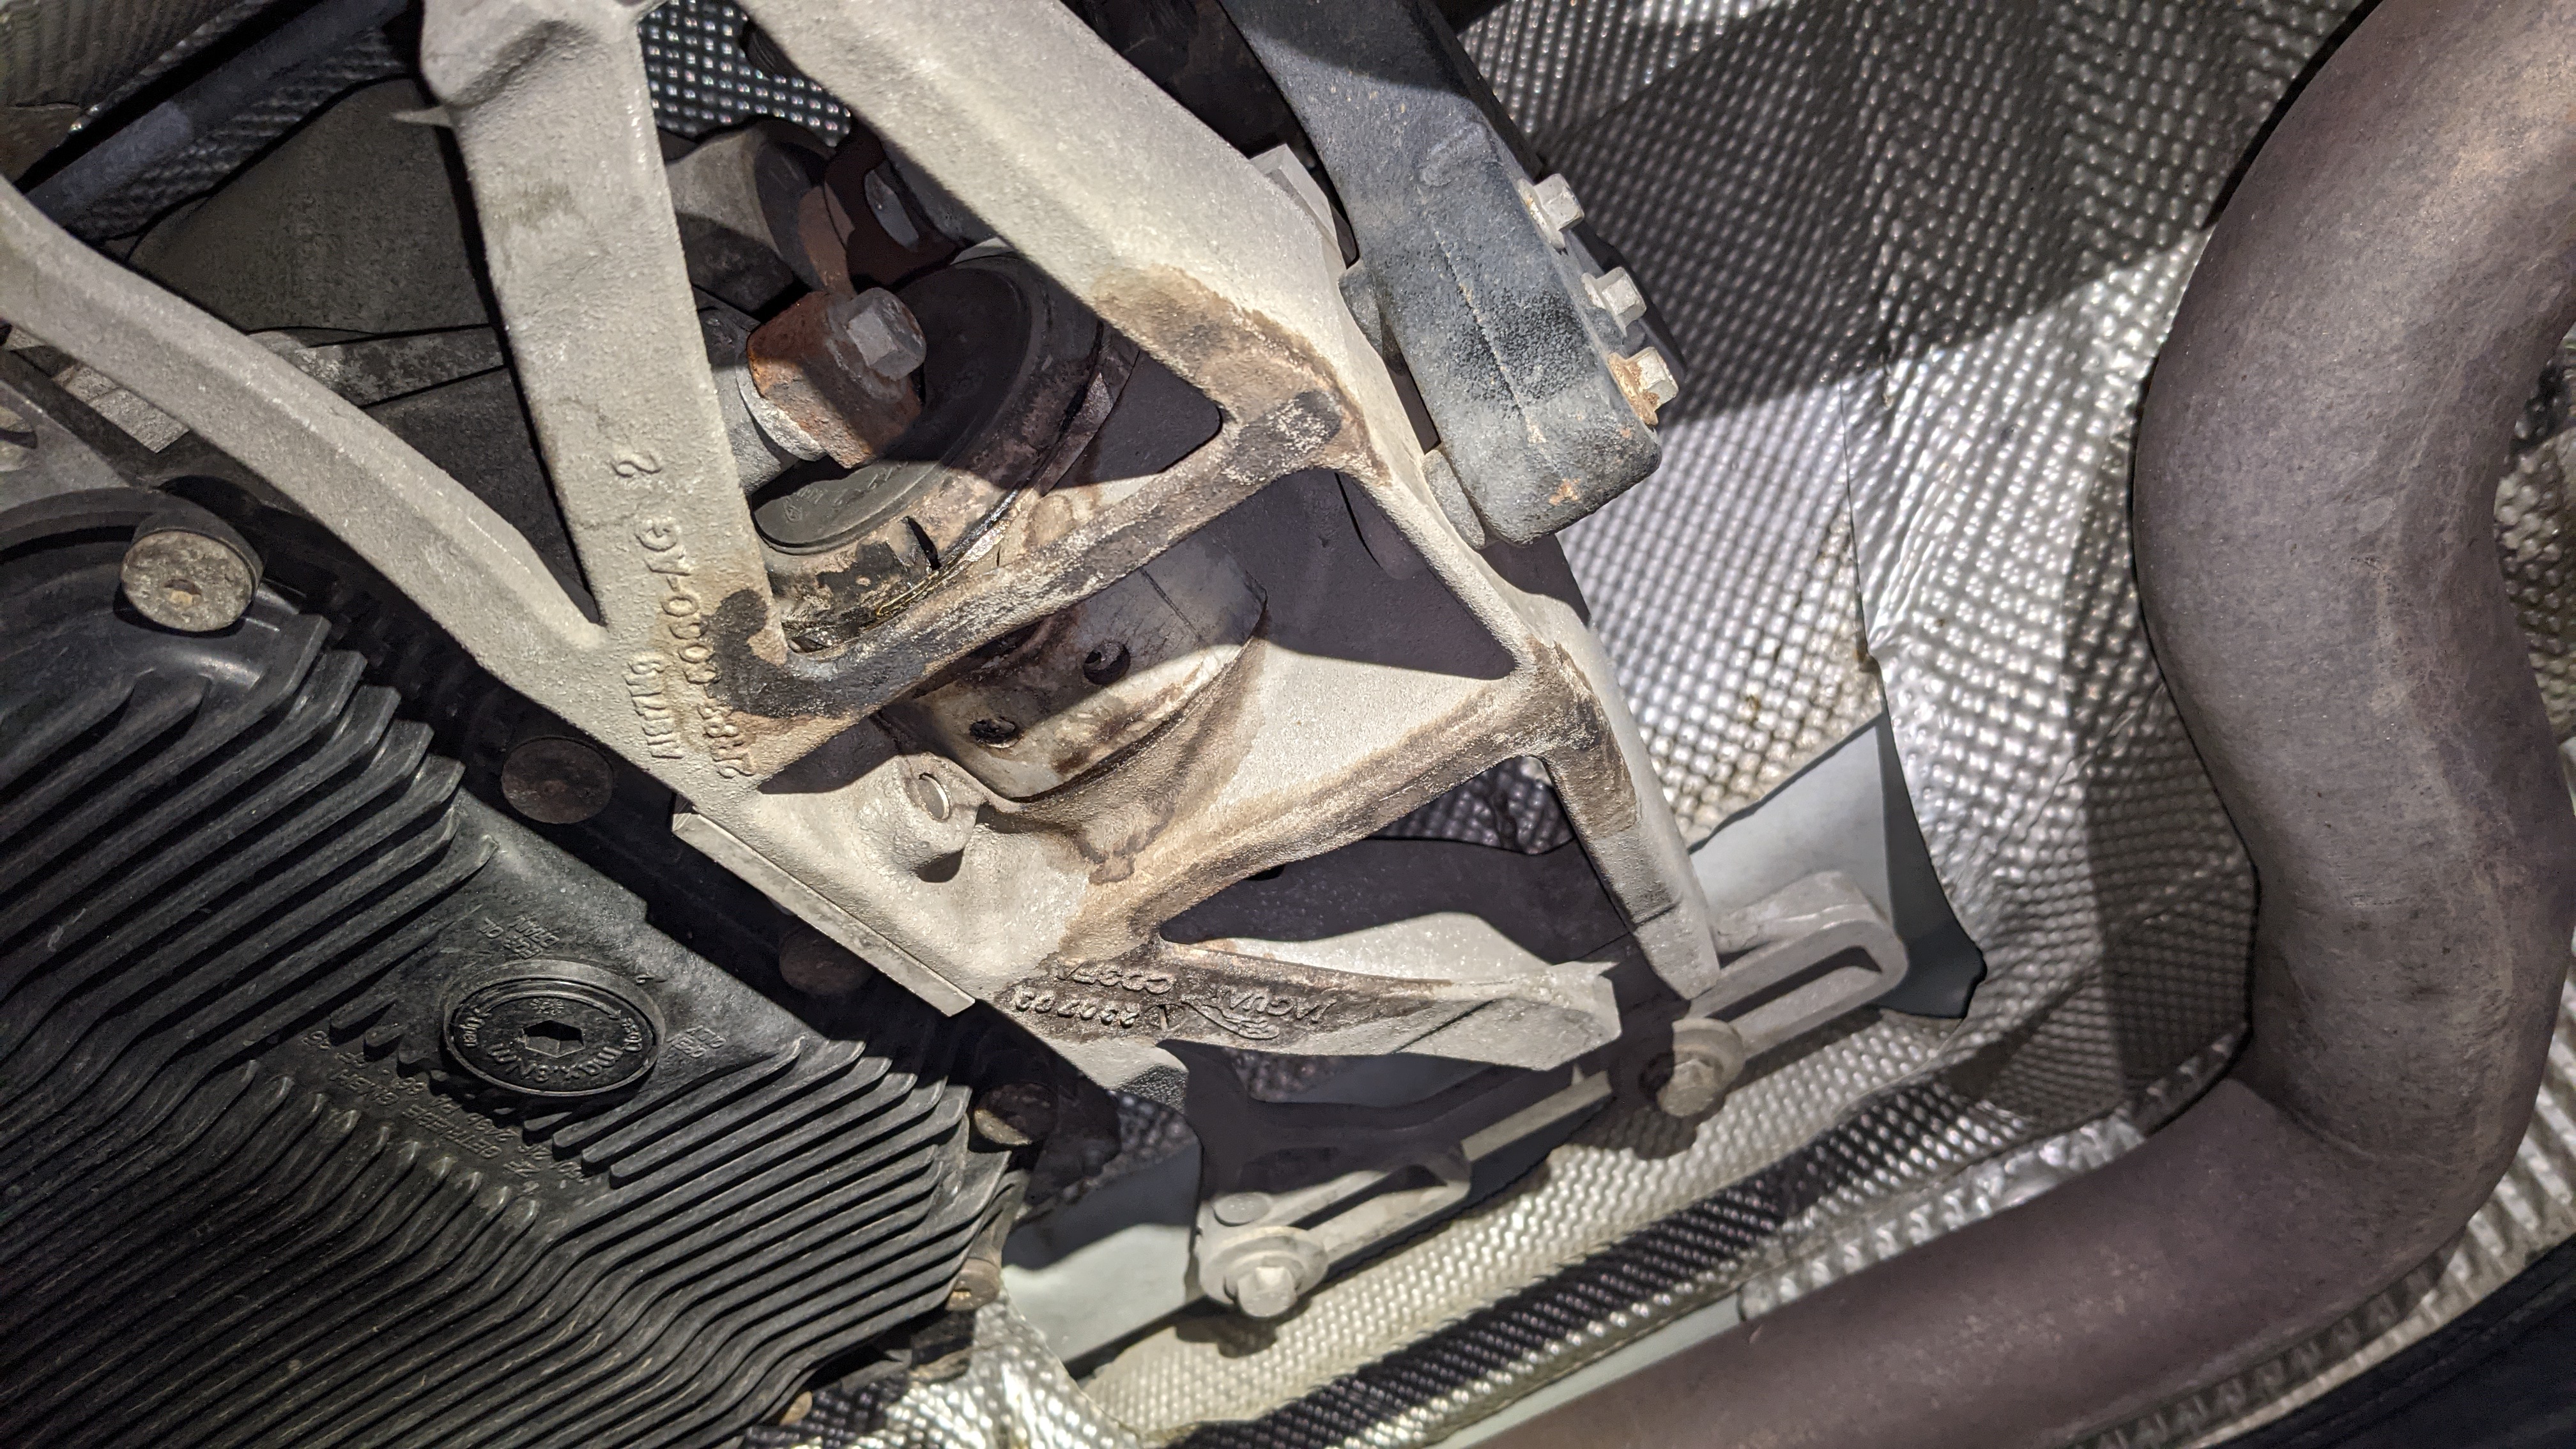
Also cleaned up the support bracket for good measure.
Applied threadlocker on reassembly.
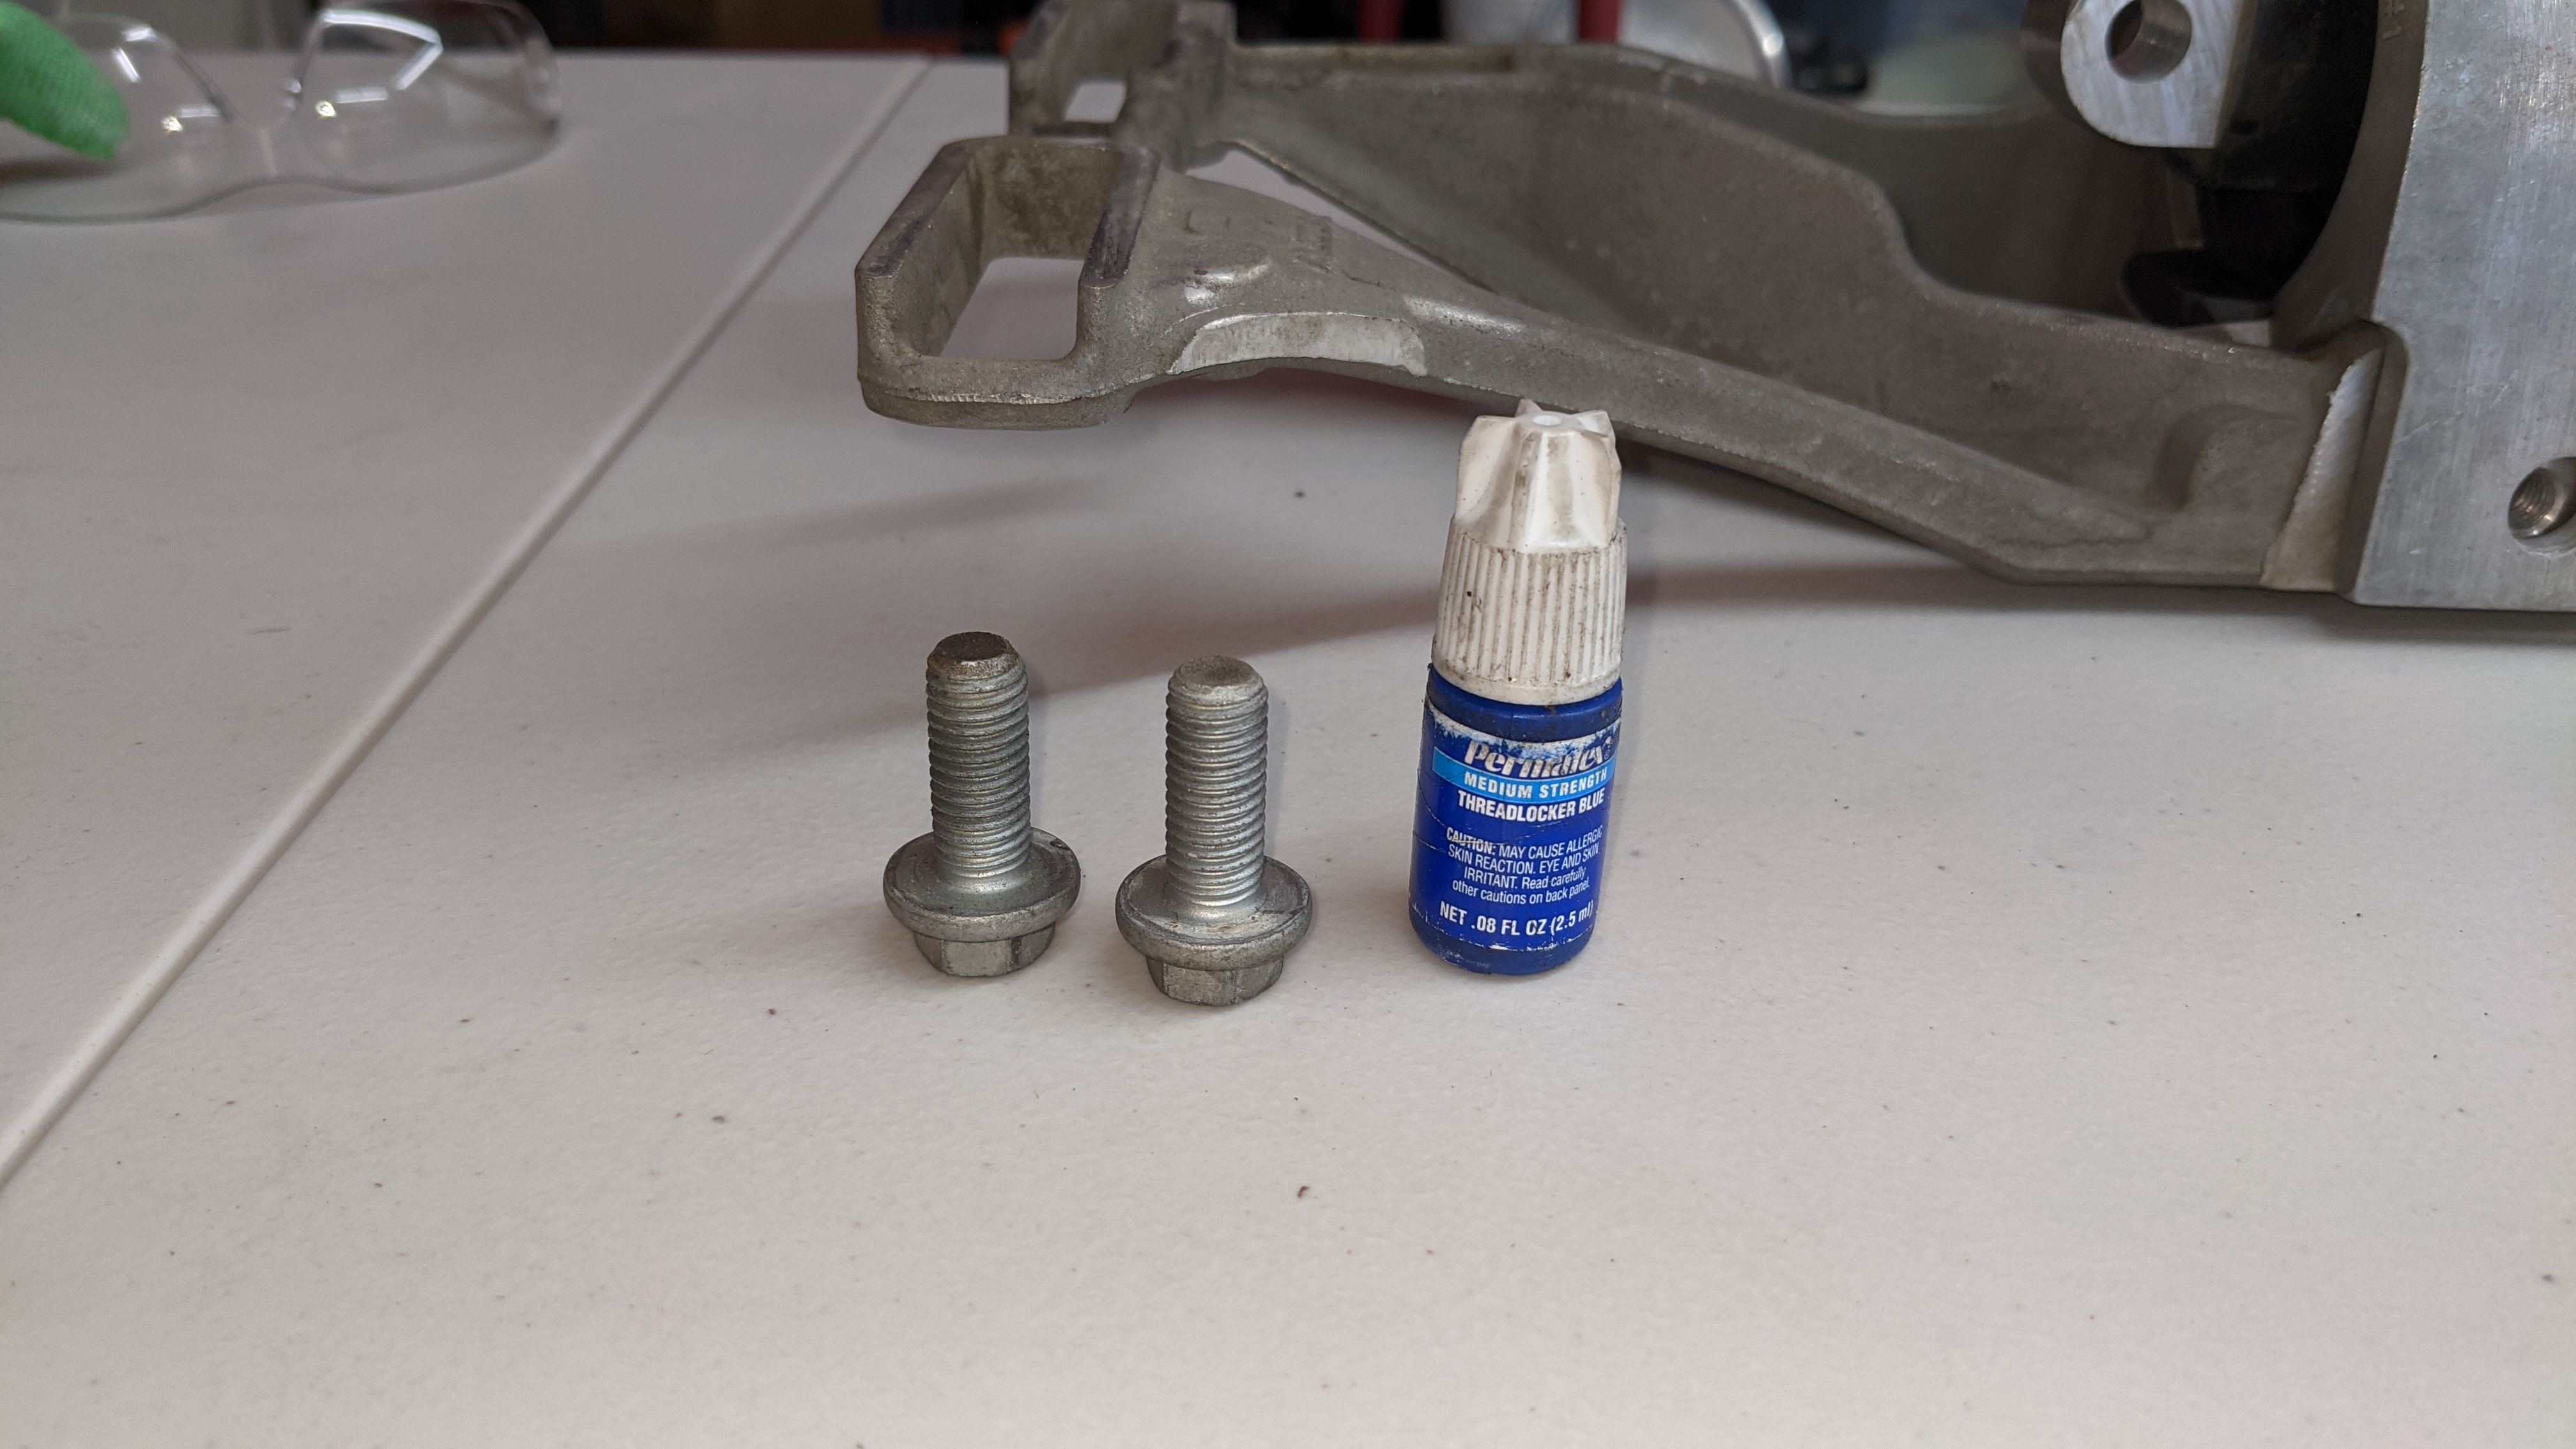
And torqued the bolts attaching to the transmission mount to 37 ft-lbs based on info I found in the repair manual.

Happy to report the vibration has been significantly reduced! I wouldn't be surprised if things could get smoother with new engine mounts but at this point it doesn't bother me enough to put in the effort to swap them out.
Thread Starter
|
Member
Joined: Aug 2021
Posts: 54
Likes: 19
From: Los Angeles
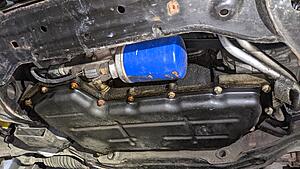
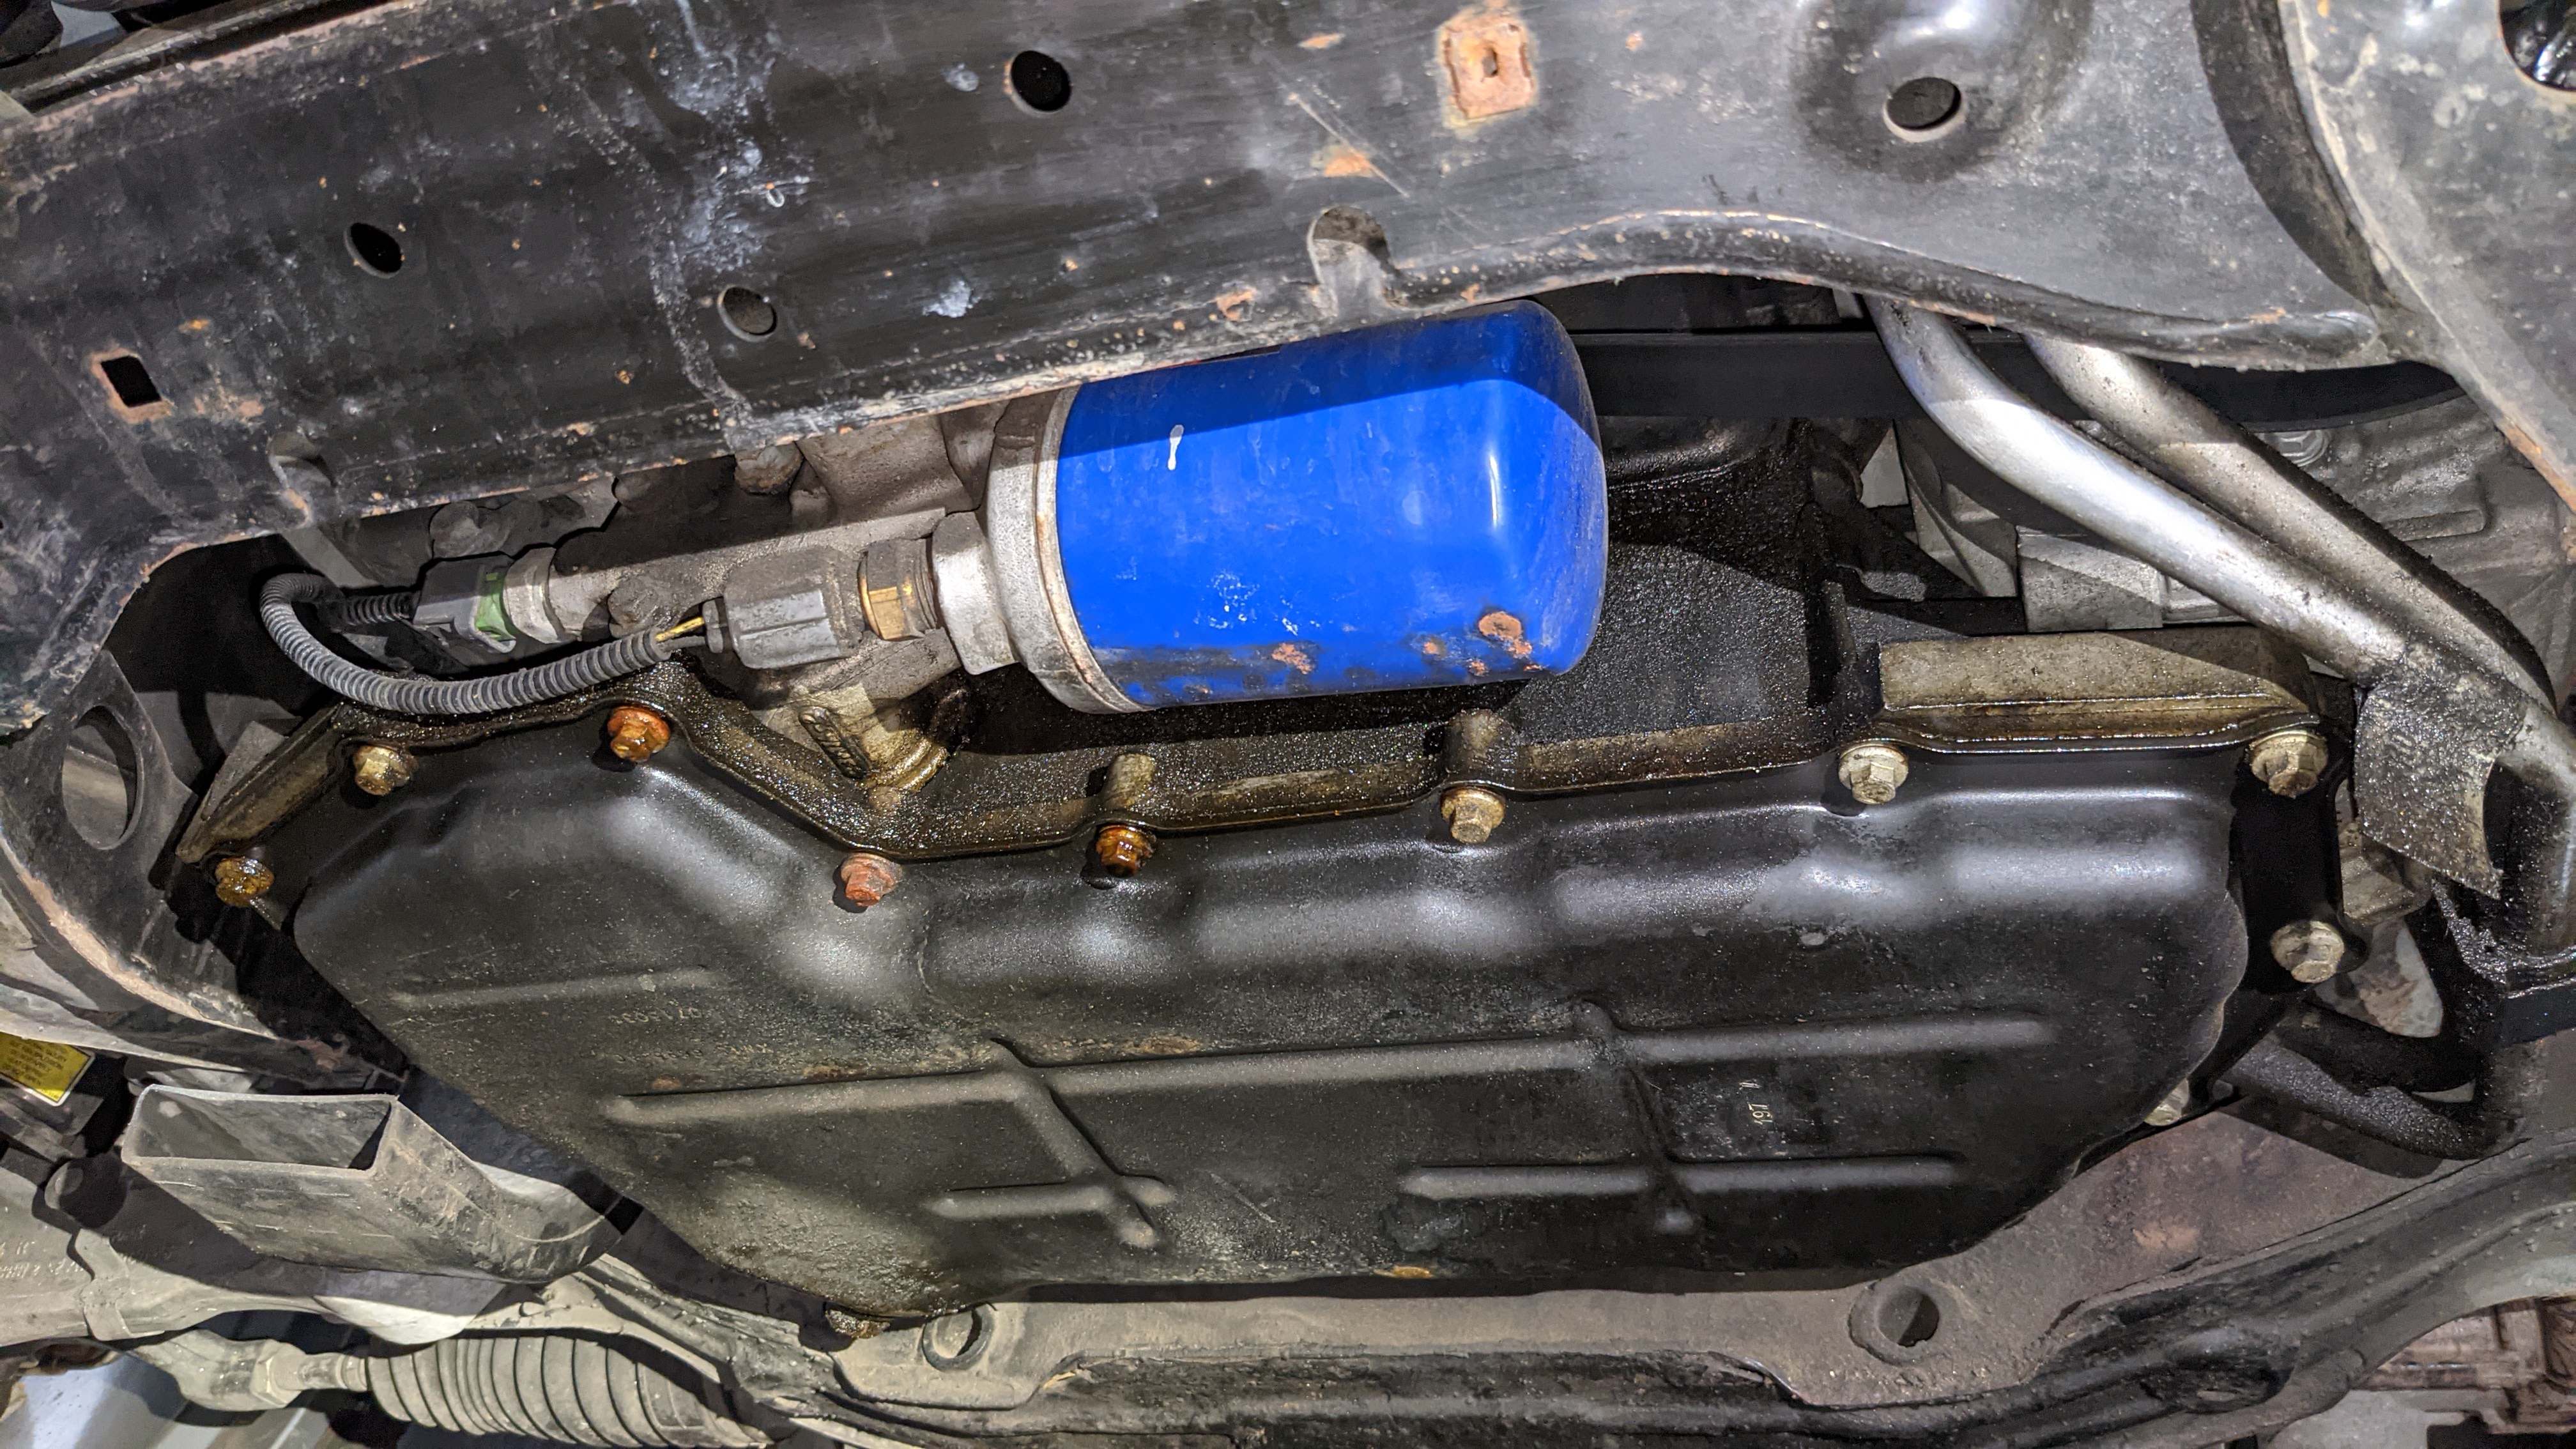
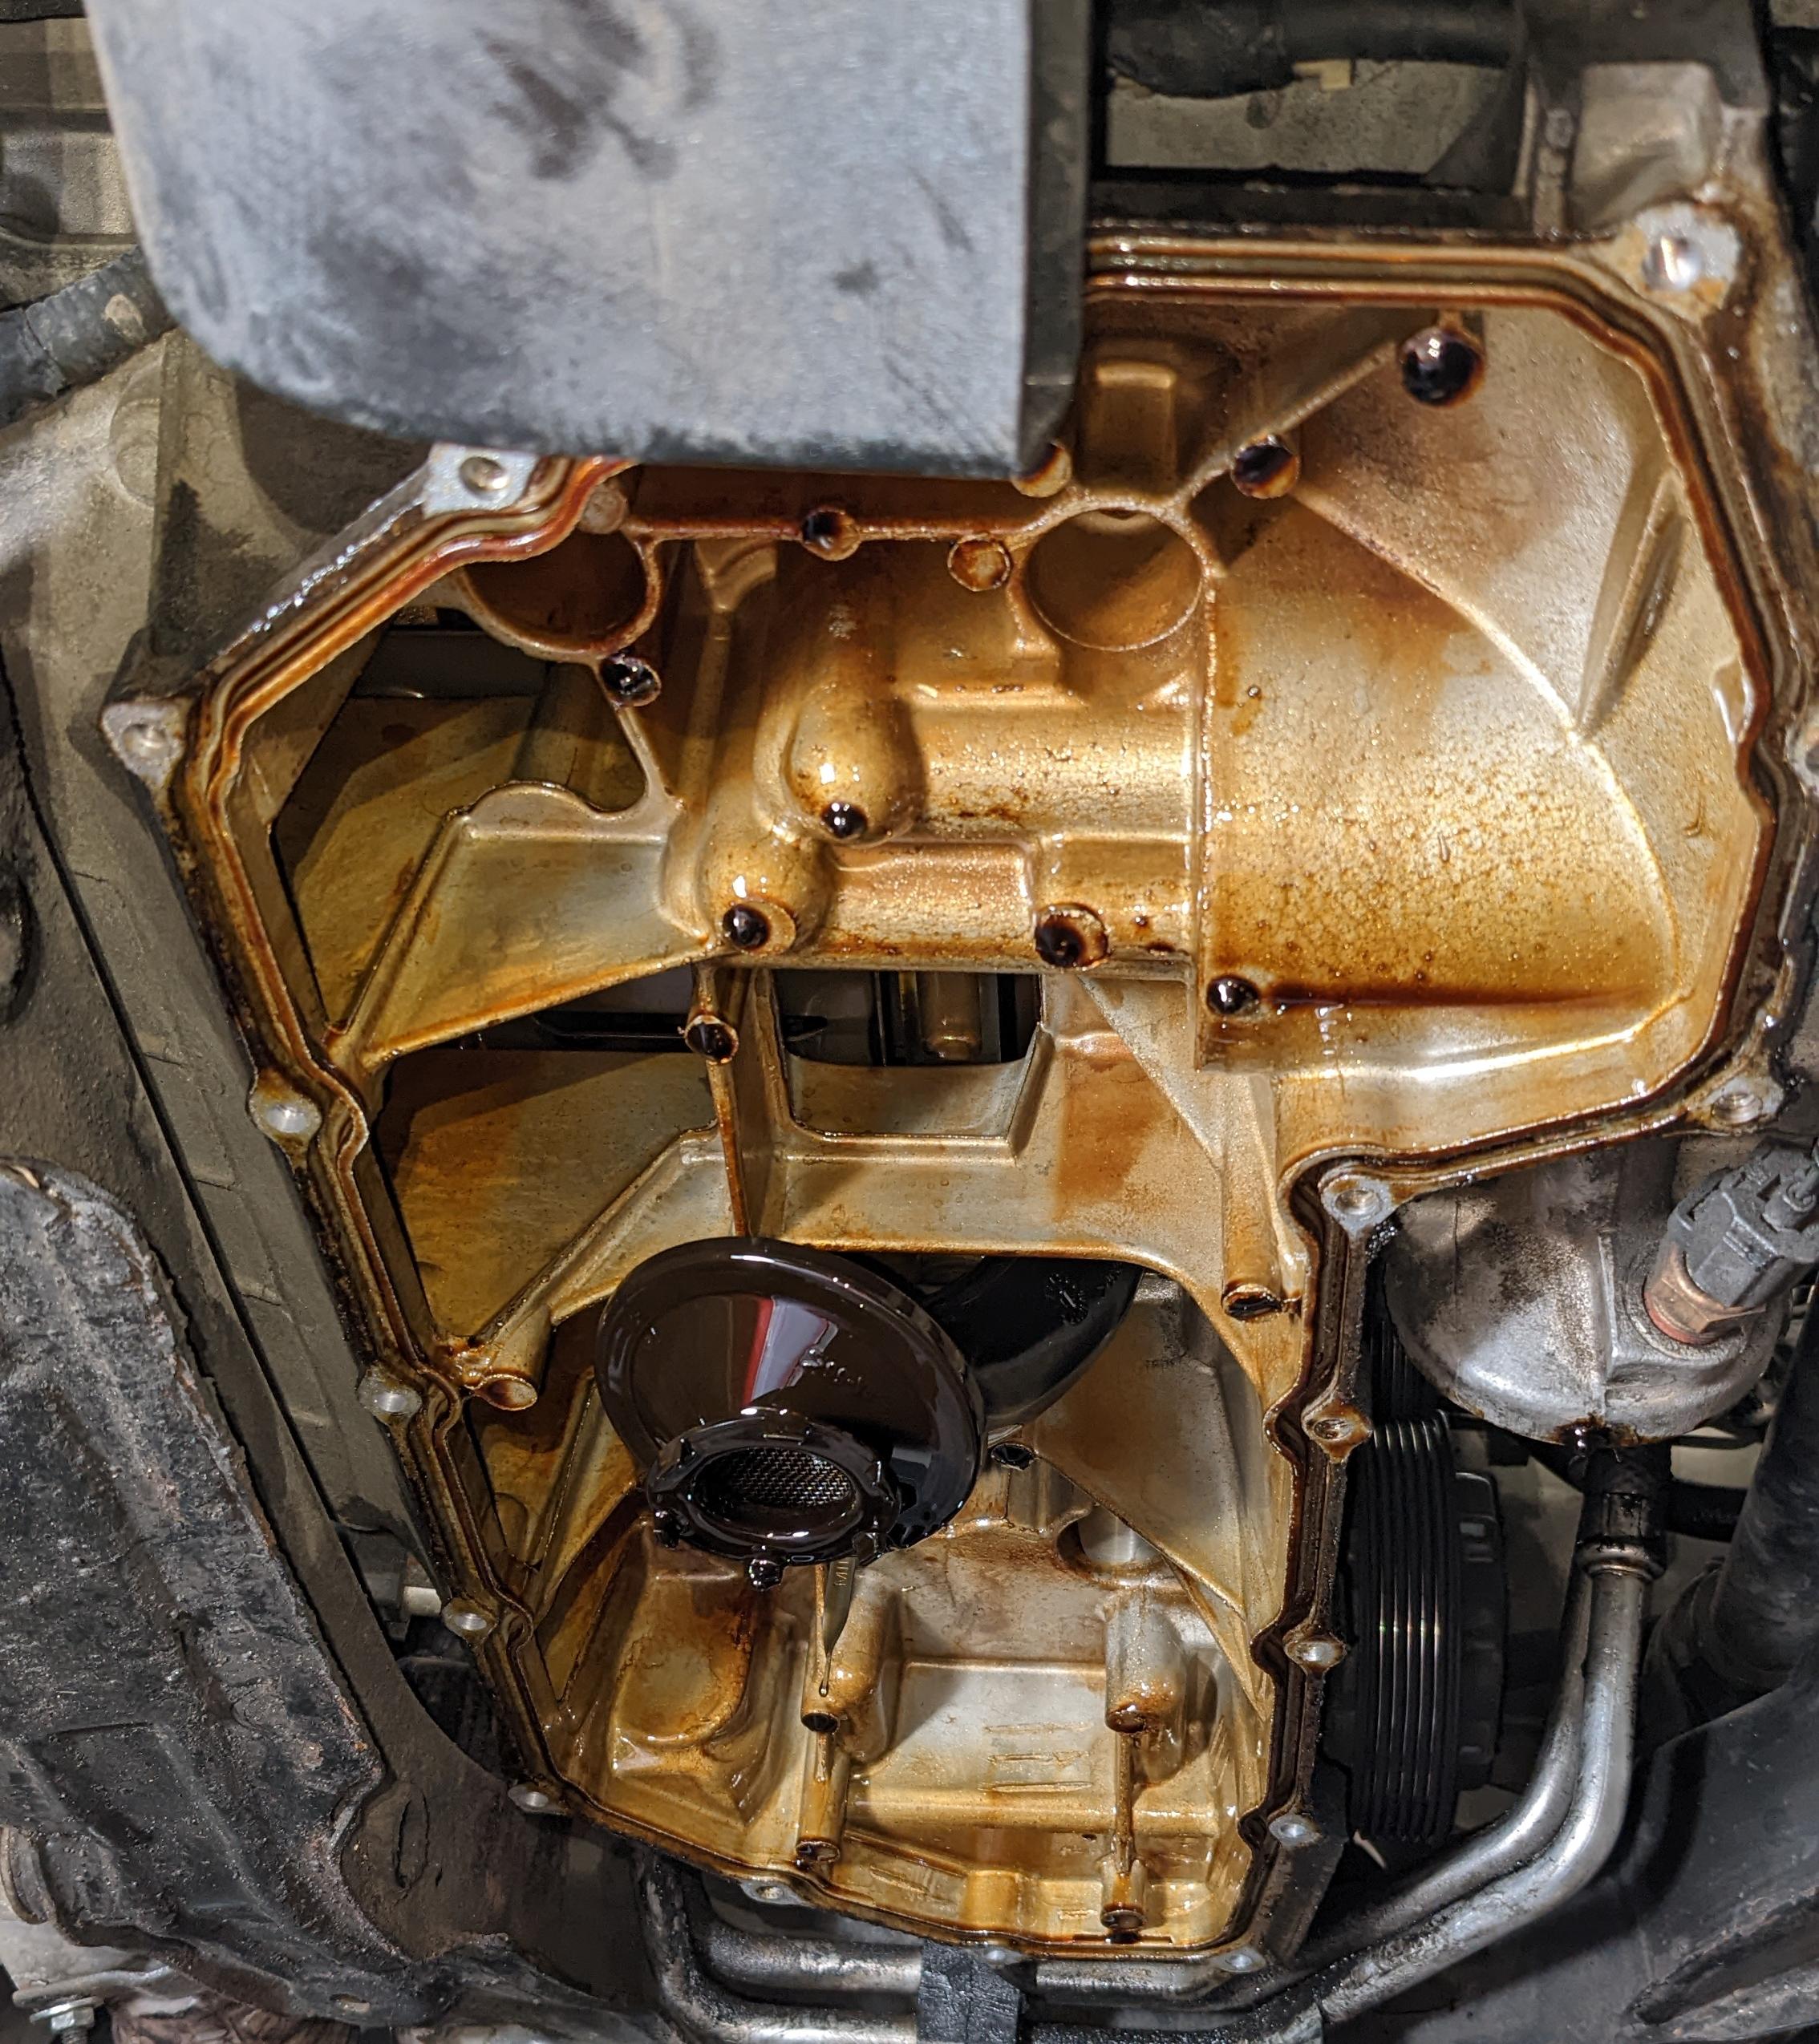
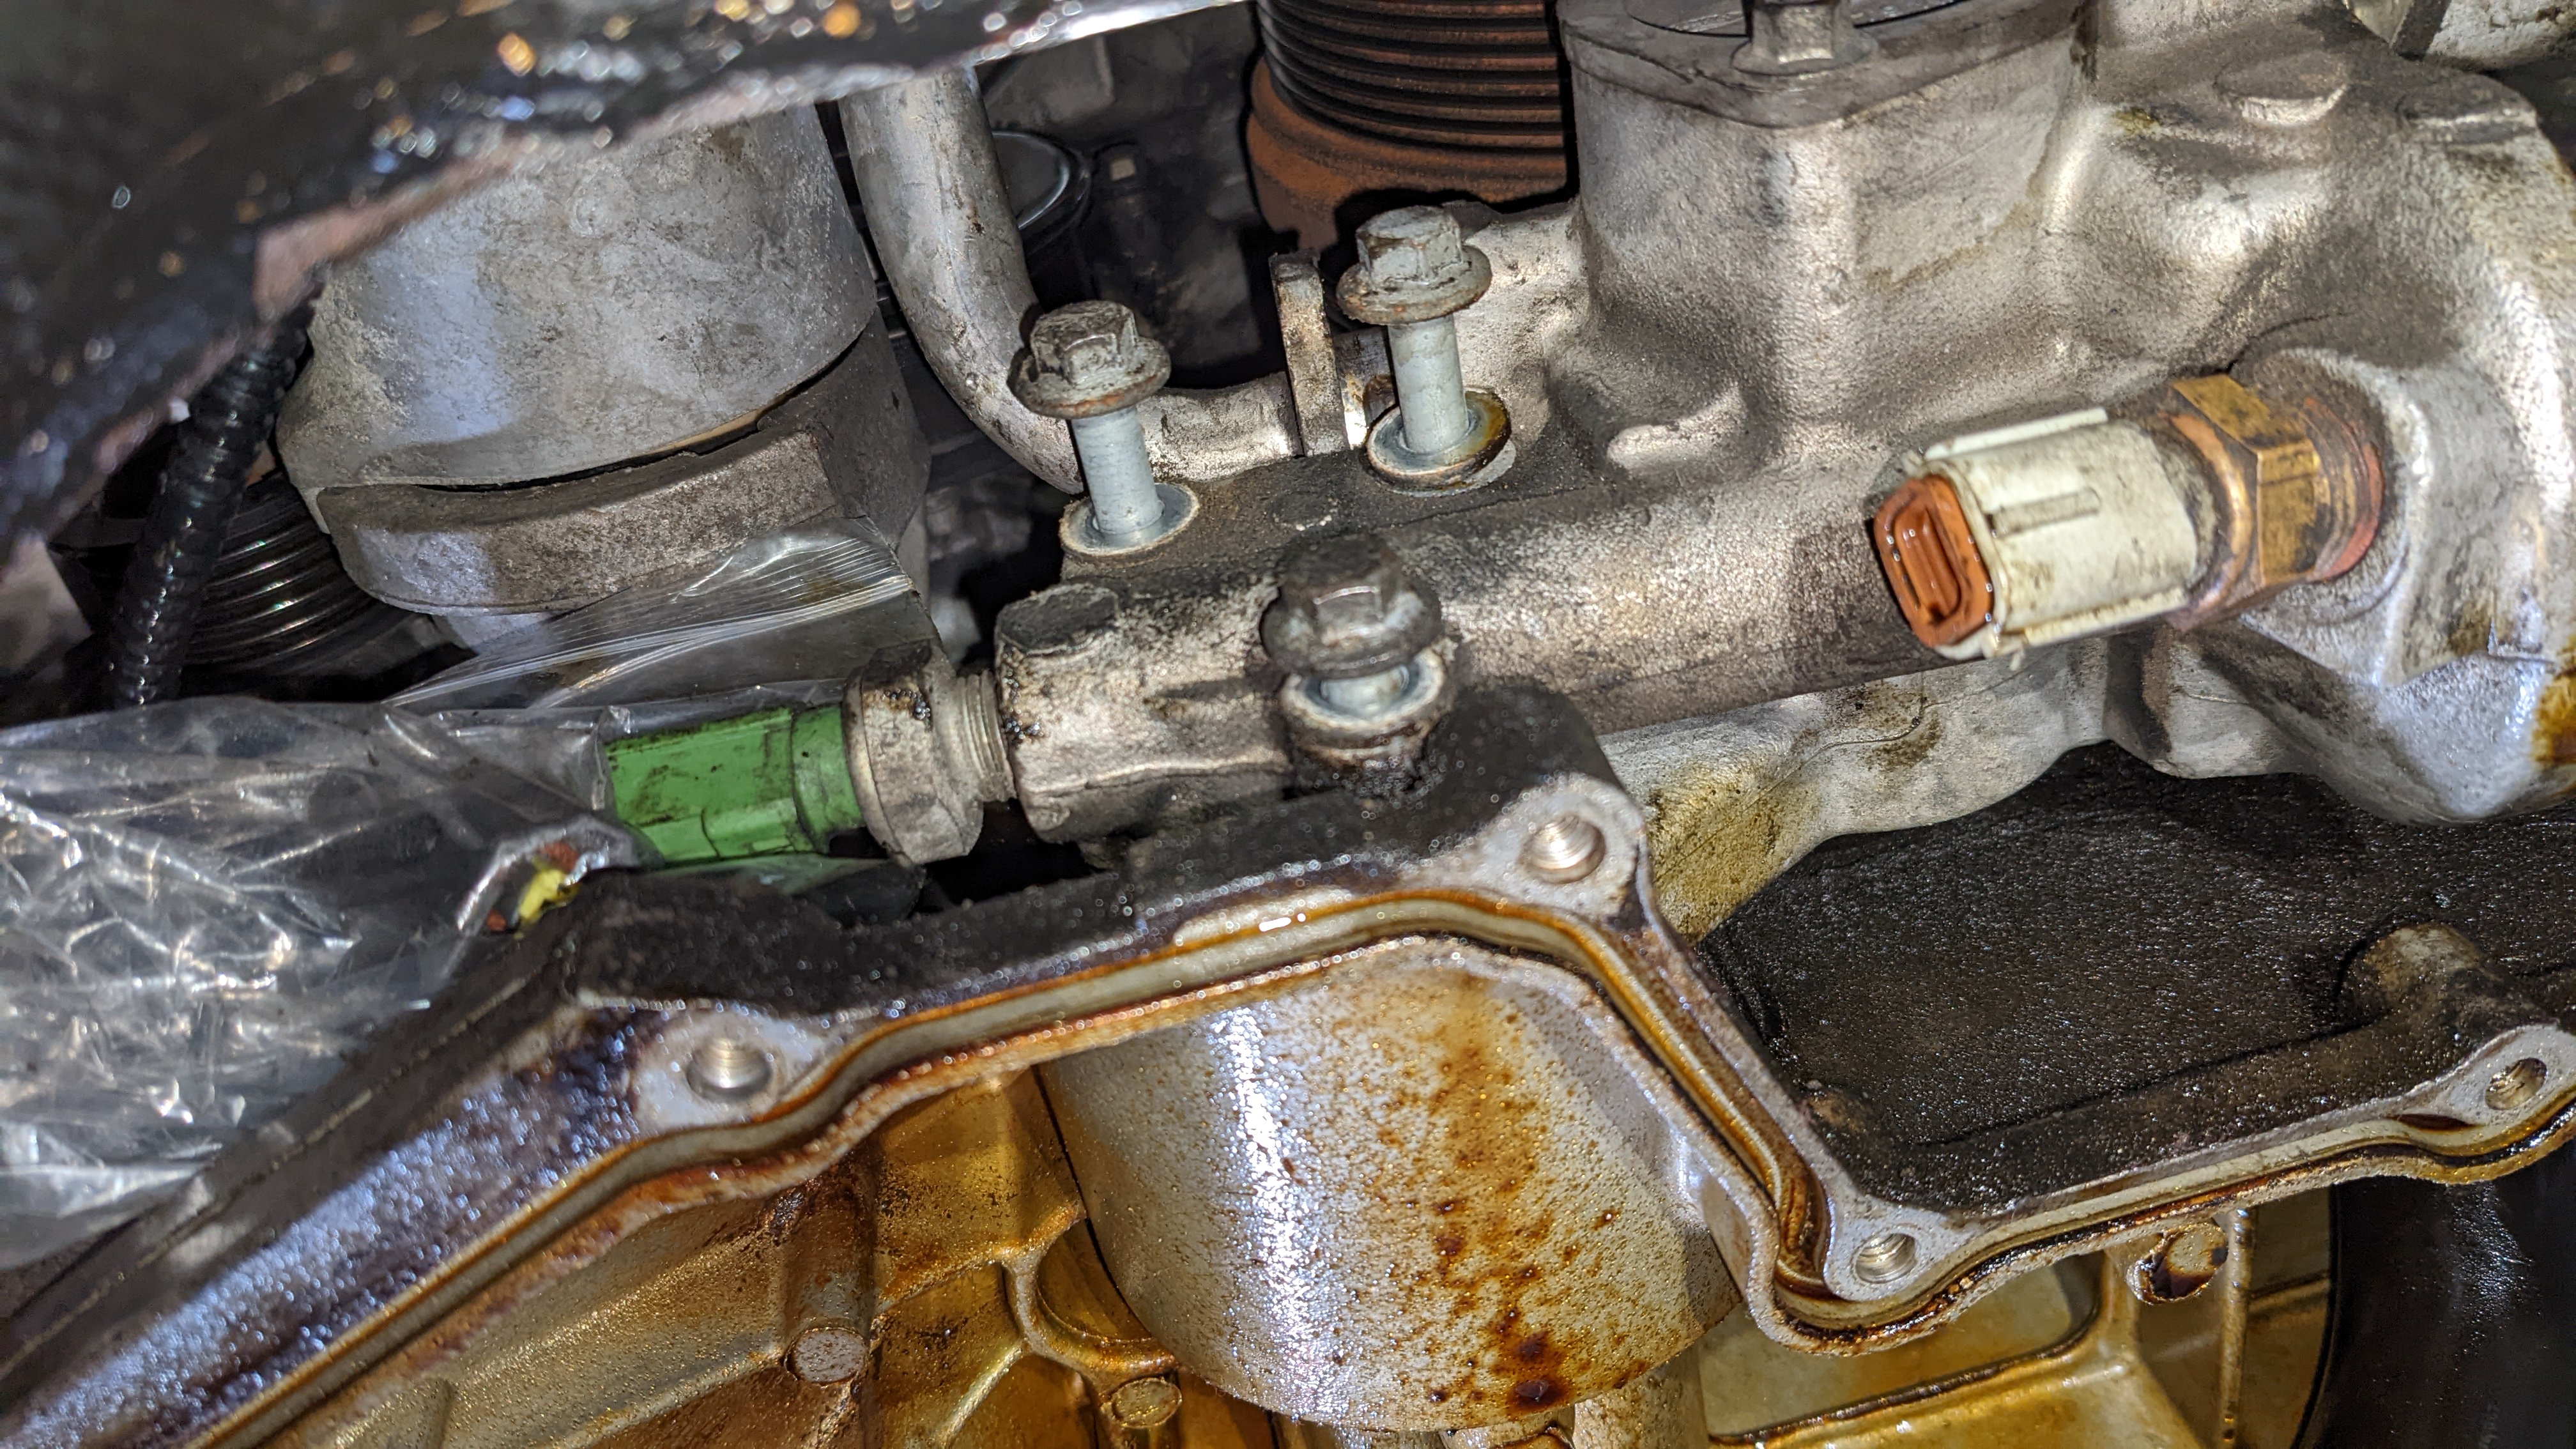
Couple other notes: I have a pretty bad oil leak which I'm planning on addressing by replacing both the oil filter housing gasket and the oil pan gasket:
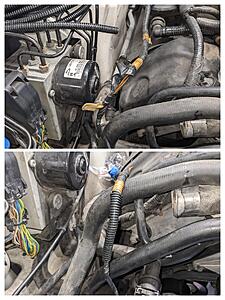
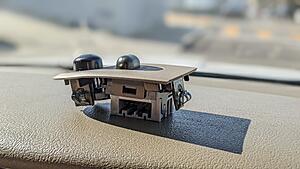
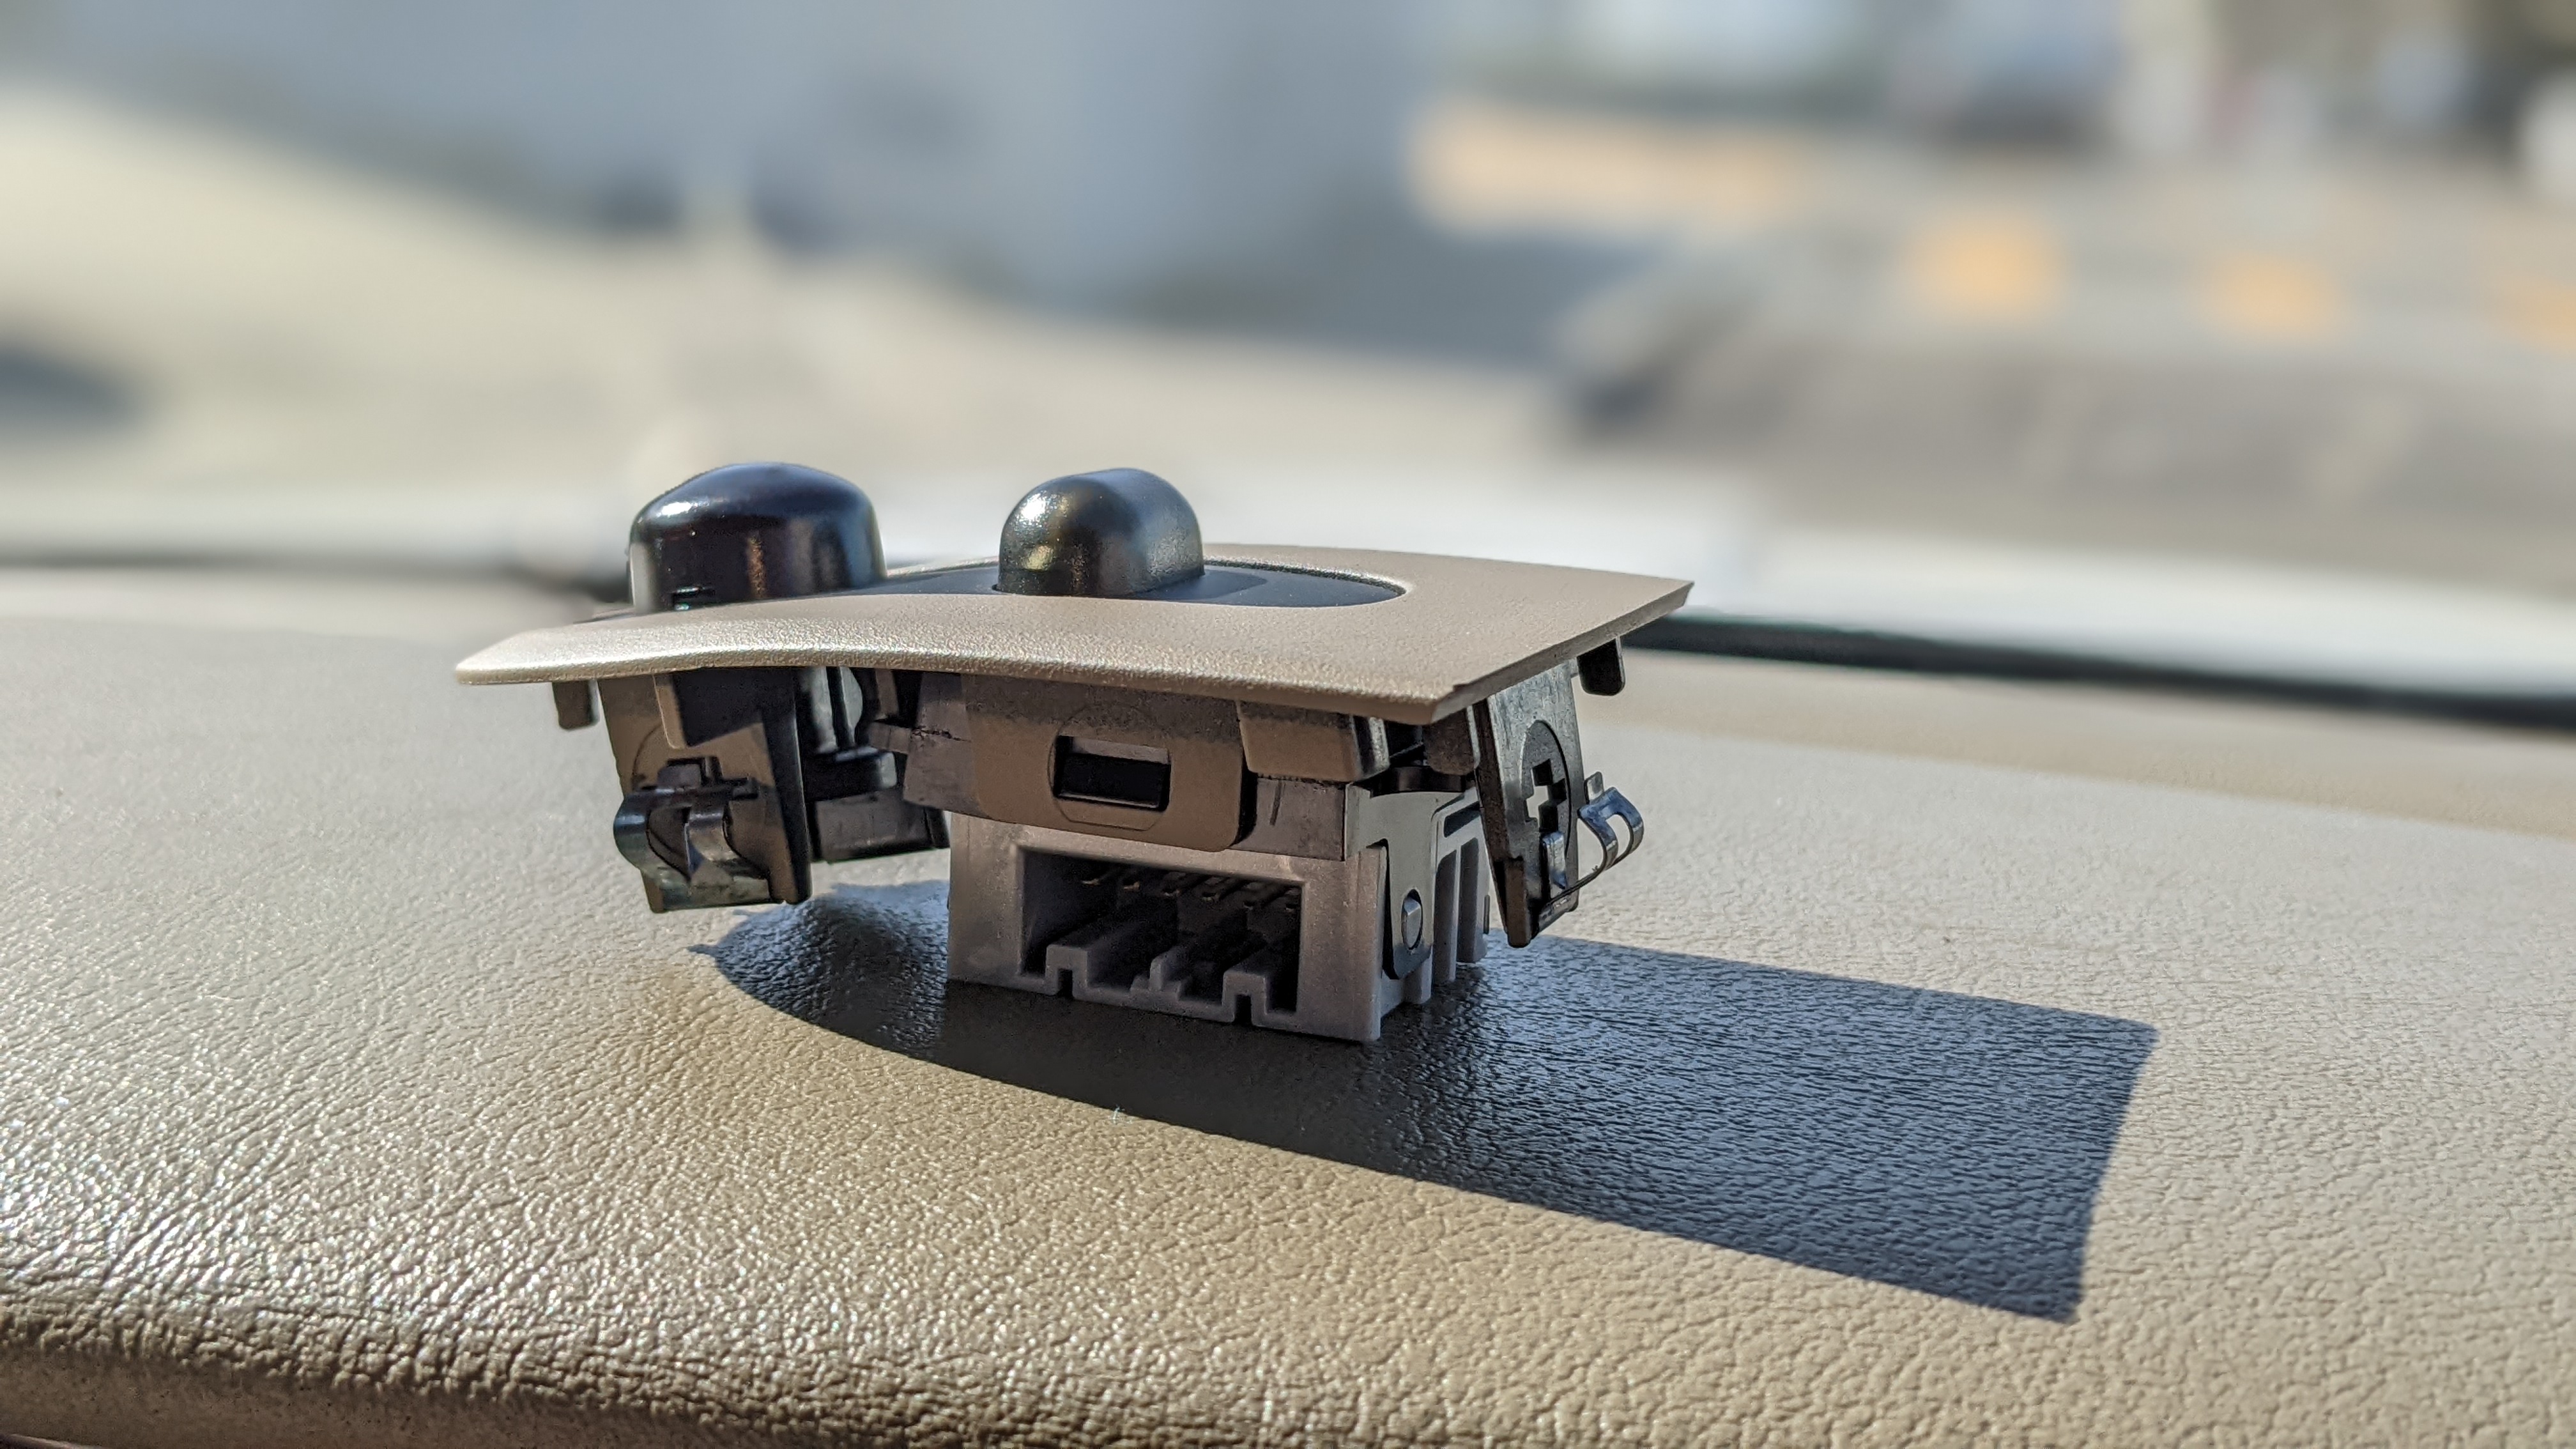
I'm also having an issue with the auto-light option where they won't turn off during the day (DRLs are set to off). I first swapped the mirror with another used on I found on eBay, assuming the light sensor on the back was malfunctioning. That didn't fix the issue so I also got a new light switch.
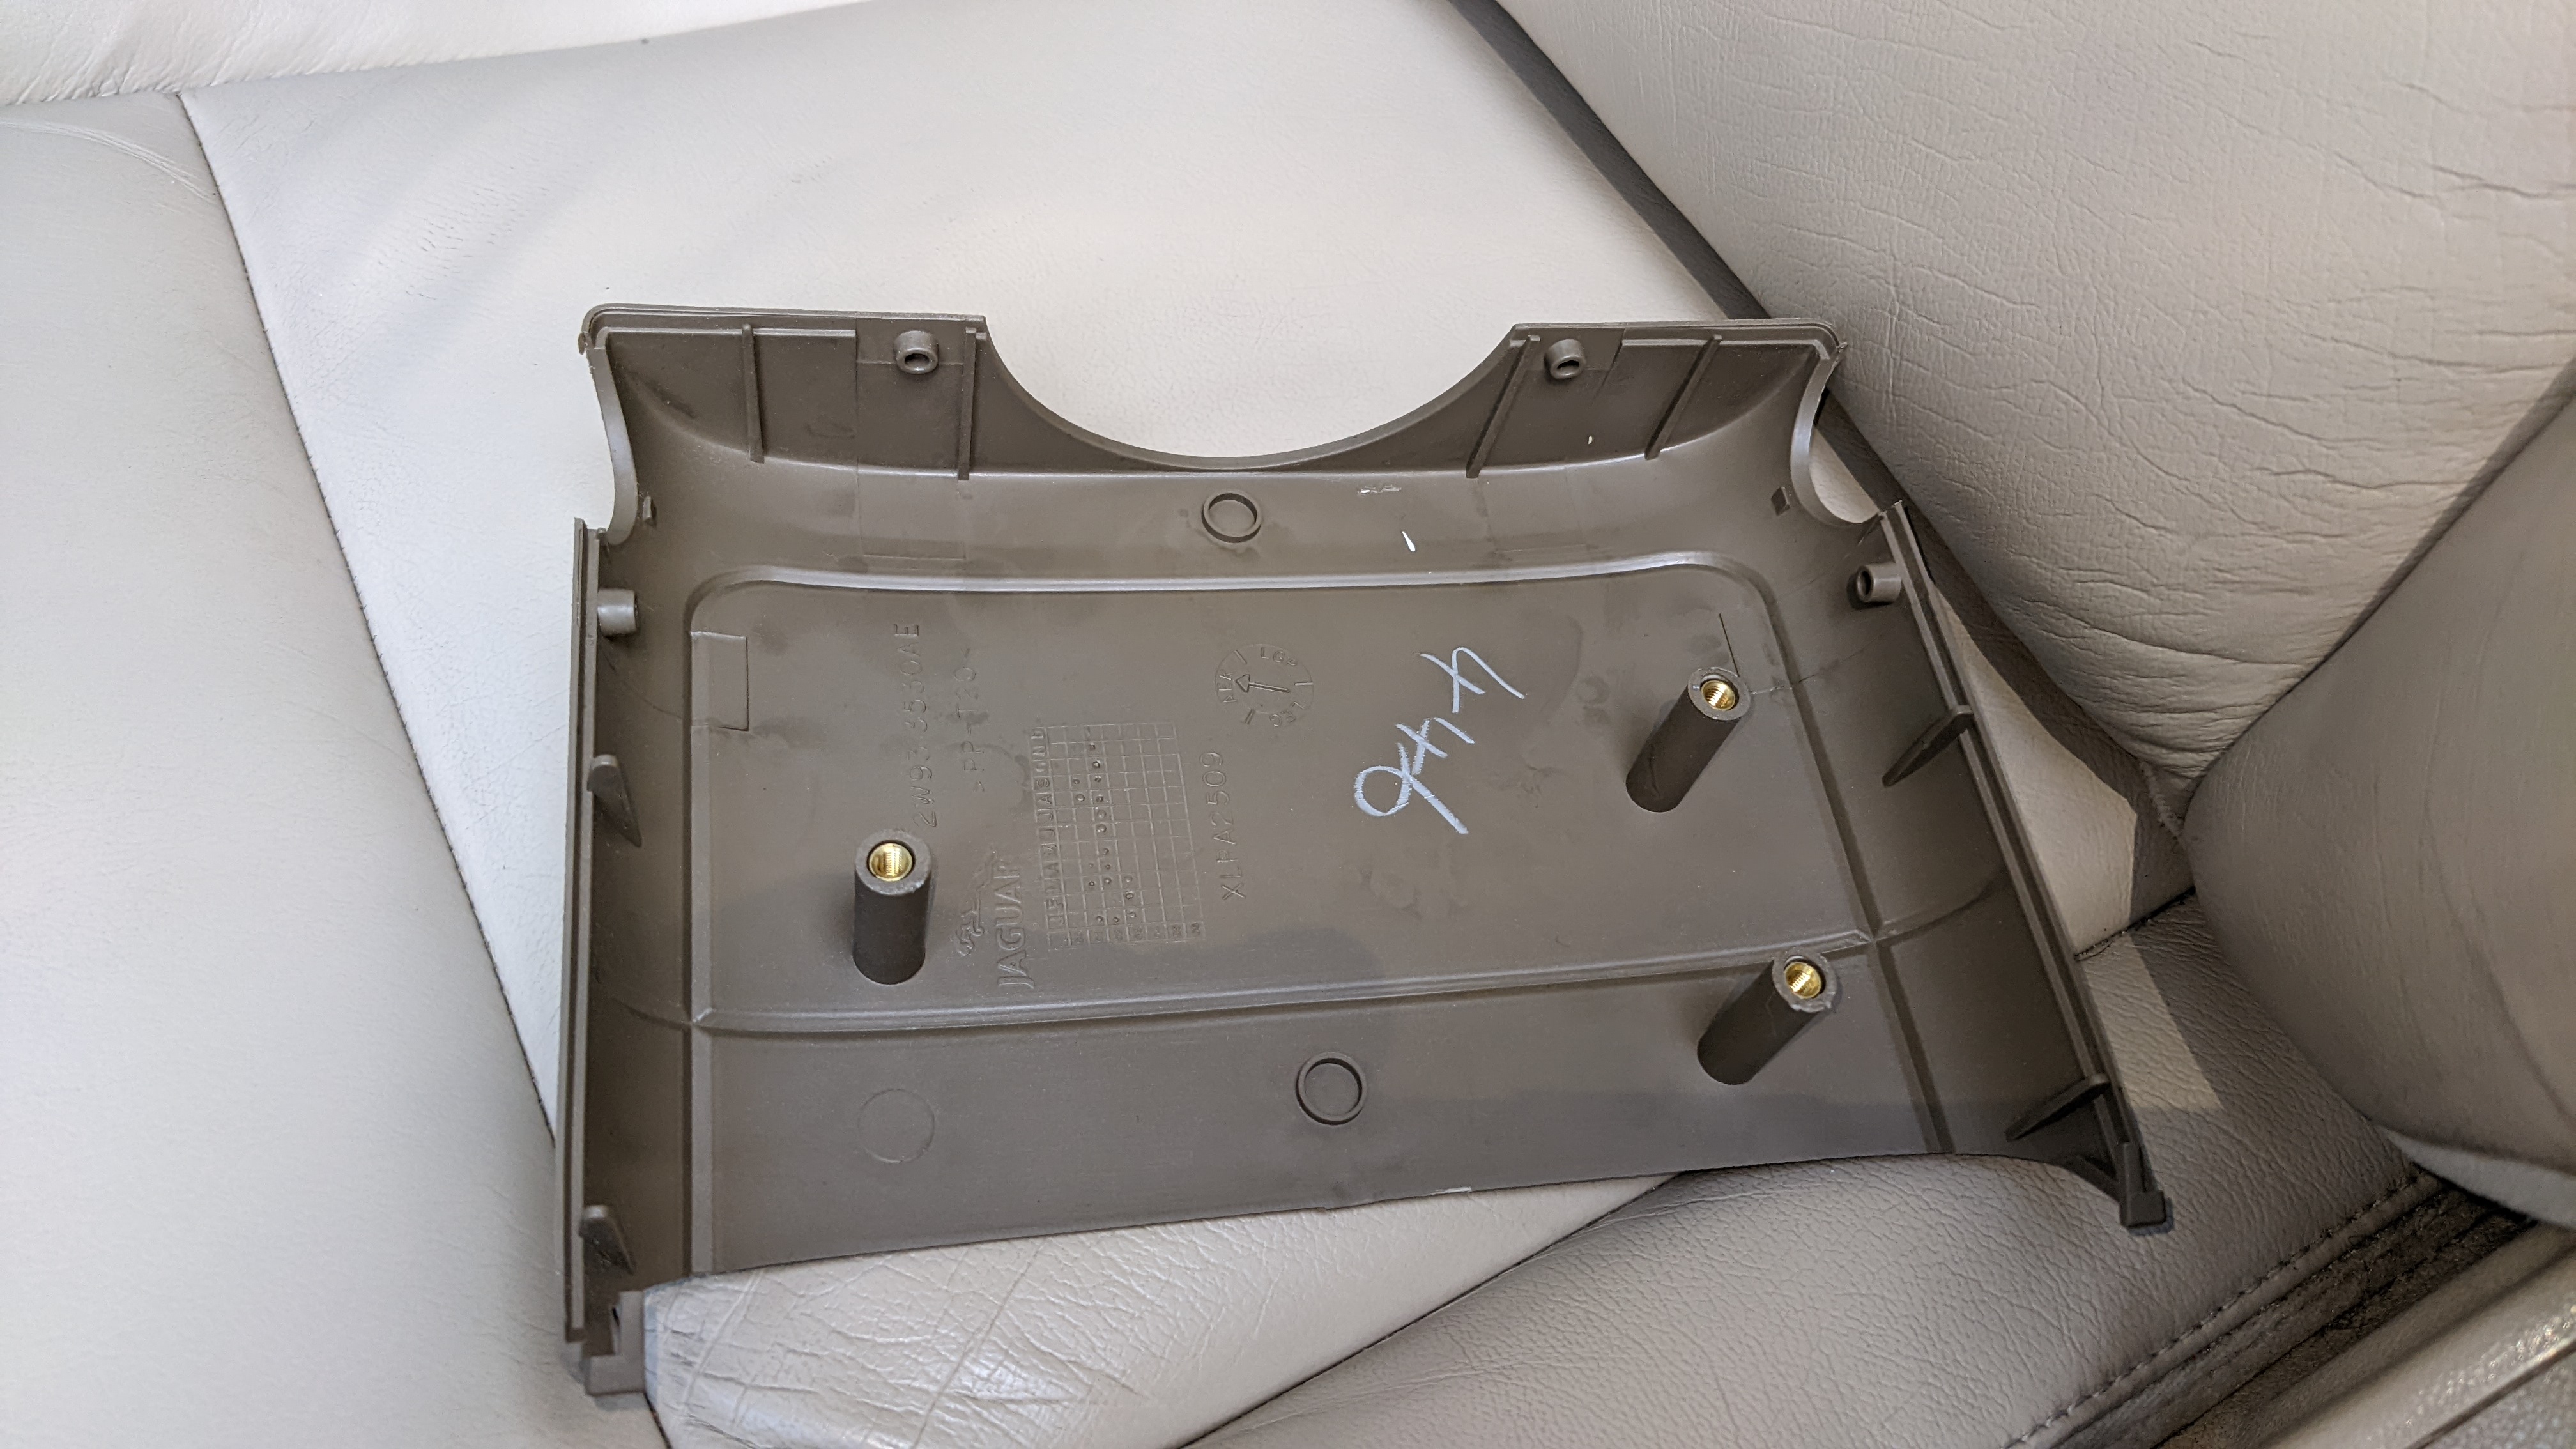
Took off the lower cover for the steering column (plus 2 more screws to release the upper clamshell):

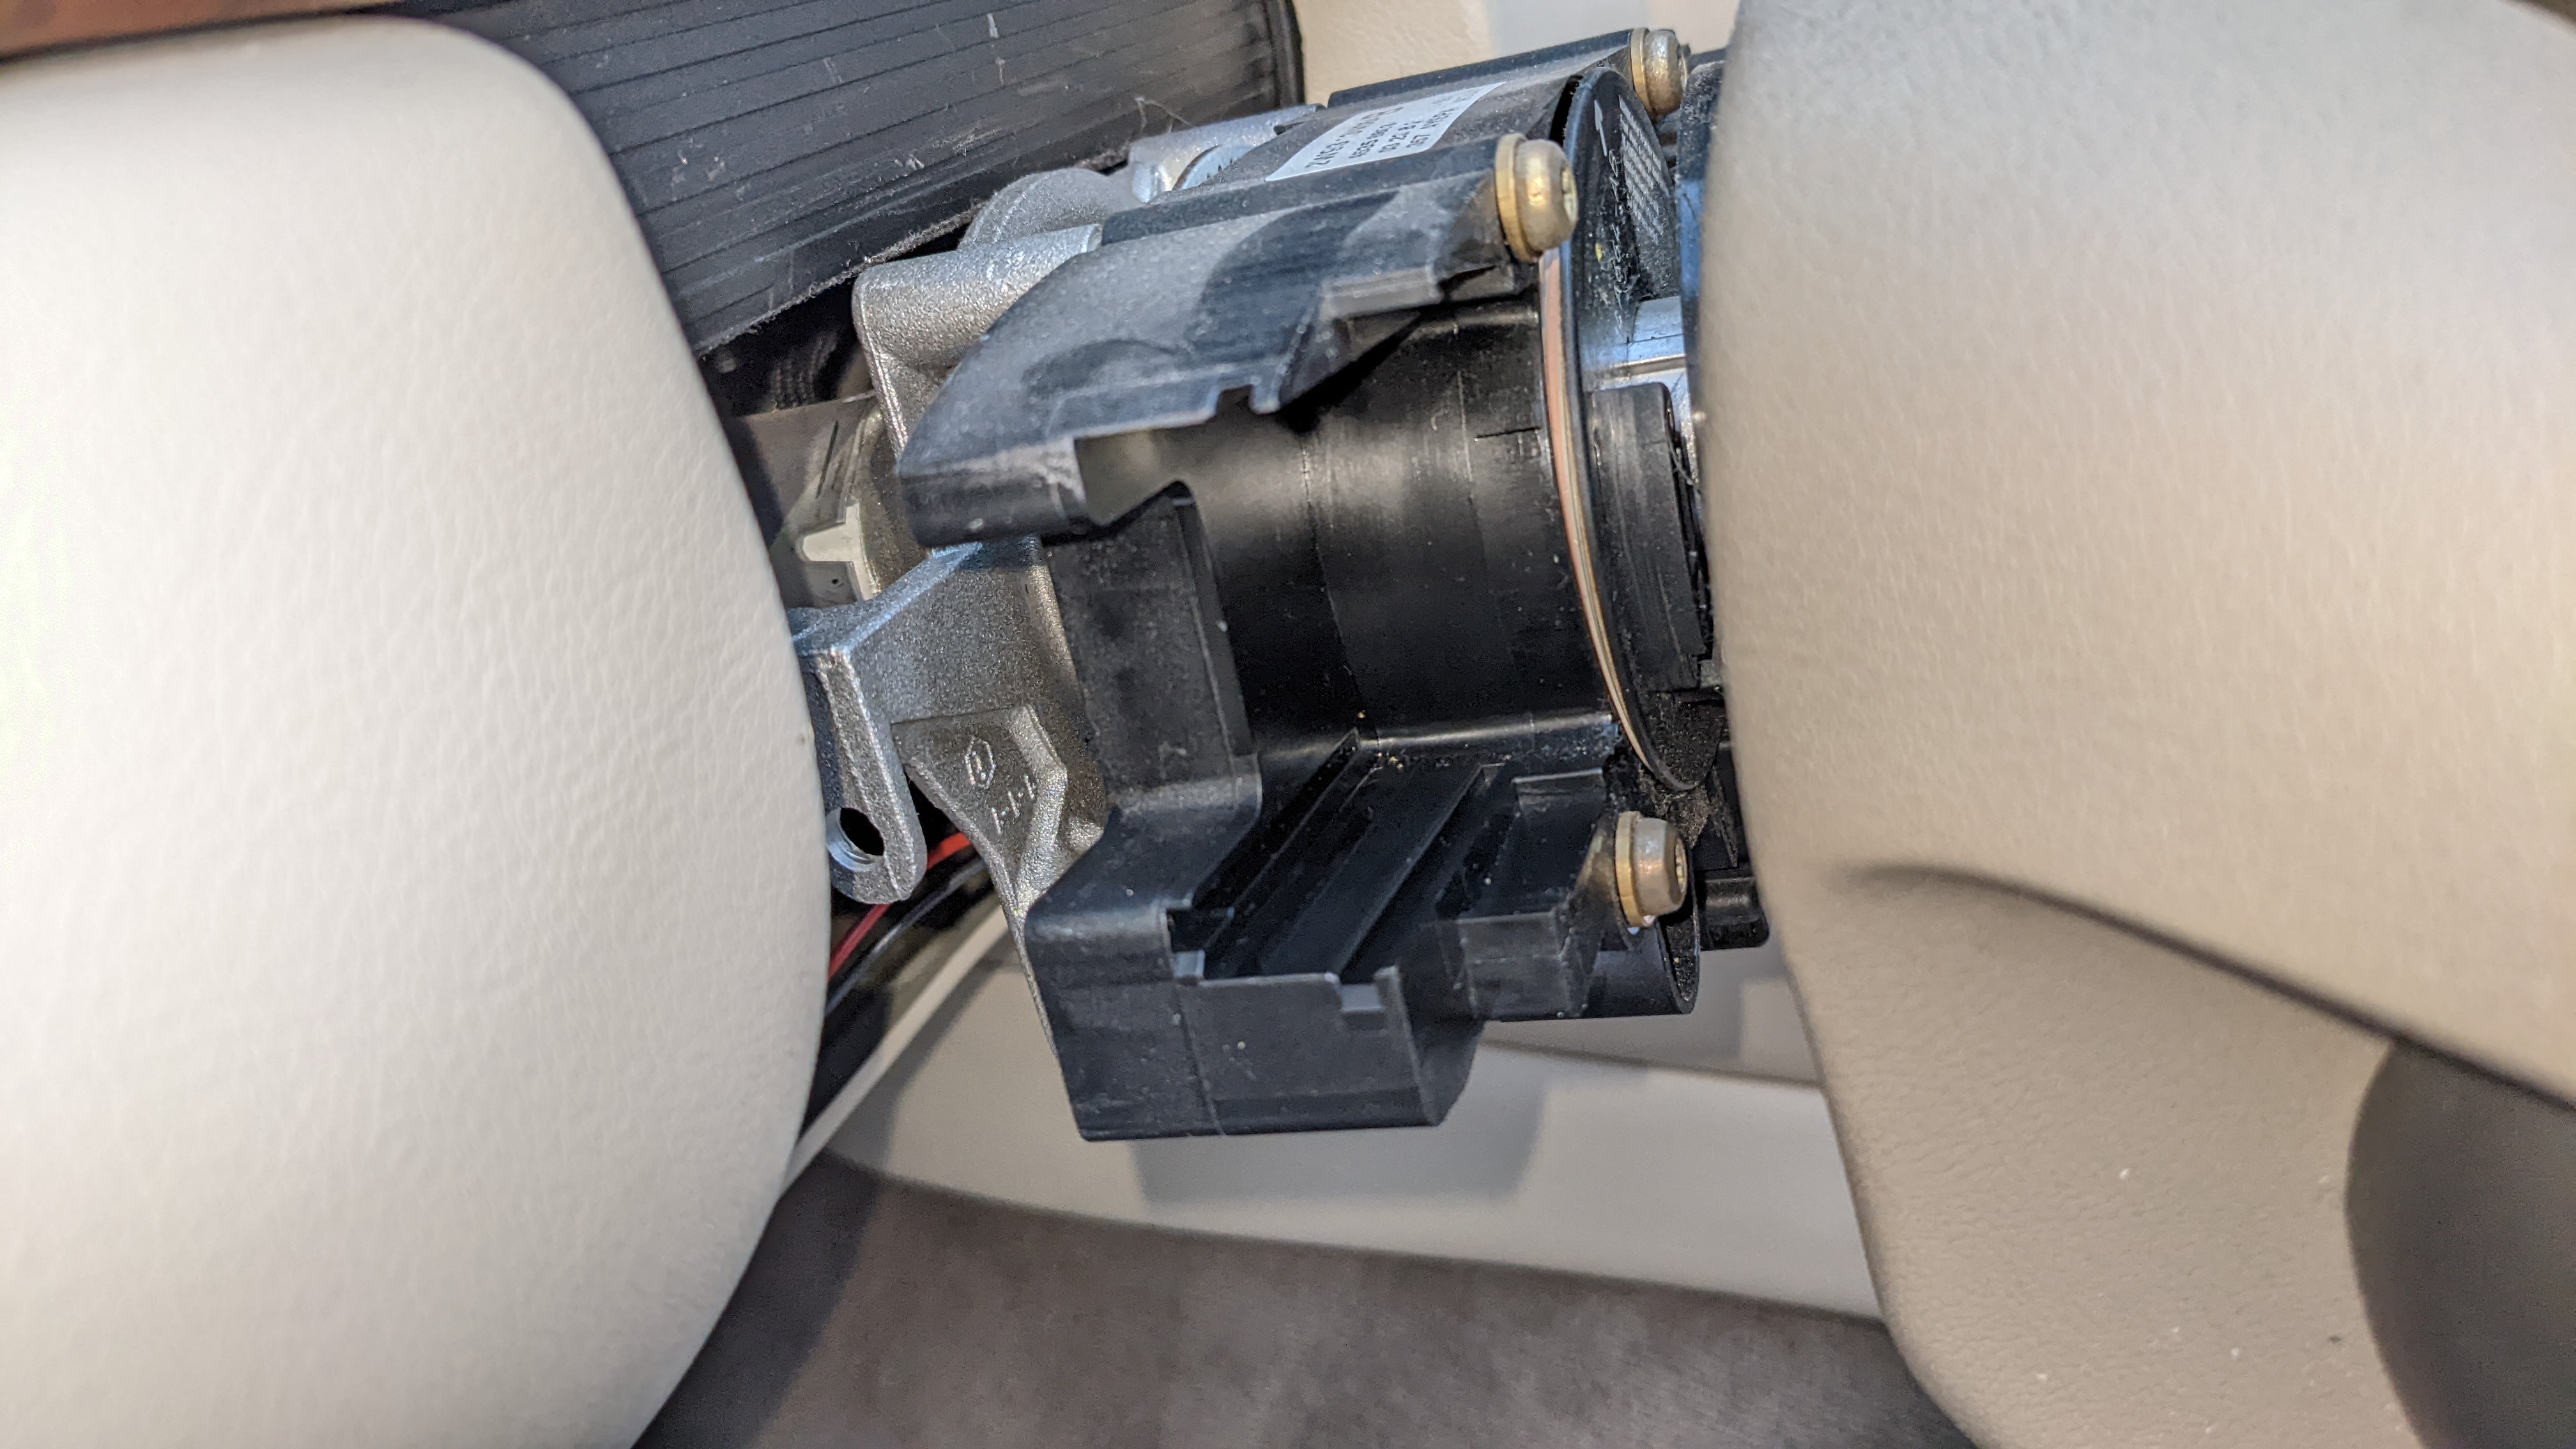
Disconnected the connector and the assembly easily came out.
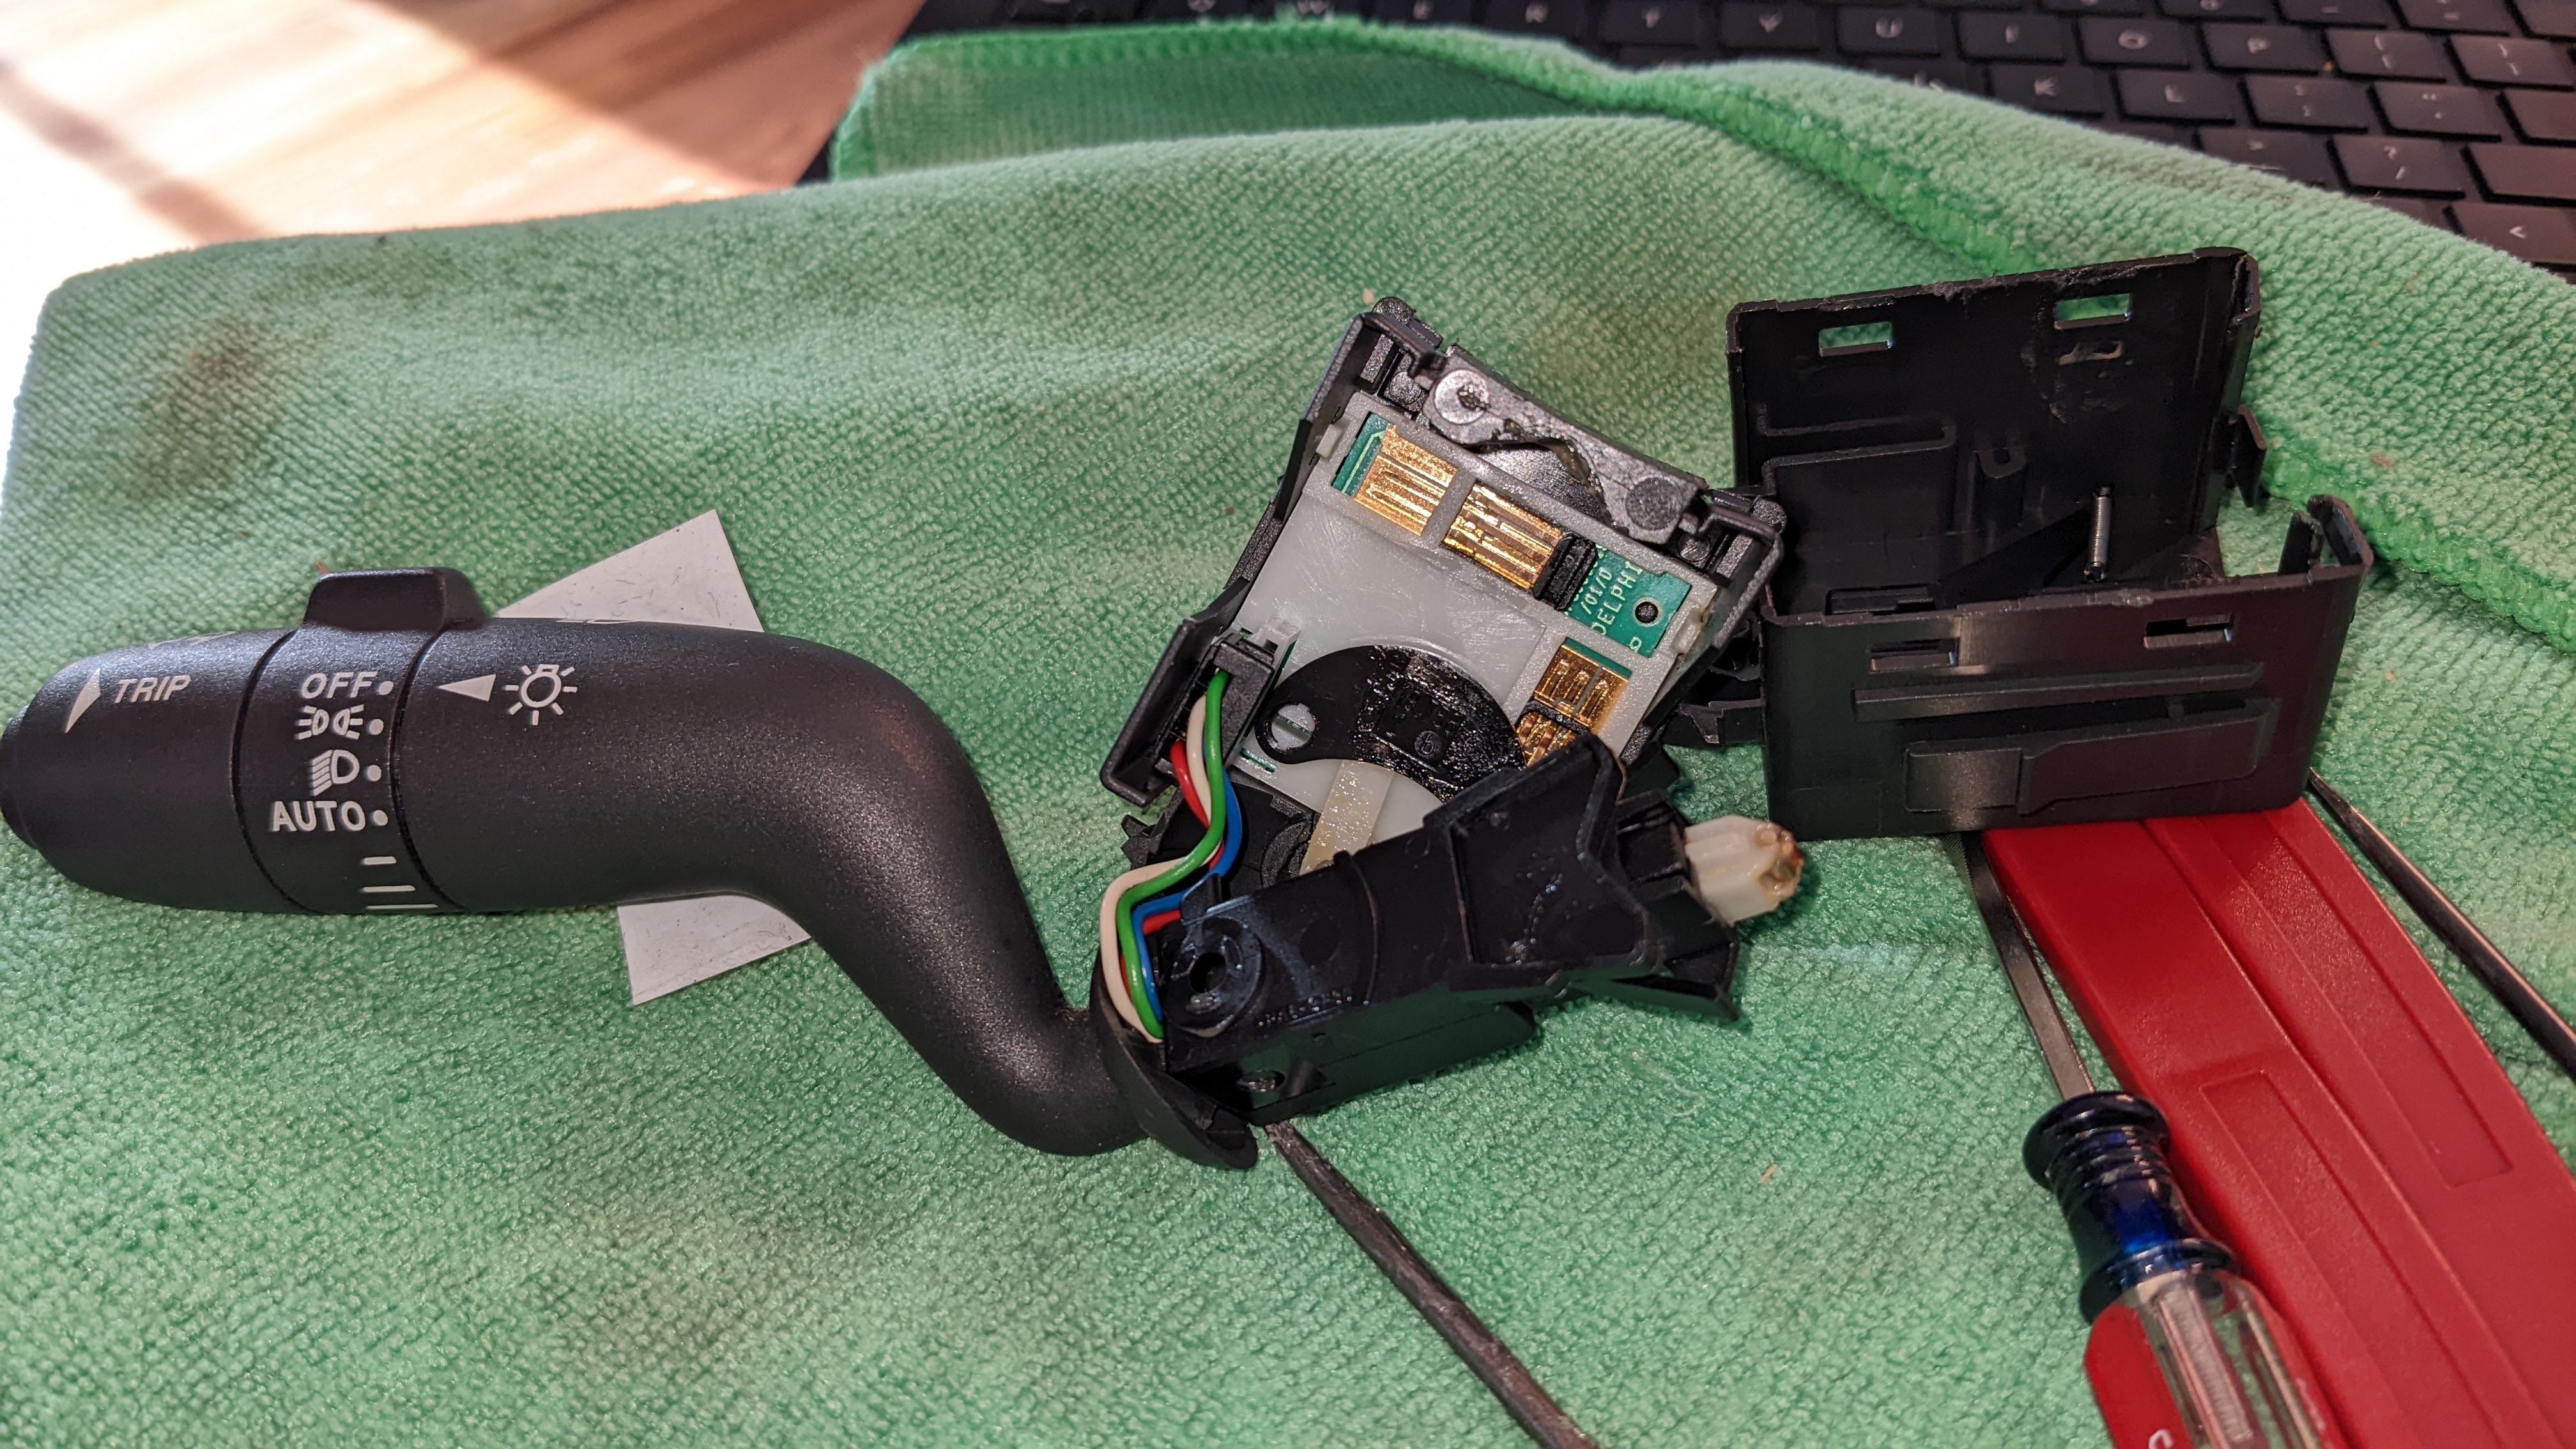
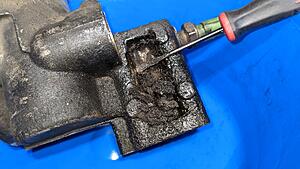
But that didn't fix the issue either. I then opened up the original light switch and didn't find any loose or broken wires:
So...
It's possible the light sensors on both mirrors are bad. The used one I got was manufactured in 2002 (mine was 2003) so if the electronics have worn out from age, that's a plausible explanation. I can either try my luck with another used one (preferably one that's newer), or bite the bullet and get a new mirror, but that's gonna be roughly $400.
Problem is there's no easy way of diagnosing the light sensor on the mirror, unless someone's done this before?
Thoughts?
I'm also having an issue with the auto-light option where they won't turn off during the day (DRLs are set to off). I first swapped the mirror with another used on I found on eBay, assuming the light sensor on the back was malfunctioning. That didn't fix the issue so I also got a new light switch.
Took off the lower cover for the steering column (plus 2 more screws to release the upper clamshell):
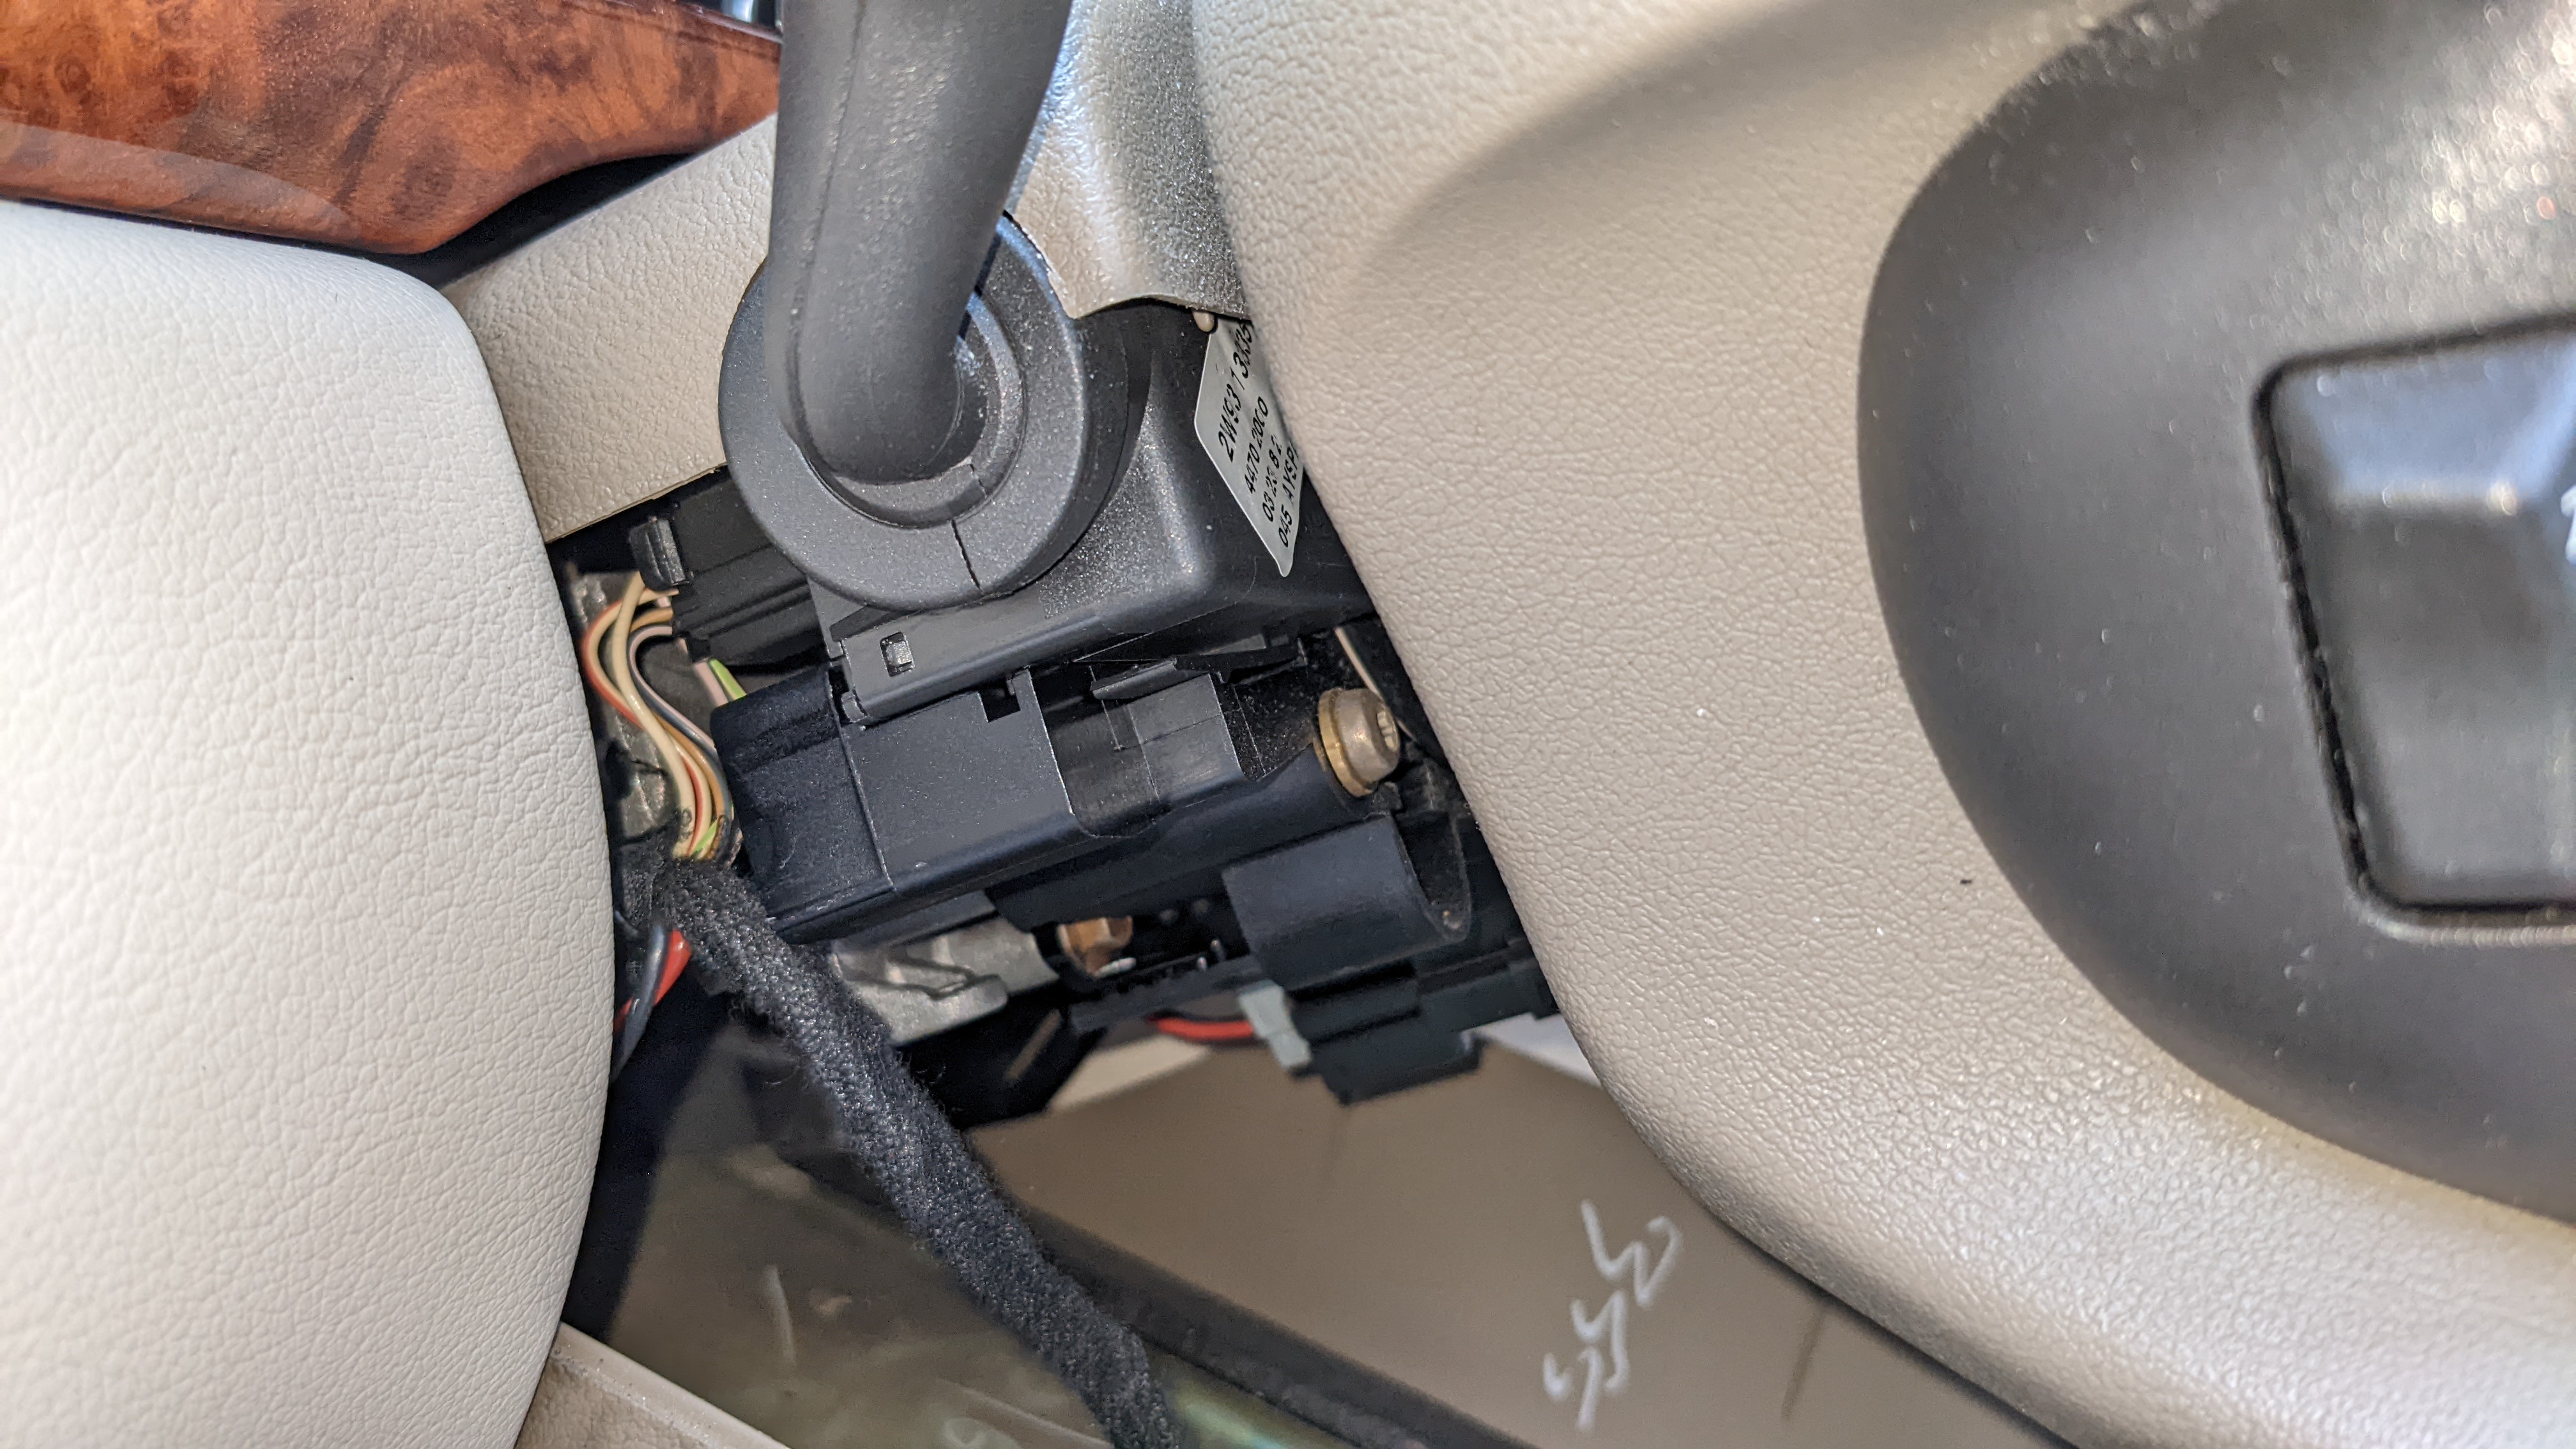
Disconnected the connector and the assembly easily came out.
But that didn't fix the issue either. I then opened up the original light switch and didn't find any loose or broken wires:
So...
It's possible the light sensors on both mirrors are bad. The used one I got was manufactured in 2002 (mine was 2003) so if the electronics have worn out from age, that's a plausible explanation. I can either try my luck with another used one (preferably one that's newer), or bite the bullet and get a new mirror, but that's gonna be roughly $400.
Problem is there's no easy way of diagnosing the light sensor on the mirror, unless someone's done this before?
Thoughts?

Veteran Member


Joined: Sep 2016
Posts: 3,481
Likes: 879
From: Stow Ohio
The headlight staying on, when set on auto, is the same on my 04 XJ8 NA.
May not be anything you can do, short of turning them off at the switch.
The 07 is different, & only come on when its getting dark, or are turned to on.
The rest of the time, they stay just off.
May not be anything you can do, short of turning them off at the switch.
The 07 is different, & only come on when its getting dark, or are turned to on.
The rest of the time, they stay just off.
Thread Starter
|
Member
Joined: Aug 2021
Posts: 54
Likes: 19
From: Los Angeles
It's not a huge deal, just annoying since I don't want the center screen dimmed during the day and I don't need Captain Obvious telling me the lights are off.

Thread Starter
|
Member
Joined: Aug 2021
Posts: 54
Likes: 19
From: Los Angeles
Well here's where we're at:

But let's rewind to how we got there and a list of things I want to address including, but not limited to, the following:
Holy metal shavings, Batman! Have others seen this much? I'm at 109k by the way.
Extracted the chocolate shake.


And gave it the good stuff.
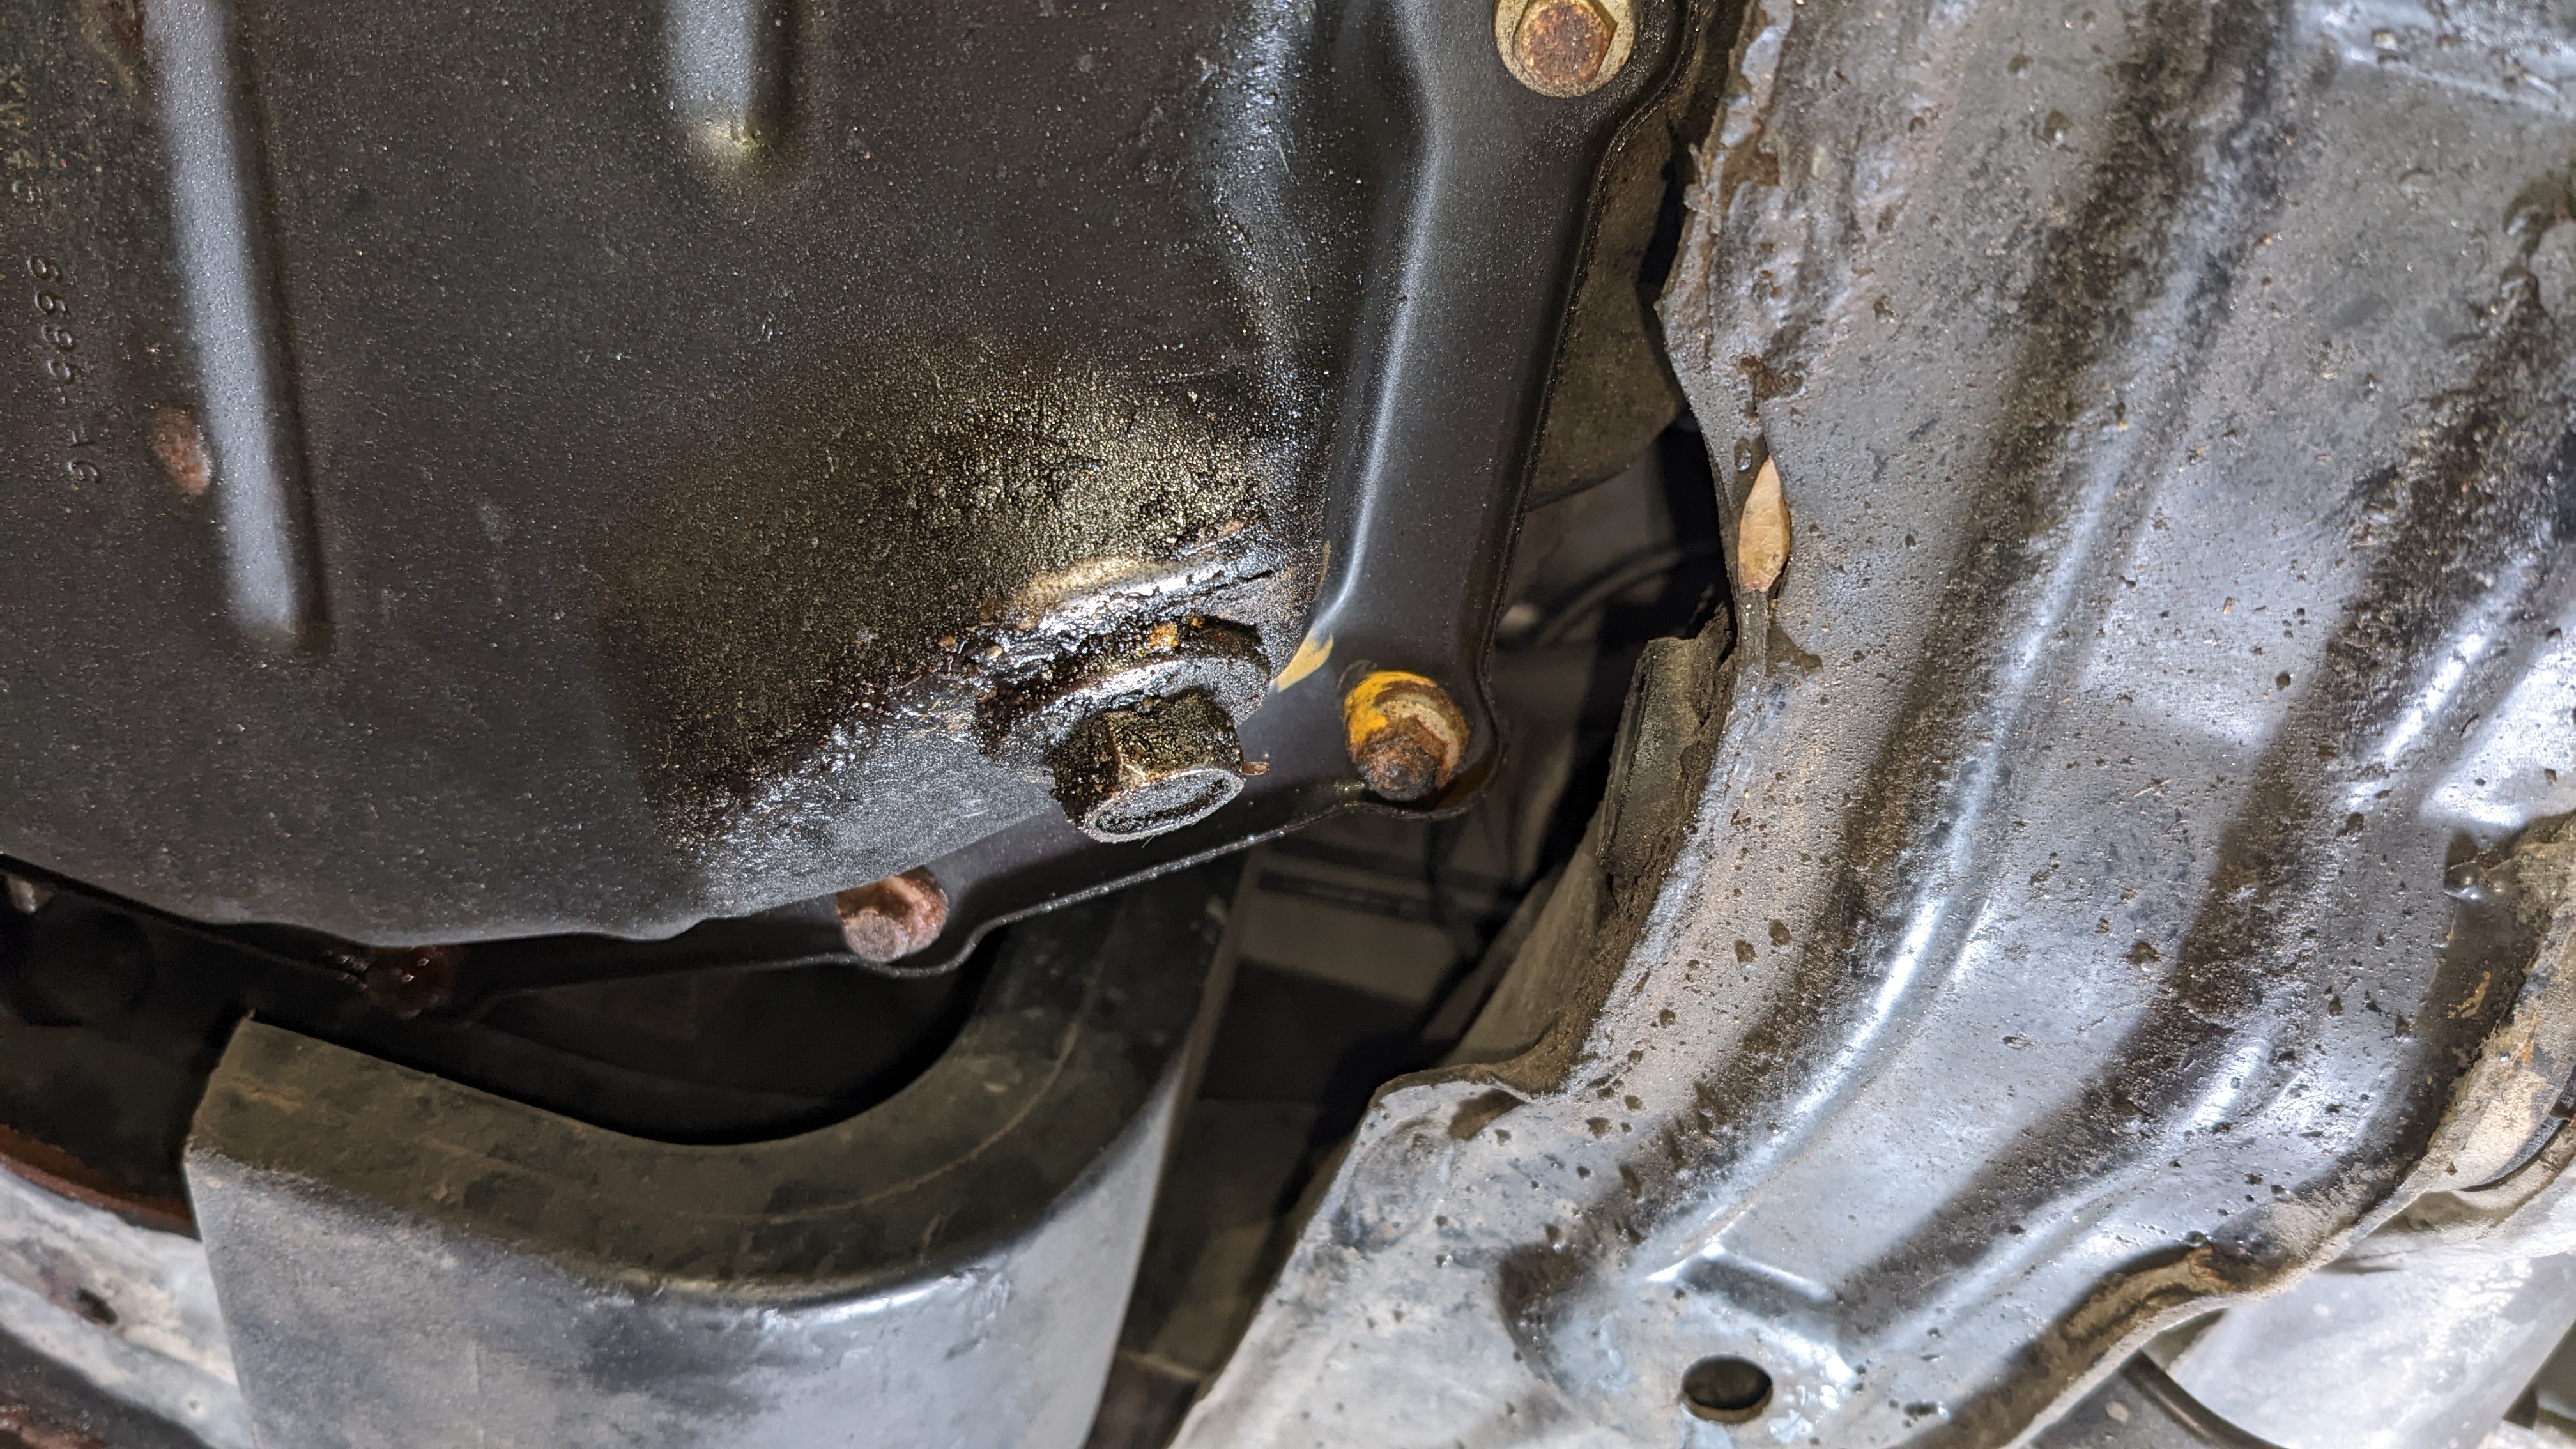
Moving onto the oil pan, the plug has an integrated rubber O-ring which is done. Why not an aluminum crush washer? What's wrong with that?
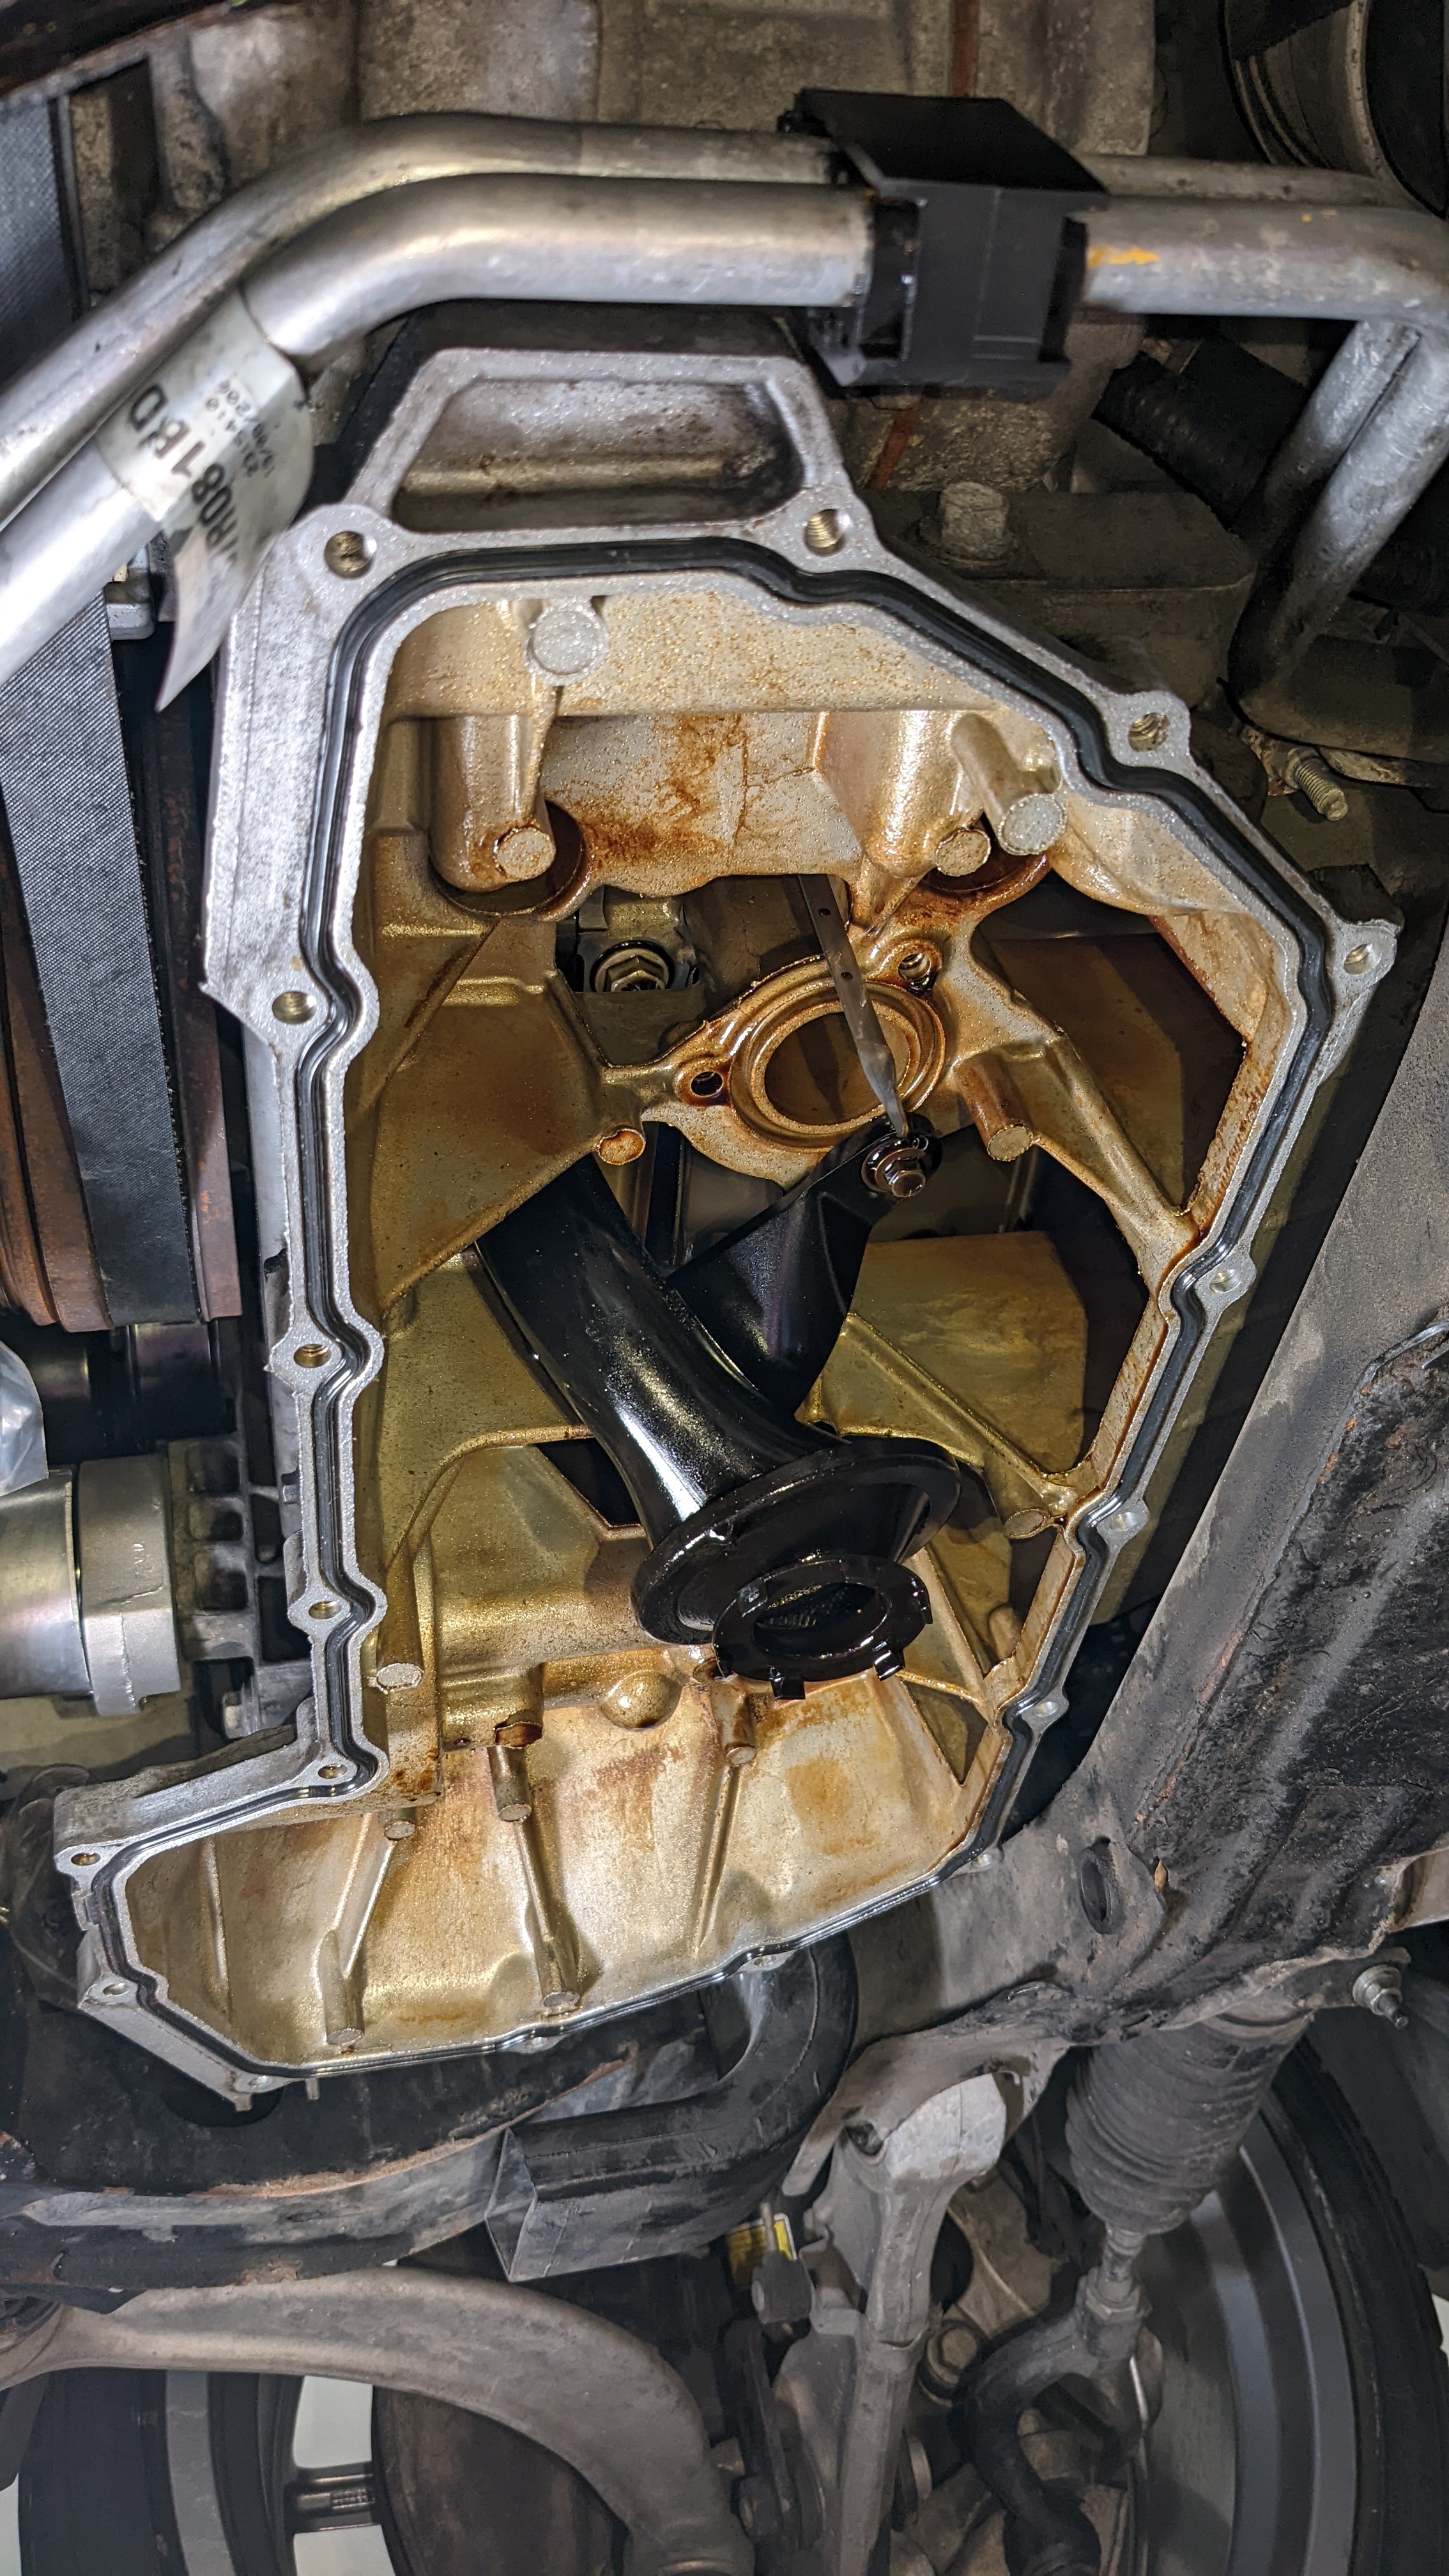
The pan is fortunately easily accessible and removing it is straightforward.
Loosened the 3 bolts for the oil filter housing and disconnected the oil cooler lines.

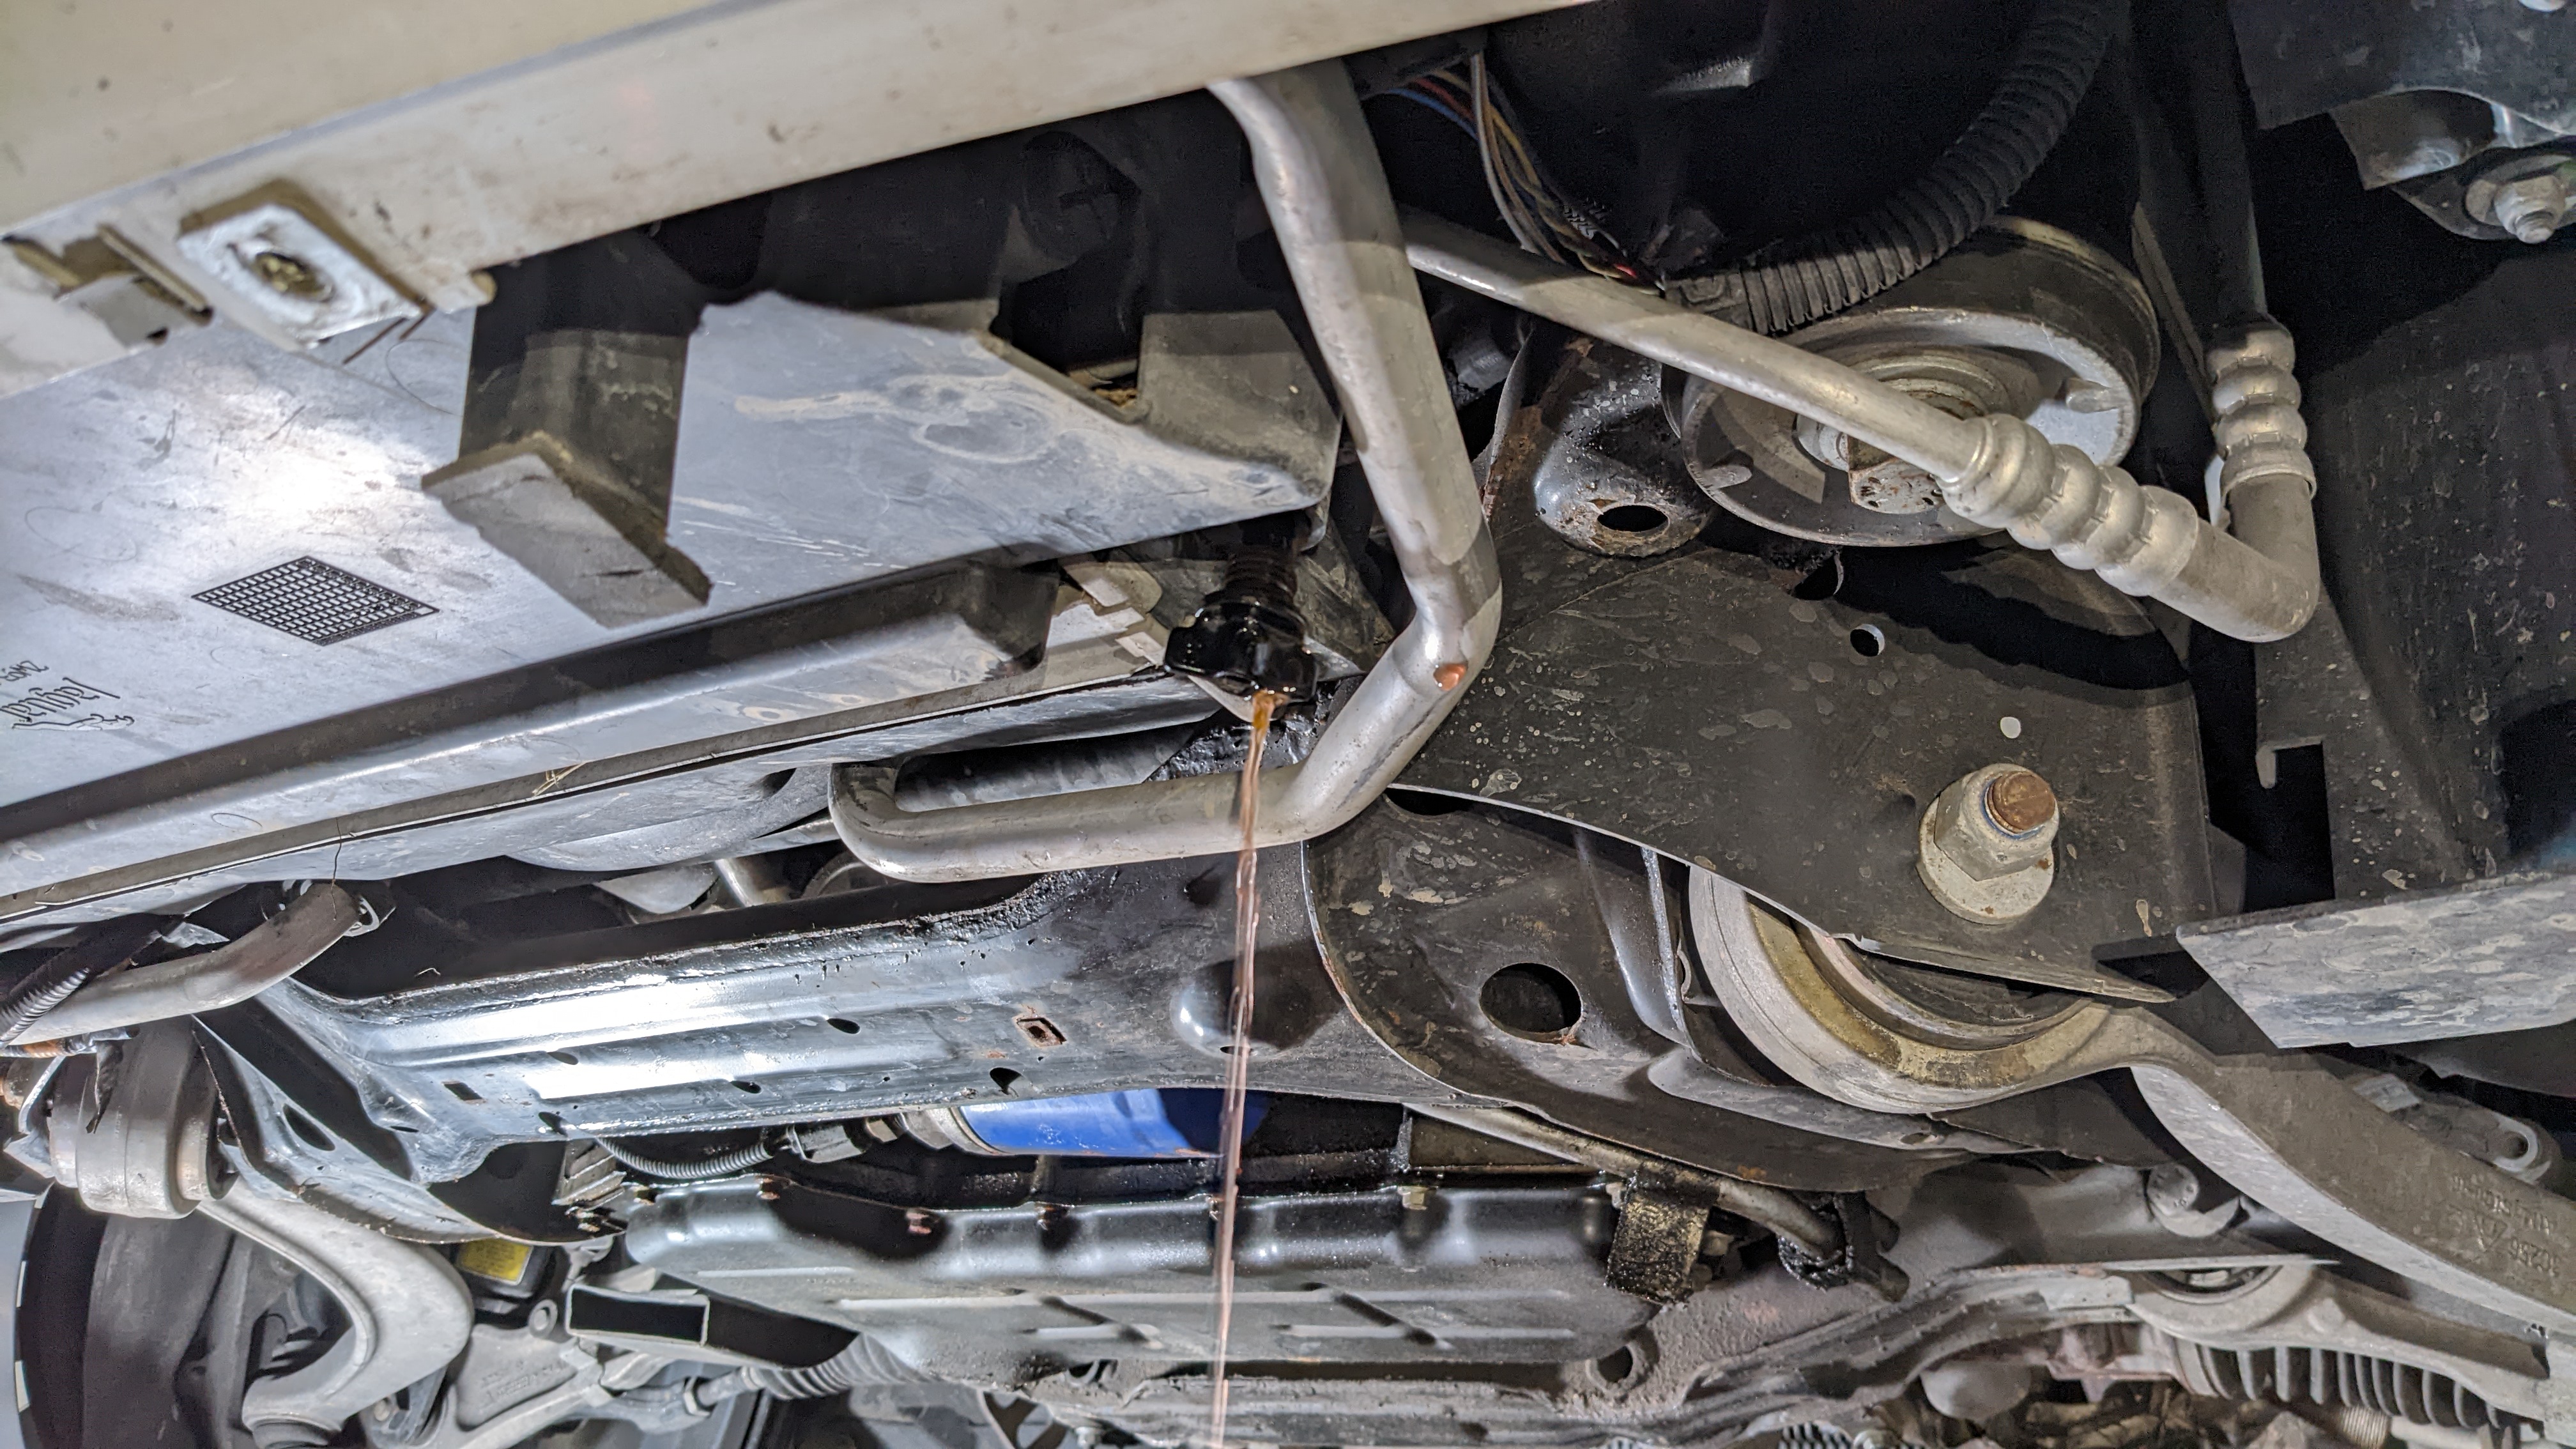
Put a big container underneath and I'm letting the oil take its time draining while I focus on other areas. I also have a lot of grime to remove later.
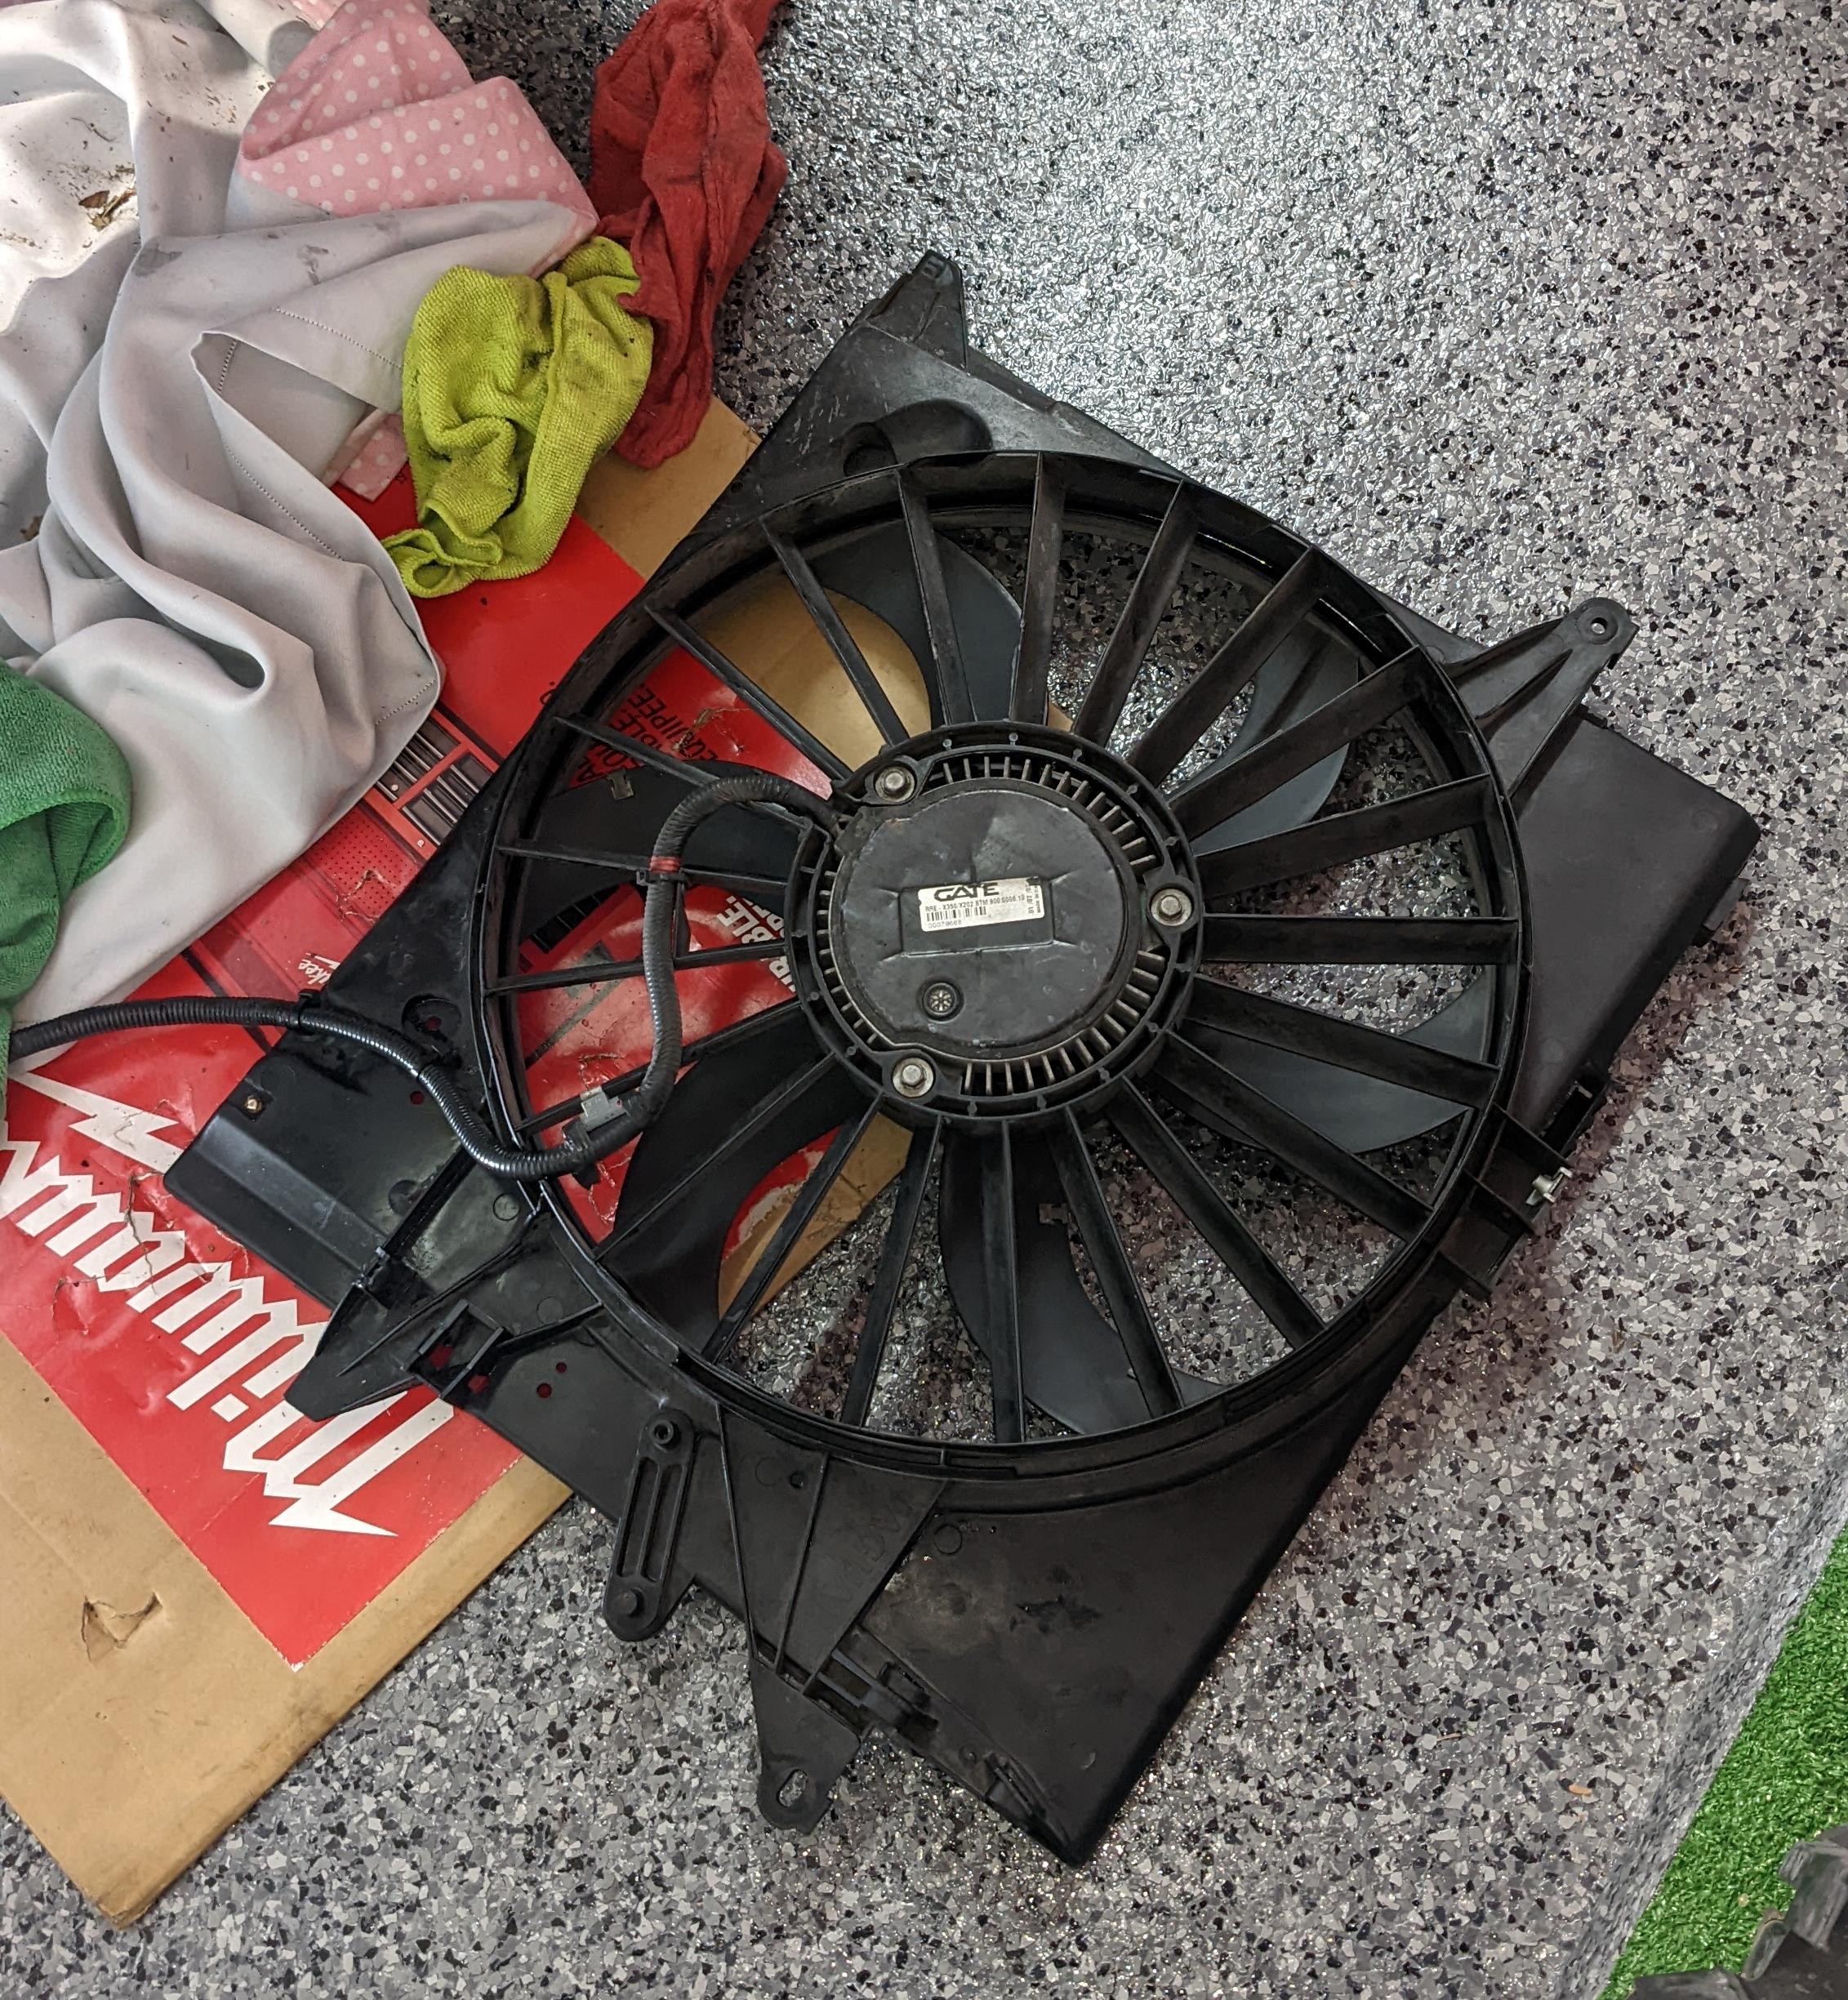
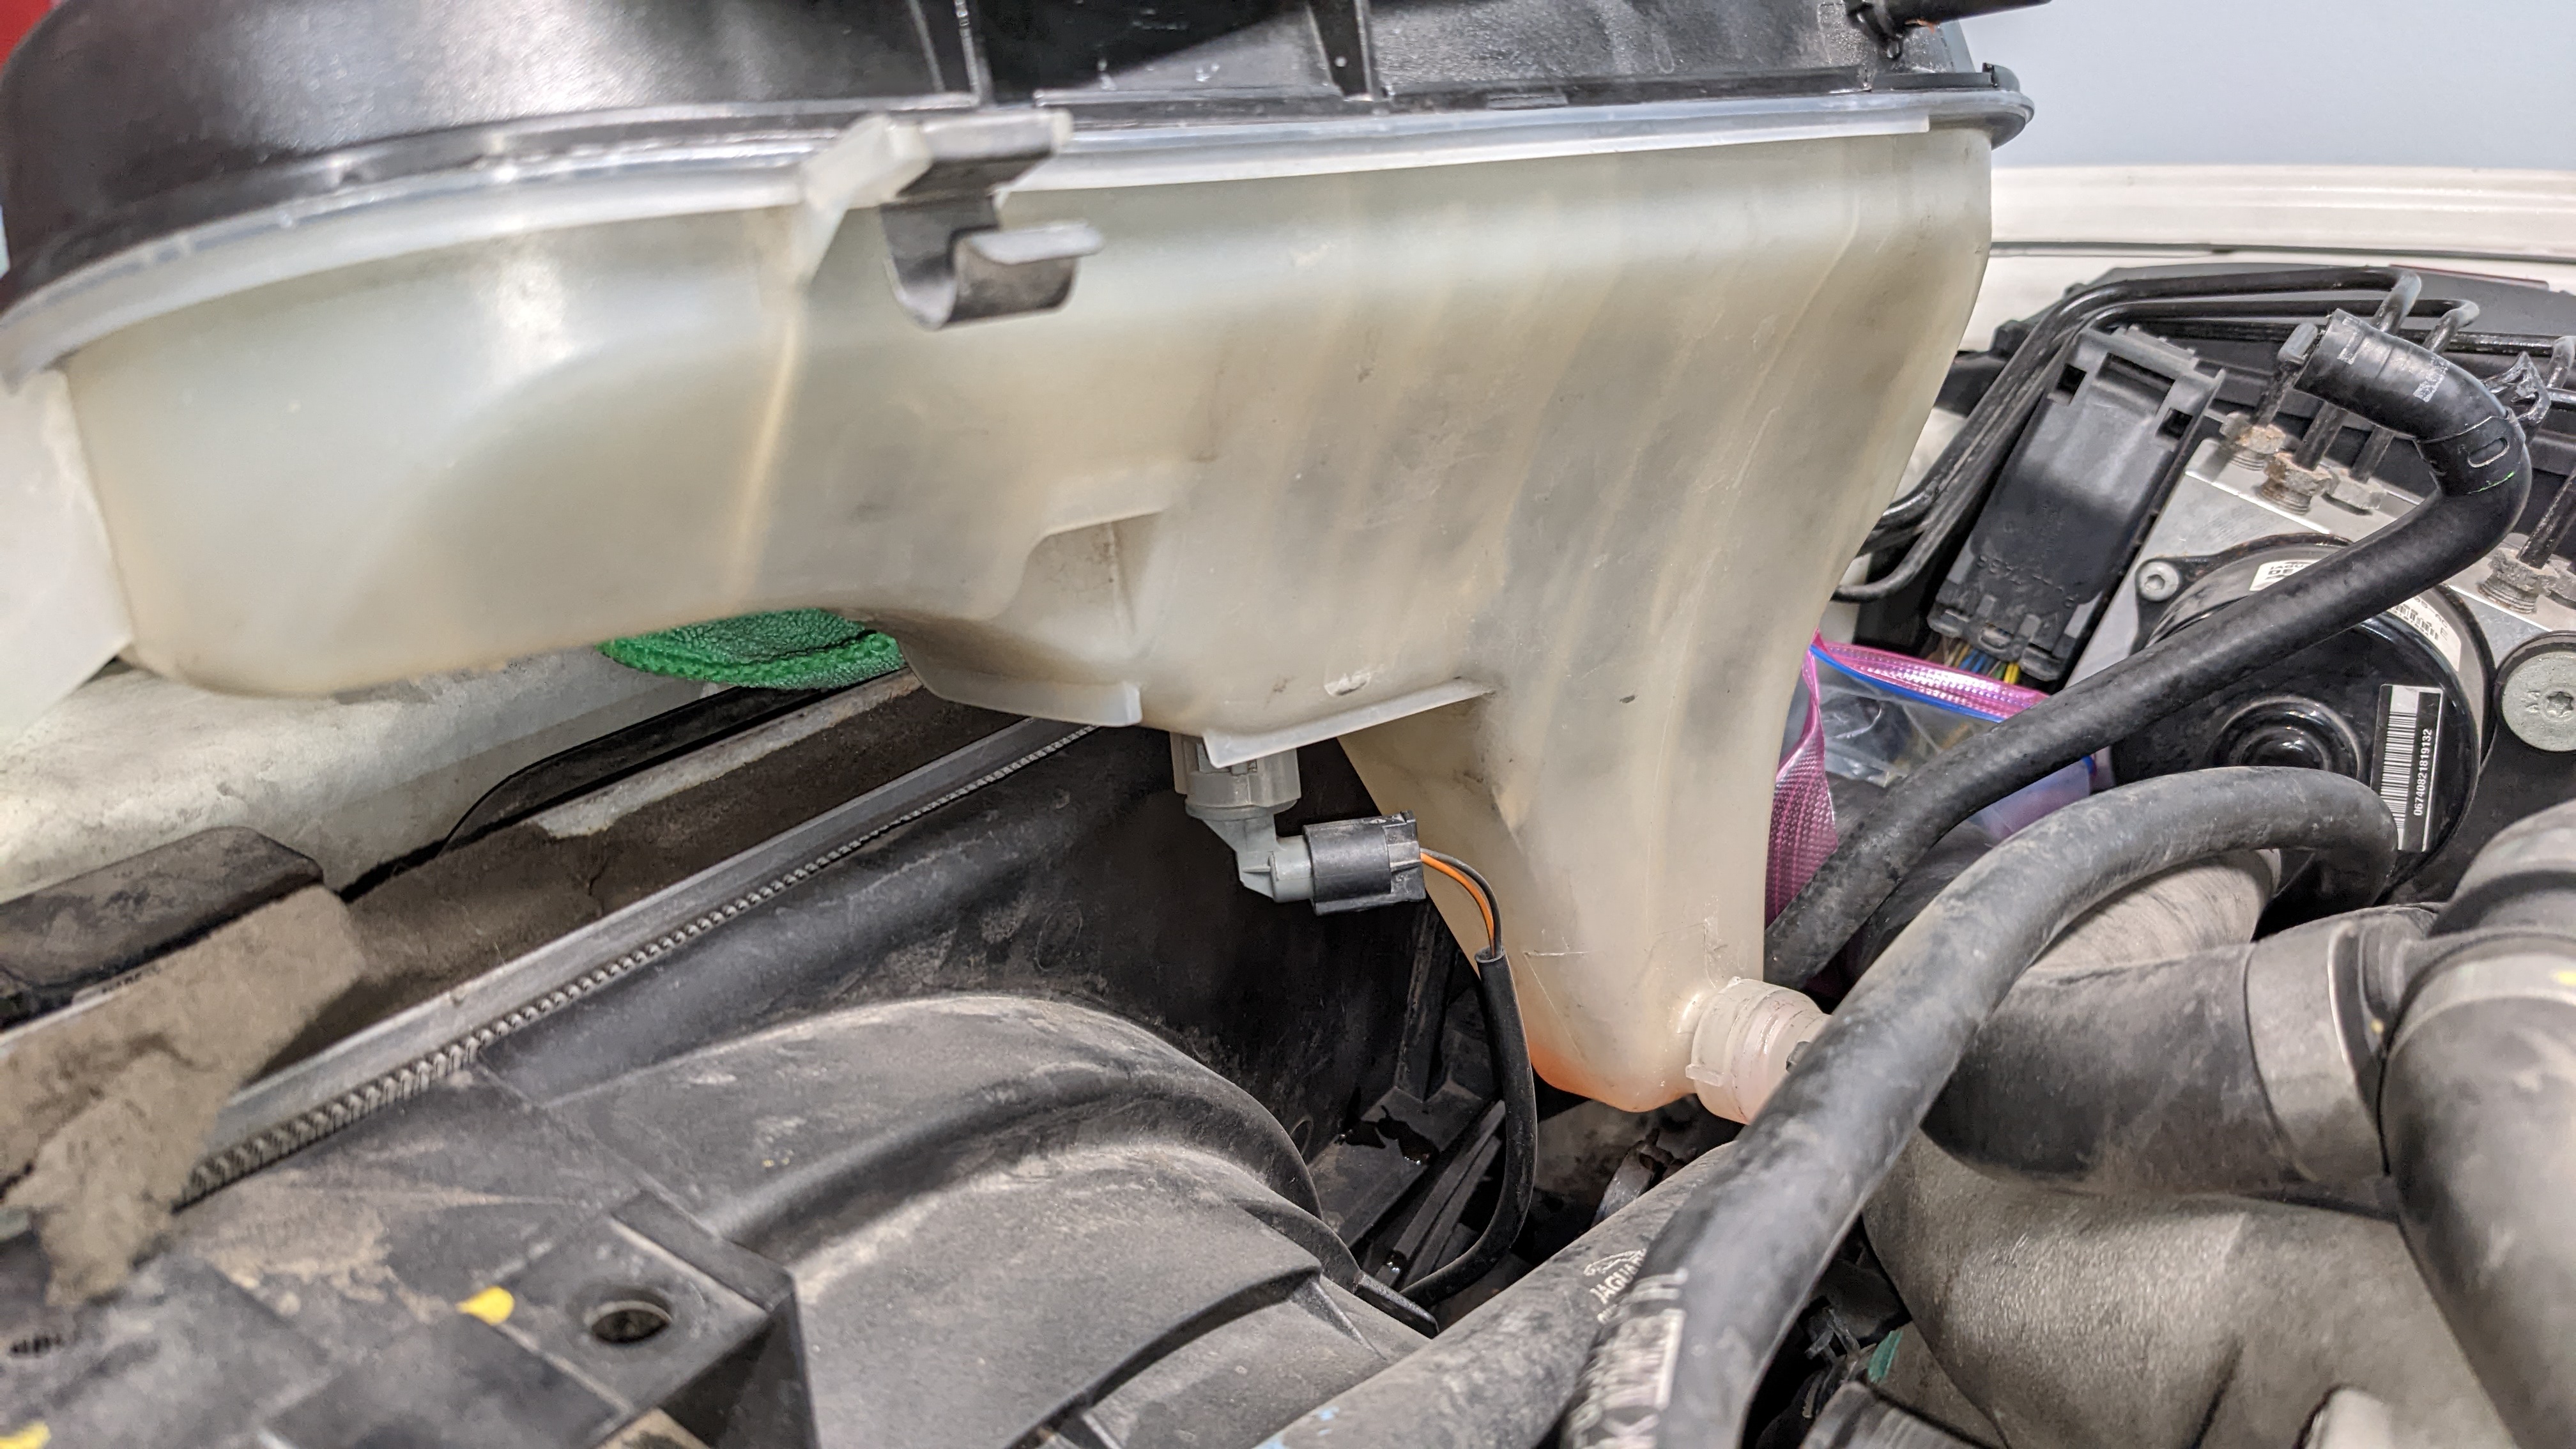
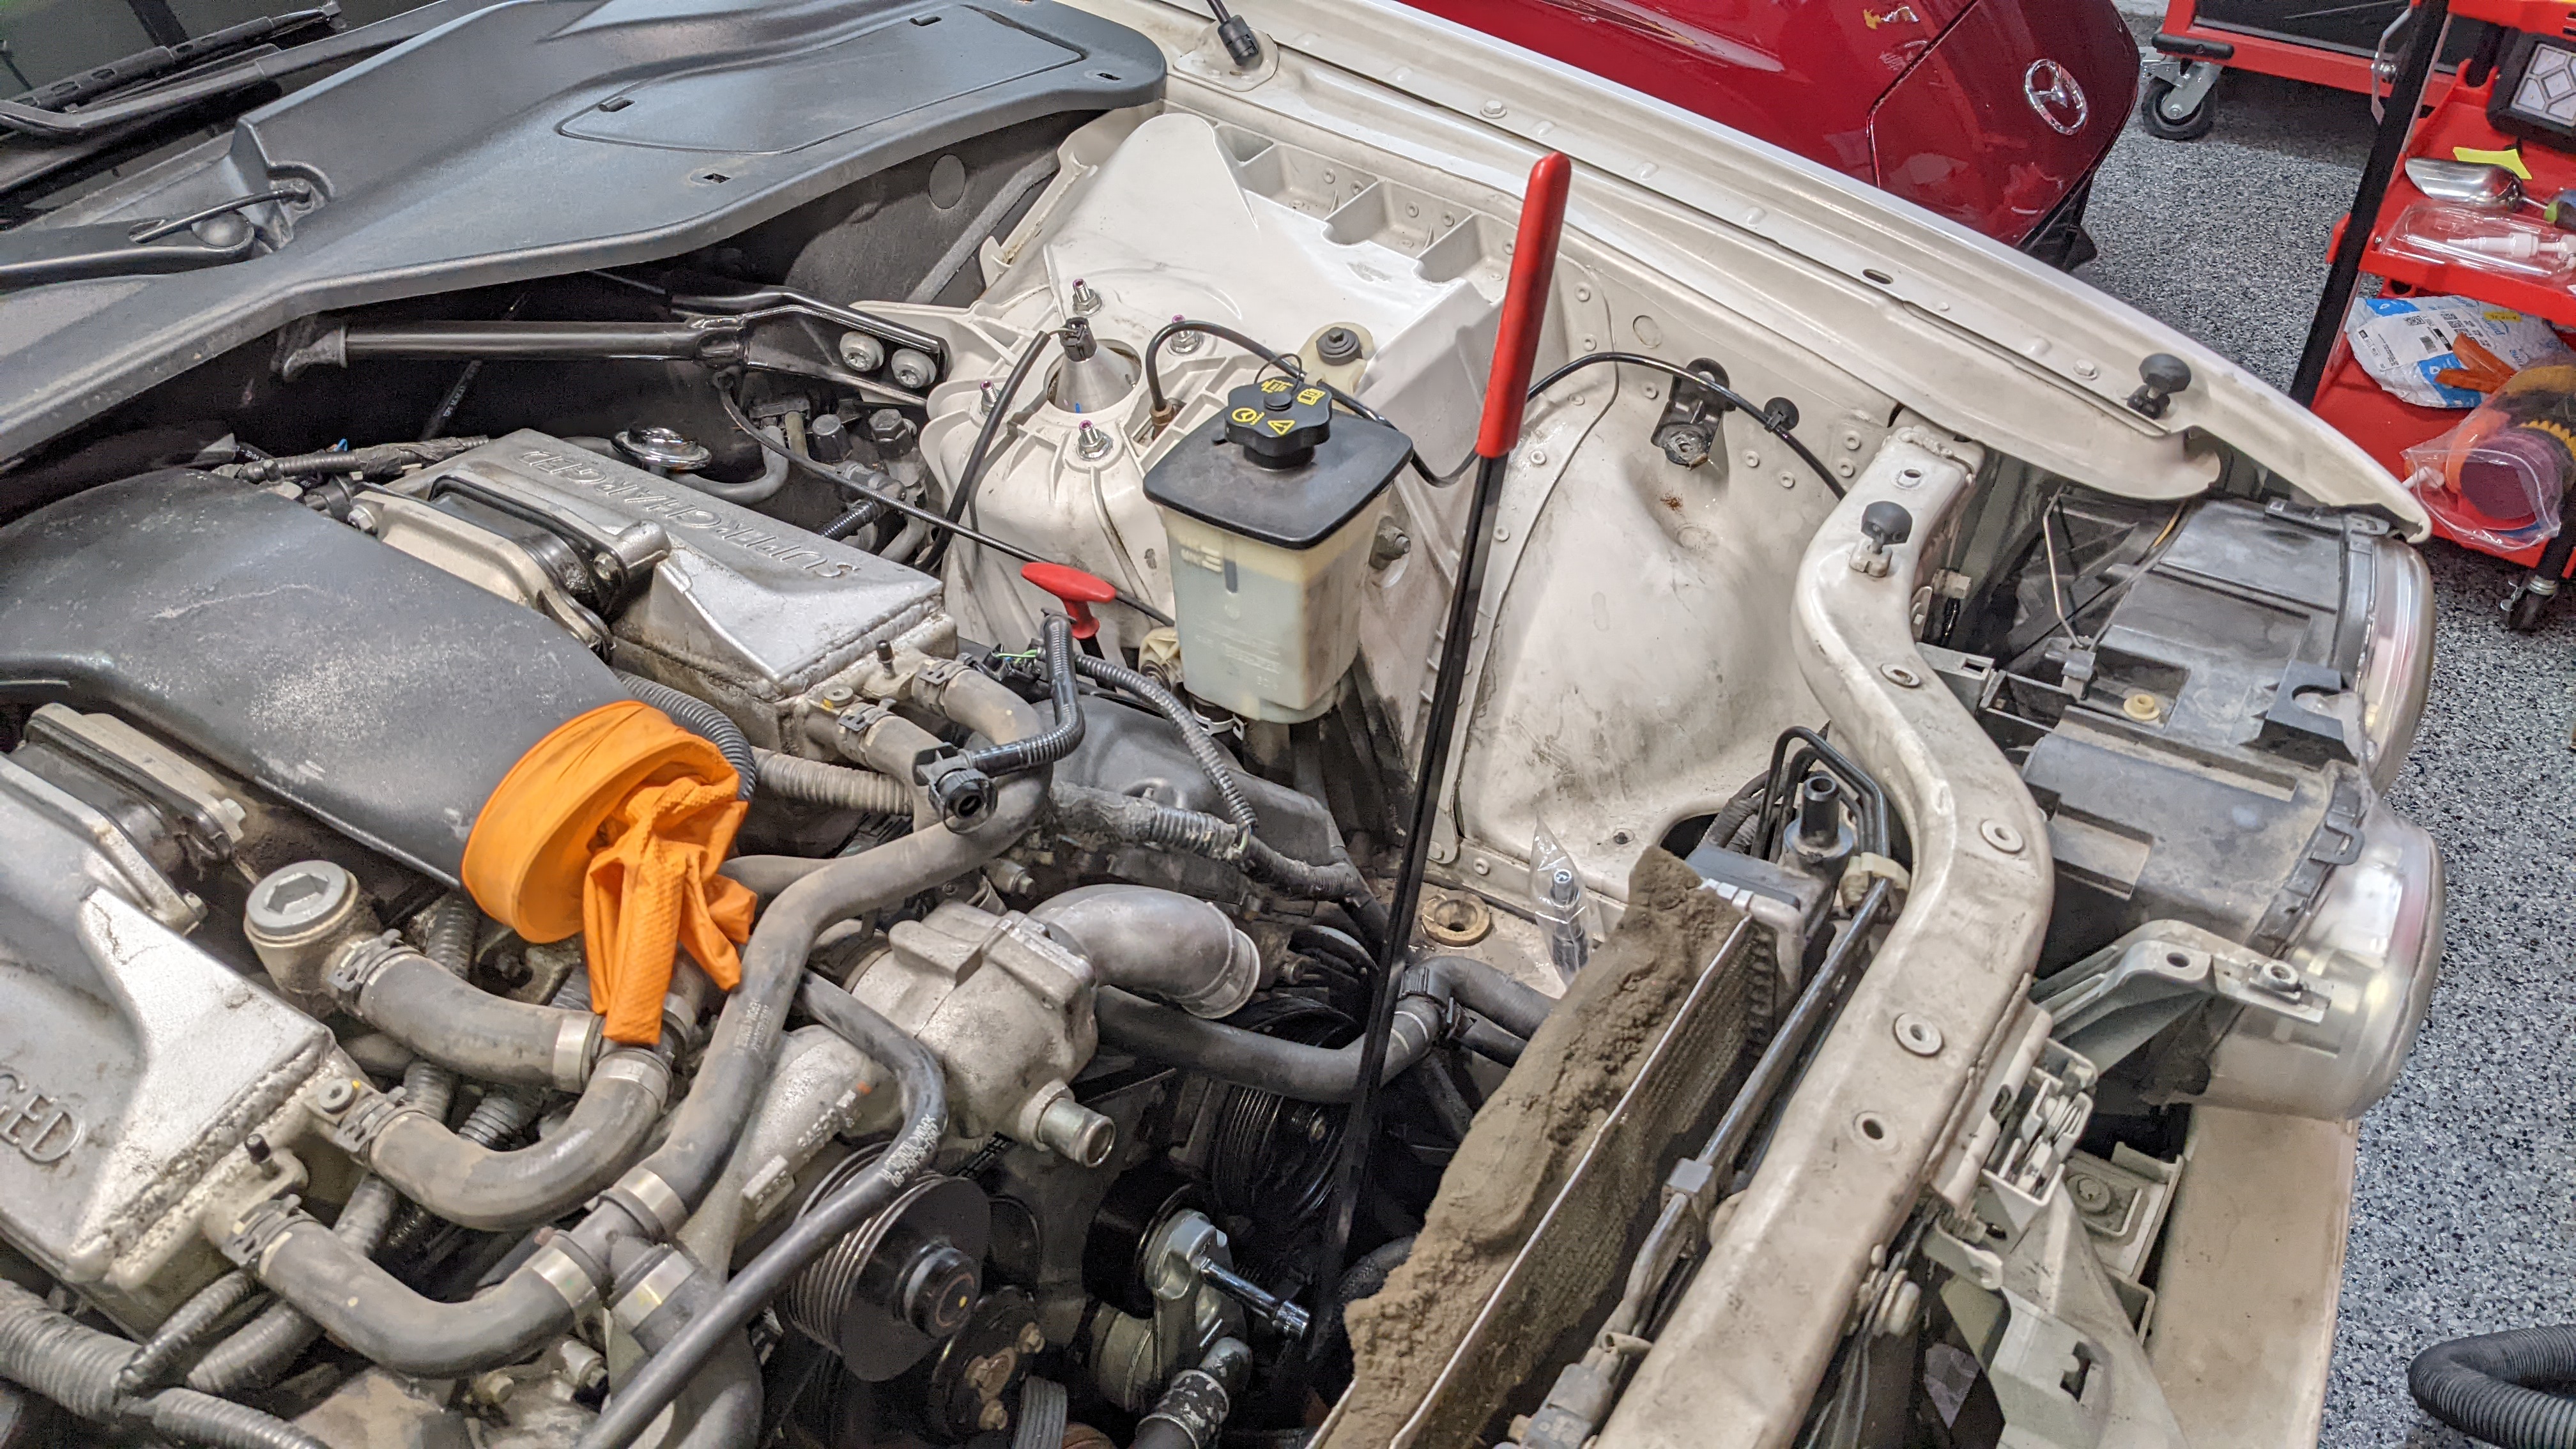
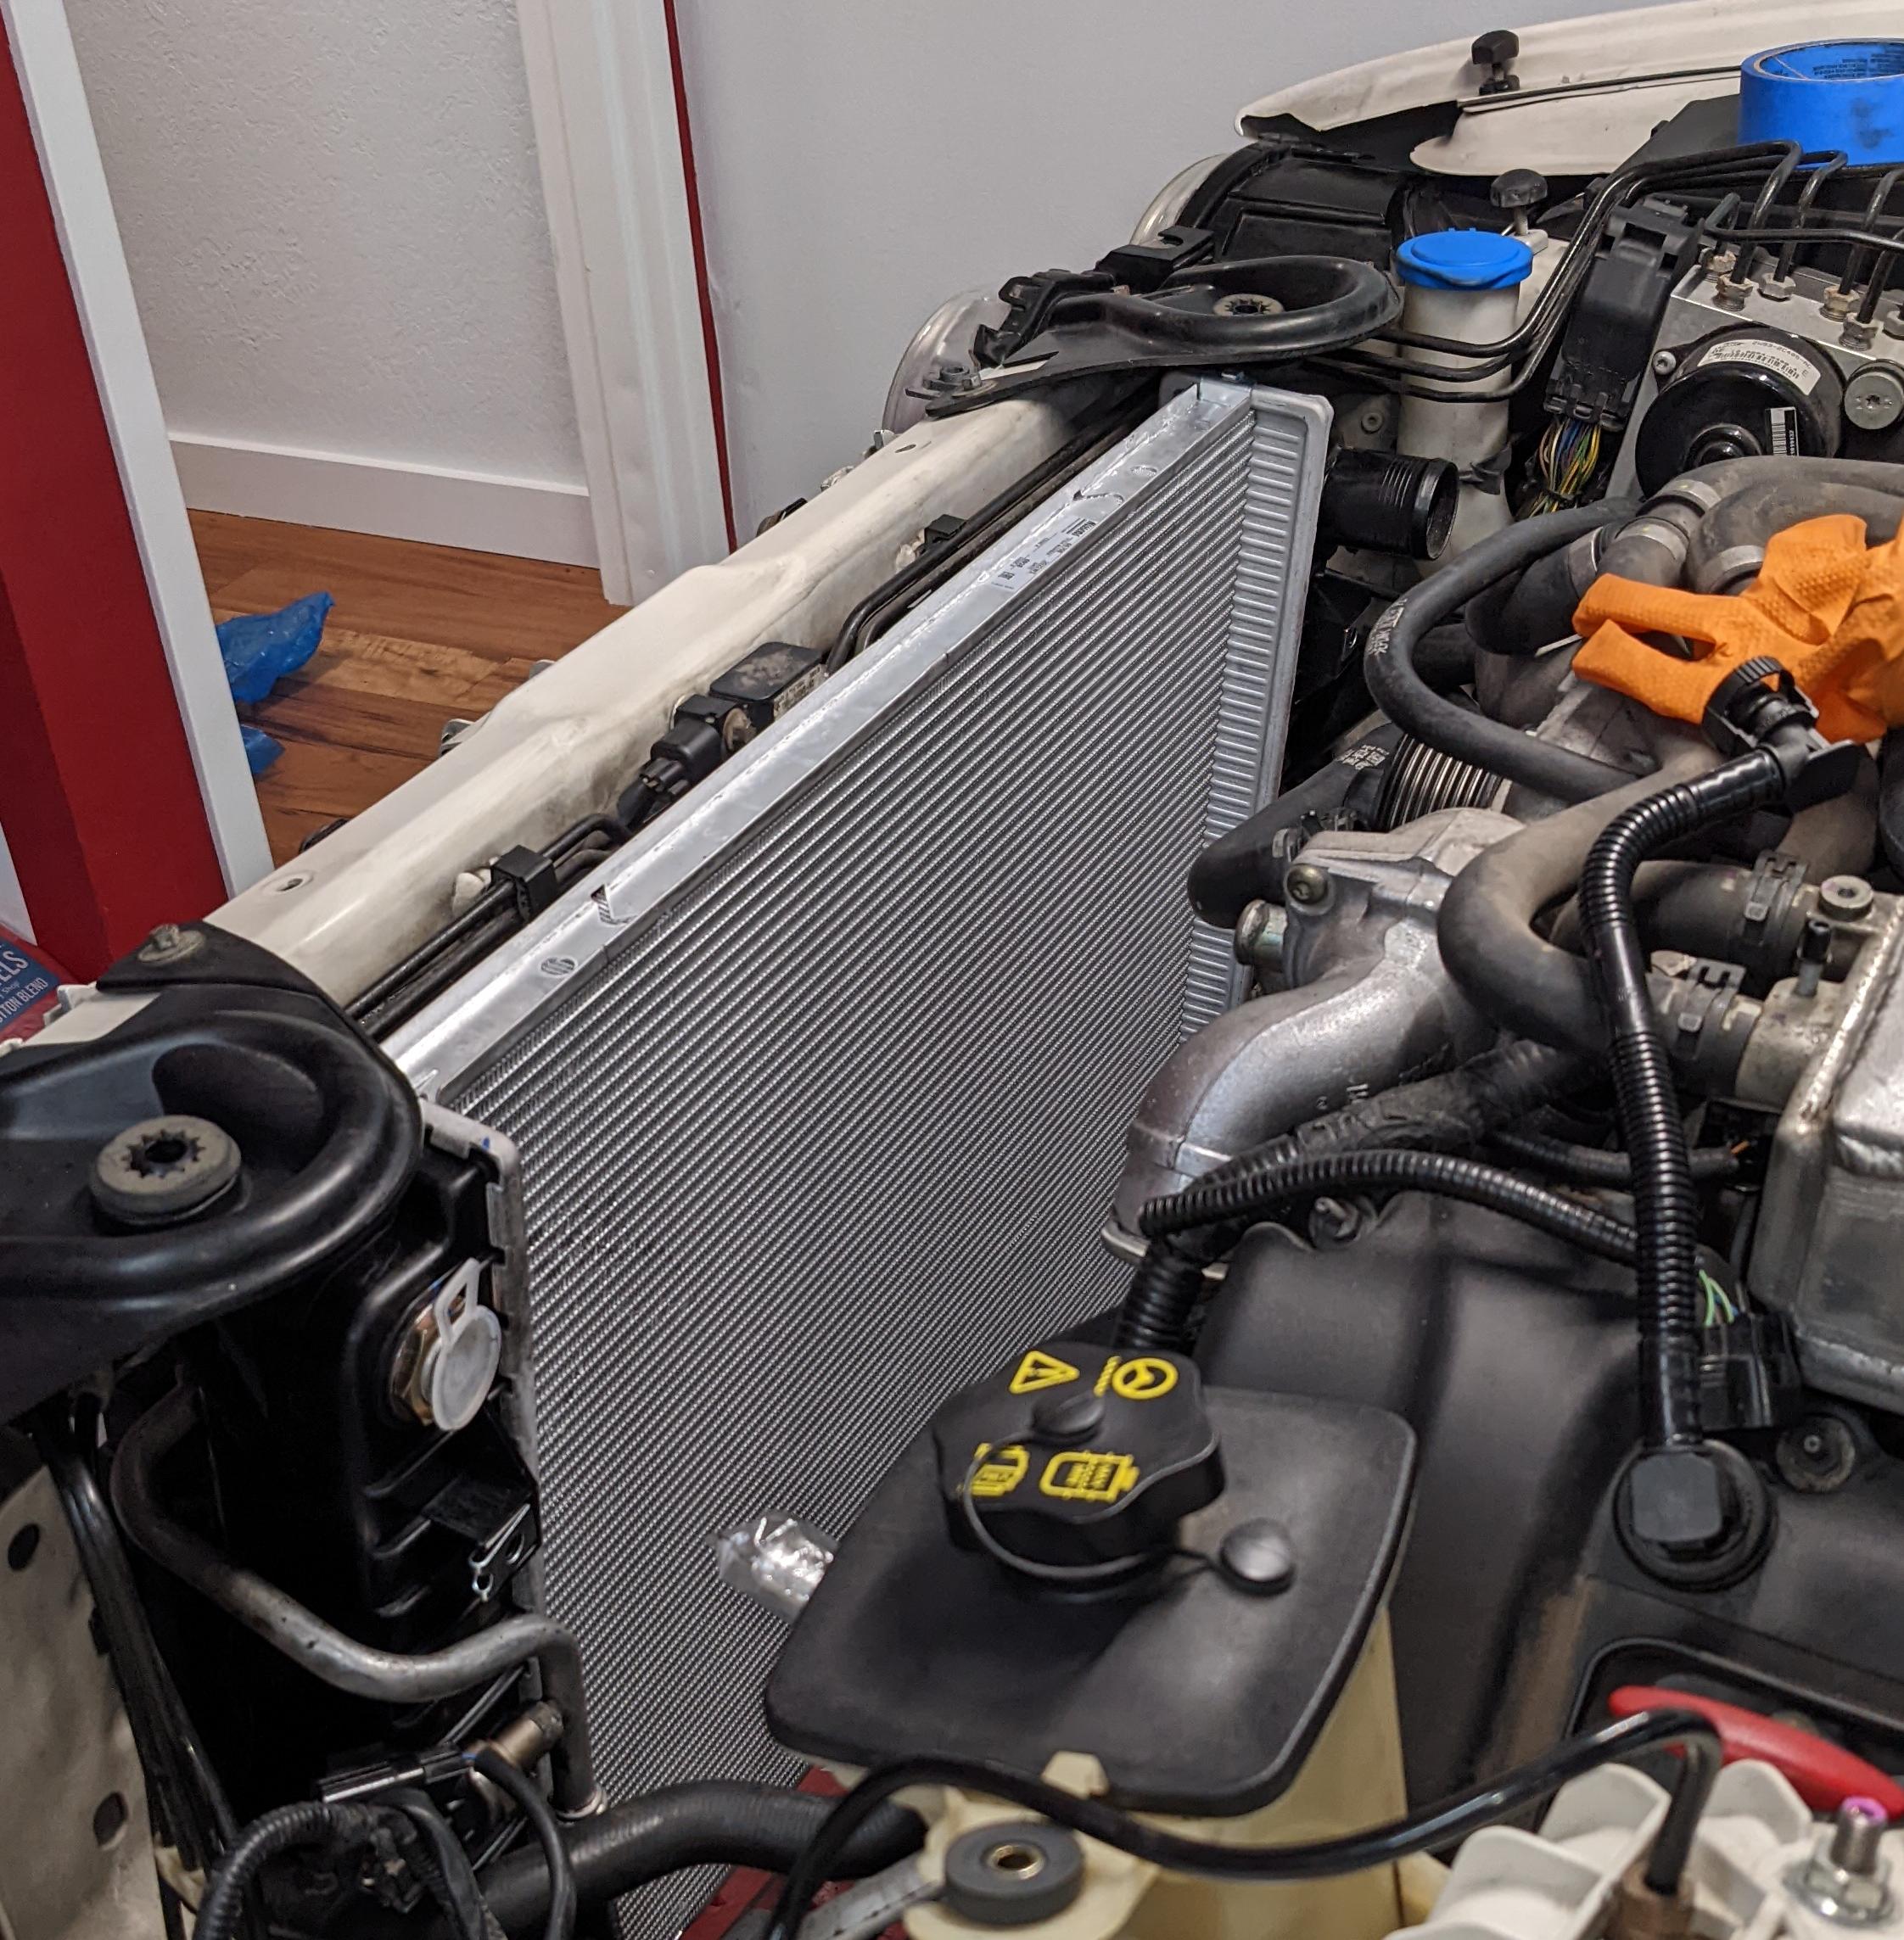
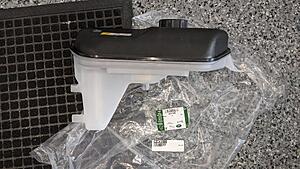
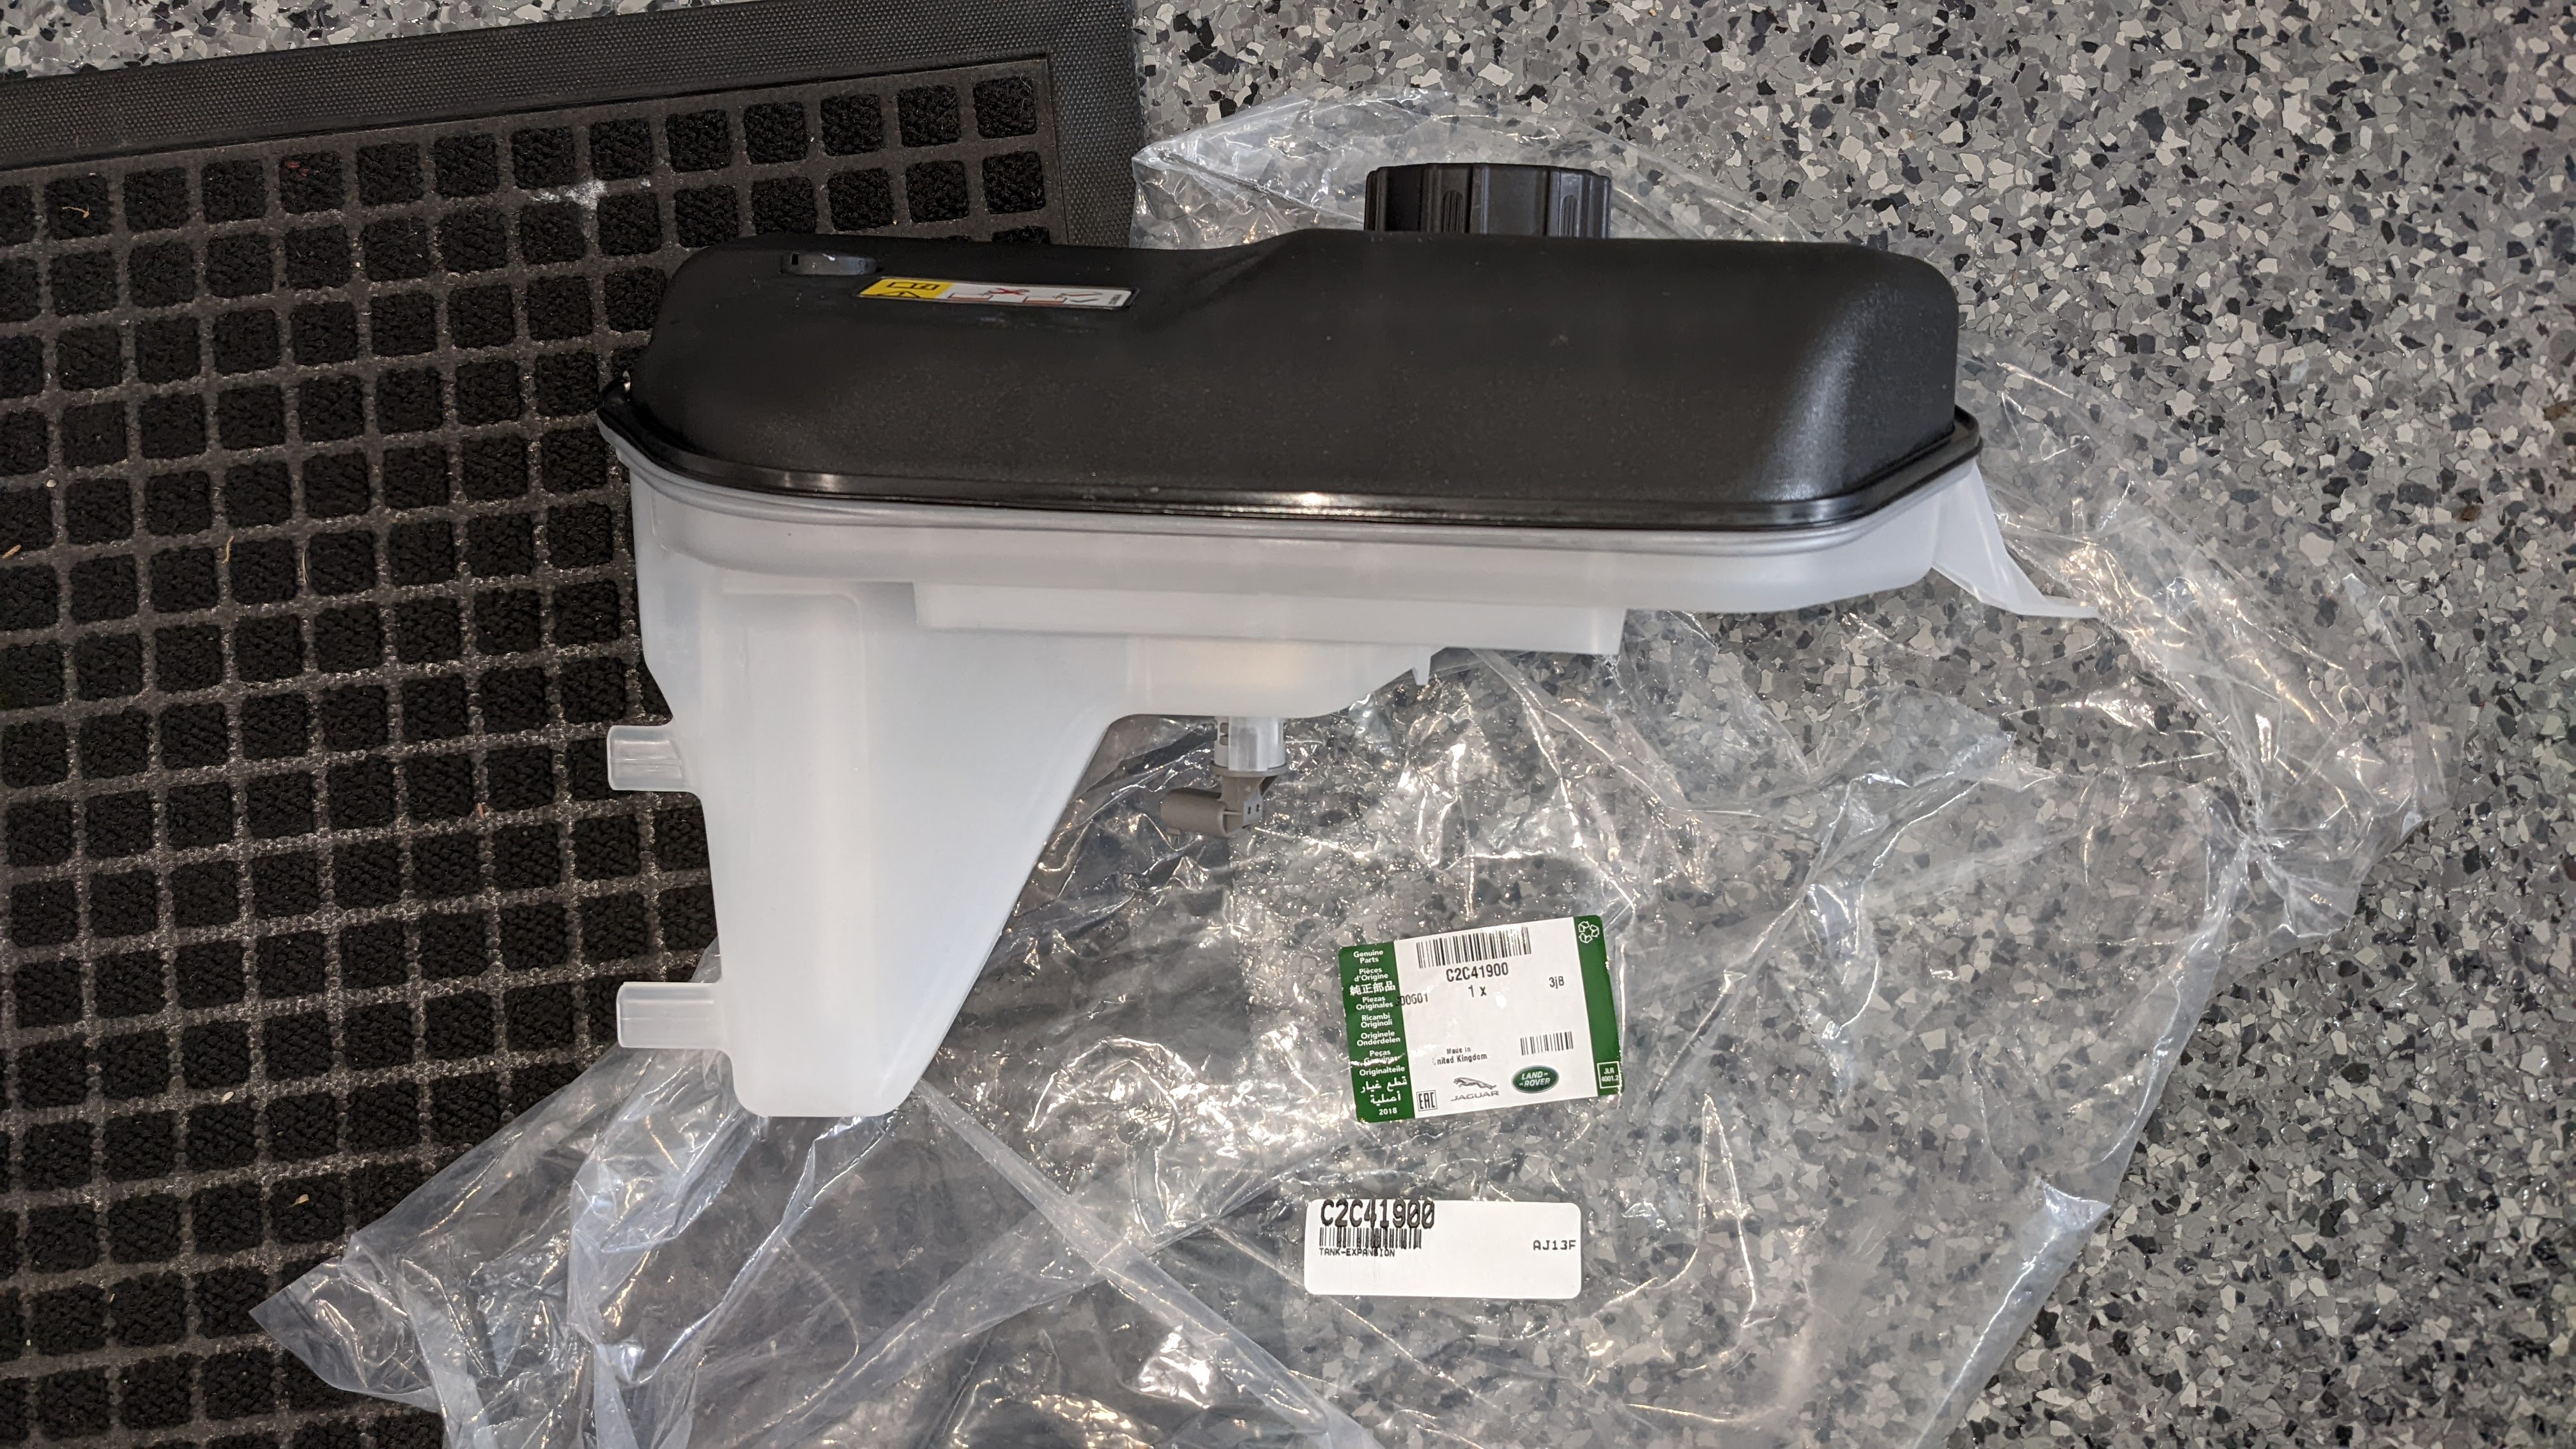
Accessing the belts is a little tight so might as well start making room. Started with draining the radiator and removing the expansion tank.


Got the fan shroud out of there but it took a while.
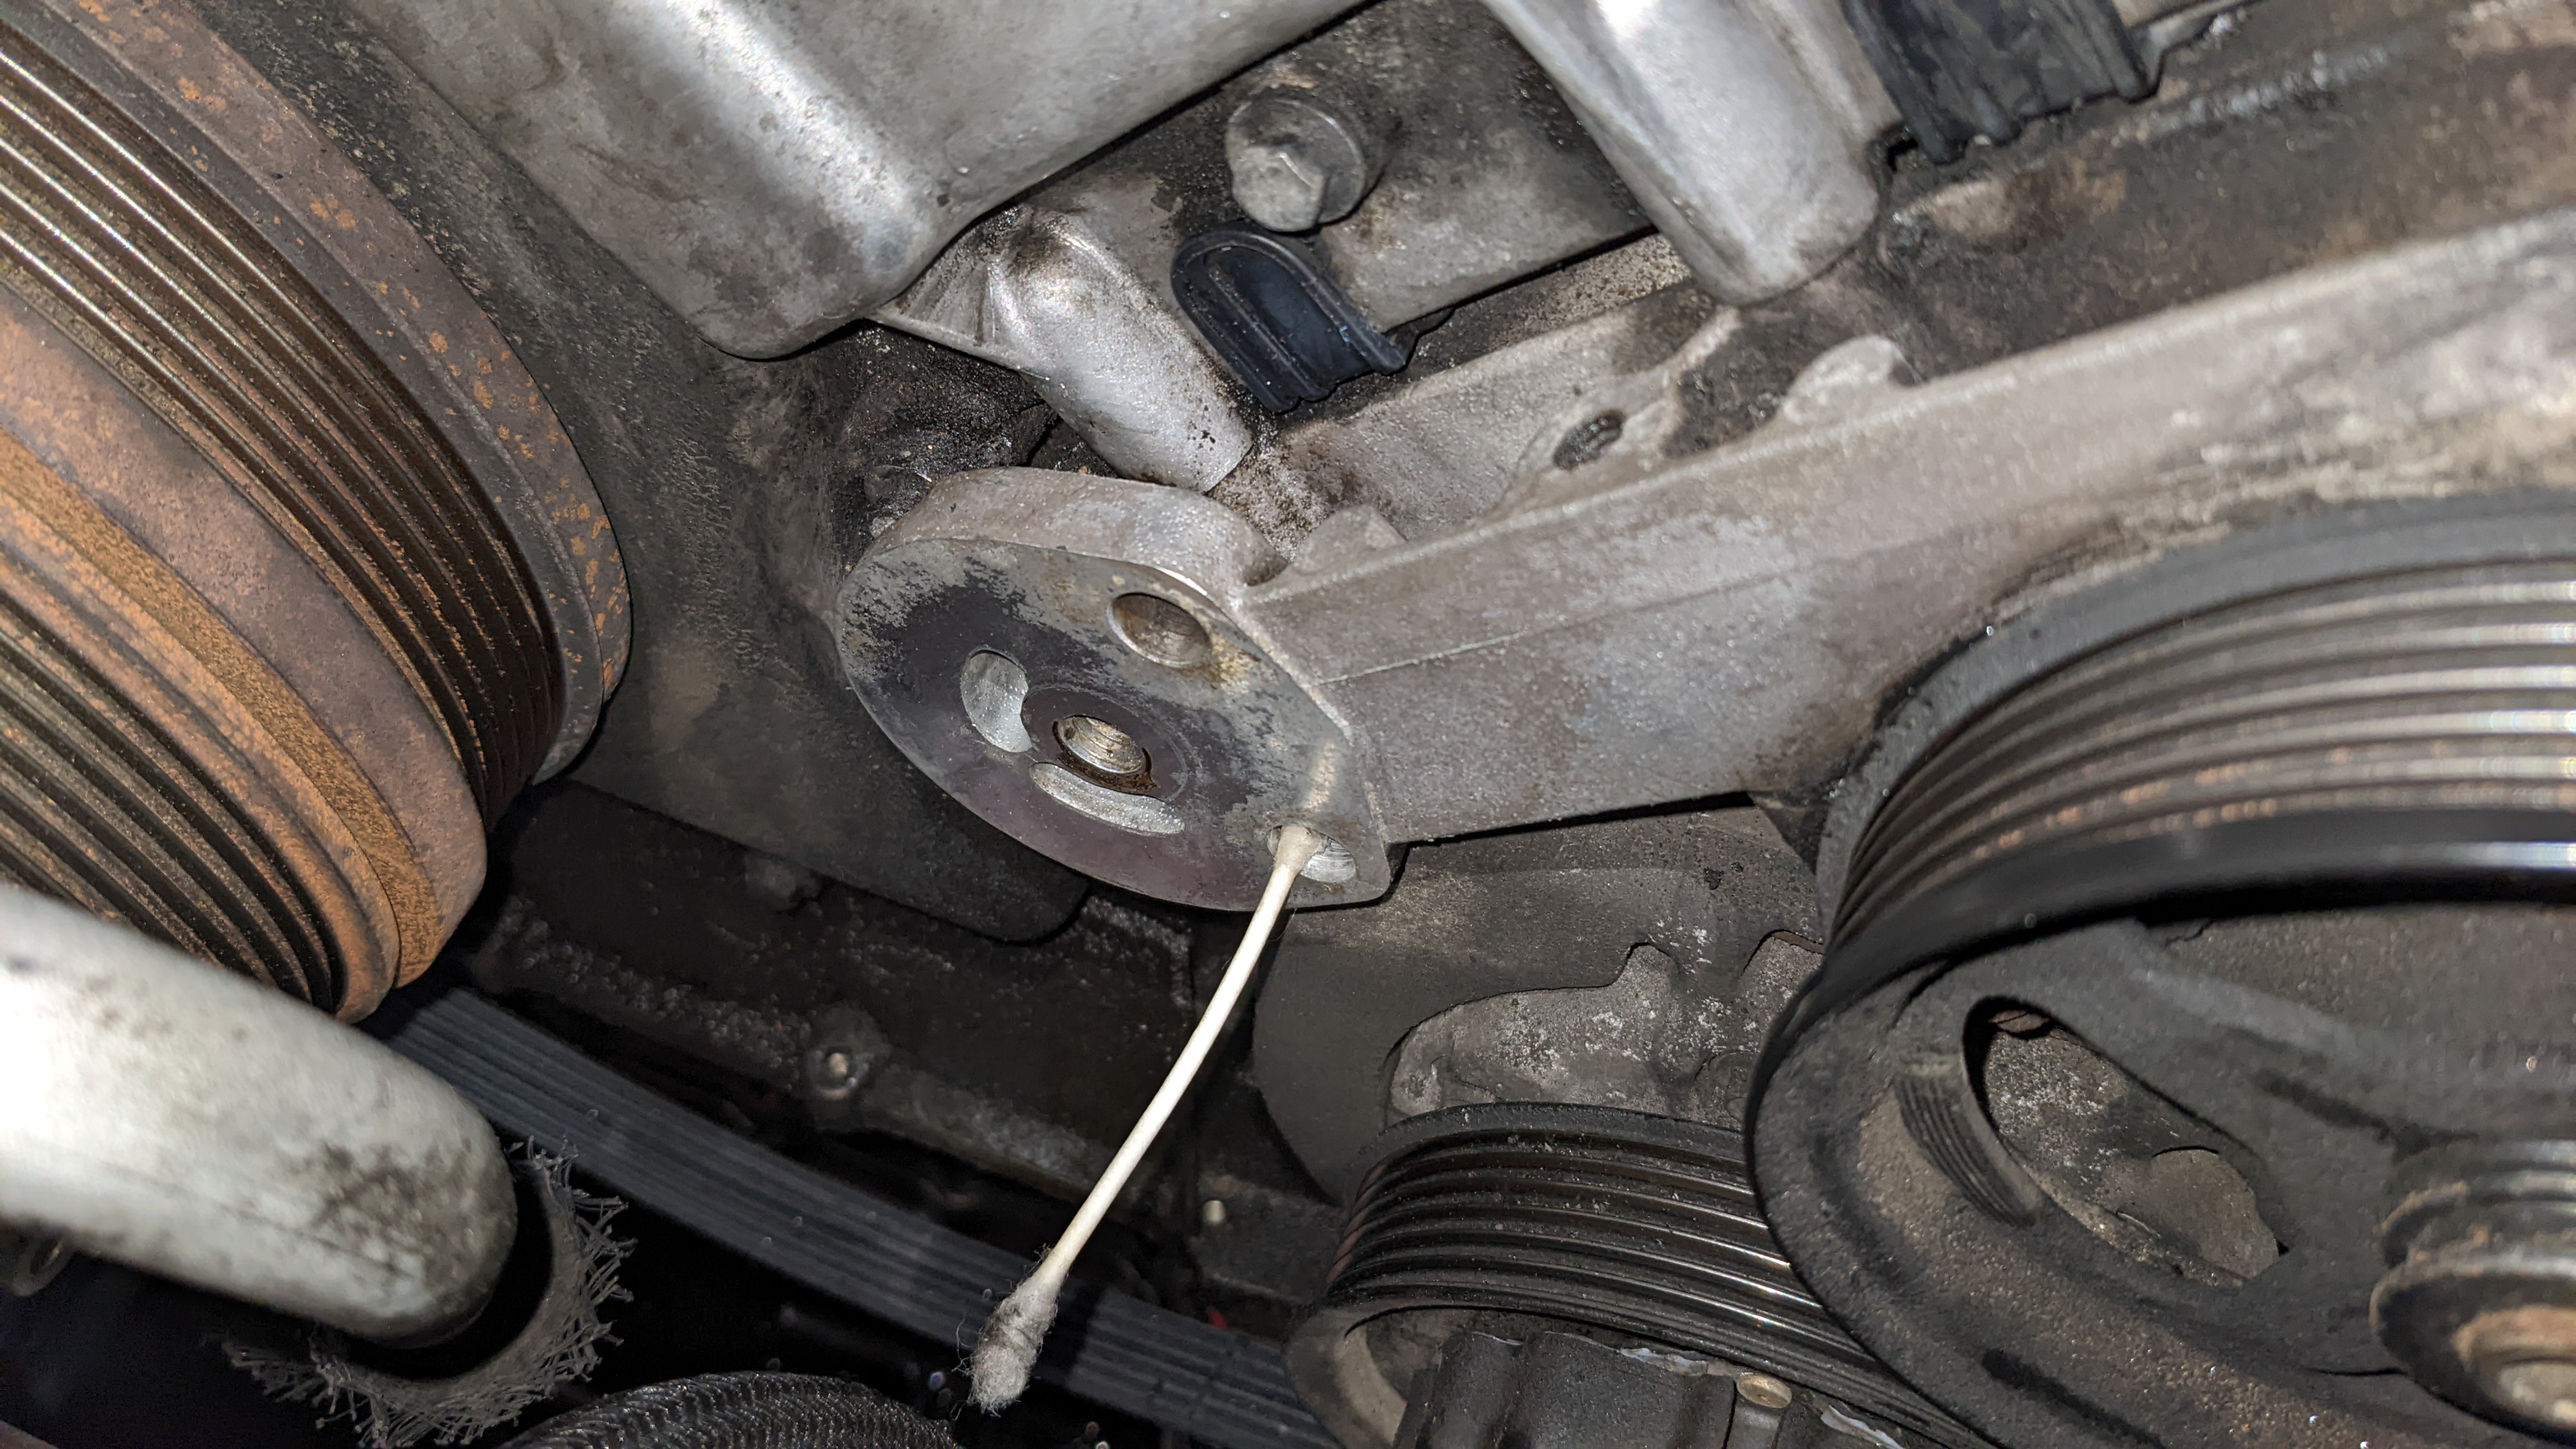
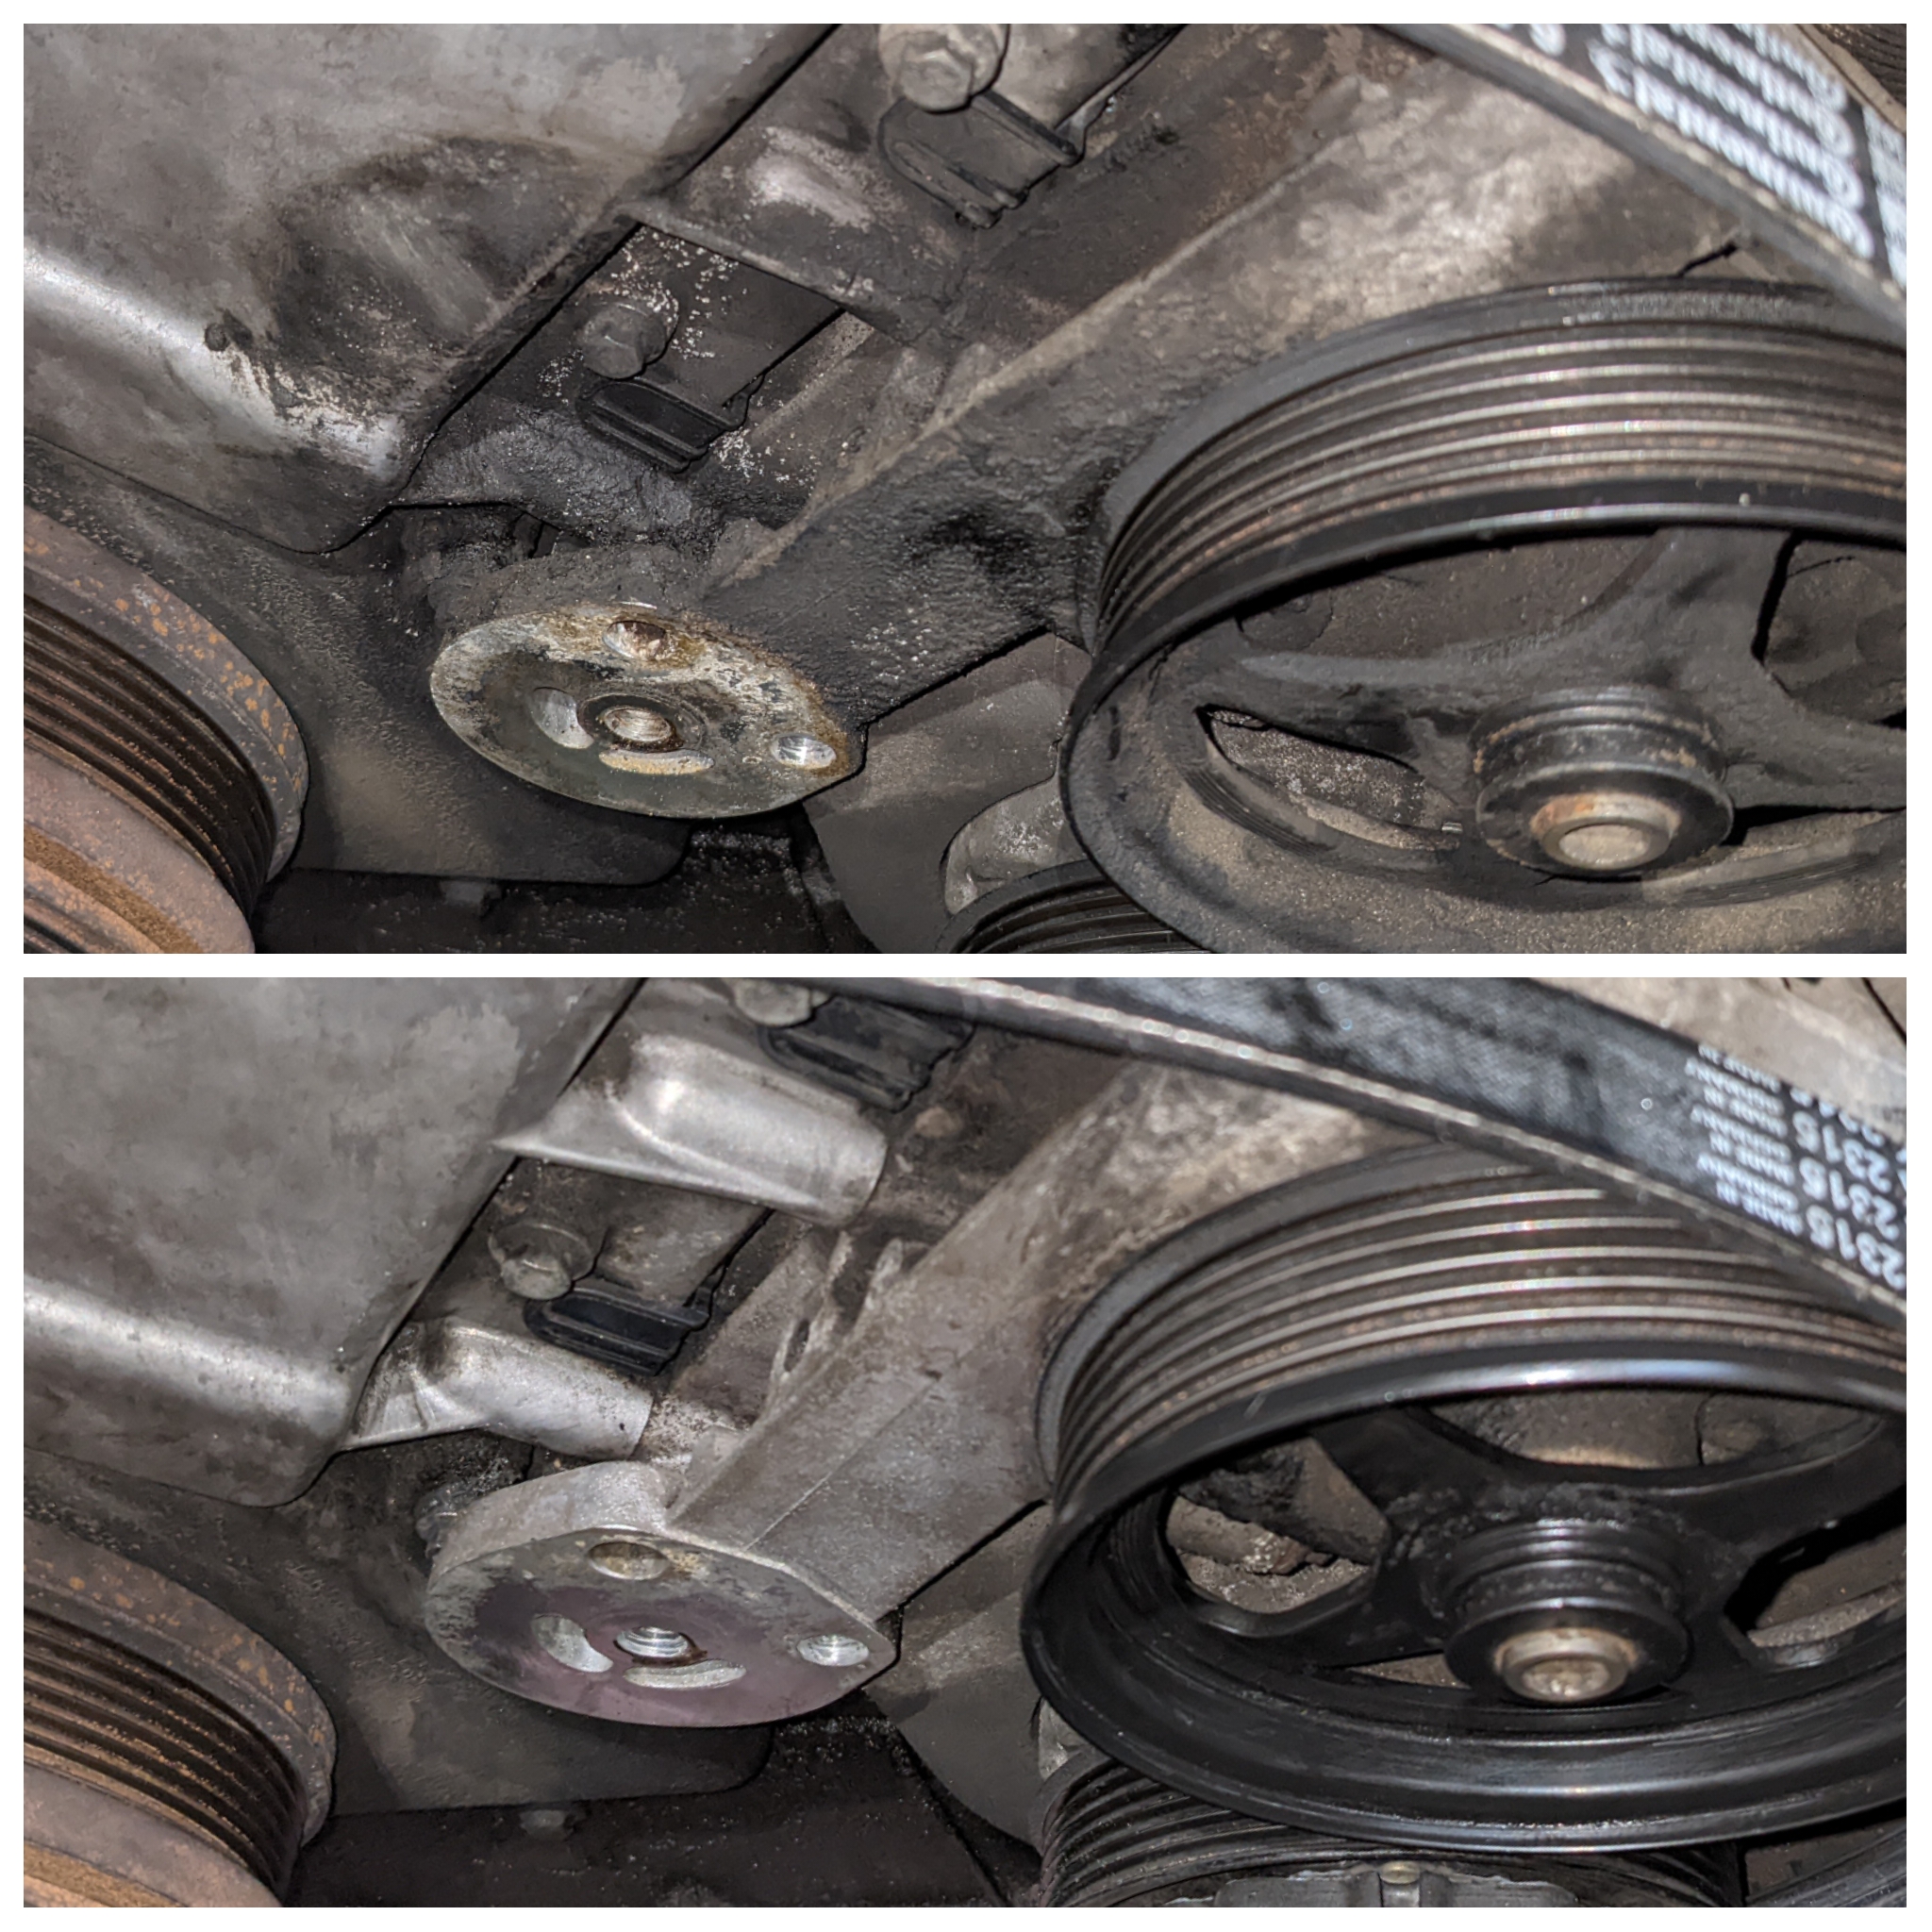
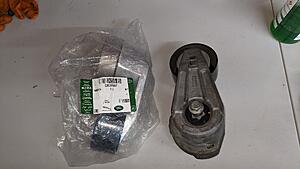
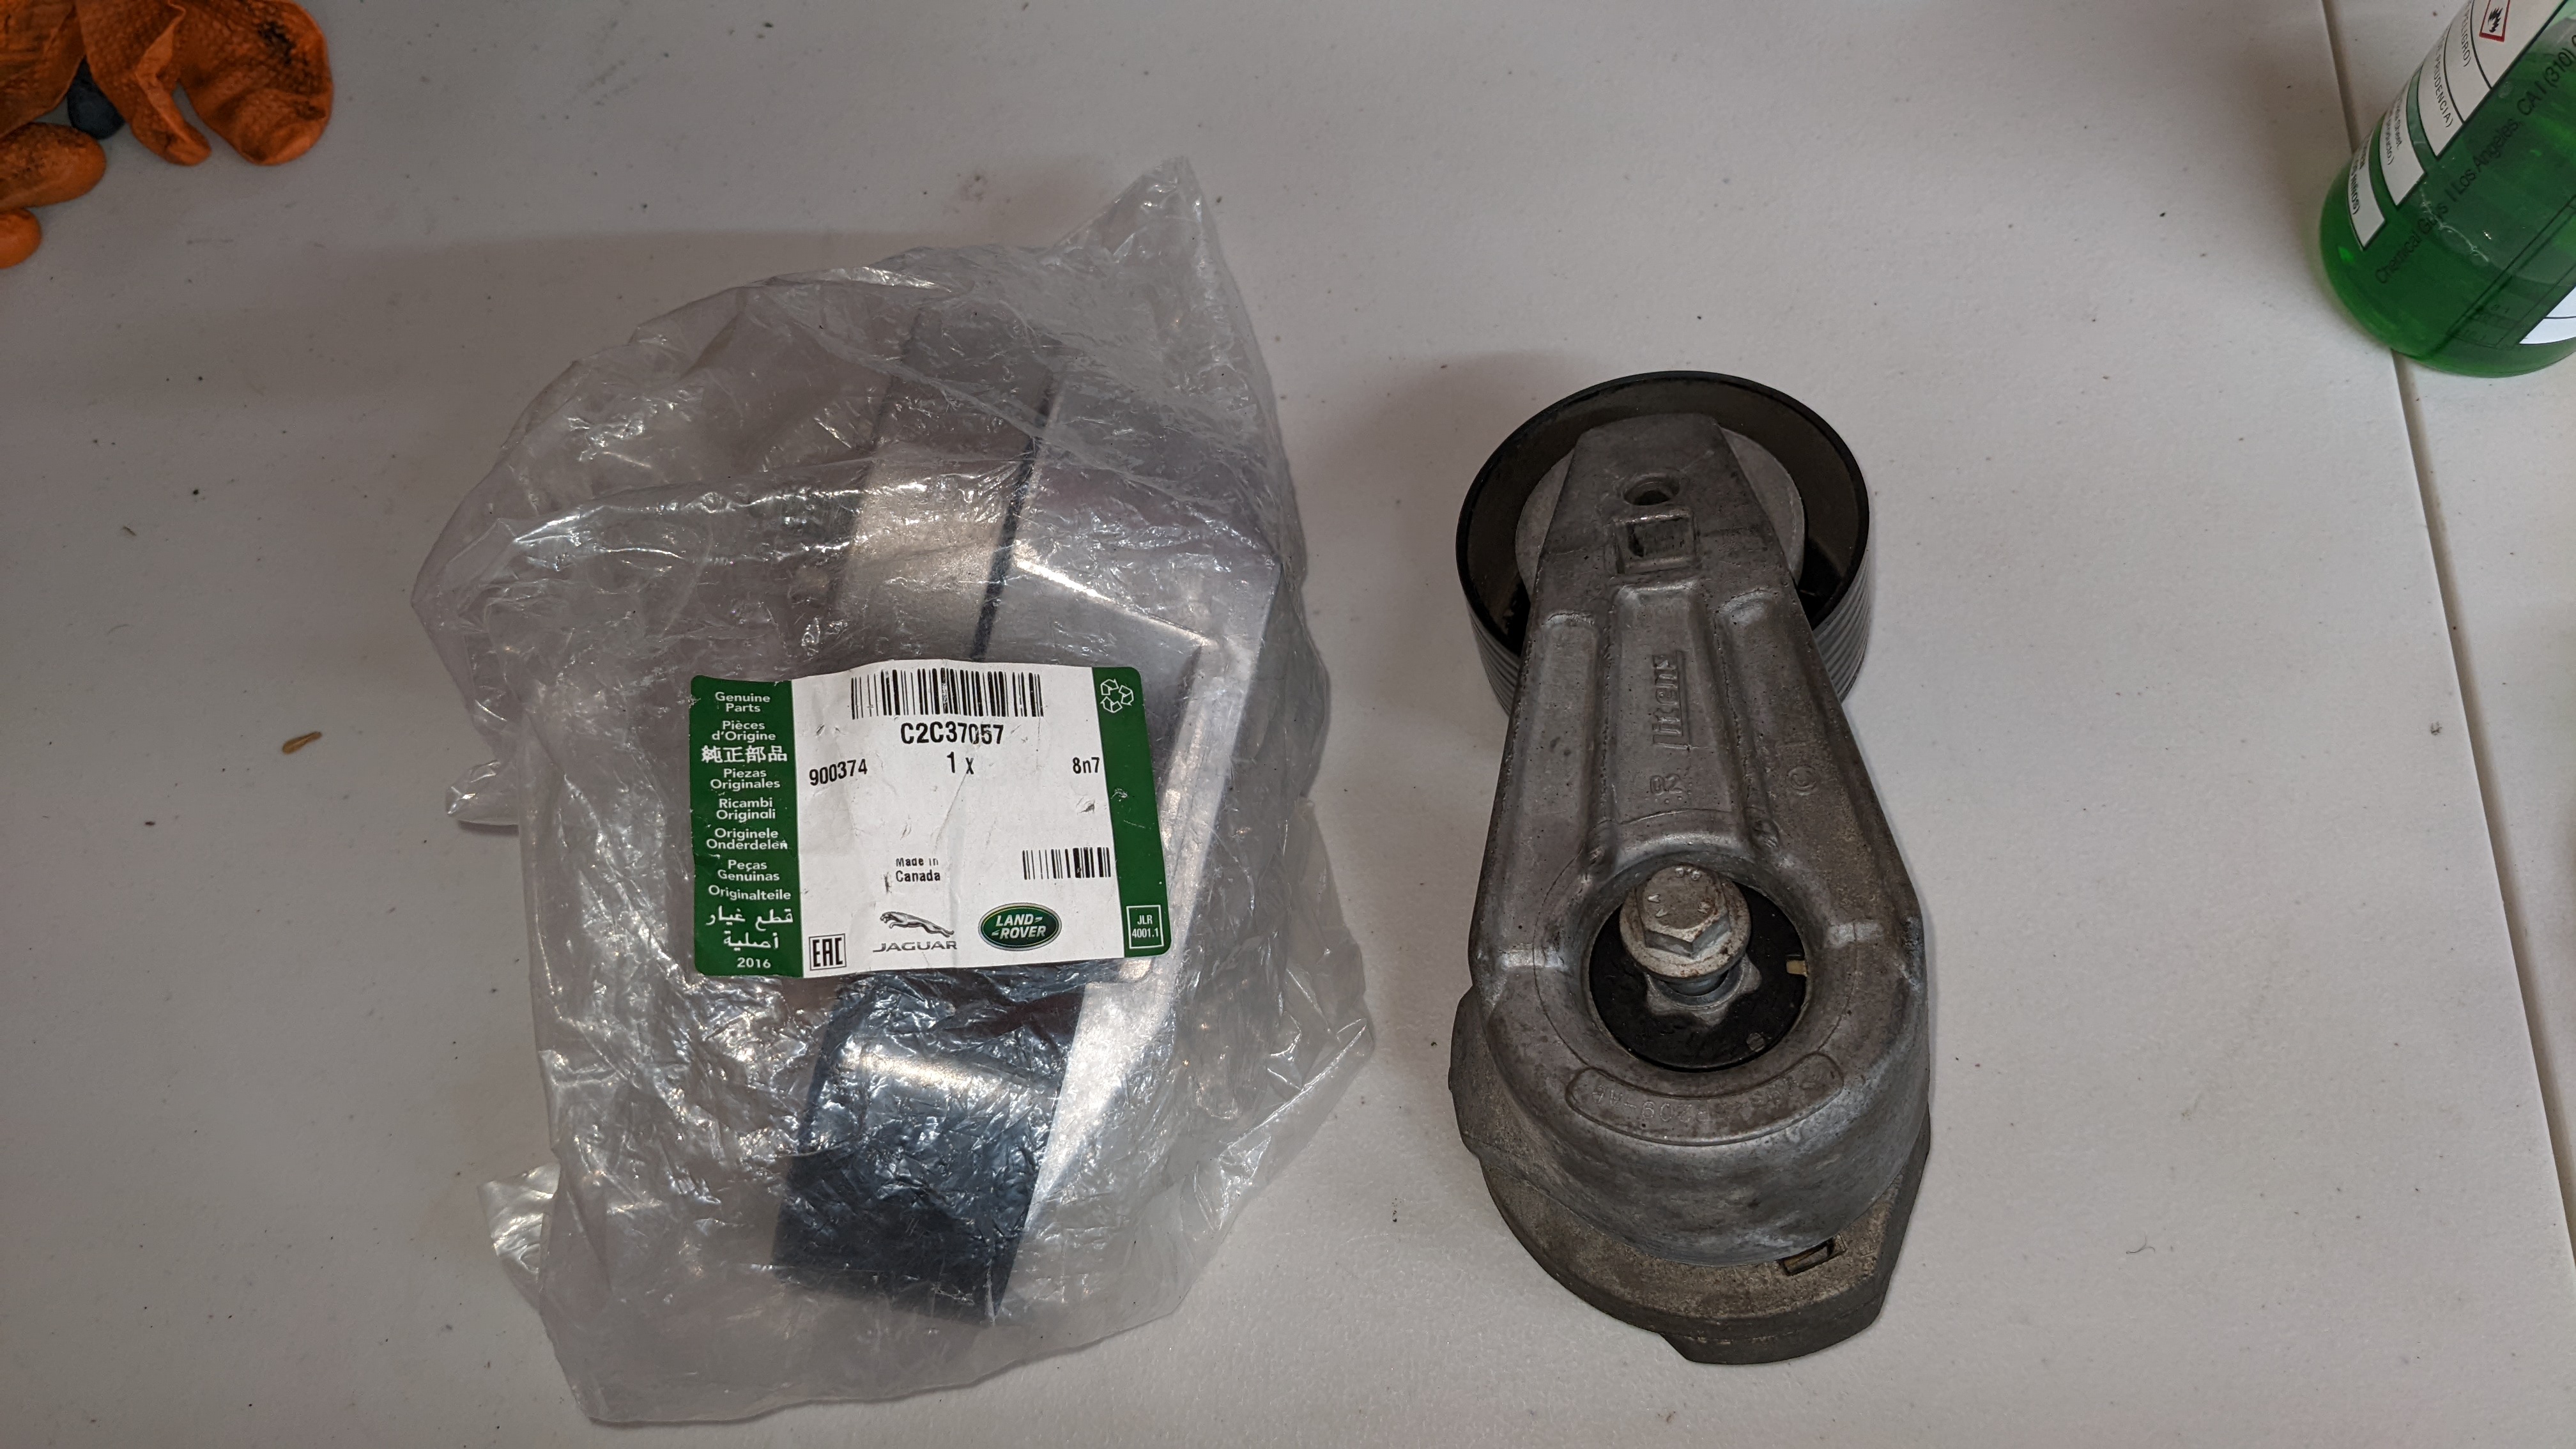
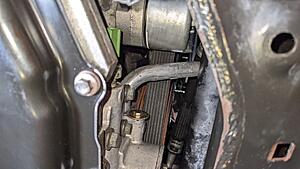
Pretty sure this was the original tensioner.
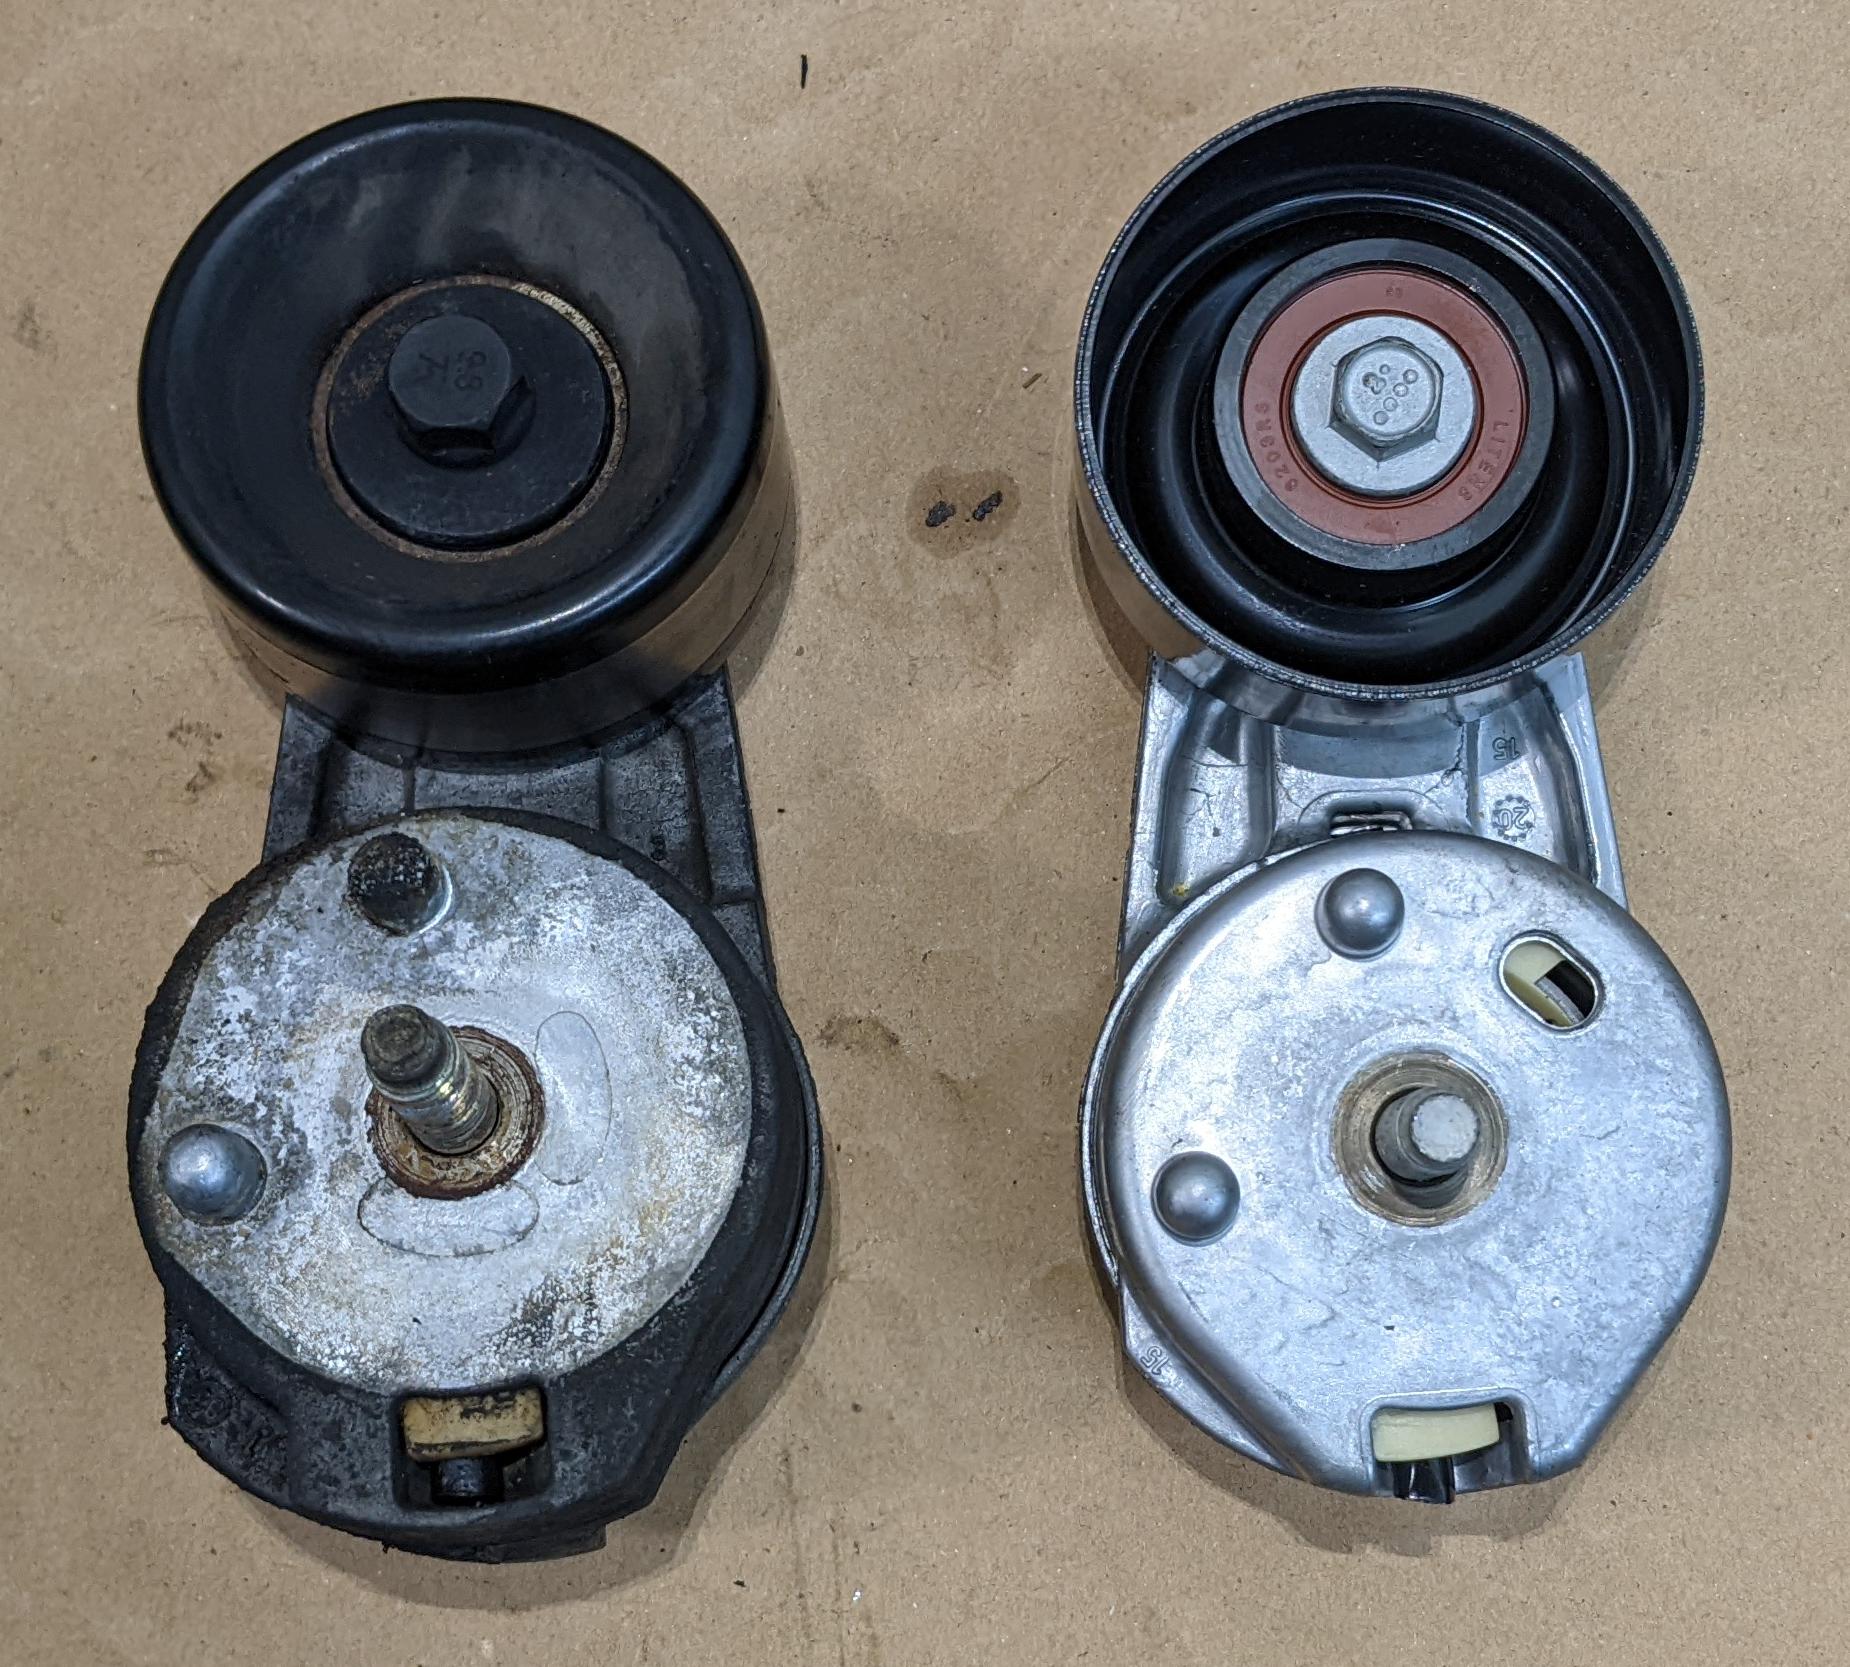
Took some time to clean the area before installing the new one and the belt.


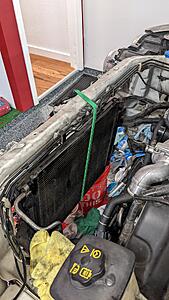
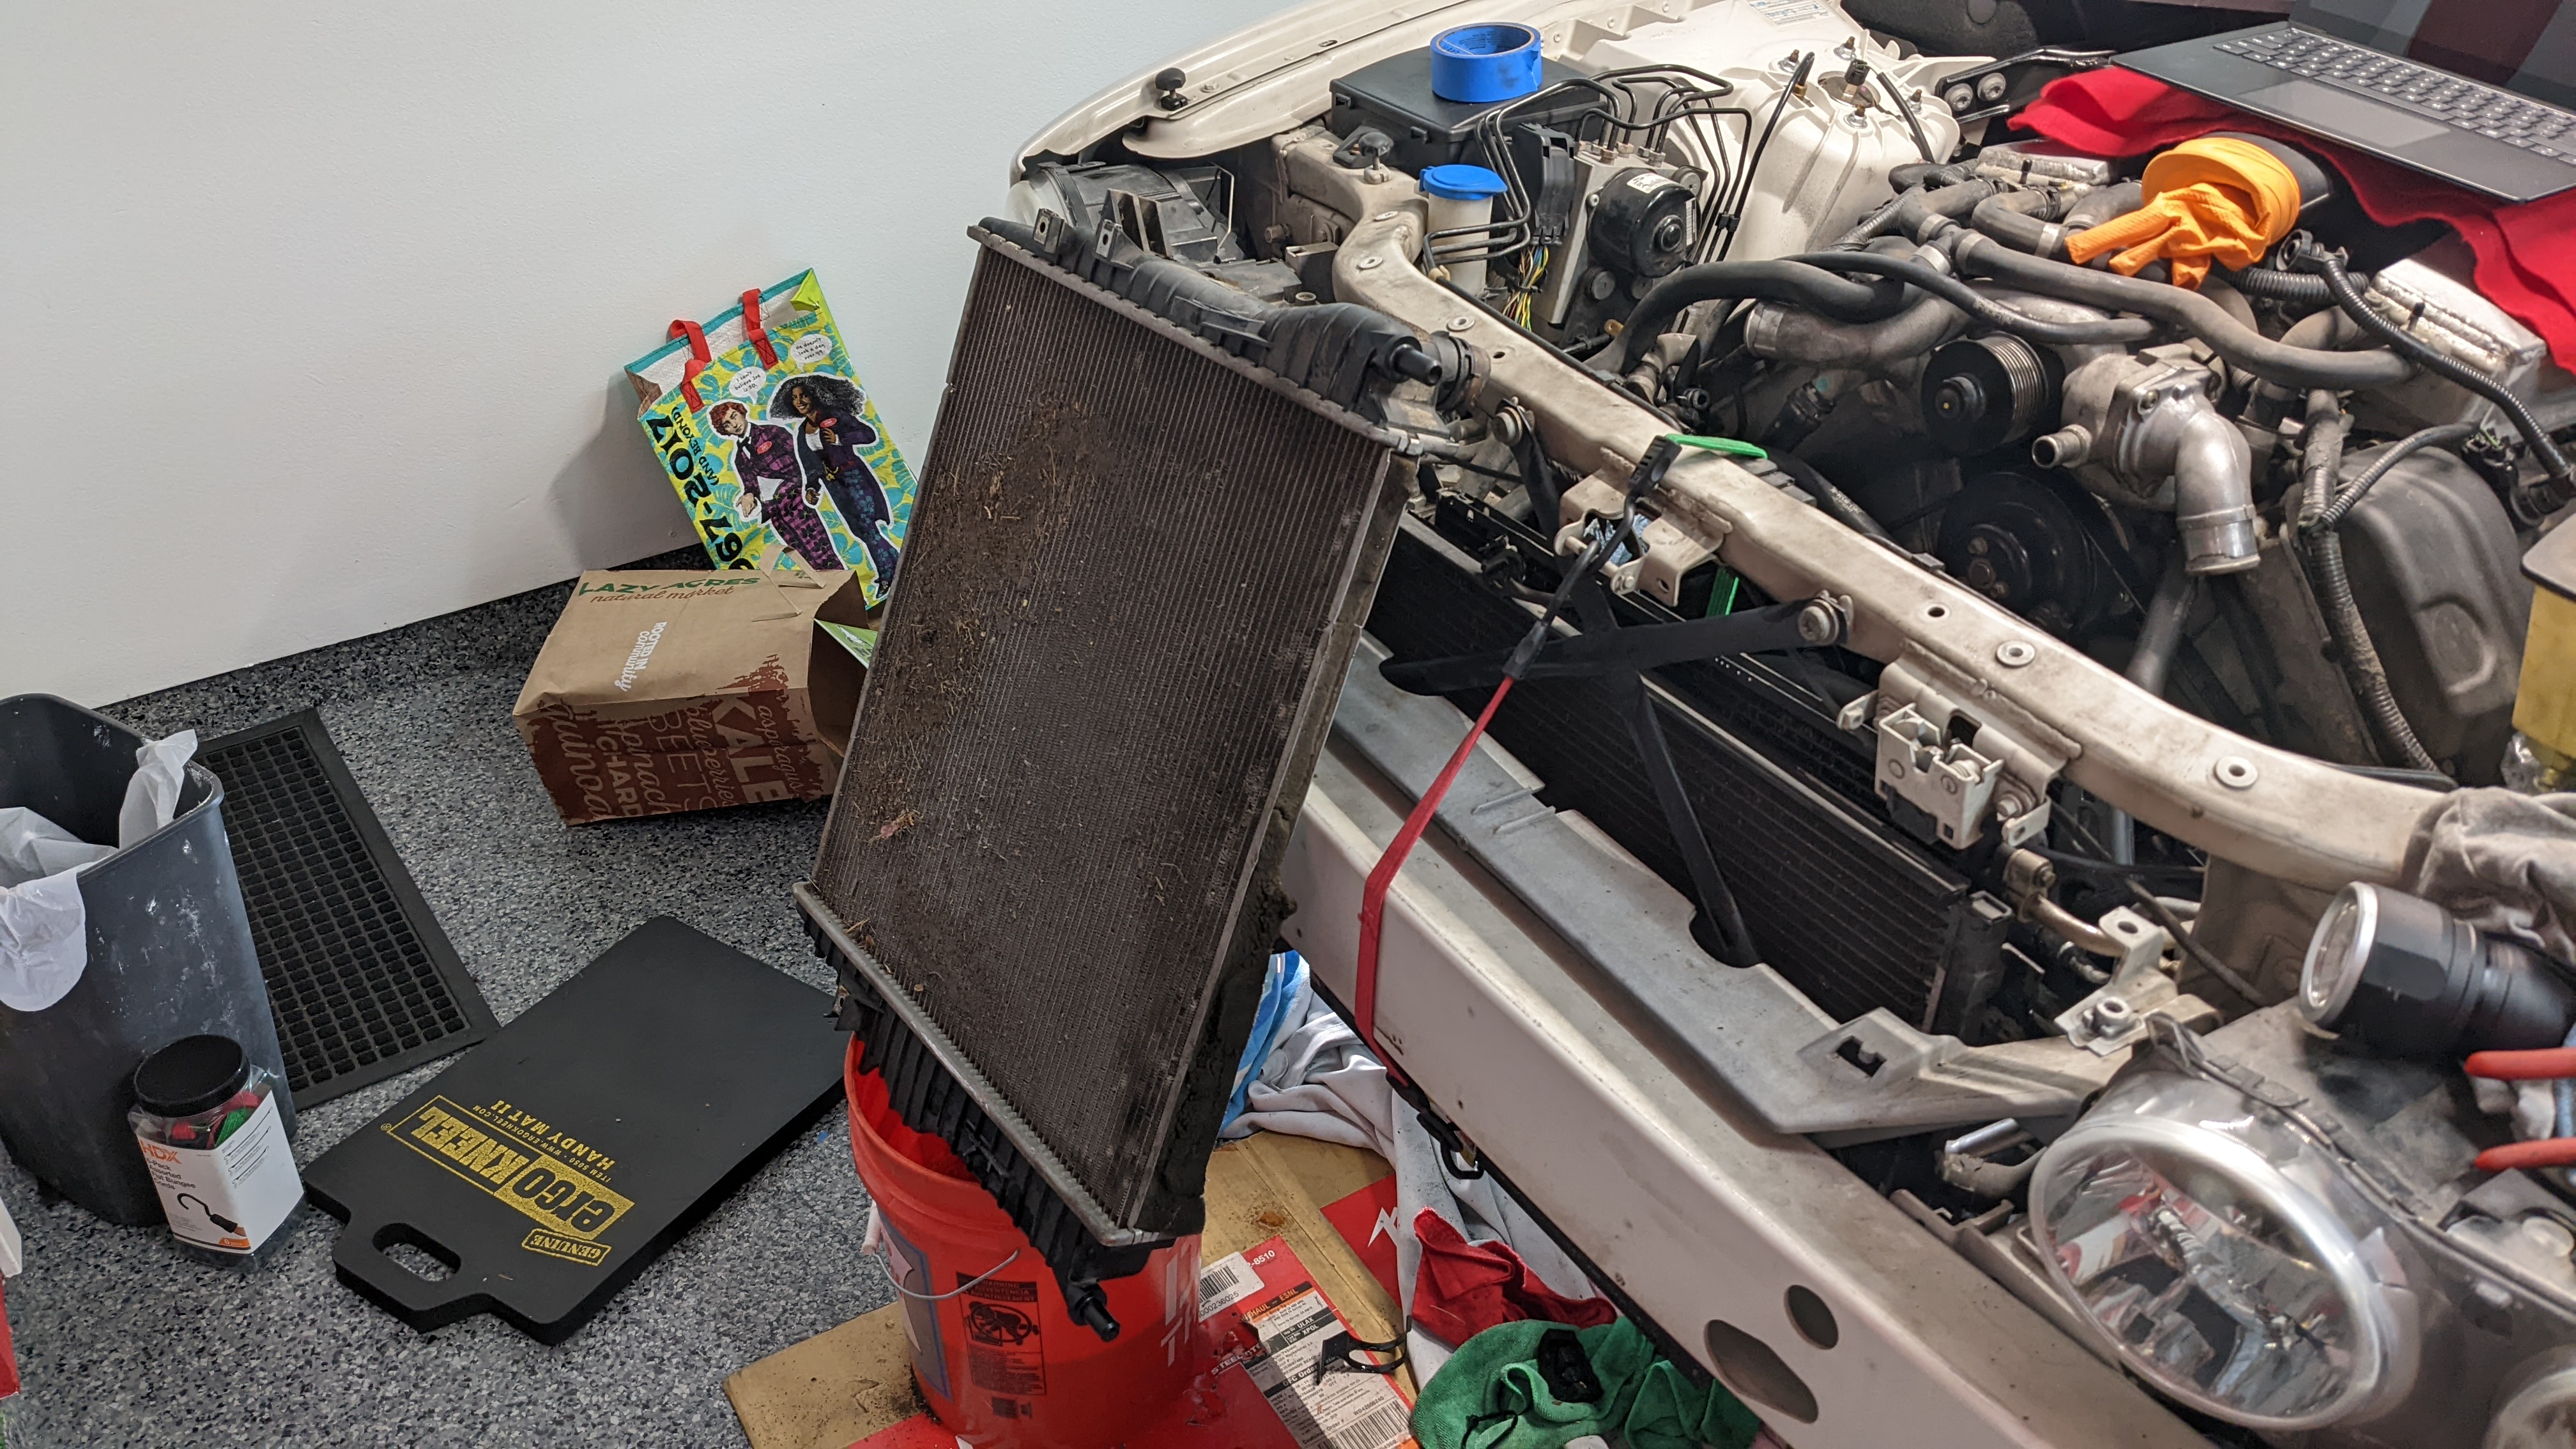
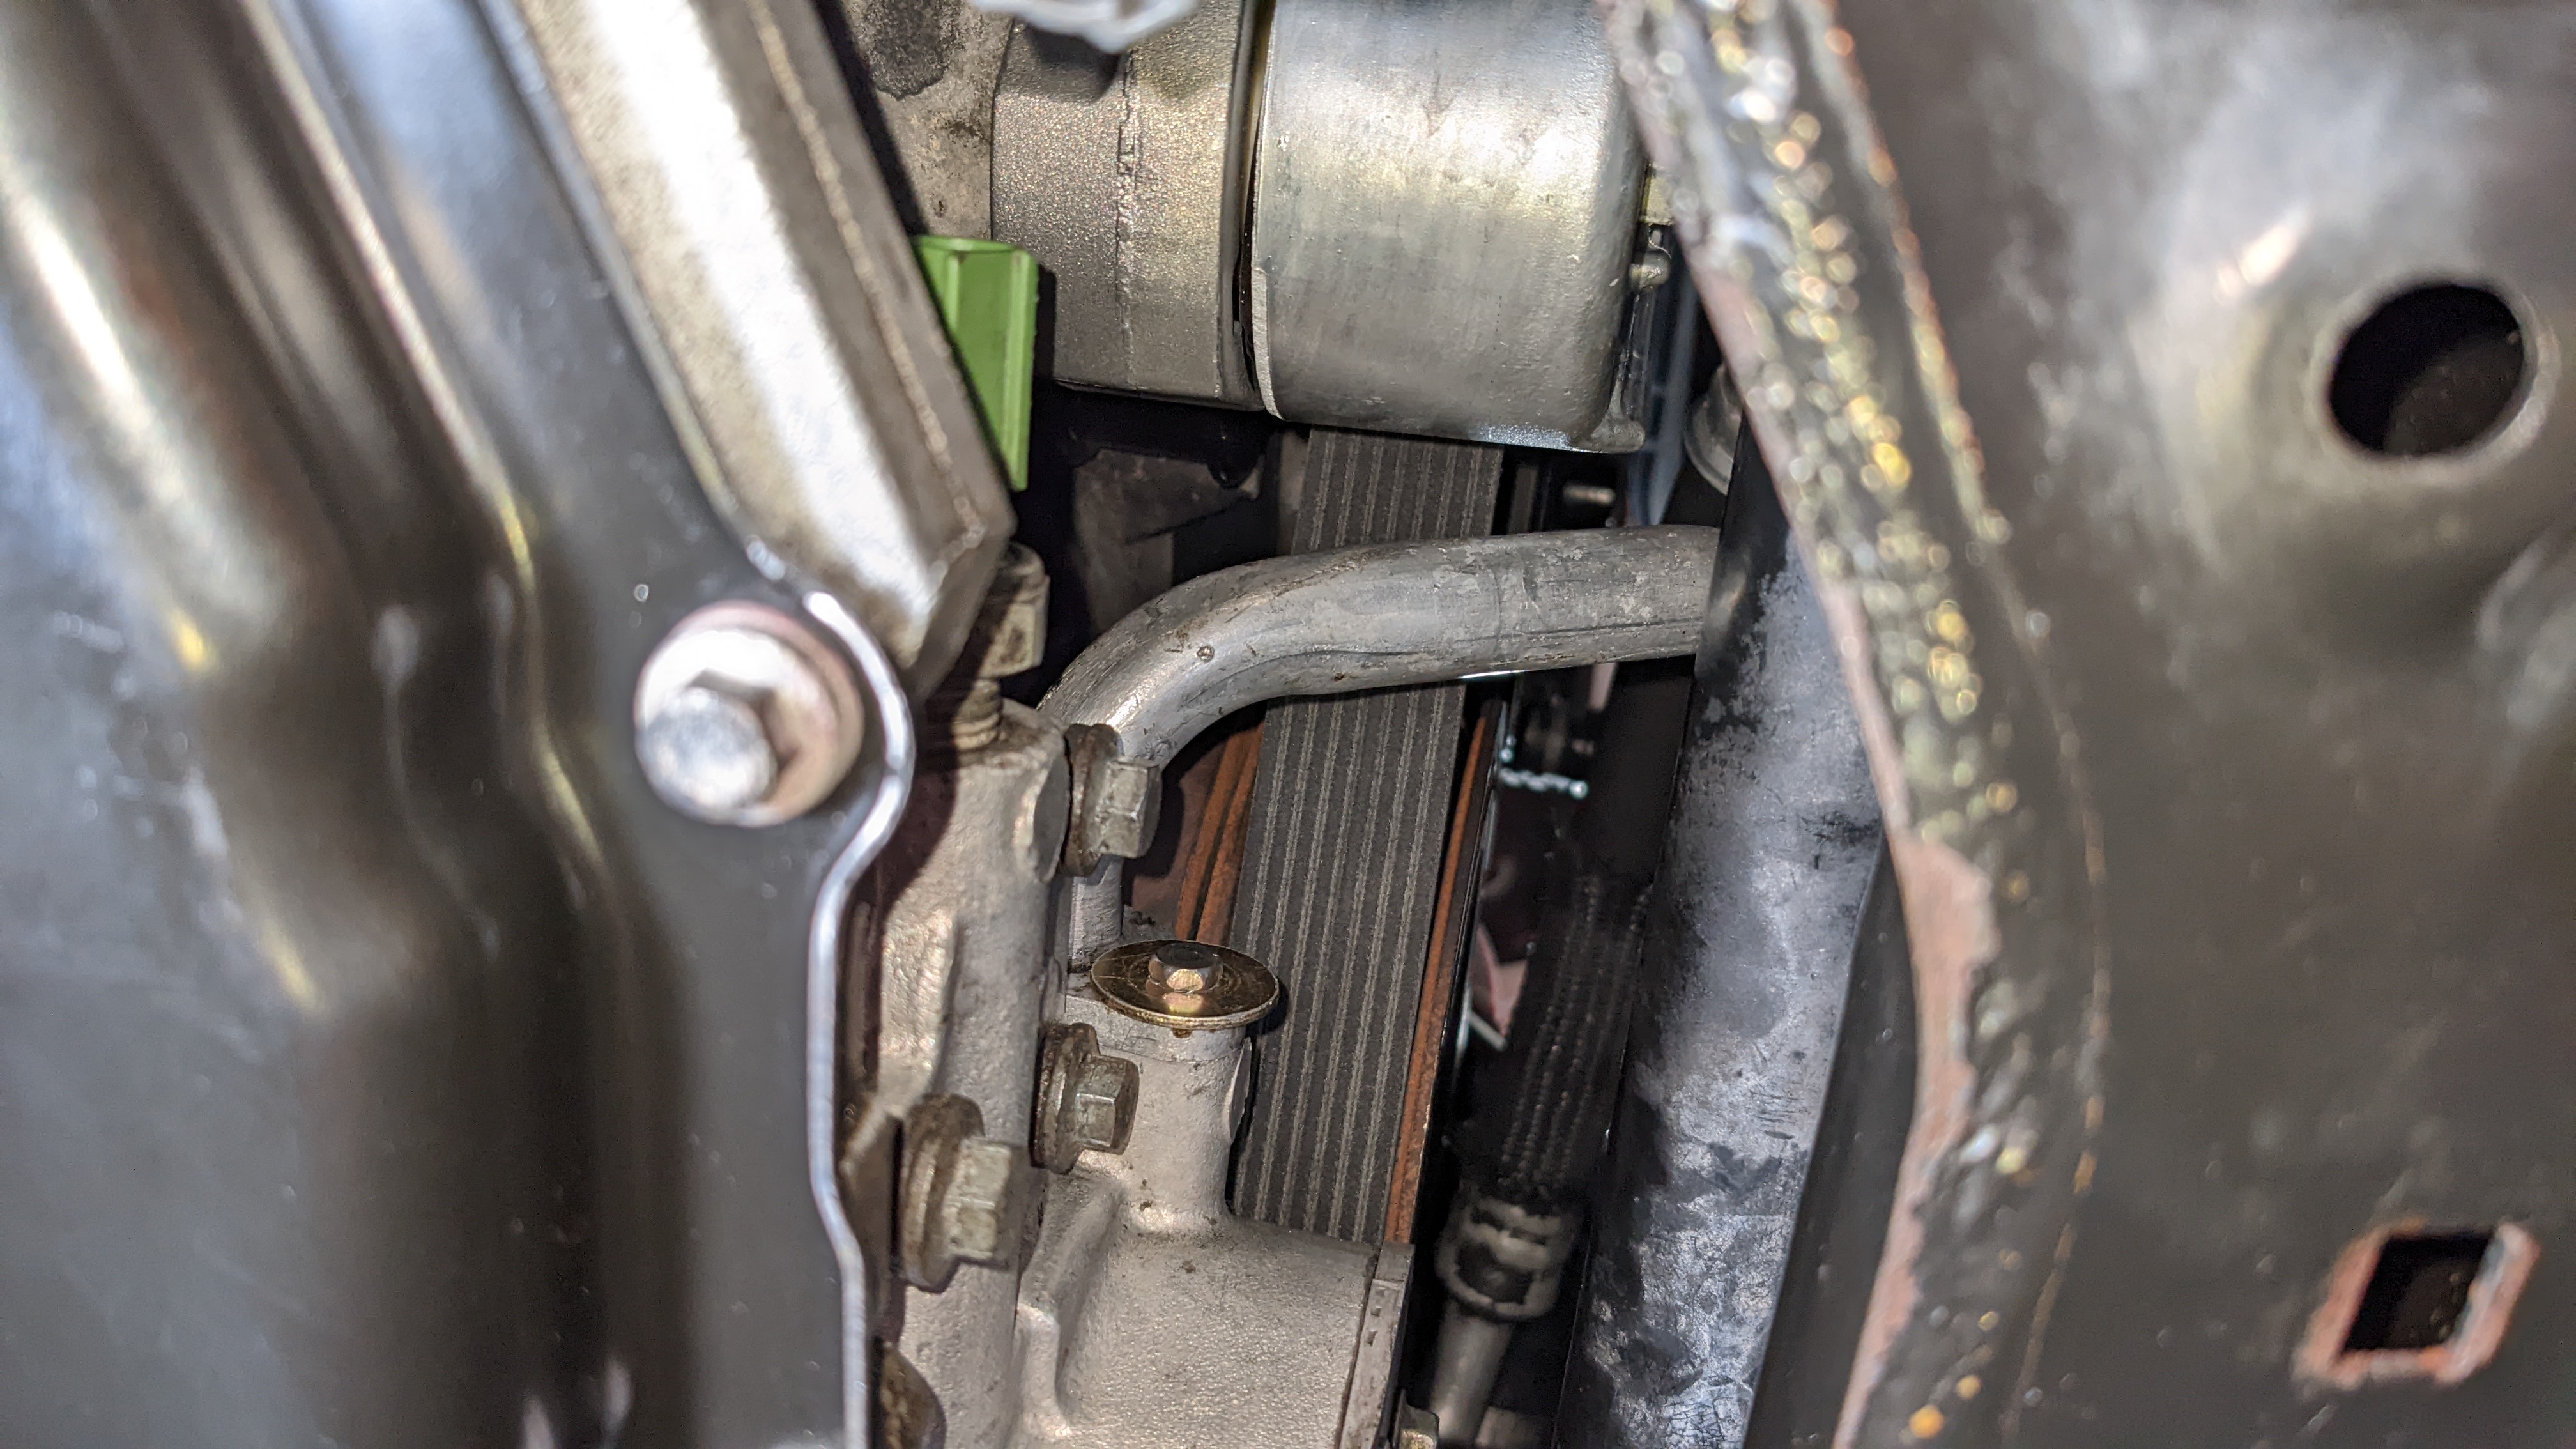
Now we get to the radiator which was a pain to remove. I know others had difficulty, especially dealing with that AC line that snakes around the radiator. I tried really hard to keep it attached, but it was just getting too dicey and didn't want to damage the condenser. The 2 coolant lines on the right side of the radiator are routed over the support mount and I think that also made things worse. Removed the bumper, then had to loosen the oil cooler, removed the transmission cooling lines, a PS reservoir line, the aux coolant pump, SC coolant pump, and more hoses to finally get it out. I did the AC line at the very end to minimize how long it was detached from the condenser. I guess one benefit of removing extra hoses is I'm getting more of the old coolant out since you can't drain the block.

Because all the heat exchangers are connected to the radiator which sits on aluminum mounts, you have to hold them up with a strap before you can take it out so I used a couple of bungee cords here.
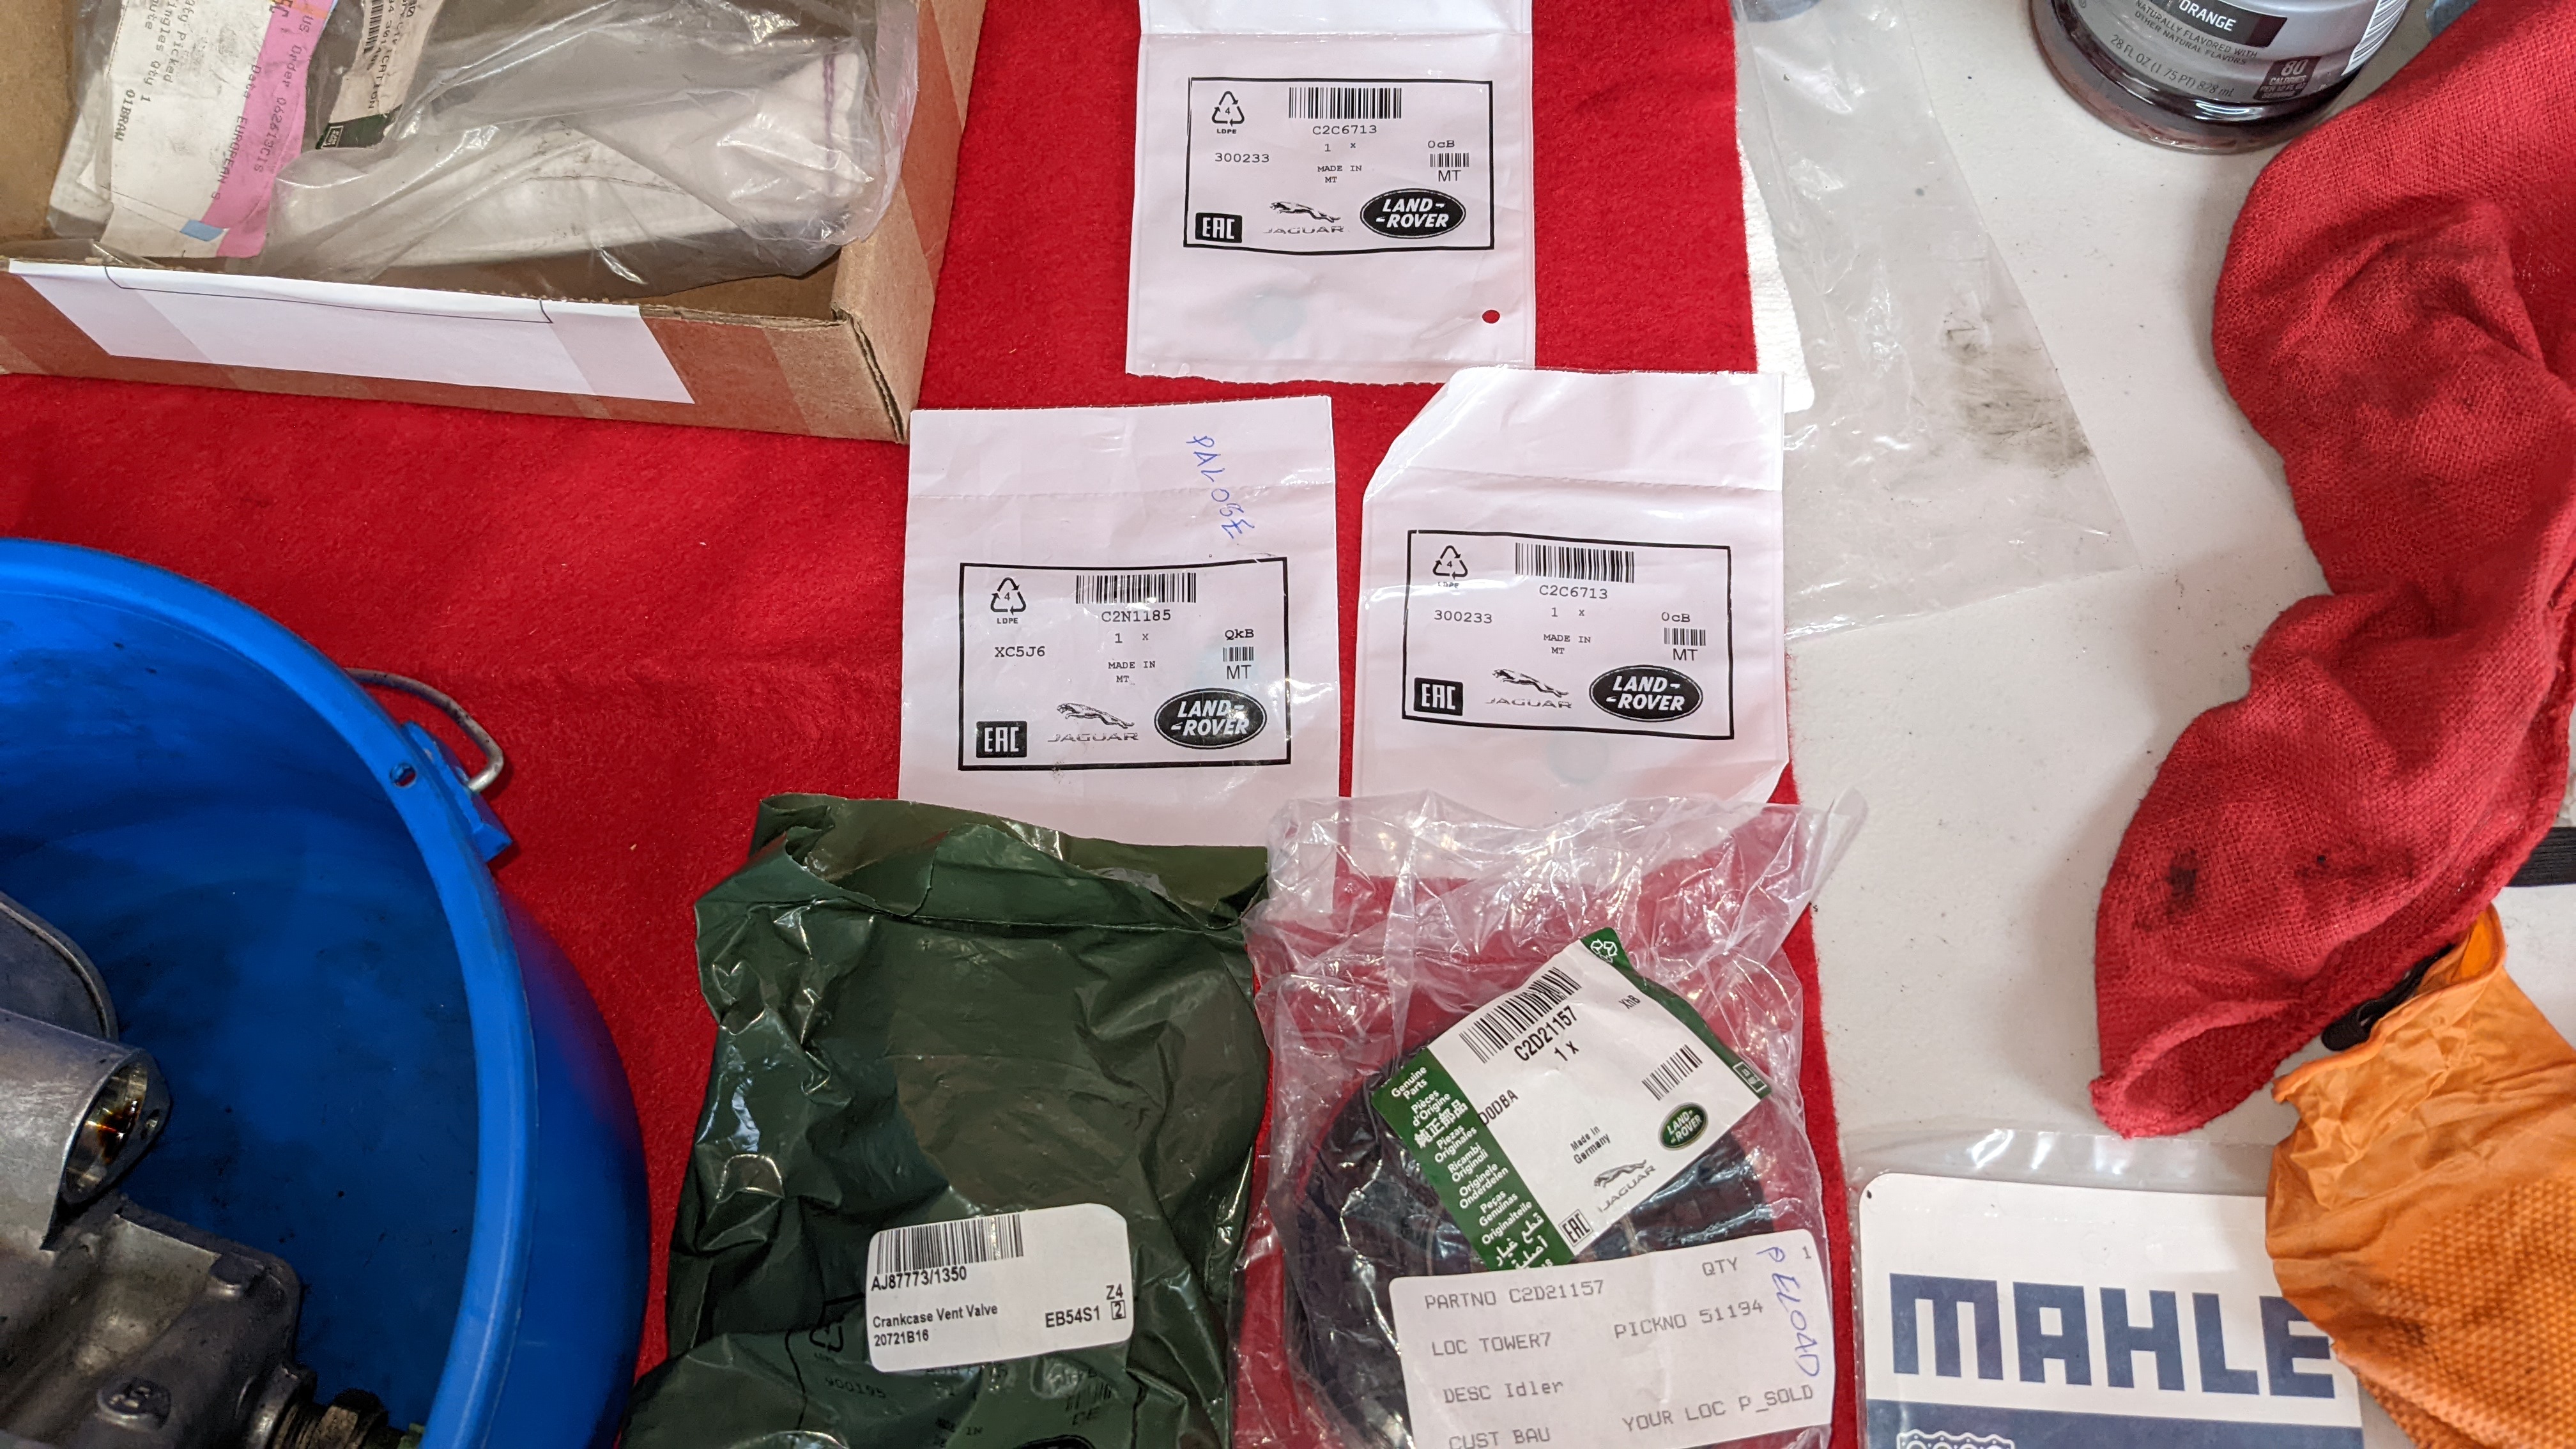
Right now I have a few parts on order and the journey will continue.
Anyone aware of any more "while you're in there" items I should look at? I'm debating on the valve cover gaskets as they seem to be OK but not sure for how much longer.

But let's rewind to how we got there and a list of things I want to address including, but not limited to, the following:
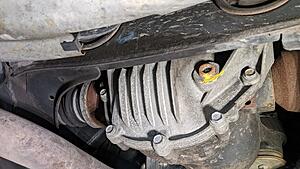
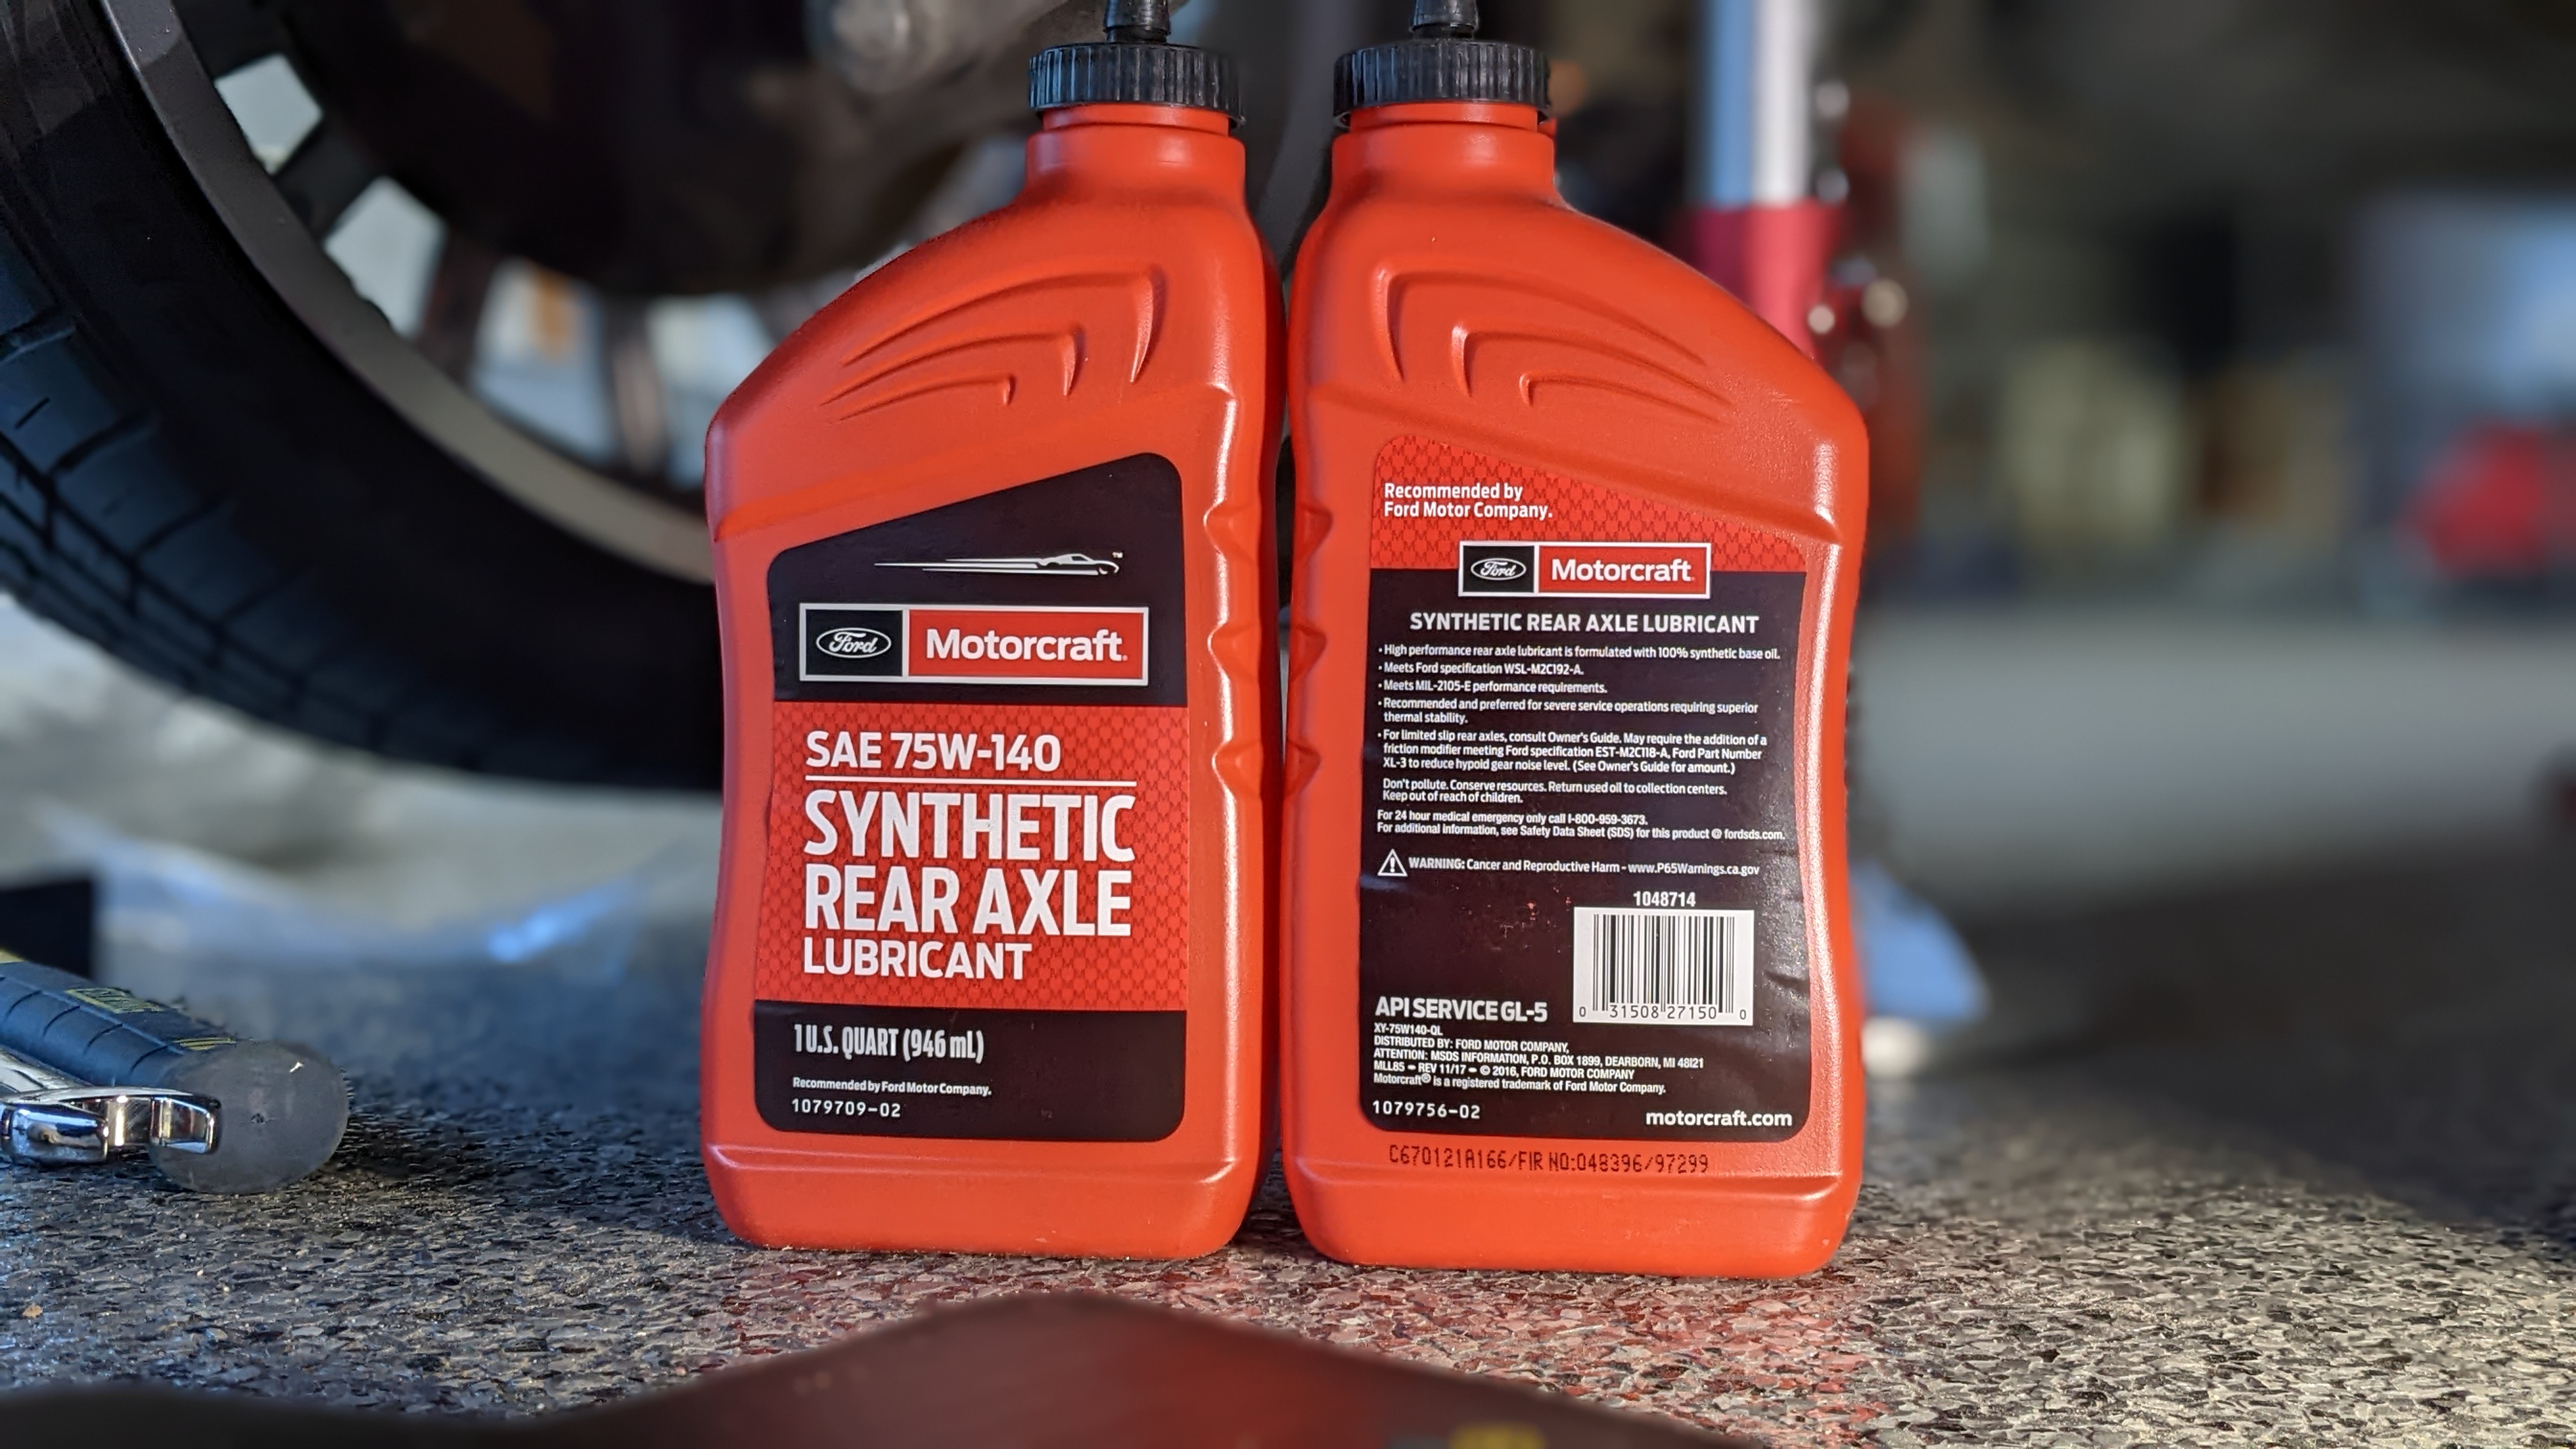
- Replace diff fluid
- Flush transmission fluid; replace pan & filter, and mechatronic sleeve
- Replace oil pan gasket
- Replace oil filter housing gasket
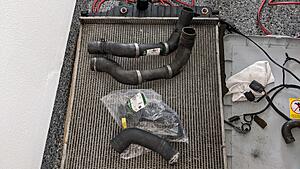
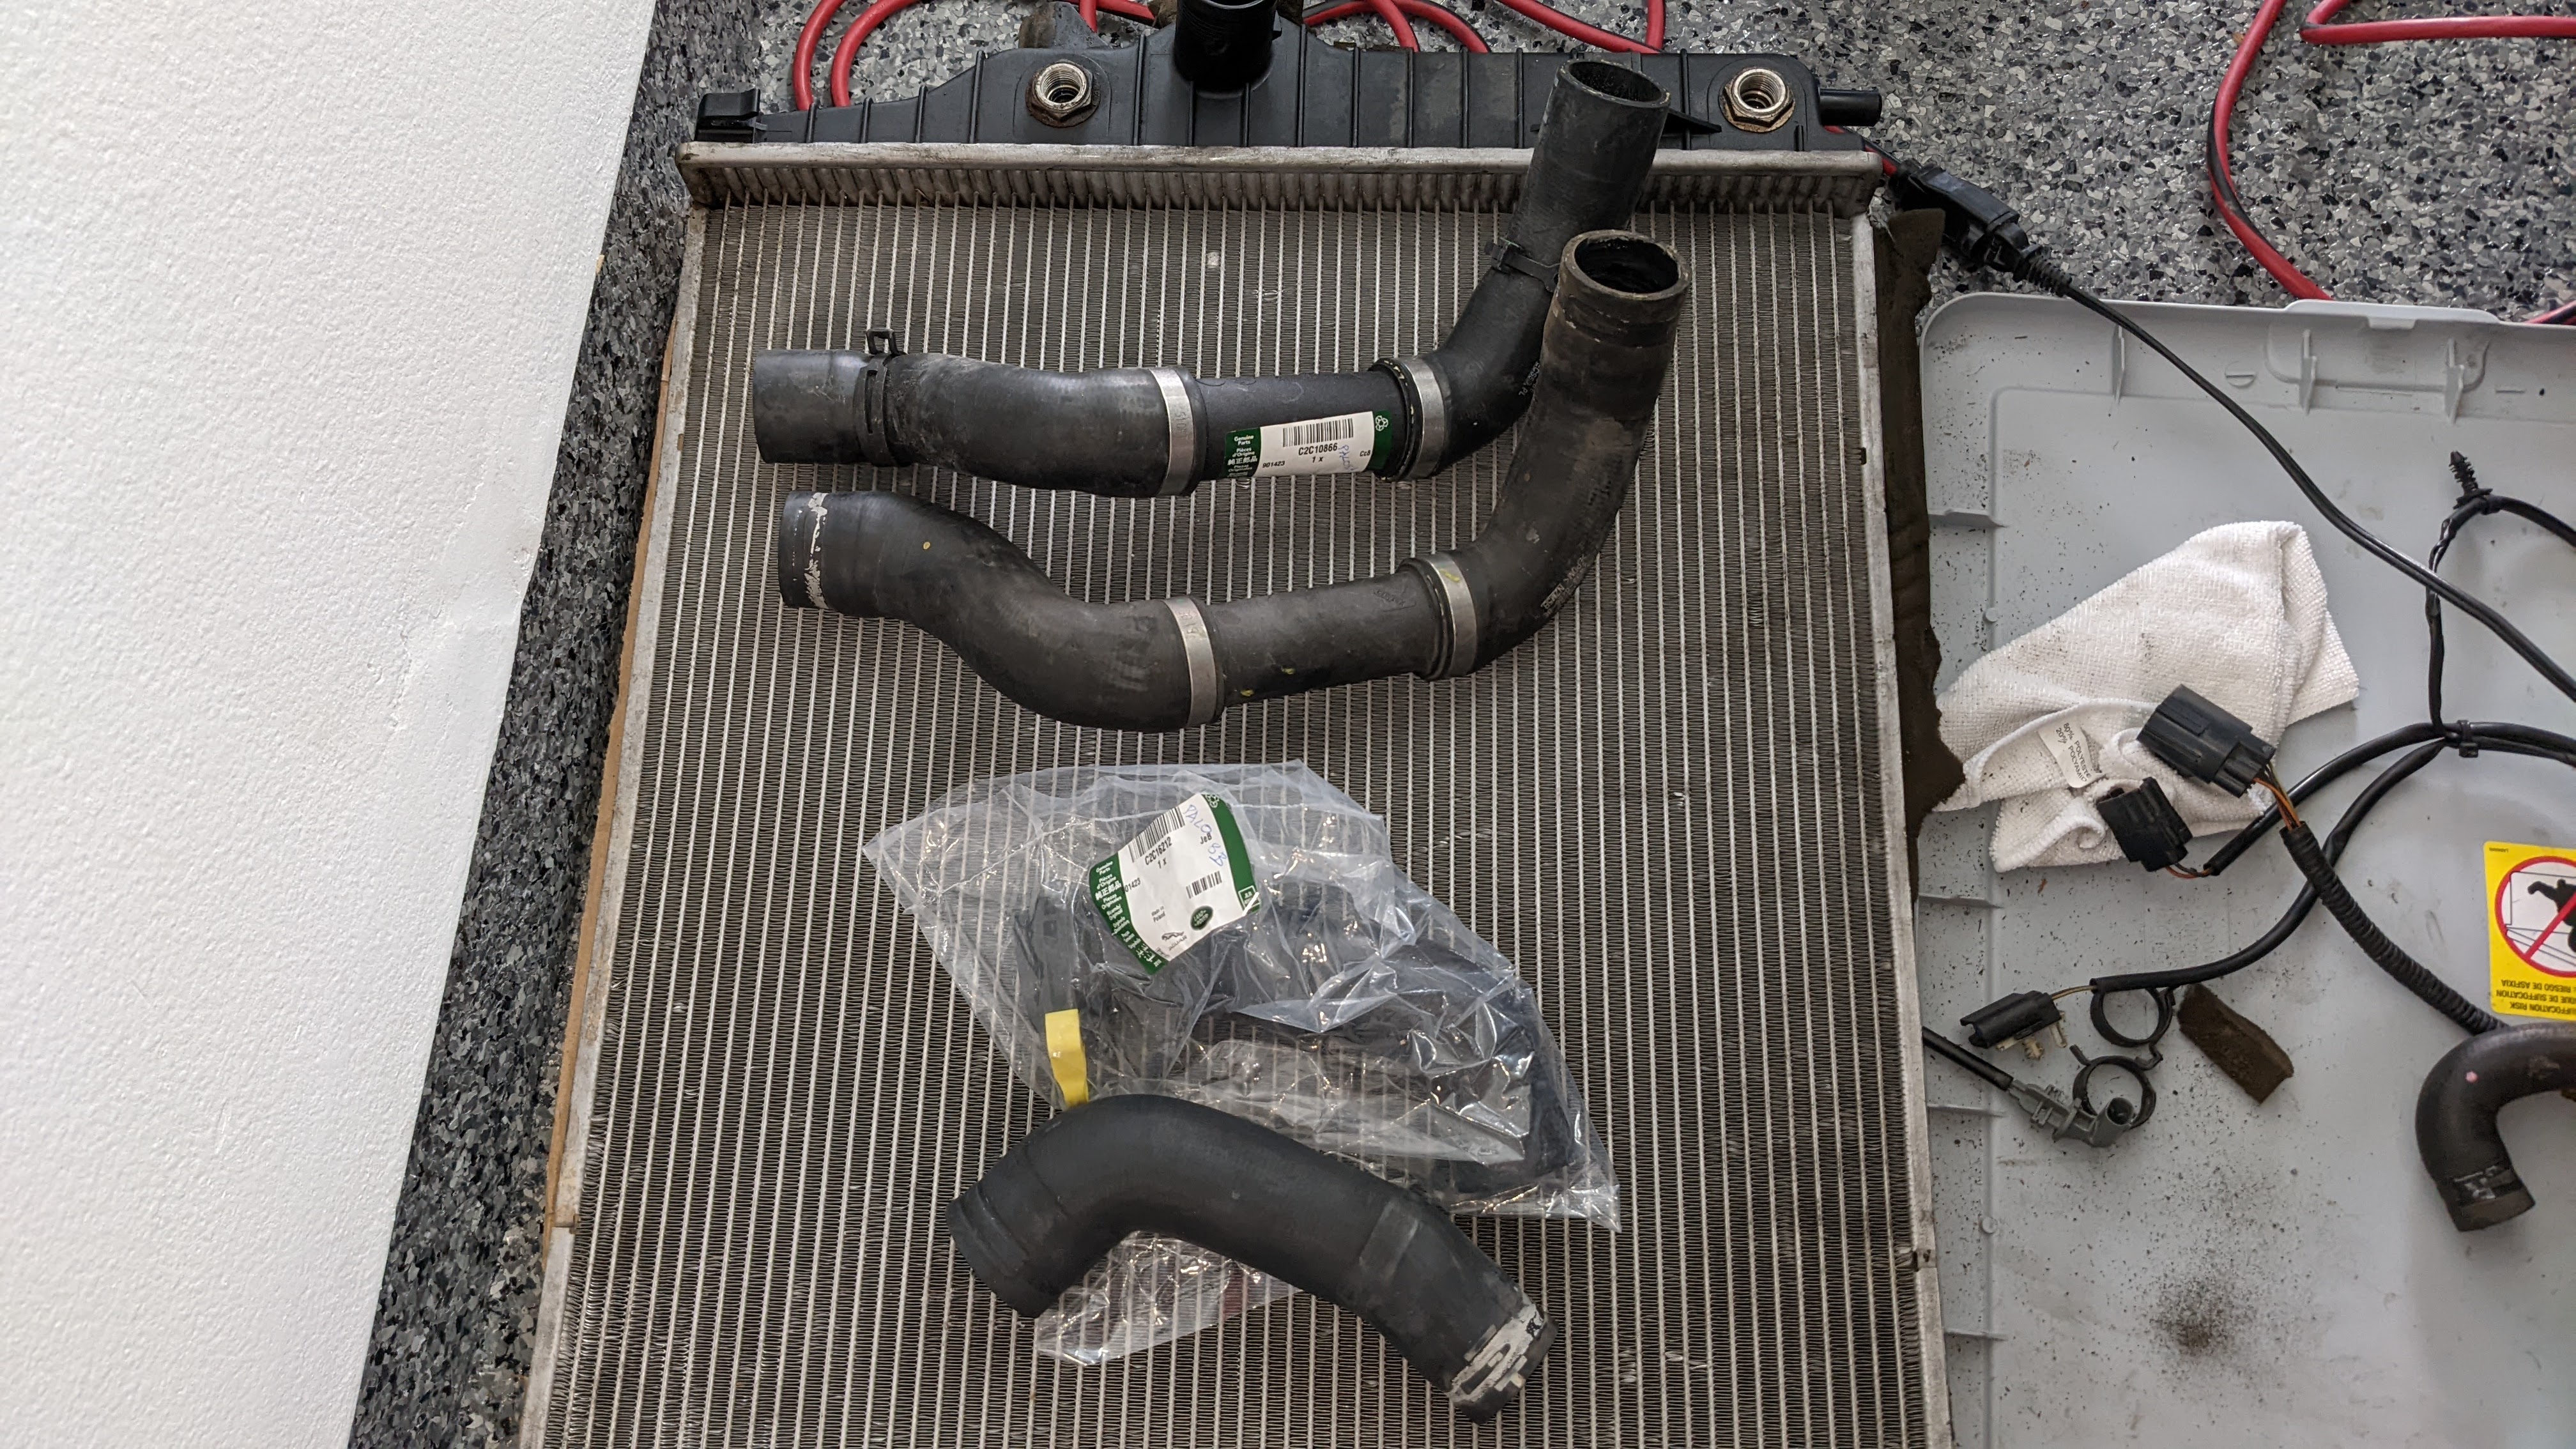
- Replace radiator, expansion tank, and hoses; coolant flush
- Replace supercharger belt, accessory belt, pulleys, and tensioners
- Replace spark plugs
- ...whatever else I discover

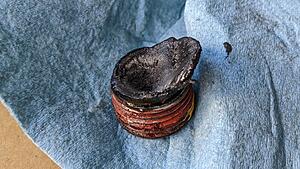
Holy metal shavings, Batman! Have others seen this much? I'm at 109k by the way.

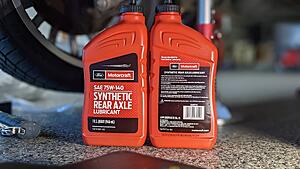
Extracted the chocolate shake.
And gave it the good stuff.
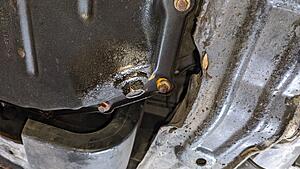
Moving onto the oil pan, the plug has an integrated rubber O-ring which is done. Why not an aluminum crush washer? What's wrong with that?
The pan is fortunately easily accessible and removing it is straightforward.
Loosened the 3 bolts for the oil filter housing and disconnected the oil cooler lines.

Put a big container underneath and I'm letting the oil take its time draining while I focus on other areas. I also have a lot of grime to remove later.
Accessing the belts is a little tight so might as well start making room. Started with draining the radiator and removing the expansion tank.
Got the fan shroud out of there but it took a while.
Pretty sure this was the original tensioner.
Took some time to clean the area before installing the new one and the belt.
Now we get to the radiator which was a pain to remove. I know others had difficulty, especially dealing with that AC line that snakes around the radiator. I tried really hard to keep it attached, but it was just getting too dicey and didn't want to damage the condenser. The 2 coolant lines on the right side of the radiator are routed over the support mount and I think that also made things worse. Removed the bumper, then had to loosen the oil cooler, removed the transmission cooling lines, a PS reservoir line, the aux coolant pump, SC coolant pump, and more hoses to finally get it out. I did the AC line at the very end to minimize how long it was detached from the condenser. I guess one benefit of removing extra hoses is I'm getting more of the old coolant out since you can't drain the block.
Because all the heat exchangers are connected to the radiator which sits on aluminum mounts, you have to hold them up with a strap before you can take it out so I used a couple of bungee cords here.

Right now I have a few parts on order and the journey will continue.
Anyone aware of any more "while you're in there" items I should look at? I'm debating on the valve cover gaskets as they seem to be OK but not sure for how much longer.
Veteran Member
Joined: Sep 2016
Posts: 3,481
Likes: 879
From: Stow Ohio
Nice work, you've been busy catching up on much neglected maintenance.
While your in this deep, remember the heater core tends to block.
Even in sunny California, you need your heater to work occasionally
The alternator, could use new brushes
With bearings if any noise was heard.
The starter is next to the alternator.
They could both be pulled and taken to be rebuilt.
At a reputable shop if you are too busy, or hesitant to do it yourself
Thread Starter
|
Member
Joined: Aug 2021
Posts: 54
Likes: 19
From: Los Angeles
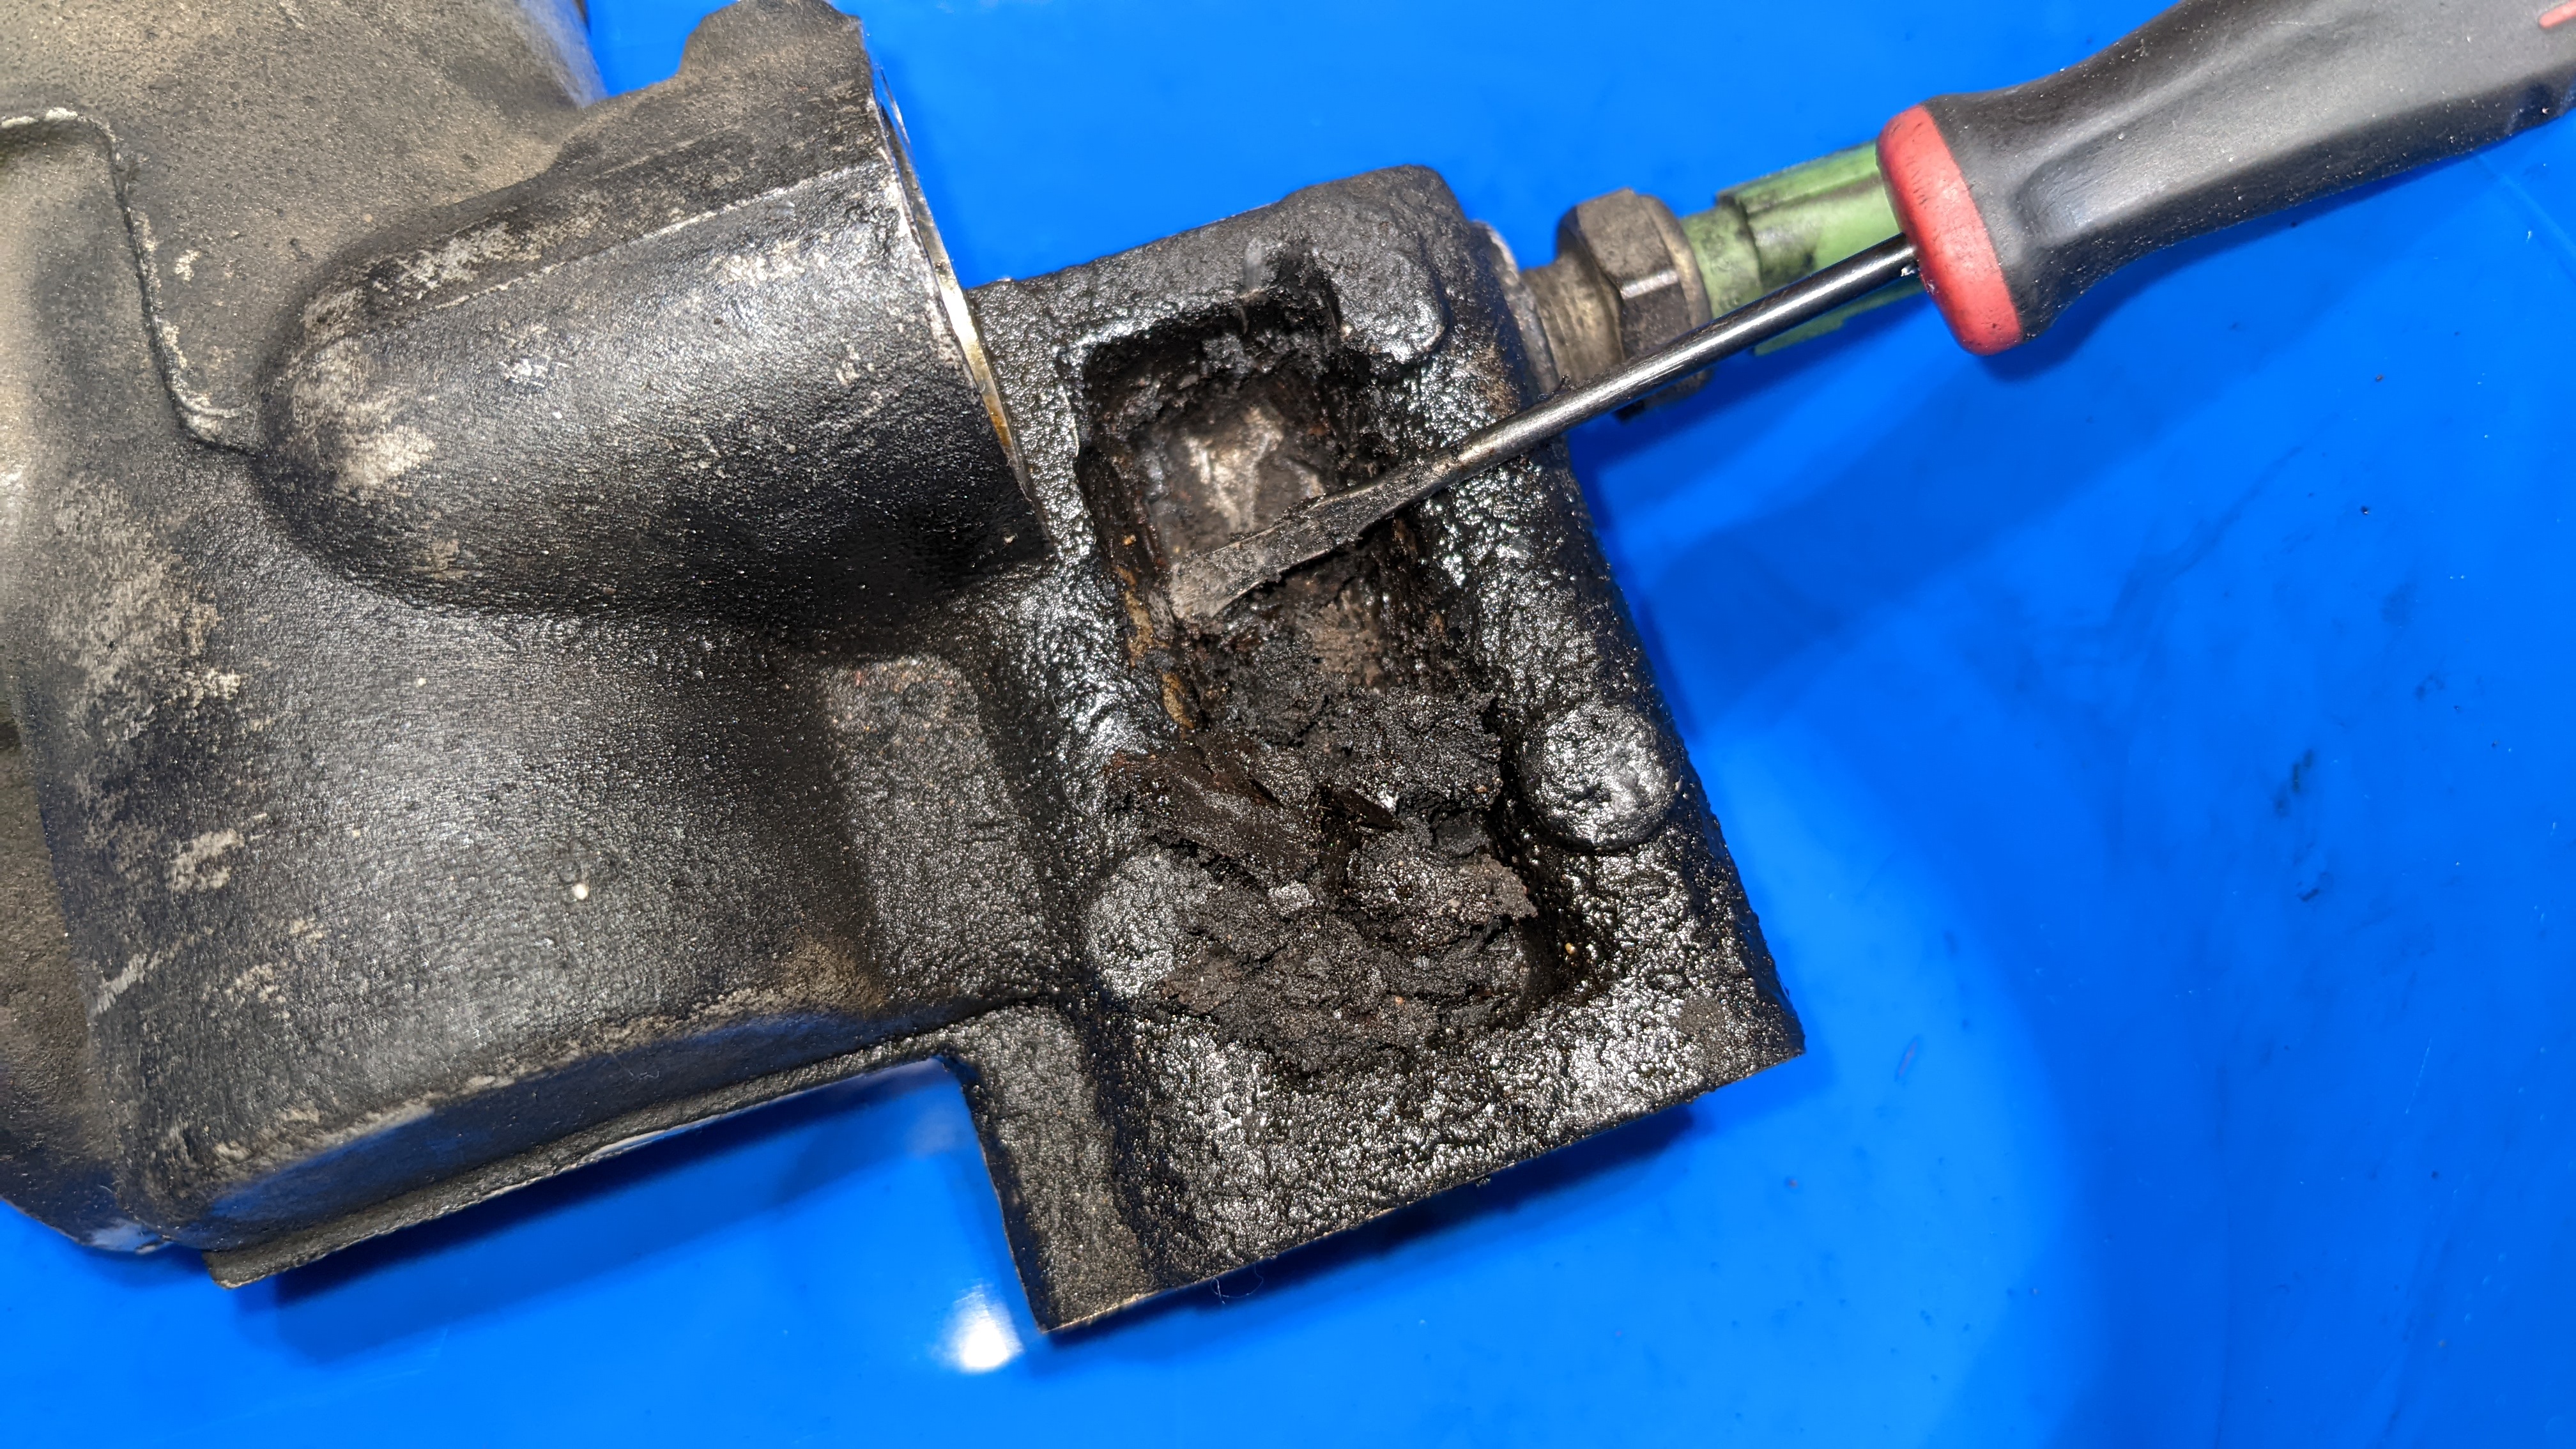
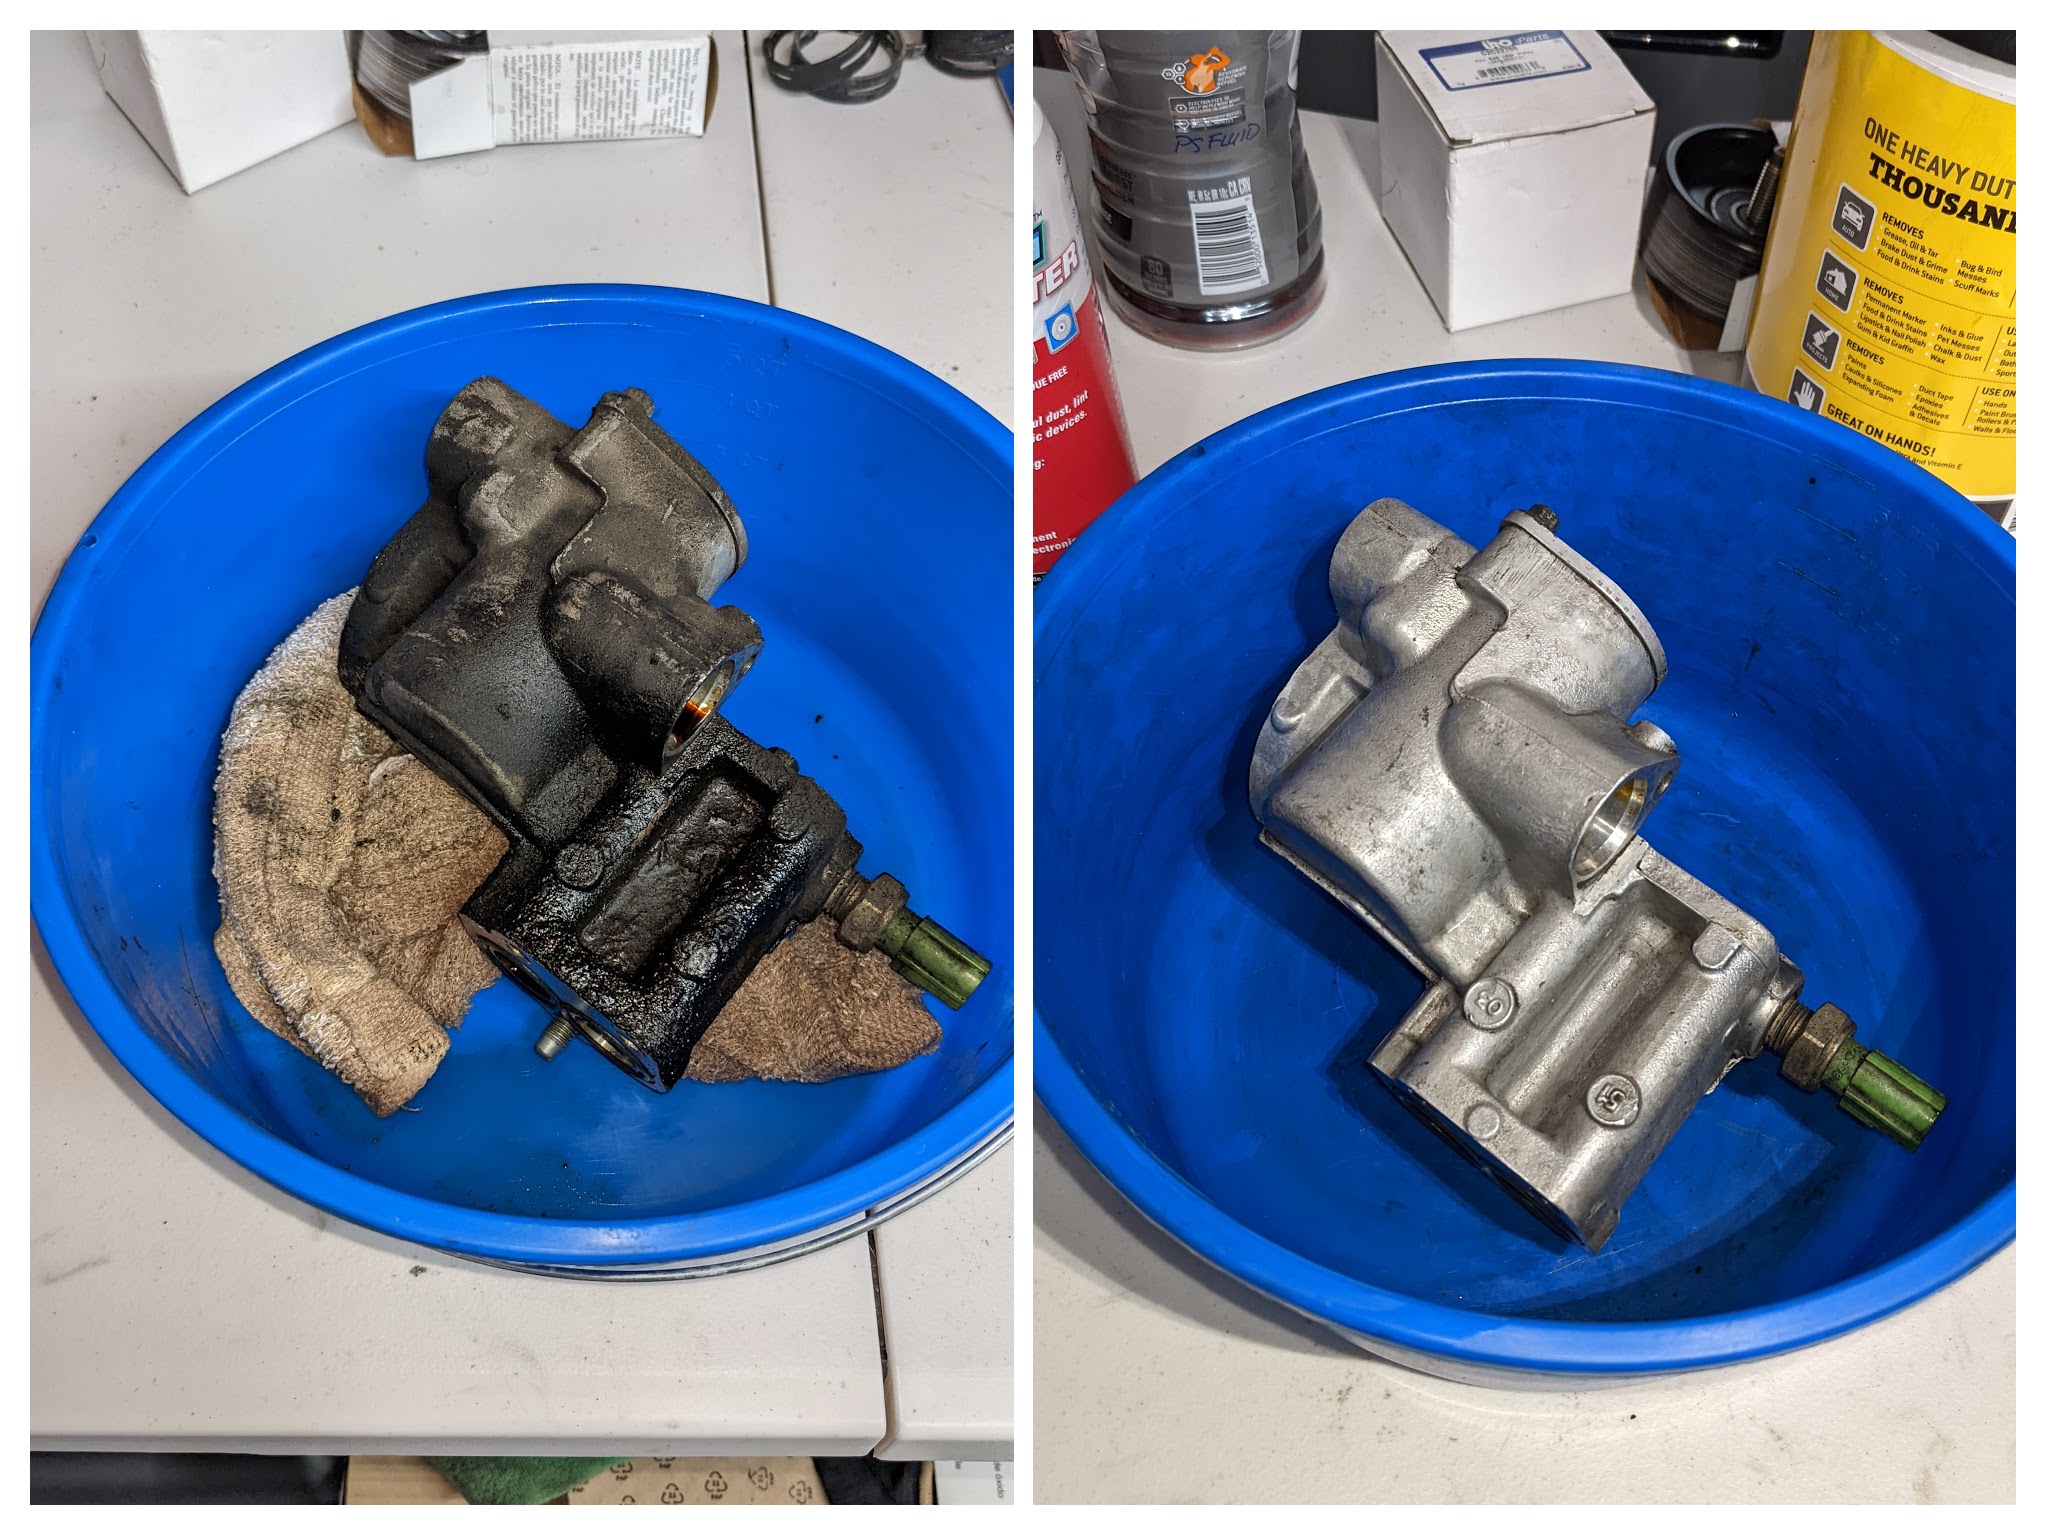
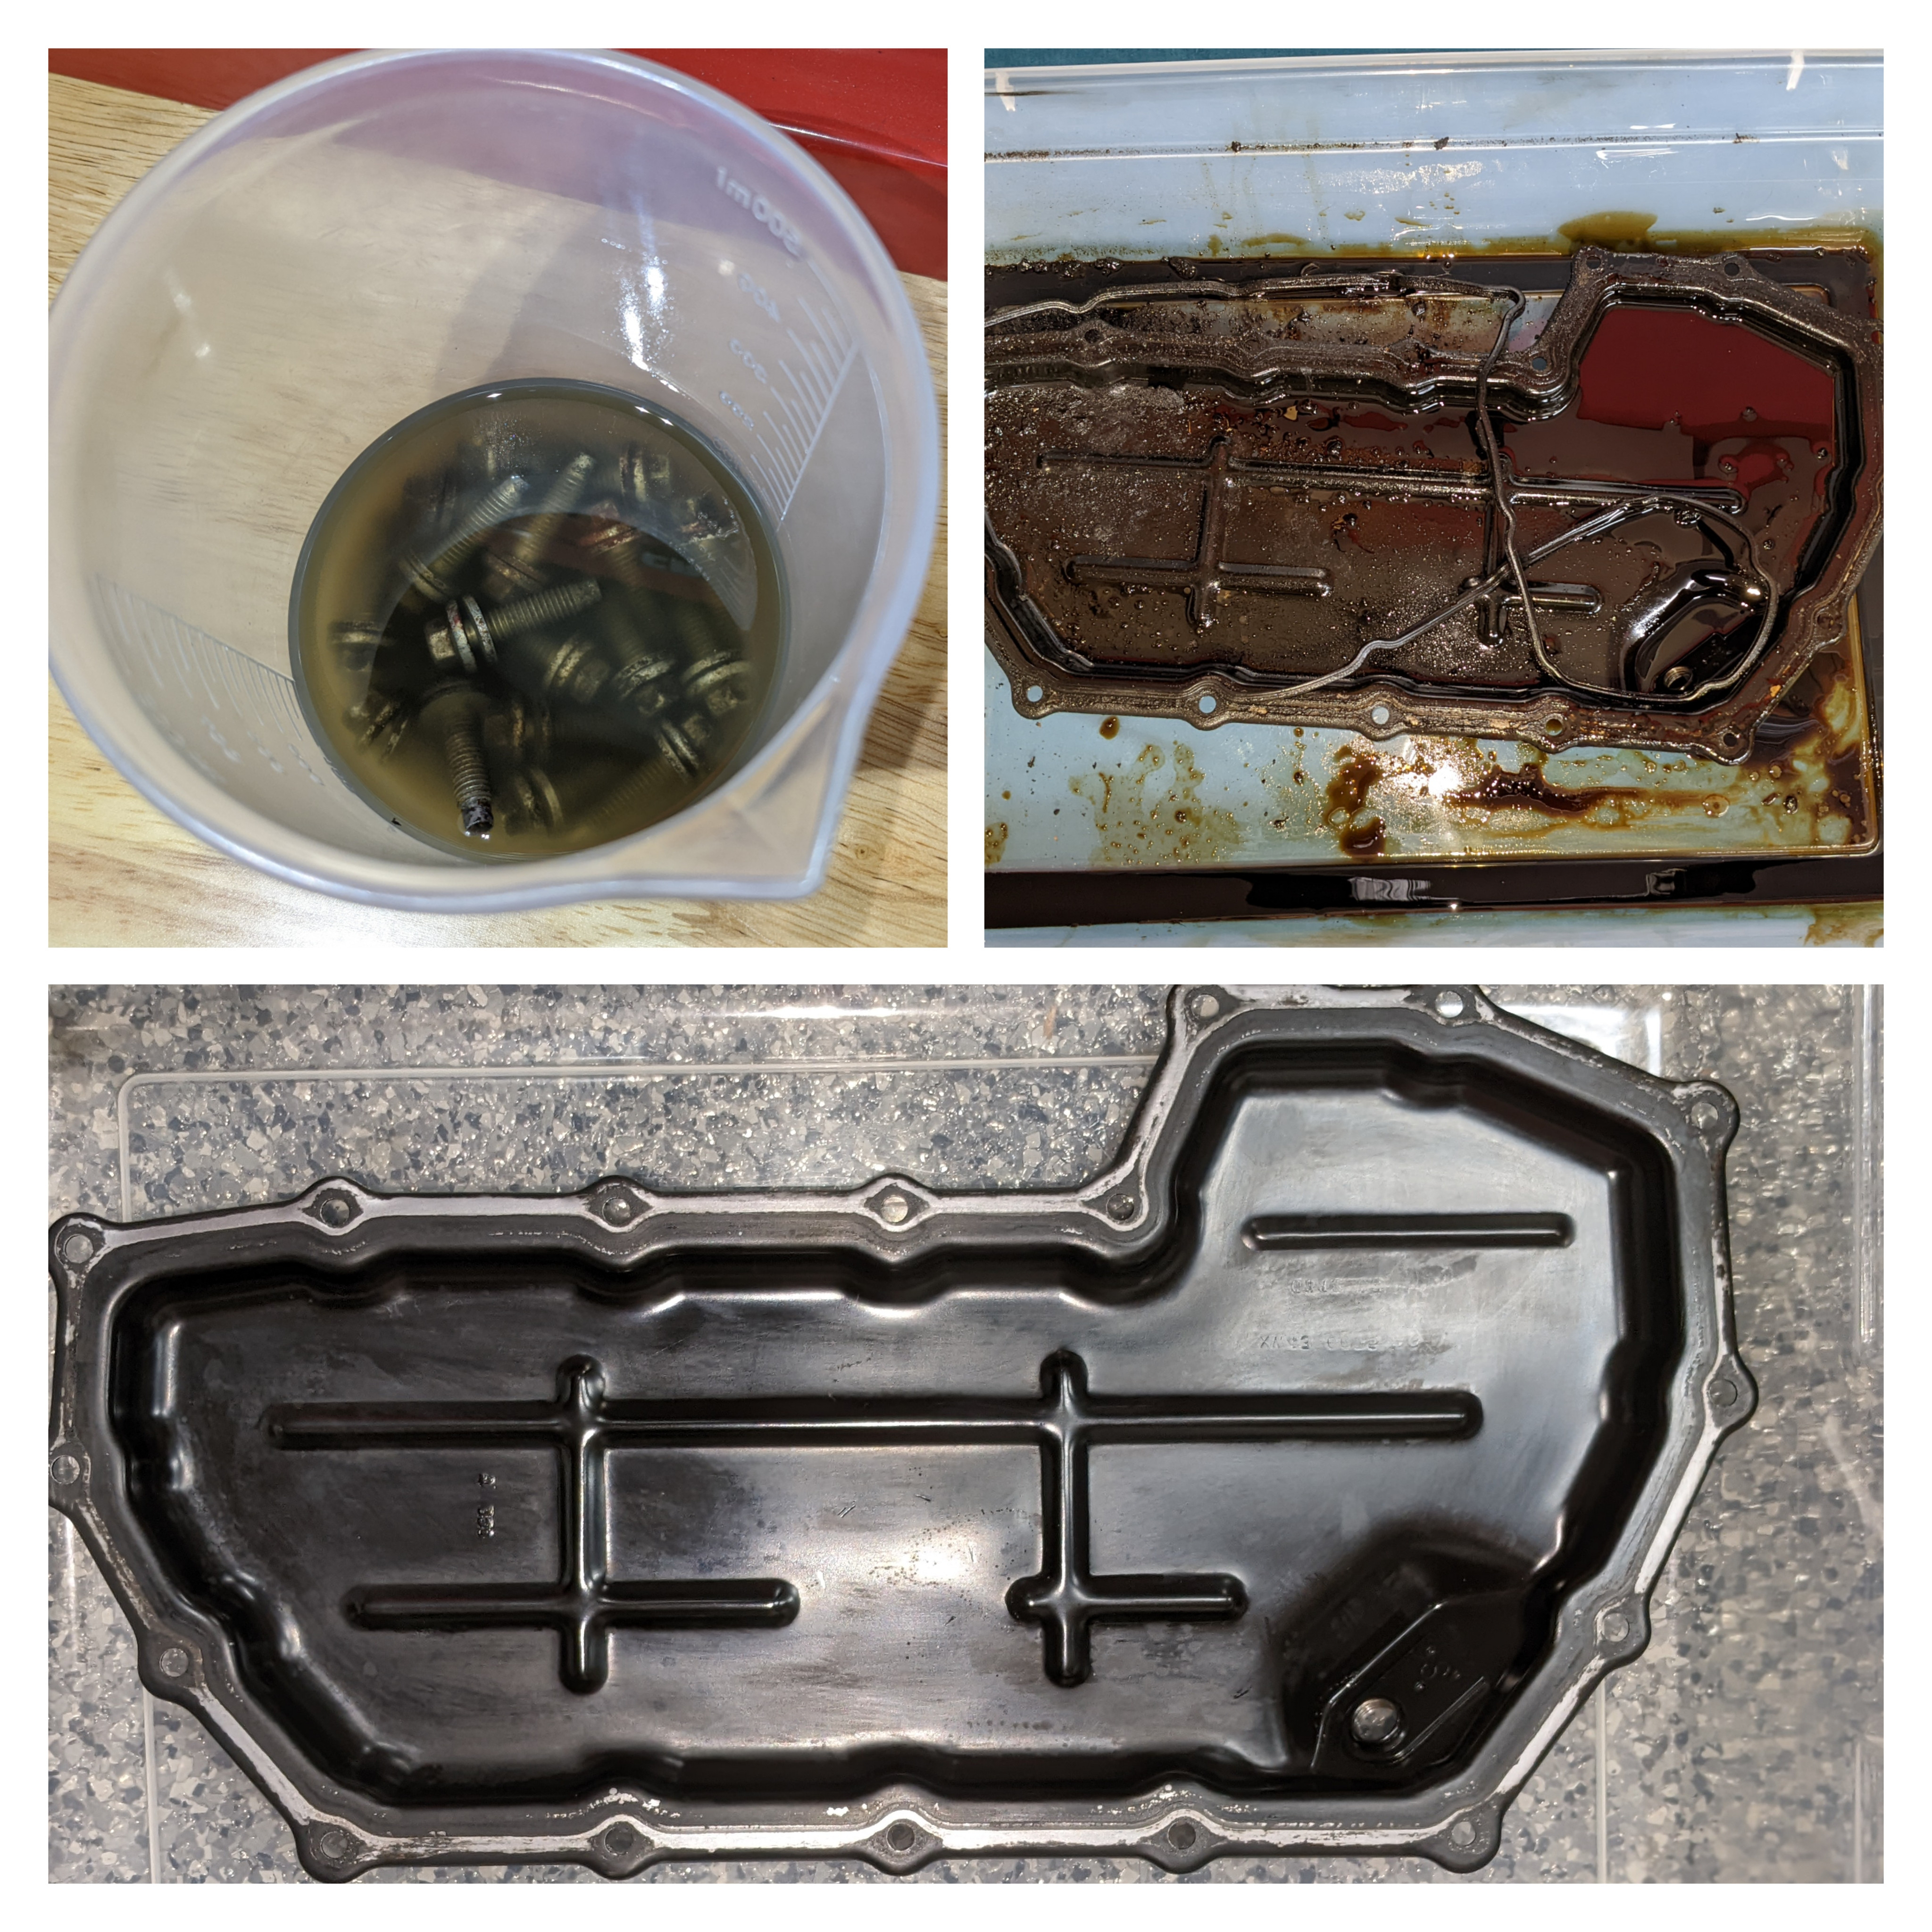
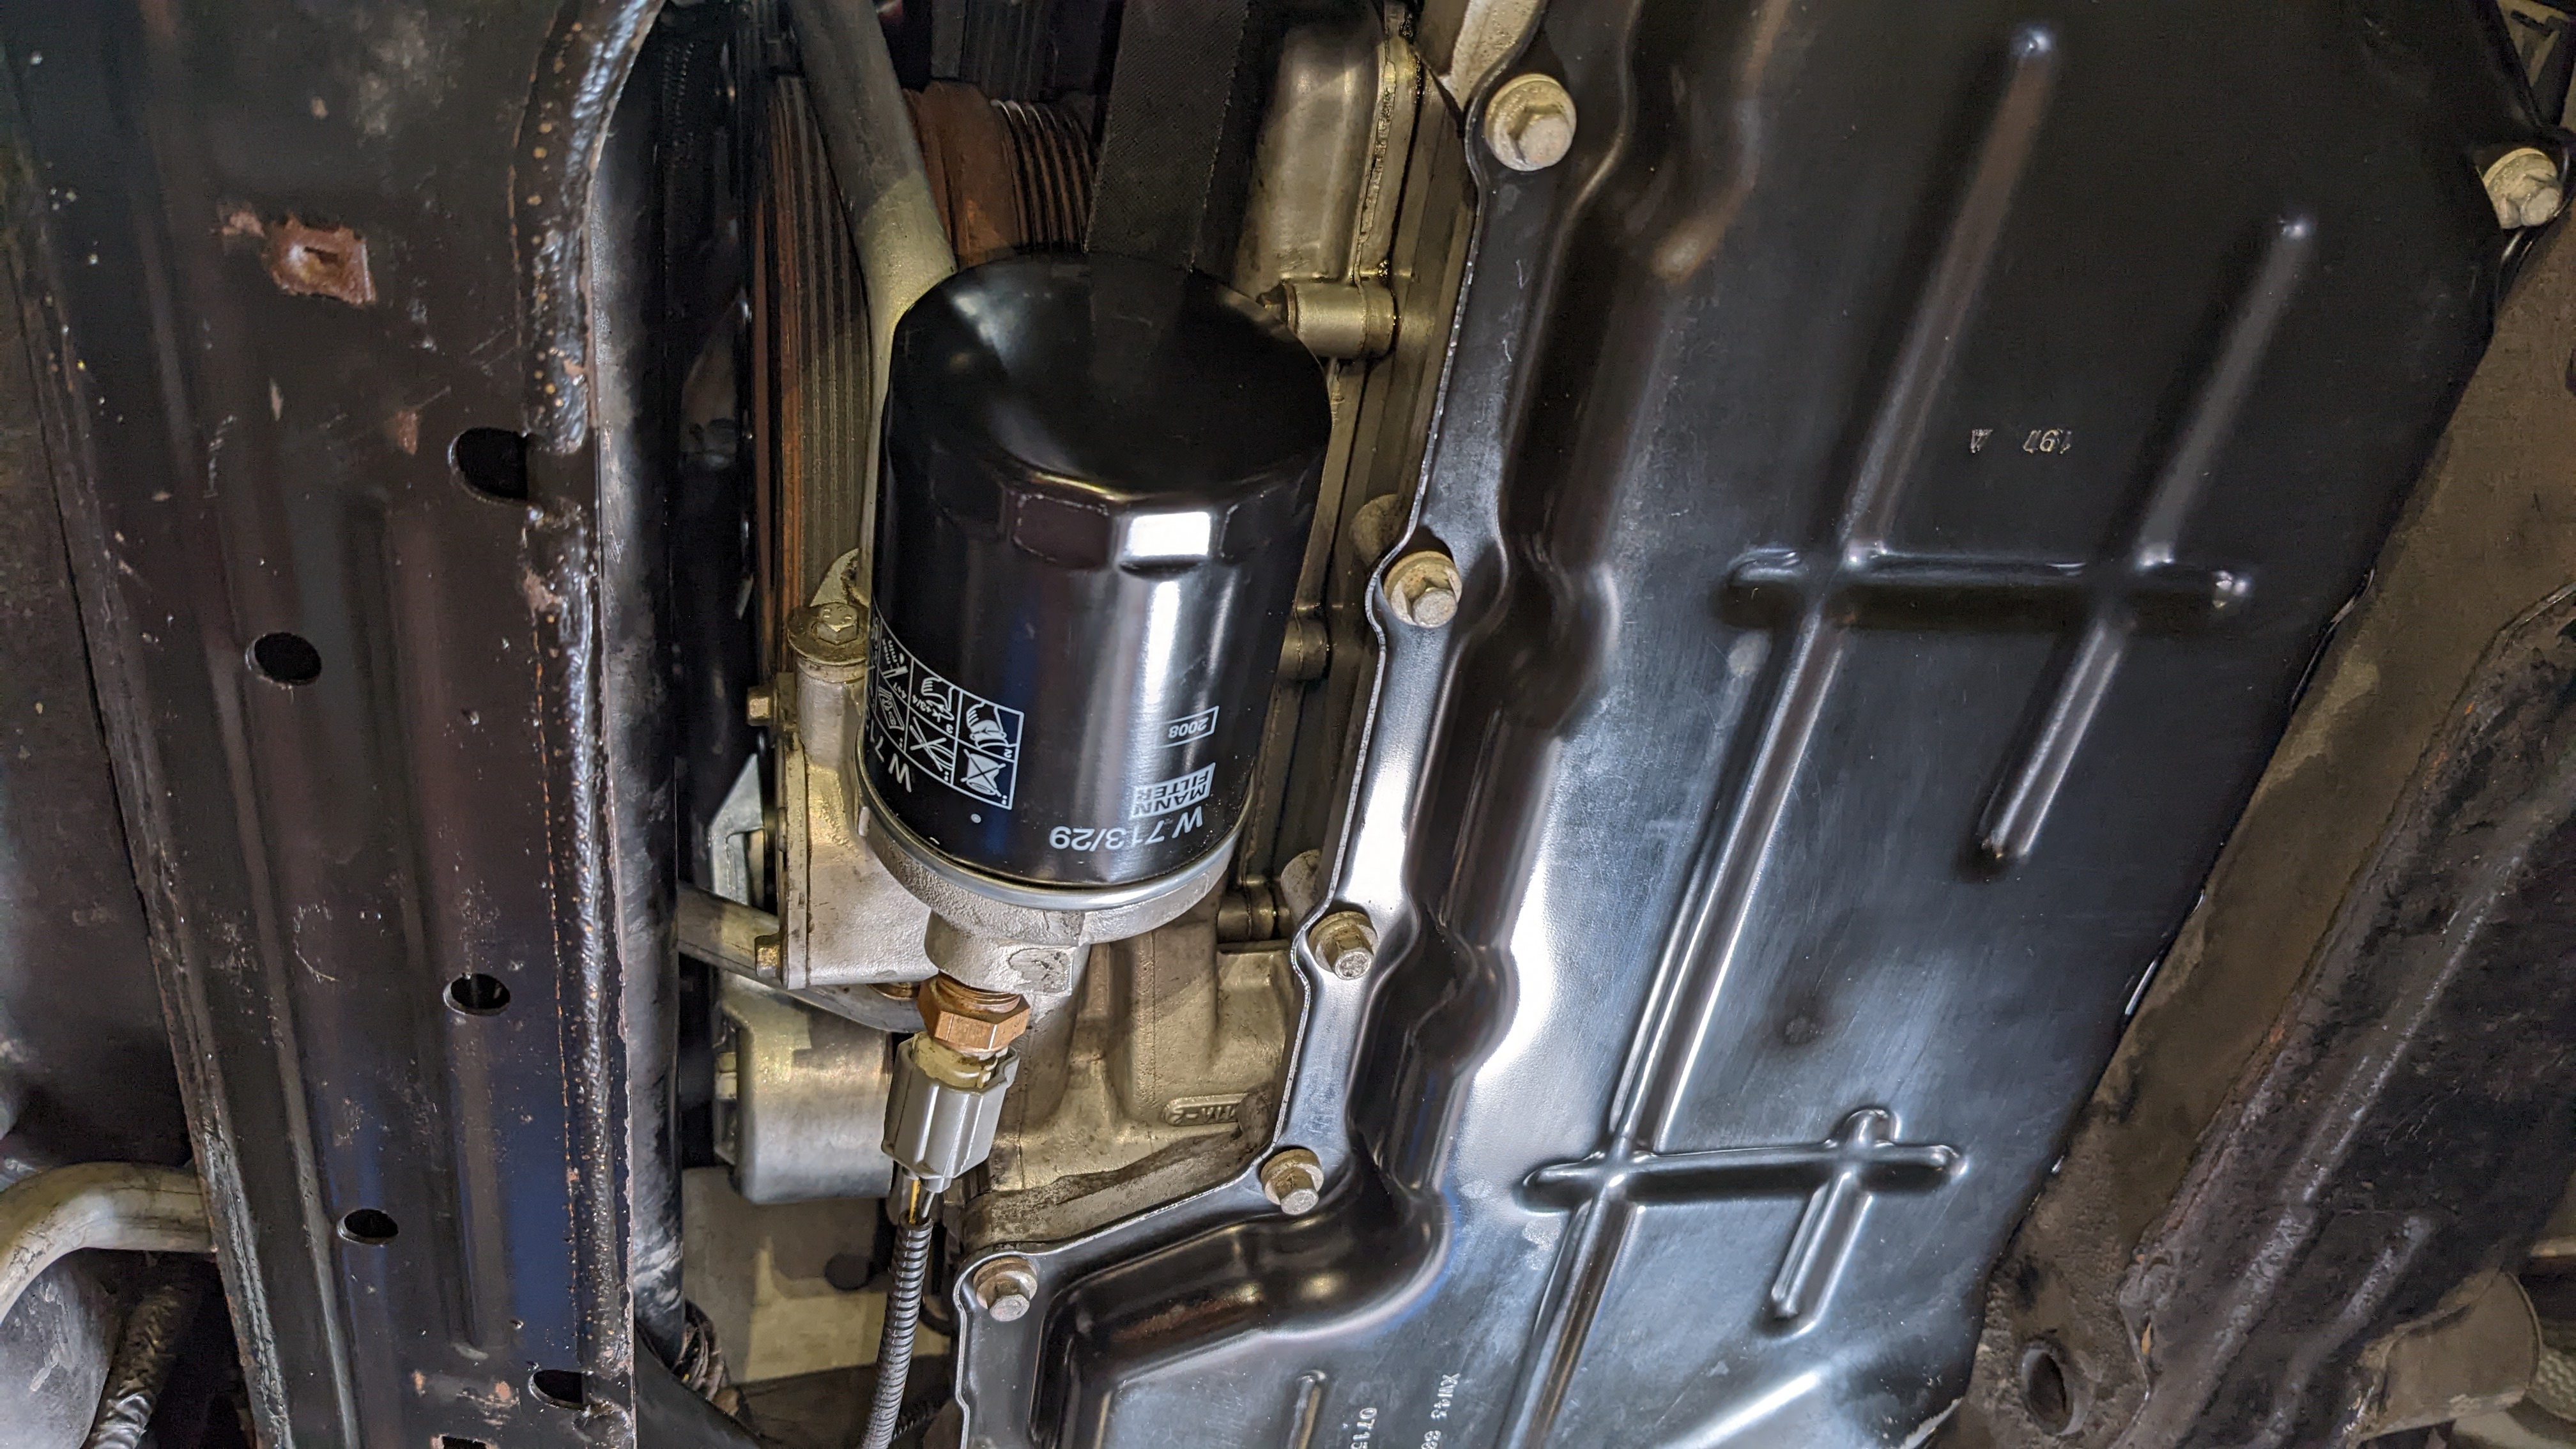
While I'm still waiting on some parts, here are some pics from the recent clean-up effort. Removing the oil filter housing was straightforward and based on the "oil brownie" I found, likely the first time it's been done.
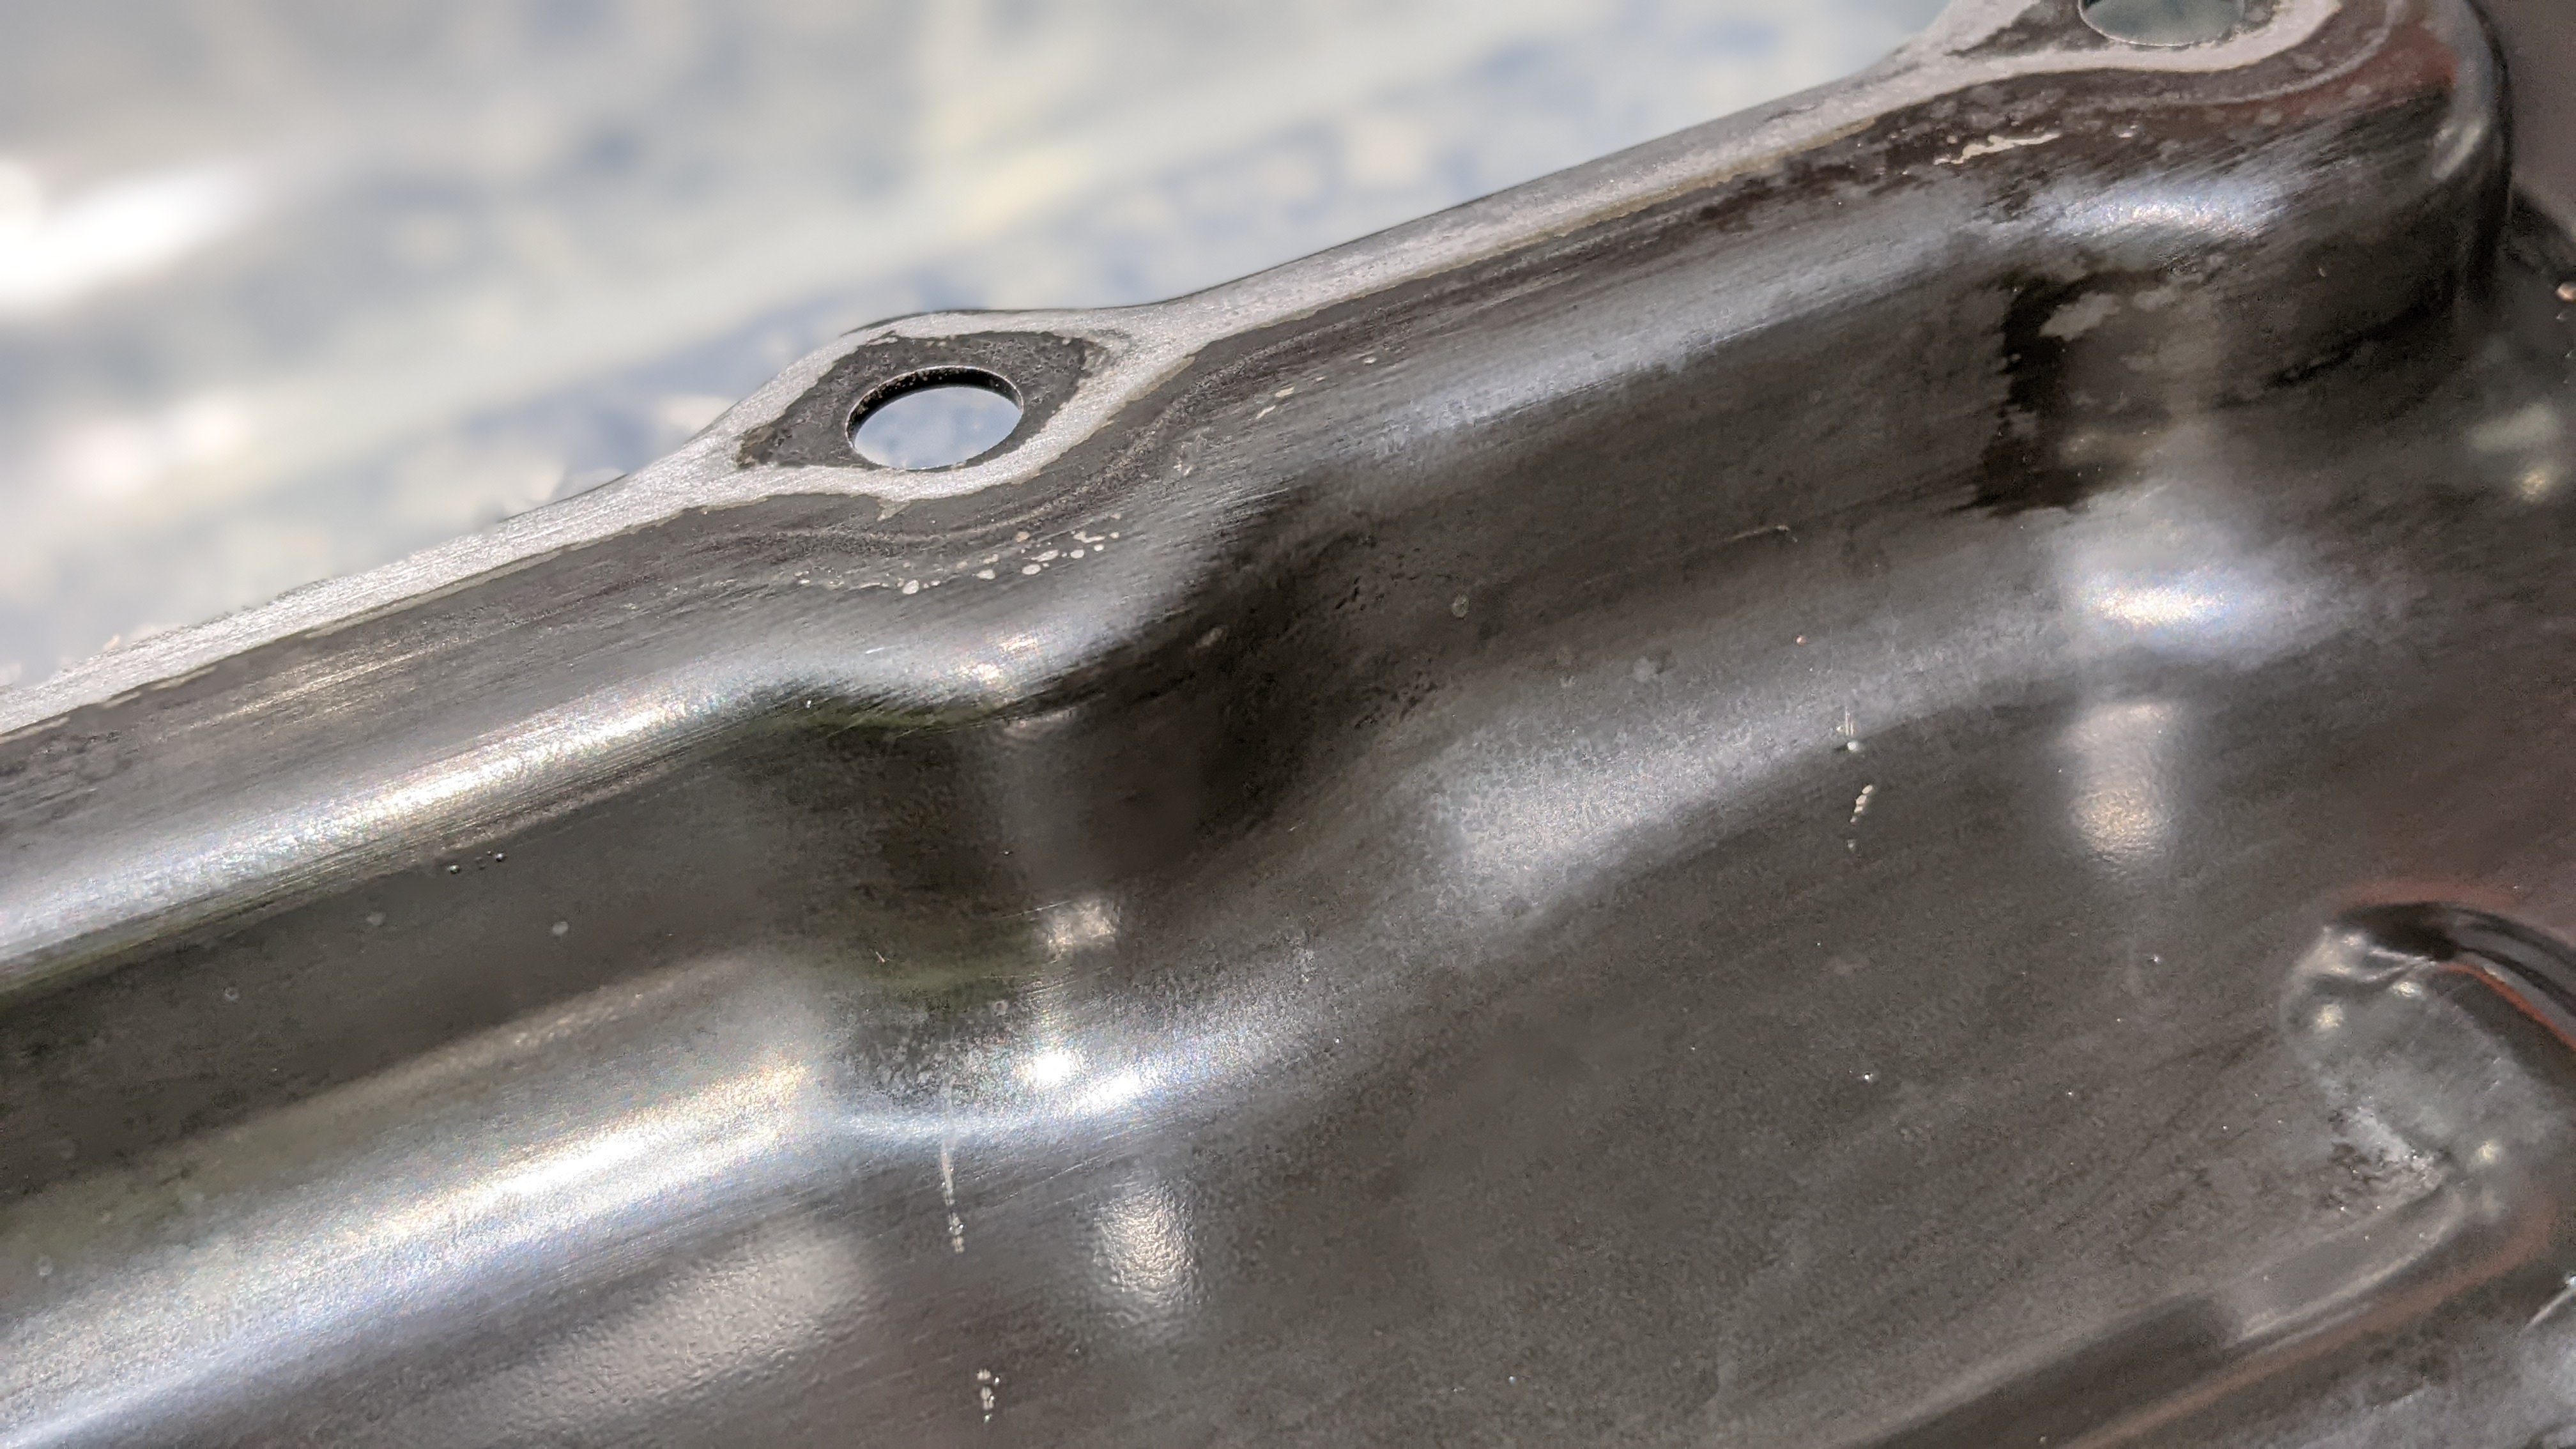
Gave it a good clean and really wished I had a media blaster.
The oil pan was also spruced up including soaking the fasteners in Coleman fuel.


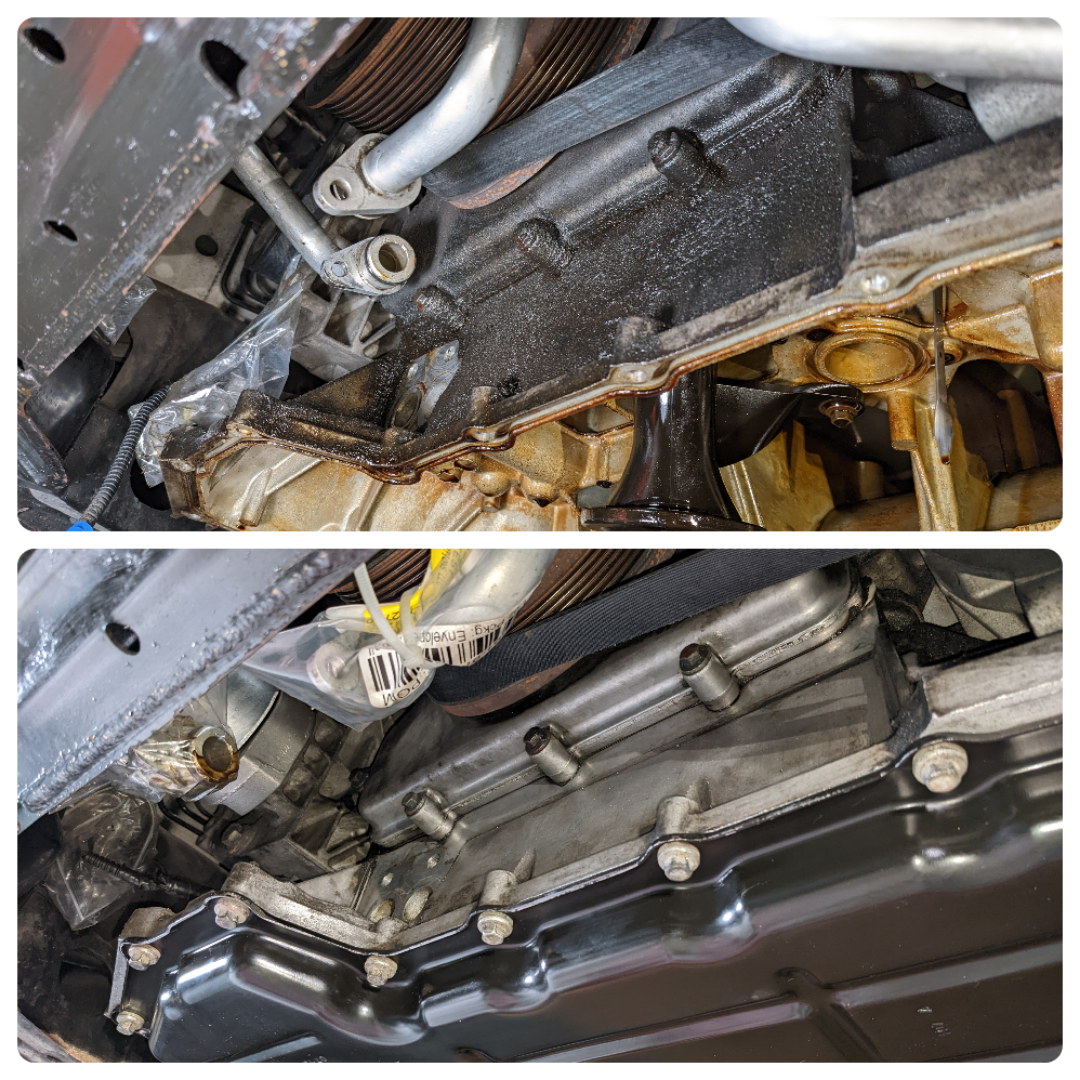
New gasket installed.

Labeled the fasteners and torqued in sequence.

Seeing it so shiny is very satisfying.

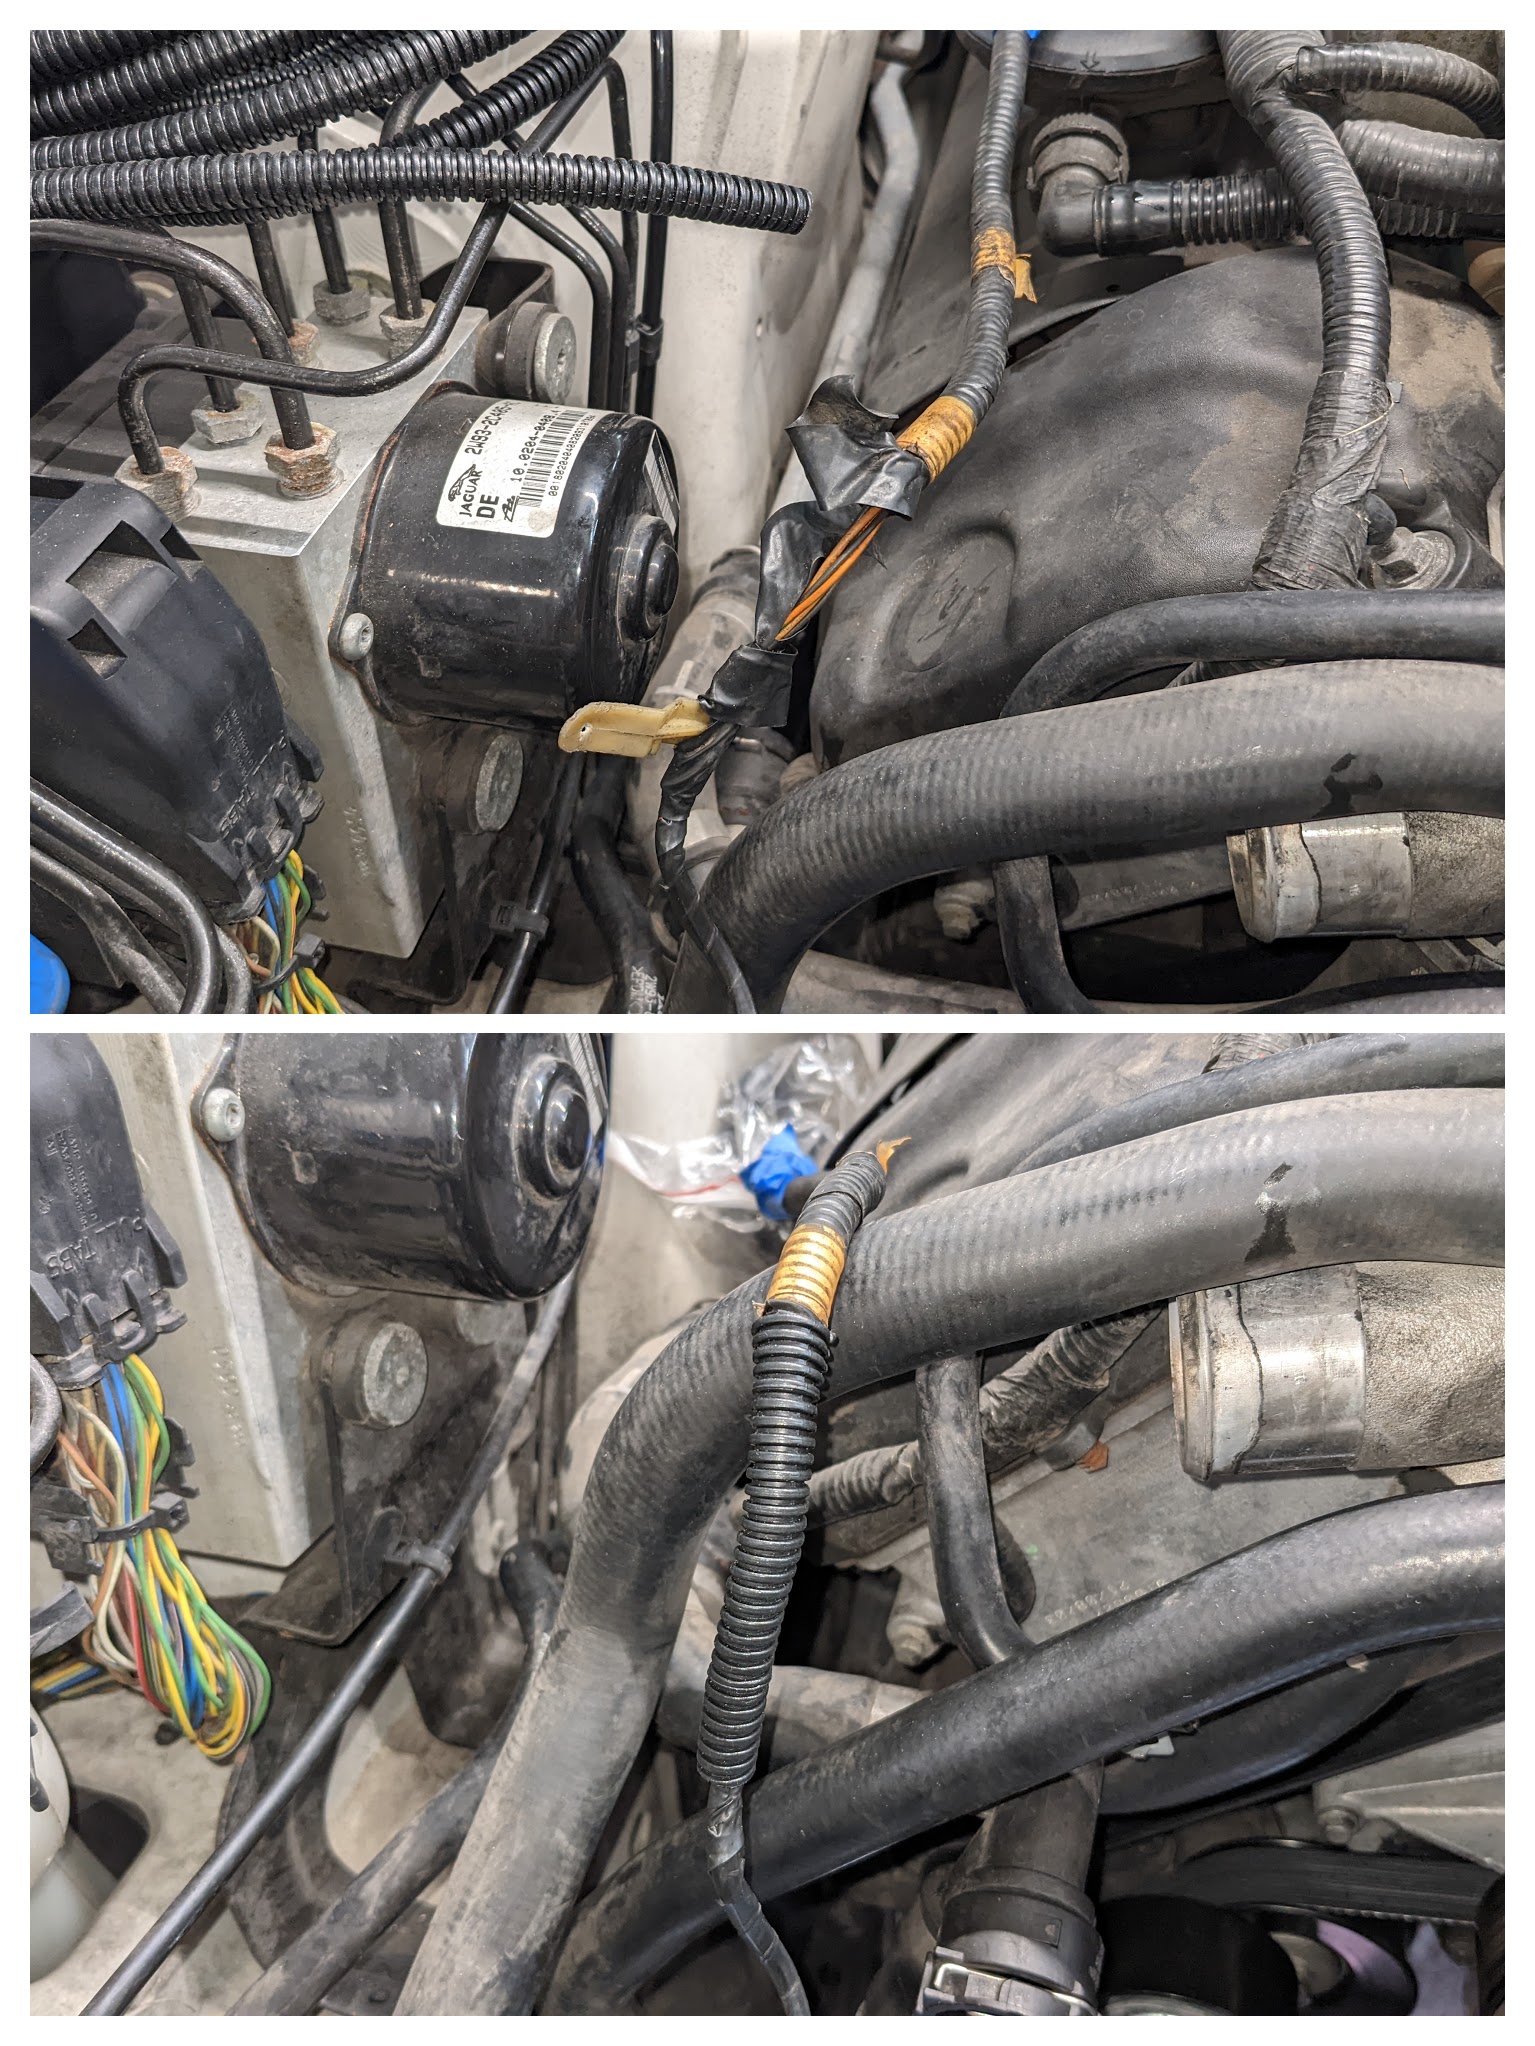
Replaced some of the wire loom.
Unpacked the new radiator...
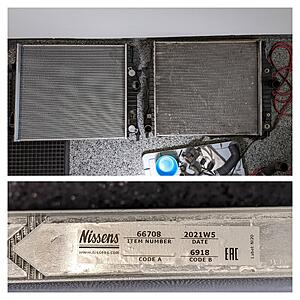
..and struggled to get it installed with the coolant and PS hoses still connected.
Got my new SC tensioner off eBay. The pulley was definitely noisy.
With the accessory belt off, also checked the feel of the alternator and water pump which based on its cleanliness, has likely been replaced fairly recently. Hoping the rest of the parts show up soon so I can get it back on the road by the end of the month.
Gave it a good clean and really wished I had a media blaster.
The oil pan was also spruced up including soaking the fasteners in Coleman fuel.
New gasket installed.
Labeled the fasteners and torqued in sequence.

Seeing it so shiny is very satisfying.
Replaced some of the wire loom.
Unpacked the new radiator...

..and struggled to get it installed with the coolant and PS hoses still connected.
Got my new SC tensioner off eBay. The pulley was definitely noisy.
With the accessory belt off, also checked the feel of the alternator and water pump which based on its cleanliness, has likely been replaced fairly recently. Hoping the rest of the parts show up soon so I can get it back on the road by the end of the month.
Senior Member
Joined: Aug 2019
Posts: 522
Likes: 245
From: Oxford, South Island, New Zealand
I'm also having an issue with the auto-light option where they won't turn off during the day (DRLs are set to off). I first swapped the mirror with another used on I found on eBay, assuming the light sensor on the back was malfunctioning. That didn't fix the issue so I also got a new light switch.
Took off the lower cover for the steering column (plus 2 more screws to release the upper clamshell):
Disconnected the connector and the assembly easily came out.
But that didn't fix the issue either. I then opened up the original light switch and didn't find any loose or broken wires:
So...
It's possible the light sensors on both mirrors are bad. The used one I got was manufactured in 2002 (mine was 2003) so if the electronics have worn out from age, that's a plausible explanation. I can either try my luck with another used one (preferably one that's newer), or bite the bullet and get a new mirror, but that's gonna be roughly $400.
Problem is there's no easy way of diagnosing the light sensor on the mirror, unless someone's done this before?
Thoughts?
I just wonder whether two issues are being mixed together here.
As I understand it, the light sensor for the auto-lights on and off is the dome in the center of the dash top by the windscreen. Do you have auto-dimming mirrors? If so, the sensor in the mirror (small dark circle on the mirror surface) is just for dimming the mirrors. I think there is only one sensor, in the inside mirror, that operates on all three. All of mine seem to operate together. I rarely use the auto-lights function, as I have the DRLs set to on. My car is black, and I need all the visibility assistance I can get with New Zealand drivers. I don't think the auto-dimming function and the auto-lights-on function are linked together.
Pete M
Thread Starter
|
Member
Joined: Aug 2021
Posts: 54
Likes: 19
From: Los Angeles
Hi Kiznarsh
I just wonder whether two issues are being mixed together here.
As I understand it, the light sensor for the auto-lights on and off is the dome in the center of the dash top by the windscreen. Do you have auto-dimming mirrors? If so, the sensor in the mirror (small dark circle on the mirror surface) is just for dimming the mirrors. I think there is only one sensor, in the inside mirror, that operates on all three. All of mine seem to operate together. I rarely use the auto-lights function, as I have the DRLs set to on. My car is black, and I need all the visibility assistance I can get with New Zealand drivers. I don't think the auto-dimming function and the auto-lights-on function are linked together.
Pete M

Senior Member
Joined: Aug 2019
Posts: 522
Likes: 245
From: Oxford, South Island, New Zealand
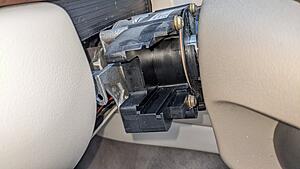
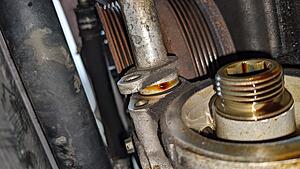
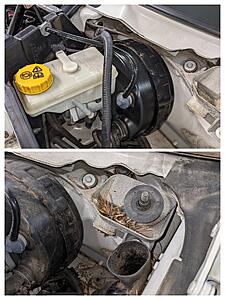
That dome on the dash is a heat sensor used to regulate the A/C. I do have auto-dimming mirrors and yes there is a sensor on the front, that function works fine. But on the backside of the mirror there's a light sensor seen below. I'm fairly certain that's currently not working.
I think you are right, and that may be something that was changed for the X358, as on mine the sun load sensor for the aircon is integrated with the auto light sensor, according to the training notes. My mirror does not have that sensor in it. Sorry for the mis-direction.

Member
Joined: Mar 2020
Posts: 42
Likes: 10
From: south jersey
that sensor on the back of the mirror is for auto high beam to low beam on my 05 . the "daylight " sensor is on the dash along with the load sensor for the ac . it's a common problem for the daylight sensor to fall in the dash causing lights to stay on during the day .
AUTO LAMP SENSOR IP36 6-WAY / BLACK INSTRUMENT PANEL / CENTER FRONT
found this fig 8.1 of electrical diagram
AUTO LAMP SENSOR IP36 6-WAY / BLACK INSTRUMENT PANEL / CENTER FRONT
found this fig 8.1 of electrical diagram
Last edited by killroy; Jan 18, 2022 at 09:17 AM.
Senior Member
Joined: Aug 2019
Posts: 522
Likes: 245
From: Oxford, South Island, New Zealand
that sensor on the back of the mirror is for auto high beam to low beam on my 05 . the "daylight " sensor is on the dash along with the load sensor for the ac . it's a common problem for the daylight sensor to fall in the dash causing lights to stay on during the day .
AUTO LAMP SENSOR IP36 6-WAY / BLACK INSTRUMENT PANEL / CENTER FRONT
found this fig 8.1 of electrical diagram
AUTO LAMP SENSOR IP36 6-WAY / BLACK INSTRUMENT PANEL / CENTER FRONT
found this fig 8.1 of electrical diagram
Looking through the training notes, I found an explanation of mirror dimming.

Mirror Auto-Dim operation
So the sensor on the dash top is for Auto-light level sensing, and the two sensors on the mirror are for mirror auto-dimming. I couldn't find any reference to auto-dipping of the headlights, and that wouldn't be very useful, as reflective signs could trigger it.
I have a cloth cover I use to keep the sun of the dash top (high UV levels down here under the ozone hole). If I forget to remove it before driving away, I get a warning on the info center: "Light switch turned off" or similar.
Pete M
Thread Starter
|
Member
Joined: Aug 2021
Posts: 54
Likes: 19
From: Los Angeles
If covering the sensor on the dash gives the "light switch is off" message, that settles it.
Thread Starter
|
Member
Joined: Aug 2021
Posts: 54
Likes: 19
From: Los Angeles
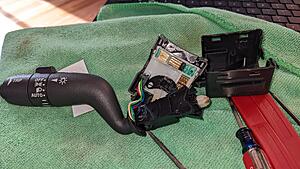
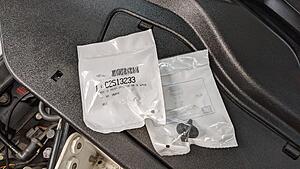
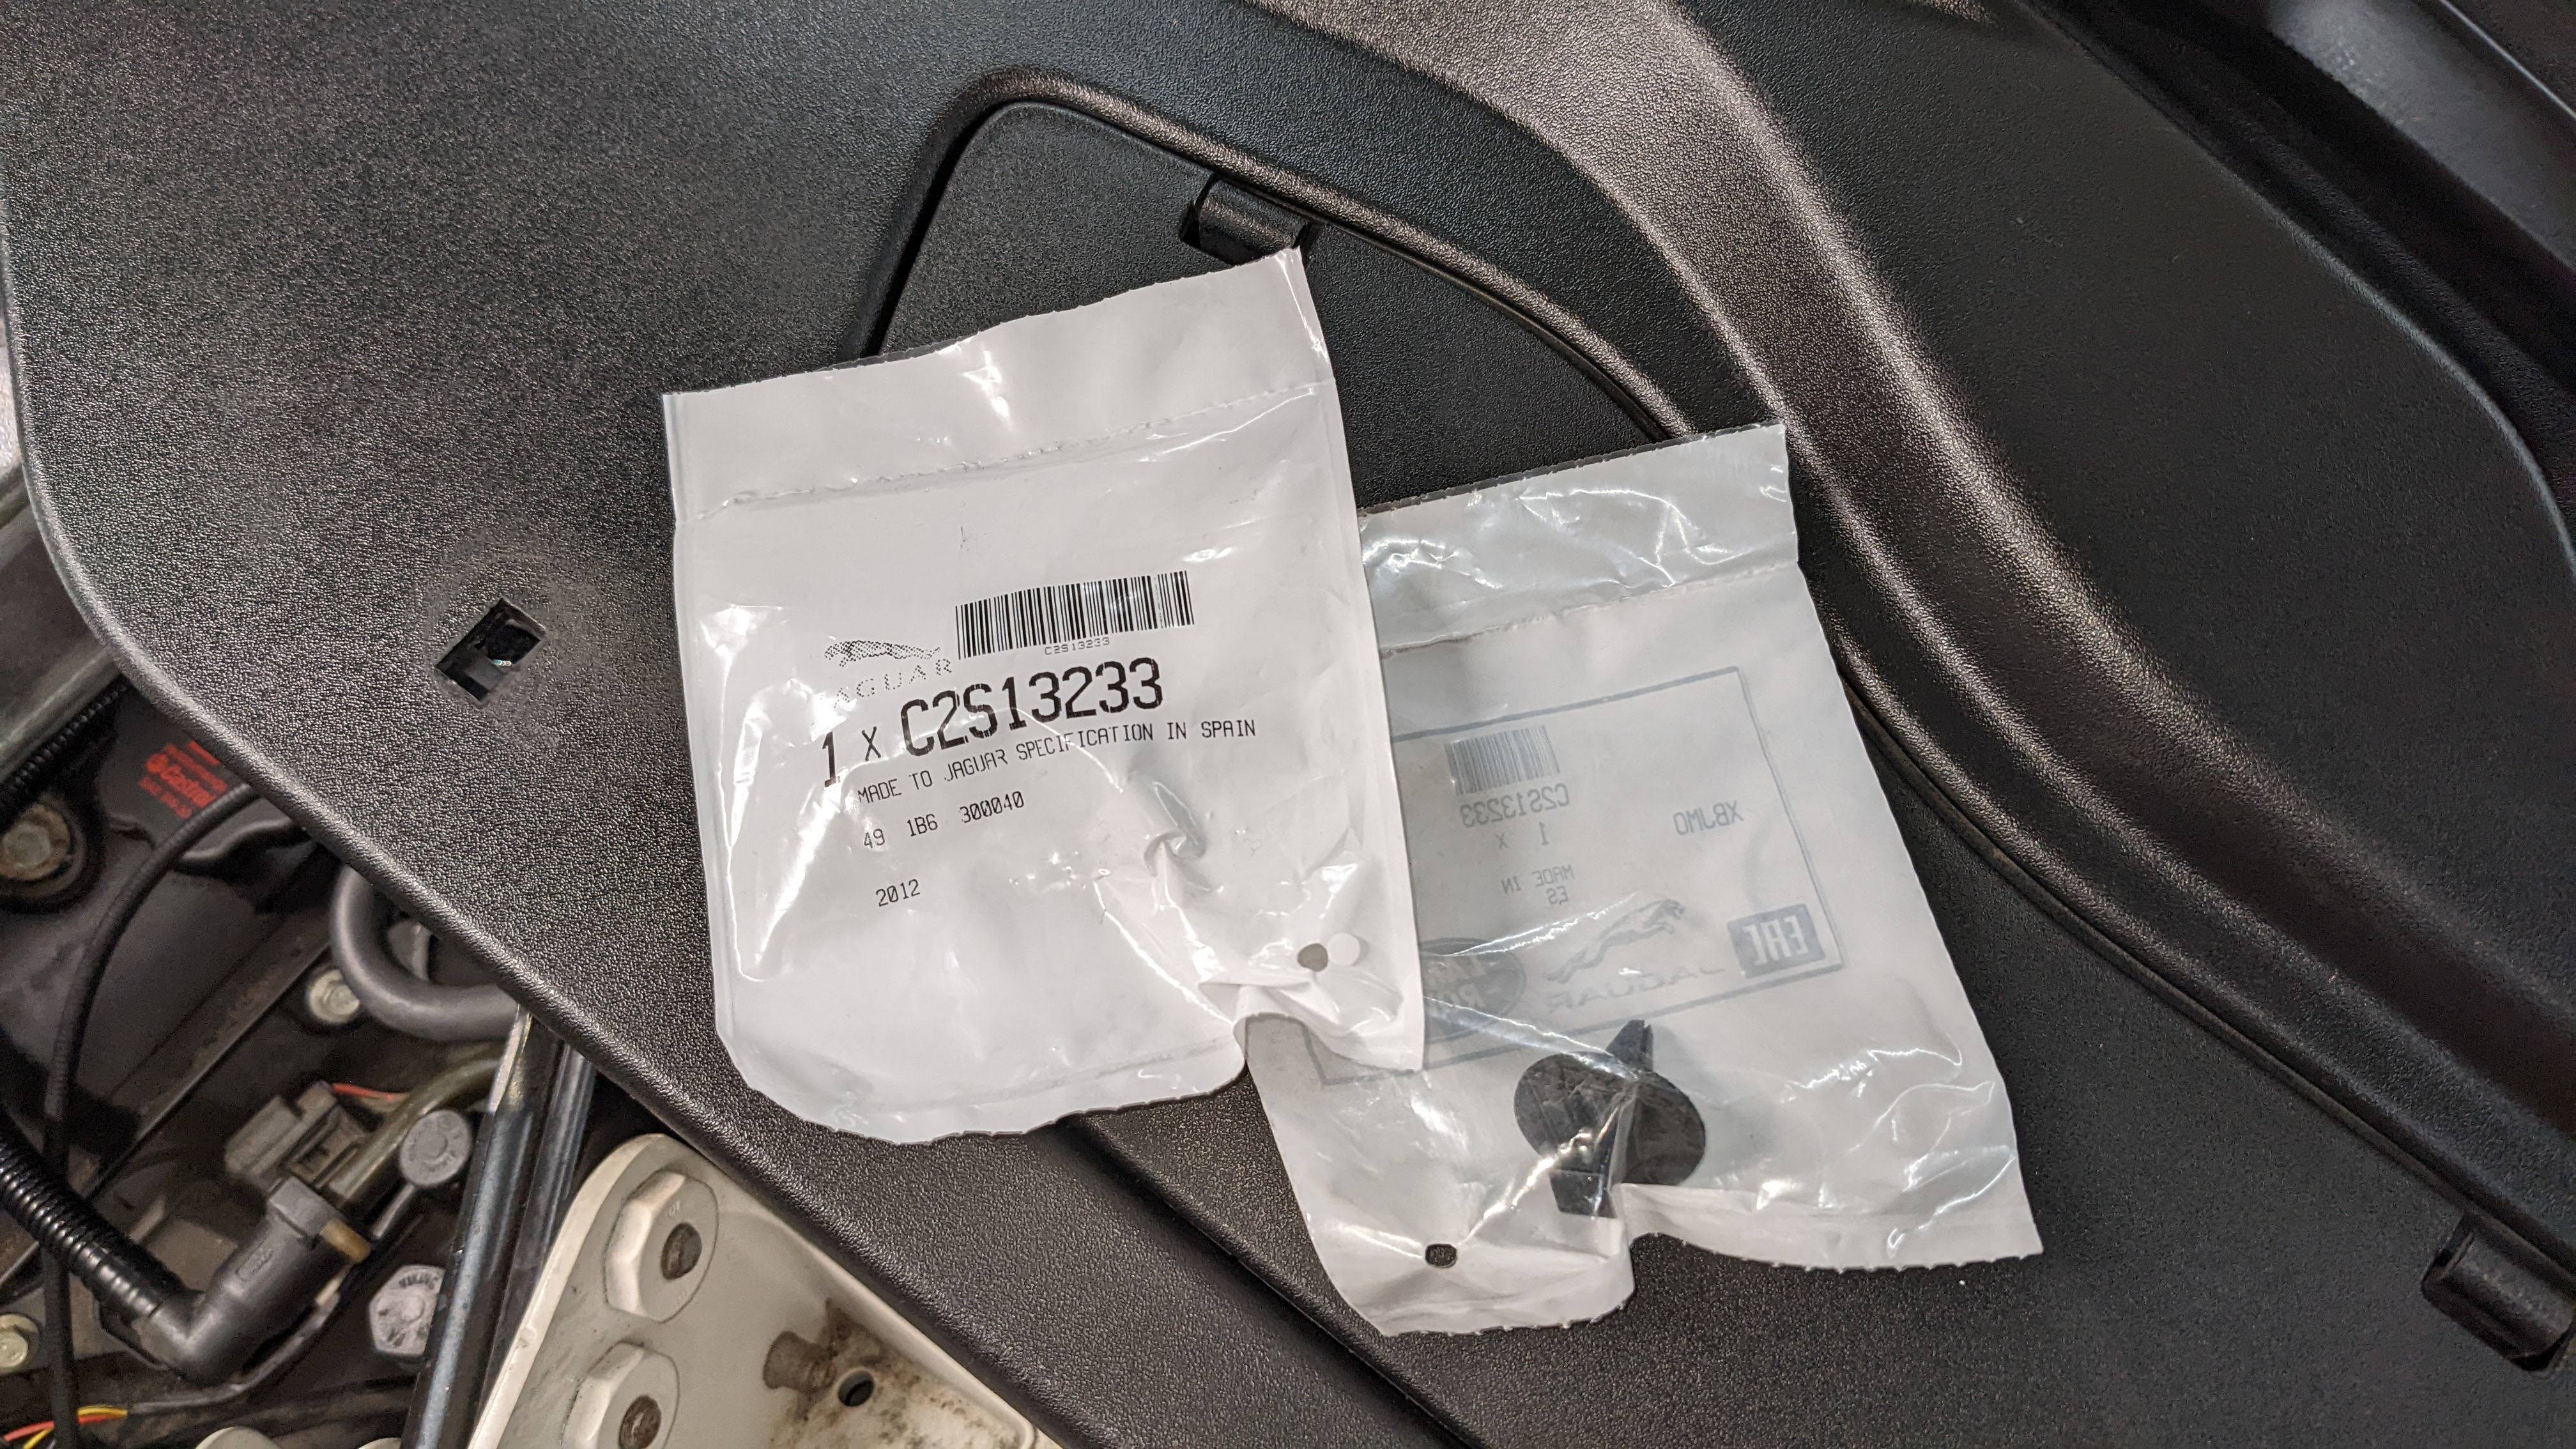
Welp, sure enough fixing the auto light issue just required a new...light sensor (the one on the right). Imagine that! So simple yet so satisfying.
But let's back track and review all the other work I've done recently:
It took 41 days but I finally buttoned everything up over the past weekend. In addition to a new radiator, also bought a new expansion tank and both radiator hoses.
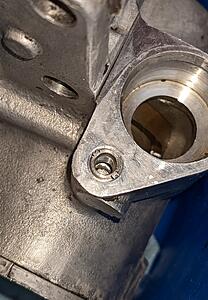
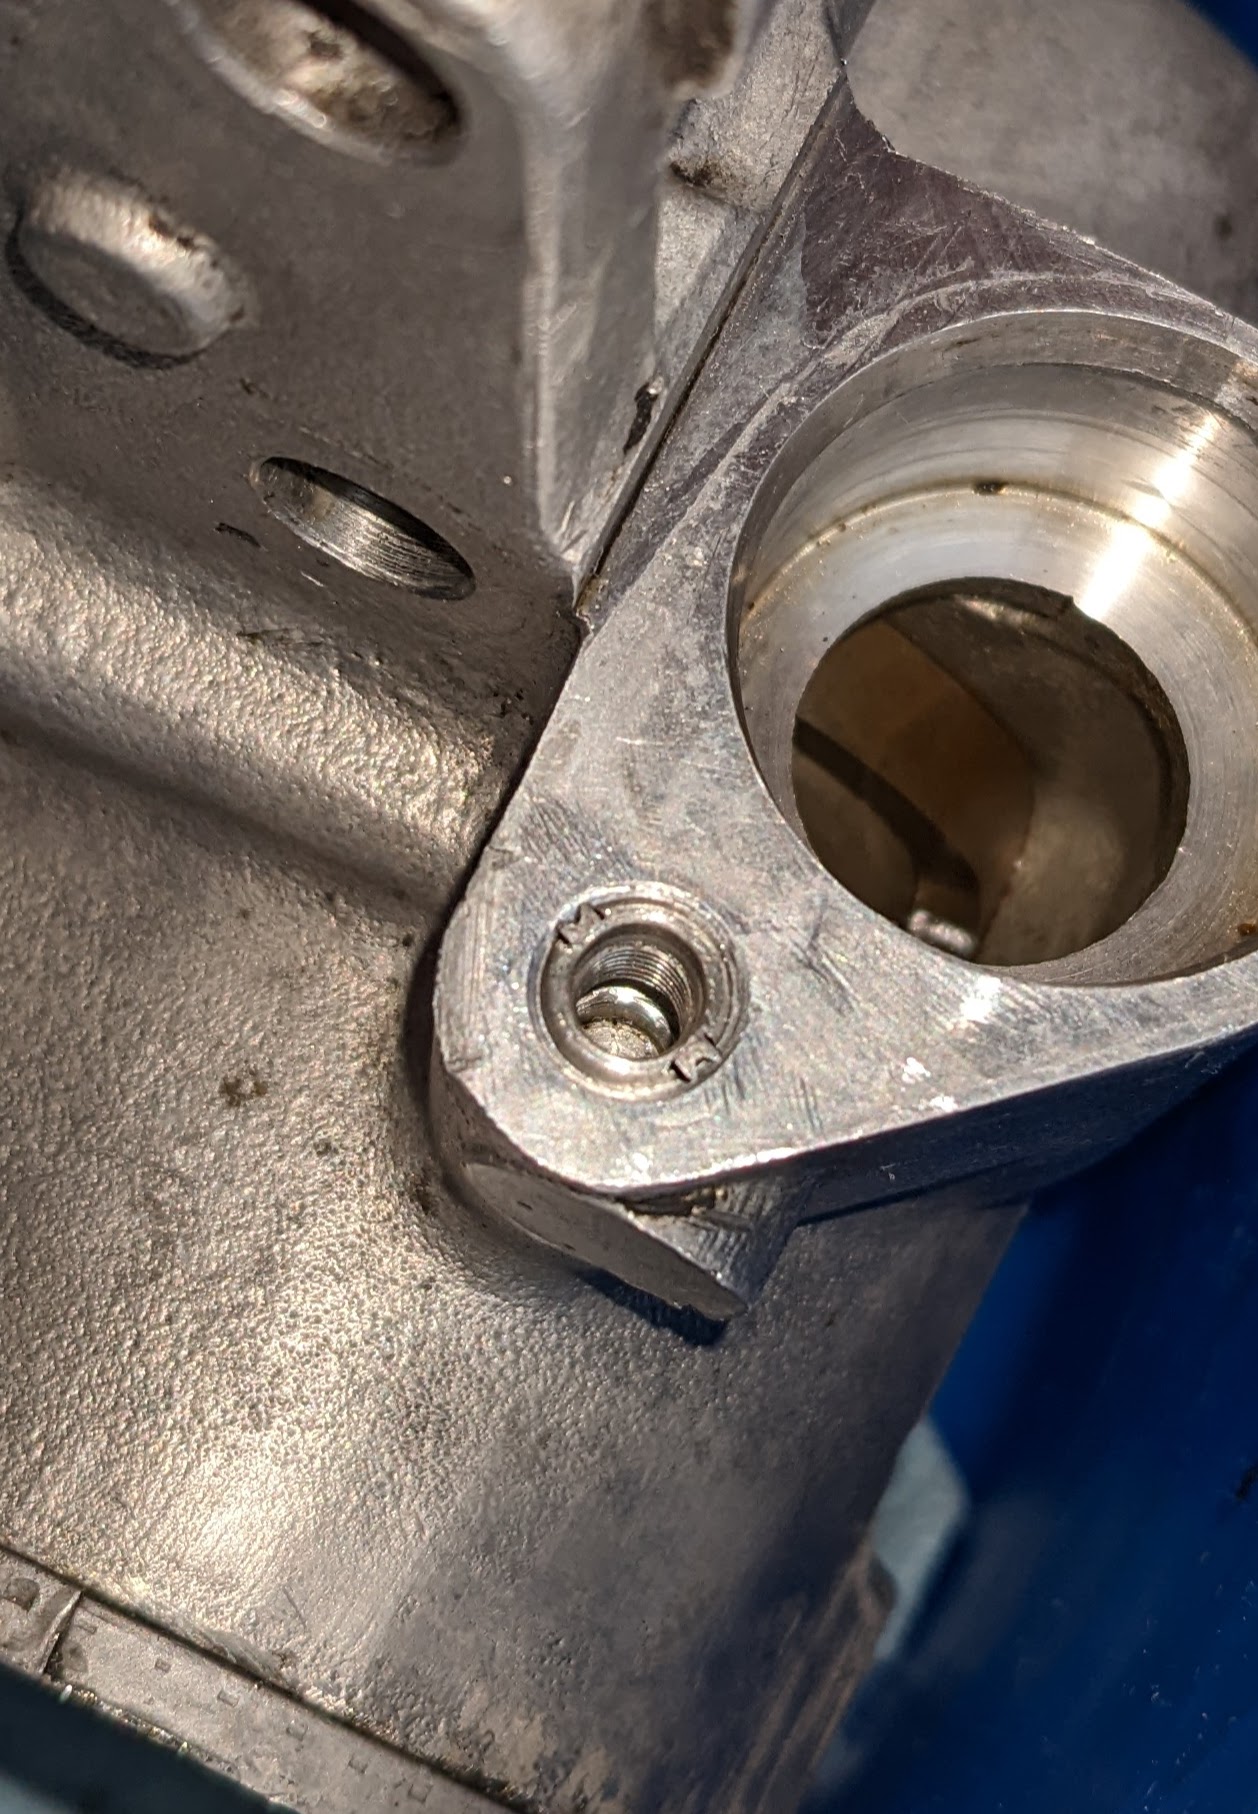
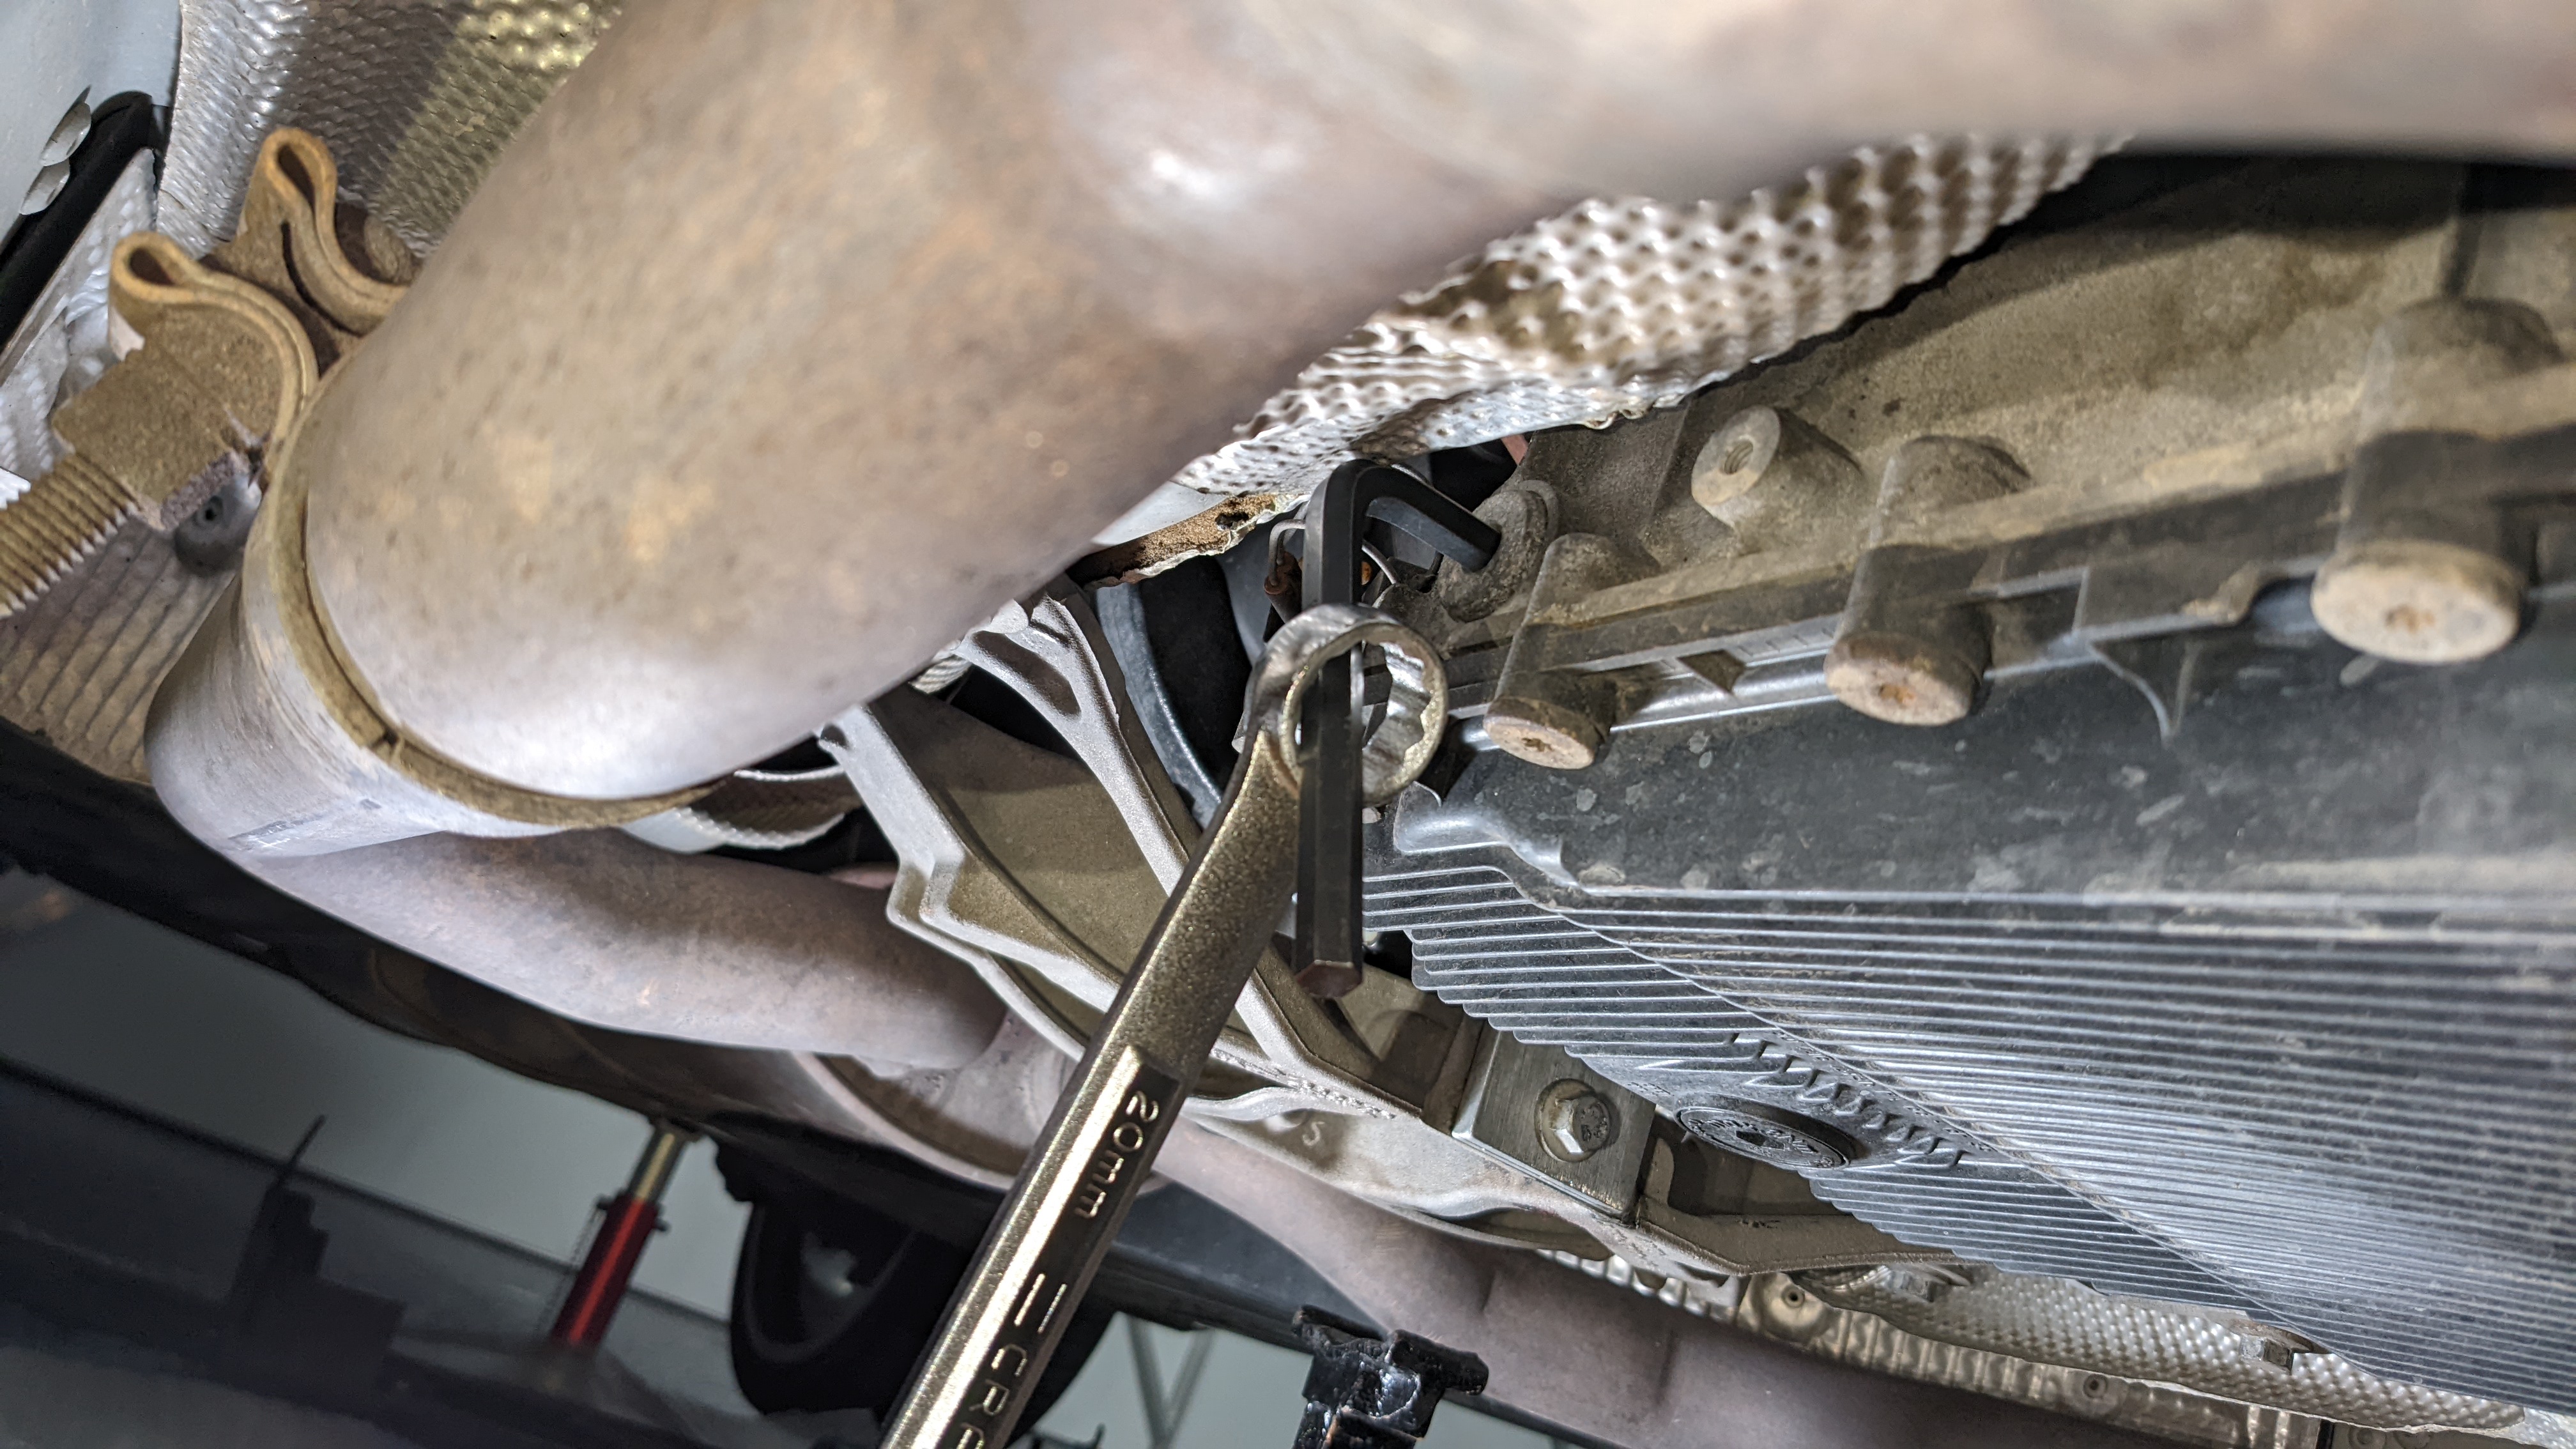
Got new O-rings for the oil cooler pipes. Snapped them in, tightened the bolts, then went to torque them and next thing ya know, the bolt keeps on spinning. Damnit.

Instead of tapping the aluminum to a larger size, used my connections to get a 10-32 keensert installed which will make removal and reinsertion a non-issue for the next time the pipes need to be disconnected.
All is swell.

Wanted to do a little more cleaning in the engine bay so removed the wipers to remove the cowl.
And bought new clips when the cowl was reinstalled after some Aerospace 303 love.
New O-rings for the transmission cooler pipes, the A/C line, and a new PCV valve.

Then added all the fluids (oil, coolant, power steering), but I wasn't ready to turn on the car just yet...

But let's back track and review all the other work I've done recently:
It took 41 days but I finally buttoned everything up over the past weekend. In addition to a new radiator, also bought a new expansion tank and both radiator hoses.
Got new O-rings for the oil cooler pipes. Snapped them in, tightened the bolts, then went to torque them and next thing ya know, the bolt keeps on spinning. Damnit.

Instead of tapping the aluminum to a larger size, used my connections to get a 10-32 keensert installed which will make removal and reinsertion a non-issue for the next time the pipes need to be disconnected.
All is swell.
Wanted to do a little more cleaning in the engine bay so removed the wipers to remove the cowl.


And bought new clips when the cowl was reinstalled after some Aerospace 303 love.
New O-rings for the transmission cooler pipes, the A/C line, and a new PCV valve.
Then added all the fluids (oil, coolant, power steering), but I wasn't ready to turn on the car just yet...

Thread Starter
|
Member
Joined: Aug 2021
Posts: 54
Likes: 19
From: Los Angeles
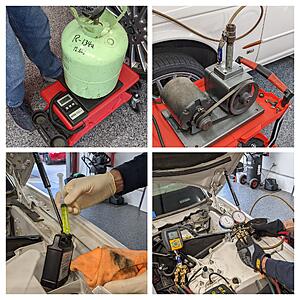
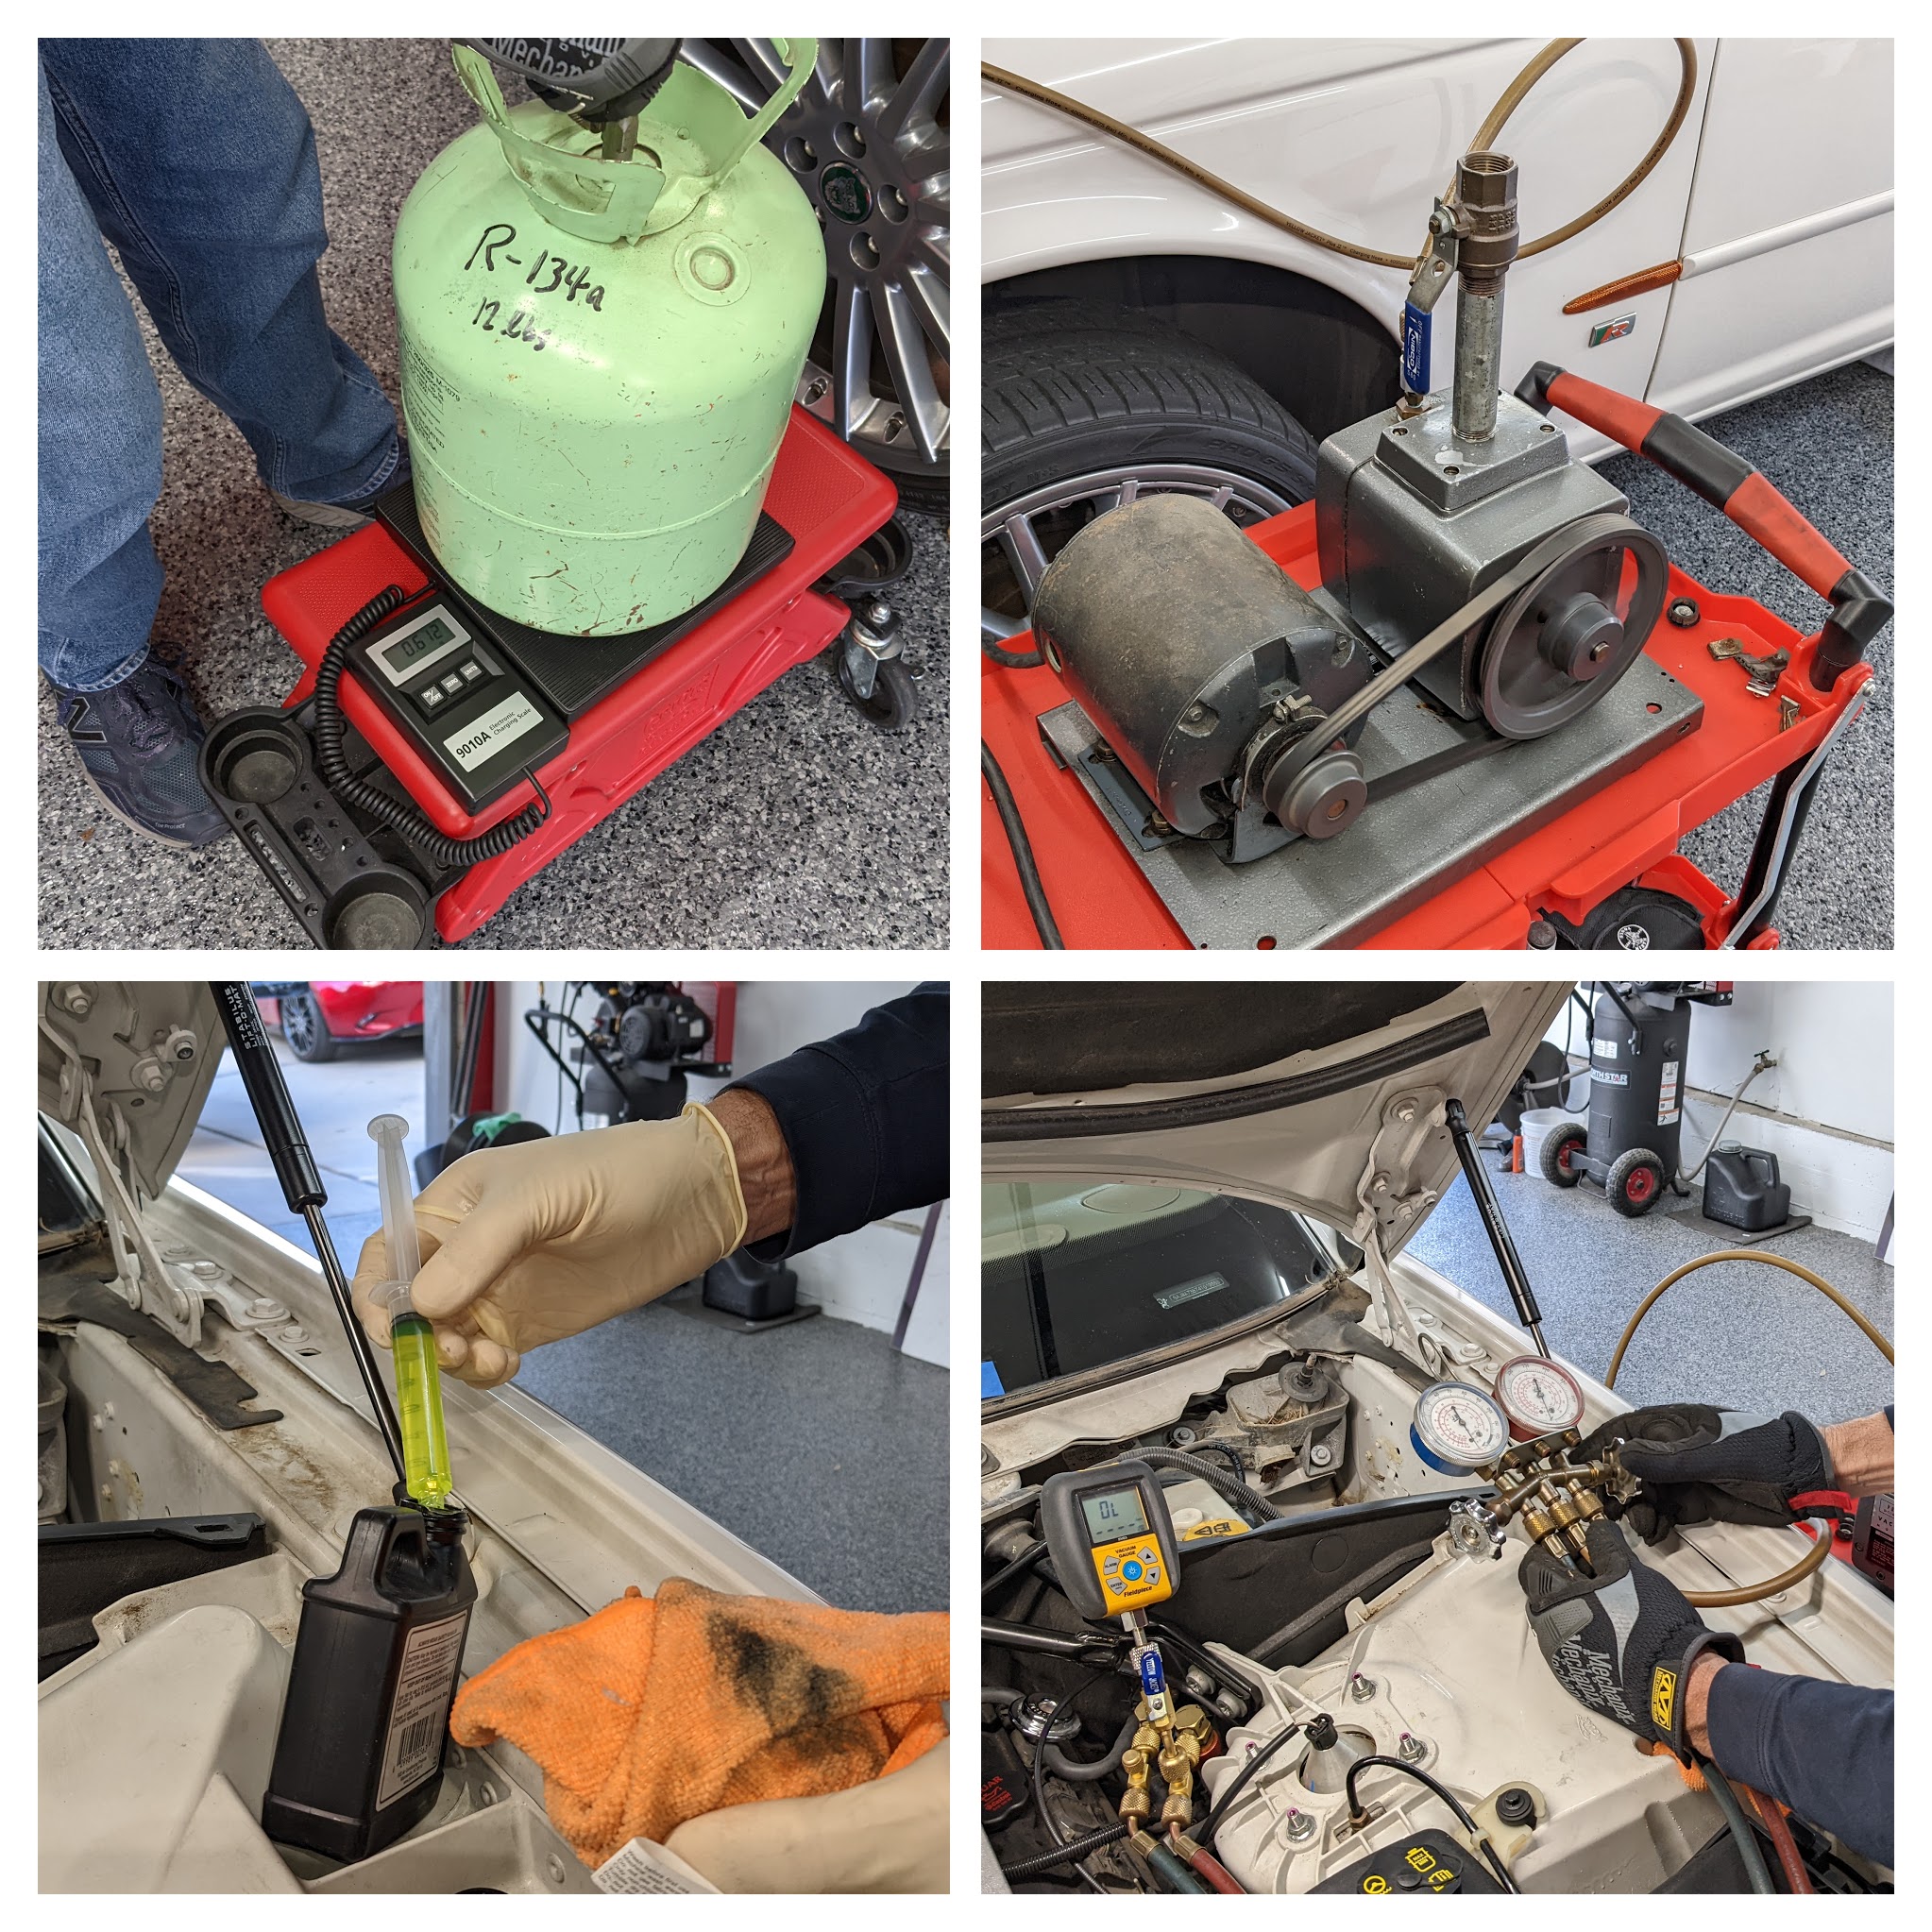
Still needed to charge the A/C, so I had a friend come over and hook me up. It was pretty cool.
Extracted the old desiccant bag and replaced it.
Nothing like an old-school vacuum pump without a belt guard to add excitement to the process. Added 30 cc of PAG46 (ND8) to the system as well to compensate for the oil that was in the old desiccant.
I also realized I need to add coolant to the supercharger circuit since I had the pump off. The fill port needs a 19mm hex bit which I didn't have, so I got an M12 bolt with 2 nuts jammed together instead. Worked like a charm.
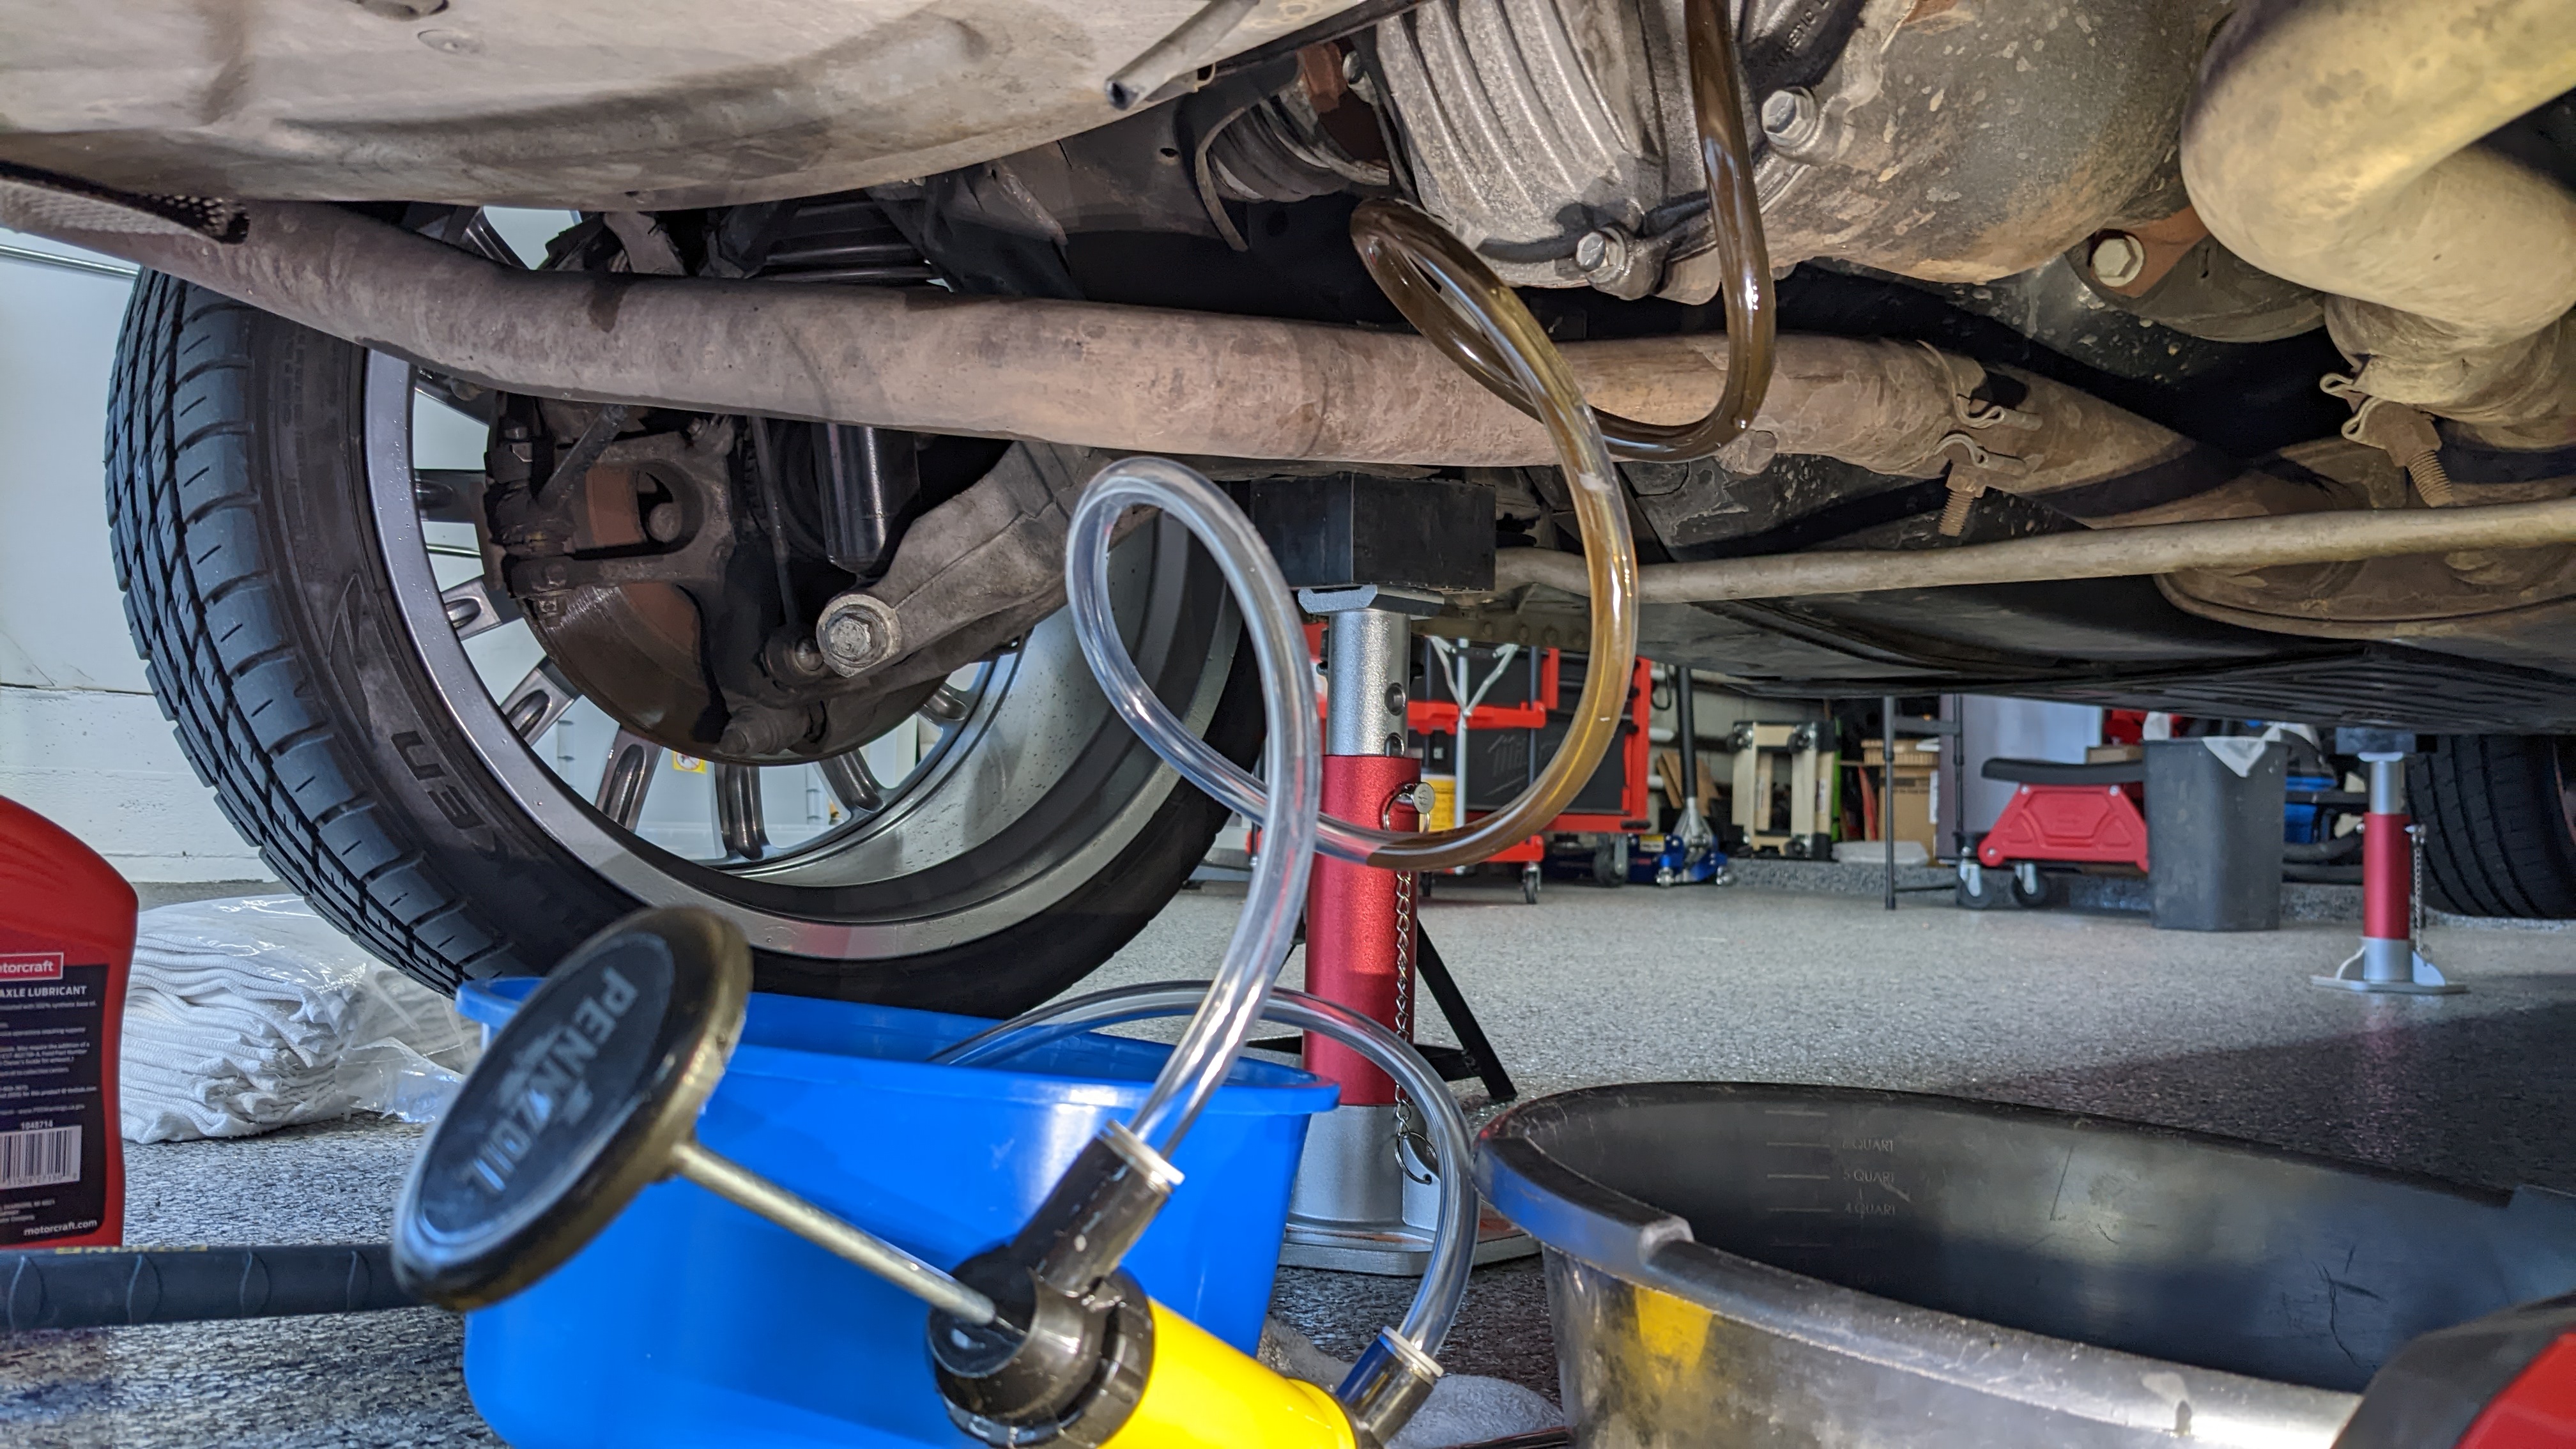
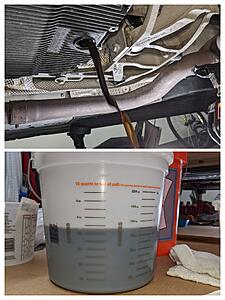
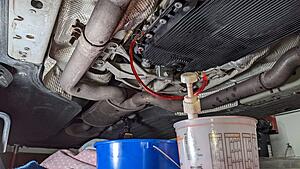
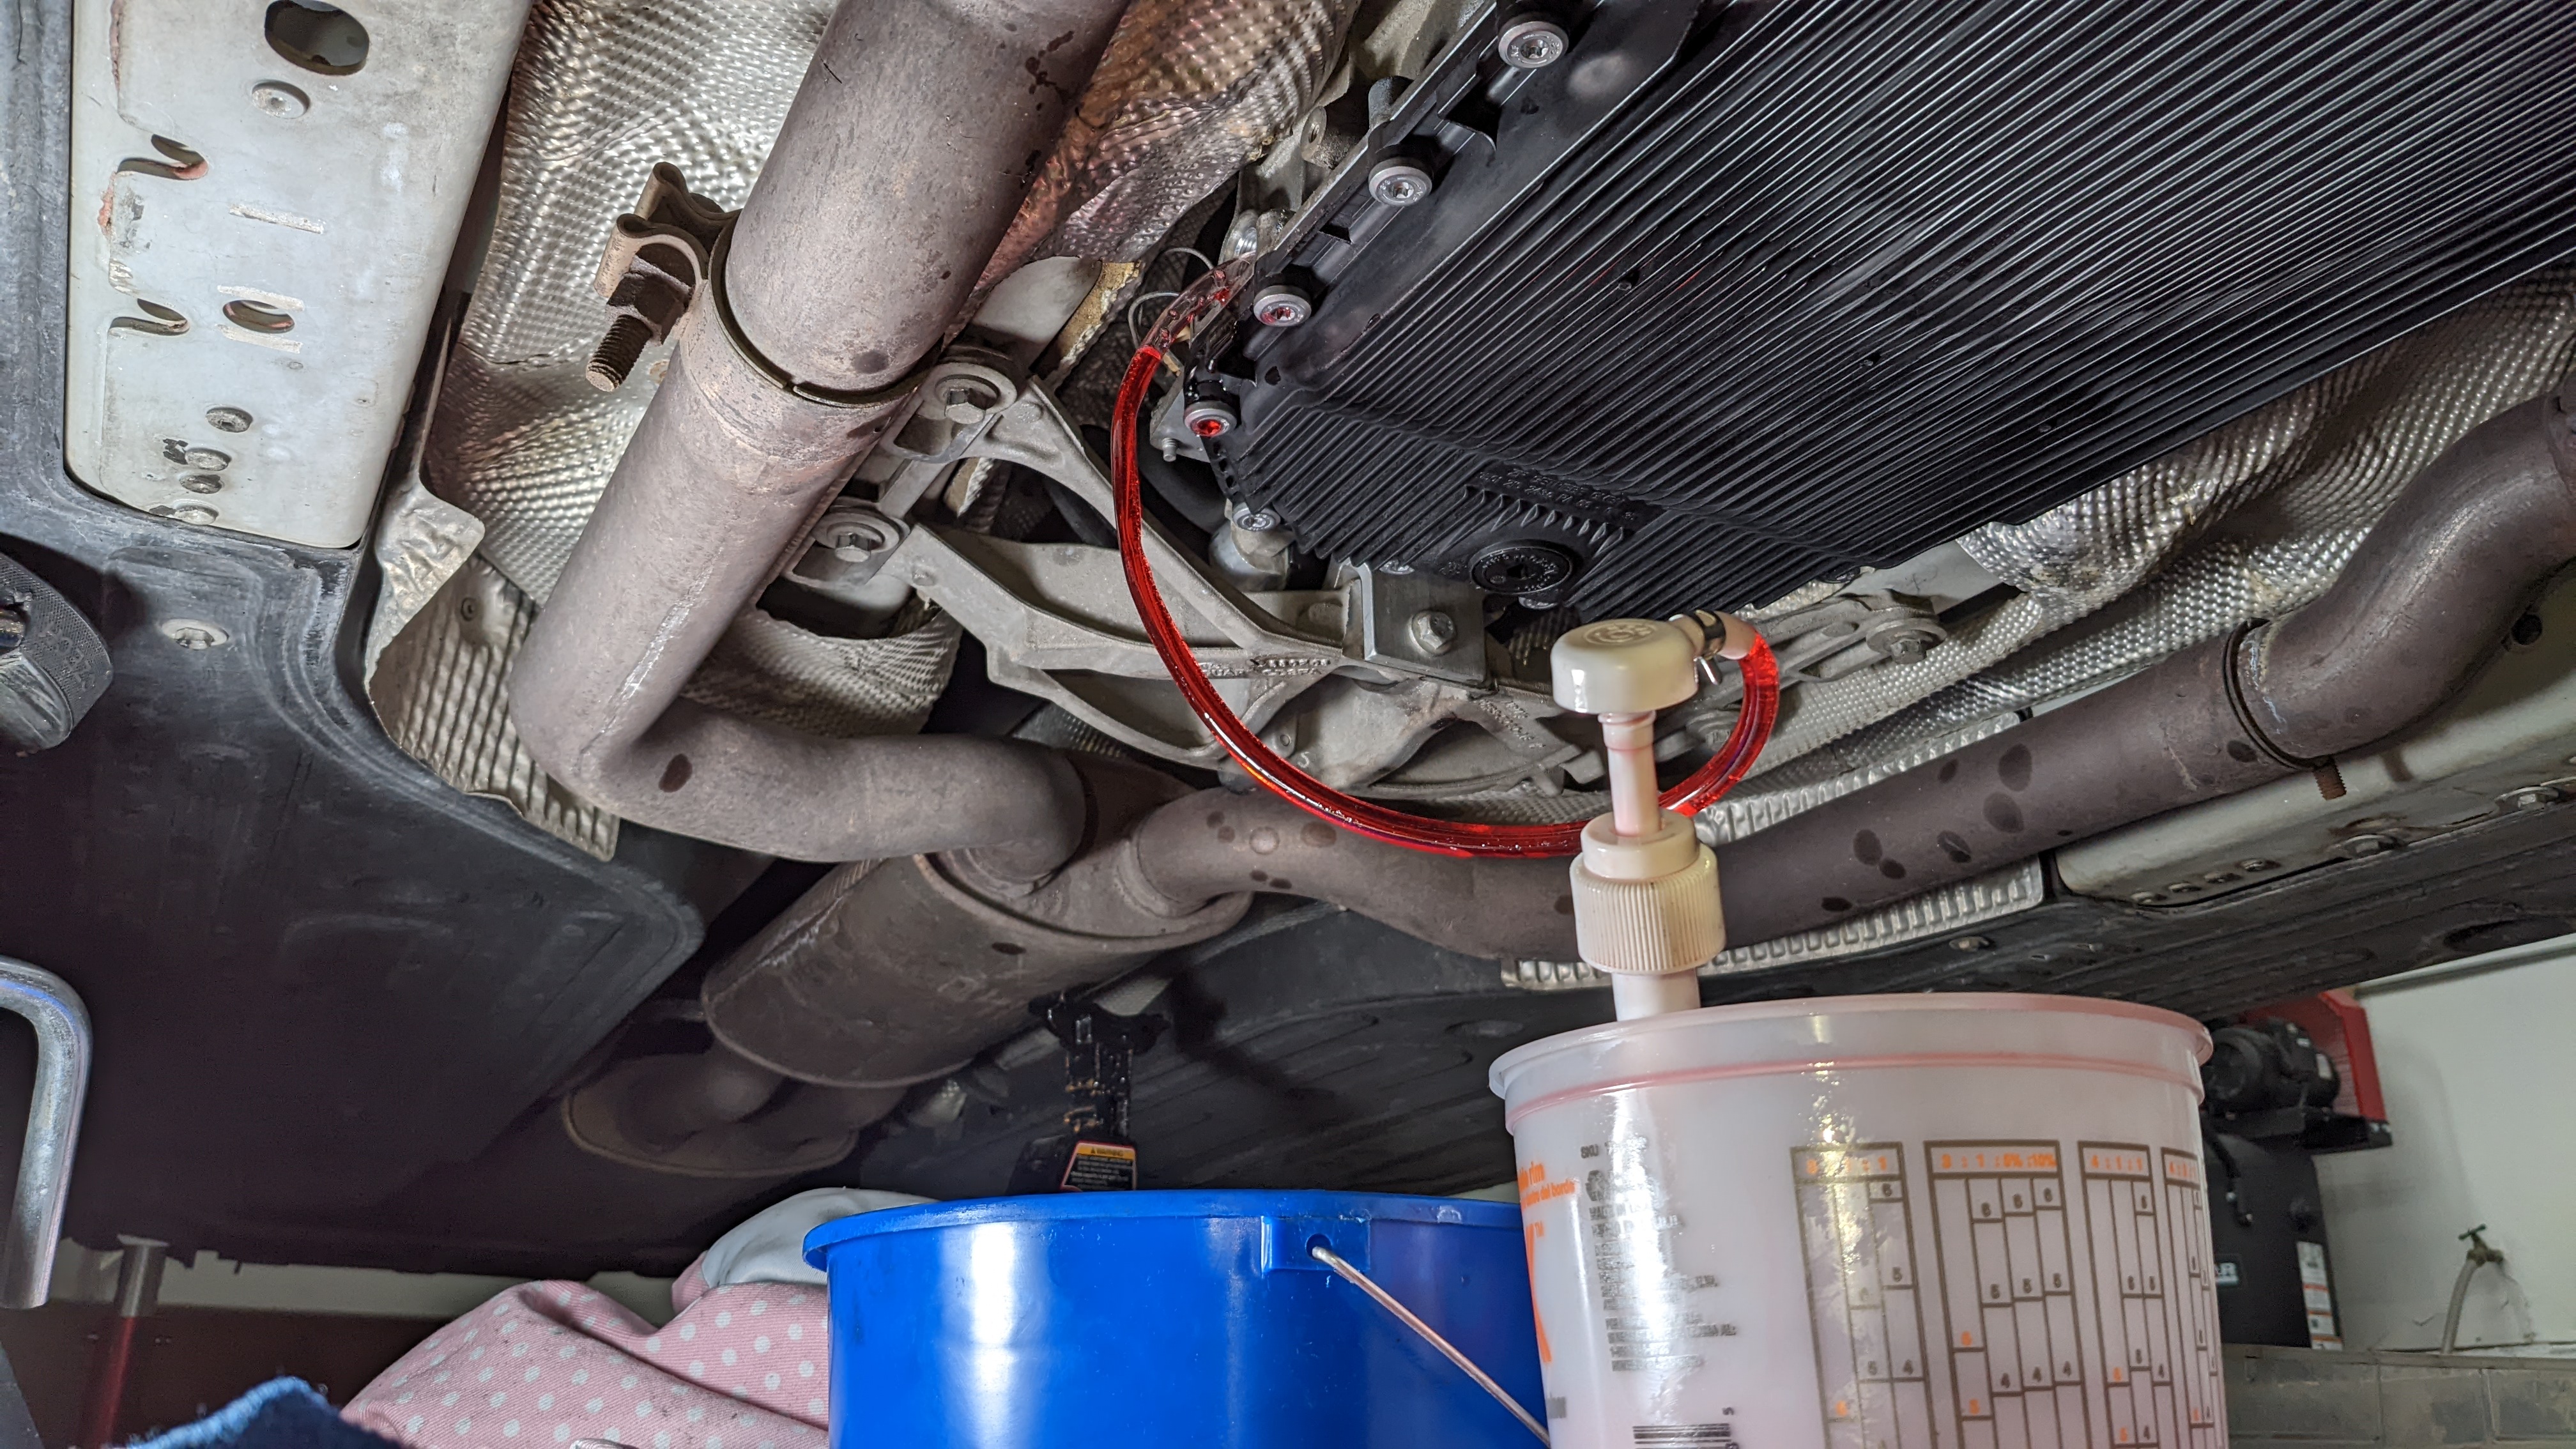
Turned it on and it was so satisfying hearing the engine come to life. Before taking it off the jack stands, wanted to replace the transmission fluid along with the pan/filter.
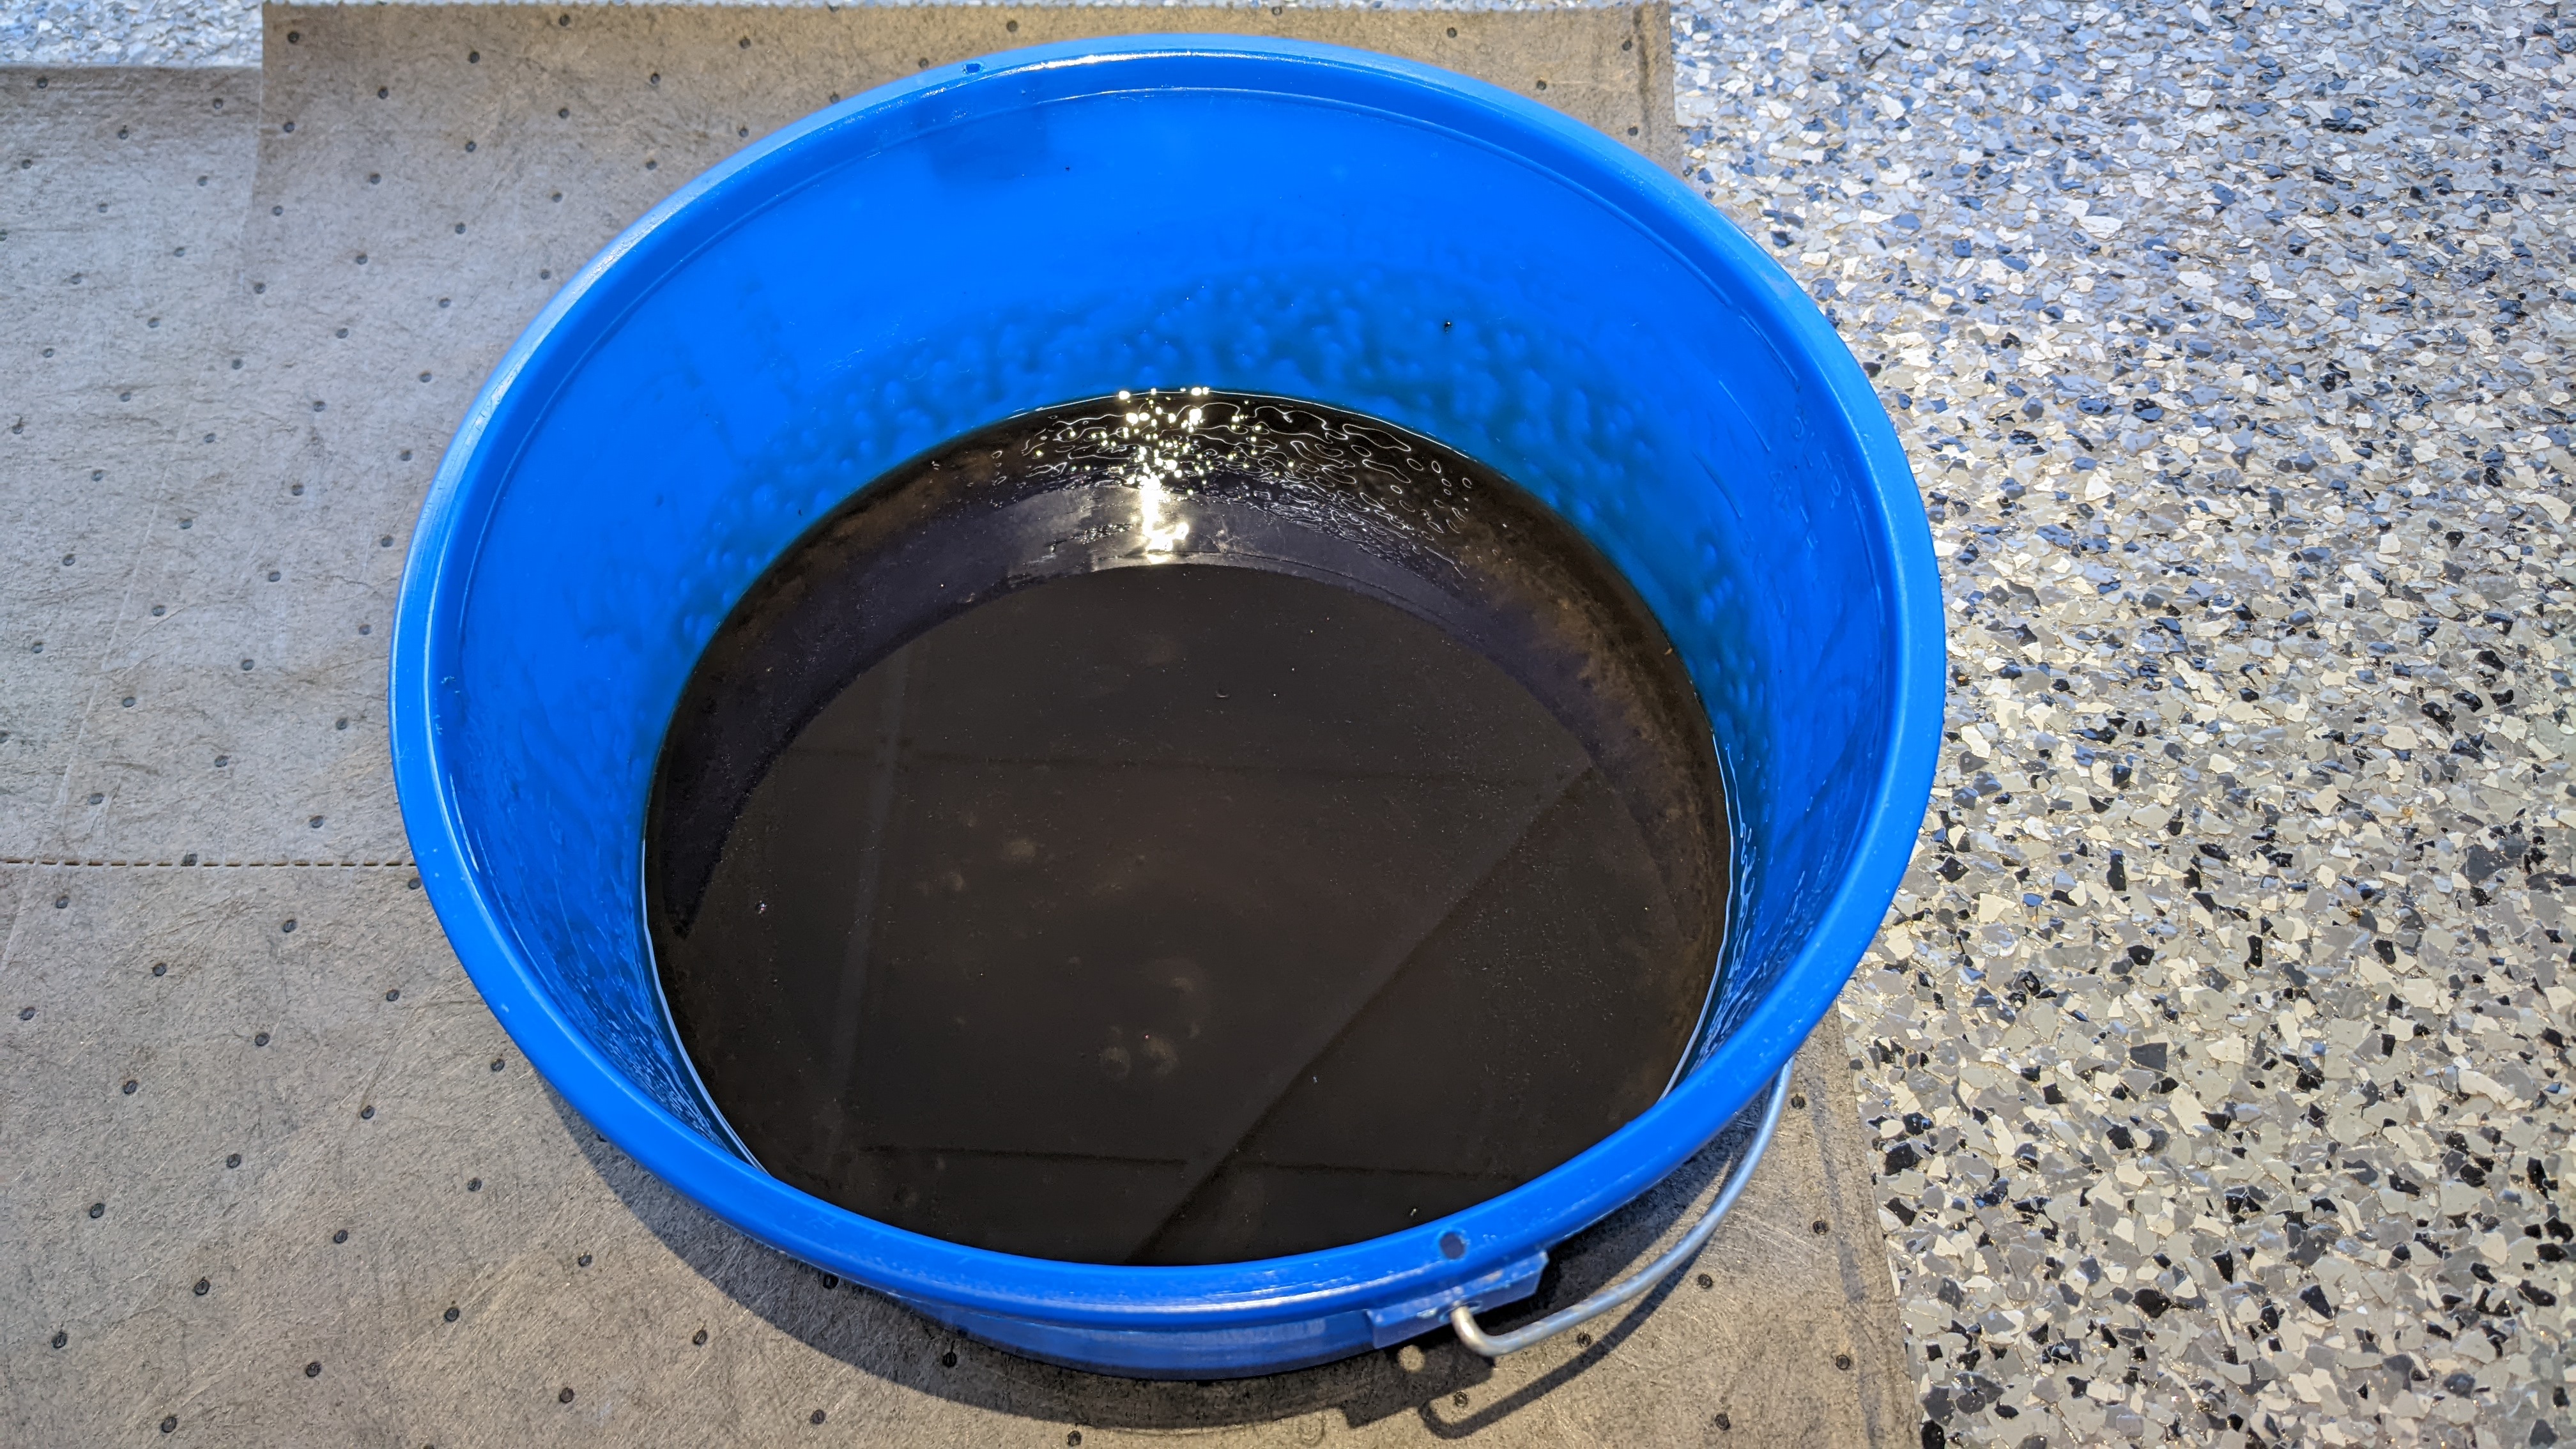
Instead of a complete flush, I first drained the fluid and got about 4.25 liters.
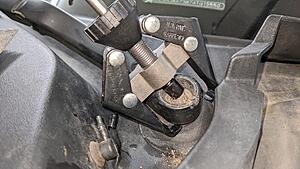
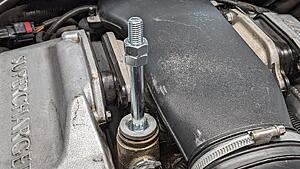
Loosening the fill port required some extra leverage.

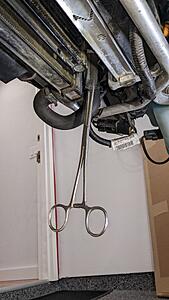
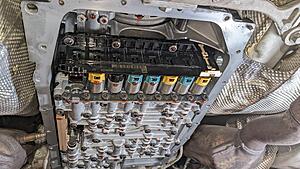
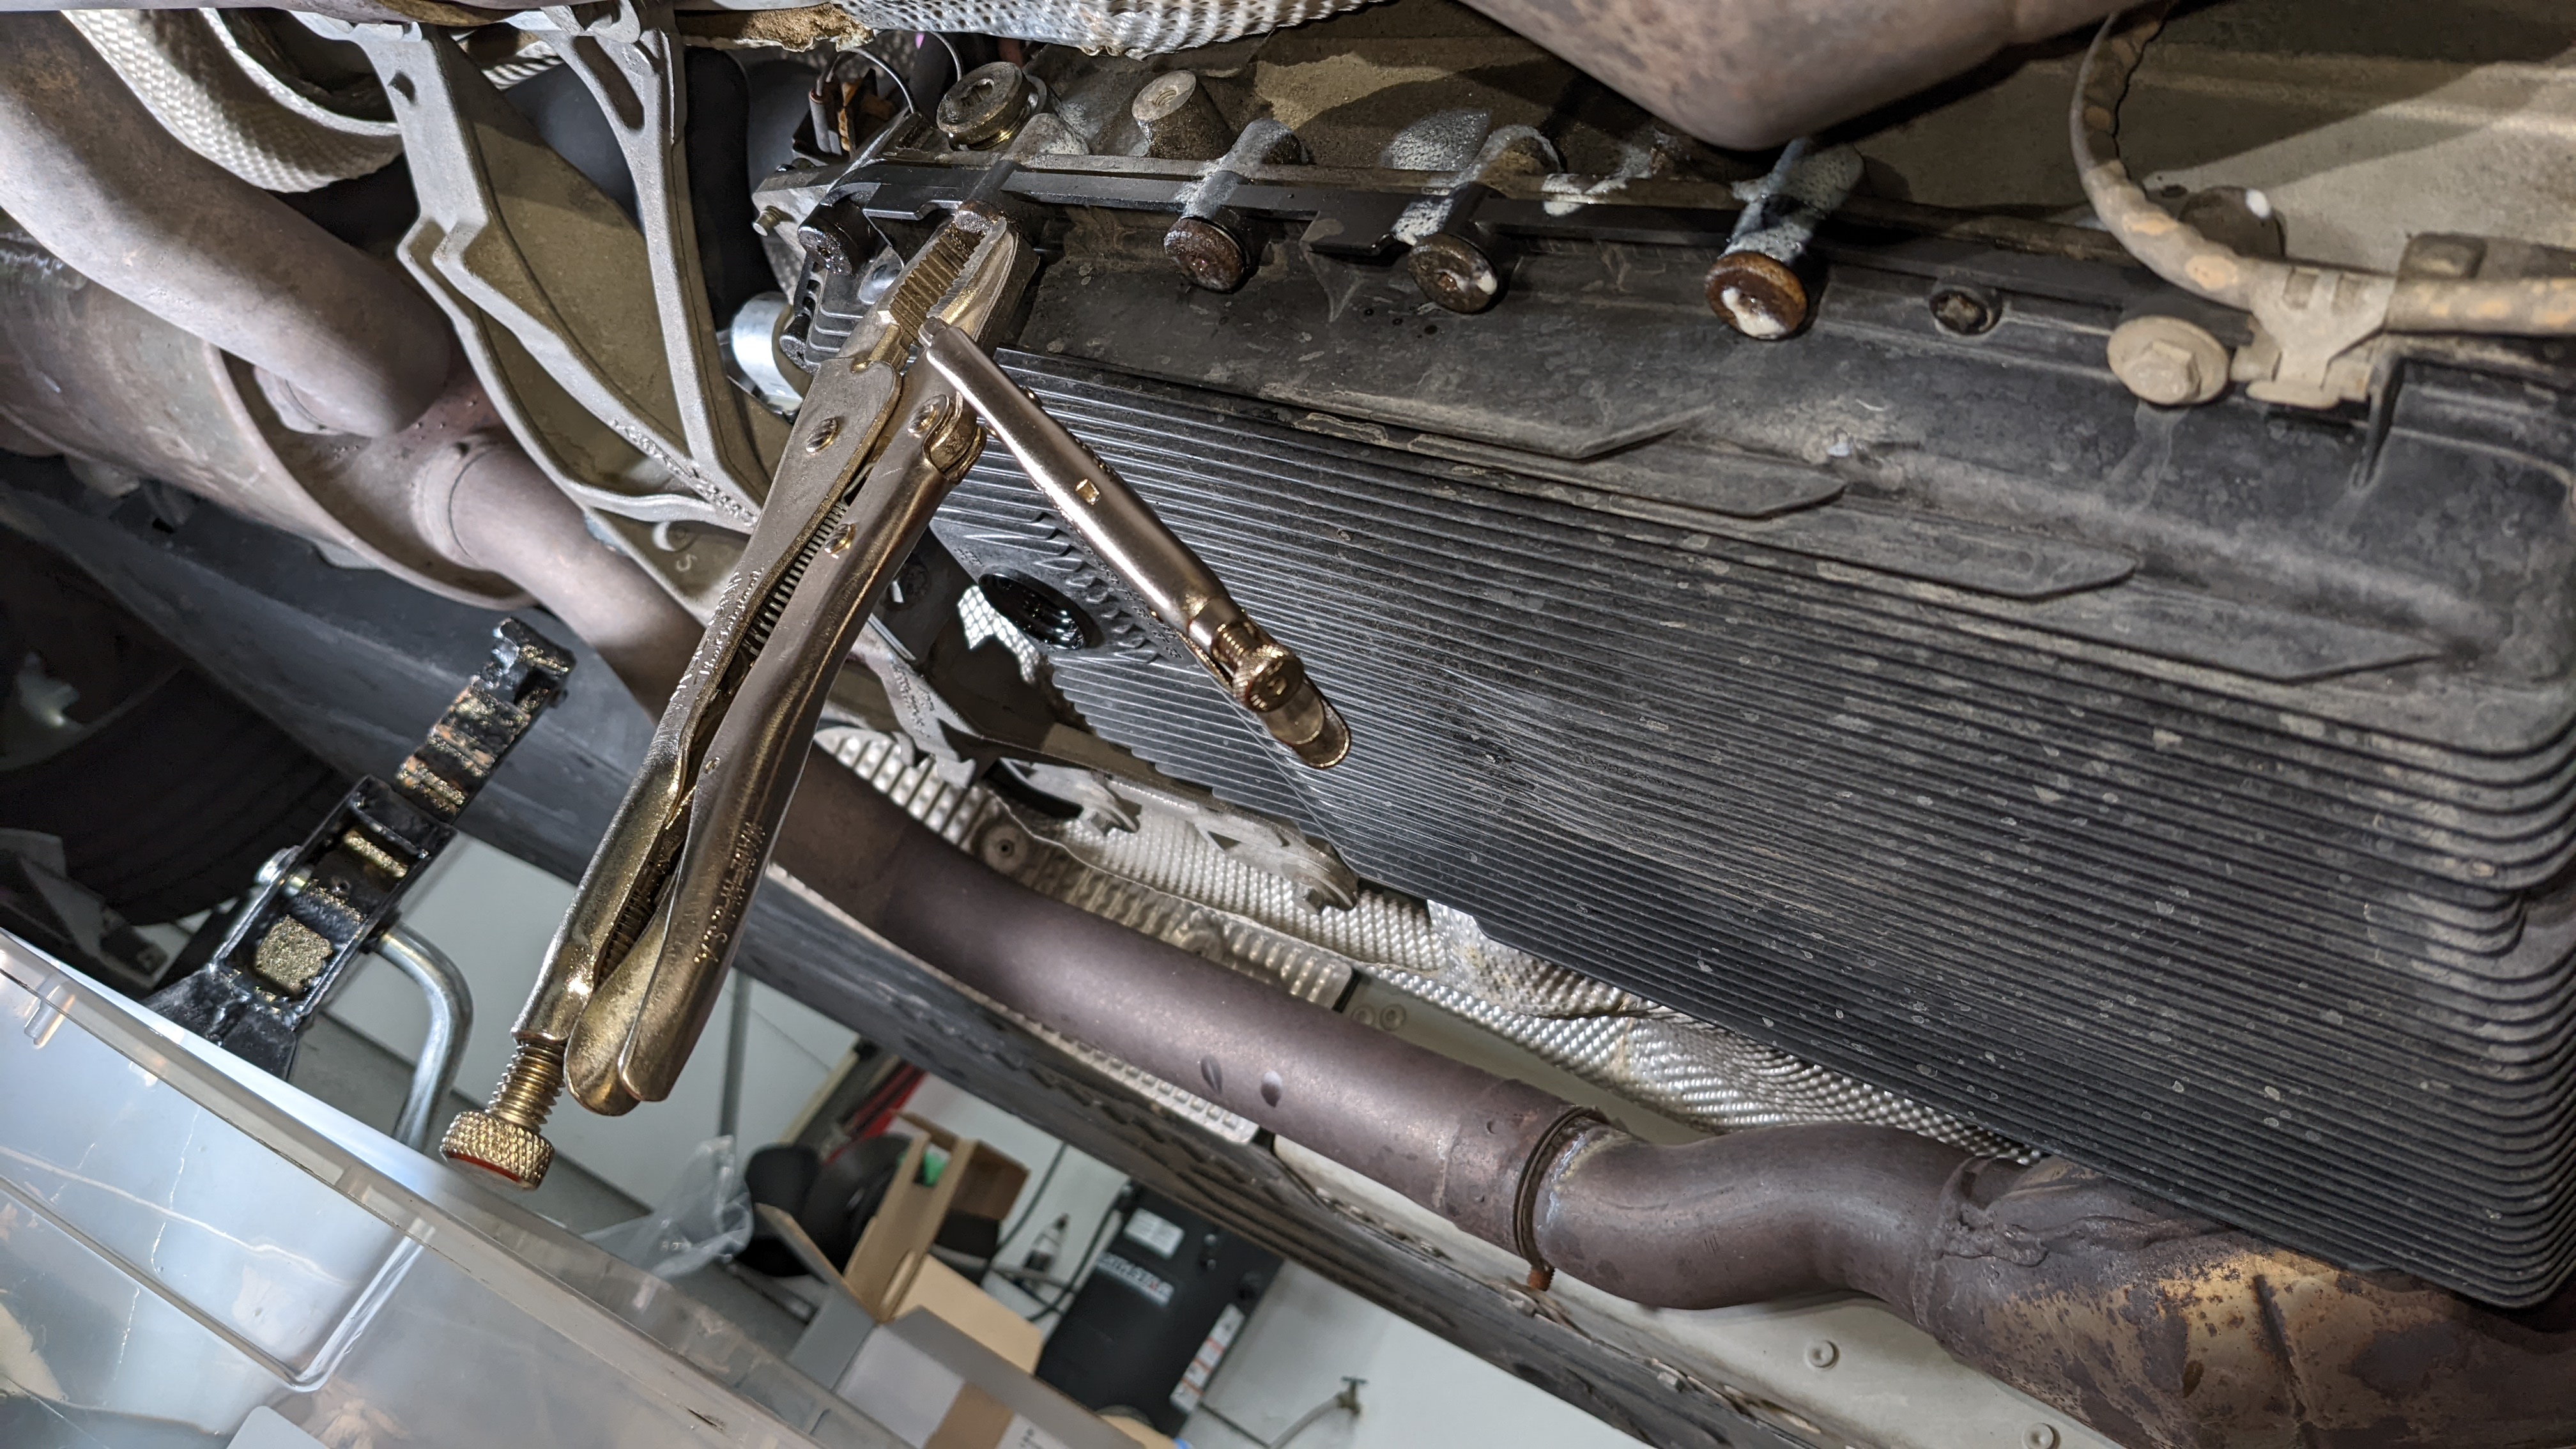
Then pumped Mercon SP back in, turned on the car and went through the gears so the old fluid in the torque converter would mix with the new fluid. Then drained again and started to remove the pan. Soaked the T27 bolts but as expected some were stripped. Had to use the ol' double-vise grip trick to loosen them.

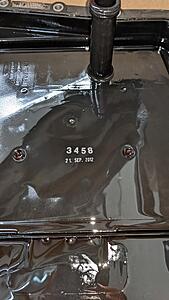
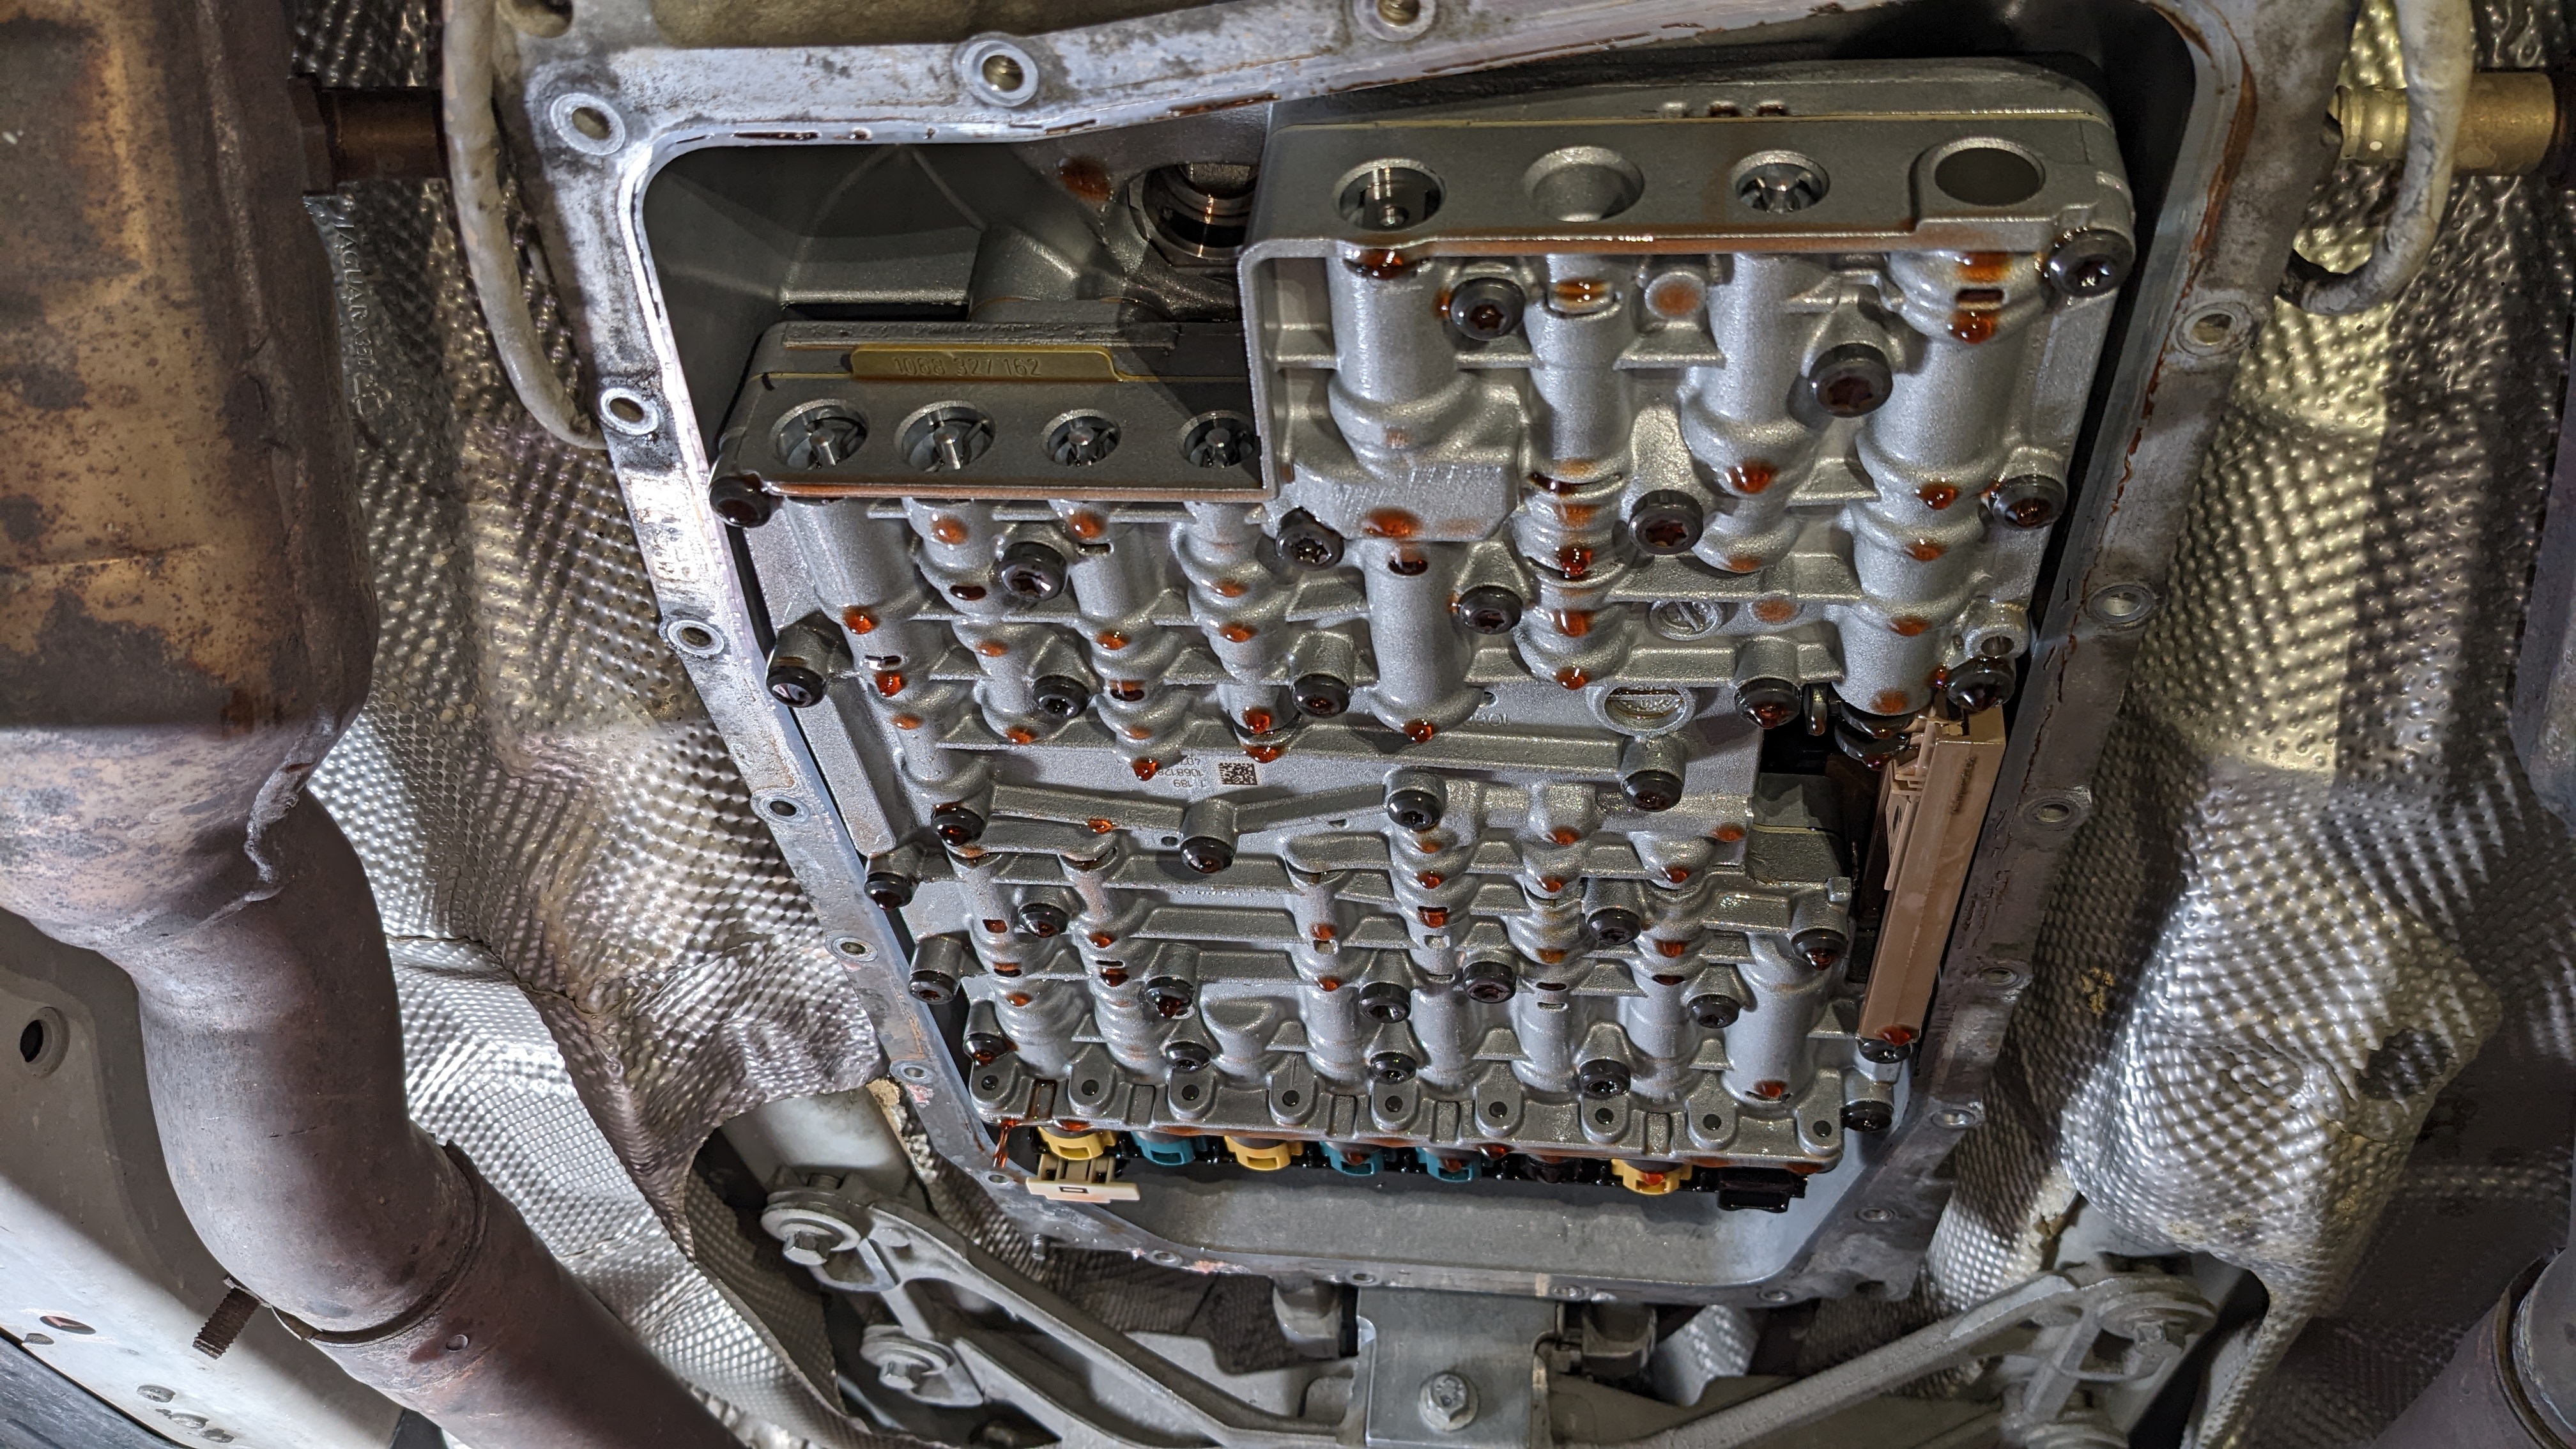
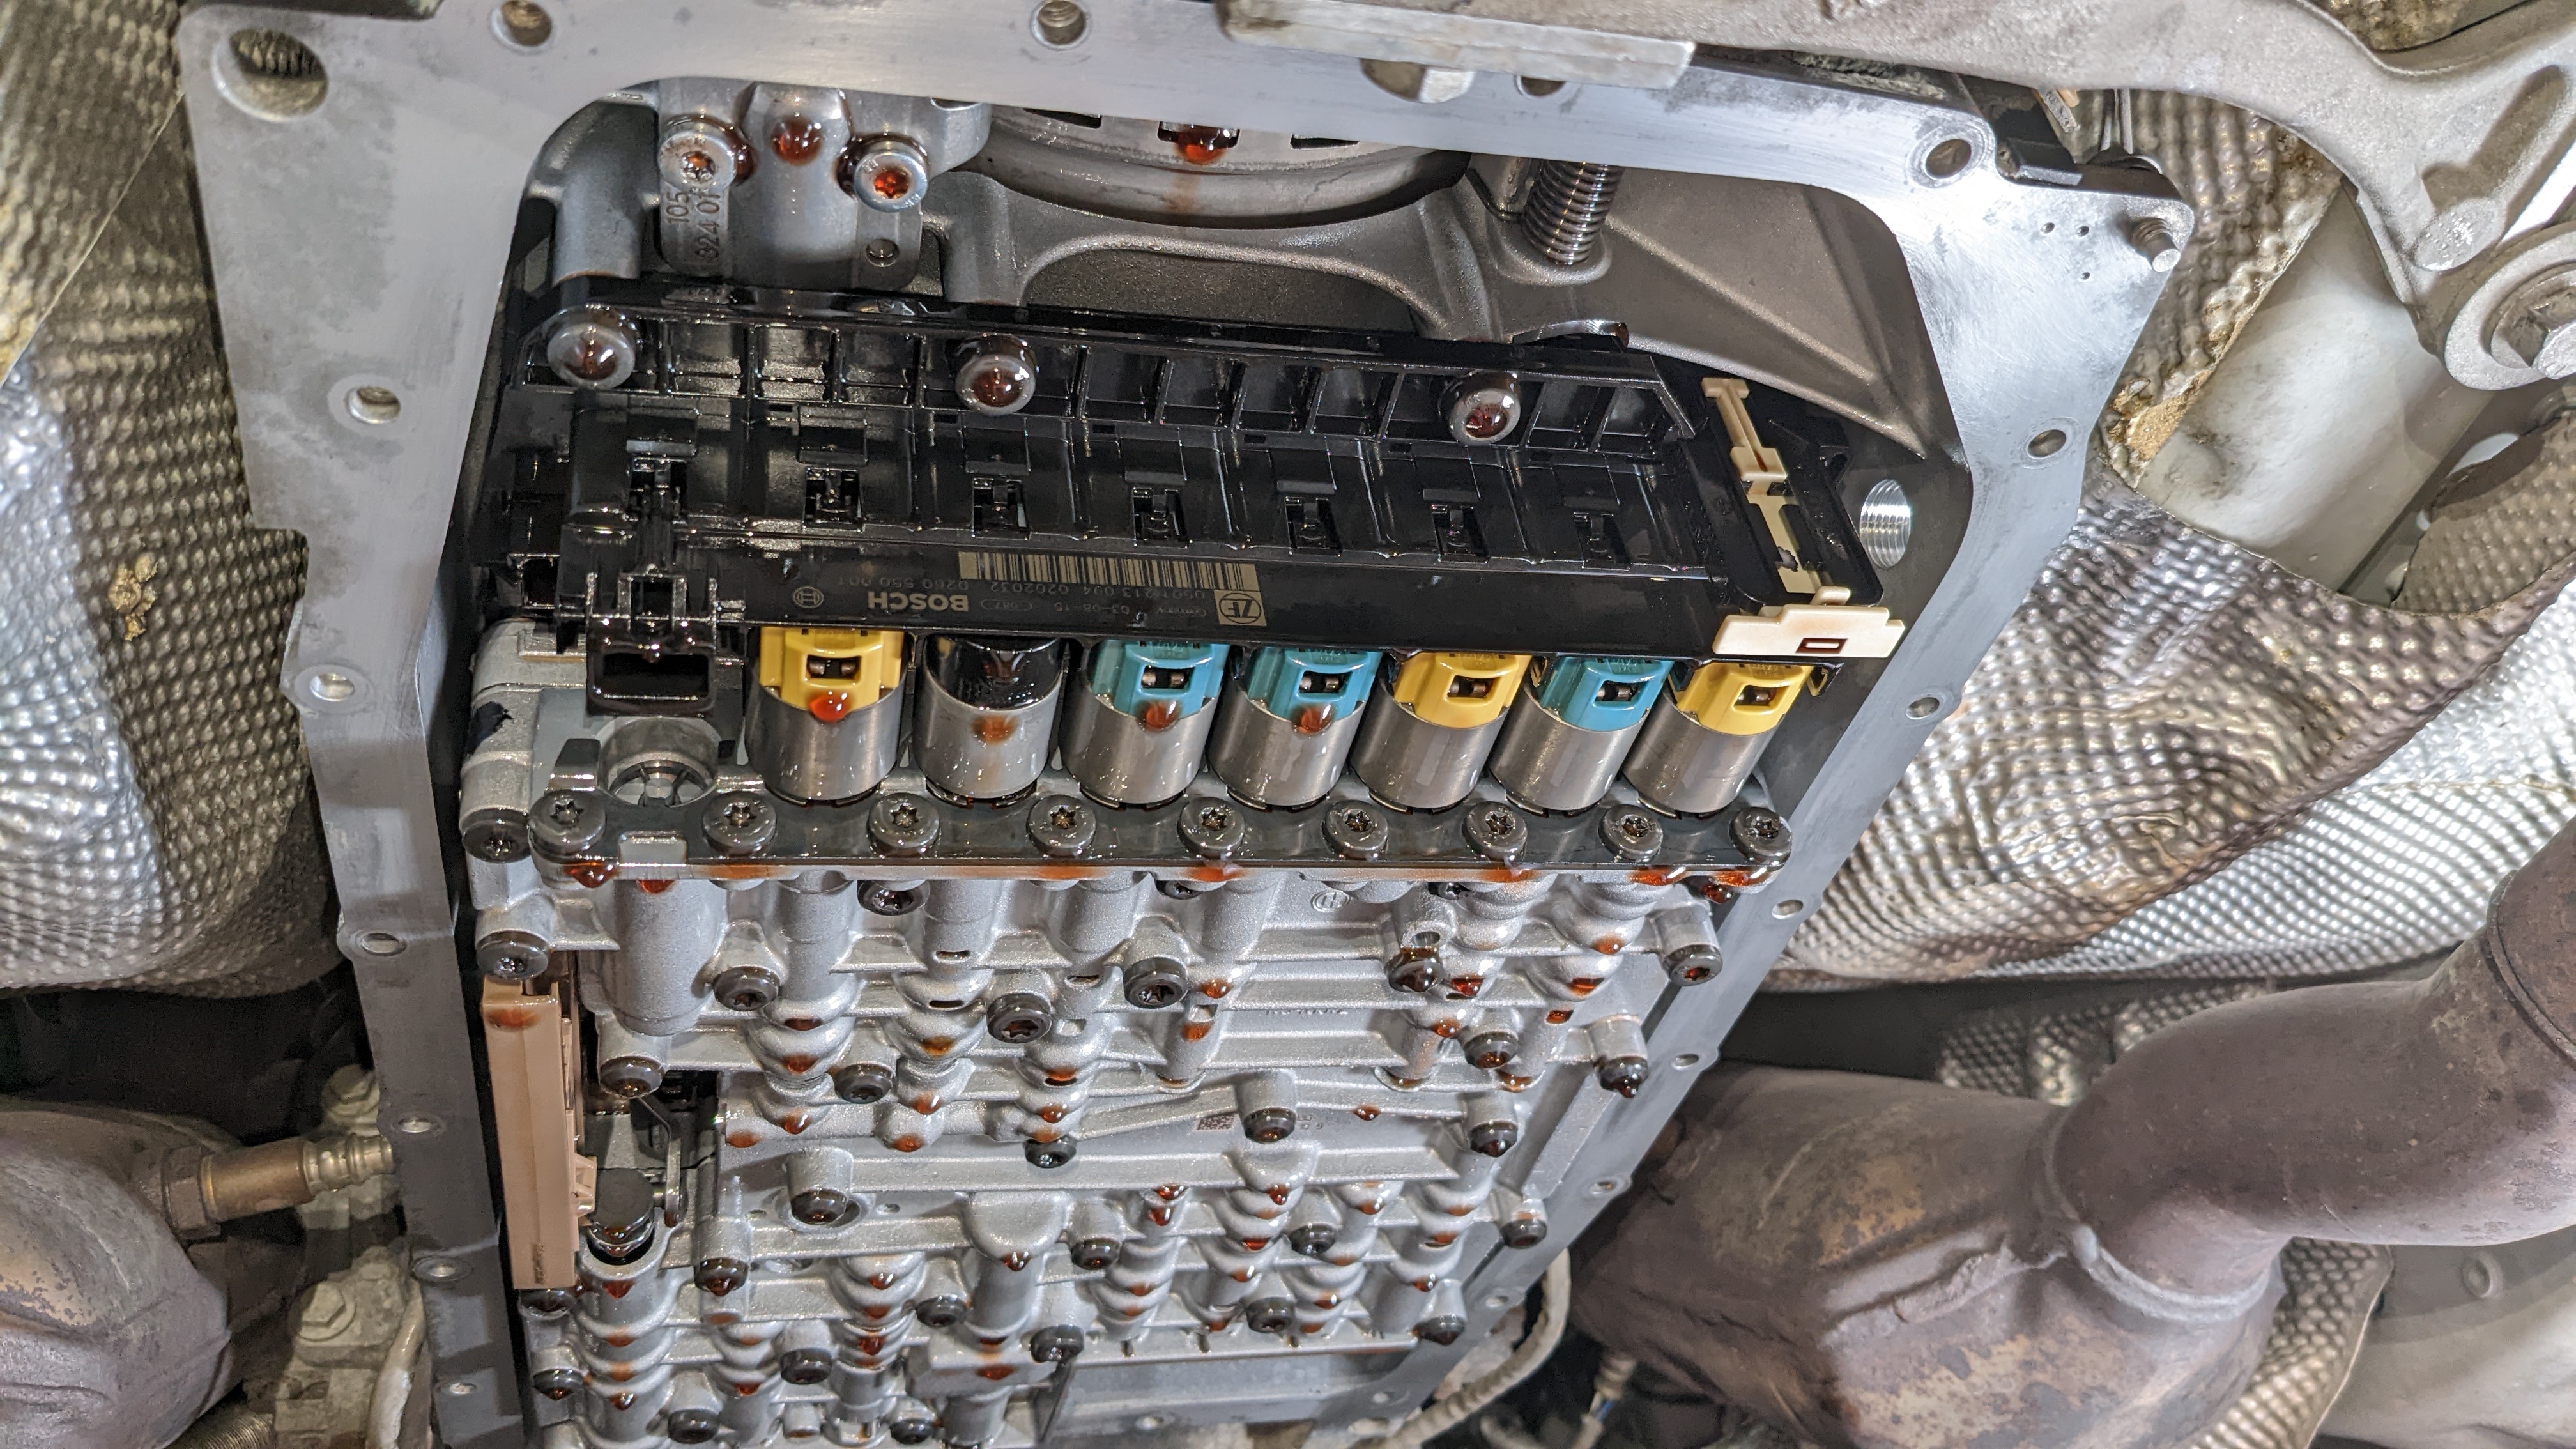
Looked pretty clean in there, making me think the pan had been replaced at one point.

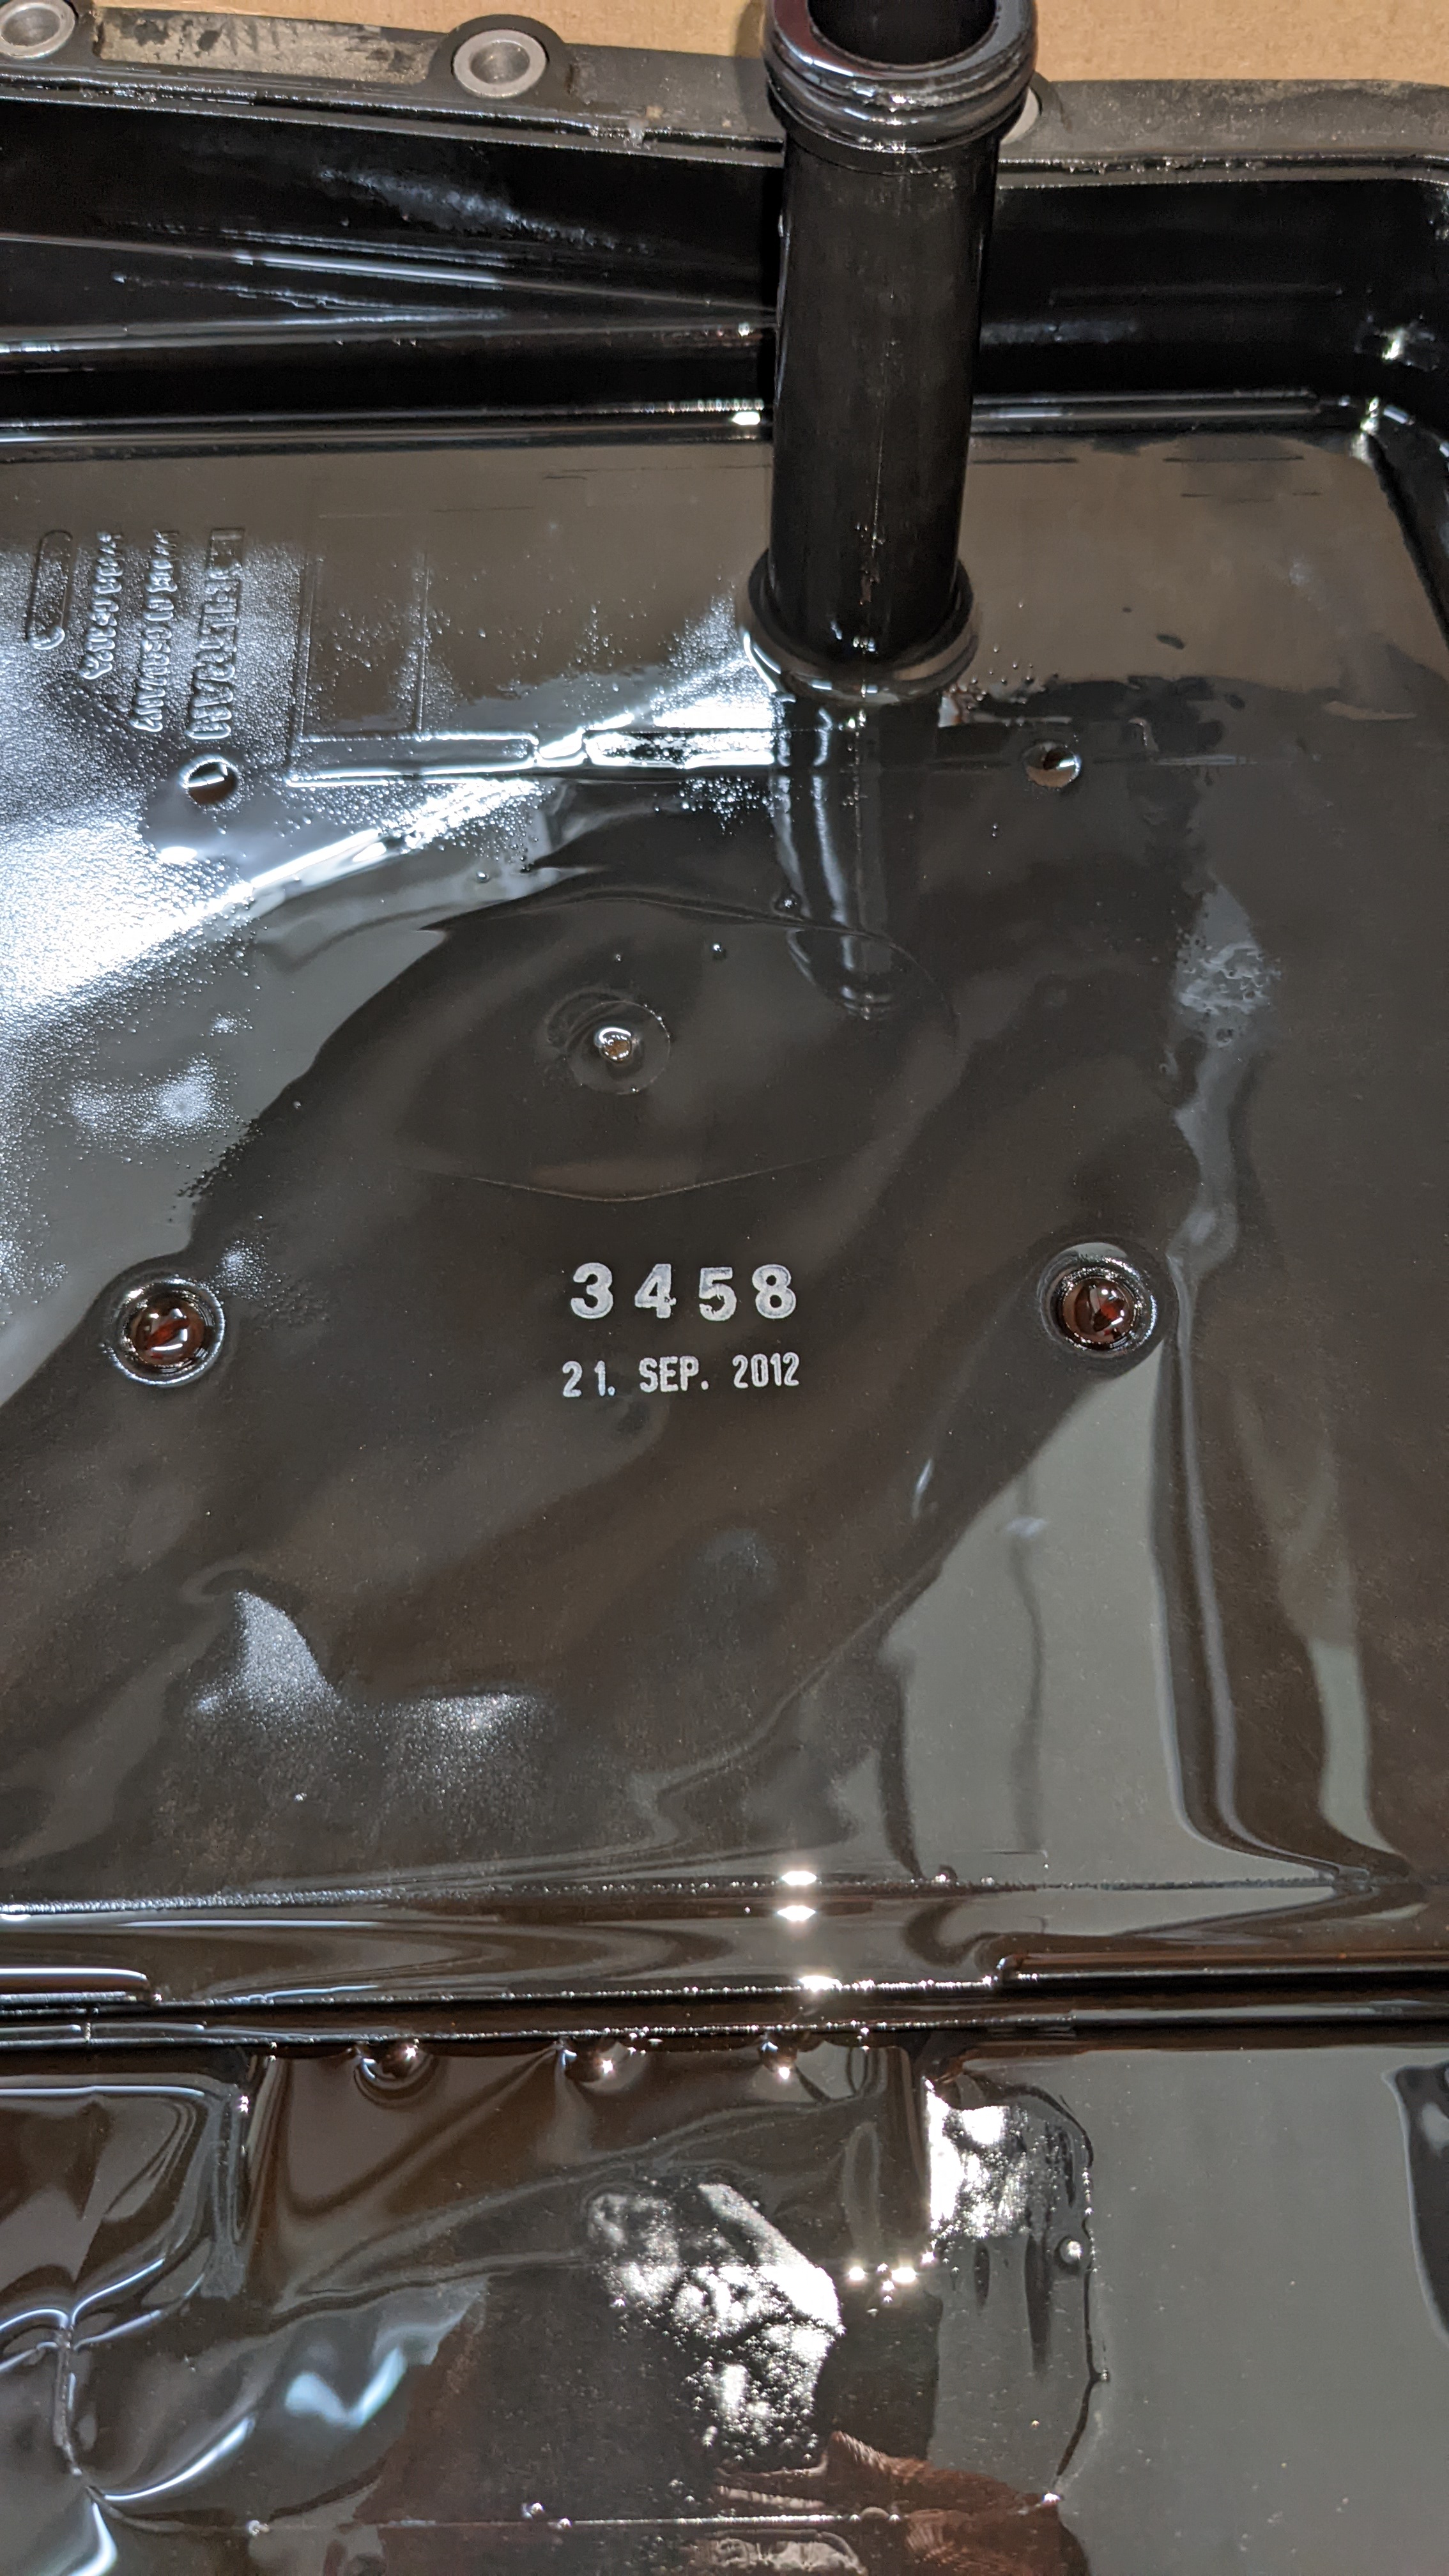
Date stamp confirmed it.
New ZF pan installed with the upgraded T40 screws with more Mercon SP goodness.
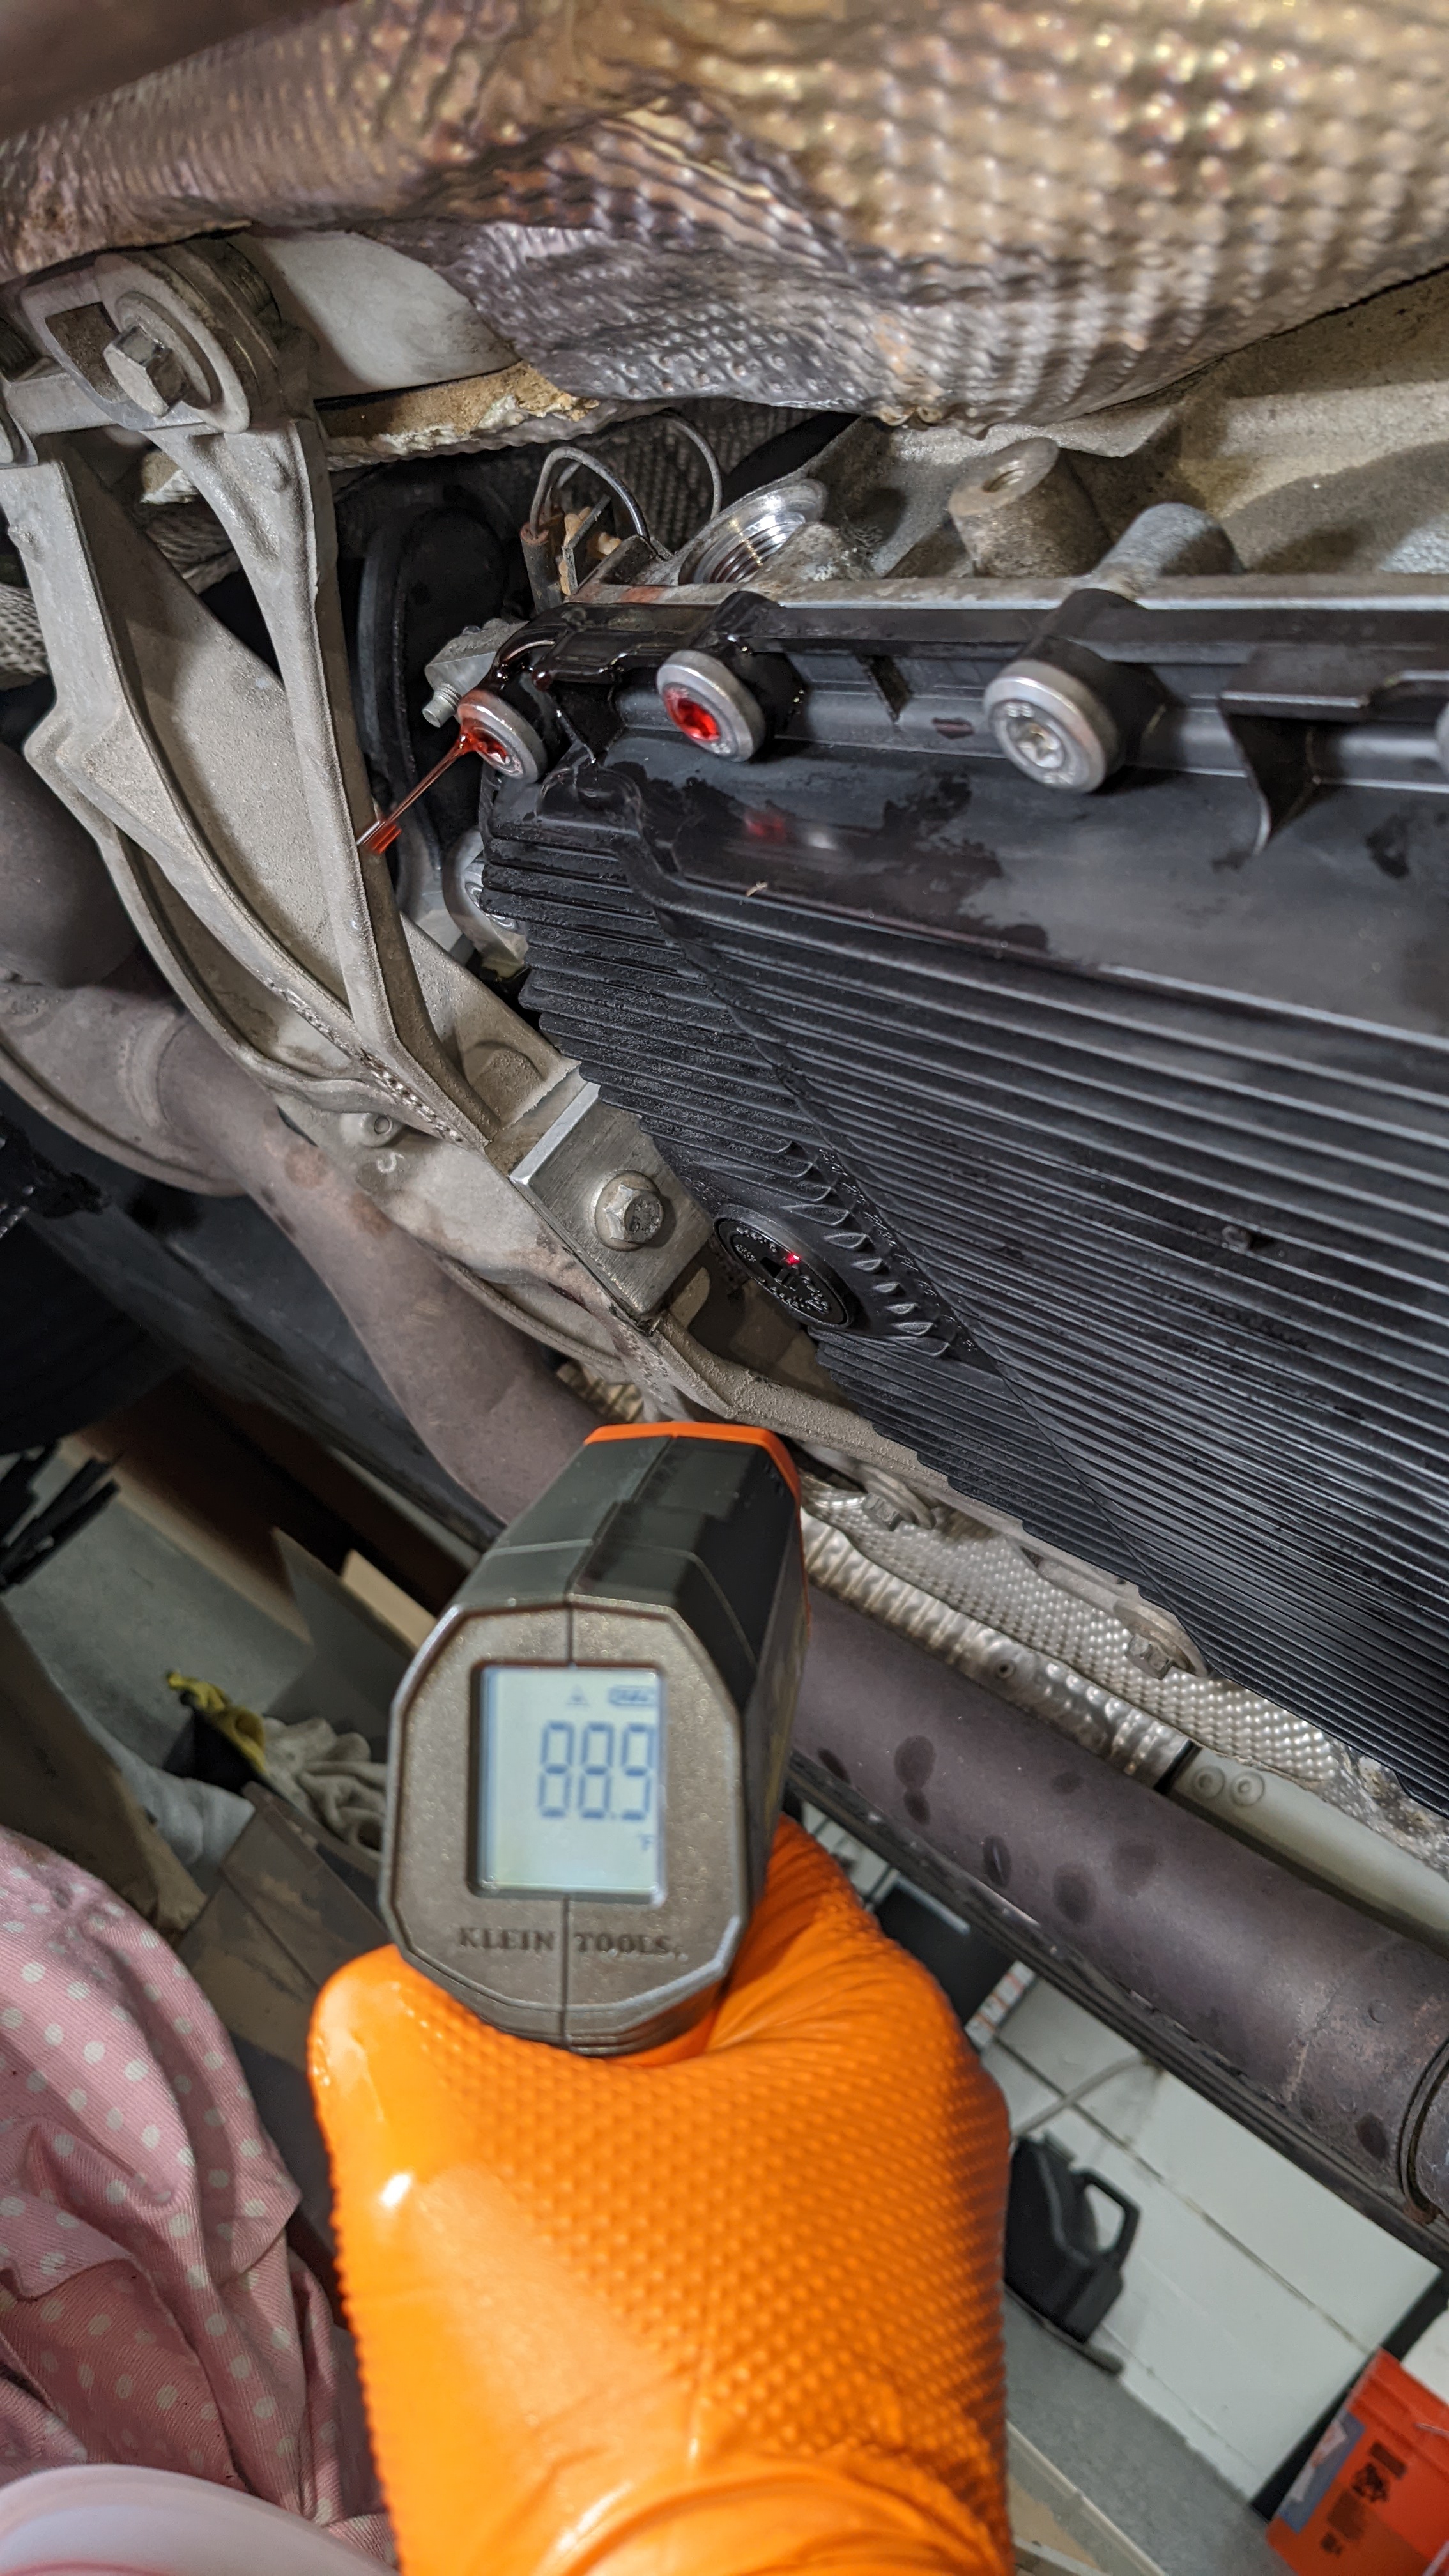
Then followed the procedure of going through the gears again with the plug installed, removed it and noticed no fluid was coming out so added some more until it started to overflow. Then I played the waiting game until the pan got to 40� C (104� F) before installing the fill plug. This ensures the right amount of fluid.

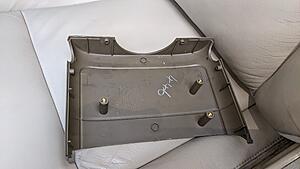
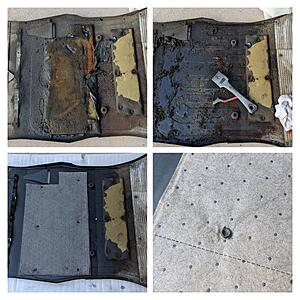
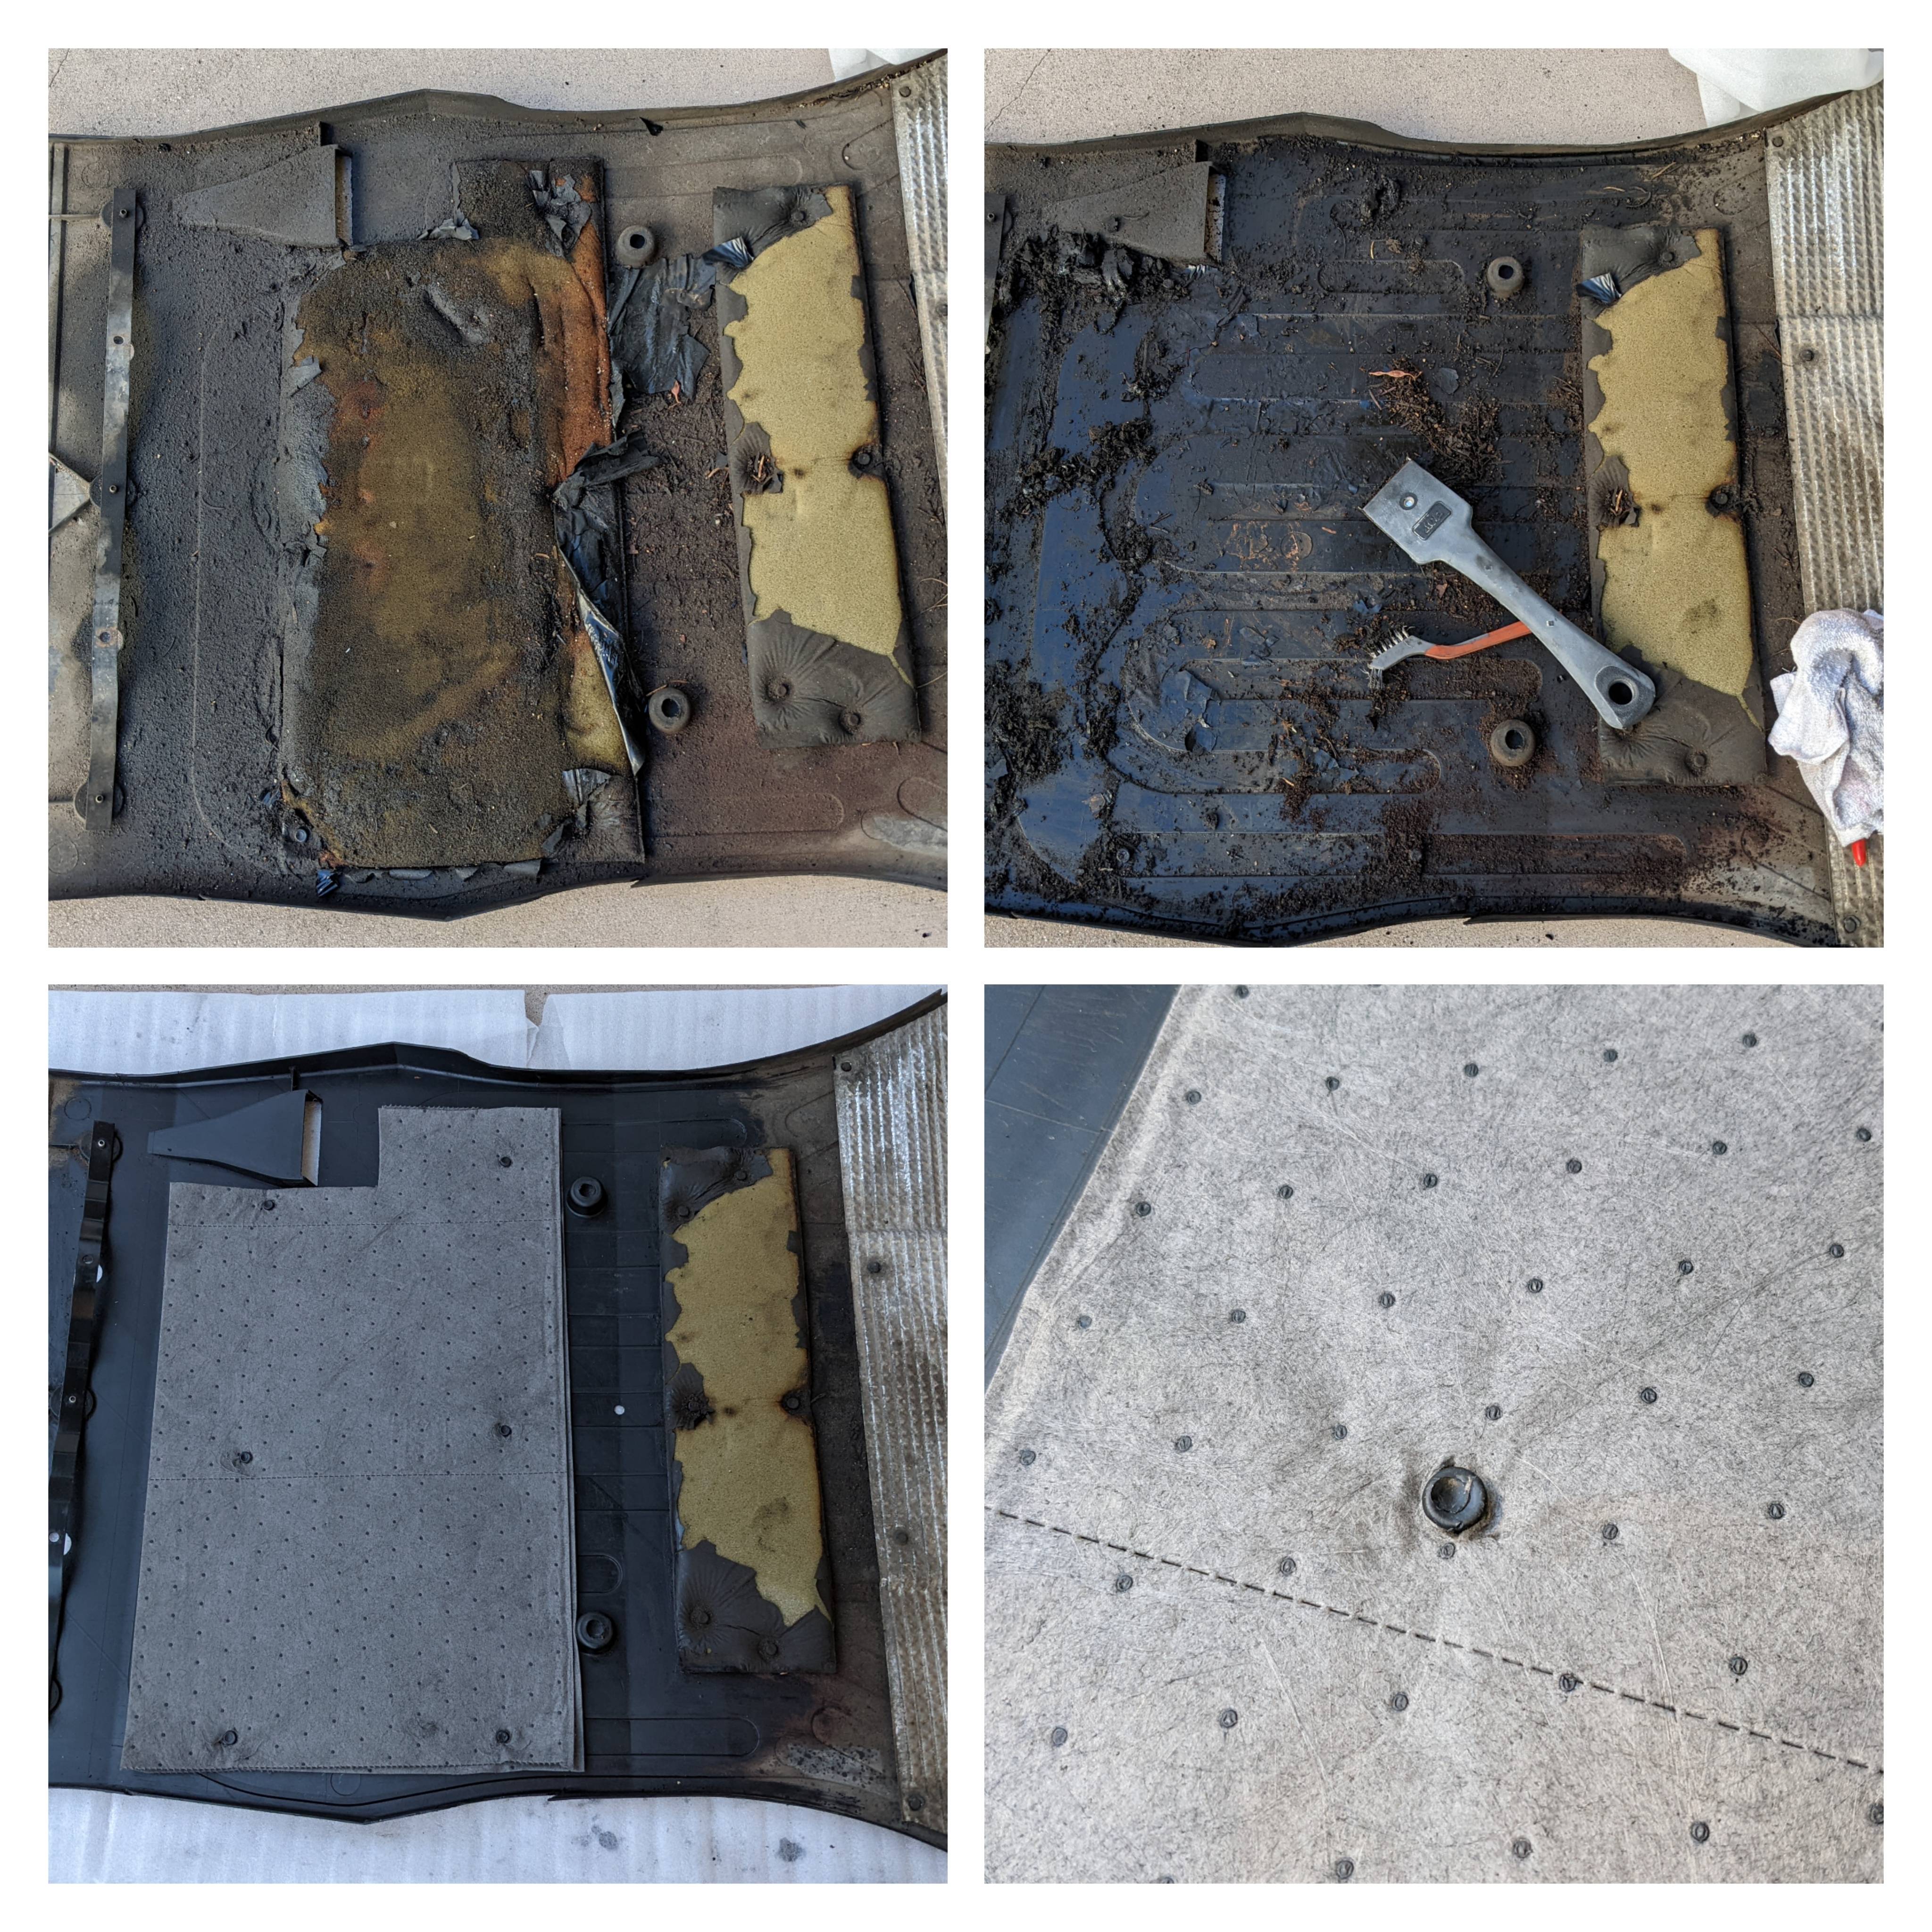
Now it was time to install the lower panel but that large chunk of foam was absolutely saturated with oil. So I tossed it, spent time cleaning it up, and added 3 layers of PIG mat instead. Having those plastic pins helped hold them in place. Hopefully the next owner will appreciate this.
While the car is not necessarily "finished," it's at the stage I wanted it to be from a reliability standpoint. It also idles quieter given the new pulleys and belts. I also want to say it rides more freely given the new transmission and diff fluid.
Need to plan a weekend getaway so it can stretch its legs.
Extracted the old desiccant bag and replaced it.

Nothing like an old-school vacuum pump without a belt guard to add excitement to the process. Added 30 cc of PAG46 (ND8) to the system as well to compensate for the oil that was in the old desiccant.
I also realized I need to add coolant to the supercharger circuit since I had the pump off. The fill port needs a 19mm hex bit which I didn't have, so I got an M12 bolt with 2 nuts jammed together instead. Worked like a charm.

Turned it on and it was so satisfying hearing the engine come to life. Before taking it off the jack stands, wanted to replace the transmission fluid along with the pan/filter.
Instead of a complete flush, I first drained the fluid and got about 4.25 liters.

Loosening the fill port required some extra leverage.
Then pumped Mercon SP back in, turned on the car and went through the gears so the old fluid in the torque converter would mix with the new fluid. Then drained again and started to remove the pan. Soaked the T27 bolts but as expected some were stripped. Had to use the ol' double-vise grip trick to loosen them.
Looked pretty clean in there, making me think the pan had been replaced at one point.
Date stamp confirmed it.
New ZF pan installed with the upgraded T40 screws with more Mercon SP goodness.
Then followed the procedure of going through the gears again with the plug installed, removed it and noticed no fluid was coming out so added some more until it started to overflow. Then I played the waiting game until the pan got to 40� C (104� F) before installing the fill plug. This ensures the right amount of fluid.
Now it was time to install the lower panel but that large chunk of foam was absolutely saturated with oil. So I tossed it, spent time cleaning it up, and added 3 layers of PIG mat instead. Having those plastic pins helped hold them in place. Hopefully the next owner will appreciate this.
While the car is not necessarily "finished," it's at the stage I wanted it to be from a reliability standpoint. It also idles quieter given the new pulleys and belts. I also want to say it rides more freely given the new transmission and diff fluid.
Need to plan a weekend getaway so it can stretch its legs.

