Hey gang, just thought I would share the final product of my LED puddle lamps project. I’m very happy with the results for the small investment. I’m happy to answer any questions about the project via here or direct message. Captions accompany each picture. Enjoy!
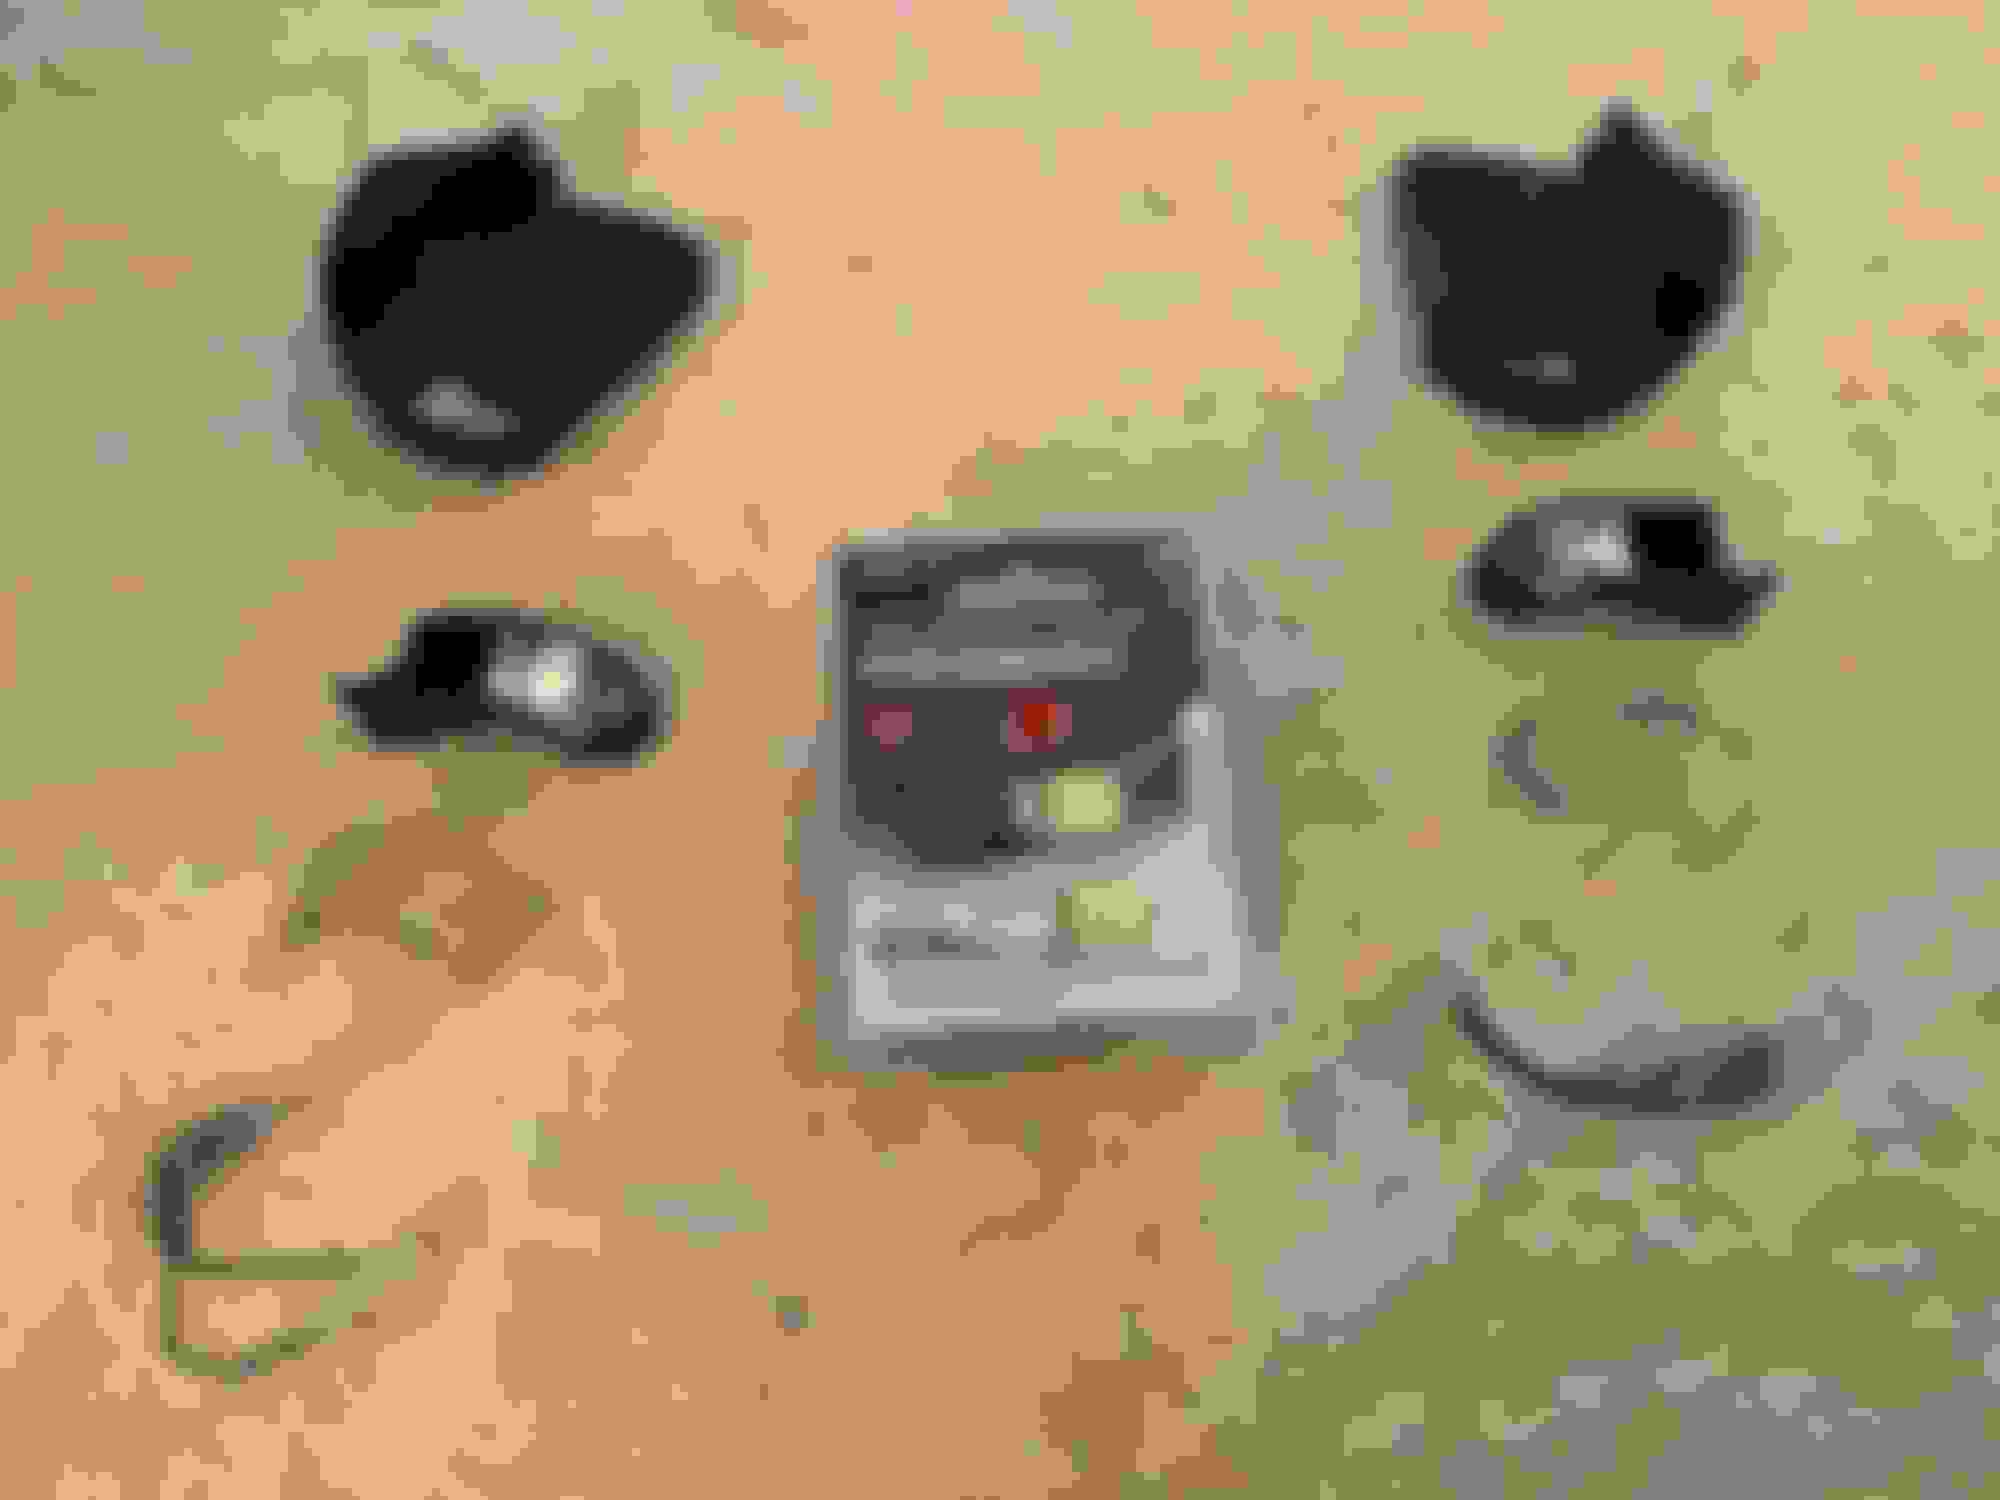
The lamp assembly is removed by manually folding the mirror forward as far as it will go (almost parallel with the body), and pulling this assembly towards the rear of the vehicle. Some light prying with flat blade screwdriver will be needed. Lower the black and white electrical connector down from the mirror housing and disconnect. Repeat on other side. After removing bulb housing from the “tray,” this is what you will have. The housing is held inside the tray by a friction tab. The LEDs I chose are made by Pilot, size 194. These are incredibly thin, and fit inside this very confined space perfectly. Removing the clear lenses from the housings is by far the biggest challenge. Using a small flat screwdriver, gently, but firmly pry the lens from the housing. It is almost guaranteed it will not come off in one clean piece. These are not designed to ever be taken apart. Expect some cracking, and small bits of the plastic housing to remain attached to the clear lens. The original glass bulb, not pictured, does not plug into a normal style socket. Instead these small clips attach to the contacts on the bulb. I believe this is done to save space. At this point, it is a good idea to bend the tabs slightly closer together to provide more friction against the new thinner LED. Note the tighter gap on the terminal on the right. It is very important to note that the new LEDs are polarity sensitive. This means that it will only light if the wires are installed on the correct side. Since both wires are black, I determined the negative side of the white connector is the flat side, versus the pointed opposite side which is the positive. Connections are made, and the LED is placed back into the housing.
I ran a bead of black silicone gasket maker around the perimeter of the housing. Second off to ensure a good seal, but not too generous as to get messy. I reset the lenses, and clamped them to dry for 24 hours. Now is a good time to note that the factory set up is not waterproof. There are gaps at the wire to bulb connections that are open to the atmosphere, so there is no need to worry about getting the housings sealed air tight.
While I had the housings apart, I used an old toothbrush and soapy water to clean the lens. What a difference it made!
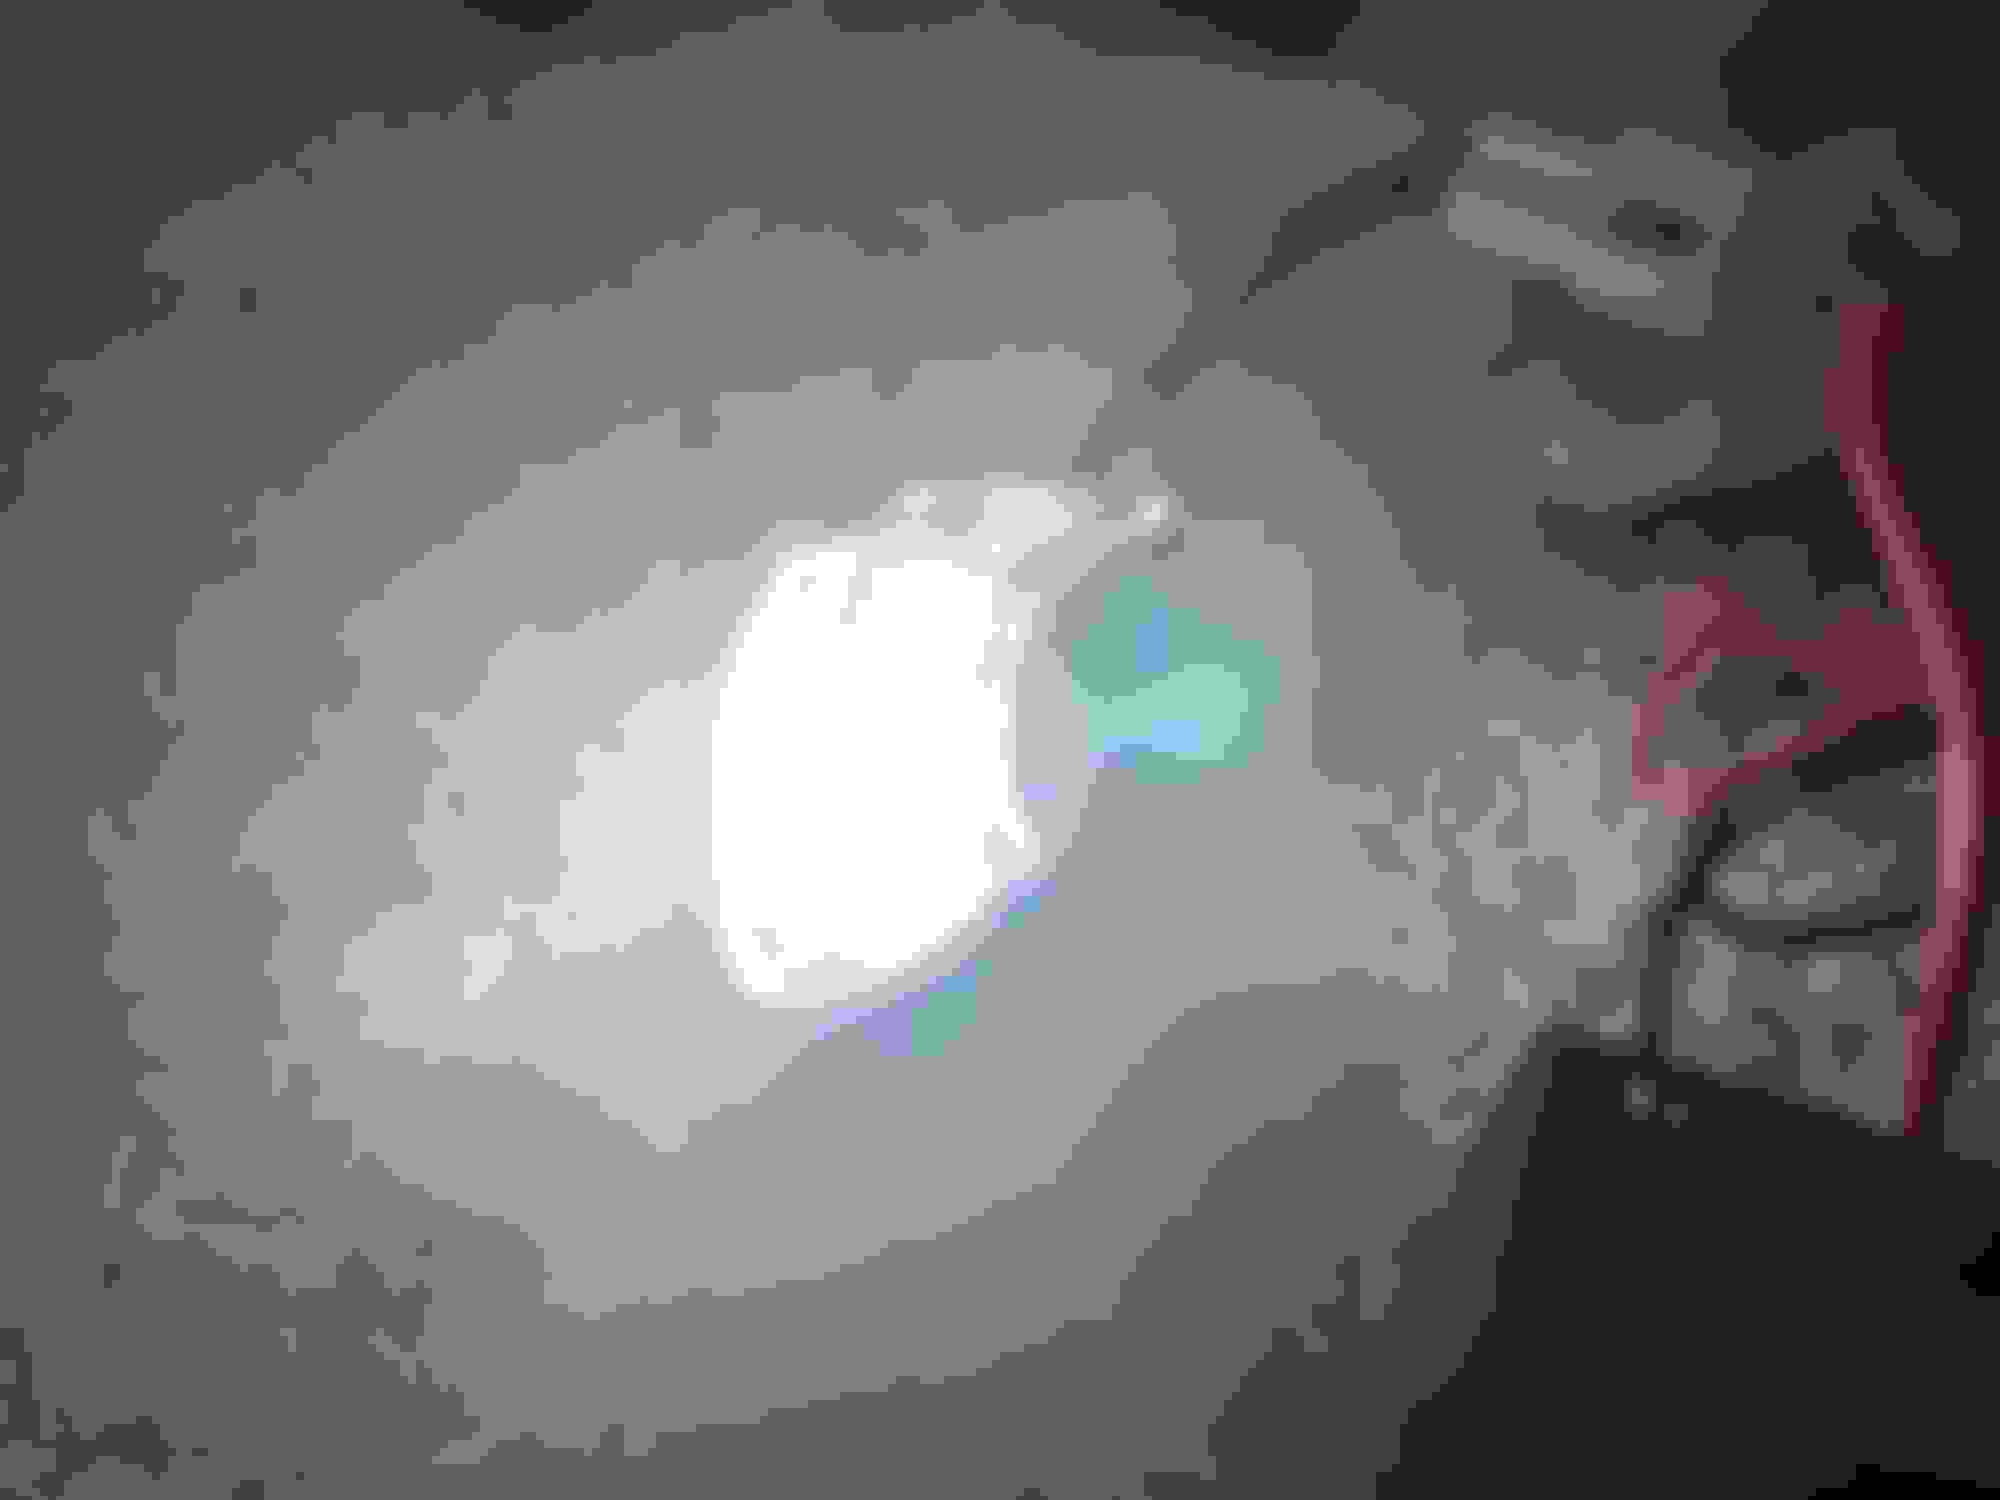
A quick test. Reinstall the lamp housings to the trays, and reinstall on vehicle. Another important note is that after the black and white wire connectors are joined, they must be fed vertically back up into the side mirror housing, where the wires are coming out. There is no way the trays will seat onto the mirror properly if the connector is not fed upwards into the mirror.
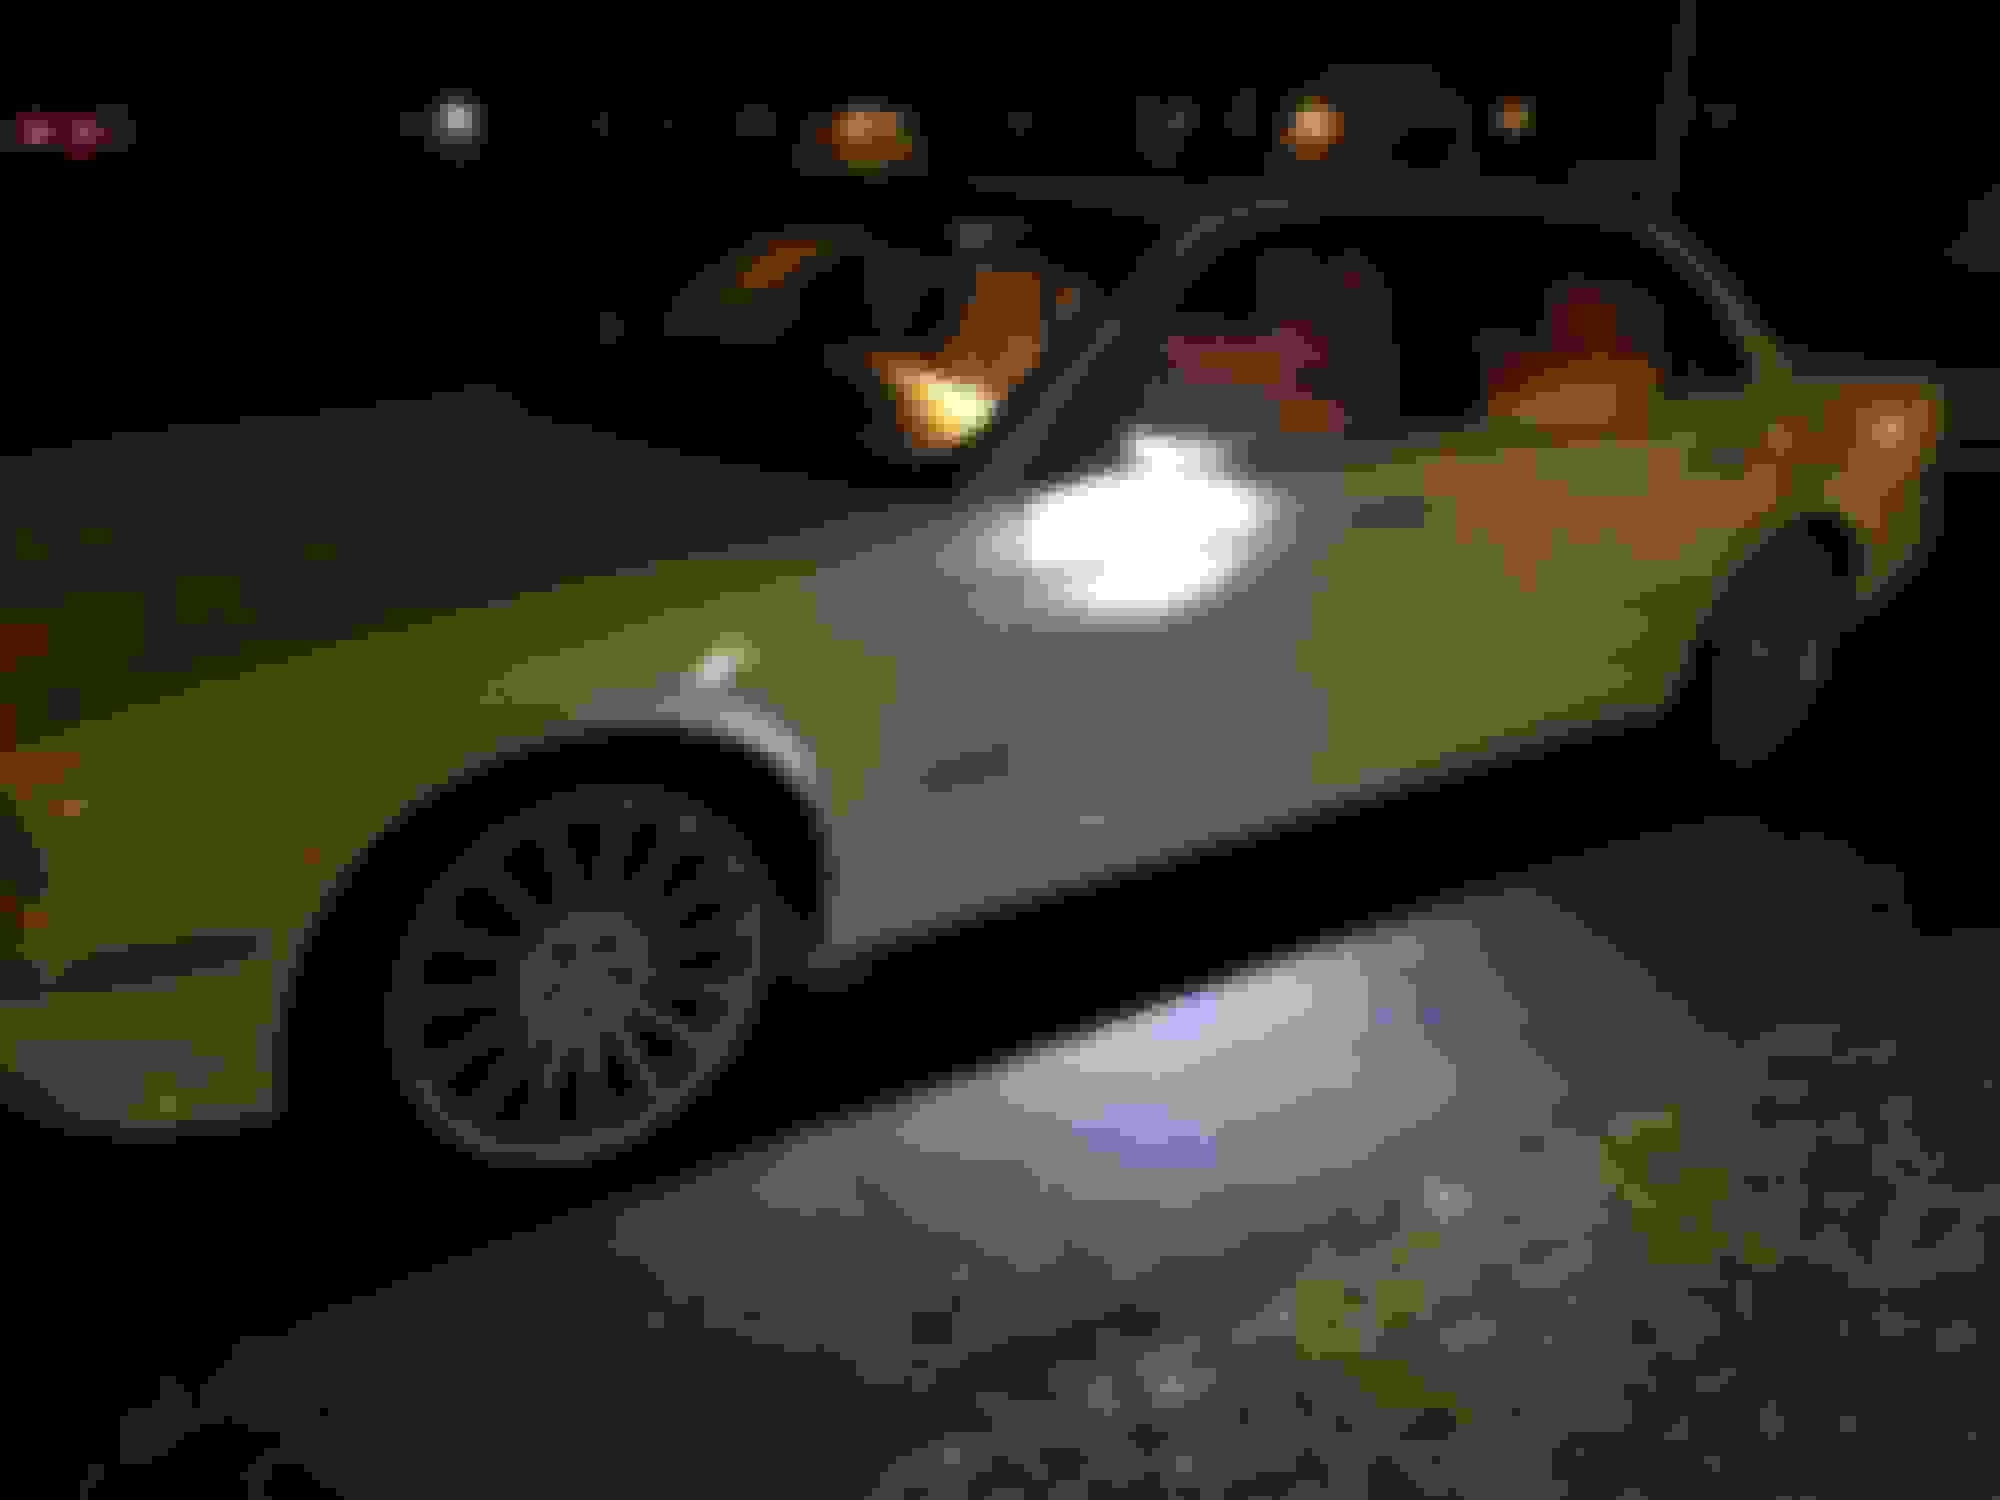
Just before dusk
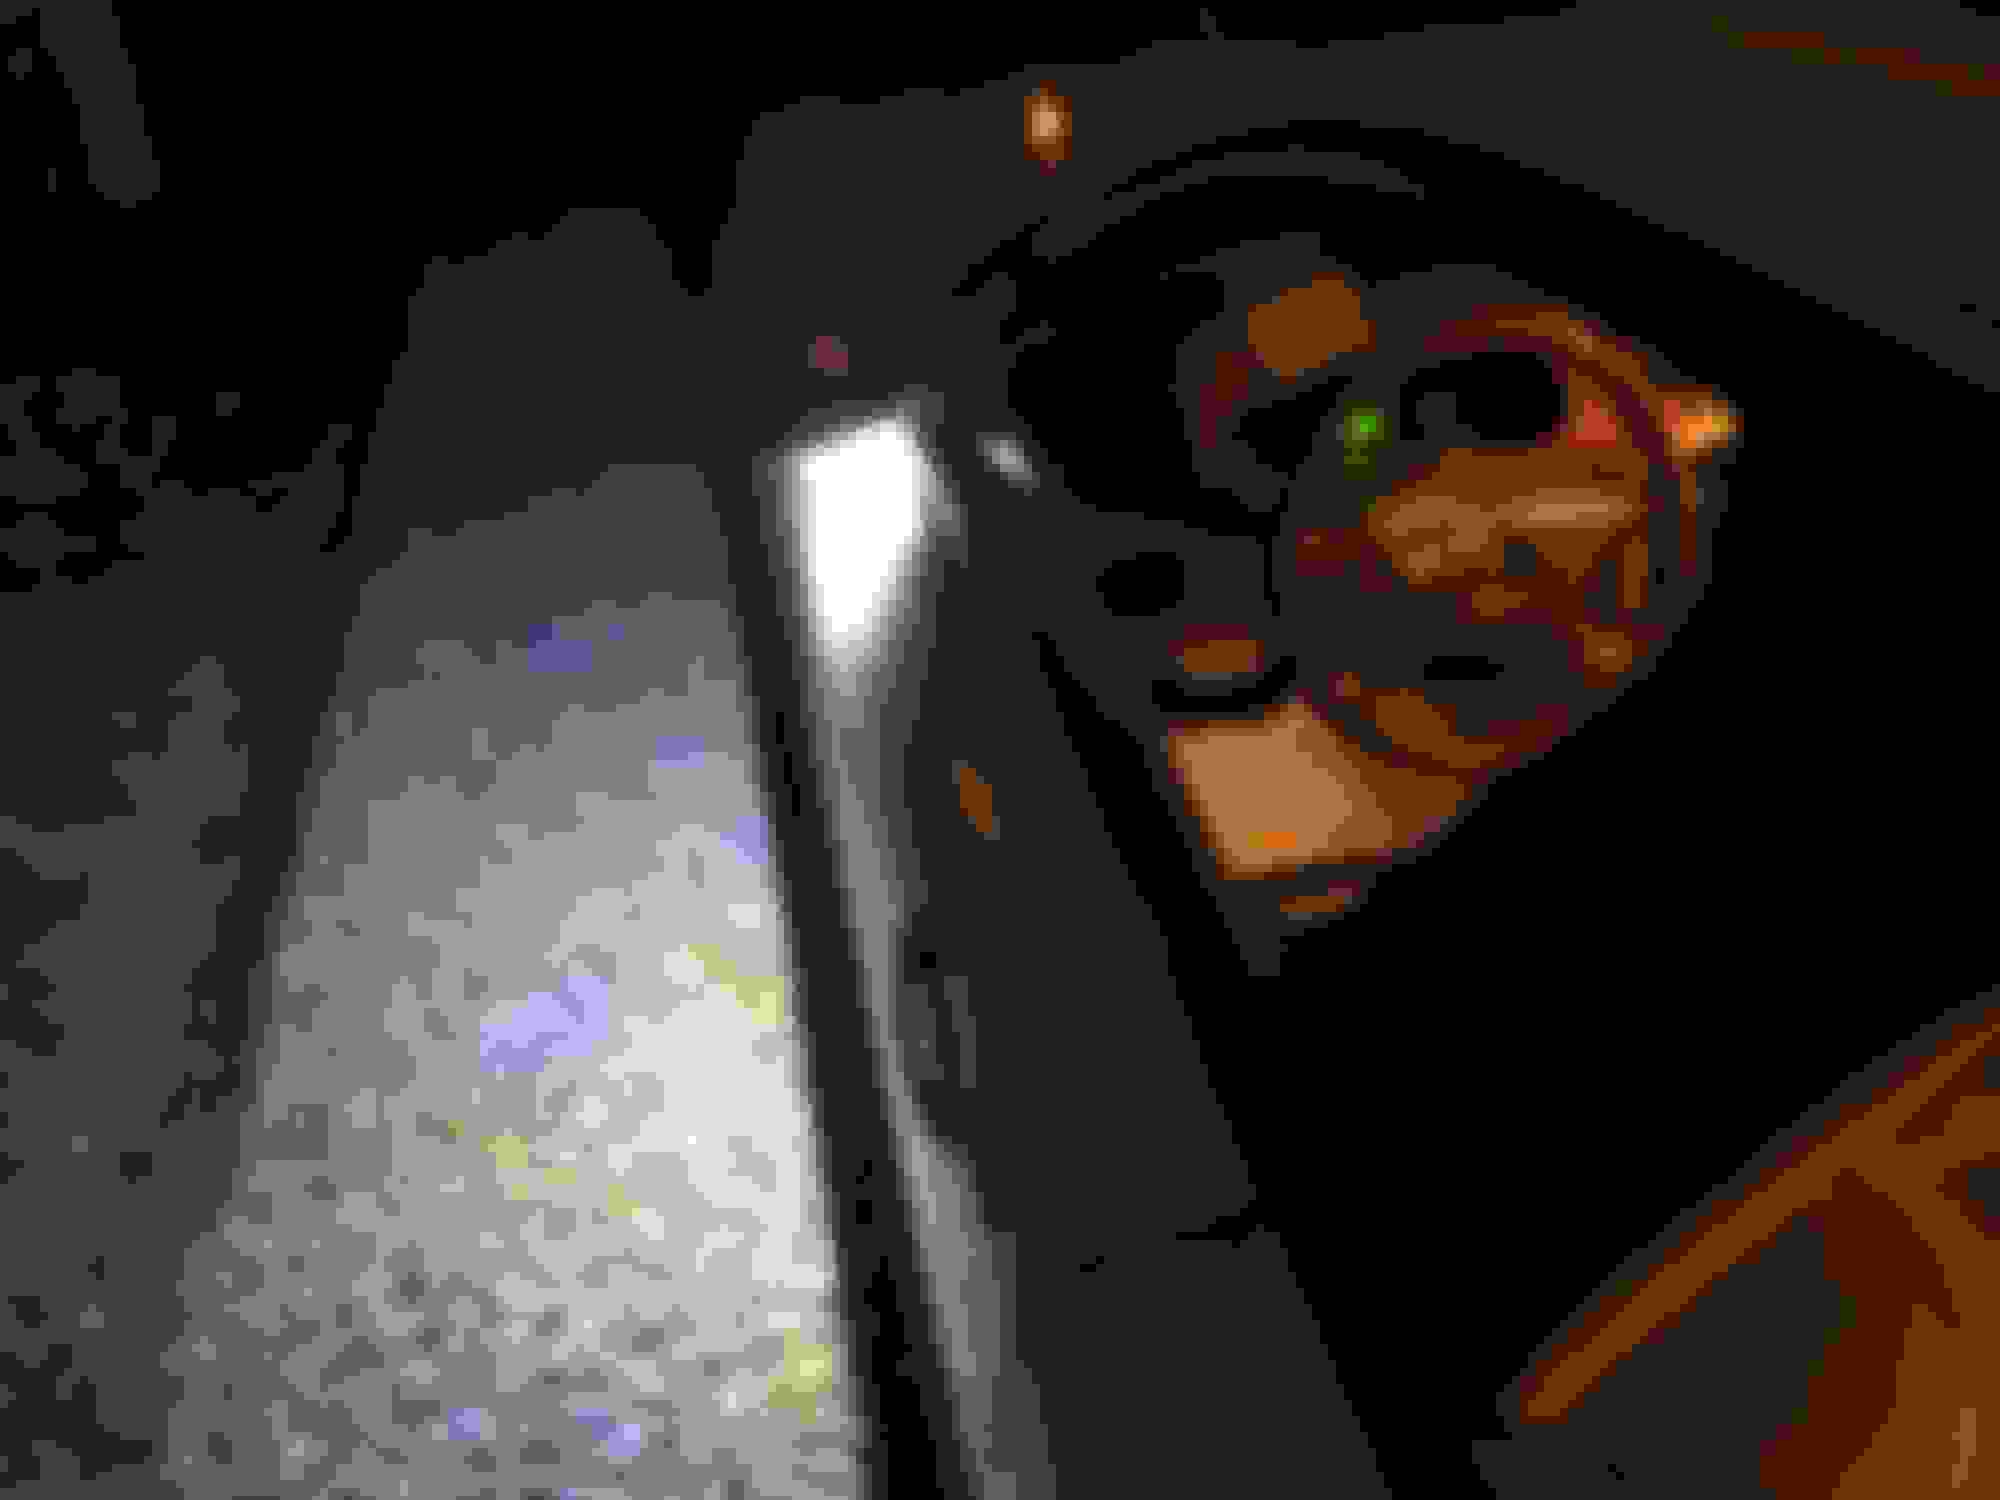
Evening
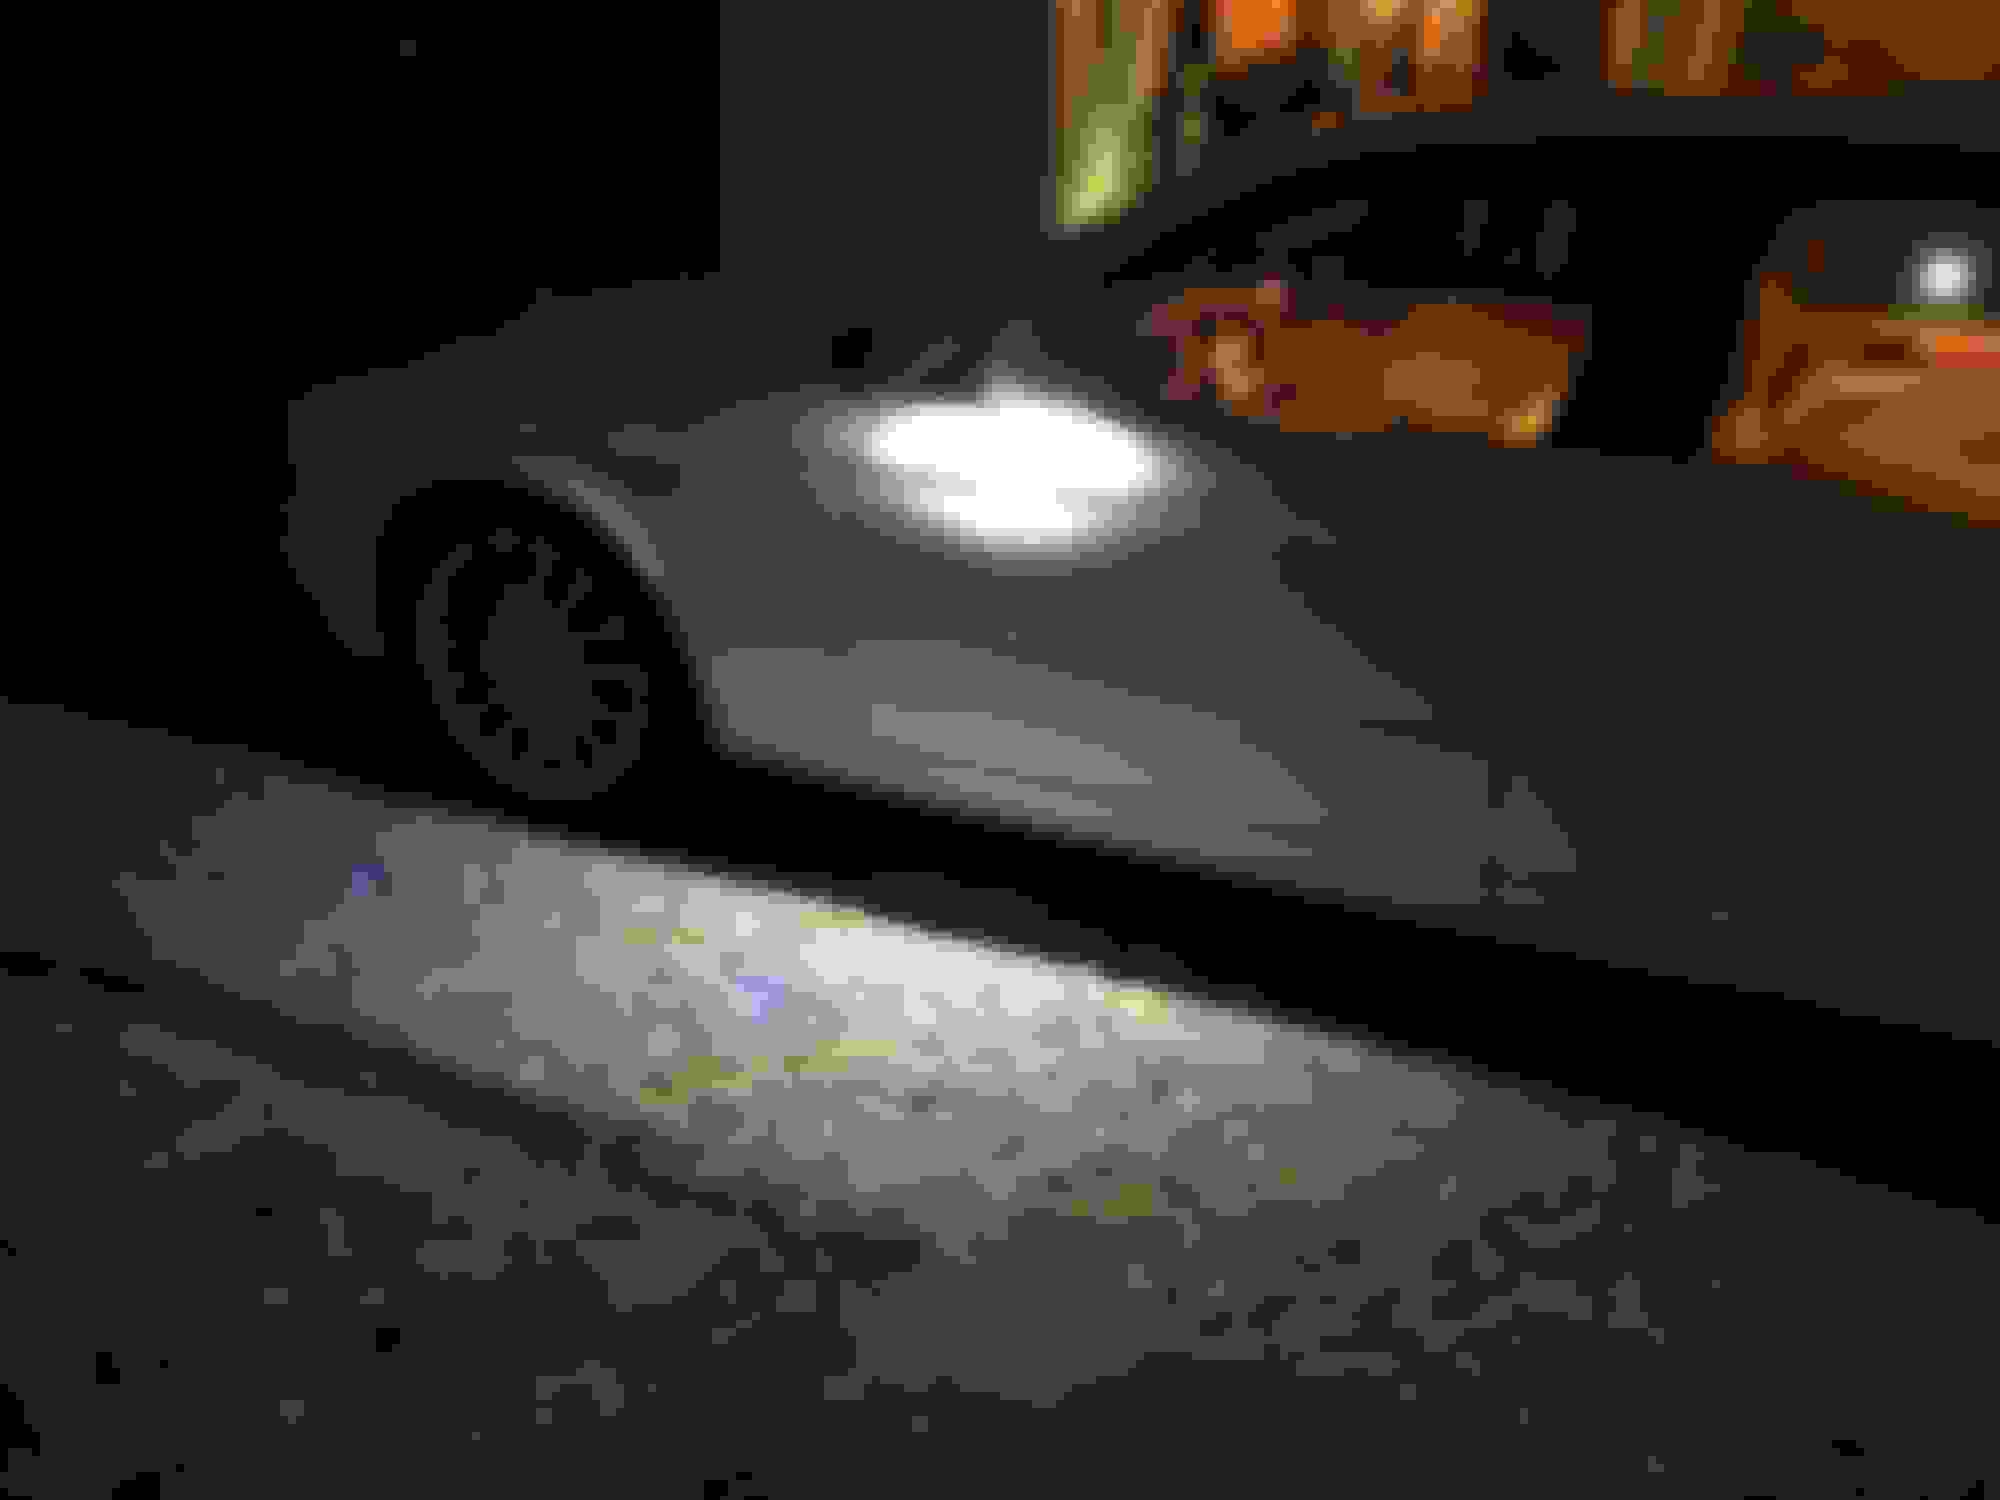
Love that sharp edge of light along the ground.
Thanks for a great write up 310. Coincidentally I had the mirror covers and puddle lamps off this morning to clean up and lubricate the power fold mechanisms. When I put it all back everything worked except the Driver's side lamp. After a bit of fiddling and contact cleaning it came on again. If / when it plays up again I'll do the LED conversion.
It took a while to dawn on me that they only work in the dark but a towel over the light sensor fools it into thinking that it's night time.
Best wishes for 2020.
I just bought my first X350. Year before last I had a X358, 90% the same car but some minor variations.
I was looking for info on how to access the puddle/courtesy lamps and here we are!! I'm so glad someone has figured out how to do this and has paved the way for the rest of us!
I'm a big fan of converting to LED for multiple reasons but I'm very particular about having LEDs that are pleasant warm soft temperature, so that is the route I will be going for these.
The side mirrors on the X358 are much easier to open/access than these earlier X350 units, but now that I have seen how to do it it will be my next undertaking!
Many thanks and have a beer on me!