
trosty
Senior Member
close
Dec 24, 2024
- Join DateSep 2013
- LocationDallas, Texas
- Posts:703
-
Likes:108
-
Liked:228 Times in 127 Posts
I have replaced the air filter and thought I would document what I found to aid other people.
I ordered a WIX 42261 Air filter that arrived today and set to swapping them straight away. The sequence of events is as follows:
1. Raising the bonnet (Hood) I located the Air filter box to the front right of the vehicle. It is held in place with two plastic toggles and is very easy to unhook. I raised the cover without the need to remove the connecting pipe. Your veh may differ slightly.
2. I removed the old air filter. This was disgustingly filthy, too small in depth, length and width and carried out no service to air filtering to the engine whatsoever.
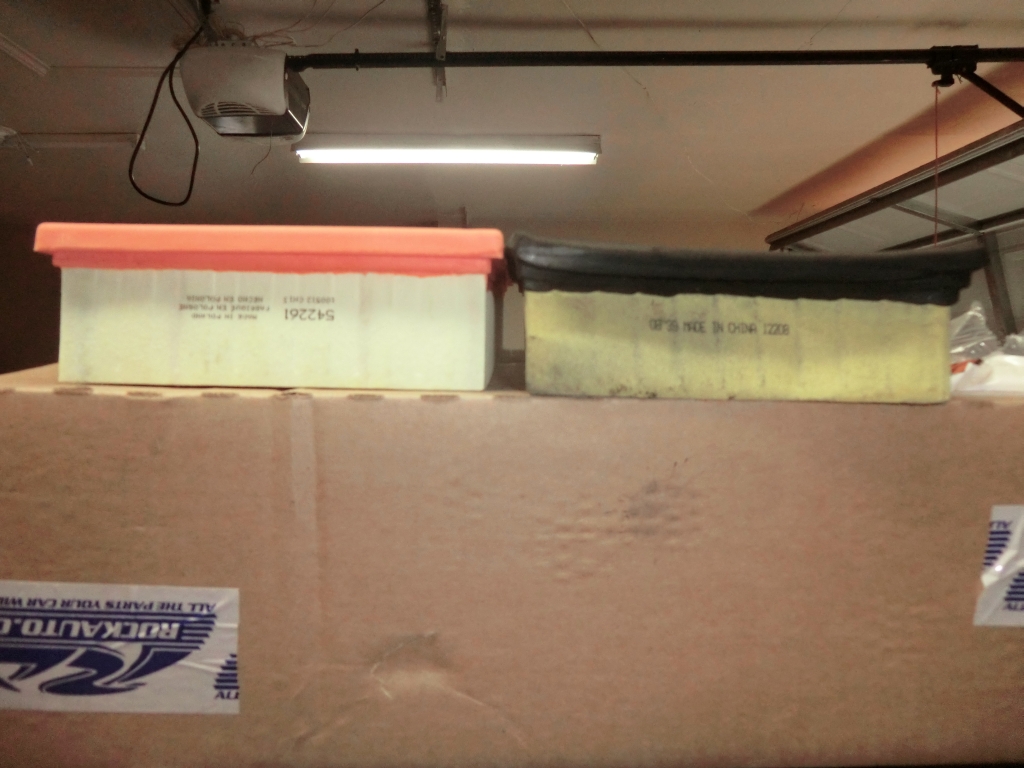
3. I compared the old and the new air filters.
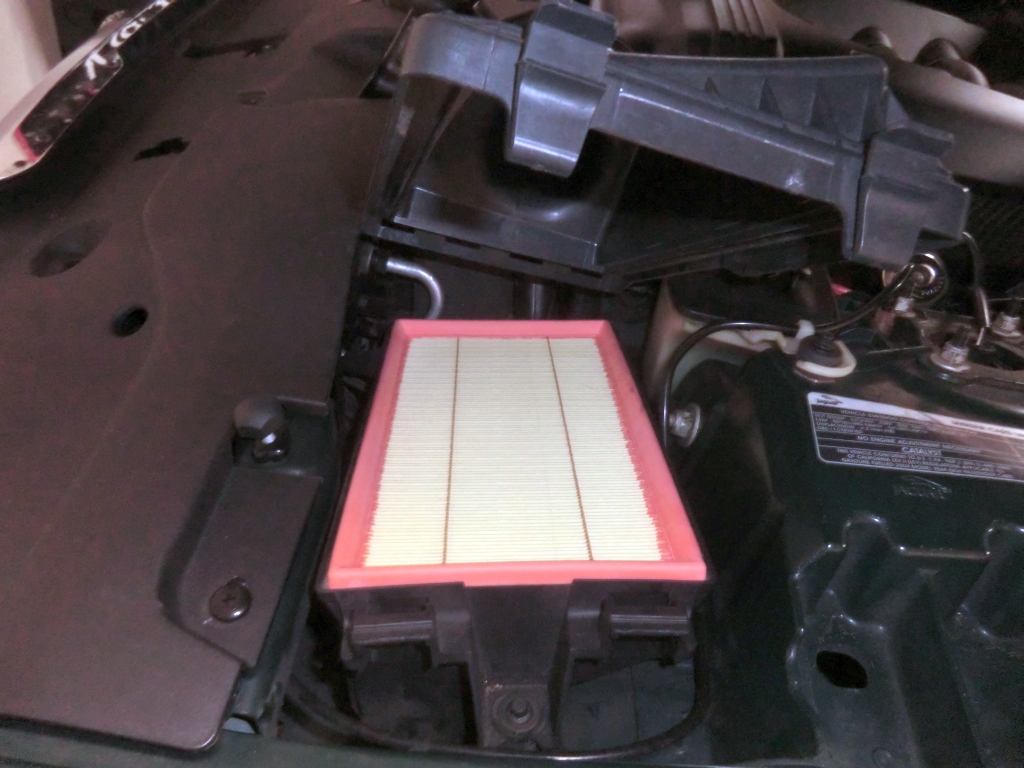
4. I cleaned the air box and inserted the new air filter. It fits perfectly in length, depth and width.
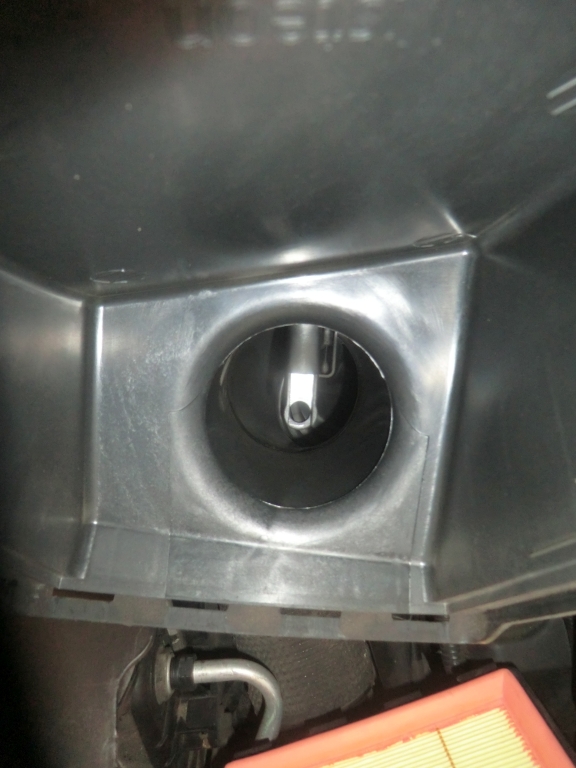
5. I checked and cleaned the air flow sensor.
6. I put it all back together making sure the air filter was correctly seated. When attaching the cover, make sure the left locating lugs are correctly seated and then push the cover down to lock home the two right lugs. Job Done.
I ordered a WIX 42261 Air filter that arrived today and set to swapping them straight away. The sequence of events is as follows:
1. Raising the bonnet (Hood) I located the Air filter box to the front right of the vehicle. It is held in place with two plastic toggles and is very easy to unhook. I raised the cover without the need to remove the connecting pipe. Your veh may differ slightly.
2. I removed the old air filter. This was disgustingly filthy, too small in depth, length and width and carried out no service to air filtering to the engine whatsoever.
3. I compared the old and the new air filters.
4. I cleaned the air box and inserted the new air filter. It fits perfectly in length, depth and width.
5. I checked and cleaned the air flow sensor.
6. I put it all back together making sure the air filter was correctly seated. When attaching the cover, make sure the left locating lugs are correctly seated and then push the cover down to lock home the two right lugs. Job Done.


Norri

close


Today
- Join DateOct 2007
- LocationPHX some of the time
- Posts:121,131
-
Likes:3,304
-
Liked:6,653 Times in 5,789 Posts
trosty, good work but no pics!
mhamilton
Veteran Member
close


Today
- Join DateFeb 2011
- LocationRaleigh, North Carolina
- Posts:1,224
-
Likes:124
-
Liked:509 Times in 324 Posts
The only thing I would add, if you remove the 10mm screw from the end of the air box it lifts right out (watch for sensor connection wires). Makes it a lot easier to get the tabs engaged when installing the lid.


trosty
Senior Member
close
Dec 24, 2024
- Join DateSep 2013
- LocationDallas, Texas
- Posts:703
-
Likes:108
-
Liked:228 Times in 127 Posts
No the previous owner had fitted it with a cheap Chinese imitation that was completely off spec. It really did look like it had not been changed for a long time.

Member
Great write-up! I just removed my K & N filter, cleaned and replaced it. I'm glad I did because the entire air box was filled with dog food! The former owner must have owned a dog and had mice! I did the WOT flap removal mod while I was at it. The car runs great. I can really hear the SC whine now!