When you click on links to various merchants on this site and make a purchase, this can result in this site earning a commission. Affiliate programs and affiliations include, but are not limited to, the eBay Partner Network.
Great posting! I know you put a lot of effort into taking and posting all those photos. You achieved a great result with minimal expenditure of money, but plenty of elbow grease and thought. Bravo! Can't wait to see more.
Thanks Rivguy,appreciate that. For the most part I find the unloved and unwanted and try and get them back to a roadworthy condition. Any cosmetic work or enhancements/mods I leave to the next owner (a bit like decorating a house before selling,the next owner might come in and strip it all out) that way they can decide how far they want to go with it. Unfortunately unless a bodywork specialist wants this one then she will always be lacking. That being said mechanically and engine wise she is great so is deserving of something a little different.
There are a load of things out there you can buy to do,poly bushes,lowering springs,stainless exhausts, cold air induction kits,sports igntion etc etc. All of it is outside my budget (and doens't always give the desired outcome) so I thought I 'd see what could be done for as little outlay as possible. The wheel and tyres are the single-most expensive item but if I mange to sell the wheels I've taken off the I'll have broken even.
MOT the week after next, then tackle that bent rear bumper, then the rest of the chrome. Always plenty to do.
So rain stopped play at the start, so the spraying of chrome was shelved for today. Then the sun came out so I thought I'd have a play with the air intake set-up. There's plenty of choice out there and many differing opinions on what the benefits are as well as the pitfalls. For me I'm just looking for a decent engine sound and a nice intake of air. Any power gains will be negligible at best.
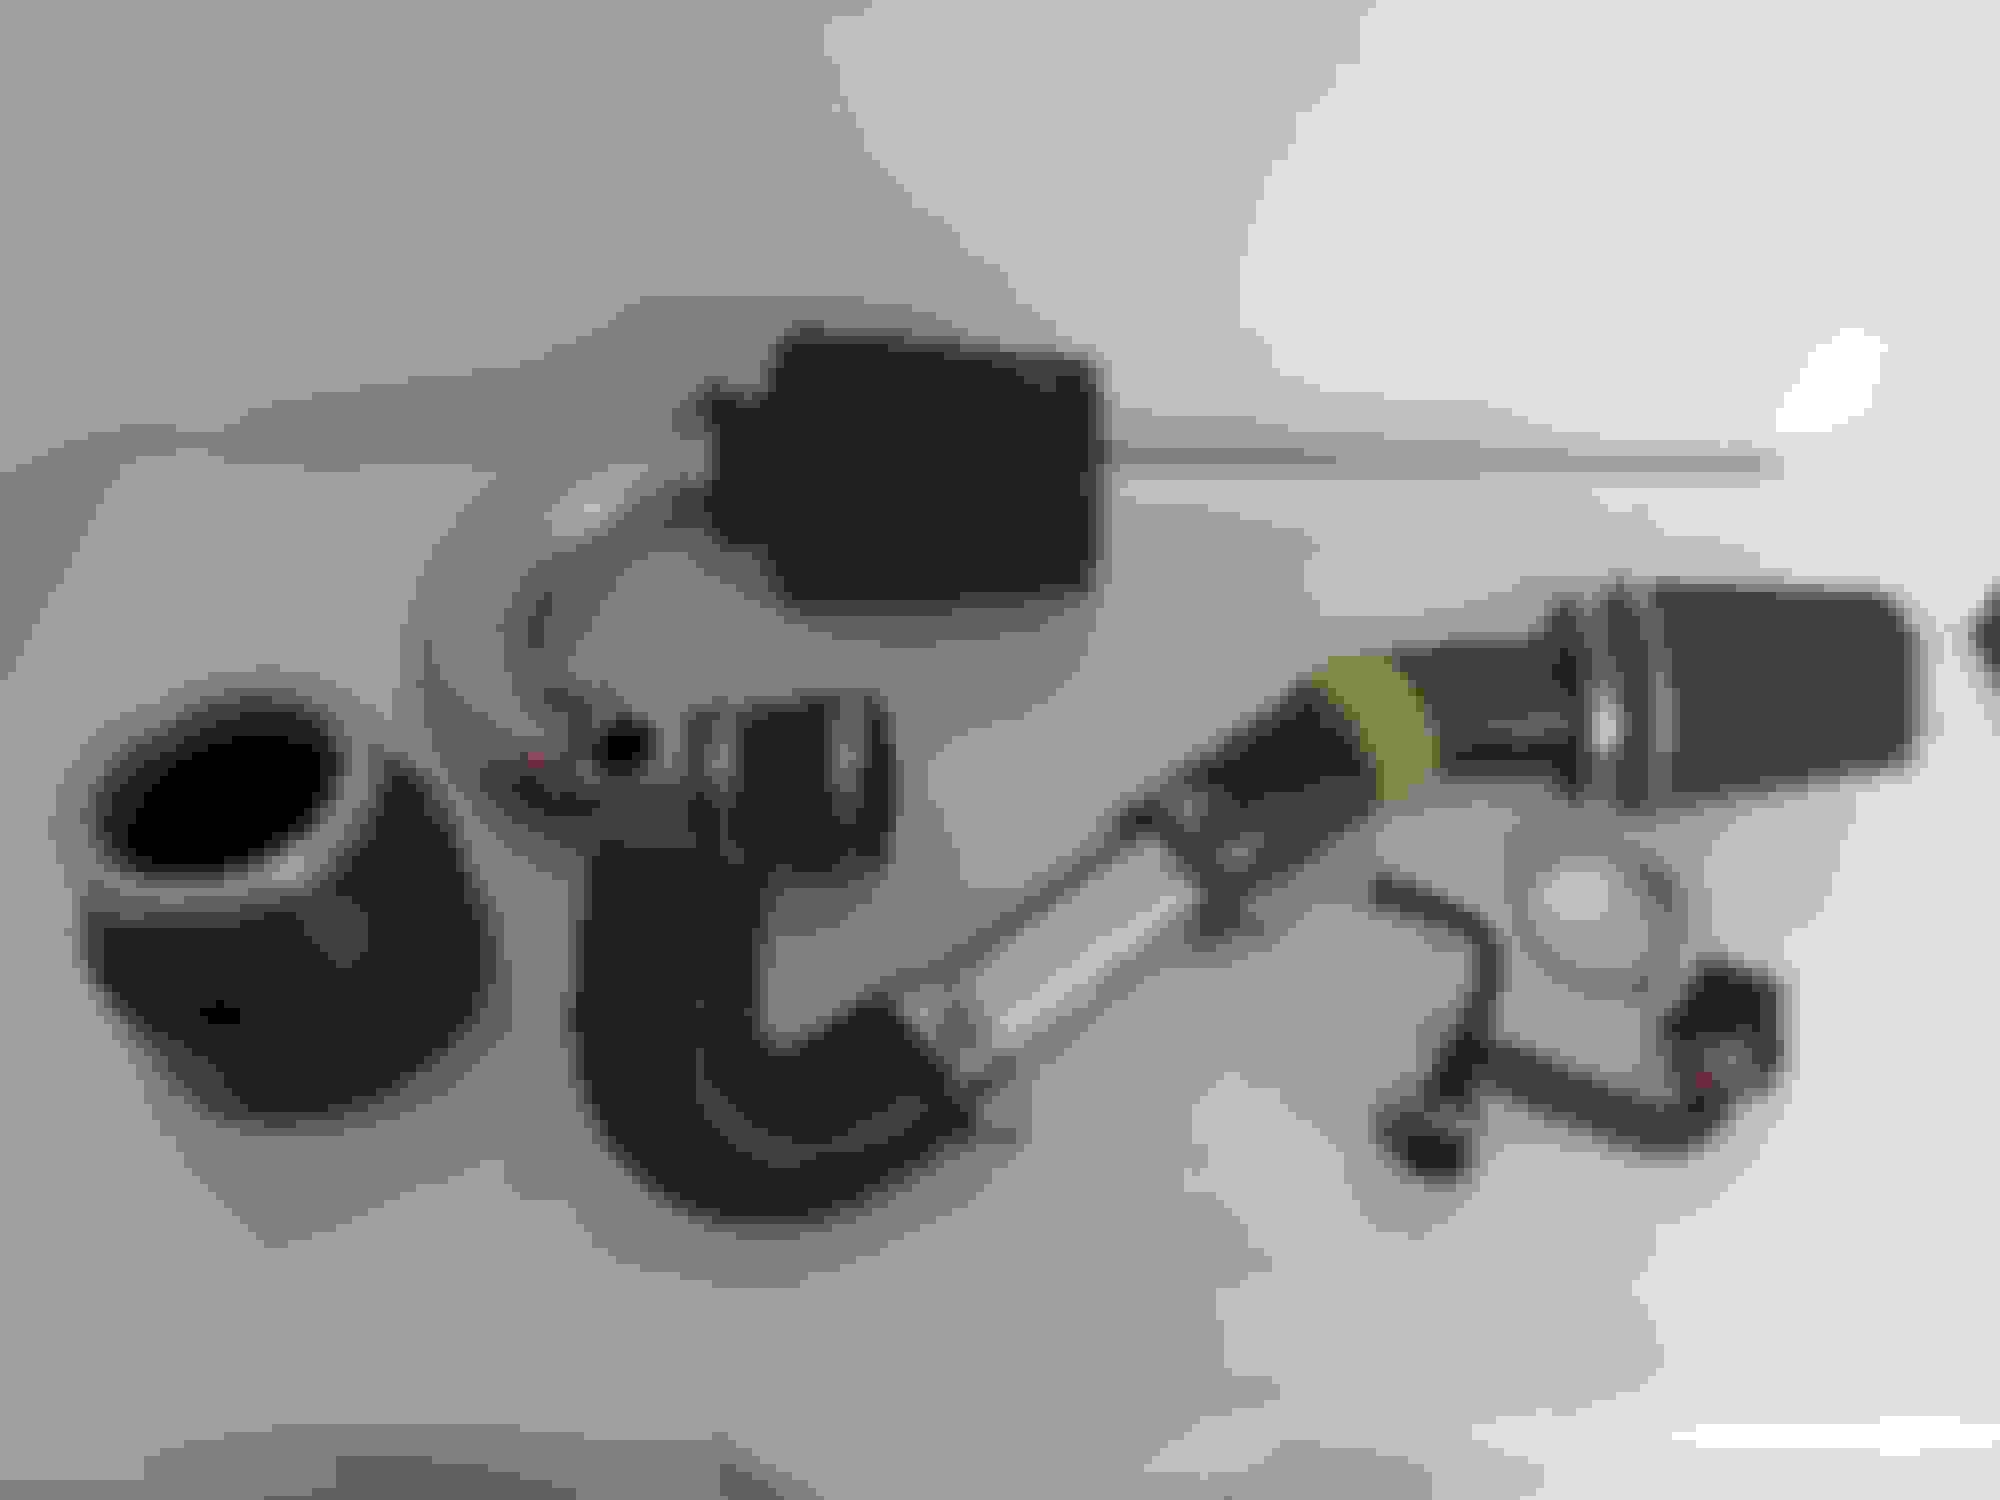
One thing I have found is that many of the more expensive or well known air induction kits are, to a certain extent, interchangeable. The filter itself is the same but the pipework that accompanies it is different. For about �70 I could get a K&N panel filter....boring. So I thought I'd get some used bits and pieces and see what I could put together.
From left to right. Pipercross, K&N, Ash.
Combined retail value of the above is just shy of �500. It took a couple of weeks but I managed to get all of it for the princeley sum of �71. Anything I don't use I can either keep for the future or sell on. The Pipercross one I have had in the past and normally comes with a long tube that you position in the best place for some cool air,had one on an old Celica and it sounded really nice once you got above about 3500 rpm. The next is a K & N (57i variety) and was for a 7th gen Celica and the last is an Ash induction set-up and I've no idea what it was from. So loads of bits but I fancied trying the K&N as I haven't used one before and it was the one with the largest surface area which I felt was important.
Here's what we started with.
Four clips hold the top part of the air box in place and it's easier to take this part off first before removing the base.
Top section and filter removed.
Two more clips and a nut hold the base in place.
The securing bolt decided to come off also,bit of super glue sorted that.
I had to take the plunge at this stage and chop up the air box as I needed to retain a section to attach the new set-up to.
Needed to cut as close to the main part of the base.
Nothing fancy,just used a wood saw and cleaned the edges up with some sandpaper.
Before starting to put things back in I had the opportunity to do some tidying. Previous owner had fitted HID lights and the control box for the passenger side was just hanging around insecurely. Nut and a bolt later and it had a new secure home.
Perfect fit.
Also thought I would make use of the ready made directional air tube that was left over.
Screwdriver and a bit of persuasion et voila. This part wasn't glued or bonded so came apart easily
I put the tub back where it originally came from but I'm not sure if its' of great benefit but it might help. Those that know say that engine heat can cause a loss of power through induction kits which I guess is why they box them off and use tubes to take air that comes form outside the engine bay.
In snall tight bays that might be an issue just not sure if it will make much difference here, not really sure I 'd notice any difference anyway.
99% done.
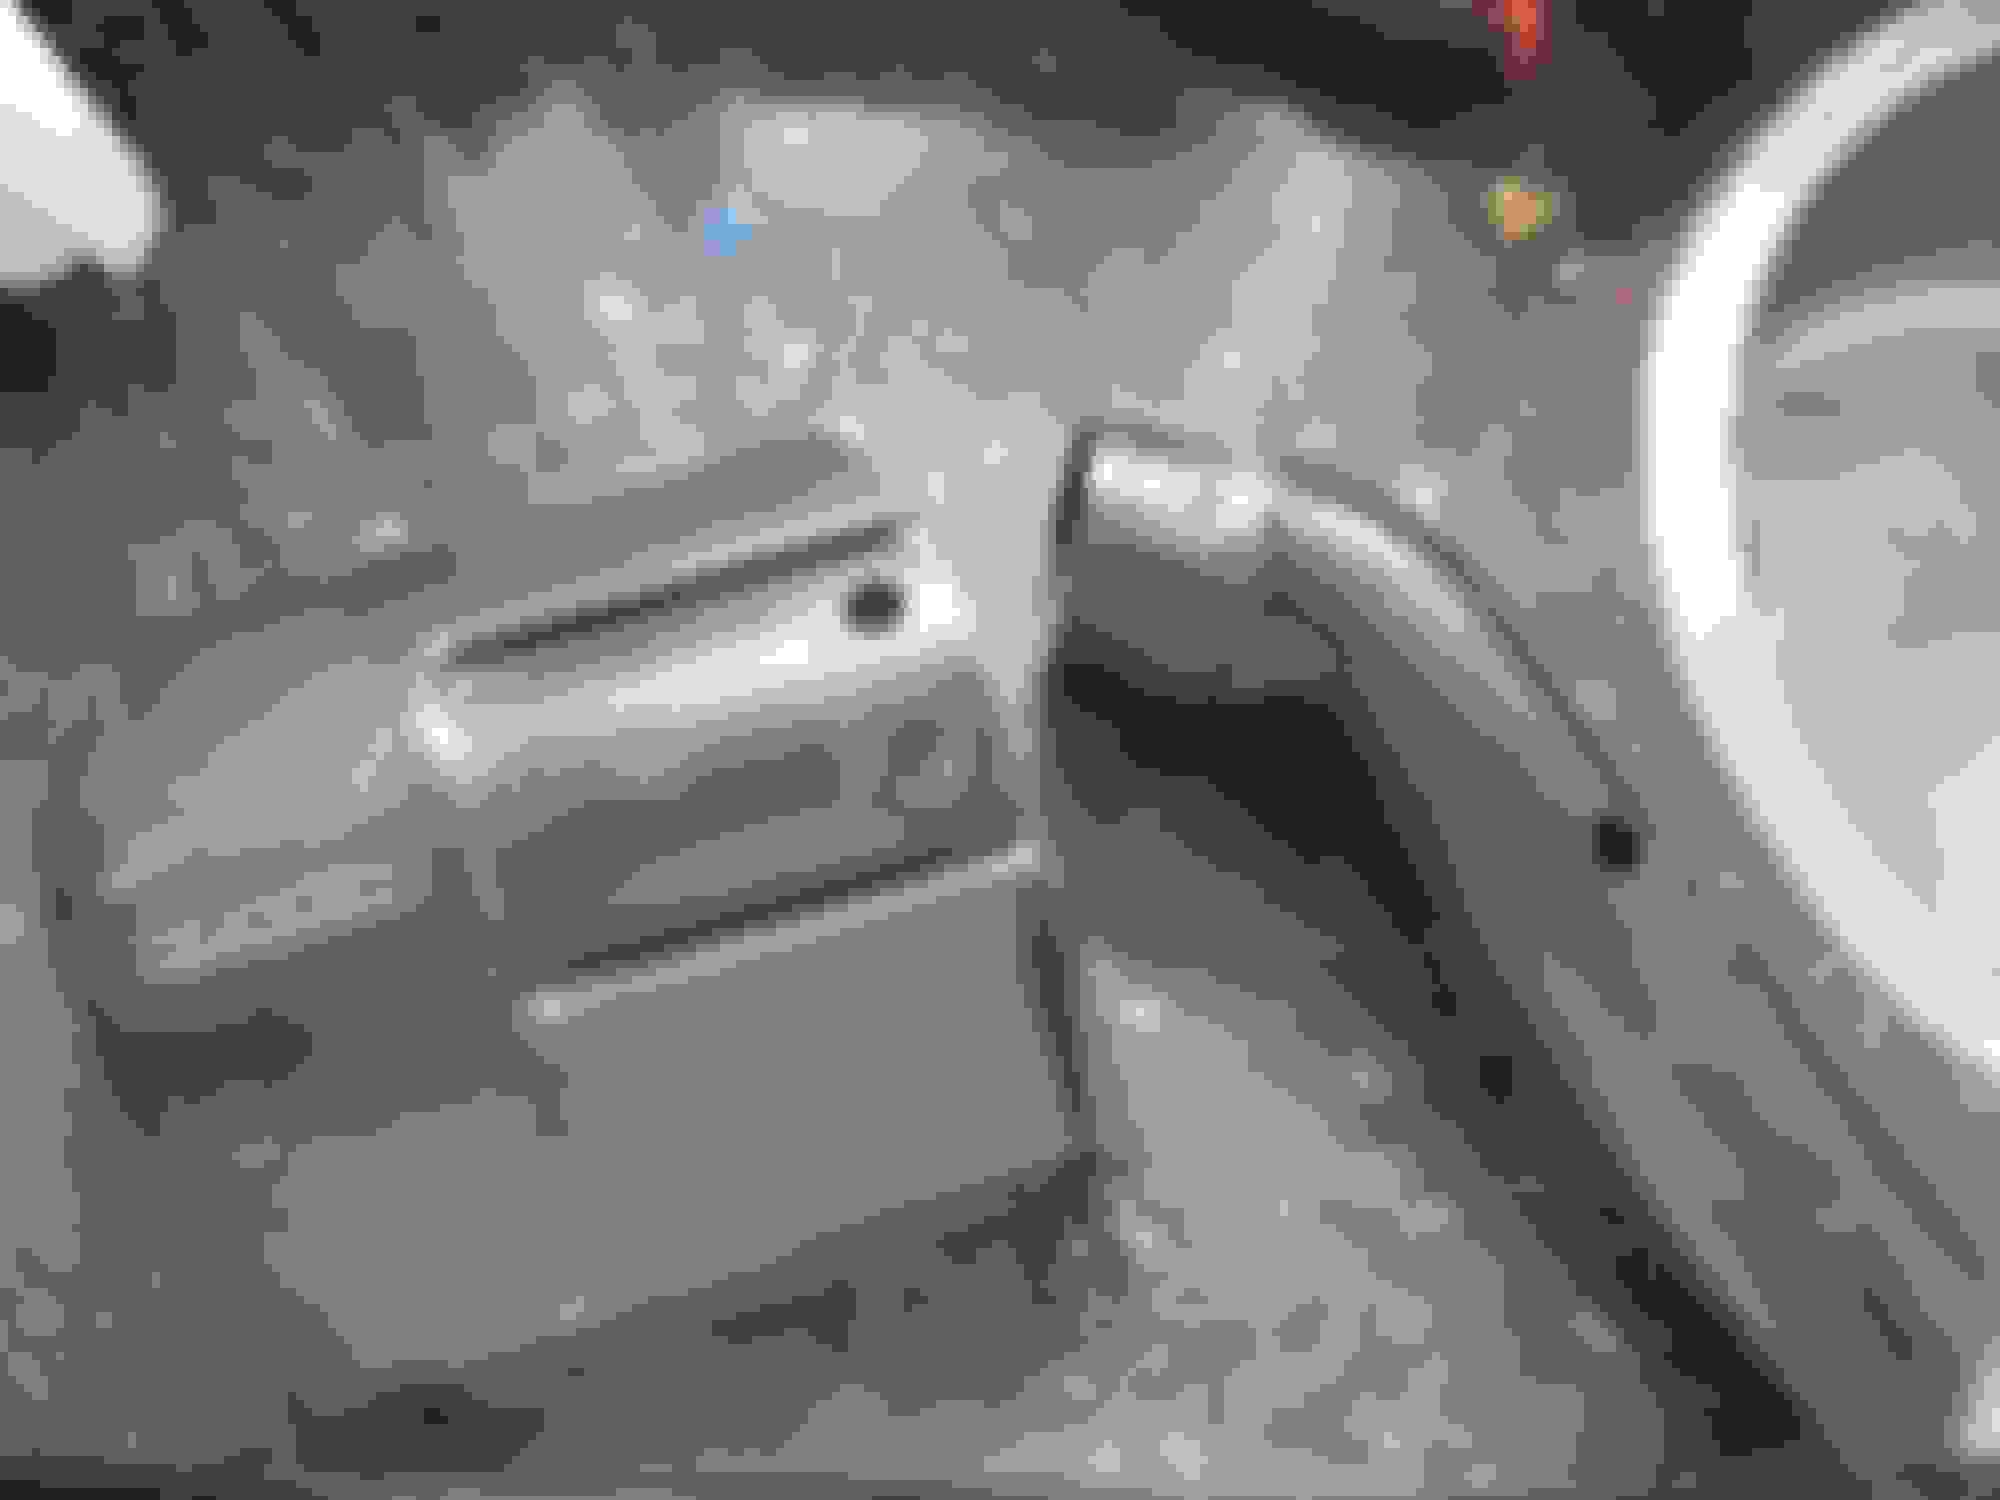
So the end result. Using the original connection to the MAF sensor ensures the whole thing is not going to wobble about. The red silicone connector (all I had lying around that would fit) could do with another jubilee clip (I just didn't have one big enough.) and I think I might swap it for a black one at some point, Saying that the push fit is very tight and there is nowhere for it to move anyway. I might have to secure the pipe coming in from the inner wing or just take it out, air should still flow in. Just need to take her out for a spin....maybe after I've done the arches.
No more excuses,the weather was fine and the wind minimal,time to get rid of the chrome. I won't overdo it as the process is the same as previously written about when I did the front bumper. Worth taking the time to mask off as much as you can though,saves time later when trying to get rid of the over-spray.
So a light rub over the chrome with some fine wet and dry just to create a good surface for the paint to adhere to. Two or three coats of etch primer and then two or three coats of satin black. 10 to 15 minutes between coats was ample today due to the heat. Didn't need to sand between coats either just a rub over with the palm of my hand. 1st coat of etch primer
Then onto the satin black
Forgot about the handles to start with.
Three coats did the job.
Same process for this side.
I thought while I was out and dirty I'd take the rear bumper off and do the same to that. Easier said than done. The two 19mm retaining bolts came away easily enough but the side 'slides' or whatever they are called took a bit of persuading...mainly because someone previously had secured the passenger side return with a wood screw..nice. Not just one either,there were a few more scattered about.The lights in the bumper came out by removing the lenses (3 screws) and then disconnecting the wiring inside the boot(hidden behind the side carpeting.) and pulling the cable through the body. The end result was this:
So a quick update. I bought an arch roller (�35) and it did the job, although I would say it wasn't really up to the job fully,had to replace two of the bolts as they broke and a split pin..those arch lips are tough,still did enough to stop the rubbing. So then I put the centre section of the bumper back on and removed the side locators as they would have been classed as sharp edges. It is only a temporary measure until I can get hold of another rear bumper (the old one pretty much fell apart when I removed it) Manged to get both the rear fog lights working, which was a bonus and replaced one of the front side light bulbs. Adjusted the screen wash jets so they sprayed the windscreen and not the car behind. Cleaned up the brake and fuel pipes front to rear, wirebrush and some Kurust did the trick, with a spray over of white grease just to show I'd been there. All that done and it was down to the Mot station for her test. Passed with a couple of advisories,rear discs scored,pitted but not weakened etc. and one of the rear shock absorbers had a 'light misting'...back home and taxed her and we're good to go.
Back down again in a couple of days to have a play with the exhaust. So from being trailered here after a number of months lay -up,no key and a non-runner she can now enjoy the open road as she was intended...happy days.
So here's something you can try at home...as long as you have a ramp and a welder...er and can weld. Needless to say I have neither and can't do the last.
So the criteria was to improve the sound and not lose any power for as little expenditure as possible. Easier said than done sometimes. Its easy to get carried away and lob off a huge chunk of exhaust, get that great,low burbling resonant note only to find that your car now sounds and drives like a tractor.
So small steps. The plan was to remove the two middle silencers and replace with straight through pipes. The thinking behind this was that with those boxes out of the way it would allow more heat to reach the rear silencers thus hardening the insides and over time creating a deeper sound due to the increased 'swirl' of exhaust gases.
So that's what we did.
The two middle silencers.
Due to the angle of the silencers nothing more than straight pipe was needed, worth noting that we had to cut as close to the boxes as possible to achieve this.
All gone.
Whilst the car was up in the air I took advantage and wirebrushed any fruity areas and undersealed afterwards.
Luckily I had a length of exhaust (taken off a Celica last year) which very fortunately had a larger diameter, which meant we could 'sleeve' over the existing ends. Pulling back on the tailpipe gaves us enough room to slide the pipe over one end and then slide over the other when the tailpipe was pushed forward.
Having the overlap made welding the joins much easier.
Once they were in place the two ends closest to the front were 'tacked'. The rear silencers use the middle section to hold their position so before the rear of the new pipe was tacked we made sure the rear silencer/tailpipe was situated correctly whilst tacking the remaining pipes in place. Then it was just a case of welding the rest of the joins continuously.
New pipes in place.
Not pretty but it will stop the joins from rusting.
Some paste on at the end may not look the best but it will stop the joins from rusting. The whole job took no more than about an hour (start to finish took longer but that was because we ran out of mig wire and had to wait for more to arrive) and as I already had the pipe the total cost was �30.Perfect.
Here's the thing. We ran the car after we'd removed the two silencers and she sounded awesome and it would have been tempting to say that'll do but you could feel the engine lacking at the higher revs,with the new pipes in place although the sound wasn't as jaw-dropping there was still a tightness to engine sound that made you realise that even though it might not have sounded as great you would have no noticeable power loss at the higher revs. End result, a very pleasing,deeper exhaust note that will only improve with age and won't wake the neighbours up.
Just going to have a slight detour for a moment. I'm ashamed to say since the early part of this particular endeavour 'Herbert' as I believe she is now called has had a sniffle,not a full blown cold or flu,just a sniffle. Before we go any further the last two Jaguars I've had have thrown me curve ***** with regards to O2 sensors and Mafs. No point in rehashing but I'm a bit more wary now of jumping to conclusions.
So the 'sniffle' .On occasions,mostly within 5-10 minutes after start up, the engine would start 'chug' a bit. This was happening before I was able to take her out for drives,so just idling in the drive. If left then eventually she would cut-out,however, a quick blip on the throttle and the problem would clear and all was good for the remainder. My initial thinking was that it was all down to being stood for a long time,old fuel working its way through,needs a good run out etc etc. Not always but more often than not this has gone hand in hand with the check engine light coming on. Turn her off start her up and light goes away. Now I'm able to take her out more often and go for longer drives the problem does not arise past that initial warm-up period.
After doing some reading and acquainting myself with the VCM, today I turned the ignition back on after coming back form a drive and pressed the vcm and had 'Fuel fail 44' flash up at me. Off with the ignition and then started her up. Turned off and checked again and the code had gone.
My first instinct was to look at putting a new MAF on,which might not be a bad thing anyway as they don't last forever. My other thought was to the O2 sensor. I know its all a bit vague but I thought I would put it out there to see if any of it rings any bells with anyone.
If you've seen any of my previous posts on the X300 which had a 'chugging' issue you'll see why I'm sceptical from the onset. I had already replaced the X300's mass air flow meter with a 'fully working' used one and the problem remained,only being resolved when I put a brand new meter on.
Anyway,thanks in advance.
After doing some reading and acquainting myself with the VCM, today I turned the ignition back on after coming back form a drive and pressed the vcm and had 'Fuel fail 44' flash up at me. Off with the ignition and then started her up. Turned off and checked again and the code had gone.
On our '93 the most common cause of the spurious Fuel Fail 44 code was corrosion on the ground points referenced by the Engine Management System (EMS). I believe the primary ones are the two on the intake manifold and the one on the firewall/bulkhead behind the cylinder head, and the engine ground strap, but it's worth cleaning the ones on the inner fenders/wings as well.
On our '93 the most common cause of the spurious Fuel Fail 44 code was corrosion on the ground points referenced by the Engine Management System (EMS). I believe the primary ones are the two on the intake manifold and the one on the firewall/bulkhead behind the cylinder head, and the engine ground strap, but it's worth cleaning the ones on the inner fenders/wings as well.
Cheers,
Don
Think you might be on to something there Don. I'd spotted this a few days ago and made a mental note to tidy it up.
Unfortunately glass fibre doesn't quite work for an earthing point.
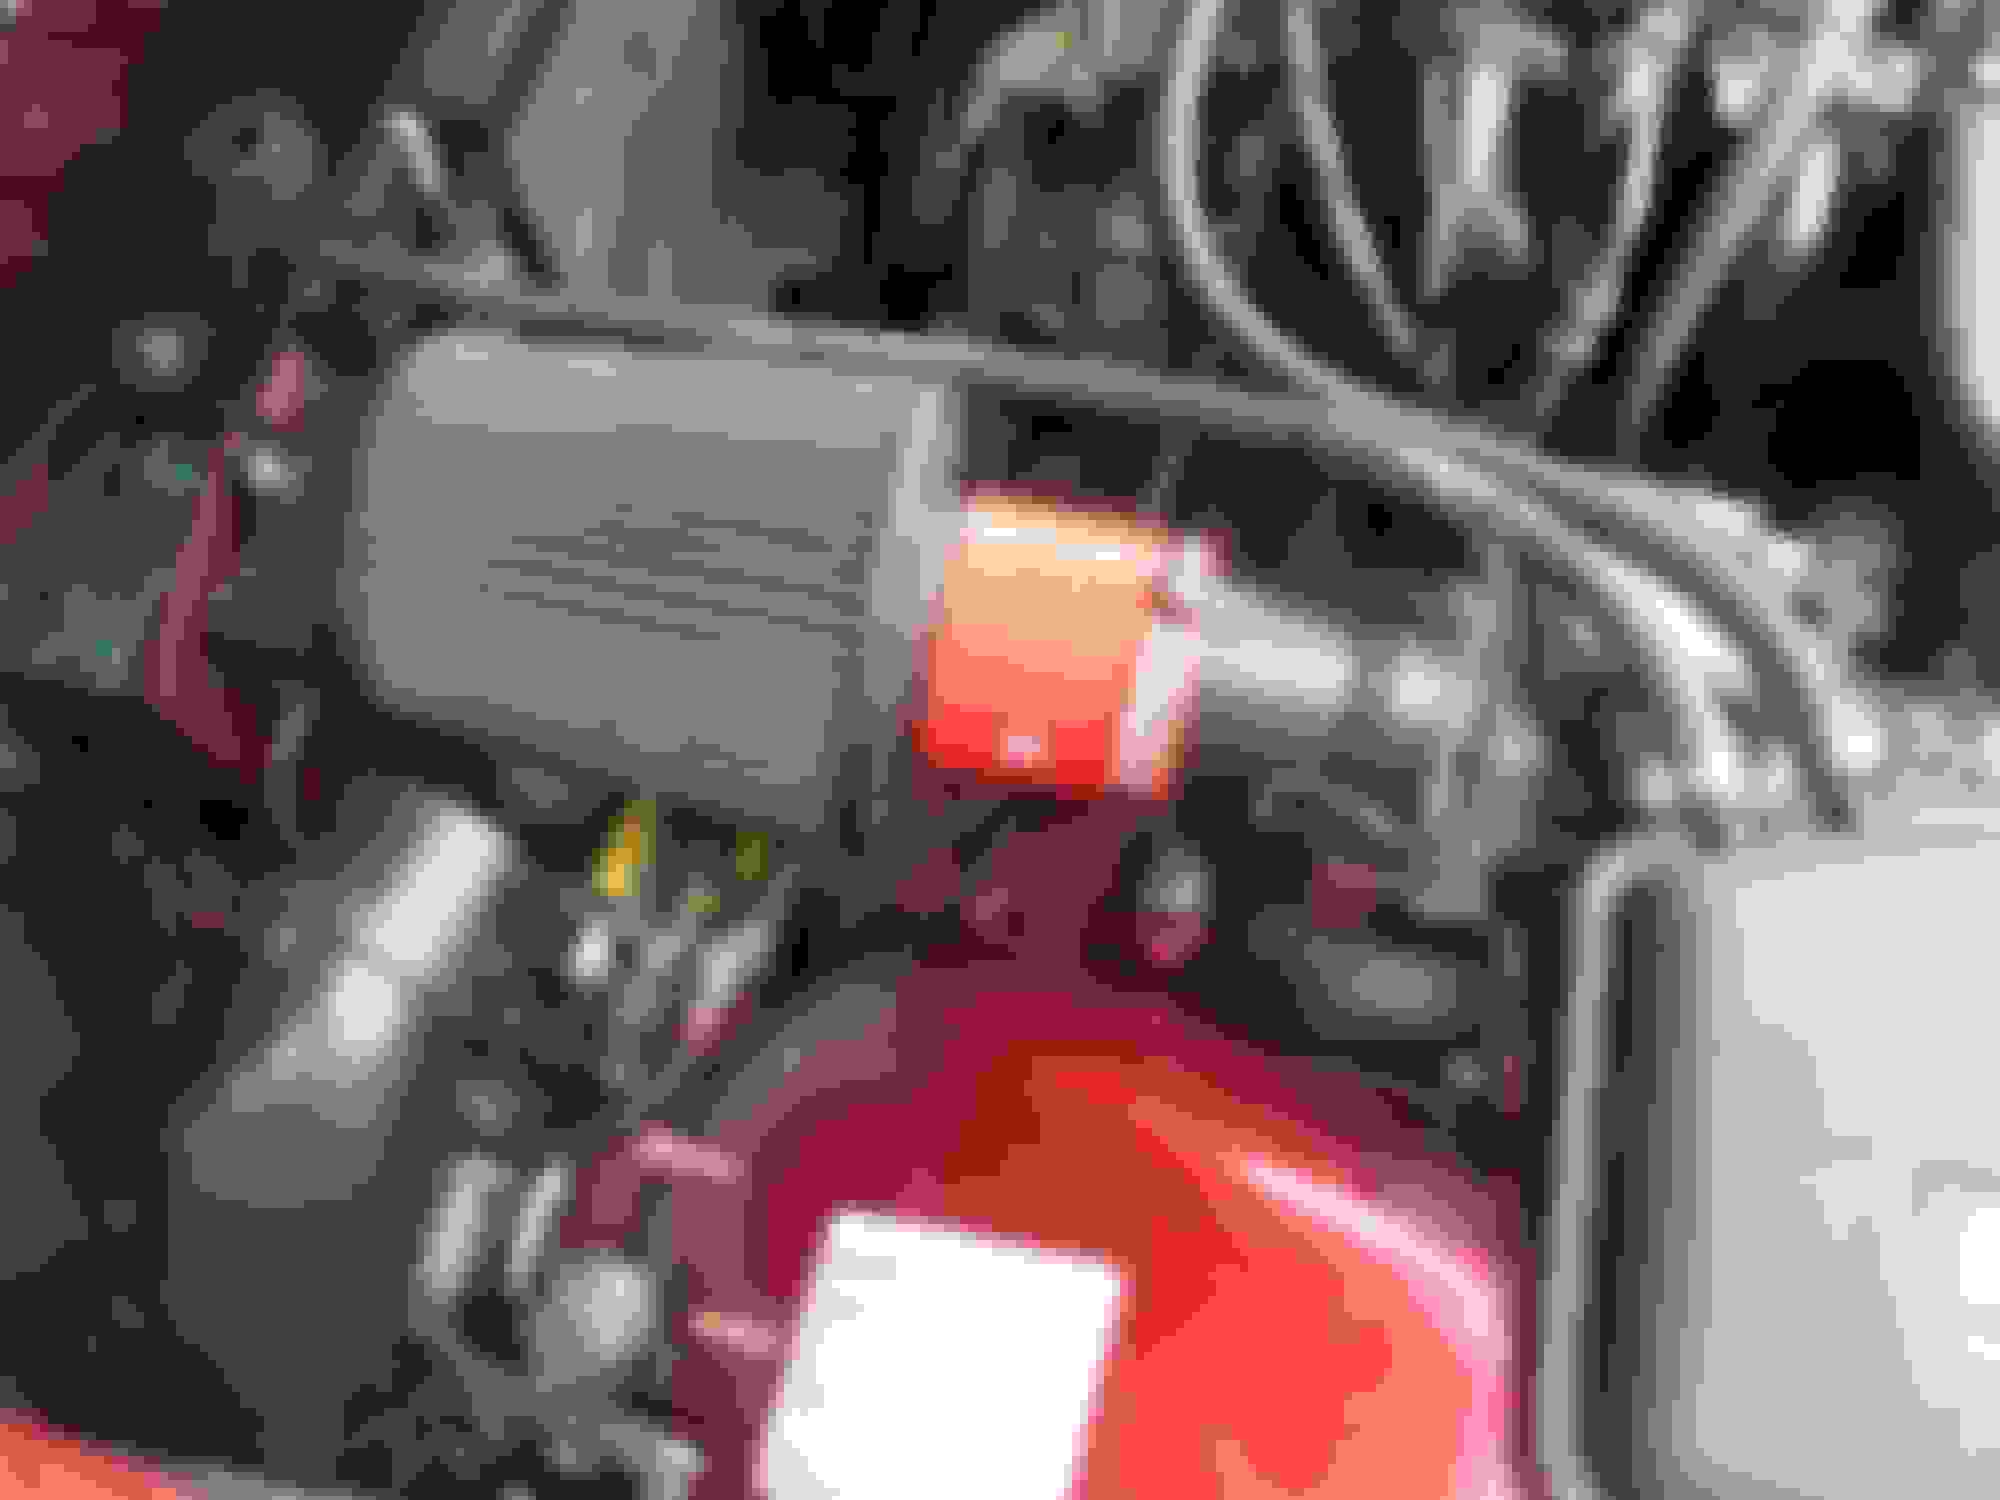
Looks like it was once connected to the firewall but alas no more. I have some earth strap so will make a good earth somewhere. Is this the pair of wires in question? Stands a chance. Thanks again.
Is this the pair of wires in question? Stands a chance.
Yes! The stud with four ring/eyelet terminals attached that connect 11 or more wires to ground/earth. Even if your stud is still connected to chassis ground, the terminals are very corroded and must be thoroughly cleaned. I have some photo albums on the subject if you are interested - see the link in my signature (sorry Jag-Lovers is still not finished migrating the full-size photos to the new server).
Good housekeeping. I thought I's sort the earth straightaway as its just time, I had a decent length of earth strap left over from a faulty loom on our Golf. I removed the old bolt and replaced and just added the end of the earth strap to the whole lot.
Cleaned up.
Taped over and held out of the way.
As advised I also did the two inner wing earthing points, to be fair they were fairly clean and had some grease round them.
The other end of the new earth strap fitted nicely here.
All done.
So all done and another item off the 'to do' list. I'm not sure if I've thrown in a red herring though. I think the 44 code might be unrelated to the other issue (check engine light coming on after a minute drop of power) The check engine light popped on again this afternoon after doing the earth strap this morning. The code 44 came after just turning the ignition to on but not cranking. Once the engine fired up the code goes away. I'll keep monitoring it and see if there are any commonalities as to when it occurs.
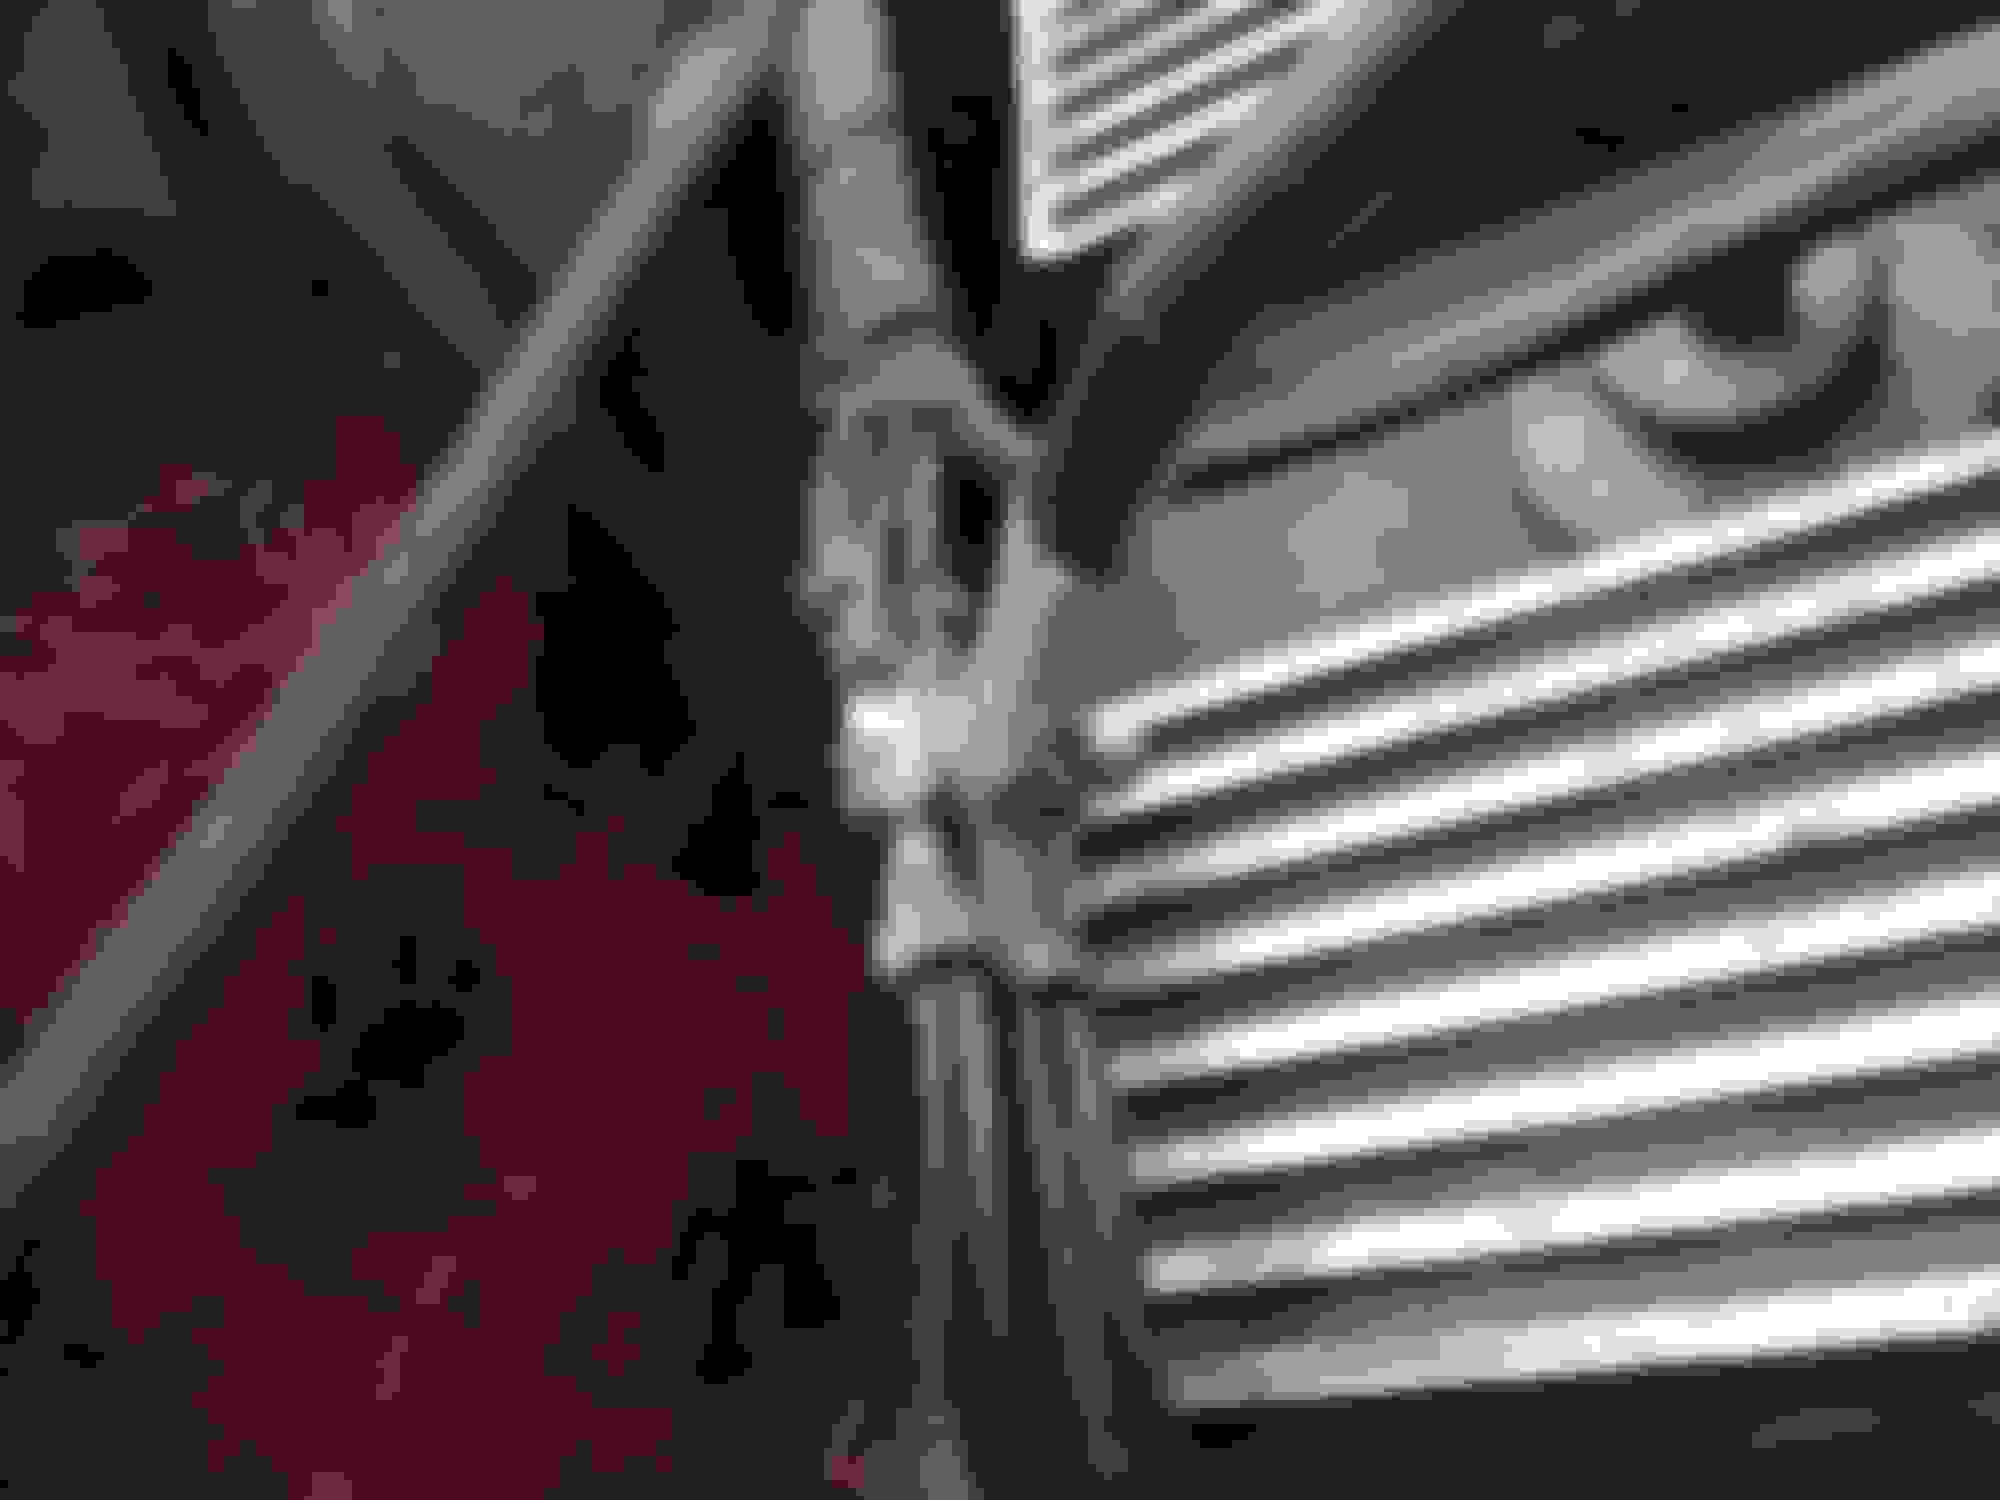
When describing the symptons a common solution/answer I get thrown at me is have I cleaned the throttle body. No I haven't but now was a good as time as any and it is another of those jobs on the ever growing to do list. The reasoning is that there is a build up of grime/dirt etc in the body where the flap opens and closes. Over time this build up can cause the flap to not close fully this in tune can cause idling and other throttle related issues...not really sure what exactly..someone might be able to explain it better. Here's what we started with.
Pick some pipes and some sensor connectors and pull them off.
I didn't fancy taking the whole throttle body off just needed access to the inlet part of it. So getting the air intake elbow and concertina part out of the way was my priority.
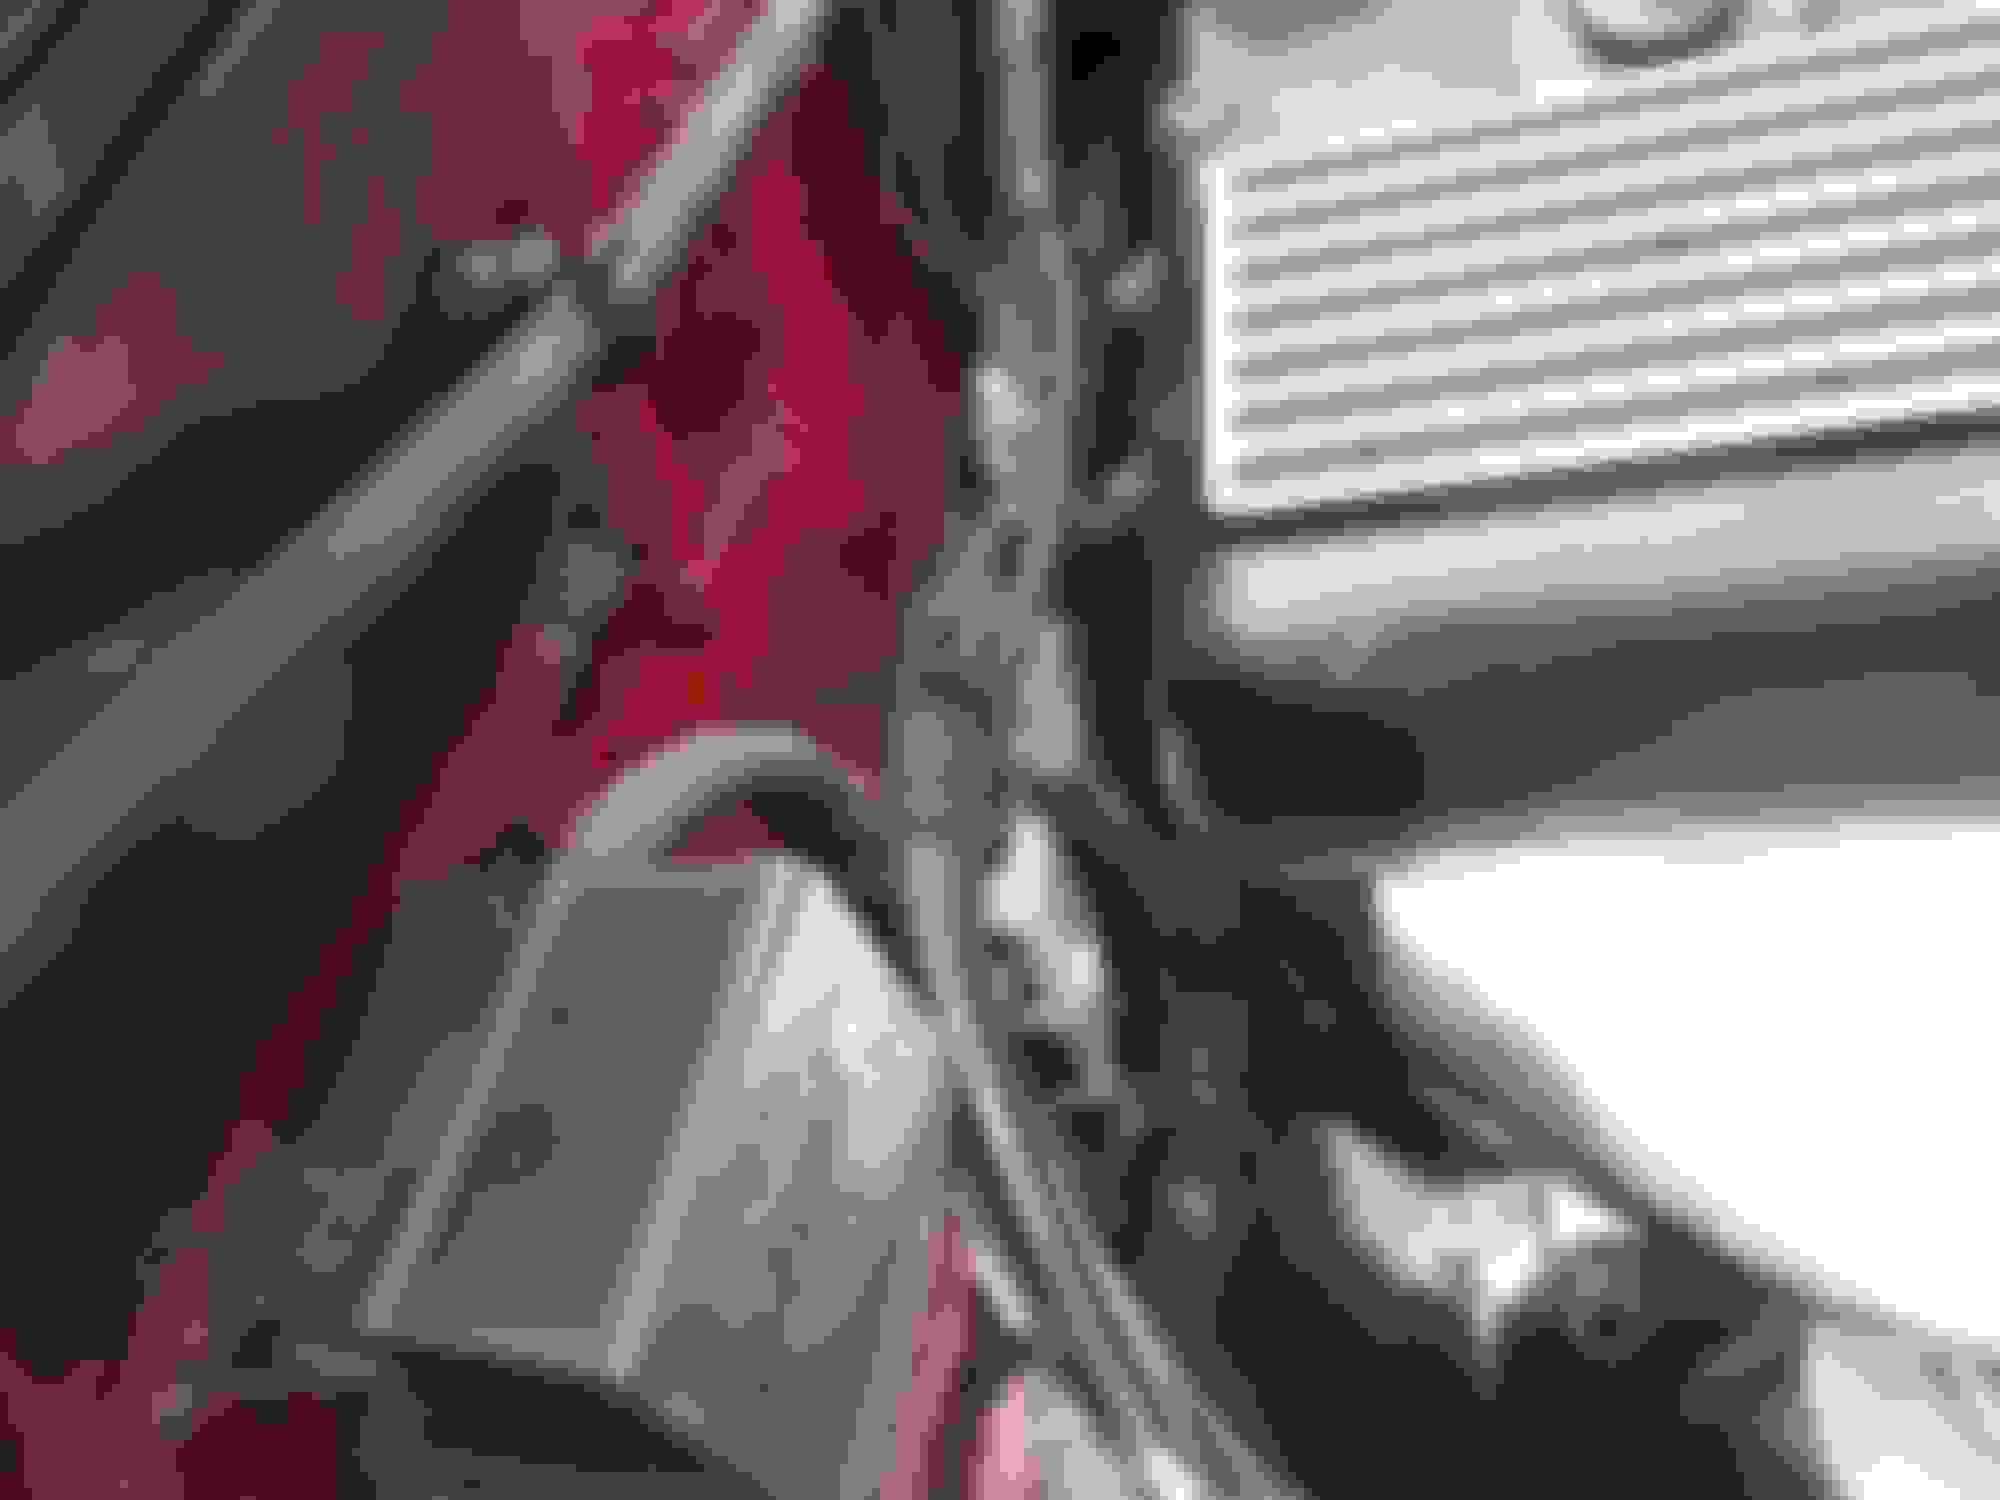
Two pipes,two sensors and a 10mm nut freed up this end of the air intake.
Disconnecting the MAF and another 10mm nut on the inner wing allowed me to remove the air filter and then slide the rest of the intake out of the way.
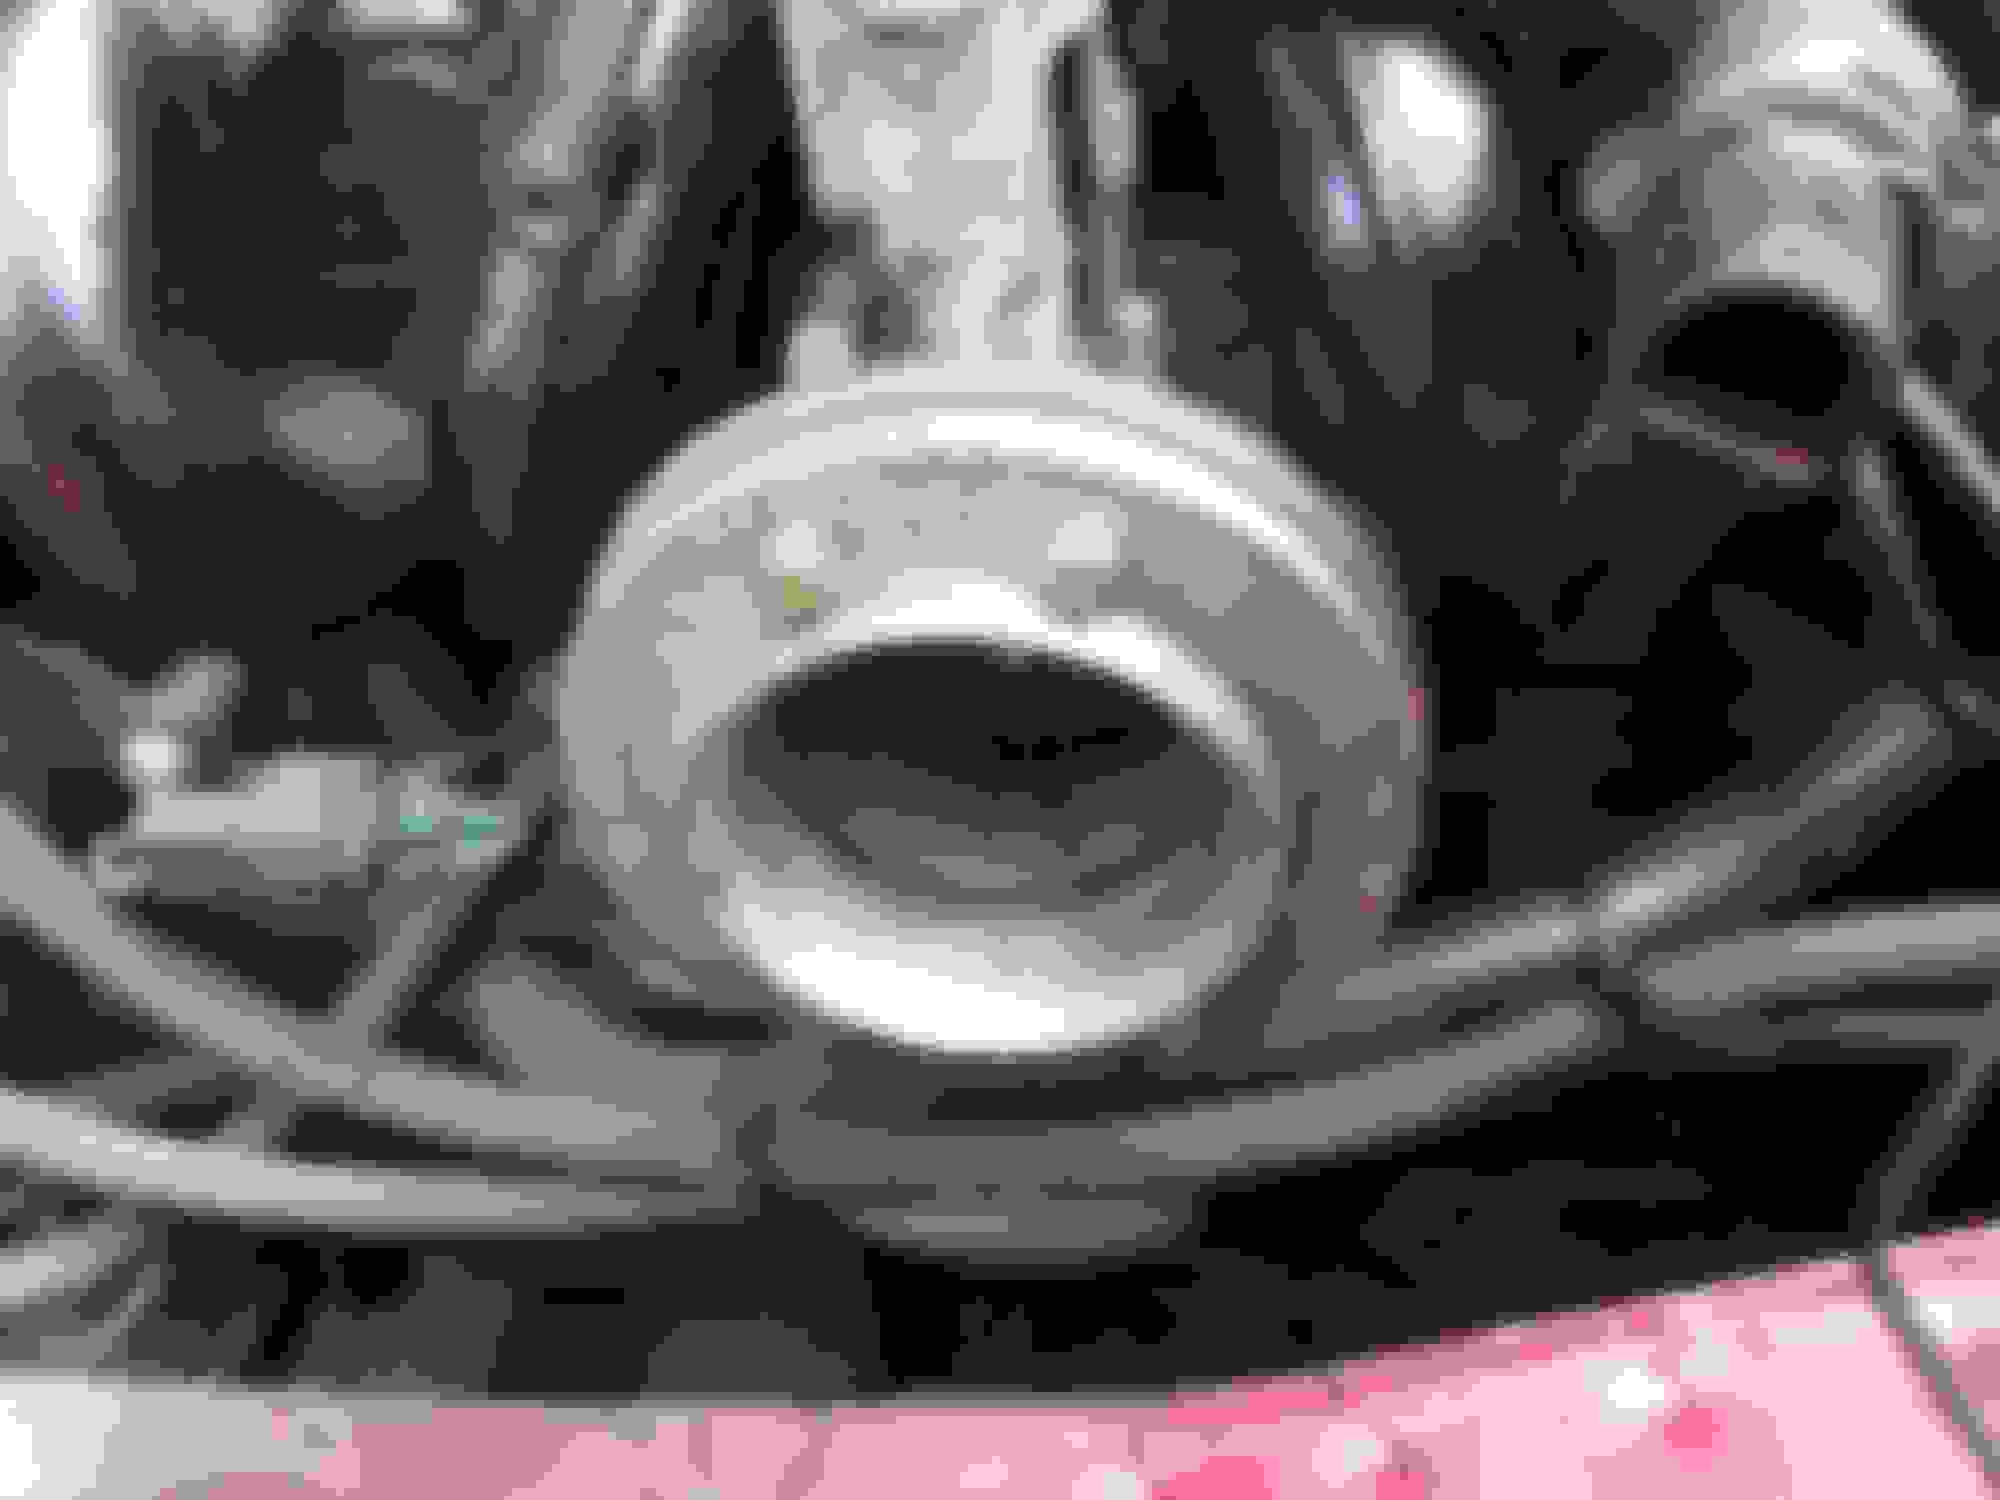
Throttle closed.
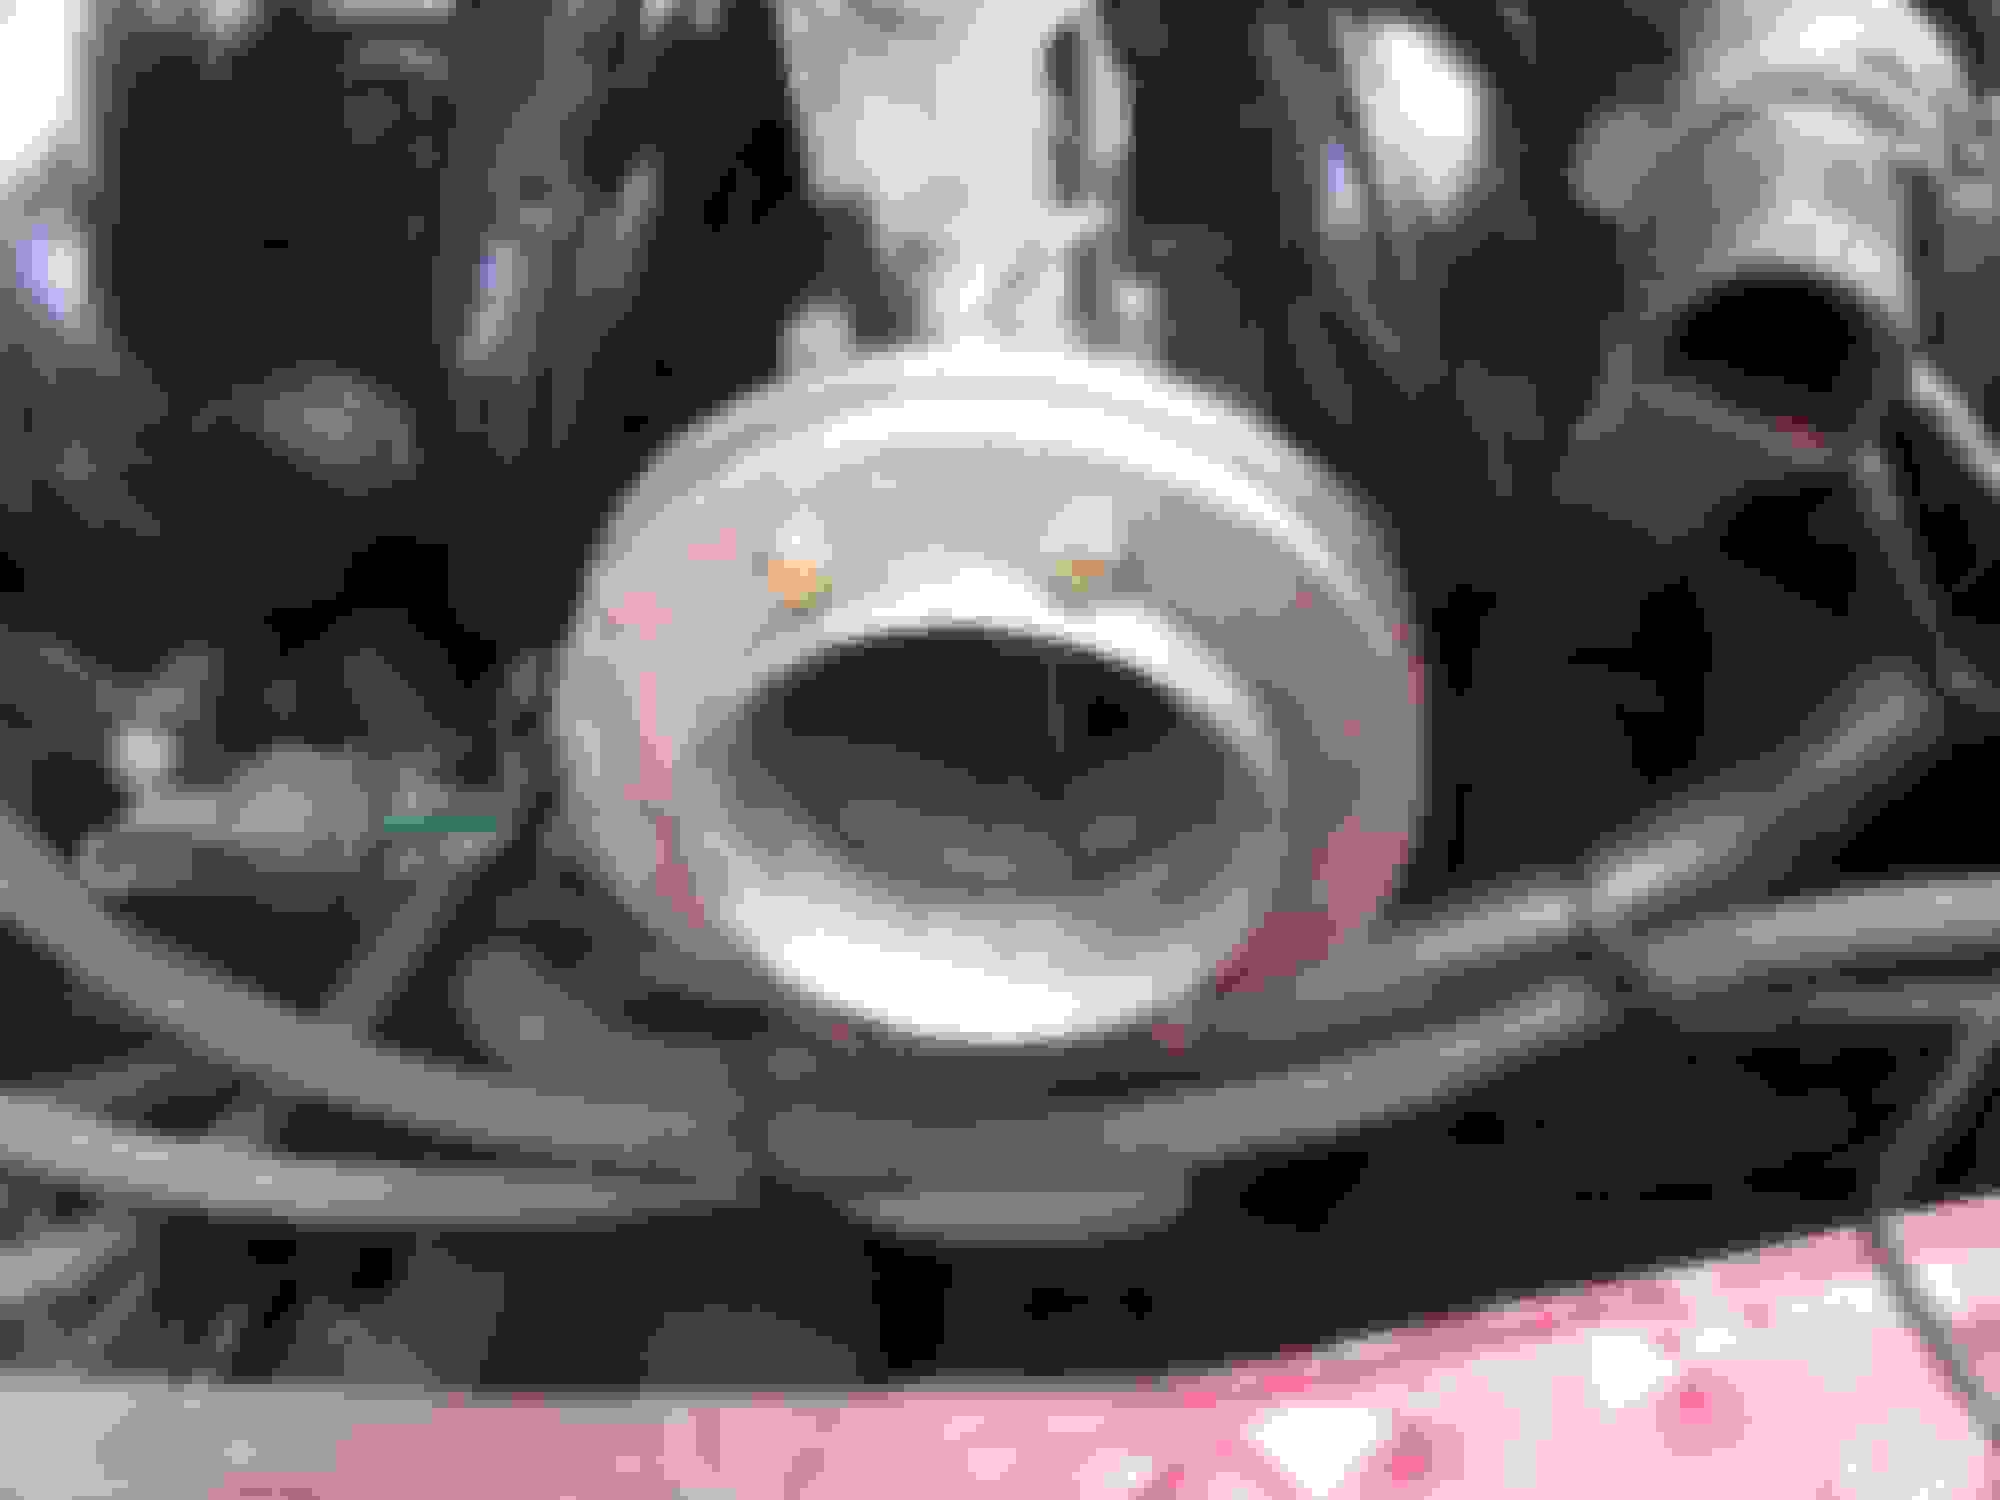
Throttle open and you can see the grime,although not a great deal I gave it a good clean anyway.
Once I could get to the throttle flap it was just a case of giving it a good clean. I used electrical contact cleaner but I'm sure there are better fluids out there...contact cleaner evaporates nicely away with no residue.
Good opportunity to clean the area.
After that I cleaned the area and checked all the pipework for splits etc. also I put some WD40 on the rubber concertina piece as it is meant to rejuvenate rubber. Before putting the last part of the air on I started her up, firstly to make sure I had everything back where it should be and secondly to make it easier to clean the MAF. I did this once again using electrical contact cleaner. Supposedly it works really well just spraying small amounts at a time towards the MAF. If you spray to much you will cause the engine to bog down and stop. So all back together and running sweetly. I shall see what happens tomorrow when I take her out for a run.
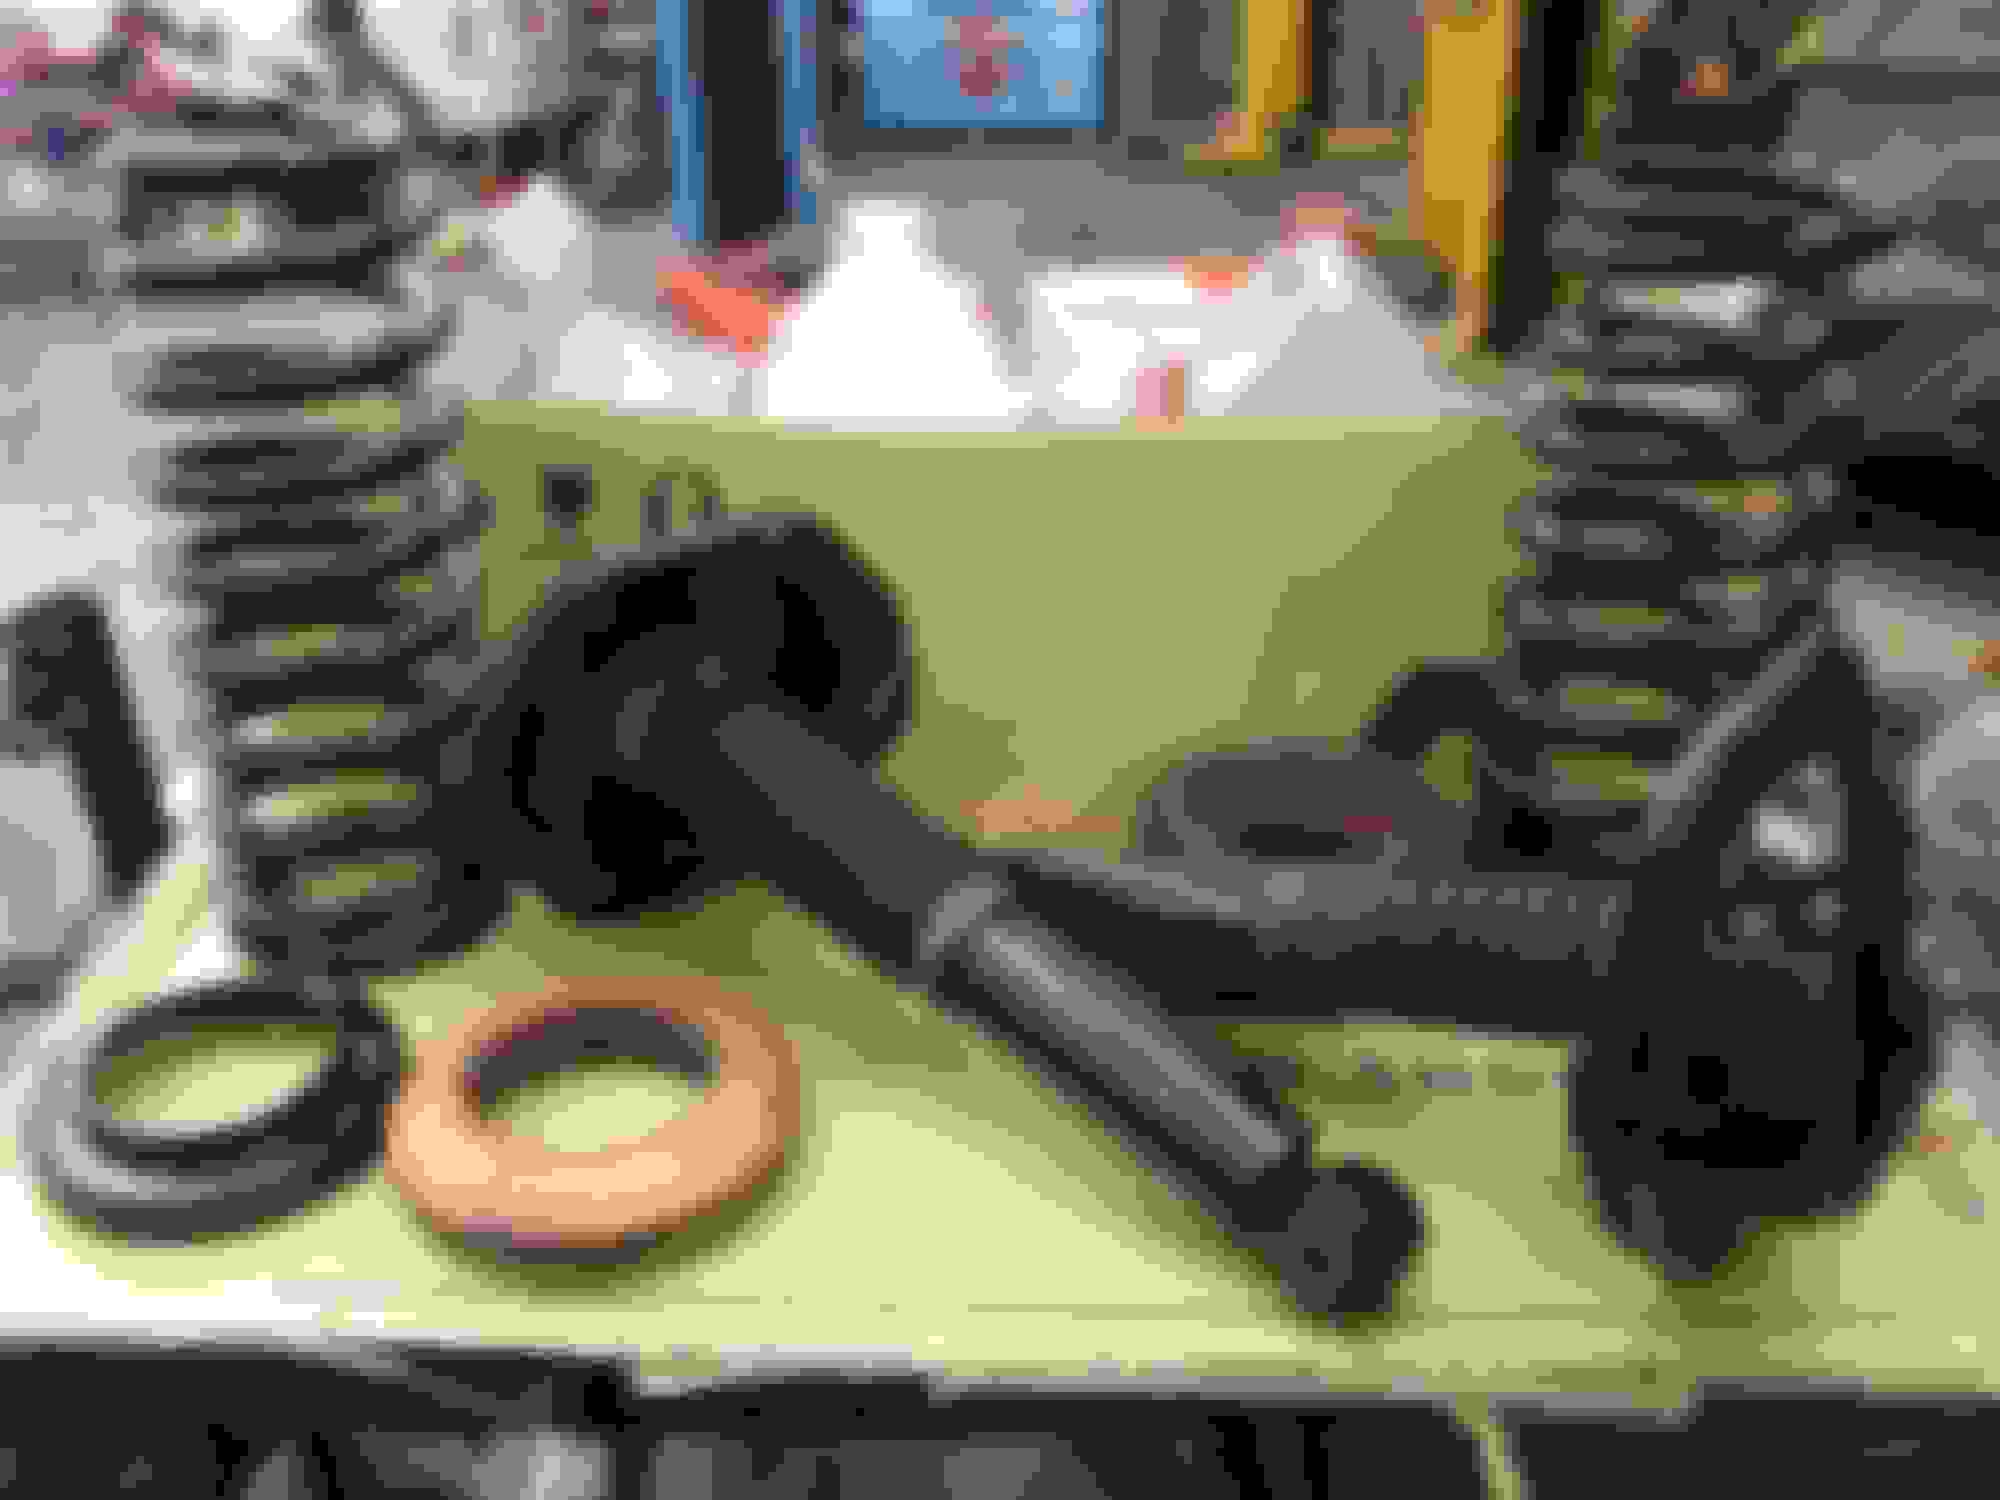
One of the advisories from the Mot was for a 'light misting of oil offside rear.'
So I could just leave it but I like to sort the advisories out so that when it come time to sell the new owner has nothing to concern themselves with and it's just good practice as the chances are a 'light misting' will turn into a full discharge of oil. Could get away with just replacing the one shock absorber but I like to do suspension stuff in pairs. Going back to the budget there was no point in buying new if I could get a pair of non leaking ones.....managed to get a pair including the top housing,bushes and springs for �38 delivered. Everything I needed and more plus looking in better shape than what is on the car at the moment. I took this opportunity to give them a little refurb.
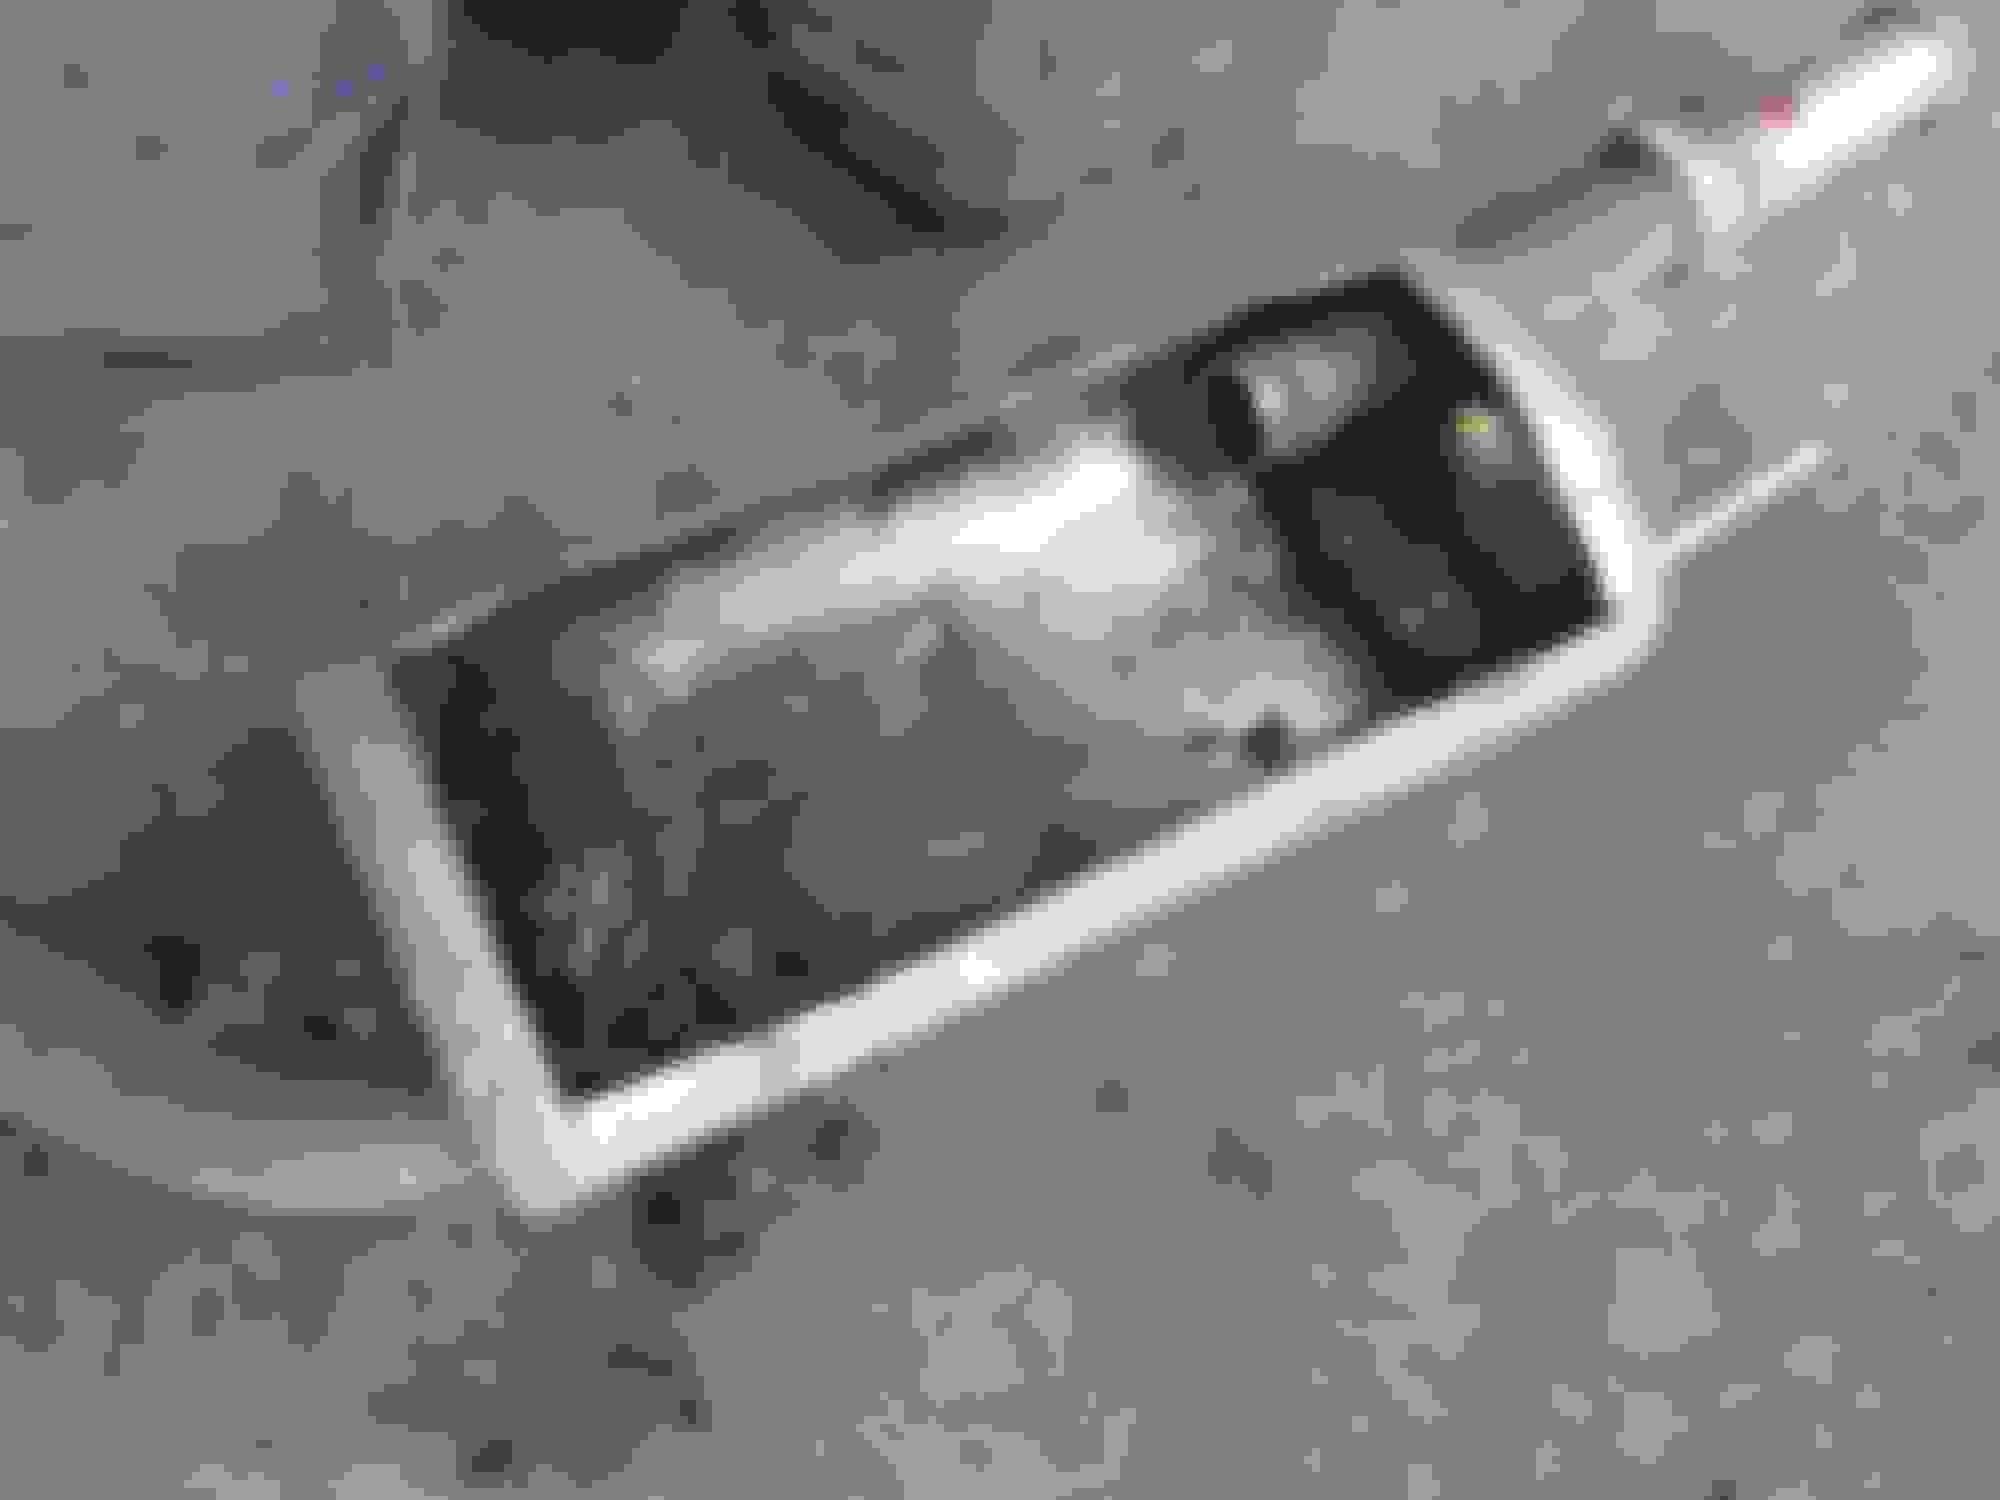
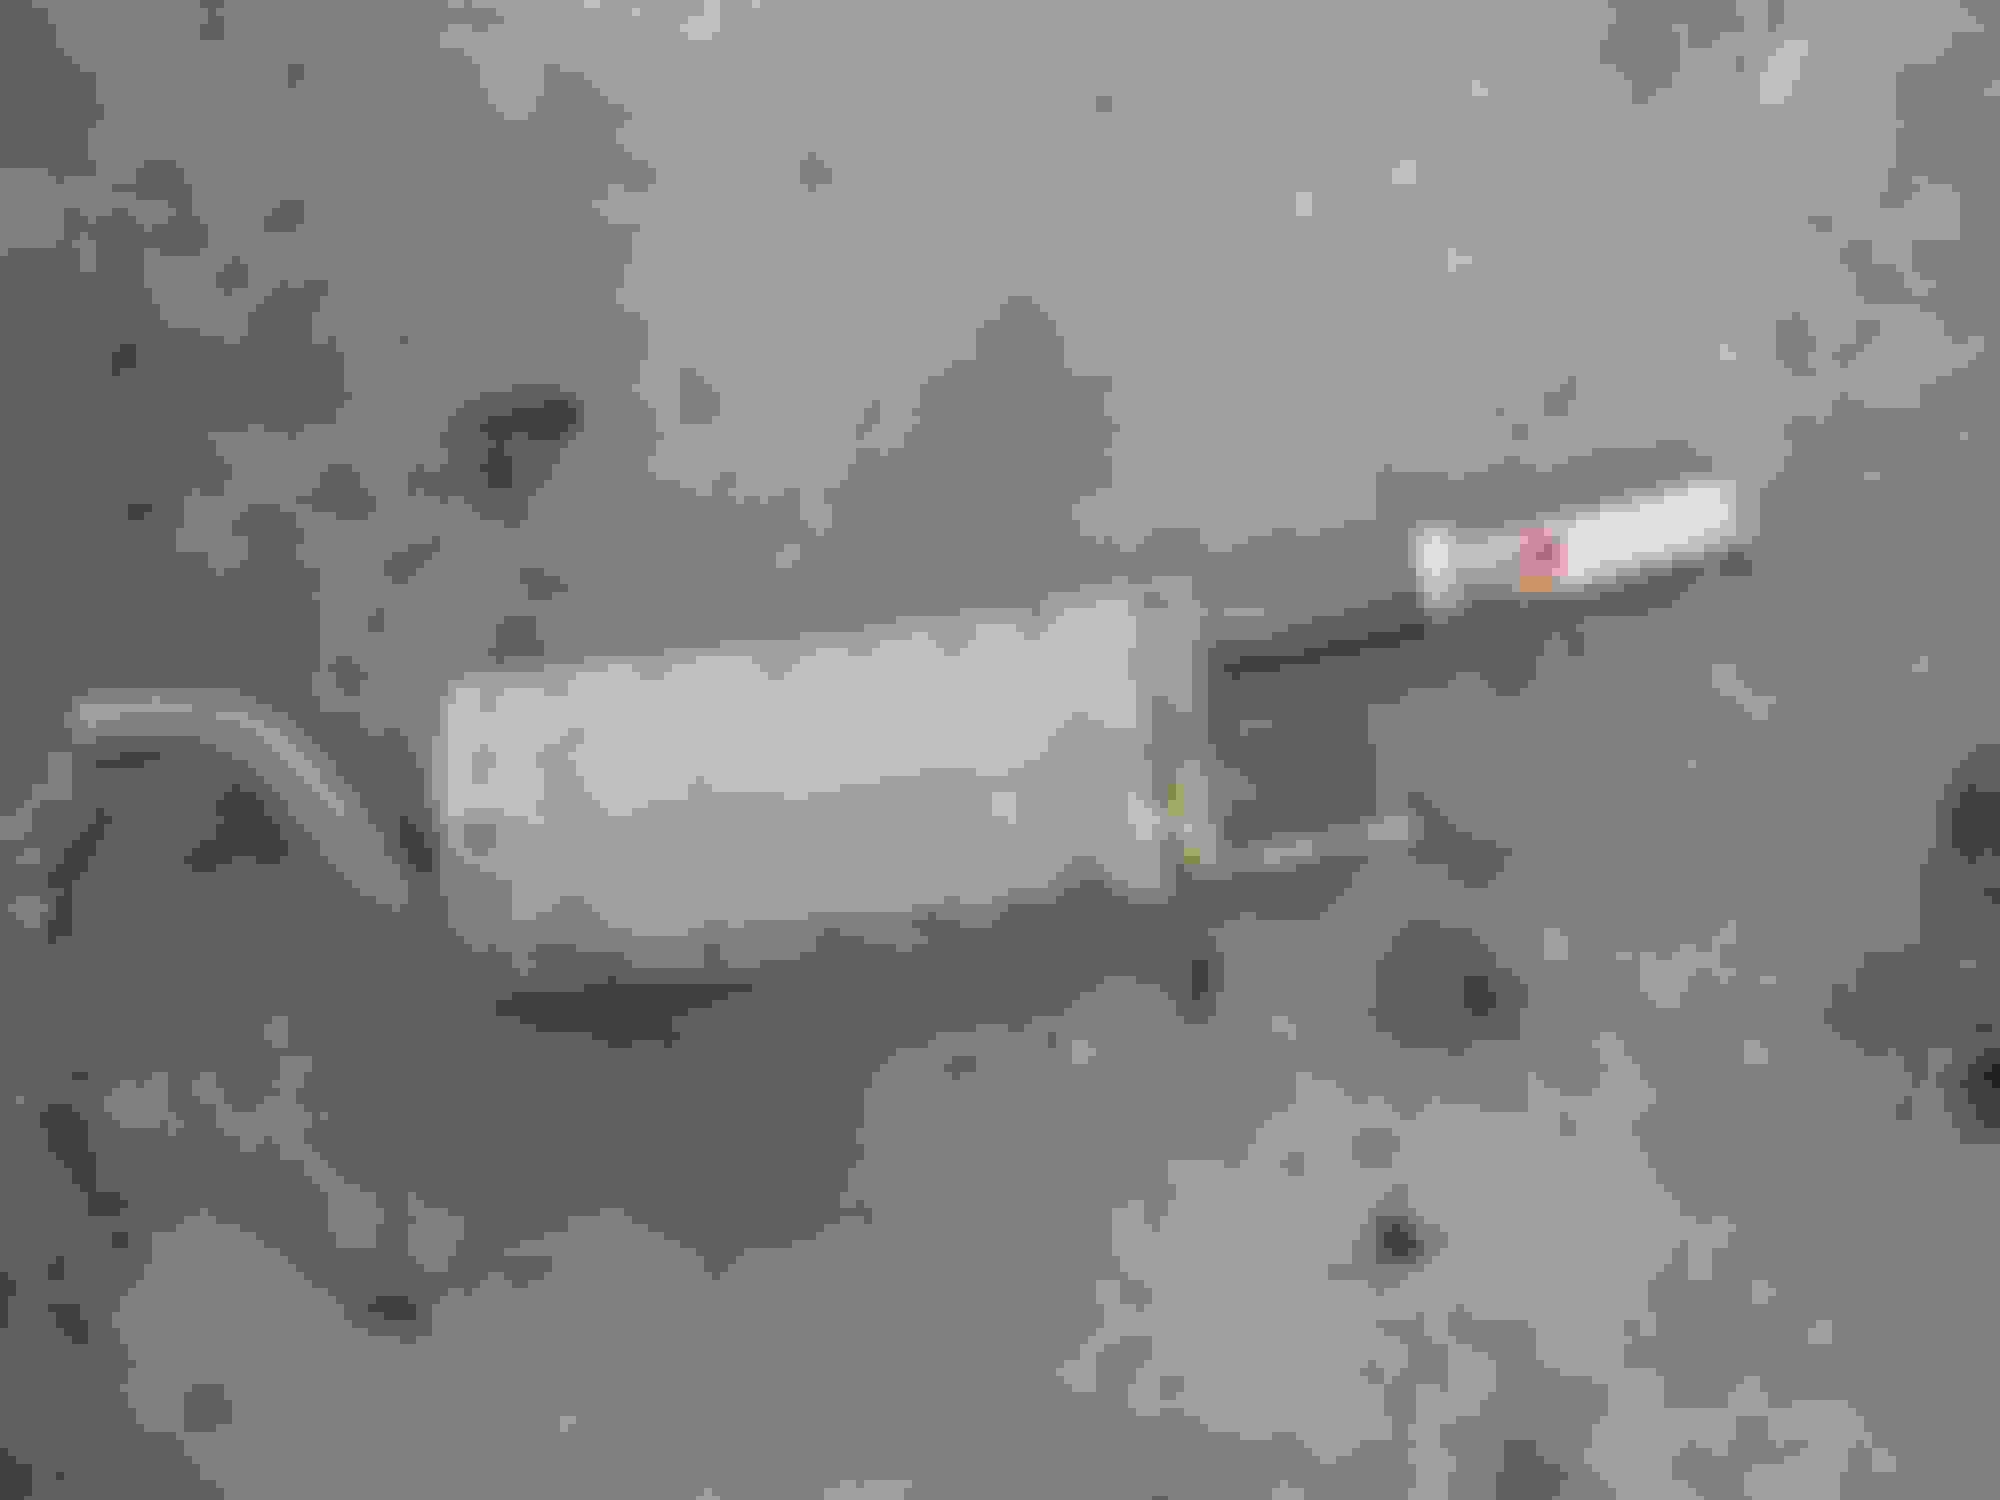
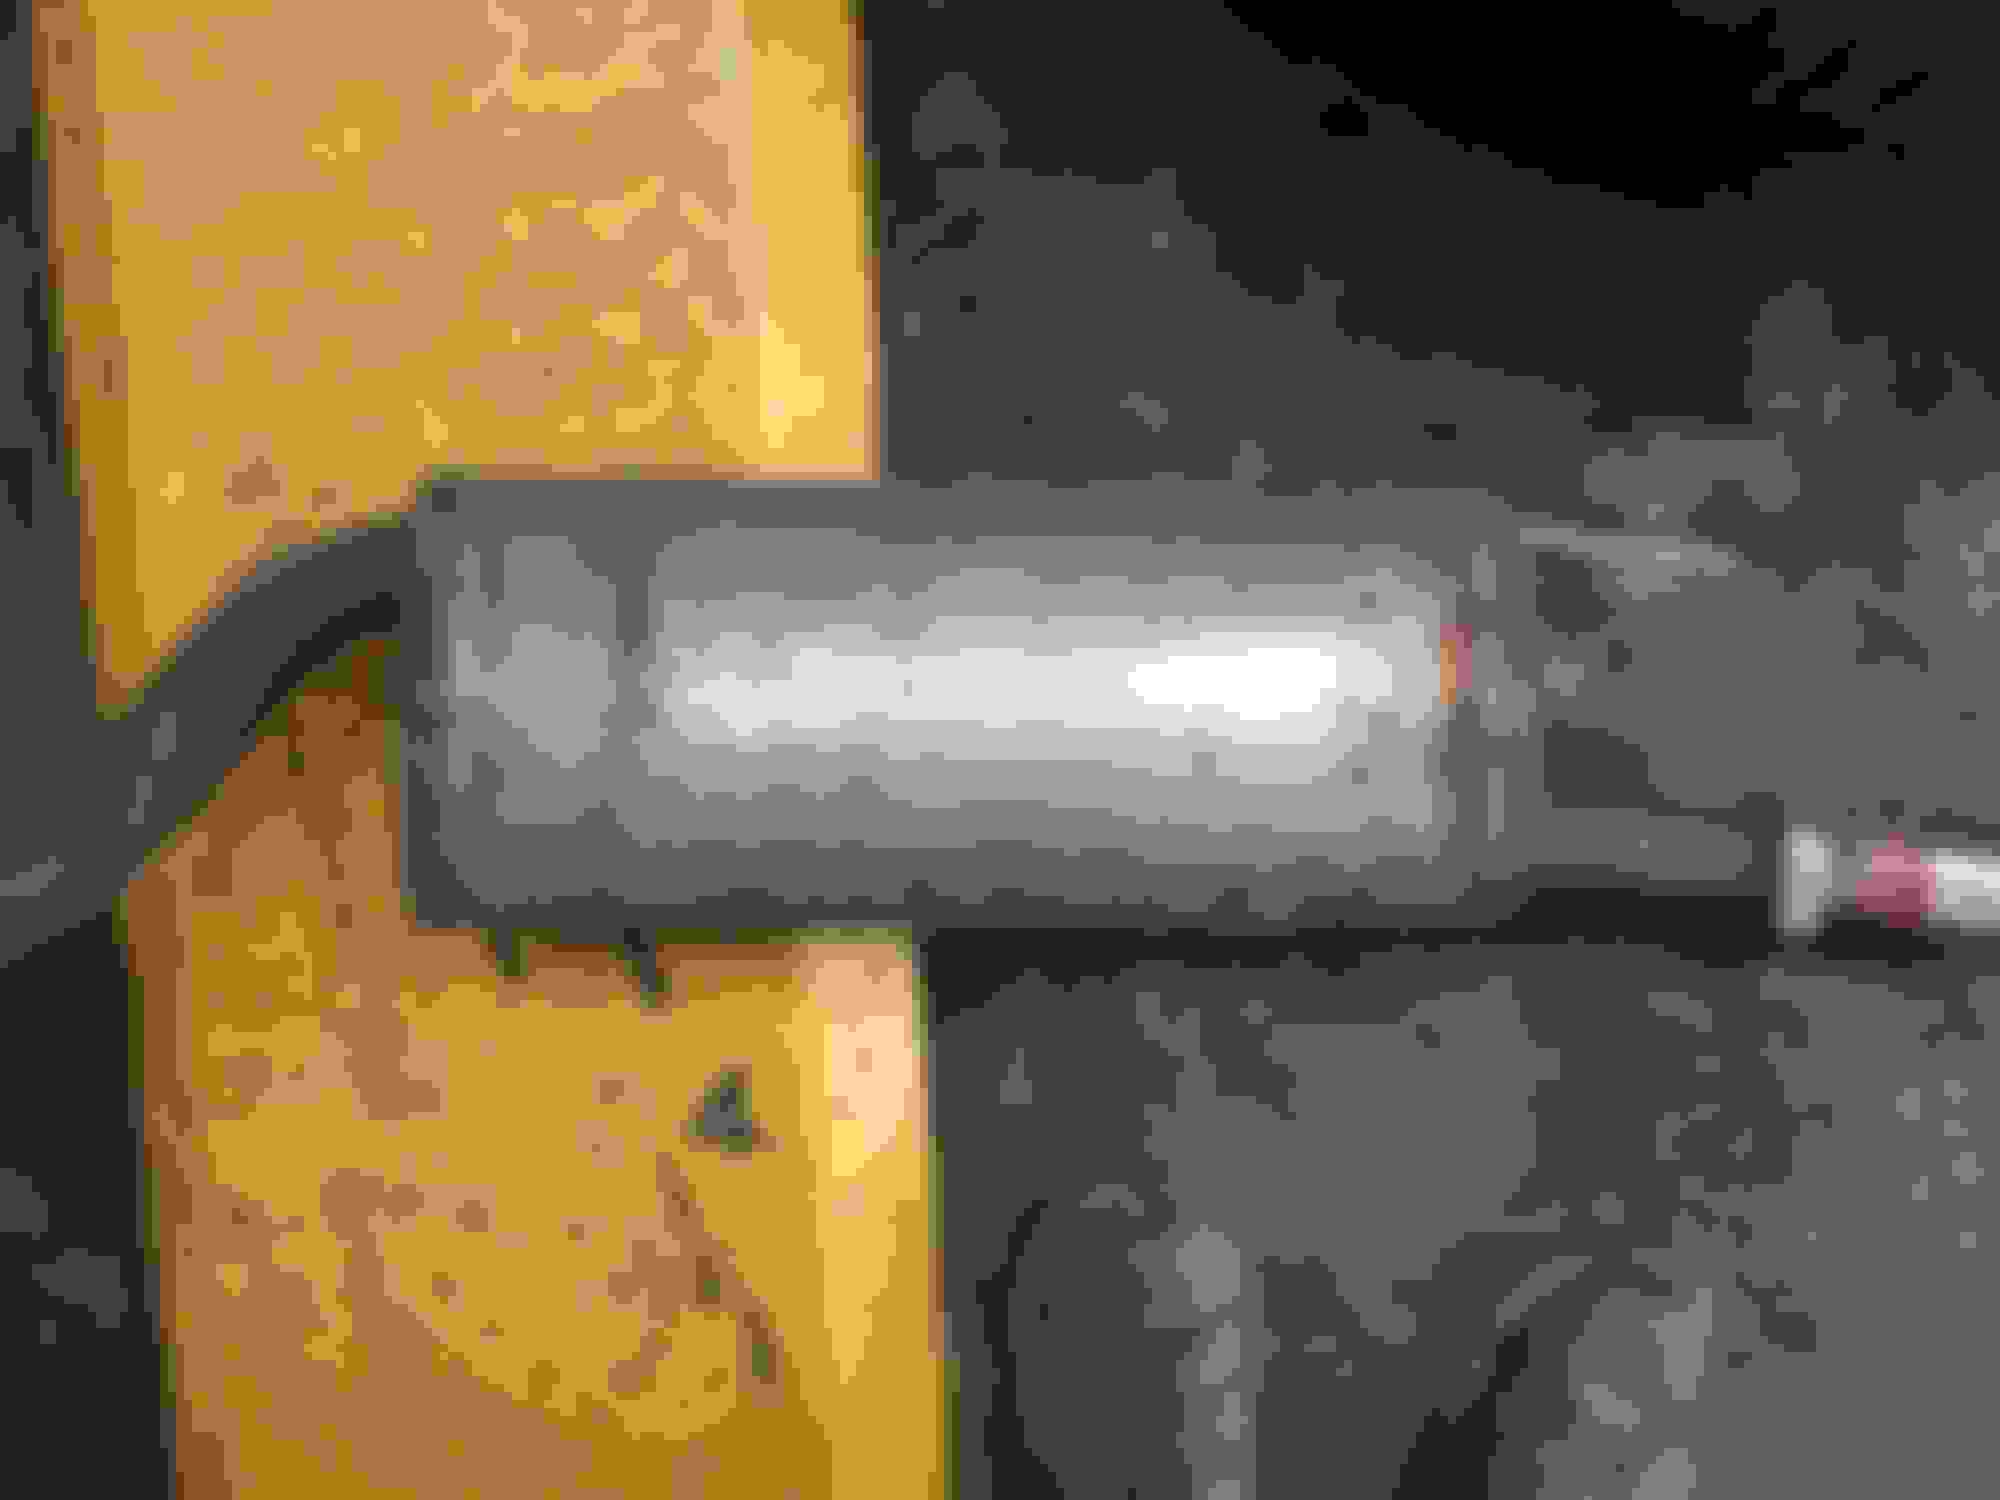
All ready to fit...when they're dry of course.
Fitting will have to wait for another day.Not wanting to tempt fate but it looks to be fairly straight forward,worth giving the bottom bolt that holds the shock in place a good soak of penetrating oil first.
I would highly recommend that before you reinstall the rear shock assemblies that you replace the "top hat" or guide bush, part 11, as well as the yellow foam isolator bushes, parts 10 and 12. The top hat bushes deteriorate and allow the shaft of the shock to come in contact with the inside of the center hole of the mounting plate, part 6, which causes knocking sounds audible in the passenger compartment. If the bushes in the salvaged units are not relatively new, they will fail sooner or later, causing you to have to disassemble everything again. They're not expensive, so it would be best to replace them now:
A couple of other thoughts:
Check the torque specification for the screws that secure the upper mounting plate to the body, which is pretty low if I recall correctly. Over-torquing the screws can easily strip the threads in the body, leading to a time-consuming job to re-tap the hole for a larger screw.
Also, it's a good idea to apply copper grease or other anti-seize compound to the unthreaded shaft of the long lower fulcrum bolt, part 30 in the diagram (just don't apply anti-seize to the threads).
Cheers,
Don
Thank for that, I'm glad you pulled up that particular picture as it's the one I was looking at the other day to make sure I had the parts in the right order. I have to keep double checking as my VIN is 682497 and as we know changes were a foot in the latter years. I managed to get a rear bumper last week (reduced in price if I took it off myself) First off the battery compartment was under the bonnet which was a bonus as the boot was locked but it meant I could use my jump pack on the connectors under the bonnet and power up the central locking. Also the connectors for the rear fog lights were different,not by much but enough so as not to be able to use straight off the bat. Did they have to much time on their hands.?
Anyway,thanks for tip I shall order the bushes/isolators, might be a couple of weeks before I can get to her though.
First off the battery compartment was under the bonnet which was a bonus as the boot was locked but it meant I could use my jump pack on the connectors under the bonnet and power up the central locking.
You can also do this on the later cars with the battery in the boot by connecting your jump pack positive lead to the large jump post under a plastic cover on the right bulkhead near the row of relays in the engine compartment. Connect your negative lead to a good chassis ground, such as one of the ground posts on the inner wing.
Originally Posted by twack
Also the connectors for the rear fog lights were different,not by much but enough so as not to be able to use straight off the bat. Did they have to much time on their hands.?
The thing I've noticed about electrical connectors in the XJ40s (and other vehicles) is that over time they were revised to be smaller, more compact, lighter, and better-sealed against moisture, oil and other contaminants. This was probably not so much due to decisions by Jaguar (a relatively small-volume maker) than to the needs of larger automakers who purchased far larger quantities of connectors from the same OE suppliers like Amphenol, Econoseal, Molex, etc. As far as I've been able to tell, Jaguar did not design its own connectors, it purchased connectors from the catalogs of the major OEMs.
Sounds fair enough. I have been bitten in the past, I needed a passenger front door, unbelievably I found a compete door less than 3 miles away,complete and in the same colour. So I happily fitted it,swapped the cards over,went to connect it up and the block connector was different. I took, what I thought, was the simpler option of swapping the door loom over.... I always check now.
So after treating myself to the sound of a straight six without any rear boxes I was looking for a way to try and re-create that sound without spending a fortune or compromising performance. How about gutting the rear silencers and repacking? Well that's what we did and here's how we did it.
I've only put up some of the photos' as it was same for both sides.
Ideally we would have removed the boxes at the join but the chances of that being successful were limited due to the rust on the join...so we cut them off making sure we put a chalk liner over the cut so we could re-align properly when putting back together.
Half a line visible.
Now for the fun part
Once both boxes were off we removed a section of the side wall and then all of the internals.
Underneath the wadding the internal pipe goes up and down three times.
Ready for a new single pipe section.
We tack welded a section of stainless perforated pipe and then surrounded it with exhaust wadding and tied it off with mig wire. The wadding was 'Acousta-fil' which by all accounts should expand and harden over time.As that happens the exhaust note should also deepen.
2" (50mm) length of perforated stainless pipe tacked into place.
Wadding wrapped and tied off.
Now to put it all back together.
Tacked into place first to make sure the shape is right.
Continuously welded with no leaks.
Using the markers already on the pipe made lining up the box much easier.
The end result was a much deeper sound that doesn't get 'raspy' at higher revs also there is no noticeable drop in performance. If you can weld it is a really cheap modification you can do yourself. The pipe and wadding came to no more than �30.The whole job took no more than 3 hours and it was well worth it.
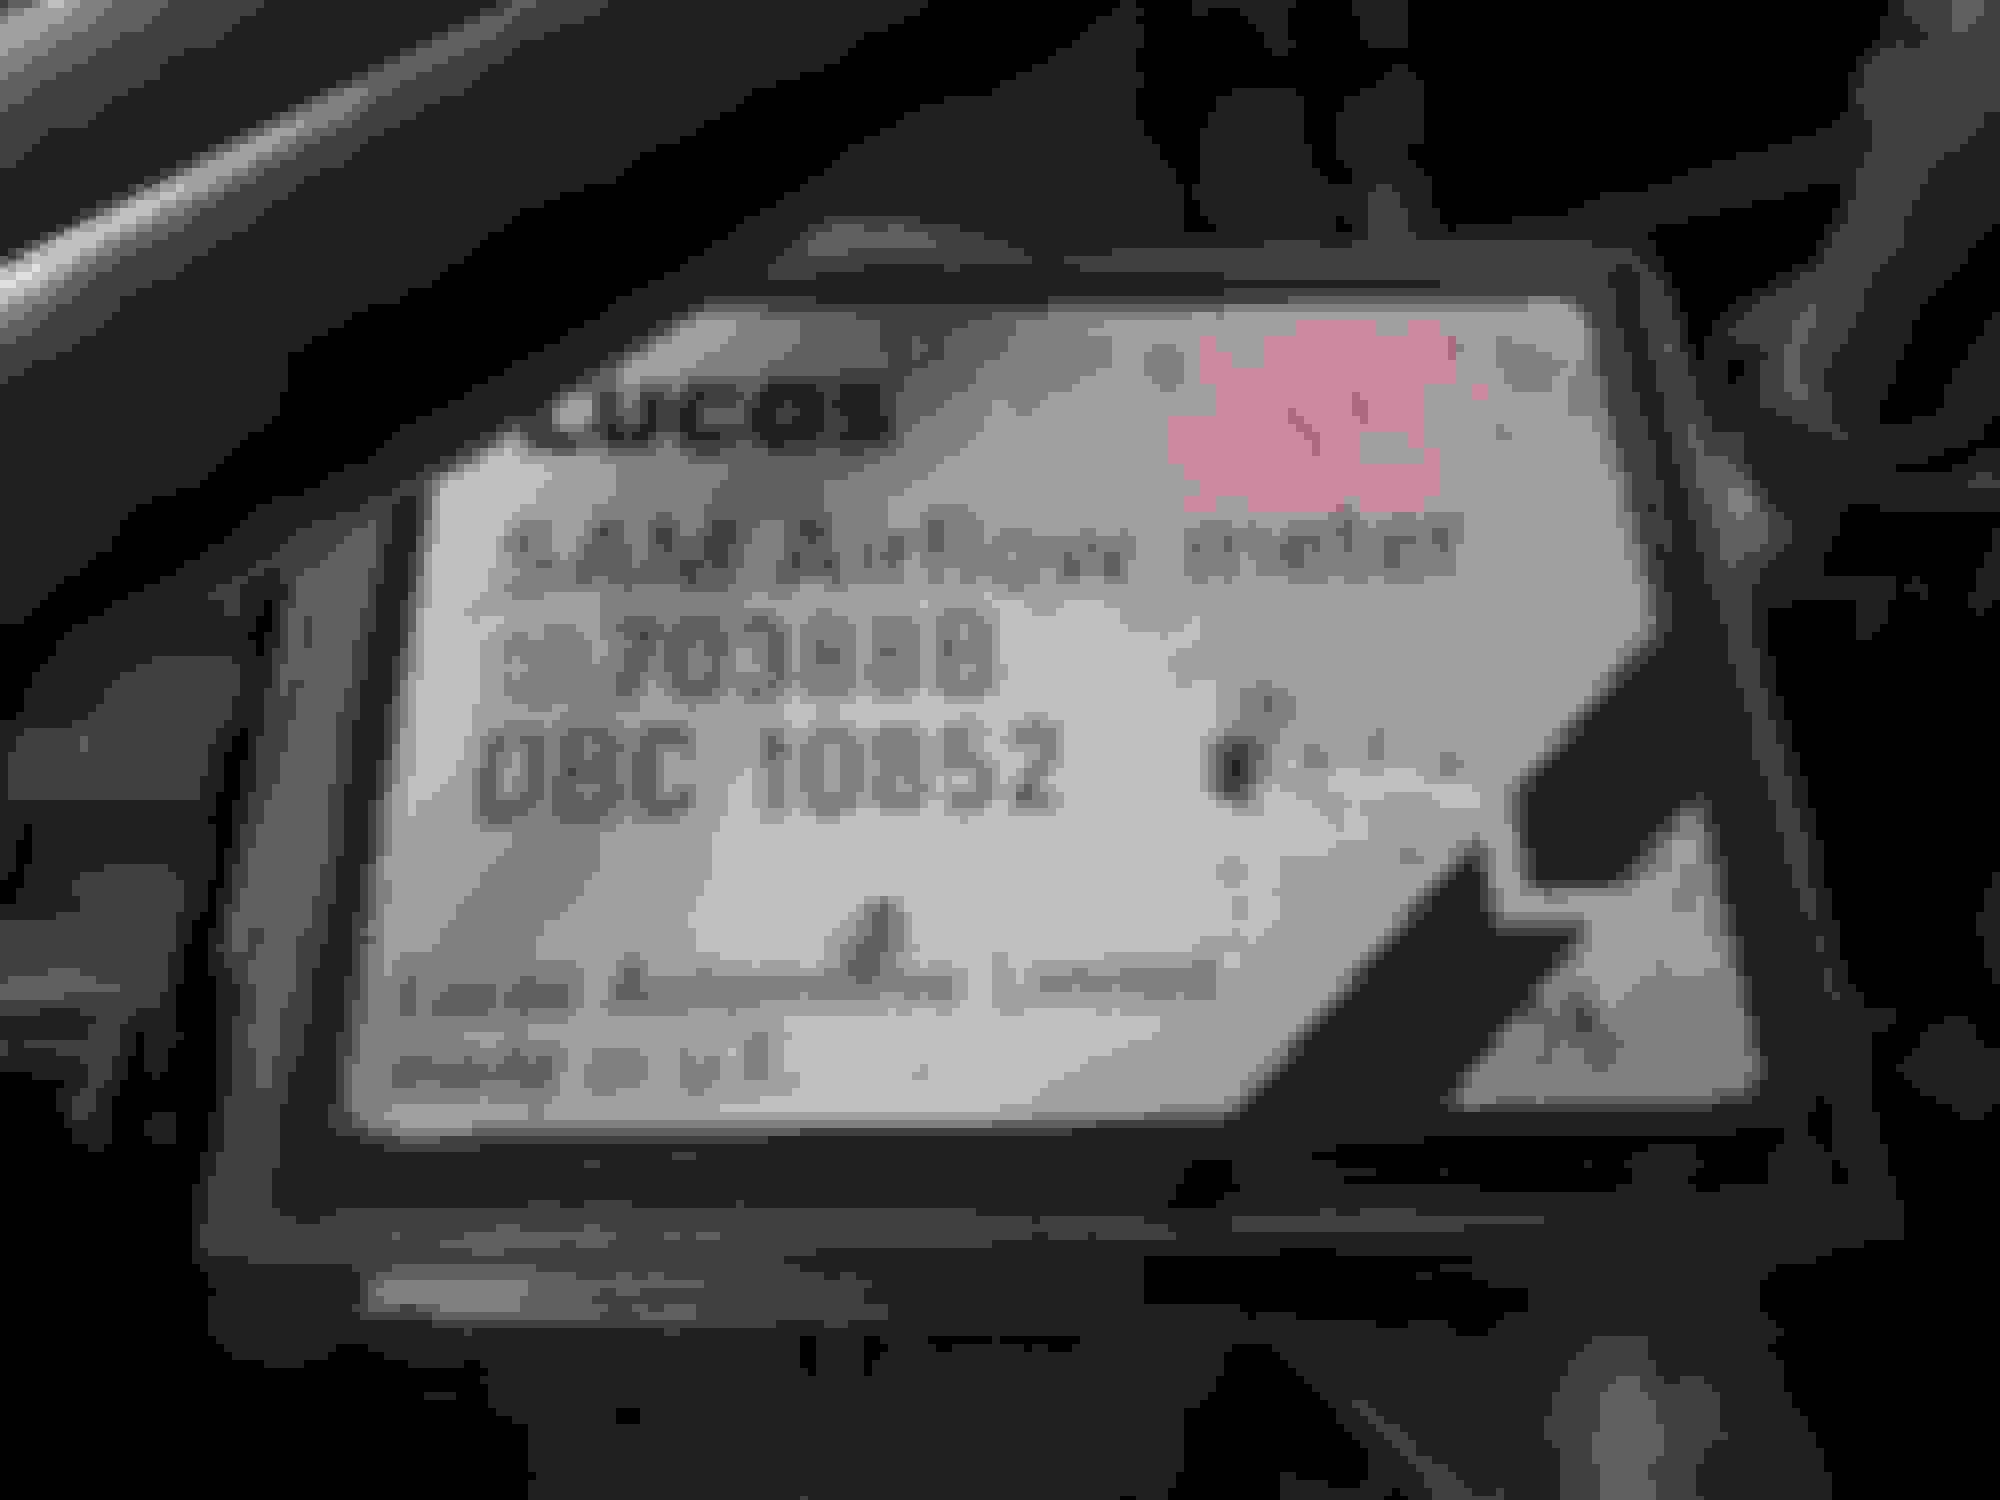
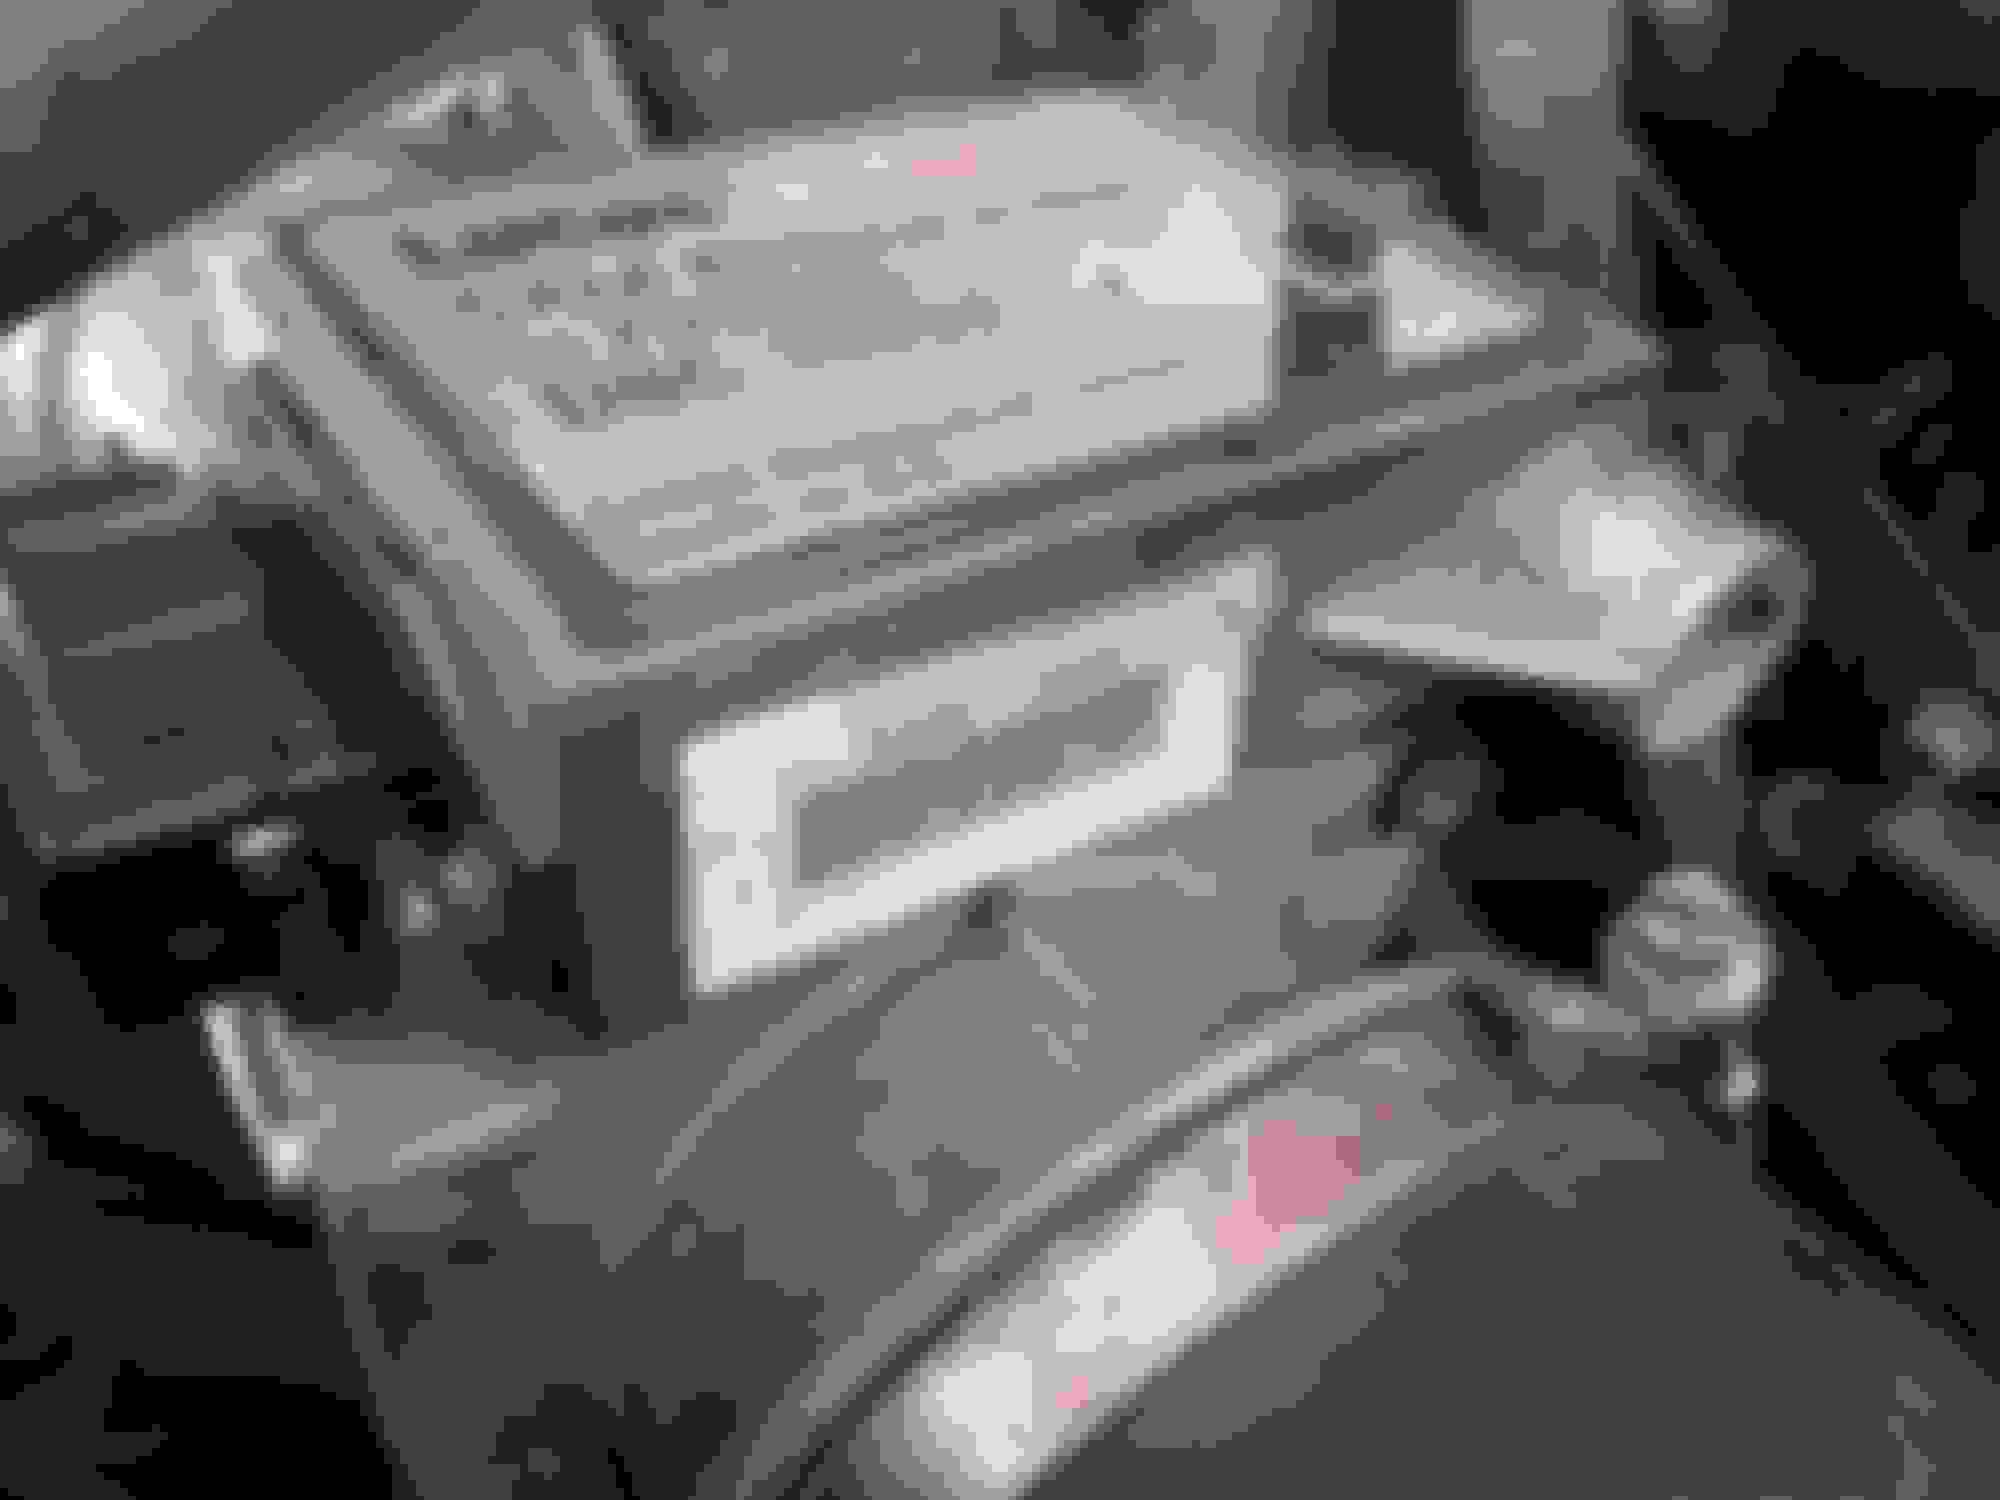
Been sidetracked for a few weeks with a disgruntled XJ8 so I thought I'd return for some guidance please. There is a long running niggle with the XJ40 which I have mentioned before,namely, that every once in a while she goes 'hunting'. Normally during the first 10 mins or so. She either chugs herself back to normal or a quick blip on the accelerator and everything is good again for as long as you're driving. So then general consensus is leaning towards the Air flow sensor and I'm happy with that as it's probably never been changed (has been cleaned a couple of times) Below are the photos of the meter in situ.
So I've been researching sensors and there seems to be a few different ones that do the same job. I'd like to know which one came as the original one.
If I use the Jaguar classics parts catalogue using my VIN number I get a different part number. Is there any way of confirming which one would have been fitted when new? or is there now an alternative, superseeded one. DBC10852 (5AM) is on there but might not be the original and the parts catalogue comes up with DBC12517E unless I'm reading it wrong. Any help would,as always, be appreciated. Many thanks.
Been sidetracked for a few weeks with a disgruntled XJ8 so I thought I'd return for some guidance please. There is a long running niggle with the XJ40 which I have mentioned before,namely, that every once in a while she goes 'hunting'. Normally during the first 10 mins or so. She either chugs herself back to normal or a quick blip on the accelerator and everything is good again for as long as you're driving.
Cleaning the MAF sensor hot wire and its electrical connector with a good zero-residue MAF sensor cleaner may help. Somewhere I have an early XJ40 parts list but it probably pre-dates your car, so I don't think it would tell us your original MAF part number. In general, it's better to use the later part part numbers that superseded the old ones, due to running improvements over the course of production.
Another possibile contributor to your hunting is the return spring on the throttle cam, which may have weakened over the years. This can allow the vacuum generated by the engine to pull the butterfly valve inward until the spring tension pulls it back, and the process repeats, leading to surging or hunting. Some of our forum sponsors may be able to supply a good replacement spring. I found a stronger spring that fit nicely at McMaster-Carr (mcmaster.com). While you're replacing the spring, it's also a good idea to adjust any slack out of in the throttle cable. I do it with the engine running so I can hear if the rpm increase, indicating I've tightened the cable too far.
 07-02-2017, 08:26 AM