When you click on links to various merchants on this site and make a purchase, this can result in this site earning a commission. Affiliate programs and affiliations include, but are not limited to, the eBay Partner Network.
Nice work. It is a great looking car and will look even better as your efforts succeed.
1. Crash pad. Five ideas.
A. Justdashes in Van Nuys, CA can refurb it to like new. They dsid one for my son's 64 Chrysler 300K. Nice.
B. David Boger again, for a better one.
C. Your local upholstery shop to cover it in vinyl.
D. I think Eastwood has a kit to patch vinyl
E. Professional detailers patch vinyl quite nicely..
That looks simply Great!
I'm surprised your floor pans are so clean. Mine is a California car too, but by the time it came to me, the driver side was swiftly coming undone and I was about to become Wilma Flintstone!
(';')
Those are amazing floors. Says a whole lot about the rest of the car.
Very interesting to see the pictures of inside the gas tank cavities in the rear wings...... our car also has that weird putty like seam sealer which I thought was someones amateur attempt to seal something, but looks like it was "factory" :-)
How is the dash wood ? We found a new piece on ebay for a reasonable price. It was darker than the wood that came out. Made a big difference to the overall look of the interior. So easy to change the wood on an S2 because it's only the single piece on the dash..... no door trims or center console trims to worry about matching (ie S3)
As you have the car in pieces, now may be a good time to fit remote central locking ? super simple upgrade for less than $20.
Also if you replace the dash wood you could opt for doing an LED upgrade on the illumination.
Those are amazing floors. Says a whole lot about the rest of the car
Where did you get the carpet ? Was it a pre cut kit or you just bought and cut to size yourself ?
Yea, I am really impressed at how free of corrosion the car is, unbelievable really. It has always been stored indoors but still, I would expect to see a little bit somewhere, but this one is just sooooo clean!
I got the carpet pre cut by some outfit in Belgium. It is pretty premium quality stuff but it was reasonable price wise, even with shipping. I want to say the whole interior was around 450$. I'll do some digging and see if I can find their name
Hey guys, I just wanted to post up a quick update. It looks like I may be moving unexpectedly and soon. It would make my life exponentially easier if I sell this project instead of getting in a mad rush to complete it. I would hate to not give this car the attention that it deserves, because it is very clean. Soooo, that being said if there is any interest in someone taking this one on, let me know via, PM or just reply to this thread. Please no absurdly low offers, I am in this one deep and will already be losing quite a bit of money. I'm going to put an official post in the for sale section as well.
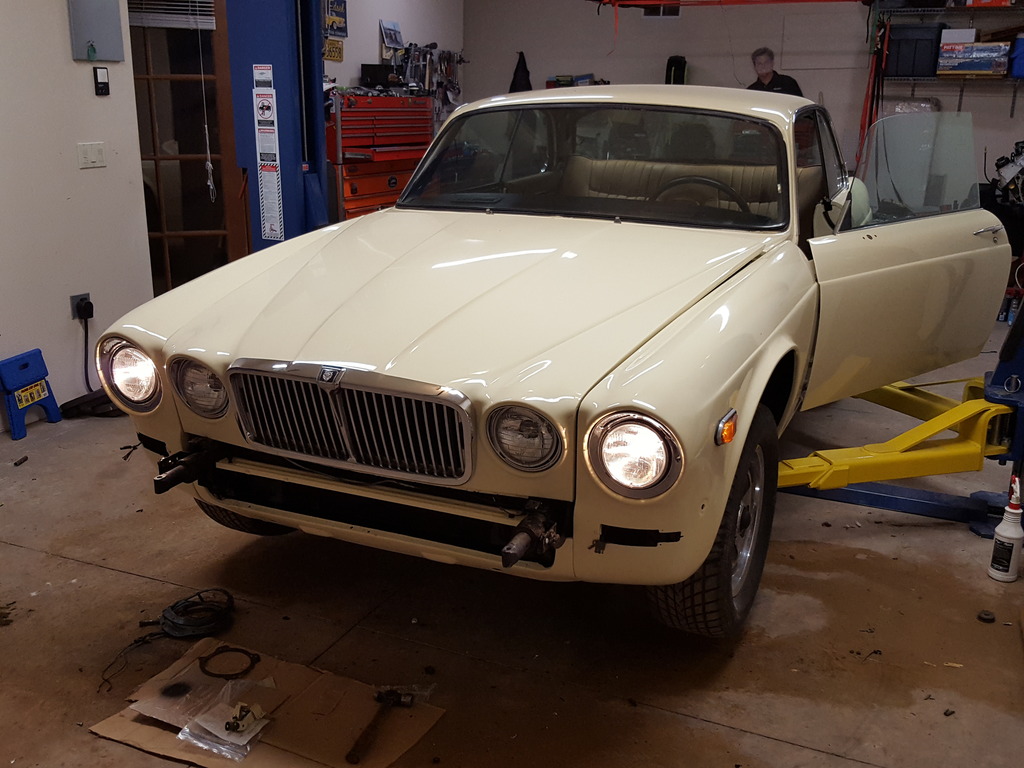
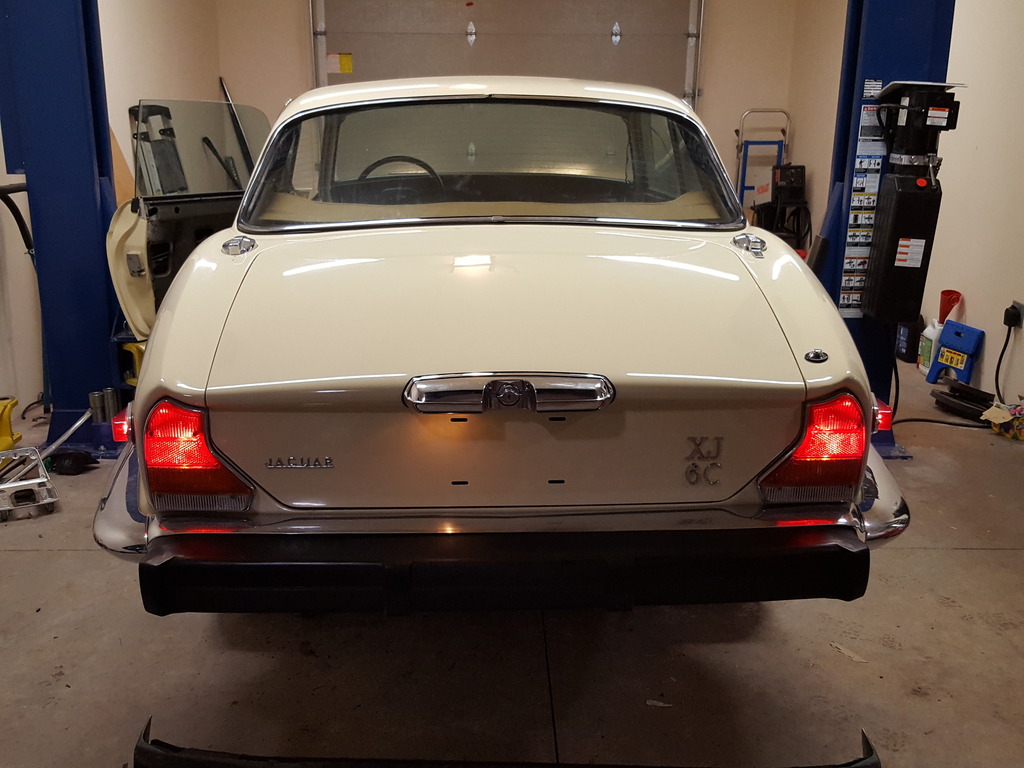
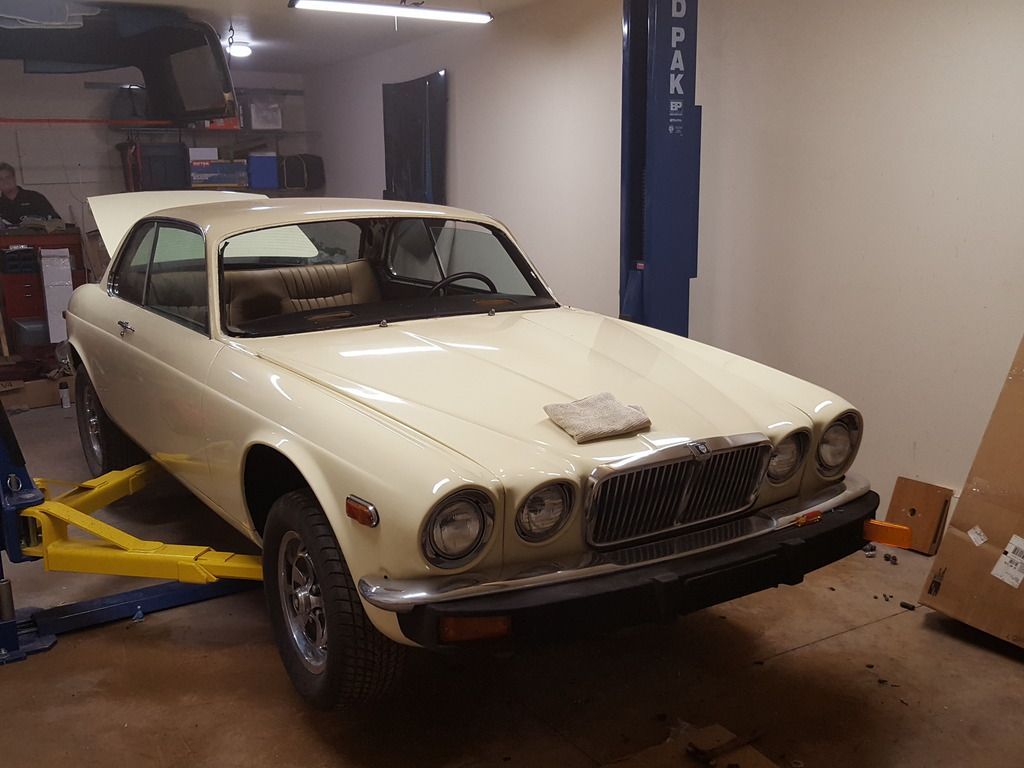
As of now the car is running and driving with a chevy 350/700r4 combo. I have to original motor as well. Paint is complete, Interior is new OSJI, headliner came from the UK and carpet came from Europe and is legit OEM style replacement. Chassis has been refinished and undercoated. I installed the rear window last week
What it needs to be complete, or at least fully functional drive it around...
Exhaust from the front of the rear diff back
Hood aligned, front grille installed/front bumper installed
Headlight Buckets installed/trim
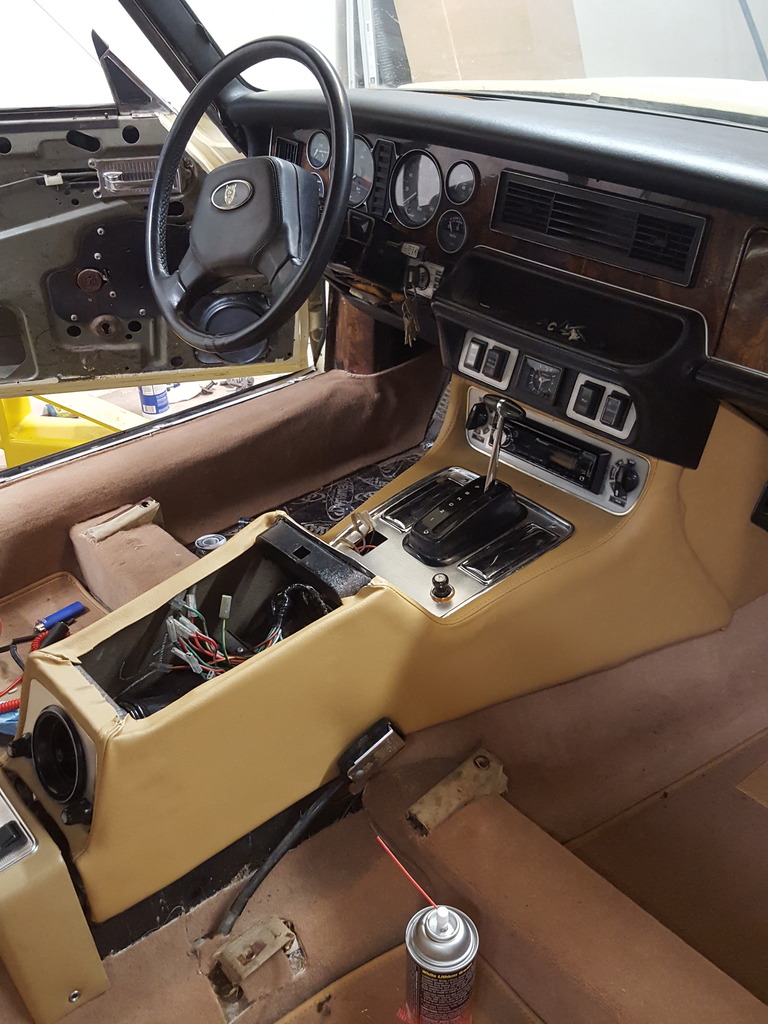
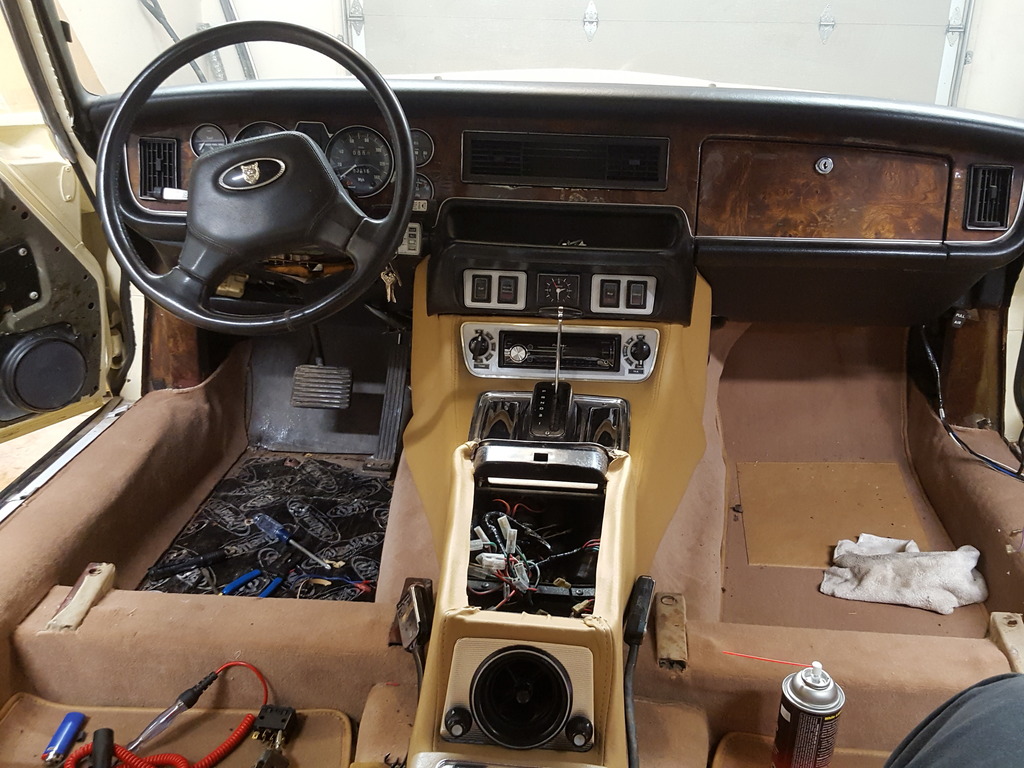
Center console needs recovered/re-installed (have 4 yards of matching vinyl)
Interior panels installed
Seats installed
Let me know if anyone is interested, If not I'll pack it all up and take it with me. Thanks guys
Well over the last couple of weeks I got a lot of interest but no solid bites on the car yet so onward I go. I got the front end put back together, hood aligned and almost ready to hang the bumper. Got everything wired up and functioning correctly. New dash pad is installed and was able to drop the center console off at the upholstery shop. Hopefully the next time home I will have the interior buttoned back up. After that it's just exhaust and minor odds and ends. I am still looking to sell the car so if anyone is interested let me know.
Well moving right along. I got my recovered console back from the upholstery shop and have it mostly put back together. I took the opportunity to install a new stereo to replace the ancient tape deck that was in the car previously. I was able to get the power locks working although I still need to lube all of the linkages again, it's hanging up from time to time. All and all it's coming together nicely.
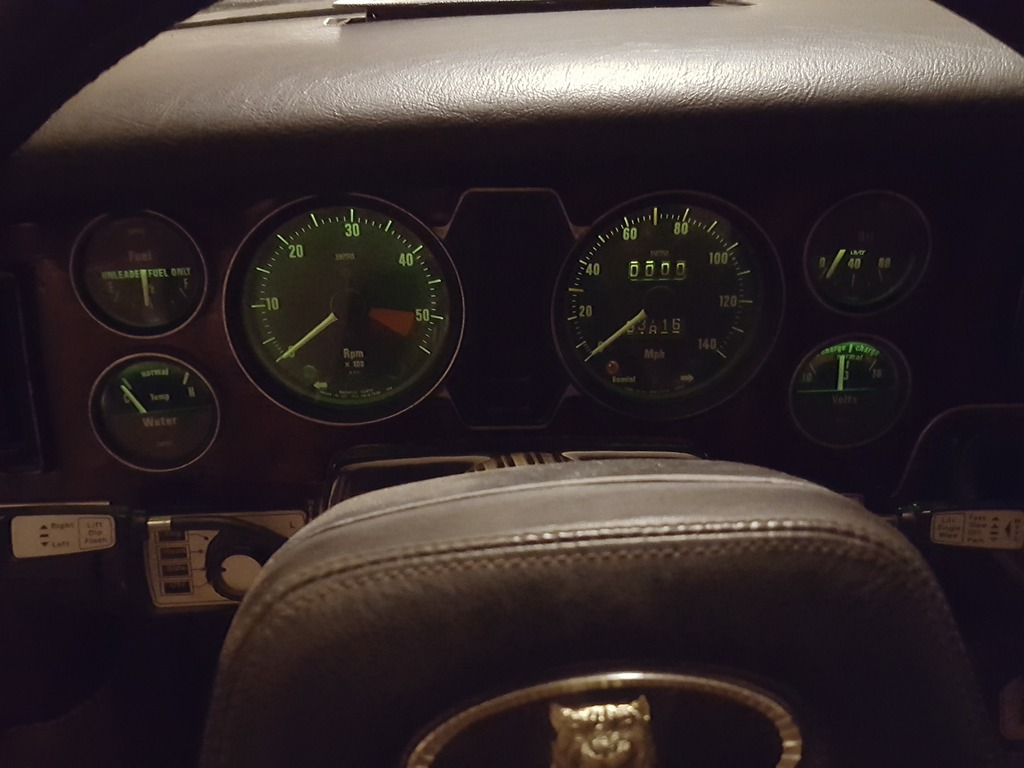
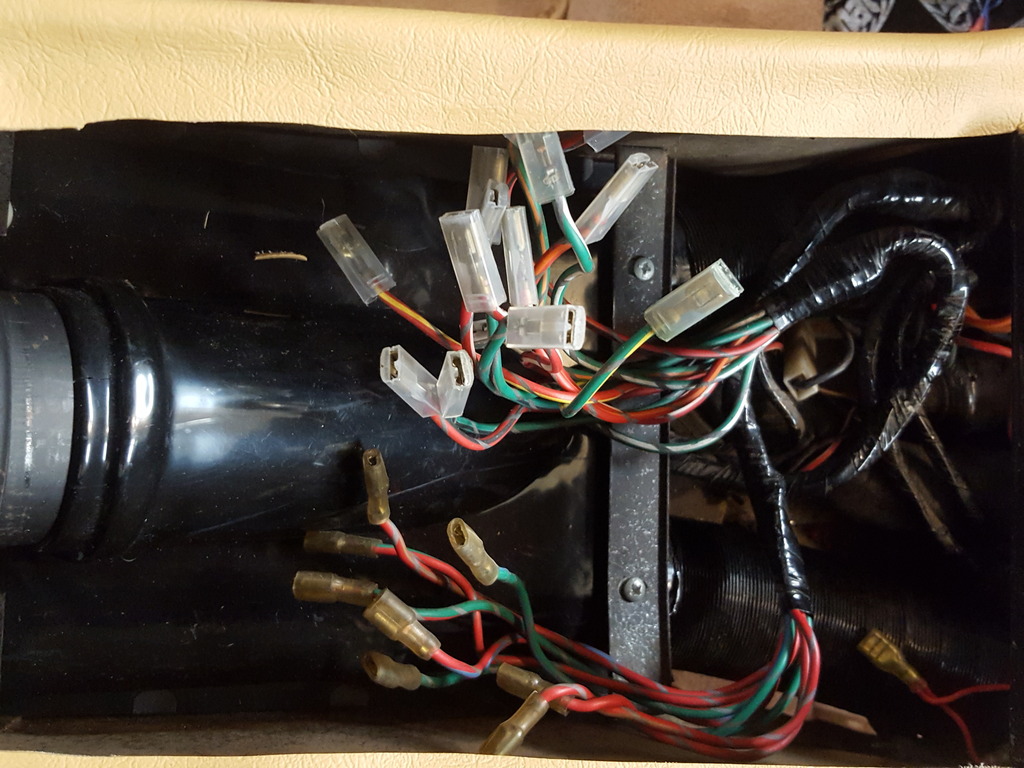
So now is where I could use a little advice. I disconnected all of the power window wiring to replace switches and clean up all of the trim. I was able to find a series 3 schematic, but the wire color coding was different and I could not get power to the rear windows. Does anyone happen to have a schematic for a series 2 car? Any help would be much appreciated. Heres where I am at with it....haha!
Excellent, thanks so much. It seem that your switch guide was the one that I was trying to go off of. Some of my wires were marked with different colors that on the switch diagram that you had laid out. I think that coupled with the wiring schematic I'll get it figured out. Thanks!
Be very careful with handling and storing the trim pieces.. I am going through HELL trying to reform it for the complex curves on the corners.
Mine was in bad shape and it was rechromed and they "bent" it while trying to buff the new finish.. have drivers side piece on now and will spend more hours bending the other side by hand... then it takes four hands to get a piece in place as it tries to slip out of the top or bottom.
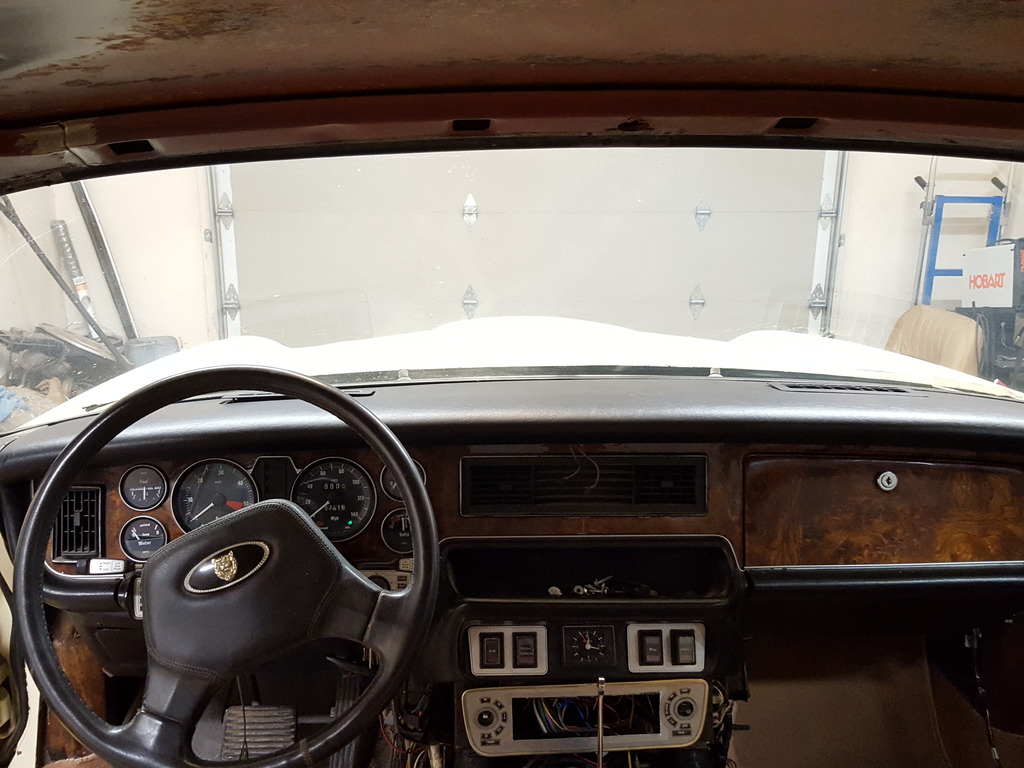
I got the rest of the front end back together and figured I would tackle the last big job that I had been putting off. The front windshield gasket was trashed and needed to be replaced. Pulled the windscreen and went to work cleaning everything up for reassembly.
and then....tragedy!
The aftermarket seal wasn't fitting well and I suppose that I may have gotten a little aggressive in trying to seat everything correctly.....So anyone happen to know where I can get a Series 2 windshield or if a series 3 will fit?
I am assuming that I won't just be able to call up Safelite or the local windshield shop to get a replacement.
Series 3 won't fit. Ser 2 available though from most suppliers I think.
In the last couple years hanging out in here, I have learned (among many other things) if it can be at all avoided, I will Never remove my windshield or rear window!
(';')
Absolutely!! Even the pro's shy away from R & R old glass.
Circa 1992, my most unlucky 88 Tbird took a hard smack on the
left rear quarter panel. The original repair plan included R&R the rear glass. Using the original. Glass guy said no way. It will bust 9 out of 10, no matter how careful I am. No issue if a new glass is going in.
So the panel basher figured out a way to swap the 1/4 panel and leave the glass in place. It came out just fine....
OH NO!!
In the last couple years hanging out in here, I have learned (among many other things) if it can be at all avoided, I will Never remove my windshield or rear window!
(';')
Yea, I totally agree with that sentiment. Couldn't be helped this time, it had to be done, the original gasket had been cut back at some point and was totally trashed. It's a bummer though, After I finished the windshield I was going to throw a seat in it and go for a drive. Oh well, I'll keep searching for a windshield and hopefully come up with something soon.
On the bright side... Your existing windshield appeared to be worn out and scratched and probably pitted. Nothing like a new clean and un-pitted windscreen. Looking through a new one really elevates the driving experience.
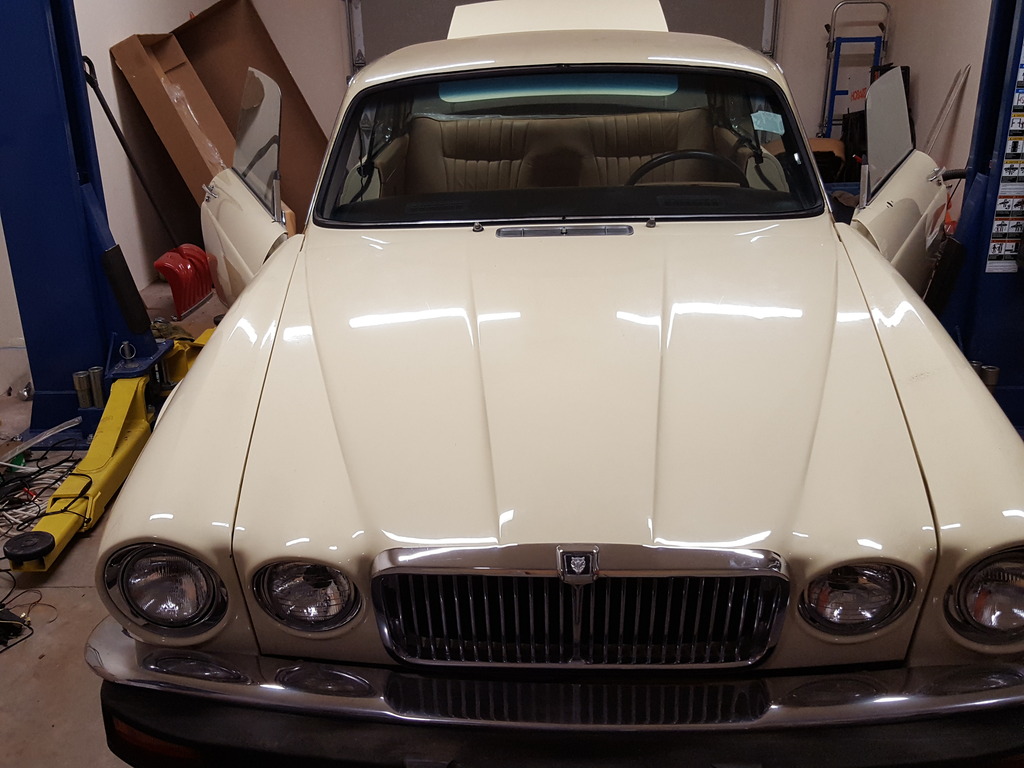
Well I was able to source a brand new windshield. Went with a different vendor for the gasket this time and without much drama it went right in this time.
She's coming together nicely, I got most of the interior back together, and even got to take her for a 20 minute drive the other day! Milestones all around haha. I'm also looking for a set of C-pillar trim panels for the interior. If anyone knows of someone parting out a coupe definitely let me know. Those are the only elusive item that I have yet to find. I've almost had two sets, but the guys ended up selling the whole cars before I could get them. Hope everyone is having a good Holiday season!