When you click on links to various merchants on this site and make a purchase, this can result in this site earning a commission. Affiliate programs and affiliations include, but are not limited to, the eBay Partner Network.
I was running some experiments in my shop to figure out what best degreaser would be for internal engine parts. My choices were:
- Acetone
- Lacquer thinner
- Kerosene
- Zep commercial industrial purple cleaner and degrease
While acetone does wonder with fuel sludge (dissolves on contact) it does not do too much with baked on oil sludge. So, that was out.
Lacquer thinner does work but you have to soak your parts for hours and then you have to go with a stiff brush and start brushing away. All the broken down sludge comes right off.
I have not tried the Kerosene yet.
Now Zep. Holy s***! It ate the sludge away clean. Now, it will etch aluminum so you have to be very careful. I had left the timing chain tree in undiluted solution for too long (about an hour). Half an hour would be sufficient. Use full strength, dunk your parts, take them out in half hour and rinse with water.
See before and after pictures.
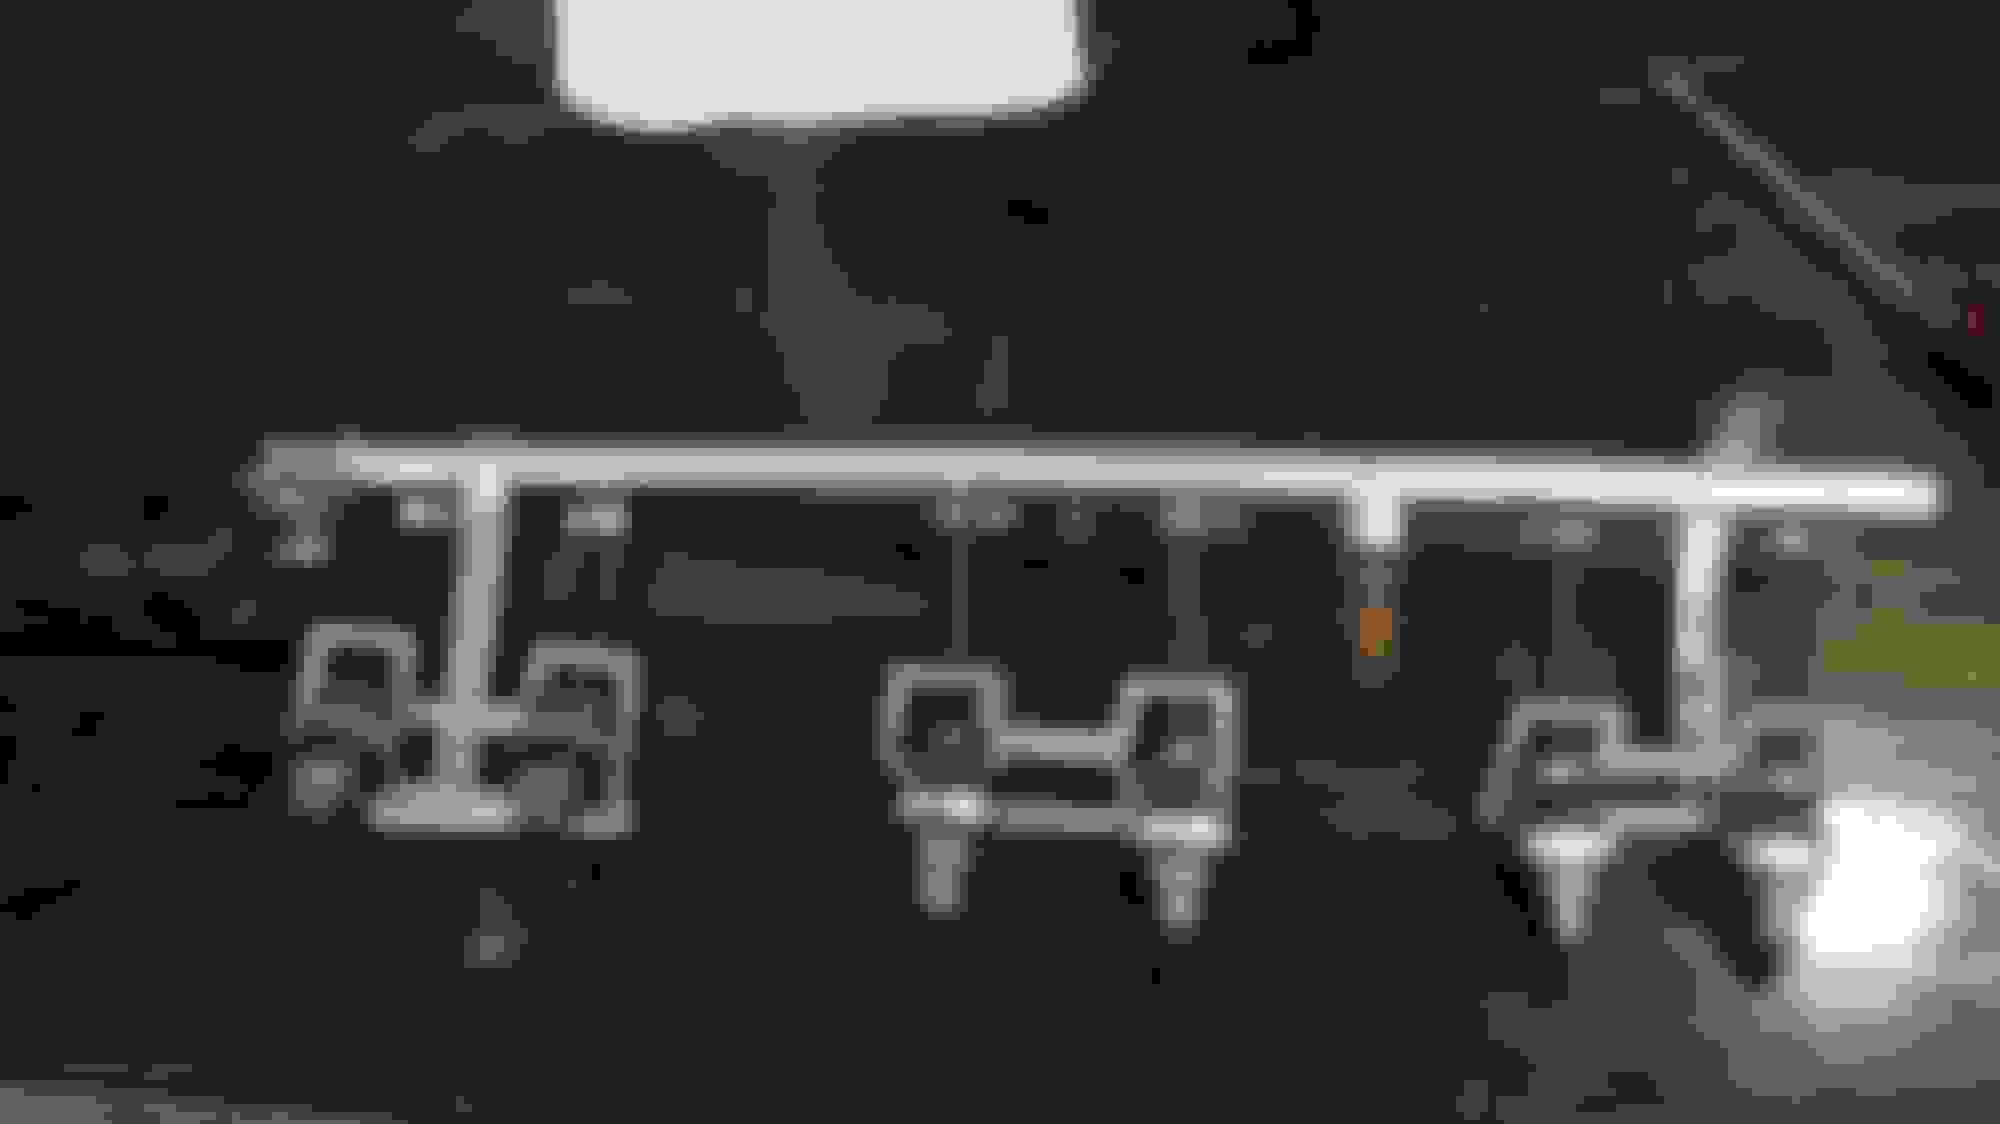
Timing chain tree
Right when I dunked the timing chain tree in the Zep solution
Very effective stuff. I've used oven cleaner on baked on greae, but only on iron, never alloy!!
Interesting. My son is contemplating a return to building or refurbishing custom high performance engines. That includes a refurbish of an ancient "hot tank". Actually n ot the old cauldron of hot caustics. But a cabinet with a revolving tube with jets spewing hat water with a tamer solution. Very skillfully remachined bushings and converted from natural gas to electric for heat. Much more expensive than natural gas., Only Propane in that area. The thing is close to 50 years old!!!!
Motor looks to have missed a few service schedules at some stage in its history, with the cooked on oil in places, but should come up a treat when its finished.
A hot and concentrated solution of biological washing powder can work wonders sometimes on engine parts. I also found cellulose thinners good for petrol varnish.
Looking at those black surfaces convinces me more than anything that a full strip-down of the block and clearing out the whole coolant jacket and oil galleries is essential if the rebuilt engine is to survive any length of time. For the main oil gallery, I am told a 12-bore shotgun barrel brush is good for clearing it out, plus plenty of kerosene.
The block is finally completely stripped. The crankshaft is out. I actually loaded the block and the crankshaft last night after class in my Suburban and today I took them straight to a machine shop for hot dipped cleaning. The cylinder bores and crankshaft journals look good. So, the machine shop will do the following:
- Hot dip the block, clean crankshaft and pistons
- Hone the cylinders
- Clean the pistons
- Polish the crankshaft journals
They claim it will be ready for pick-up on Friday and if so, I will have fresh pictures.
Time to order main and rod bearings and a set of rings. And the assembly will begin.
Of course there are items such as cylinder head reconditioning, injector reconditioning, injector wire harness rebuild and so on and so forth. It will be all here until the engine runs again.
From the engine stand onto the working table. Getting to the rear main bearing is a bit tricky
When I got the engine block from the machine shop, I was not happy with the results. The grease was gone but the internal coolant jackets remained rusty. I was under the impression that the machine shop would have used a caustic solution to clean all the crud out but that did not happen.
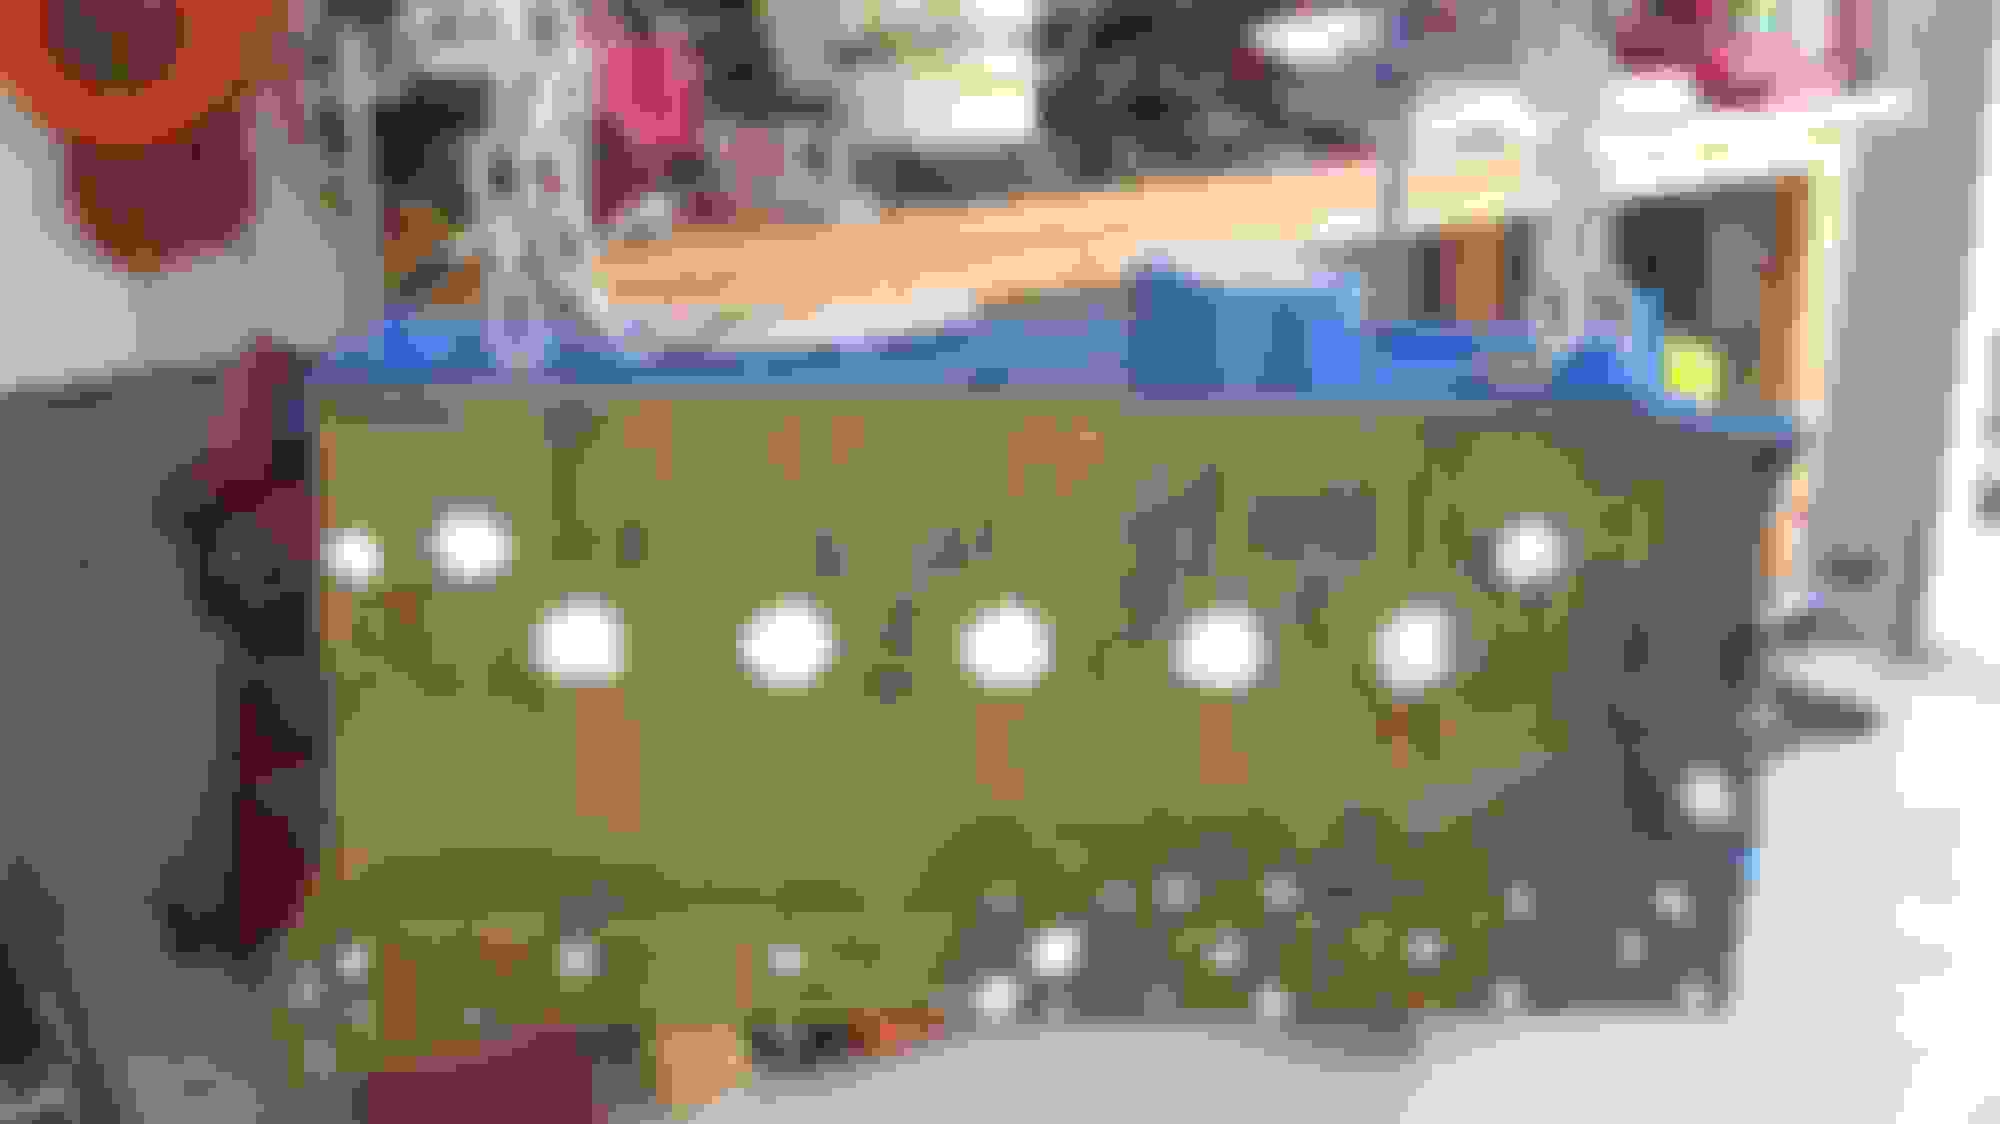
The block back from the machine shop. Not so healthy looking. The water jackets had quite a bit of rust.
The other side
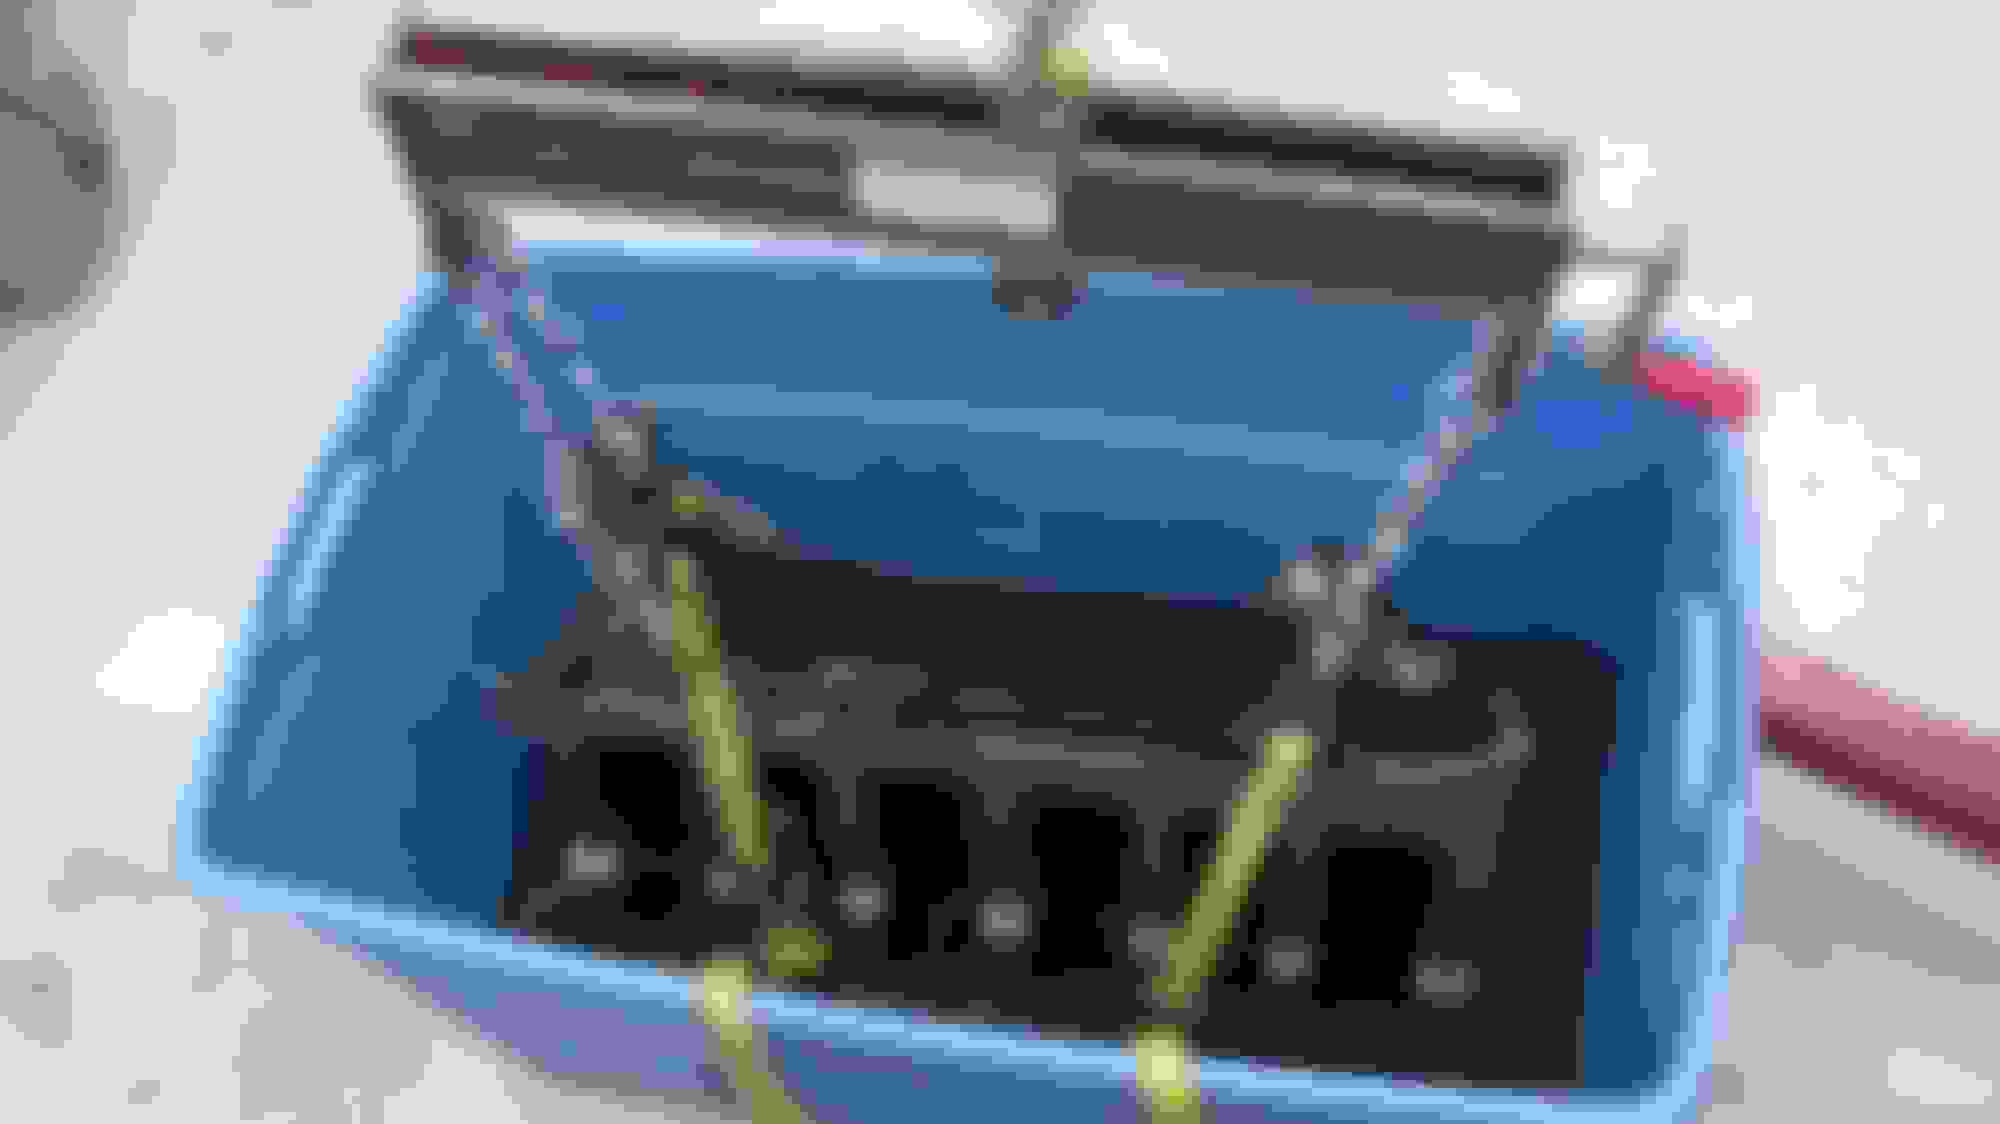
Used 10 gallons of EvapoRust and submerged the block in this plastic container.
I slushed it around to ensure that the EvapoRust solution got into all the crevices. If I were to do it again, I would spend the money and get 20 gallons and submerge the whole block in the solution.
The EvapoRust solution worked really well. It cleaned just about all the rust that was within the water jackets (not shown here).
I took the block out and power washed it. It flash-rusted, of course, but the block was cleaned.
I used a rust converter product throughout the block. It went on clear and then turned everything black
Finished the painting process with some engine enamel and a clear coat
I sandblasted the fuel rail, fuel pressure regulator and mount brackets to bare metal. I primed all of them and then used silver paint on the fuel rail and mount brackets and black paint on the fuel pressure regulator. I sent the injectors out to SD Faircloth in Florida where he cleaned and tested the injectors. Using fresh rubber everywhere, I put it back together. Before and after picks below.
Ran into an impasse this week on assembling the engine. After installing the bearing caps with all fresh bearings and the rear main seal, the crank would not move at all. I mean AT ALL! In the beginning, I thought I had the wrong bearings or something unusual like that but quickly realized what the problem was. I had to remove the crank 4 times before deciding to ditch the rear main seal and try without it and see if it was the crankshaft / bearings. Nope. It was the rear main seal. I guess I was not read up on that and had no clue that the seal had to be sized with a special tool! What tha!!!
On to ebay of course.
Block with new bearings, crankshaft and bearing cups installed
So, the book says to use sizing tool JD-17B to size the seal. After doing the requisite research, I realized that I could upgrade the oil seal with a modern version at a considerable price! The problem is that it is still a two piece design and it won't make it any easier to replace it if it ever goes bad. Plus, the crank has to be turned at the place where the seal makes contact.
I decided against it and was lucky to find a JD-17B available on ebay which I jumped on immediately. Not cheap but what the hell. I got a V12 that needs to be redone in the future and a 2nd 86 VandenPlas that leaks like a sieve from the rear seal so it may end up paying for itself....
It has two markings: JD-17B and 6-12. I am assuming it will work for both the 6 and 12 cylinder engines.
Won't know if it works until next Tuesday evening....
I mentioned before how fitting the rear-main seal pretty much froze the crankshaft in place. Well, yesterday, for the nth time, the crank was out and my newly acquired sizing tool was put in good to stretch out the seal.
Took off the engine stand on the table ready for the rear main seal sizing exercise
Sizing tool JD-17B that I obtained at ebay.
Sizing tool from the other side. I worked the tool for several minutes and that did the trick. The crank was still tight after it was put together but at least I could turn it with my hands
Fresh set of Mahle pistons and big-end bearings installed on clean rods. All my parts were obtained at SNG Barratt's. Friendly staff, superb service and had every obscure internal part that I asked for
Piston install process. Major milestone accomplished
Next week I am hoping to install the new oil pump and lines and install the oil sump. After that it will be cylinder head work
Nice work.
There's always something so satisfying about rebuilding an engine. Although I haven't done one for a while.
Luckily the engine for my Coupe is one that was rebuilt by VSE and has only done 2000 to 3000 miles since. I will take the sump off just to check and bolt it back on quick.
Good to hear that the crank could be turned by hand after you'd sized the new rear main seal. If the crank is too stiff, then the heat generated by the seal during engine running is so bad that it can melt the rear main bearing and wreck the engine.
Me too! Awesome. A very technical way of "stomping" a rope seal in place.
I've done a few with varying degrees of success. No special tool, Just what was near. A rolling pin approach, if you will. But, I did learn, the hard way, to greases it to prevent a burn out on the first run.
My last rebuild was a 32 Ford four banger. I used Gyptal on the interior. Rustoleum red prier on the exterior and a coat of industrial gray/green enamel. Close to stock
Ford color, although, the engine was far off stock.

 02-28-2015, 08:41 PM