When you click on links to various merchants on this site and make a purchase, this can result in this site earning a commission. Affiliate programs and affiliations include, but are not limited to, the eBay Partner Network.
The shims between the lower pivot brackets and the diff case itself are there just to adjust for tolerances in the manufacture of the rear suspension cage. Once the diff is installed back in the cage the brackets and long fulcrum shafts are brought to the assembly. Shims are used (same amount, front and rear) to get the bracket mounted to the diff such that the fulcrum shaft slides smoothly all the way through both the cage holes and the bracket. You may or may not need any shims depending on tolerance buildups. That's it. Your original shims likely corroded away and fell out. The safety wire is original and it may very well be that no one has been in there since the car was new.....
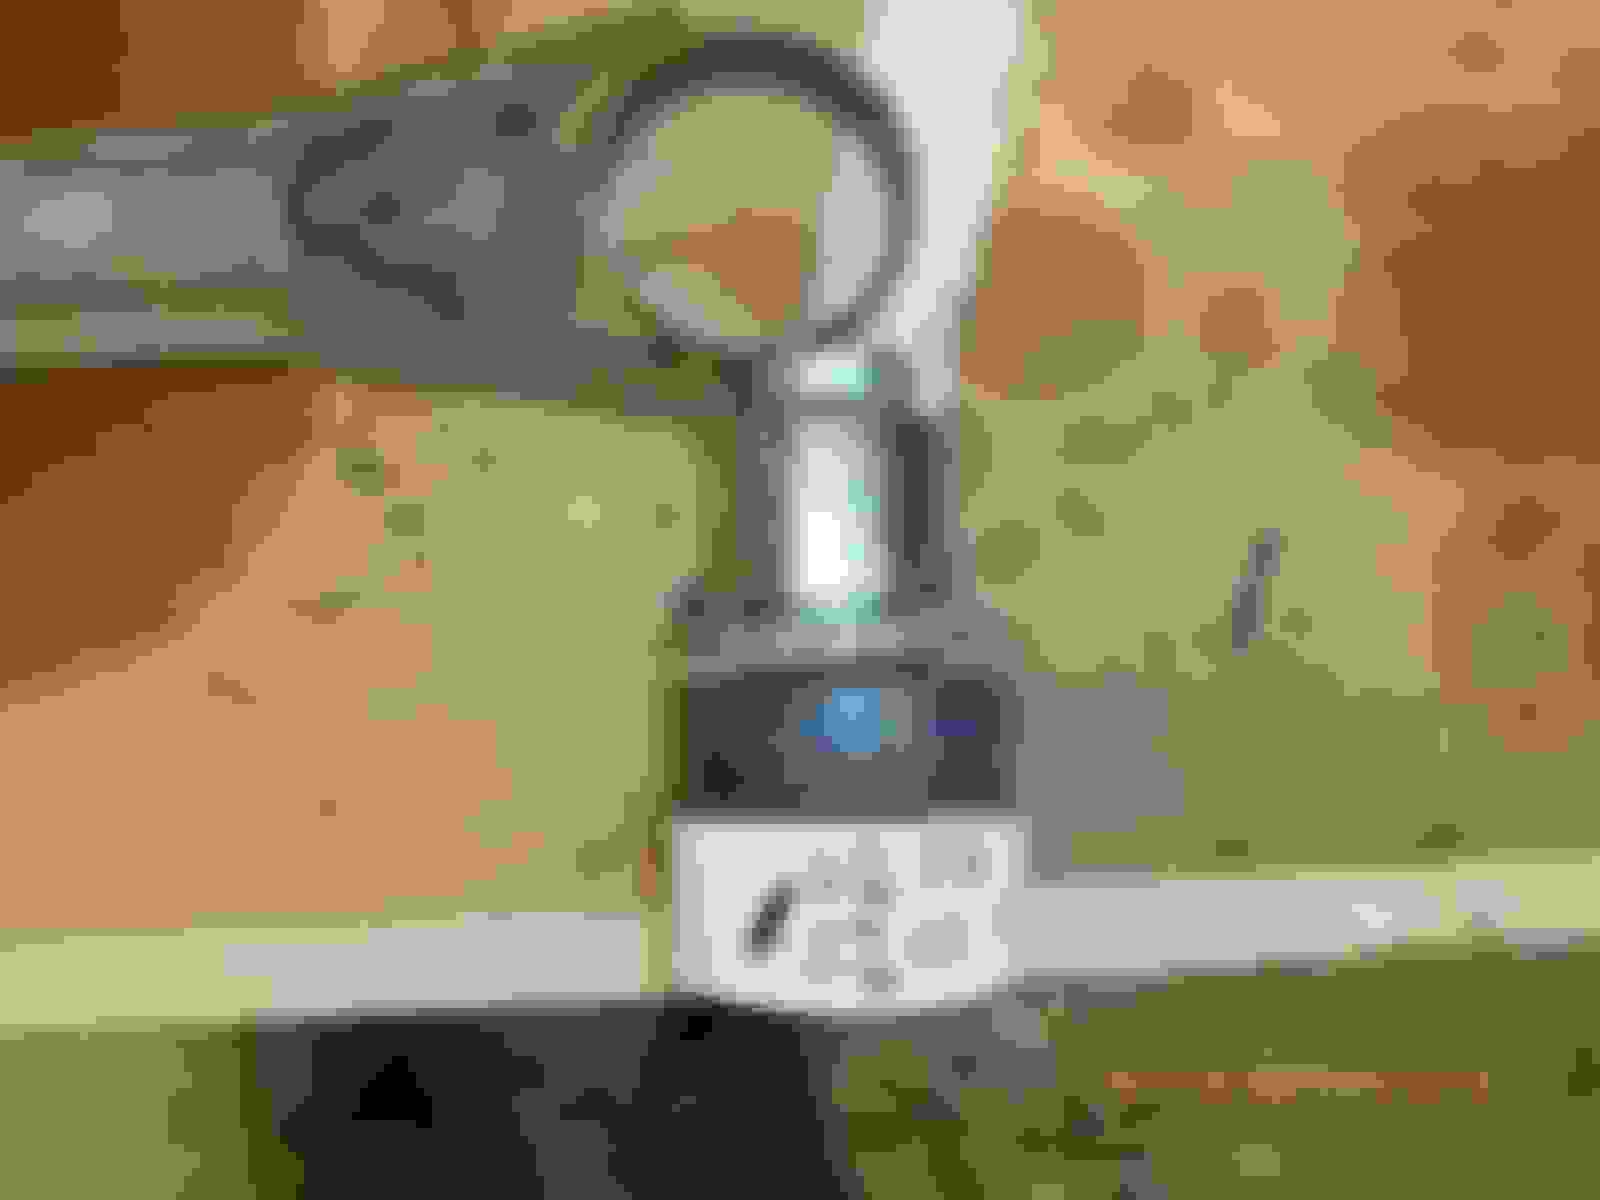
I finally did a custom "adjustment" to one of my pullers and built another set of puller arms to remove the outer hub bearing and seal ring. Here's a couple of pictures, I don't think this butcher job would be done at the factory. Cold chisel and hammer looks like the main tools used. I will have to replace the seal ring because of
a scratch/groove around the outside and a few nicks too. I hope I can stone and polish the hub into better condition, those things are expensive! I didn't take a picture of the safely wire.
Dave
[img] Front spring compressor. Black "puck" is ball bearing wheel stud installer.
A friend of mine told me that I should "pay it forward" as I make progress with my project and learn the way of the Jaguar. I'm going to show a couple of the tools I have had to make since February when I pushed the car into the shop.
[img] Spring compressor for front springs. Black "puck" is a ball bearing wheel stud installer. Works great. 1-5/16" 3/4 drive socket as driver and 2" Lennox hole-saw with teeth ground off. Perfect driver and support to remove front radius arm bushings. 2" 3/4 drive socket; floor bracket for 1" GIP ground down a little; 3-5/8" Lennox hole saw with teeth ground off. Perfect fit for removing large radius arm bushing. Spring compressor for rear coil-over shocks. 3" exhaust flange for one end and 2-1/2" for the other. 7/16" all-thread and gr8 nuts/washers. In operation. Had to grind a couple of carridge bolts to get under the tiny lip of outer hub seal ring. Not having the Factory tool to press the inner hub bearing to its nominal position prior to measuring and adjusting hub end-play, I made a pair of distance shims out of washers, but I have to grind to OD. Hence, the small self-centering tool to hold the washer while I try to make it smaller but still round.
Thank you so much for this Tool Time Tip.
Yesterday evening while on my way to one of my usual haunts, Nix was acting a bit squirrelly upon deceleration and hard braking. Having learned in here that this situation will only get worse, I said to myself, "Self," I said, "You are about to learn to rebush the cage."
And here was me thinking I had no critical Jag project for next winter. TSK!
(';')
I don't know why the front spring compressor picture wouldn't upload, tried it twice. If you'd like to see the "beta #1 and beta #2" in this thread in post #48, the current version is very similar to #2. I am also posting another pic of a critical step when you have a difficult large bushing removal on the radius arm.
[img] Here is the culprit with about 10-12 tons of pressure and no movement in sight. I decided to give the "floor bracket" press plate a slight rap with a punch; broke loose immediately. Did the same thing with the other radius arm, same result. Just a medium whack is all I needed. current version.
Well, I just finished rebuilding my rack and thought I would add a couple more "tools" I had to make. Installing new pinion valve seals in like putting socks on a rooster! Apparently, Jag mechanics have a tool that expands the seals and then another one to shrink them back to size. Piece of chocolate tube and some lube and those mechanics got 'nuthin on me. So far, I have scraped the old undercoating out of 3 wheel wells. Not a pleasant job if you are 6'3" and have a bad back. I made scapers out of 1/8" plexiglass and put a bevel on the end. Don't use the bullet-proof stuff, too soft. Plexiglass is much harder, but will not cut through good paint-they'll hold an edge a long time. Forgot to explain the other items in last picture. The tube with bolt through it is what I used to install a new "olive" in the pinion housing. This was after I ruined one. The other tool is just a drill bit J-B welded into a piece of aluminum to use when centering the rack. In this picture is a piece of 3/8" UHMW with a hole, relief slot, and tightening screw I used to turn the pinion when the rack is put together. I can't turn the pinion with my fingers.
Last edited by LT1 jaguar; Jun 12, 2019 at 10:07 PM.
I was too wordy in the last post, ran out of space under the last picture. Piece of copper tube is to cover the splines on the pinion as you are trying to slide into the pinion valve housing. It's impossible to push through the pinion seal without opening it up first because it faces inward and you are trying to push the pinion through it the wrong way. 3/4" copper pipe is idea with its 7/8" OD and 3/4" ID. I inserted the tube from the outside and just through the seal (going the right way with the seal). Then when you insert the pinion valve in the other end of the housing, you simply push the tube out with pinion and slip past the seal at the same time. I'm not proud in saying that I spent a number of hours last night and a good part of today figuring out why I couldn't push the pinion valve all the way into the housing. I thought is was the last valve seal that kept hanging up. A trip to Lowes with my dial calipers netted the piece of tube. The Jag shop manual cavalierly tells you about this tool and that, complete with part numbers, and if I had them my rebuild would be easier. Unfortunately, I have misplaced that collection of tools.
Dave
This may not be the way to do this, but I don't know another way. Awhile back I posted on an old thread "questions for the v8 conversions" by sunchip (5/17/21017). My post is the last one, #39 and I am looking for comments or opinions concerning stock vs one-piece drive shaft. If anyone has any experience in this matter, I would be grateful for an opinion.
Dave
Having had four Lumps with one piece drive shafts..I do not see the need for two piece.. mine were properly balanced with new yokes. I never felt any vibrations..just be sure the bolts and washers and nuts in the rear are properly tightened.
My car has a one-piece drive shaft, and as it was my first Jaguar experience I didn't know it didn't come that way.
Since that time I have been under many other Jags in wrecking yards still with their OEM 2-piece drive shafts, and it seemed to be another instance of BL making things needlessly complex.
My work truck has a 2-piece and on the farm we had center bearings, but only on big trucks; vehicles with potential for heavy loads; sometimes Very heavy loads (I loaded my truck down to the overload springs with head-size river cobbles one time, Well over it's rating). https://mechanics.stackexchange.com/...ce-drive-shaft
I can only see 2 more U-joints to be concerned about (and maintenance thereof) by putting one of these in a passenger car of normal length. In Stretch Limos probably, due to the length, but not our Classic Xj6s.
(';')
I have two coupes one with a 1 piece and another with a 2 piece shaft for direct comparison. I had both shafts made and balanced by a well known drive shaft company called fastshafts. They're great and have made many high quality products for me over the years. We're on a first name basis...lol.
I wouldn't say the 1 piece "vibrates" but it's certainly not as smooth as my coupe with the 2 piece. With the 1 piece there is what most people would call a hum. Technically speaking I'd call it a harmonic. The 1 piece car is my race car that has hits speeds of about 130 but I can start feeling the difference between the 1 piece and 2 piece cars at about 60 MPH, by 80 is more apparent but by 130 with 3:73 gears it's noticeable. The 2 piece car is so much smoother at highway speed but you 'd have to drive both car back to back to really notice or appreciate the differance. I notice vibrations and noises most people dont, that said if you want to take your convert to the next level do a 2 piece. If it just needs to be good enough then do a 1 piece. There isnt a large cost differance, about $40 to 60$ and for me well worth it. The race coupe will be getting a 2 piece for next season.
LnrB....
The early 1960's Mark X and later 420G had 2 piece driveshafts as well. Those cars and the XJ's drive line were designed in the late 50's long before BL got their hands on Jaguar. Early XJ sedans use the same style center mount as the 1961 Mark X. Somewhere in the late 70's jaguar revised the center mount design. This shows the engineers took the time to redesign it and not just eliminate it becasue it was clearly advantageous to the car's driving experience.
Having driven many cars with a 1 piece vs a 2 piece, including XJS' , they use a 1 piece. I firmly believe the 2 piece is advantageous to a sedan smooth running and not an engineering excess on Jaguar's parts. The transmission mount allows lots of movement at the back on the engine and that's a big difference and another reason for using a 2 piece shaft. There are many luxury and high performance cars, past and present, that use 2 piece shafts. Keep in mind that the early Jaguars sedans had 3:31 or higher gears so the shaft on those cars would be turning much faster than it would be on a later 2:88 car and thus the need for a 2 piece shaft to retain smoothness. On the shorter geared early cars the effect would be amplified.
Last edited by icsamerica; Jun 25, 2019 at 02:06 PM.
I have two coupes one with a 1 piece and another with a 2 piece shaft for direct comparison. I had both shafts made and balanced by a well known drive shaft company called fastshafts. They're great and have made many high quality products for me over the years. We're on a first name basis...lol.
I wouldn't say the 1 piece "vibrates" but it's certainly not as smooth as my coupe with the 2 piece. With the 1 piece there is what most people would call a hum. Technically speaking I'd call it a harmonic. The 1 piece car is my race car that has hits speeds of about 130 but I can start feeling the difference between the 1 piece and 2 piece cars at about 60 MPH, by 80 is more apparent but by 130 with 3:73 gears it's noticeable. The 2 piece car is so much smoother at highway speed but you 'd have to drive both car back to back to really notice or appreciate the differance. I notice vibrations and noises most people dont, that said if you want to take your convert to the next level do a 2 piece. If it just needs to be good enough then do a 1 piece. There isnt a large cost differance, about $40 to 60$ and for me well worth it. The race coupe will be getting a 2 piece for next season.
I glad to hear about your experience. I have never ridden or driven a car with 2-piece drive shafts so I don't have a personal reference. With the conversion, one of the shafts will have to be reworked and I thought a 1-piece would simplify things. There will be nothing about this car that will be "just good enough" when I'm done. I'm **** to a fault and have a "it's either right or it's not right" mentality. My other concern was the rubber dampener connection between the two pieces of one of the shafts (front?). This is the same type construction used in the stock suspension joints and is very strong while absorbing vibration, etc. My stock shaft is 34 years old and has been sitting around somewhere for the last 14 years so I'm questioning it's ability to soak up horsepower. But reading your comments about one of your race cars getting a 2-piece shaft, that shouldn't be a concern. I'll just have to decide how to cross that bridge when I get to it. Thanks again.
Dave
Drive side pattern. Coast side pattern.
Time for another update even though the intervening time has not been as fruitful as I'd have liked. I'm still working on putting the "rear end" (subframe and all inclusive) back together. The main fly in the ointment has been my own project management and the inevitable "problem discovery". Parts got dismantled and painted fine, new parts ordered and received, but I still hadn't decided whether I would replace the ring/pinion with 3.31's or leave the originals-provided they looked good. All the other re-putting together needed to wait until the differential issue was solved, so I opened it up. To my very pleasant surprise, the gear lube was black but there was absolutely not a single speck or shimmer of silver in it. I removed the output shafts and the pinion/ring gear turner silky smooth with a buttery preload. This surprise and my research on putting a Dana 44 ring/pinion in locked my decision-the stock gears are staying, even though don't think I will like the low rpm I'll be turning. Got to compromise somewhere, right. The pinion seal had to be replaced, piece of cake, new crush sleeve and new seal should be removeable from the yoke end and bobs-your-uncle, that job's done. You all know what I found next, don't you? Oil slinger behind seal and bearing cone are a light press-fit and they are not coming out with my finger nails and a magnet. The carrier has to come out and then the pinion pressed out. Skip ahead and we are going back together with new seal and sleeve, pinion washer and nut go on, hand tighten until I hit the sleeve, drag out my 3/4" drive and a pry bar across two bolts in yoke and start tightening. About 1/2 a "flat" on the nut and I can't turn it anymore, prybar bending and breaker bar with cheater not moving under my power. Bright idea, use the air impact to run the nut in until the bearing slack just goes away. Did that and still couldn't move the nut with the setup I had, holding the diff, prybar and pulling on the breaker bar just wasn't working for one guy and not diff holding fixture. Rattled the impact a squirt at a time and as you know, on the last squirt the preload went too tight. No amount of thinking about it over night made it any looser so I had to take it apart and order a new crush sleeve (1 week) and admit that I had to make two more tools. The differential holder is nothing more that two pieces of good quality furniture plywood of the appropriate length and the yoke holding bar is 3/8"x2-1/2" bar with a lot of grinding. Jump ahead again, everything worked as designed and pinion preload is good. Next, put dial indicator on ring gear, back lash acceptable and tooth pattern in the sweet spot. Let's put the output shafts in and start putting this puppy together. One output shaft creates a tight spot when I turn it, WTF? Other side turns smoothly, jump ahead a couple of hours and several removals of the shaft/carrier and I decide that something is not turning true. Put the dial indicator on the output shaft/carrier. .008" bent, other side .000 bent. Another shaft from somewhere, crush sleeve and seal (in case this one doesn't survive the take apart). Can't find an axle on 3 or 4 websites so I email David and Everyday Jag and he says "....sure, I have one". He does this on Saturday, on his own email and gets the shaft out and sends me a picture and a price that restored my faith in man-kind. It's on the way at this writing along with the crush sleeves and another seal and tab washer from another supplier. Everything should come together this next weekend. Then Bob, your Uncle, can get back on track.
Next: The machine shop called a couple of weeks ago and said my block/crank was done and I could pick it up. I made a place in the shop to store it until winter and went to get it. After a couple of pointed questions, The counter-guy say that they had lost the two spec sheets I had enclosed with the parts, but felt the clearances would be fine. I was not that trusting and suggested he get out his mic's and gauges and get a true clearance on each rod throw and main journal. Two days later he calls and gives me the numbers; not one met my specs and number 5 main was way too big for me. I was pissed to say the least. Although I hated my offer to solve the mistake, it was the only thing that was reasonable. They buy a full set of .020 under bearings and regrind the crank to my specs. The next day they called and said they would rather use my bearings and grind another LT1 crank they had in stock (used). I drove the 50 miles to have a face-to-face with the machinist and came away satisfied that they actually had an internal/external balanced crank and that they would balance everything with my dampner/flexplate when they were done.
Those are my stories and I'm sticking to them.
Threads, paragraphs, etc. Try 'em they do not hurt, honest.
But interesting and a challenge to my brain cells to digest !! Good for me at 89!!
My LT1 thrives on the 4L60# and the 2.88's. And the one piece shaft is fine.
Another Jaguar guy has my leftover two piece...
Ever cross paths with Bill de Creeft. Pilot, nice guy, age like mine and Jag guy. I was immensely impressed with a posted picture by him of his V12 in the snow at night!!!
LT!!
Ever cross paths with Bill de Creeft. Pilot, nice guy, age like mine and Jag guy. I was immensely impressed with a posted picture by him of his V12 in the snow at night!!!
Carl
.
No Carl, the name doesn't ring a bell. I've never seen an S3 era Jag roaming around this part of the State and I've been here 72 years. Gave the 4.2 out of my S3 to a guy who has (2) E-types and I see them occasionally.
I was able to pick up my engine from the machine shop and they ground the second crank to my spec's. Stored for now. The differential and complete rear suspension has been rebuilt and cleaned up, waiting it's turn to be put back under to car. The whole underside and wheel wells have had old, loose undercoating removed and replaced with new rust protection. I applied the rust protection in layers: clean painted surfaces and wire brush loose (and not so loose) rust; apply coat of rust conversion to neutralize the surface rust; apply 1 coat of Rust-oleum black engine paint (gas/oil resistant); 2 coats of rubberized undercoating; 2 more coats of Rust-oleum engine paint. I'm pleased with the outcome.
Hooked up battery to LH (+) post on firewall and went through all the tail light, tank switching valve, return valves, fuel pump (new), marker lights connections and grounds. I made a couple of changes to the ground connections on the lights. Repainted a damaged part of the boot insides and the engine compartment.
I ran a new pressure fuel line from the right tank to an area near the master cylinder, I left it running wild until the engine is in so that I can terminate it and the return line properly to the LT1 fuel regulator. I was really relieved when I saw the inside of the fuel tanks, they are nearly perfect.
Once I put the rear cage back in, my "creeper work" will be mostly done. I am just starting to trace, verify and repair the wiring in engine compartment and interior, of course that includes all of the switches, gauges and anything else that I expect to work. This will be the biggest pain in the neck (literally, I have a bad neck) of the whole project.
That's about all the progress for now, I've included some before and after pics and maybe next time I'll show the additional "tools" I've had to make.
Here is the photo of my LT1/700R rubber fuel lines at the engine and the snap on connectors I used to the engine. I ran both lines (return) and feed
to the area above the steering shaft on the firewall with steel lines. Then used rubber for engine movement and the snap on fittings for ease of servicing.