When you click on links to various merchants on this site and make a purchase, this can result in this site earning a commission. Affiliate programs and affiliations include, but are not limited to, the eBay Partner Network.
I've lusted after Red Line Tires for my black XJ6C for a long time. But after pricing them out; I just can't afford them. So... I'm doing the next best thing. Installing permanent Red Line stripes on my current 235/60/15's. There are two companies out there selling these - one is TireStickers.com, the other TredWear.com. I got a small sample from both of them and decided to go the TreadWear.com route. The TreadWear sample was a bit more red than the TireStickers one and it was all one length as opposed to TireStickers being (4) quarter lengths per tire. So I would have had (4) butt joints per tire with that product. They were both priced roughly the same. I paid $119 for the set of four stripes for four tires (including shipping). The Red Stripe is two layered rubber - red on top, black on the bottom. It has a slight arc to it to follow the line on the tire. I glued up the samples on one of my tires and drove it for a while to see if they were really permanent or not, and they seemed to be.
I also had to decide on what width I wanted the permanent glue-on red stripes. After much research decided the standard 3/8" was the way to go. My Dunlop tires have a nice ridge to follow with no lettering for 3/8" under it, to allow me a clean line to follow during the install process. In install process consists of through cleaning of the sidewall, then rough sanding the area on the sidewall that's going to accept the red stripe, then cleaning that area and the back of the red strip (I used Acetone), then applying glue to the back of the red strip (6" at a time), then gently laying it down following whatever line you have to follow. Then quickly cleaning excess glue that squished out from the top and bottom of the stripe. The glue only take 4-5 seconds to dry, so you don't have much time to get it right. But, trust me, that's enough time to get each 6" done. It takes a knack that you will acquire quickly. Any excess glue that you missed during the process can be sanded off afterwards using the edge of 80grit sandpaper. I also used Acetone as my cleaning agent during the gluing up process.
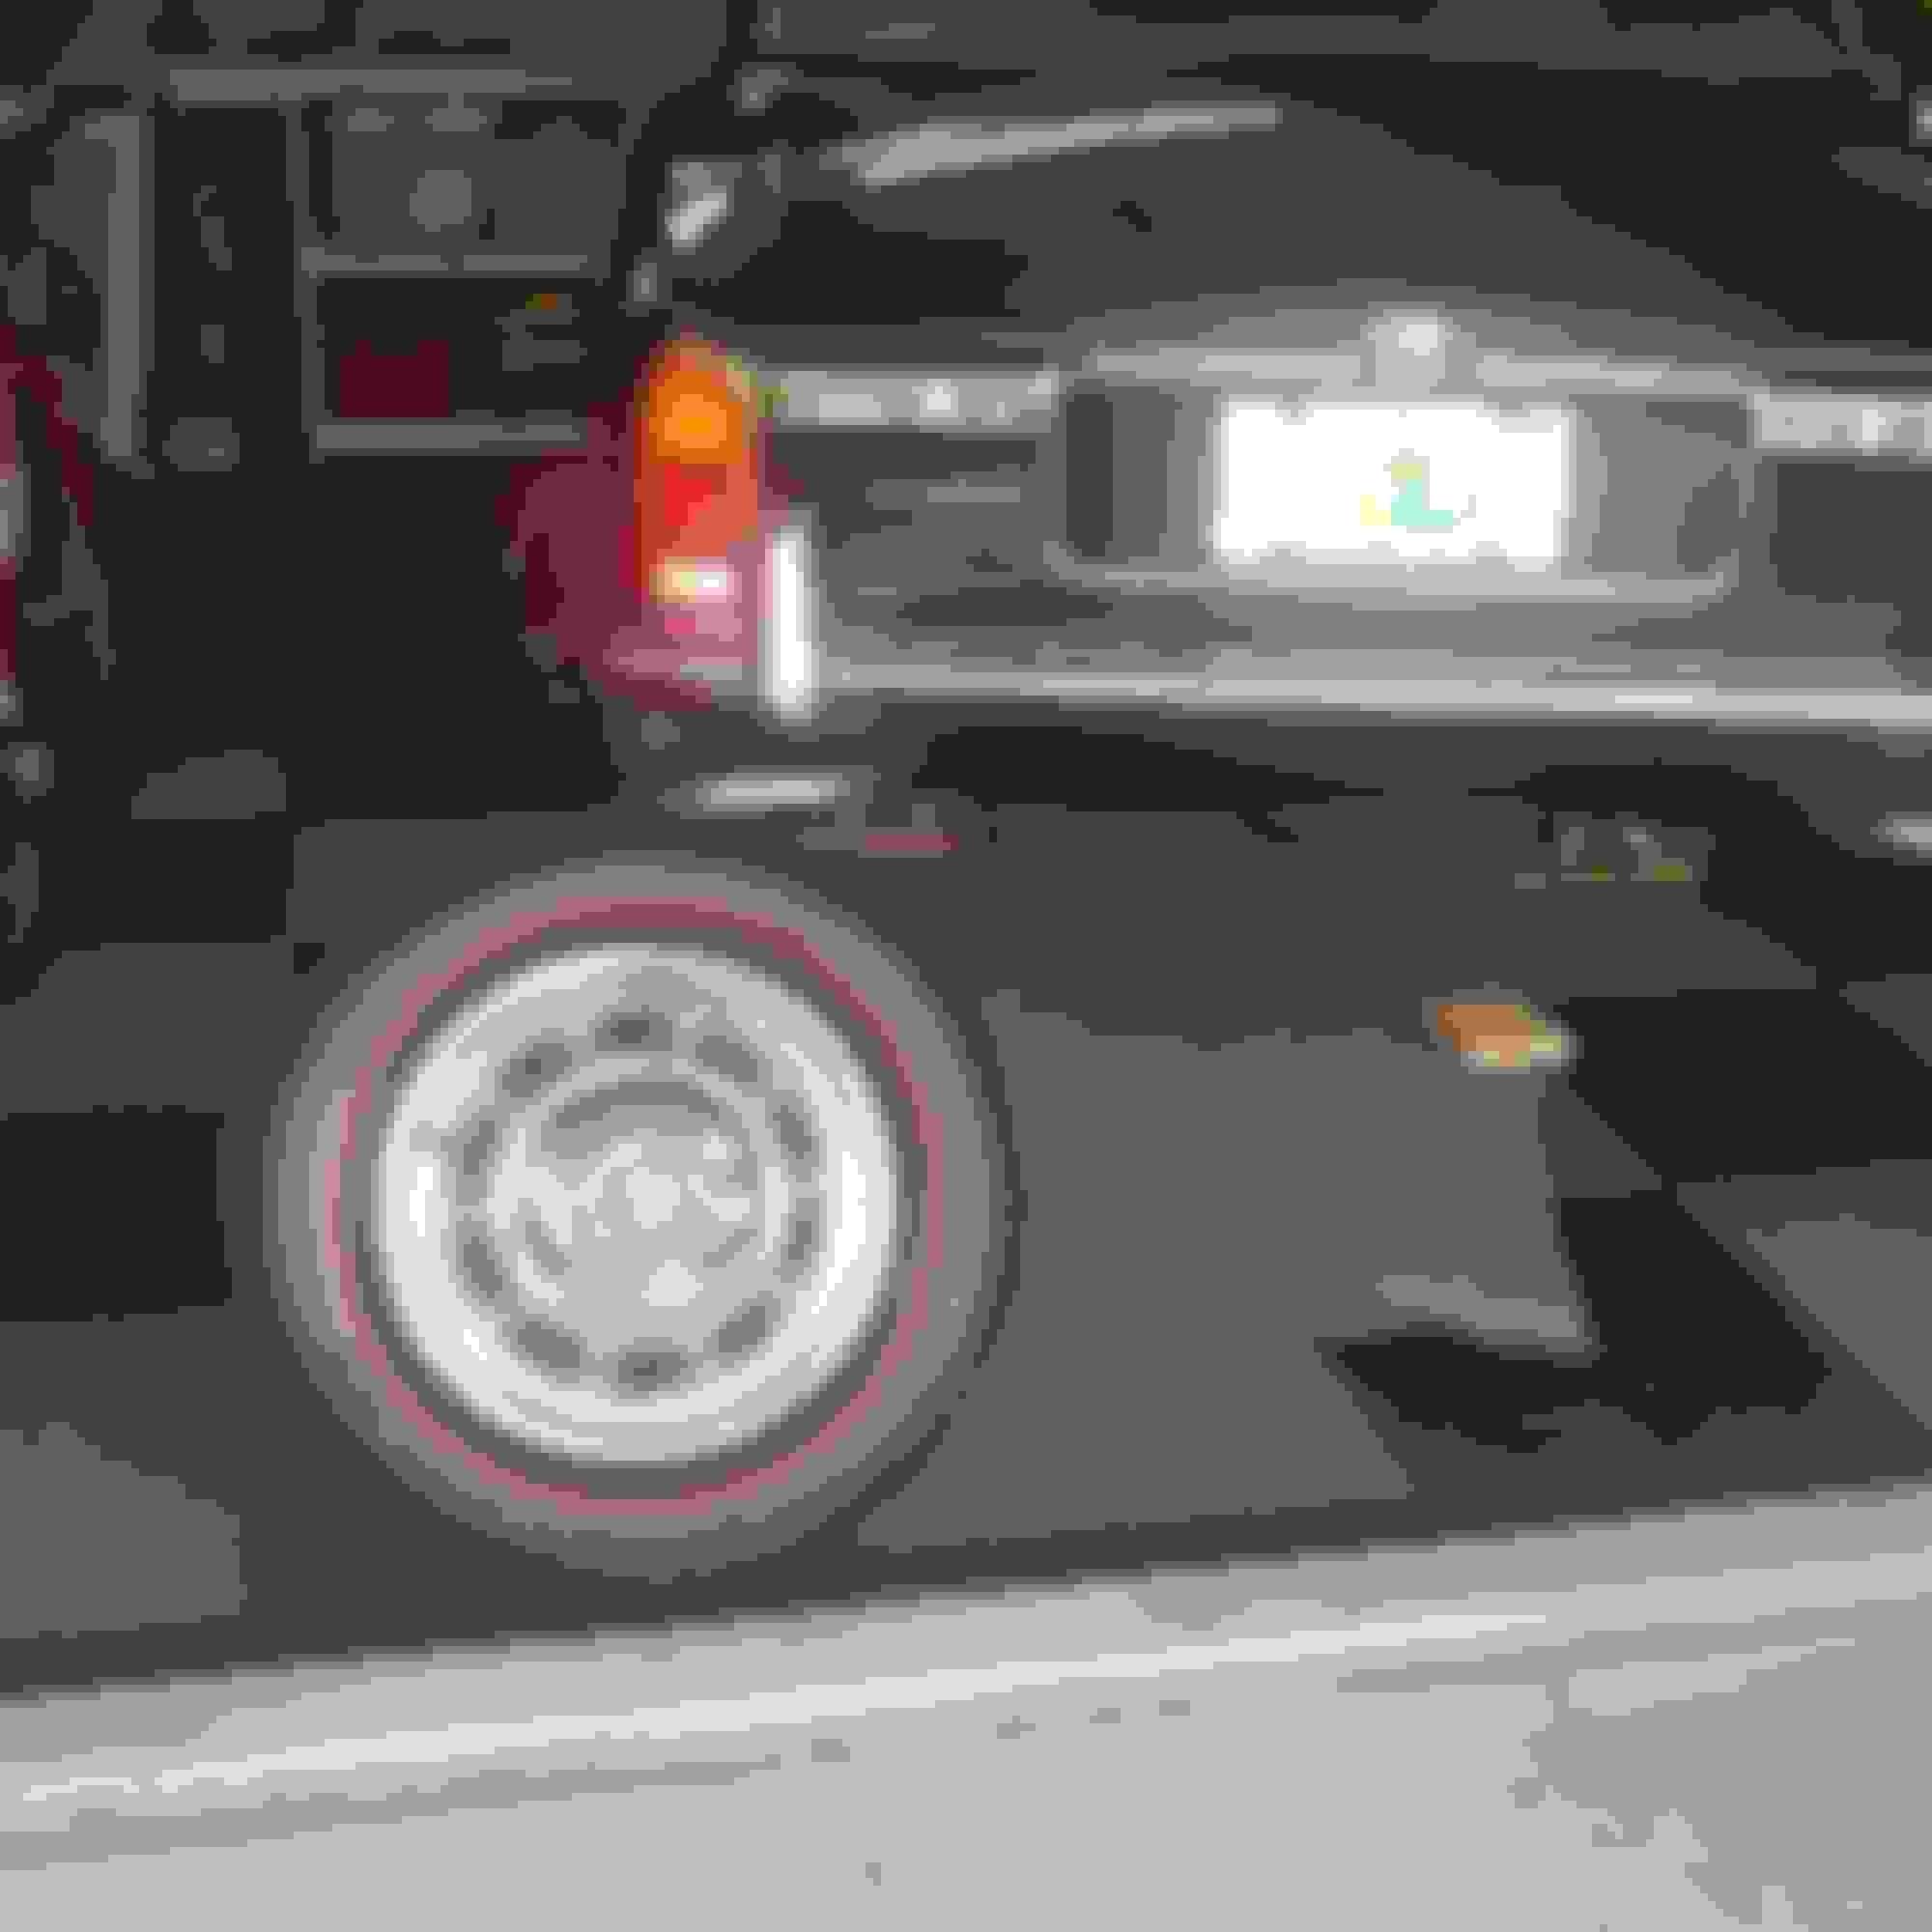
So am I please with the result? YOU BETCHA!!!! Pictures tell the story. It took about an hour per tire. I have two down and two to go. Can't wait to finish the brake job, mount the tires and stand back and look at the result. I know I'm going to be super pleased!!